Bettering Things

my new and improved broom, bike lock, and lantern Yesterday was a good day for Rainy Day Catch Up and I decided to make a couple of the things I own a little better. Since I’m doing the 200 Things Challenge I figure I better really like the things I own and I better make them work well for me. So yesterday I spent an hour bettering my bike lock, my broom, and my ostrich egg lantern.

I recently acquired a new bike lock because the lock I bought last fall was driving me crazy. I decided to purchase a combination lock this time so I won’t have to deal with a bike lock key anymore. (Even thought this is one less thing for me to think about, this doesn’t count as one less thing since I count even the lock as part of my bike. I explain my rules for counting for My 200 Things Challenge in Who’s Counting Anyway.) However, I preferred the lock holder for the old lock because the little metal bracket attached to the lock itself snapped tightly into the holder on my bike. I found it was much less likely to fly out of the holder when I go over a bump than the new one. So I modified the new lock to accept the metal bracket by slicing away a part of the rubber and adding a gasket. It only took a couple minutes to create my ideal bike lock.

I also recently bought myself a broom since I didn’t own one. I lived without any carpets for several years so I bought myself a Bucket Head vacuum cleaner when I moved into the yurt, which had rugs. This worked pretty well for me, except that the rugs contributed to the Moisture Management problems I was having. A few weeks ago I decided it was time for Spring Cleaning the Yurt and I removed the rugs. But then I needed a broom. I decided to buy myself a kid-size broom but it was just a little too short, even for me. I realized I could probably find bike parts to extend the handle of my little broom. My local bike repair shop hooked just happened to have exactly what I needed and $3 and 3 minutes later my little broom is better than ever.

Two years ago my little sister and I traveled to South Africa and we both brought home ostrich egg lanterns. My sister found hers right away but it took me a long time to find my giraffe lantern. We were Packing Densely but we managed to carefully transport our lanterns home. Unfortunately, once I tried using my lantern the first time I realized that there were too few holes providing oxygen for the lantern to work with a candle. When I switched to a little light bulb I found there still wasn’t enough light emanating from the lantern for it to really be interesting. So I bought myself a 5/32” masonry drill bit this weekend and enlarged the holes in my lantern. Now I can really enjoy my lantern. I’m even planning a special spot for it in the tiny house I’m designing for myself.

Rainy Day Catch Up

mock oranges and the hammock Anyone who has been paying attention will probably have noticed by now that I'm backlogged on blog posts. Partly this was due to technological issues. Check out forthcoming posts Getting Smart About Phones, Planning Around Obsolescence, and Everything but the Photos for more on that. Partly it was because  I've been awfully busy with school recently as I'm on the home stretch for my master's degree.

But it's also partly because it's been awfully pretty out so I've been playing outside instead of sitting inside blogging. Check out Cooking Al Fresco for more on that!

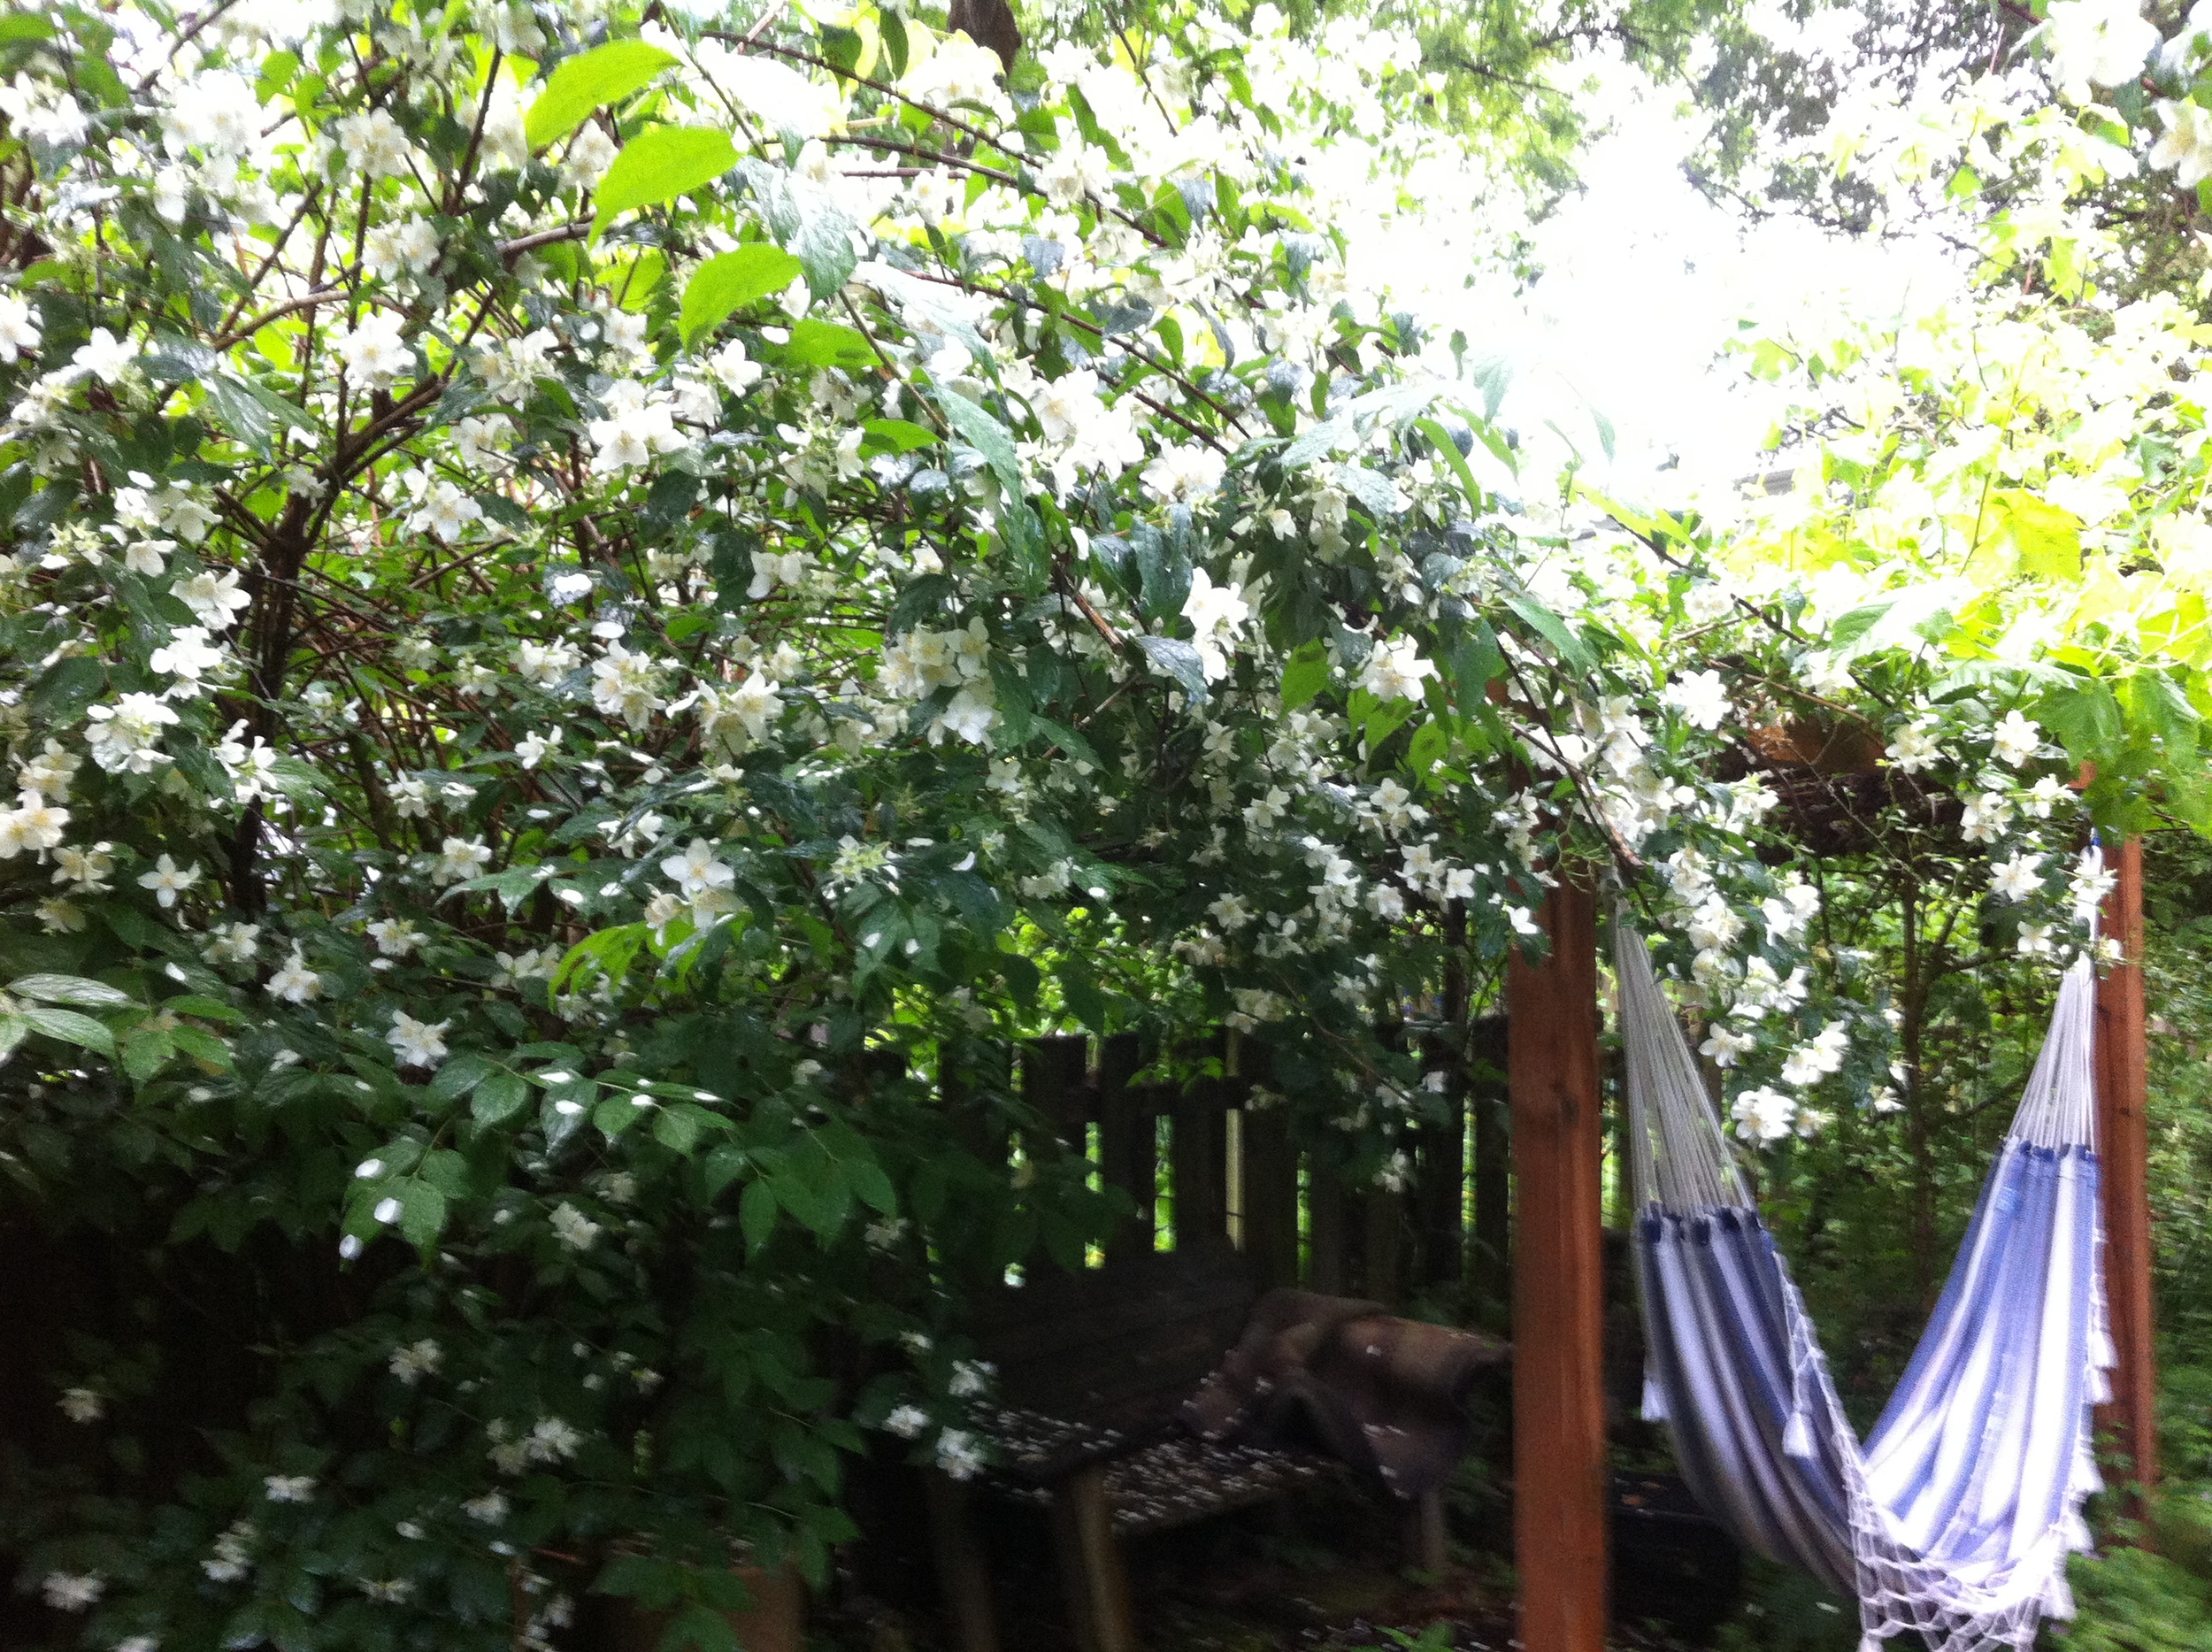
This weekend has been rainy so I'm catching up on getting posts actually posted. Stay tuned. Meanwhile, here is a photo of the mock oranges blooming next to my hammock so you can see why blogging hasn't taken priority lately!

Everything but the Photos

Often when people are faced with the threat of losing everything they own they get really clear about their priorities. And many of them say that the only things they’d really miss would be the sentimental things like their photos. graduating from Whitman was so exciting

I consider myself a sentimental person and I love my photos because they remind me of fun times. So I’ve always understood this sentiment. The stuff is Just Stuff, but the photos, they’re something special. However, I had an experience Friday that made me realize that as I’ve become less attached to things, I’ve also become less attached to photos.

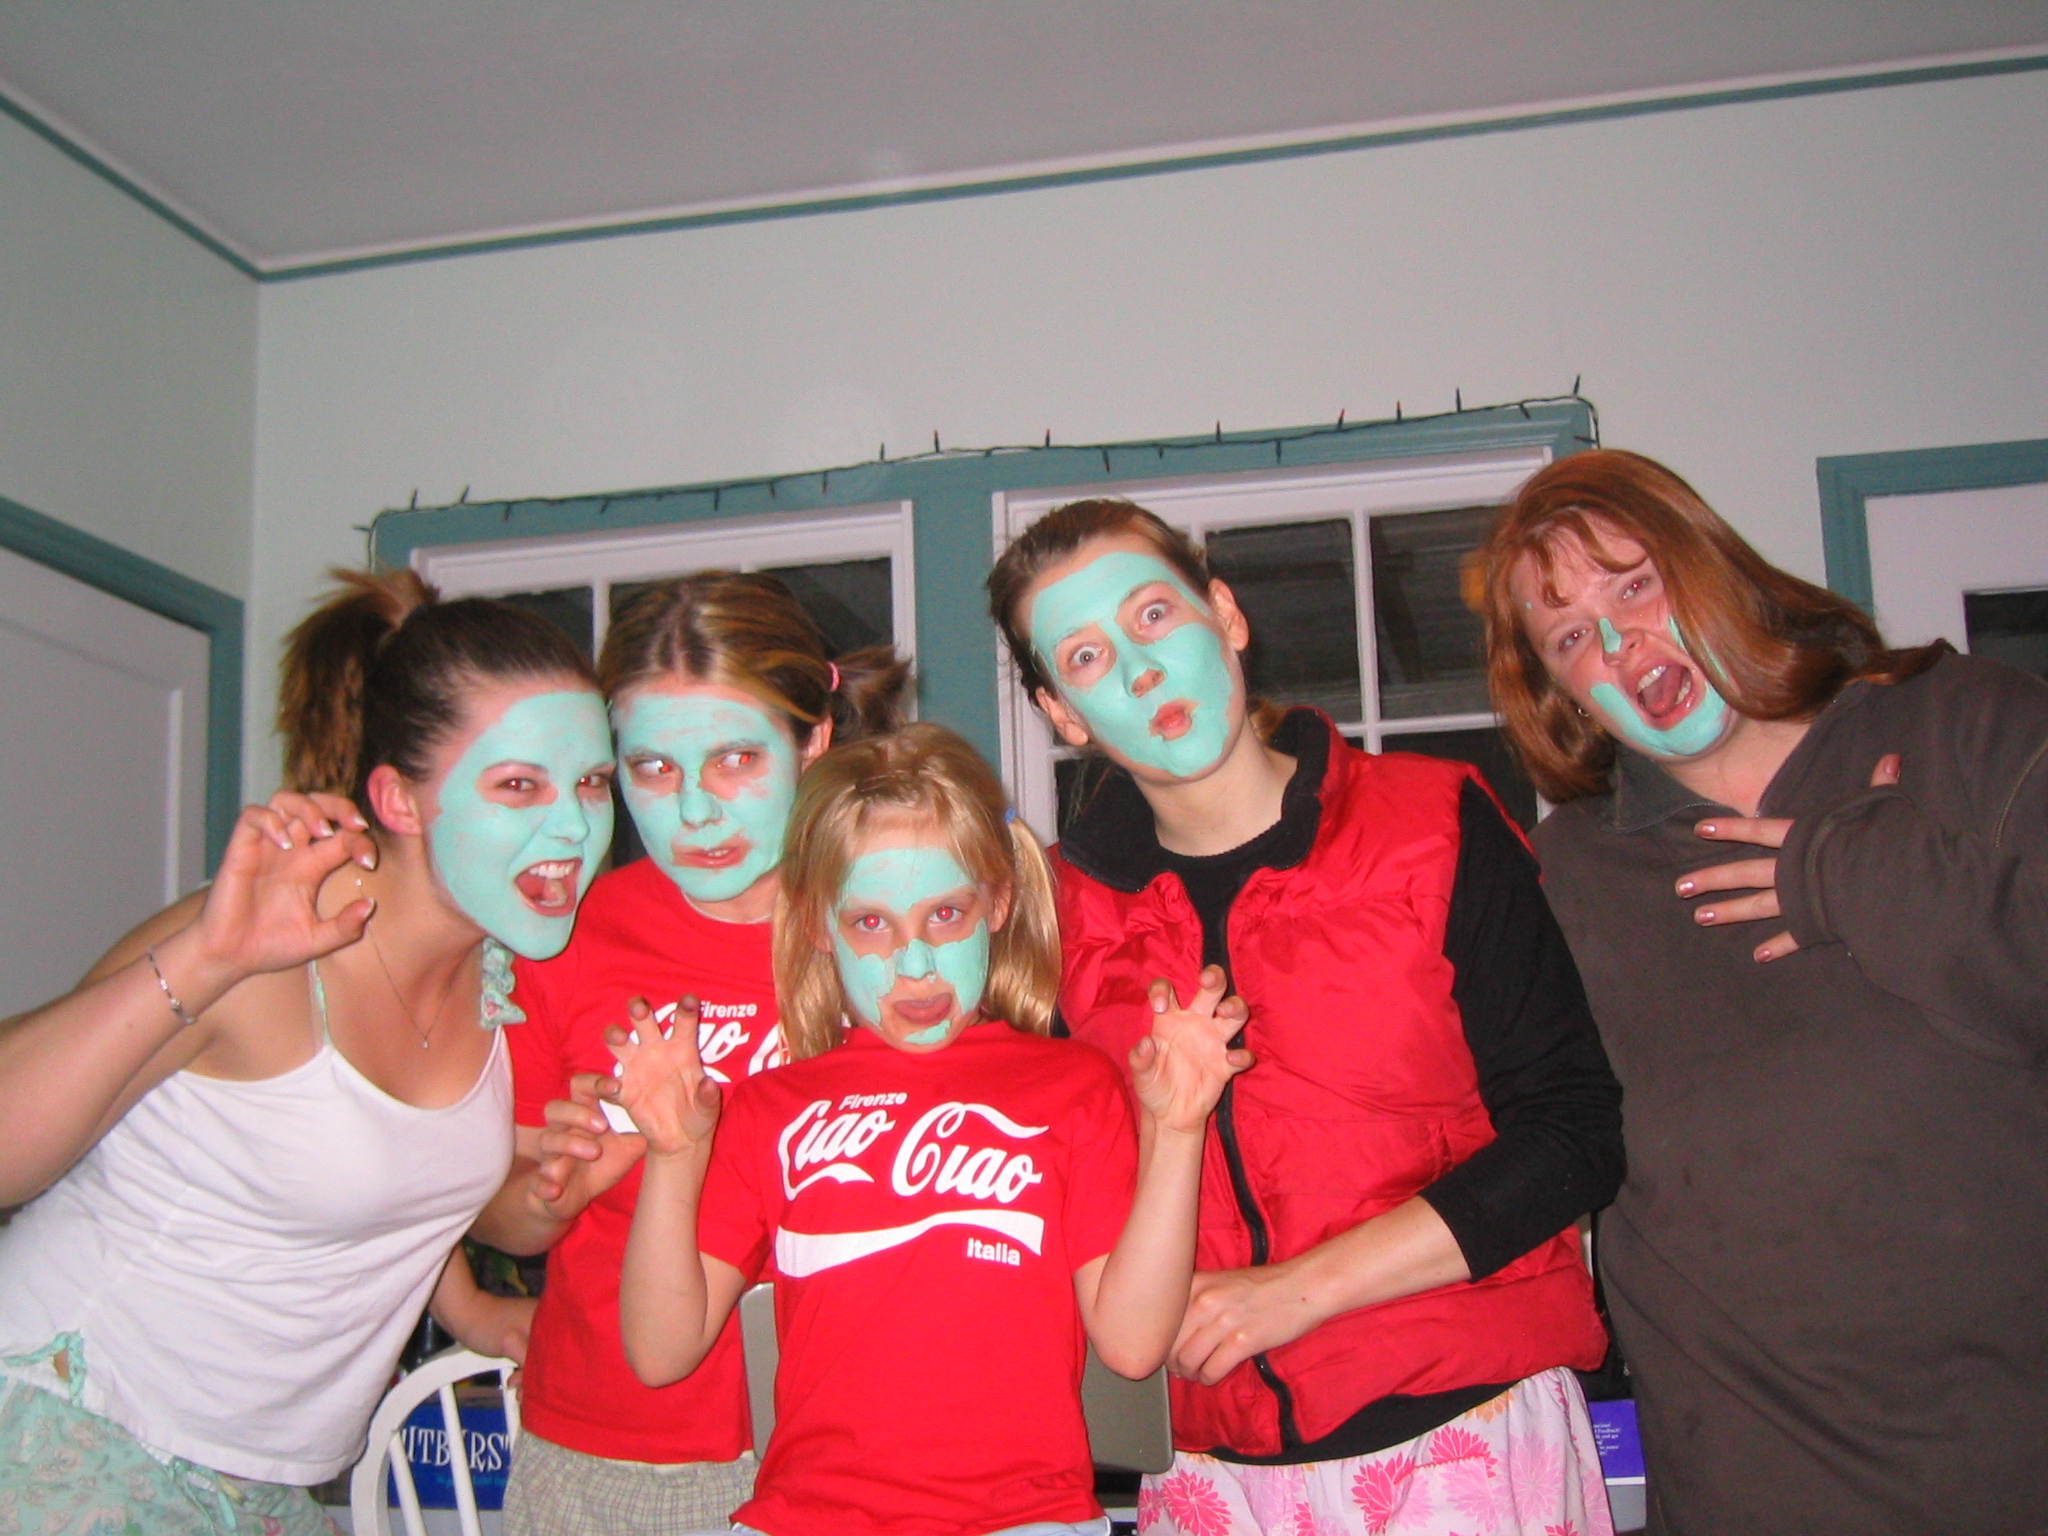
Lately I’ve been Getting Smart About Phones and Planning Around Obsolescence. I had an appointment yesterday to consolidate my old iPhoto library (on an external hard drive) and my new iPhoto library (on my laptop) so that I could free up some space on my computer. So Friday morning I got out my external hard drive and took a look through the old photos. A few of them made me grin: my sisters and I wearing mud masks and making funny faces, my graduation from college, exuberant present unwrapping during Christmases past, etc.

silliness with my sisters

But as I scanned the photos I realized that most of them don’t mean anything to me anymore. I had photos of people whose names I no longer remember. I had photos from a school project that I’ve long since forgotten about. I had photos that were blurry, too dark, or overexposed. I had photos of a backpacking trip that triggered unpleasant memories. (My friends broke up on day two and got back together on day four, which meant the four of us had two very uncomfortable days on the trail!)

As I biked off to the Apple Genius Bar I thought, “Well, it’s going to be a lot of work to sort through all of these photos, but at least now I know I can get rid of most of these.”

When I arrived I explained that I was trying to consolidate all my photos so I could purge the old ones and free up space for my work and new photos. We plugged in my external hard drive and it wouldn’t mount. Period. It was completely dead. Which meant that I’d just lost several years worth of photos. The moment of panic arrived. And then it quickly left.

sunset

I realized that I’d just looked through my photos that morning (which was more attention than I’d paid them in years) and I’d already figured out that I didn’t want most of them anyhow. I was hit by a wave of relief and I briefly explained my journey towards the Little Life. The tech seemed relieved, too. I’m sure he’s used to people breaking down when several years worth of photos evaporate.

We transferred the photo library from my laptop to a new external hard drive. (And it turns out that I actually do have all the photos I thought I’d lost because I’d already transferred them from my external hard drive to my laptop.) Now that I can, I probably will take the time to sort my photos and keep the ones I do still want. But hopefully I can do it relatively quickly because I’ll keep in mind that if even I don’t want to look through all of them no one else would either!

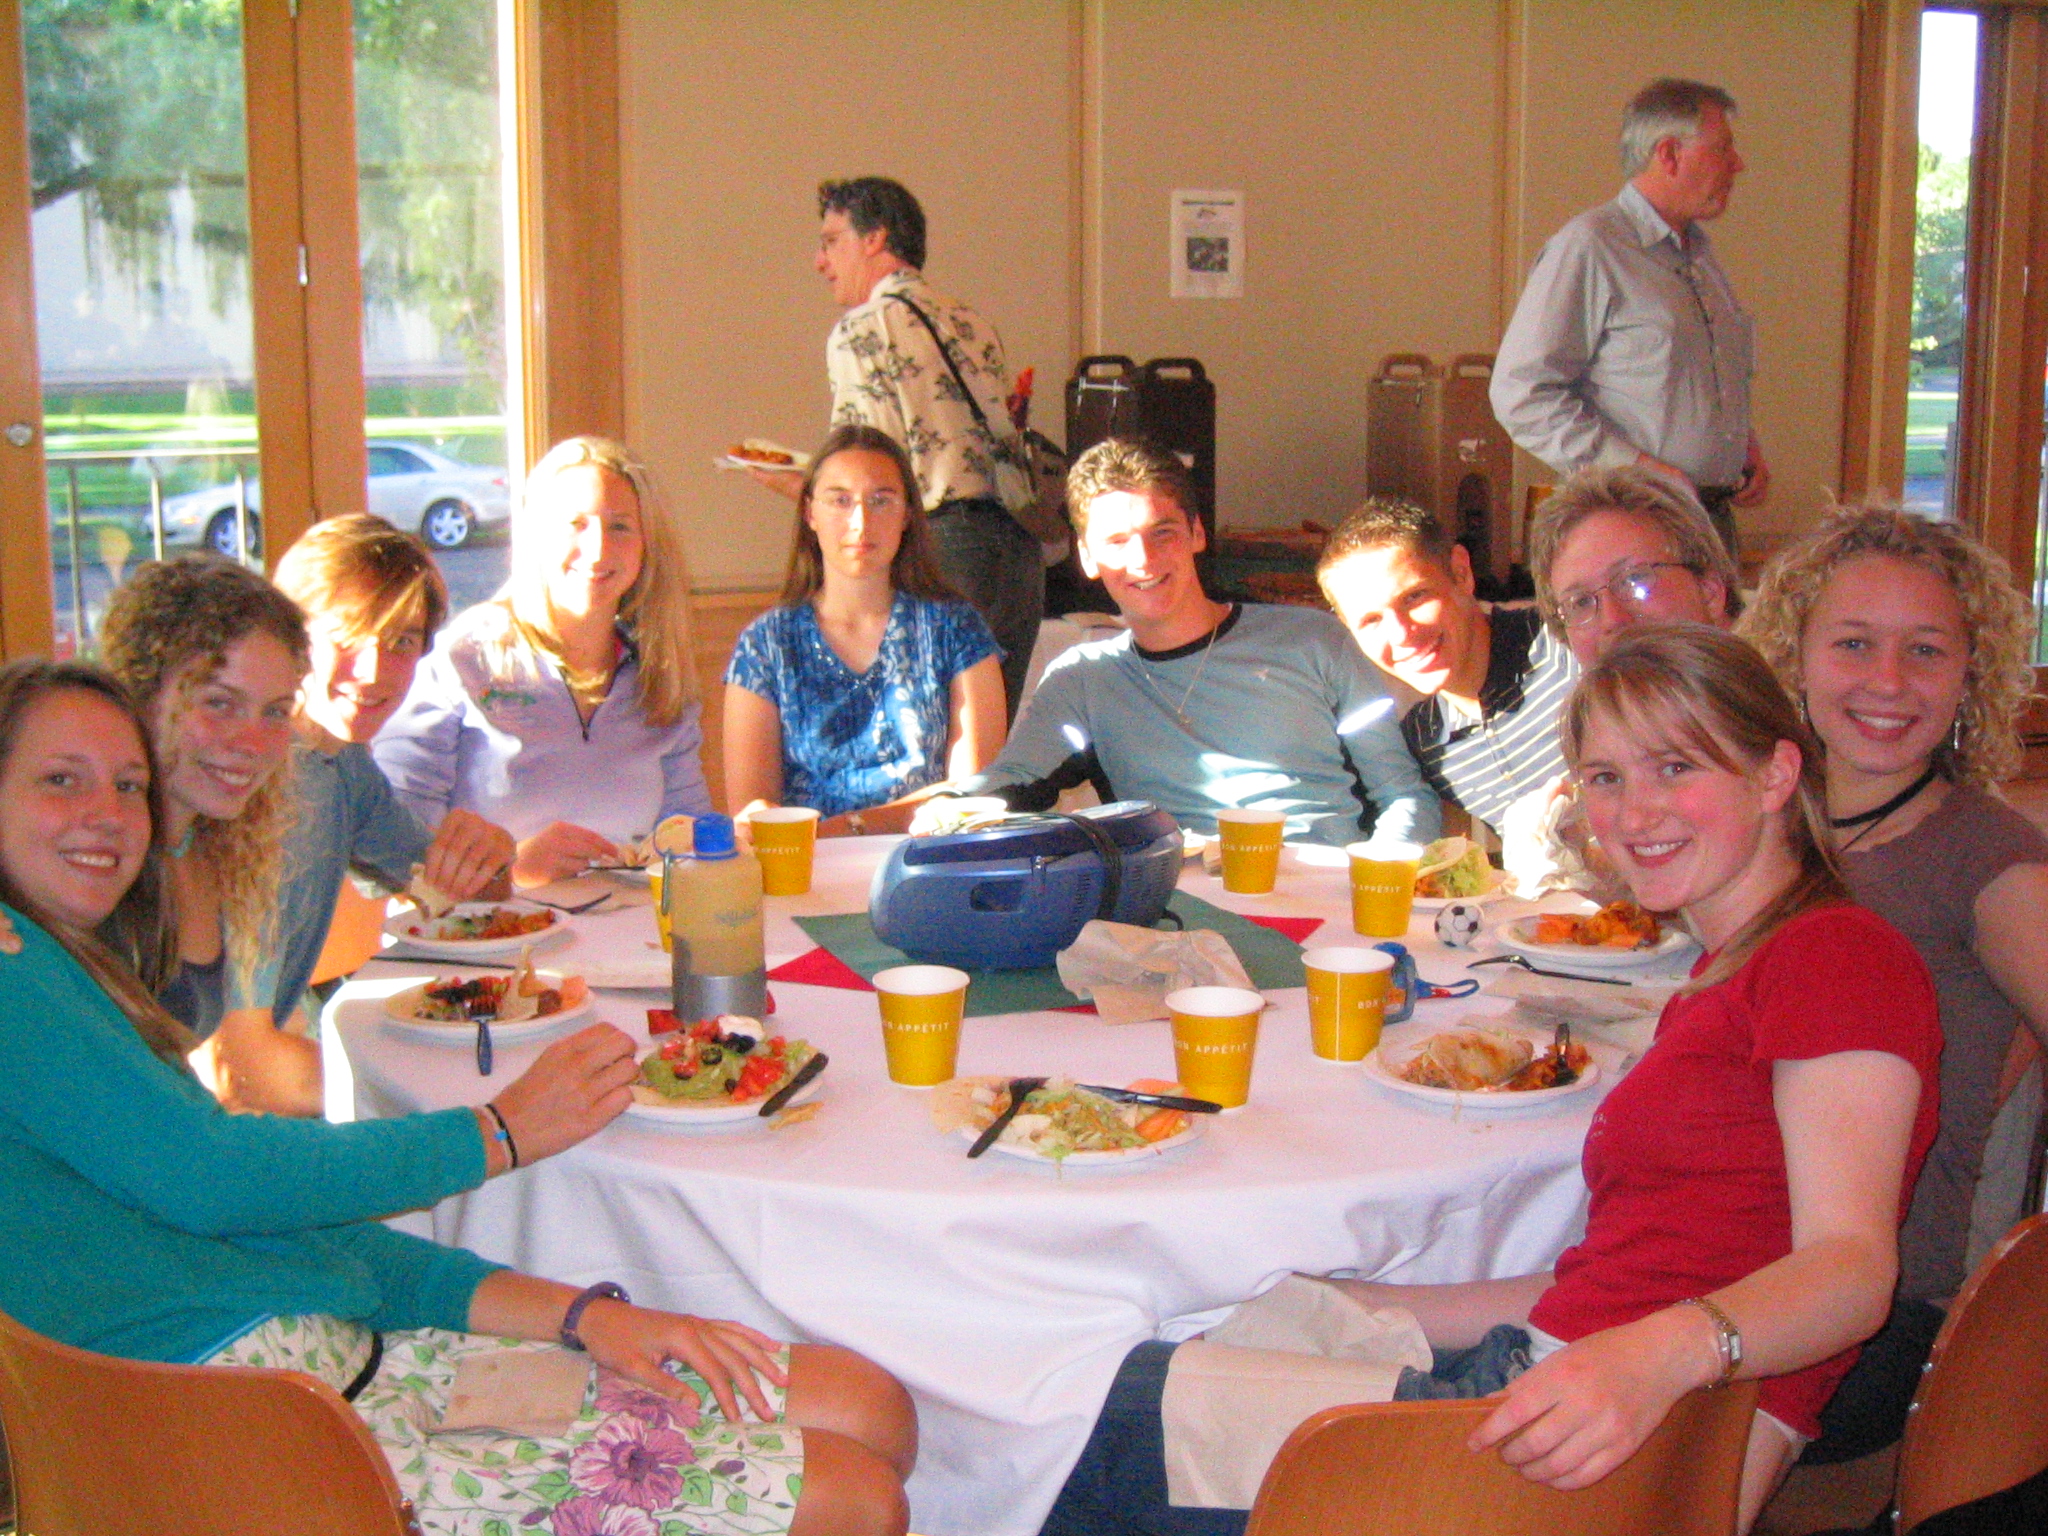
who are these people?

Nevertheless, I’ve been marveling at how differently I handled the experience of losing my photos than I would have a few years ago. I suppose part of it is that many of my photos are out there in other places. I’ve shared them with friends or uploaded them to Facebook. But even so, it just wasn’t that big a deal anymore. I’ve come to terms with the fact that keeping track of my photos is not entirely within my control nor is it entirely my responsibility. Technology will continue to fail. Natural disasters will continue to happen. Boxes will continue to get lost in moves.

I know that for some people losing photos truly would be devastating and I can relate to that. But I’m glad that it wasn’t devastating for me. I’m glad that in my minimalist journey I’ve become less vulnerable to these losses. I don’t want to live in the past via my photos. I want my photos to be a tool for memory keeping but not a burden. I’m grateful that I know how to take new photos and make new memories.

Now, off to the Street Fair. With my camera, of course!

Planning Around Obsolescence

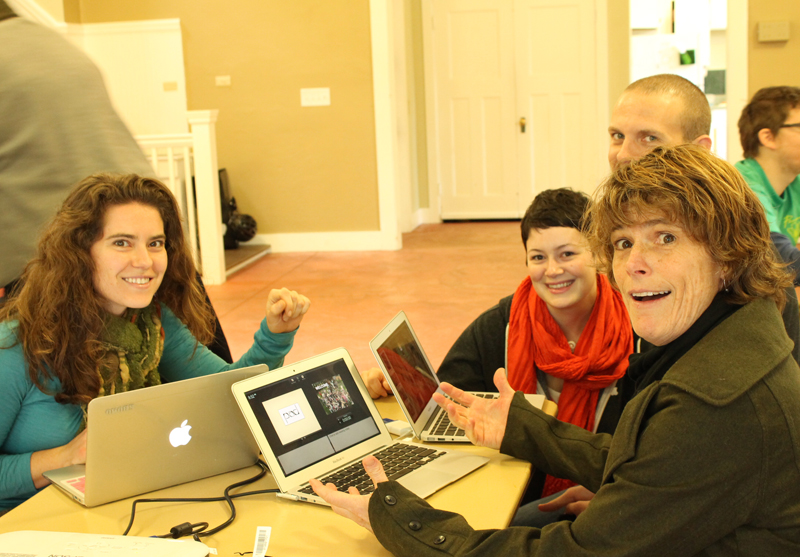
tiny housers Lina, Malissa, Chris, and Dee with tiny laptops Last week I was Getting Smart About Phones. My lessons in planning around obsolescence continued this week with my laptop. My New Year’s Resolution for 2013 was to go paper-free so I’ve been Strategizing Digitizing and Getting All My Docs in a Row. Let me set the stage for this discussion of planned obsolescence by explaining some of the technological advances I've experienced in the past.

I got my first laptop when I was 16 years old. It had a 6 GB hard drive and it weighed as much as a newborn baby. It was made by an off-brand and it had plenty of quirks, but I coaxed it along for 5 years. When I was studying abroad in Florence, Italy, I could tell my laptop was dying a slow, miserable death. Nevertheless, it allowed me to write my papers and store the hundreds of photos I was taking. I had purchased my first digital camera just before leaving for Italy and I was click happy. When I returned stateside I laboriously transferred my photos to CDs via many batches with a flash card reader since my computer's CD drive was broken and it didn't have a USB port. My laptop had never really connected to the internet well with its clunky modem card and the ethernet port wasn't working anymore.

I did my research before purchasing my next laptop - a 20GB iBook G4 with a Super Drive. It weighed considerably less than my old computer but it was worlds more powerful. I was determined to use it as long as possible. I transferred my photos and papers right over from the CDs. In the 5 years I owned my iBook I had to have the screen fixed and the power adapter and hard drive replaced. (Fortunately, I'd wised up and learned to back up my computer. So I didn't lose anything but the document I was working on when I messed up the hard drive by working on my computer while I was a passenger in someone’s car and we went over a speed bump!) I only had to invest a couple hundred dollars over the lifetime of the computer, so all things considered my iBook G4 held up pretty well. But when I brought my G4 in to the Apple store to get a new adapter and the techs gathered around my computer like it was a fossil, I decided it might be time to upgrade for grad school. I transferred my entire computer onto a 250 GB external hard drive and then transferred its contents onto my new laptop.

The past two years I've been very happy with my refurbished MacBook Air. It’s powerful and sleek. And I can’t help liking the combination of a tiny laptop and a tiny house. My Air is slim and light enough that I can take it everywhere. I transport it from home to work to school and back on a daily basis. I take notes in class and meetings. I research. I blog. I download and sort photos from my adventures. I use Sketch Up to design tiny houses and Excel to keep track of My 200 Things List. I scheme up the vardo I plan to build for myself and I plot to make the world a better place.

About a month ago I decided to set up a second user on my laptop so I could separate Home and Work. (This is the trick I've discovered to use two Dropbox accounts.) Immediately my computer started giving me "almost out of space" error messages. At the same time, my power adapter quit working because the cover for the wire developed a stress fracture from being wound up and transported every day. I was considering trading my laptop in and upgrading to a new refurbished MacBook Air.

However, the friendly guy I talked to at the Apple store assured me that my MacBook Air still had plenty of life in it. He explained that setting up the second user took up a good deal of space so we took a look at what else was taking up space on my computer. Turns out I have 30 GB of photos! The tech suggested I bring my external hard drive in so we can consolidate my files and free up some space so I can run two users on my computer.

I’m grateful for Apple’s Genius Bar and for techs who would rather keep a good thing going than upsell me to something I didn’t need. He hooked me up with a new power adapter and I was on my way. I’ve set up a follow up appointment for next week.

Getting Smart About Phones

When I moved to Portland in September of 2011 to begin graduate school and My Tiny House Adventure, I upgraded technology to a smart phone. I figured a smart phone would be good investments in simplifying my life and it has been. However, this past week I was reminded of my frustrations with Planning Around Obsolescence. Prior to moving here I was a T-mobile customer and I was very pleased with them. (T-Mobile is one of the few companies I know of that has such excellent customer service that I get off the phone in a better mood than when I started the conversation!) If T-Mobile had supported the iPhone two years ago I probably would have switched to the iPhone and stuck with T-Mobile. But at the time they didn't so I reluctantly left T-Mobile for a great deal with Virgin Mobile.

I hadn't used a smart phone before and I found my new phone was very useful as I navigated a new city. The bike directions in Google Maps and the Car2Go app were particularly helpful. (See Smart Car + Smart Phone = Smart Errands and Grocery Getter for more about car light living).

I also liked the lower price so I put up with Virgin Mobile's poor customer service. I put up with my battery going bad during finals my first term. (They shipped a replacement with only a bit of finagling.) I put up with finding my own replacement charger when that went bad a couple months later and Virgin Mobile shipped the wrong one. I learned which special key code to press when my phone quit connecting to the network every month or so. Last fall when my phone died completely (just a few days after the 1 year warranty, of course) I bought a phone just like it off of Craigslist and switched my phone service over to this new Virgin Mobile phone. I was dealing with the quirks and frustrations with my Virgin Mobile phone plan because I figured I was saving money.

But when my second phone died this week after I'd used it for less than 6 months, I decided to do a cost-benefit analysis. I realized that when I factored in the cost of replacing my phone every year on average and the couple of hours I spent each month messing with my phone to get it working again or ordering replacement parts, if I could beat $95/month I'd be in better shape going with something more reliable.

Fortunately, T-Mobile now supports the iPhone so I decided it was time to switch back. I think I'll stick with T-Moblie for good now. It was a good reminder that usually cheaper and less of a headache to go with the higher quality more durable product, especially if the support is great. I went for the iPhone 4 because I didn't need the latest and greatest and so far, I'm pretty impressed. My only major complaint is that Google Maps for iPhone doesn't include bike directions. Fortunately I know how to get around town much better now, but I still want to figure out a work around for this. (If anyone knows one, please let me know!)

Cooking Al Fresco

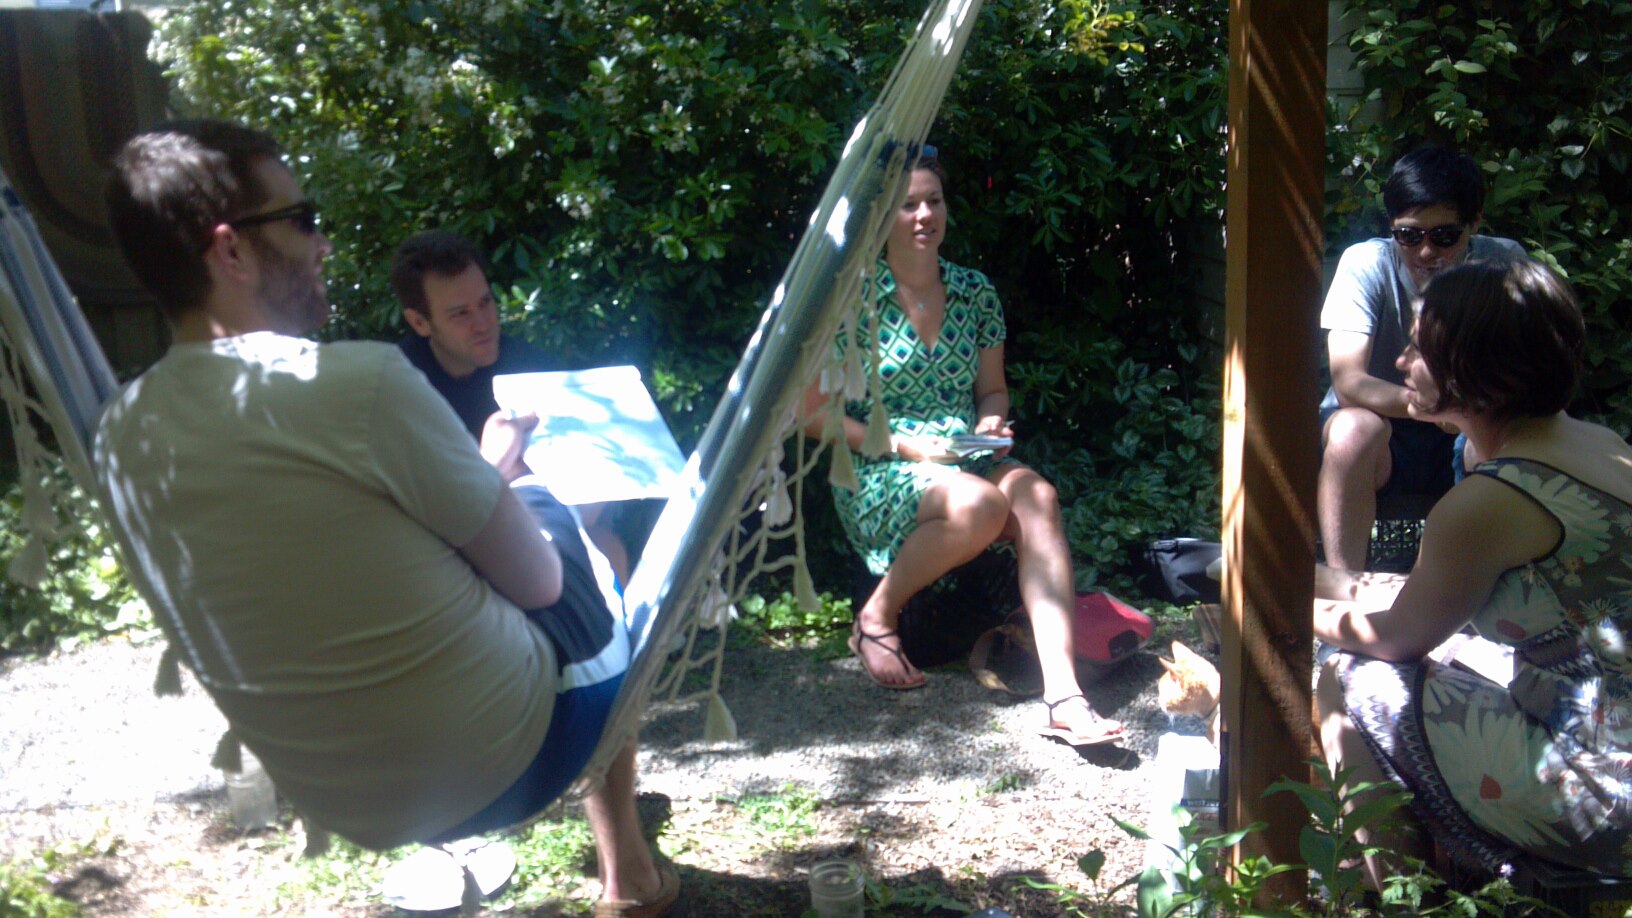
cooking al fresco Every Sunday my workshop team meets up for a working meal. We alternate between brunch and supper and we take turns hosting. The last time I was responsible for cooking for my team I was Living Large by housesitting so I had plenty of room to cook and host. When I lived in the Bayside Bungalow last year I was able to host a Dinner Party for Six, but here in the yurt that would be pretty uncomfortable. So this term I put off hosting until the weather warmed up enough to could dine outside. Fortunately, this weekend we had splendid weather so I offered to host brunch.

I set up milk crates and strung my hammock between the posts of my grape arbor so we’d have outdoor dining space. As I got my ingredients out to start cooking, I realized that in addition to dining outside I could also do my cooking outside. This is one of the advantages of my plug-and-play kitchen. I keep a one-burner electric cooktop in My Kitchen Cupboard and I usually place it on top of my mini fridge to do my cooking. This morning I brought my cooktop outside and plugged it into my power strip just inside the door. I used my outdoor shelf as my countertop and it worked splendidly.

I did have to remember to keep everything covered so that seedpods blowing in the air didn’t settle in my pots. But it was lovely to cook outside in the fresh air and breezes. This will be especially nice as the weather warms up and it gets too hot for me to want to cook inside the yurt.

it felt great to meet outside today!

I have always loved dining outside, but I hadn’t really thought about outdoor cooking as an option (other than grilling and camping, of course!) Now that I’ve discovered how nice it is to cook outside at home, I’ll plan an outdoor cooking set up for the tiny house I'm designing for myself. This is, of course, a seasonal activity especially in the Pacific Northwest, but for those days when it’s possible, it’s so delightful!

As part of My 200 Things Challenge I’m living with only two plates on hand and I didn’t feel like digging my others out of my storage tub in the shed, so we improvised. Two people got plates, two got cutting boards, one got a baking dish, and one got a pot lid. We giggled about our interesting dishes, but we’d done the same thing the week before when another of my group mates hosted, so it didn’t seem too strange.

I cooked up huevos rancheros with a delicious salsa verde from the farmers market and fresh homemade guacamole. For dessert (since all our brunches involve dessert, of course!) I cooked up a strawberry rhubarb compote (also with fresh local ingredients) to drizzle over vanilla ice cream.

Hooray for cooking fresh food in fresh breezes!

Tiny House Movement Gains Momentum

Tiny House Crowd The weekend before last we hosted a build weekend to construct Casa Pequena. This past weekend 29 fabulous folks joined us at the Kenton Fire House for a Portland Alternative Dwellings (PAD) Tiny House Workshop. Participants traveled from as far away as Wyoming, Arizona, and Massachusetts. Several of them were just beginning their foray into the world of tiny, so they are going to noodle over the information to decide if a tiny house is right for them. Others have already started on the shell of their tiny house and came to the second day of our workshop to refine their gas, fresh water, grey water, humanure, and electrical systems.

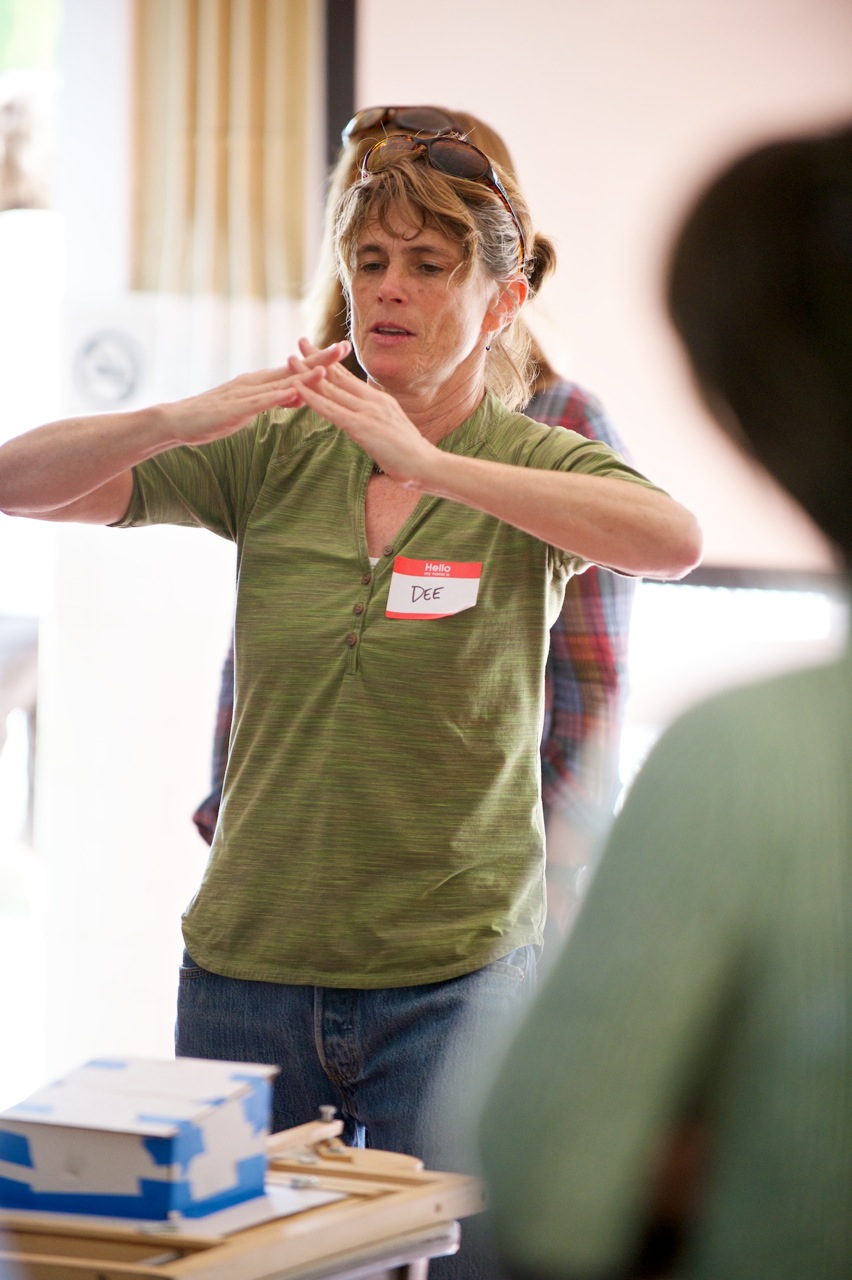
Our workshop covered those topics as well as structural considerations, moisture management, regulations, code, and community building. Dee Williams of Portland Alternative Dwellings kicked off the workshop by sharing her story of going tiny nearly nine years ago and watching the Tiny House Movement begin.

Dee Presenting

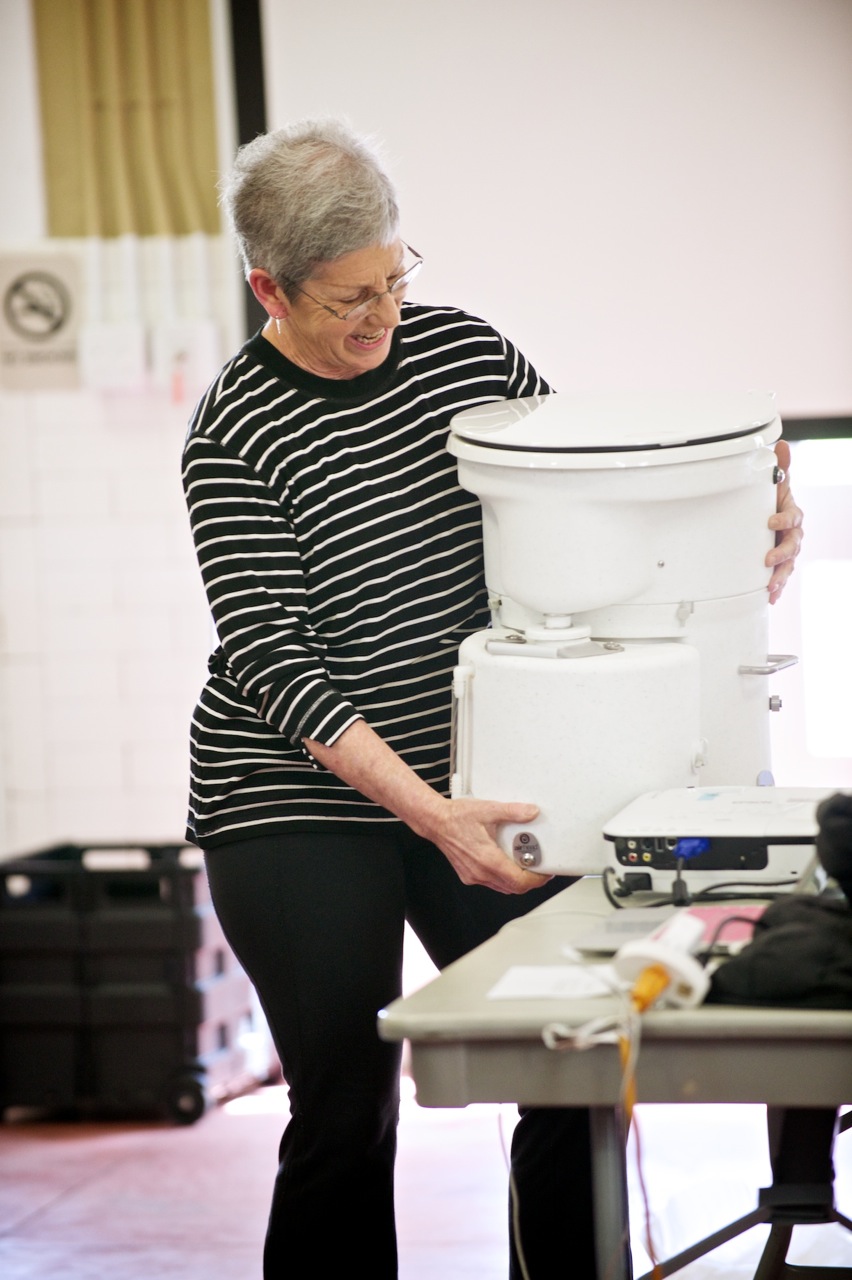
Dee, Joan, and I tag-teamed most of the presentations but we were lucky to have several other presenters join us. Derin Williams of Shelter Wise used a life-size model to demonstrate how to install a wall system that minimizes thermal breaks to increase energy efficiency. Carol demonstrated the assembly and use of the Air Head Dry Toilet. Chris and Malissa Tack of Tiny Tack House presented information about their tiny house design-build process with spell-binding graphics and answered questions about the systems they chose. (Check out Chris Tack's website to see more of his incredible photography!) It was a lot of information to cover in just two days, but workshop participants who came from across the country said they appreciated the chance to learn as much as they could and ask all their burning questions.

Lina Presenting

Some of the participants had been dreaming of living in a tiny house for years. For them this workshop was the first tangible step to making their tiny house fantasy a reality. On the other hand, one participant from the East Coast had heard of tiny houses but hadn't looked into them. He began exploring in earnest on Tuesday and on Friday hopped on a plane to come to our workshop! It was fun to have people from a wide spectrum of familiarity with tiny houses because it provided the chance for all of us to learn from each other. I'm grateful to everyone who taught me about new products, systems, and strategies that will make me a better tiny house design-builder, too.

Carol Presenting

The folks who attend tiny house workshops are wonderful people. They're collaborative and intentional. They're open-minded and open-hearted. They tackle big questions about needs and wants. They carefully consider what makes a place feel like home. I've come to expect that of tiny house lovers.

What was really special about this workshop was that the momentum of the Tiny House Movement was palpable. In June of last year I assisted with the Portland Tumbleweed Tiny House Workshop led by Dee Williams of Portland Alternative Dwellings. That was just 10 months ago. At the time a handful of the 50 people in the room planned to build a tiny house over the summer. This year 16 of the 29 participants said they're considering building this summer!

Joan Presenting

The Tiny House Movement is getting bigger and I'm thrilled to be part of it! We've agreed that this summer will be full of tiny house building work parties. I can't wait to see the results as people craft their dreams in three dimensions:

  • Margaret's rainbow speckled walls from stained glass windows,
  • Carter's hammock-slung dance studio tour bus,
  • Nicole's tiny house collective in NE Portland,
  • Malcom's yurt built of structurally insulated panels,
  • Joan's treasure box of salvaged materials,
  • and many, many more!

Please keep us posted everyone! Thank you for the chance to be part of your tiny house adventure.

Sunshine for Bike to PSU Challenge Kick Off

bike rack Last May Day it was pouring as the Bike to PSU Challenge kicked off. This was disappointing since I was committed to Biking Rain or Shine. Others weren't so brave and my bike was the only one in the racks for a good portion of the morning. This year the challenge started out with glorious weather and I had trouble finding a bike parking spot.

During the month of May I'll be logging my miles on Portland State University's snazzy Bike to PSU Challenge website. Last year I was on a team of 10 and we helped hold each other accountable to riding every day at least one way. Unfortunately, it was a drizzly spring so I didn't stick to my 14-mile round trip commute consistently. I took transit on 4 super soggy days. Nevertheless, as I described in my post 1 Tiny House & 4 Bicycles, I did manage to commute nearly 300 miles by bike in May 2012!

bikes galore

This year my commute is much shorter. I'm only 2.5 miles from campus instead of 7. But I'm also much more likely to ride consistently because the distance is shorter and because in the past year I've upgraded my tires and added fenders and better lights to my commuter bike. This past week I also replaced my old U-lock which drove me crazy with a new one which uses a combination lock instead of a key. One less thing to keep track of! (But it doesn't count as one less thing for My 200 Things Challenge since I actually consider my bike lock as well as it's key part of my bike. If that doesn't make sense to you, check out my logic in My Things Challenge: Who's Counting Anyway?)

This year there are 271 riders on 79 teams logging their mileage. So this month stay tuned for photos of Portland by bike. Cheers to bike rides and sunny days!

La Casa Pequena Shell Constructed in 2 Days

la casa pequena On Friday, April 19 and Saturday, April 20 I teamed up with Derin and Andra Williams of Shelterwise, and Dee Williams and Joan Grimm of Portland Alternative Dwellings to put on a 2-day building workshop to construct La Casa Pequena. The workshop was part of La Casa Verde green building festival in McMinnville, OR. (Stay tuned for lots more photos!)

With Derin’s dad DK and seven fantastic workshop participants from as far away as British Columbia, California, and Utah we built the shell of a tiny house on wheels in just 2 days! (Of course, Derin put many more hours into designing this wee abode and prepping the workshop so that everything was ready to go. Derin had the sheet metal pan installed in advance and two of the walls pre-built. Thanks for your meticulous planning, Derin!)

La Casa Pequena has a simple form with a shed roof, symmetrical sidewalls, and the short wall towards the tongue end of the trailer for aerodynamics. However, the wall system is quite sophisticated since Derin is an expert in energy efficiency. He’s a stickler for building excellent wall systems so we included building science lessons along with construction tips. (You don't have to take my word for it! You can read Angela Ramseyer's and Dee Williams' recap of the workshop, too!)

The tiny house was constructed on a 12-foot long trailer custom built by Iron Eagle Trailers. (Read more about Rob and Iron Eagle Trailer in Trailer Lust.) We started out Day 1 by securing the floor box into the trailer frame with ½ inch bolts through the sidewalls of the trailer and insulating the space between the joists.

Next we finished constructing the frame, using one of the sidewalls as a template for the other. The workshop participants had varying levels of familiarity and comfort with speed squares, impact drivers, and saws, so we shared tricks for building in a safe and smart way.  By the end of the first day we had raised the four walls and secured them to the trailer and to each other with HTT tension ties and fastener plates.

We raised the roof at the beginning of Day 2 with the help of a few folks from Casa Verde booths. Together we hoisted the roof system up onto the walls and secured it with hurricane ties. Once the roof was in place we wheeled La Casa Pequena into the middle of the Casa Verde celebration. We wrapped the house in drain wrap and stapled it in place with plastic washers. (This house has its sheer panels on the inside so we installed the house wrap directly onto the studs without sheathing it first.) Then Tate from Dupont demonstrated how to install a window, using flexible flashing. (Dupont donated the housewrap and flashing for this build. Thanks Dupont!)

Installing windows is my favorite part of the construction of a tiny house shell because it add so much personality to the structure. All of the sudden the house comes alive. In this case it was also exciting to install the windows because we were able to wrap up the workshop once the last window was installed.

Throughout the summer La Casa Pequena will serve as a demo house for micro workshops on plumbing, electrical, and interior finishes. Stay tuned for more information. Meanwhile, we’re switching gears to prep for our upcoming PAD Tiny House Design Workshop next weekend!

Spring Cleaning the Yurt

Raffi enjoying lunch with a new view Friday was a lovely day and I found myself unfurling after being hunkered down for the winter. The yurt was feeling pretty stuffy and musty so it was nice to open the skylight and get more fresh air flowing through. Even though knew it would be better for both me and the structure to ventilate it well, I’d been keeping the skylight closed because it had been so darn cold out. With my busy schedule this winter I never took the time to develop a good ventilation strategy. It seemed that if I kept the skylight cracked while I was gone during the day at class or work all my hot air went through the roof (literally) and it took too long to get the place warmed up again. So I would crack it on warmer days or when I was going to be home for a few hours.

With all the fresh air and sunlight streaming through the skylight, I felt inspired to do my spring cleaning. I hauled my table and chairs outside so I would have enough room to play rubix cube with my furniture. With some help I was able to move my dresser, bed, and kitchen cupboard and remove the rugs that covered the yurt floor. The rugs had provided a barrier between my cold feet and the cold floor, but they’d also become mildewy.

sunlight dappling my bed

When I rearranged my furniture I discovered that there were a few spots where the mold had grown back where the wall meets the floor. Back in November I’d discovered that I was having Mold & Moisture Trouble and I’d cleaned it up with vinegar and water. I thought I’d taken care of the problem, so it took me a while to realize that the sinus trouble I’ve experienced the past couple months might be related to my indoor air quality. It turns out that although vinegar is a long-time home remedy, it isn’t the most effective mold killer since it doesn’t kill all types of mold. So I decided to step it up. I purchased a spray bottle (gotta add that to My 200 Things List!) and a little bottle of tea tree oil and headed home to do some mold remediation. I removed the insulation I’d placed over my windows on the inside, rolled up the flaps that cover the windows from the outside, and removed the clear window covers. Then I opened the skylight to get the fresh air moving. I filled the spray bottle with a mix of tea tree oil and water and then sprayed the perimeter of the yurt.

Now my house smells fresh and clean and I think I’ll breathe a little easier. I know this weather is a tease and that we have several weeks of cool days ahead of us, so I’m going to put the clear window coverings back on the windows as soon as the yurt is aired out, but it will be really nice to have the additional light and views from having the windows open again. Hooray for springtime!