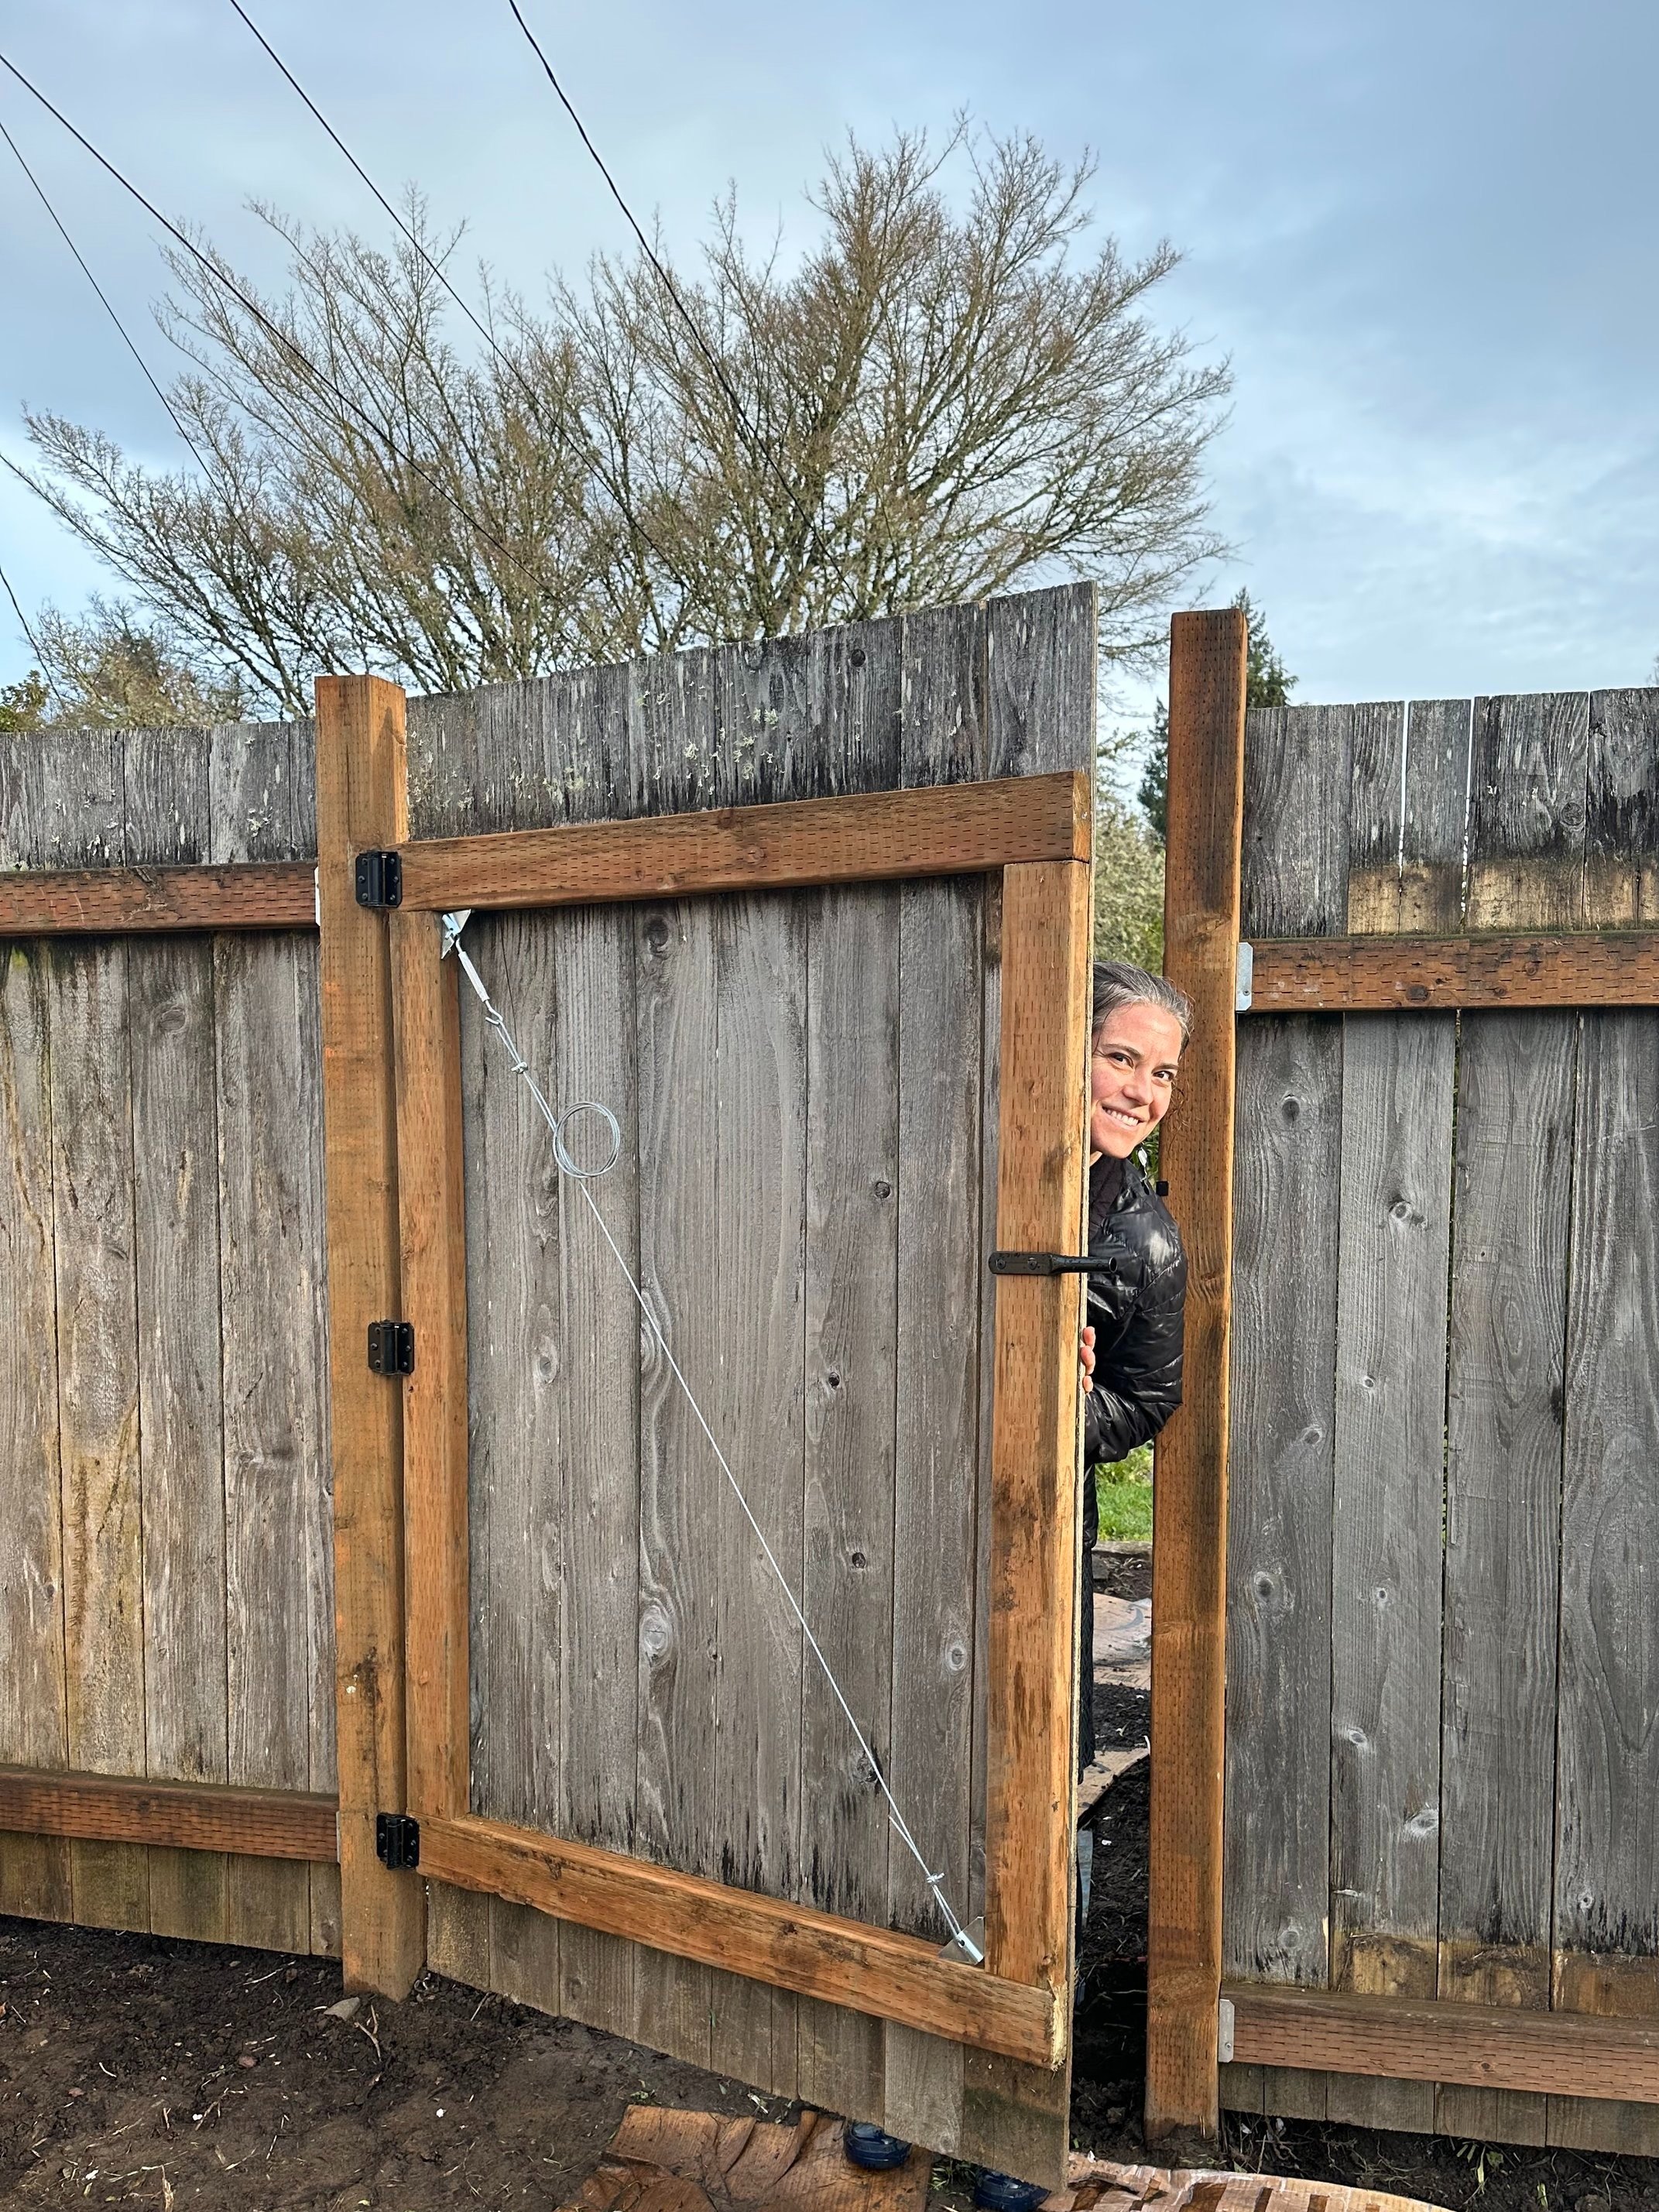
Howdy, neighbor! We’re thrilled to have a gate now in the fence separating our yard from our friends’! Next step is wood chipping the path. It’s muddy these days!
My fairy godfamily had been encouraging me to move to Corvallis, Oregon for years and Choosing Community (Again) was easy when the house directly behind theirs came up for rent. Since we moved in a couple months ago, it has been a quick trip around the block to visit each other, but we wanted to create a portal to make it even easier. This past weekend we dedicated to yard projects, including creating a gate in the fence so that we can go back and forth between our houses easily.
Saturday morning, when my fairy godsister showed up to pick up some muffins, she had her impact driver in hand. She was eager to remove the fence panel that blocked the most direct access path from their back door to ours. So right after breakfast we got to work on the project we’d both been imagining for months.
We started out by taking down one of the fence panels. One of the posts for this panel had been compromised, so the fence was sagging here anyhow.
Opening up the space between our two houses was such an exciting moment! We had to get a fence back up because the deer here are voracious, but having this opening was good motivation to get the gate done!
We wanted to reduce waste and cost, so we figured out how to repurpose as much of the fence panel as possible. Working around established plants, we decided to cut the fence panel into three smaller panels, making the center panel the gate. Once we had a plan, we dug the holes for the new posts with the post hole digger I’d picked up at the Sustainability Store.
Digging the holes with my handy new post hole digger. Always amazing to me how many tools get used on any given construction project!
My fairy godbrother-in-law and I headed to Spaeth, our local lumber yard, to pick out three 4x4 posts and a bag of concrete for each. We strung a line and got the posts as level and plumb as we could. (The fence had some variability in it before we started this project, so we weren’t going to be able to get it perfect anyhow, but we figured we’d be stabilizing the fence AND creating a gate, so it’s better than it was before!)
Testing out the first post in the hole we’d dug for it. Grateful for that post hole digger cuz they inevitably need to be deeper than I first imagine!
We put a flat rock underneath each of the posts, a trick we picked up from You Tube. Then we leveled and plumbed the posts for a final time, braced them, and poured concrete into each hole.
Once the posts were level, plumb, and braced, we had to wait for the concrete to cure.
The next day, once the concrete had cured, we installed the fence panels on either side. Then I built the gate, reusing the fence boards, but adding a new frame built from pressure treated 2x4s, an anti-sag kit to keep it square, a latch that allows access from both sides, and self-closing hinges.
Finishing up the gate in a little break from the rain with the latch, self-closing hinges, and an anti-sag kit.
We were so excited to be able to go back and forth between the two that we celebrated with Thai take out, which I carried through the garden gate to their place.
The next morning when I looked out at the gate I was so chuffed to see it there. I know that from their side it doesn’t look much different, but my fairy godsister assured me that she woke up and looked out and had the same feeling, just happy to know that we’re right on the other side of that gate!
So exciting to wake up and see that gate in the fence! And the raspberry patch we planted on Sunday, too!


