Tiny Life Cubed

Cube Plans Two months ago I met a man named Walt who is as excited about small simple spaces as I am. I interviewed Walt so that I could write a blog post on the Accessory Dwellings website about the ADU he built for his sister-in-law. It was a fun conversation about the challenges and benefits of scaling down our housing. You can read the post here.

During that first conversation, Walt told me that he's also been building garden cottages which are small spaces on wheels. So I was amused when I invited Walt to come check out my tiny house and he told me he'd never been in a tiny house before. To the best of his knowledge, the garden cottages he's built have been used as studios in people's backyards (massage therapists, counselors, artists, etc.), so no one has actually tried living in one of them.

So last Wednesday Walt came over for a mug of tea and a tiny house tour and he shared with me an idea he has been working on for a very small house called The Cube. It's a three-level house with a living room on the lower level, a sleeping loft above, and a mezzanine level with a kitchen and a bathroom. Its 12x12x12 and it's a fixed structure, so it's not mobile. It utilizes a flagpole design which includes 4 6x6 pressure treated posts in a 12’ square that are imbedded in concrete 3 feet below grade. It takes advantage of the level changes to provide cozy spaces for sitting and sleeping and a taller space for standing activities like chopping veggies.

Walt's eager to try out the design in real life, so here's his proposal:

Walt would like to provide the plans and labor (or supervision of whatever labor is available if someone is interested in DIY). In return he's looking for someone who would provide the property to site it and the cost of materials. He has a material list and has priced out new materials at approximately $6,000. (This does not include interior finishes but it does include insulation. As he noted, if someone shopped at the Rebuilding Center and Craigslist she could probably cut the cost of materials in half.) After it’s completed Walt would like to be able to take pictures for his portfolio and spend a week or so living inside as the first guest to get a feel for how it works and what changes would make it better.

Unfortunately I don't have a place in Portland to build a tiny house, so Walt asked me to put the word out to see if any of you are interested in a backyard guest house. If so, you can contact Walt directly or get in touch with me. If you are interested but don't live here, you can also buy the plans from his website.

Walt's company Small Home Oregon is focused on building simple and inexpensive accessory dwelling units and studio spaces on wheels. Check it out: http://smallhomeoregon.net.

Trailer Lust

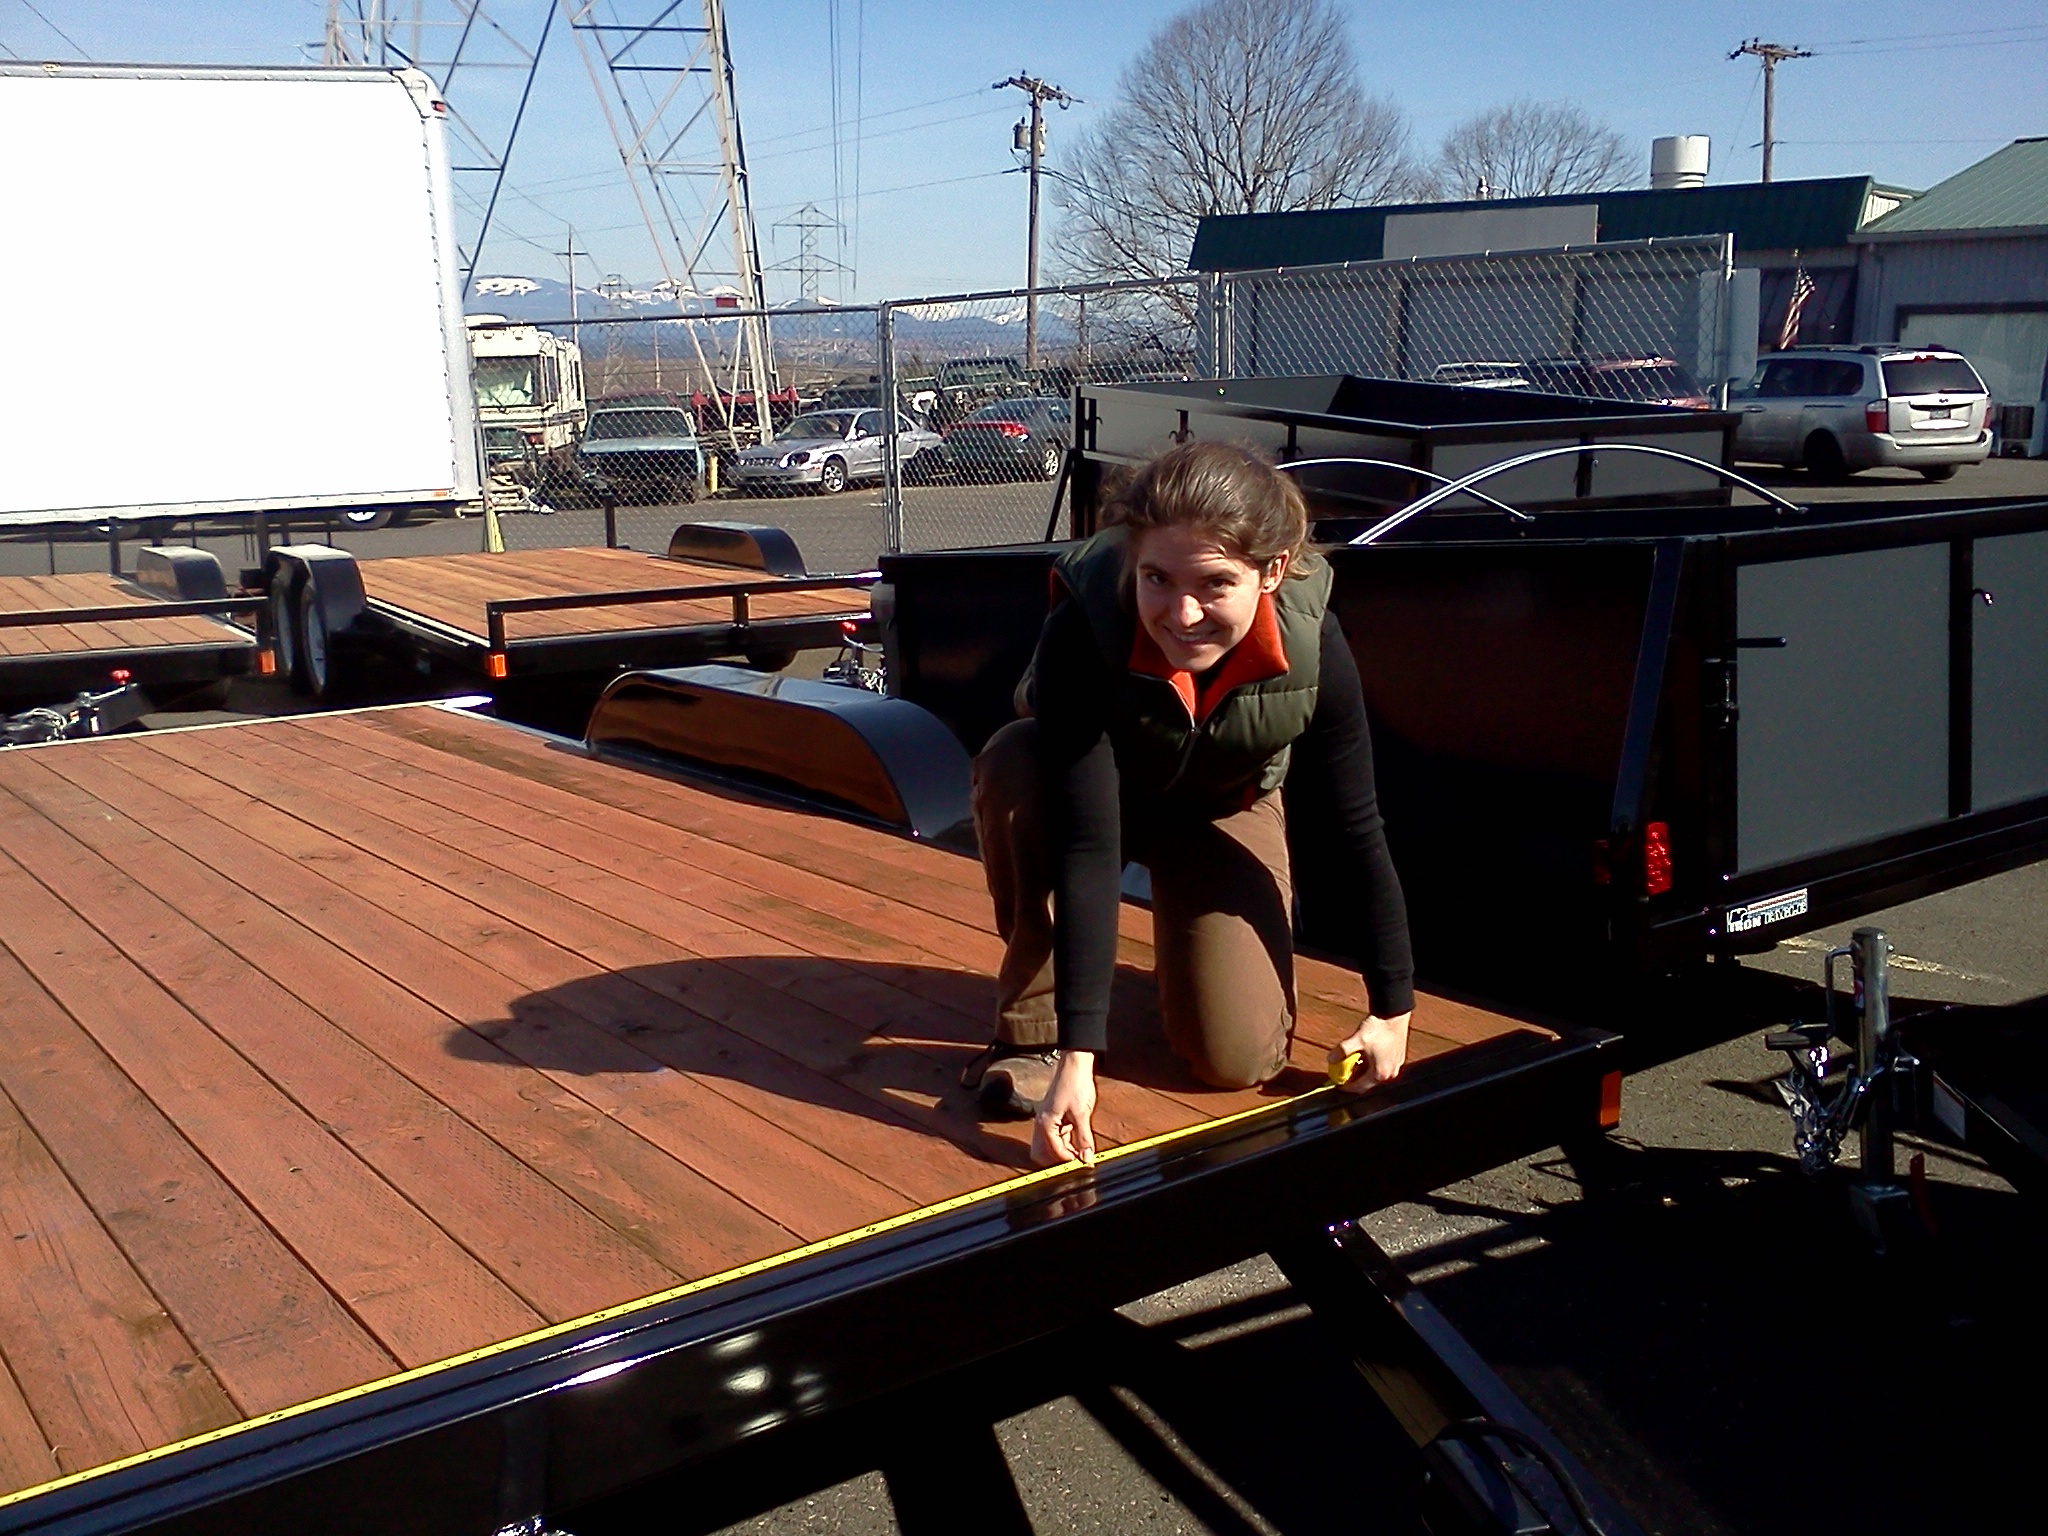
Trailer Measurement A funny thing happens when you start scheming about building a tiny house on wheels. At first it's just an increased awareness. You start noticing trailers all around you: parked in alleys, in driveways, along back roads, hauling loads down the highway. You find yourself checking them out and you wonder why trailers are suddenly everywhere. Then you realize they've been there all along, you just didn't properly appreciate them for their beautiful powder coating, their smooth following, and their heavy duty hauling capacity.

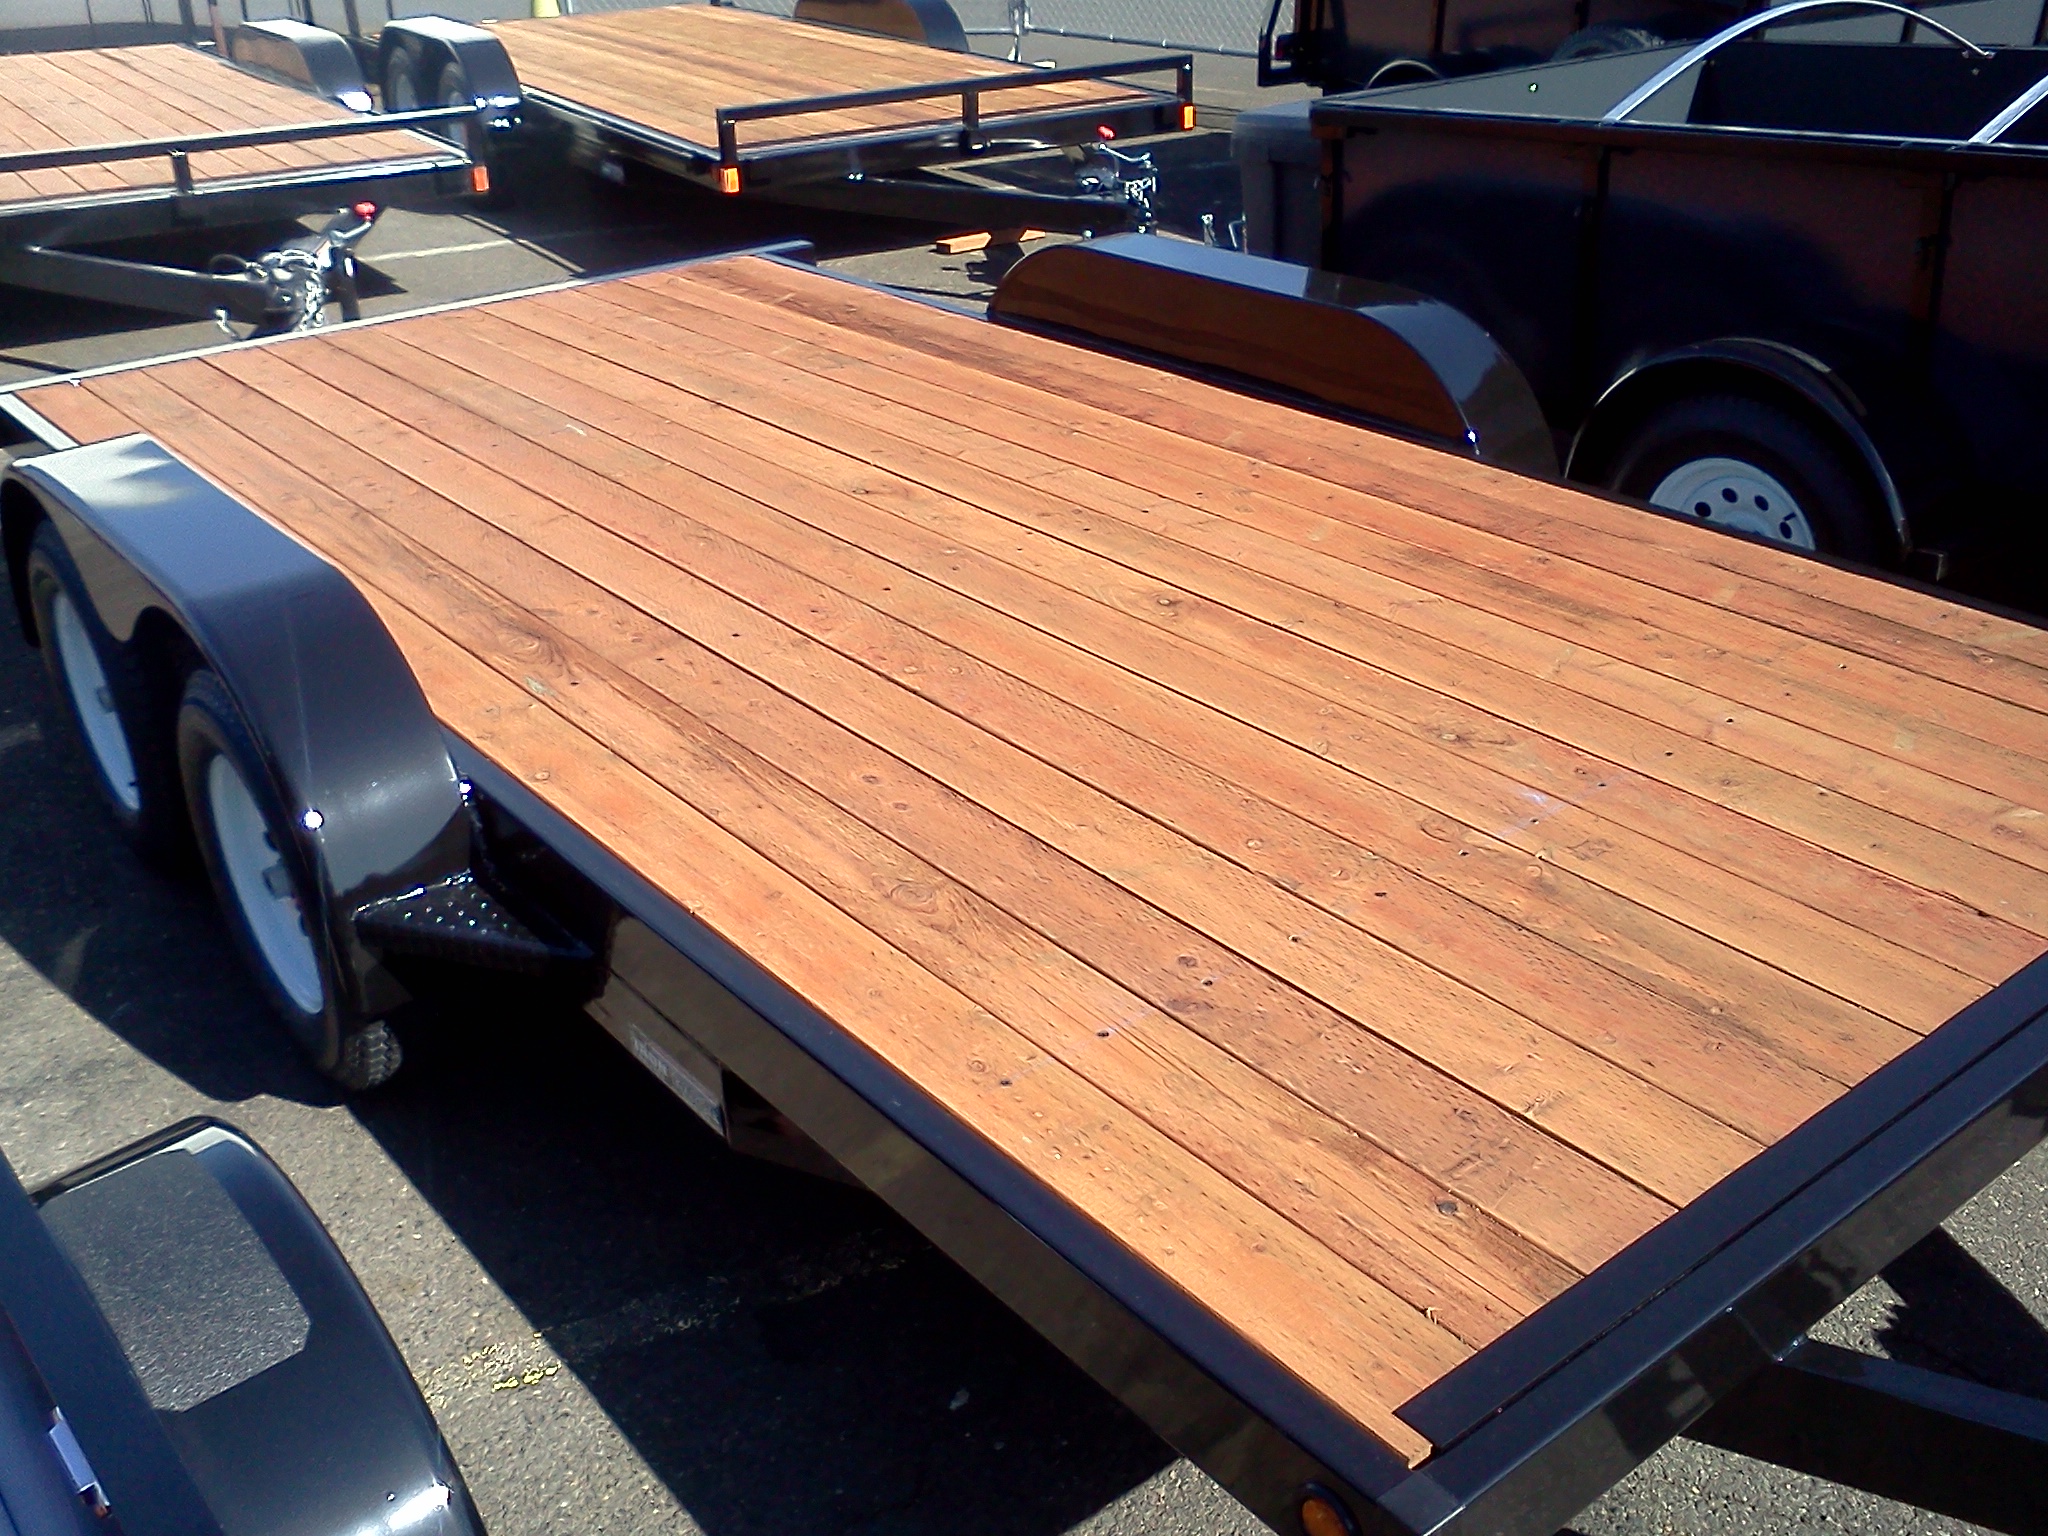
You begin investigating and learn terminology to describe them: deckover, beaver tail, goose neck, flatbed, car hauler, tandem axle, triple axle, dropped axle, gross vehicle weight, C channel, frame tubing, angle irons, diamond plate, hitch ball size, tongue length. By now you're clearly trailer obsessed. Eventually you start fantasizing about trailers, imagining a tiny house on every trailer you see. At this point you have trailer lust.

Trailer Lot

So when you crawl underneath a flatbed utility trailer at Don Johnson Trailer Sales to check out the axles, you'll have a sense of what to look for. And when you scramble back out because you hear footsteps you'll straighten up just as the sales fella walks over, his thumbs hooked over his belt. He'll say "What's a pretty lady like you doin' looking at car haulers? You oughta check out these horse trailers I got here." Without batting an eye you can reply, "Actually, I'm not a horse person. I'm interested in a 16-18 foot tandem axle flatbed utility trailer with GVW rating of 7000. This one's a beaut, but I'm interested in checking out your used trailers." He'll blink a few times, then crack a smile, and hold out his hand to introduce himself as Tom before taking you to the back of the lot to see the used models. Before long you're telling him about the tiny house project and he'll think you're even crazier than the horse people he usually sells trailers to. But he's intrigued, so he'll start keeping an eye out for you.

Tom will give you a call a few months later to tell you he's found a good one. By then you'll be living in a tiny house in another city so you'll tell him you're not currently in the market, but you're so glad he thought to tell you. He'll be a little incredulous that you're actually living in a tiny house on wheels so you'll send him a link to your blog and he'll write back, with the following note:

Just love your house. Very cool... just neat! May have to get me one of those. Have been looking over your site and have to say you are the most interesting person I think I've met since I started working here. Again, I really like your home. Sincerely, Tom

You'll be delighted that you have a committed and knowledgable trailer scout on your side. And you'll be proud that, thanks to you, there's one more used trailer salesman who is going to know what's what when someone else comes along wanting to build a tiny house on wheels.

***

As you might imagine, I was thoroughly impressed when I went to Iron Eagle Trailers a couple weeks ago with a friend who is building a tiny house and met Rob who already knew what's what when it comes to building trailers for tiny houses. My friend had been scouting Craigslist for a used trailer, but since she wanted to maximize the interior width of her tiny house, and we knew it would require extensive modification if she purchased a used trailer, she decided to go for a new custom model. Since the trailer is the foundation of a tiny house on wheels it is worthwhile to start out with a good sturdy foundation.

When we began describing the project Rob caught on right away. Turns out he's built trailers for Dee Williams and Katy Anderson of Portland Alternative Dwellings. The trailer design my friend came up with is a new version that will hopefully be a little lighter and a little simpler (therefore less expensive) than the "fatty" trailers Eagle Iron has built for tiny houses in the past. We're excited to see how well it works. Meanwhile, we're relying on the expertise of Dee, Katy, and a few friends who are builders as we draft up our plans. We've been pouring over Dee William's book Go House Go.

After sketching up a trailer diagram we made a trip to Iron Eagle Trailers this morning and worked with Rob to write up the order. The trailer should be ready in about two weeks, just in time for the tiny house wall raising.

Advanced Fort Construction

Ryan's Tiny House I recently paid a visit to a tiny house built by a man named Ryan who says he loves building tiny structures out of salvaged materials because "it's like advanced tree fort construction!" Ryan wrinkles his brow when I ask when he started building. He grew up deconstructing and salvaging with his dad so he learned how buildings came apart and that got him curious about how they went together. He's been building glorified forts as long as he can remember.

The tiny house Ryan and his sweetheart are building right now is the fourth or fifth small structure he's built out of scavenged materials. (Counting gets a little tricky because one of the tiny houses he built had to be relocated, so he and some friends disassembled it in a day and then reassembled the sections in two more days.) The latest tiny house is constructed on a heavy-duty trailer he found on Craigslist and modified to account for its beaver tail and lack of fenders. It's located in the backyard of the house where he and his gal (his word, not mine, but I got a kick out of it) are renting a room. They look forward to having a space of their own out back, but they plan to take advantage of the community they have now: music and conversation around the fire pit, dinners with friends, and a short walk to Mississippi Avenue.

Ryan's Unfinished Walls

As Ryan gives a tour of his tiny house he mentions three or four different things that are going to happen in each nook of the already small space. I'm puzzled for a moment, but then realize he's all about multi-functionalism. He wants to be able to accommodate life in a tiny space with his partner as well as visits from friends and his mum (again, his word, and again, I grinned!)  When I ask how he settled on the layout of his tiny house Ryan explains that it's still evolving. He has that nice ability to transition between thinking ahead (layout out his studs so he'll have nailers for his finishes - whatever they might be based on whatever he might find) and letting things evolve organically. His confidence comes from experimentation and experience instead of theory and perfectionism: a willingness to give it a try, ask for advice, help someone else with their project, and use everything he learns to make the next version even cooler.

This tiny house has a shed roof with the high side to the south and the low side to the north so that it's oriented for passive solar gain. In Portland's long grey winters the plethora of southern windows bring welcome light into the space. When I ask about the tiny house getting too hot Ryan points out that the angle of the sun is so much higher in the summer that the sunpath will cross the roof and the house shouldn't receive too much direct sunlight on the longest days of the year. They can always add shading if they find they need to. The loft over the entry is large enough for a queen sized bed and the loft at the other end creates both a cozy nook below and a spacious perch above. Rather than fighting the awkward spaces created by the wheel wells and the tongue, Ryan plans to take advantage of them, running his kitchen plumbing through the wheel wells and putting his bathroom on the trailer's tongue.

Unlike many tiny housers who are all about zen simplicity, Ryan's not shy about accumulation. He loves books and plans to add bookshelves wherever possible. Things will shift, stuff will come and go. As an expert scavenger he's inspired by the possibilities of found objects. Ryan figures he hasn't spent more than a few hundred dollars on any of the structures he's built because he works with what he discovers. One of his favorite finds is industrial pallets which provide long 4 x4s he uses as studs and beams, as well as planks for the lofts that feature stamps that bely their past. He grins mischievously when I ask if he'll reveal his sources. "You just need to keep your eyes open. There's great stuff out there," he says vaguely.

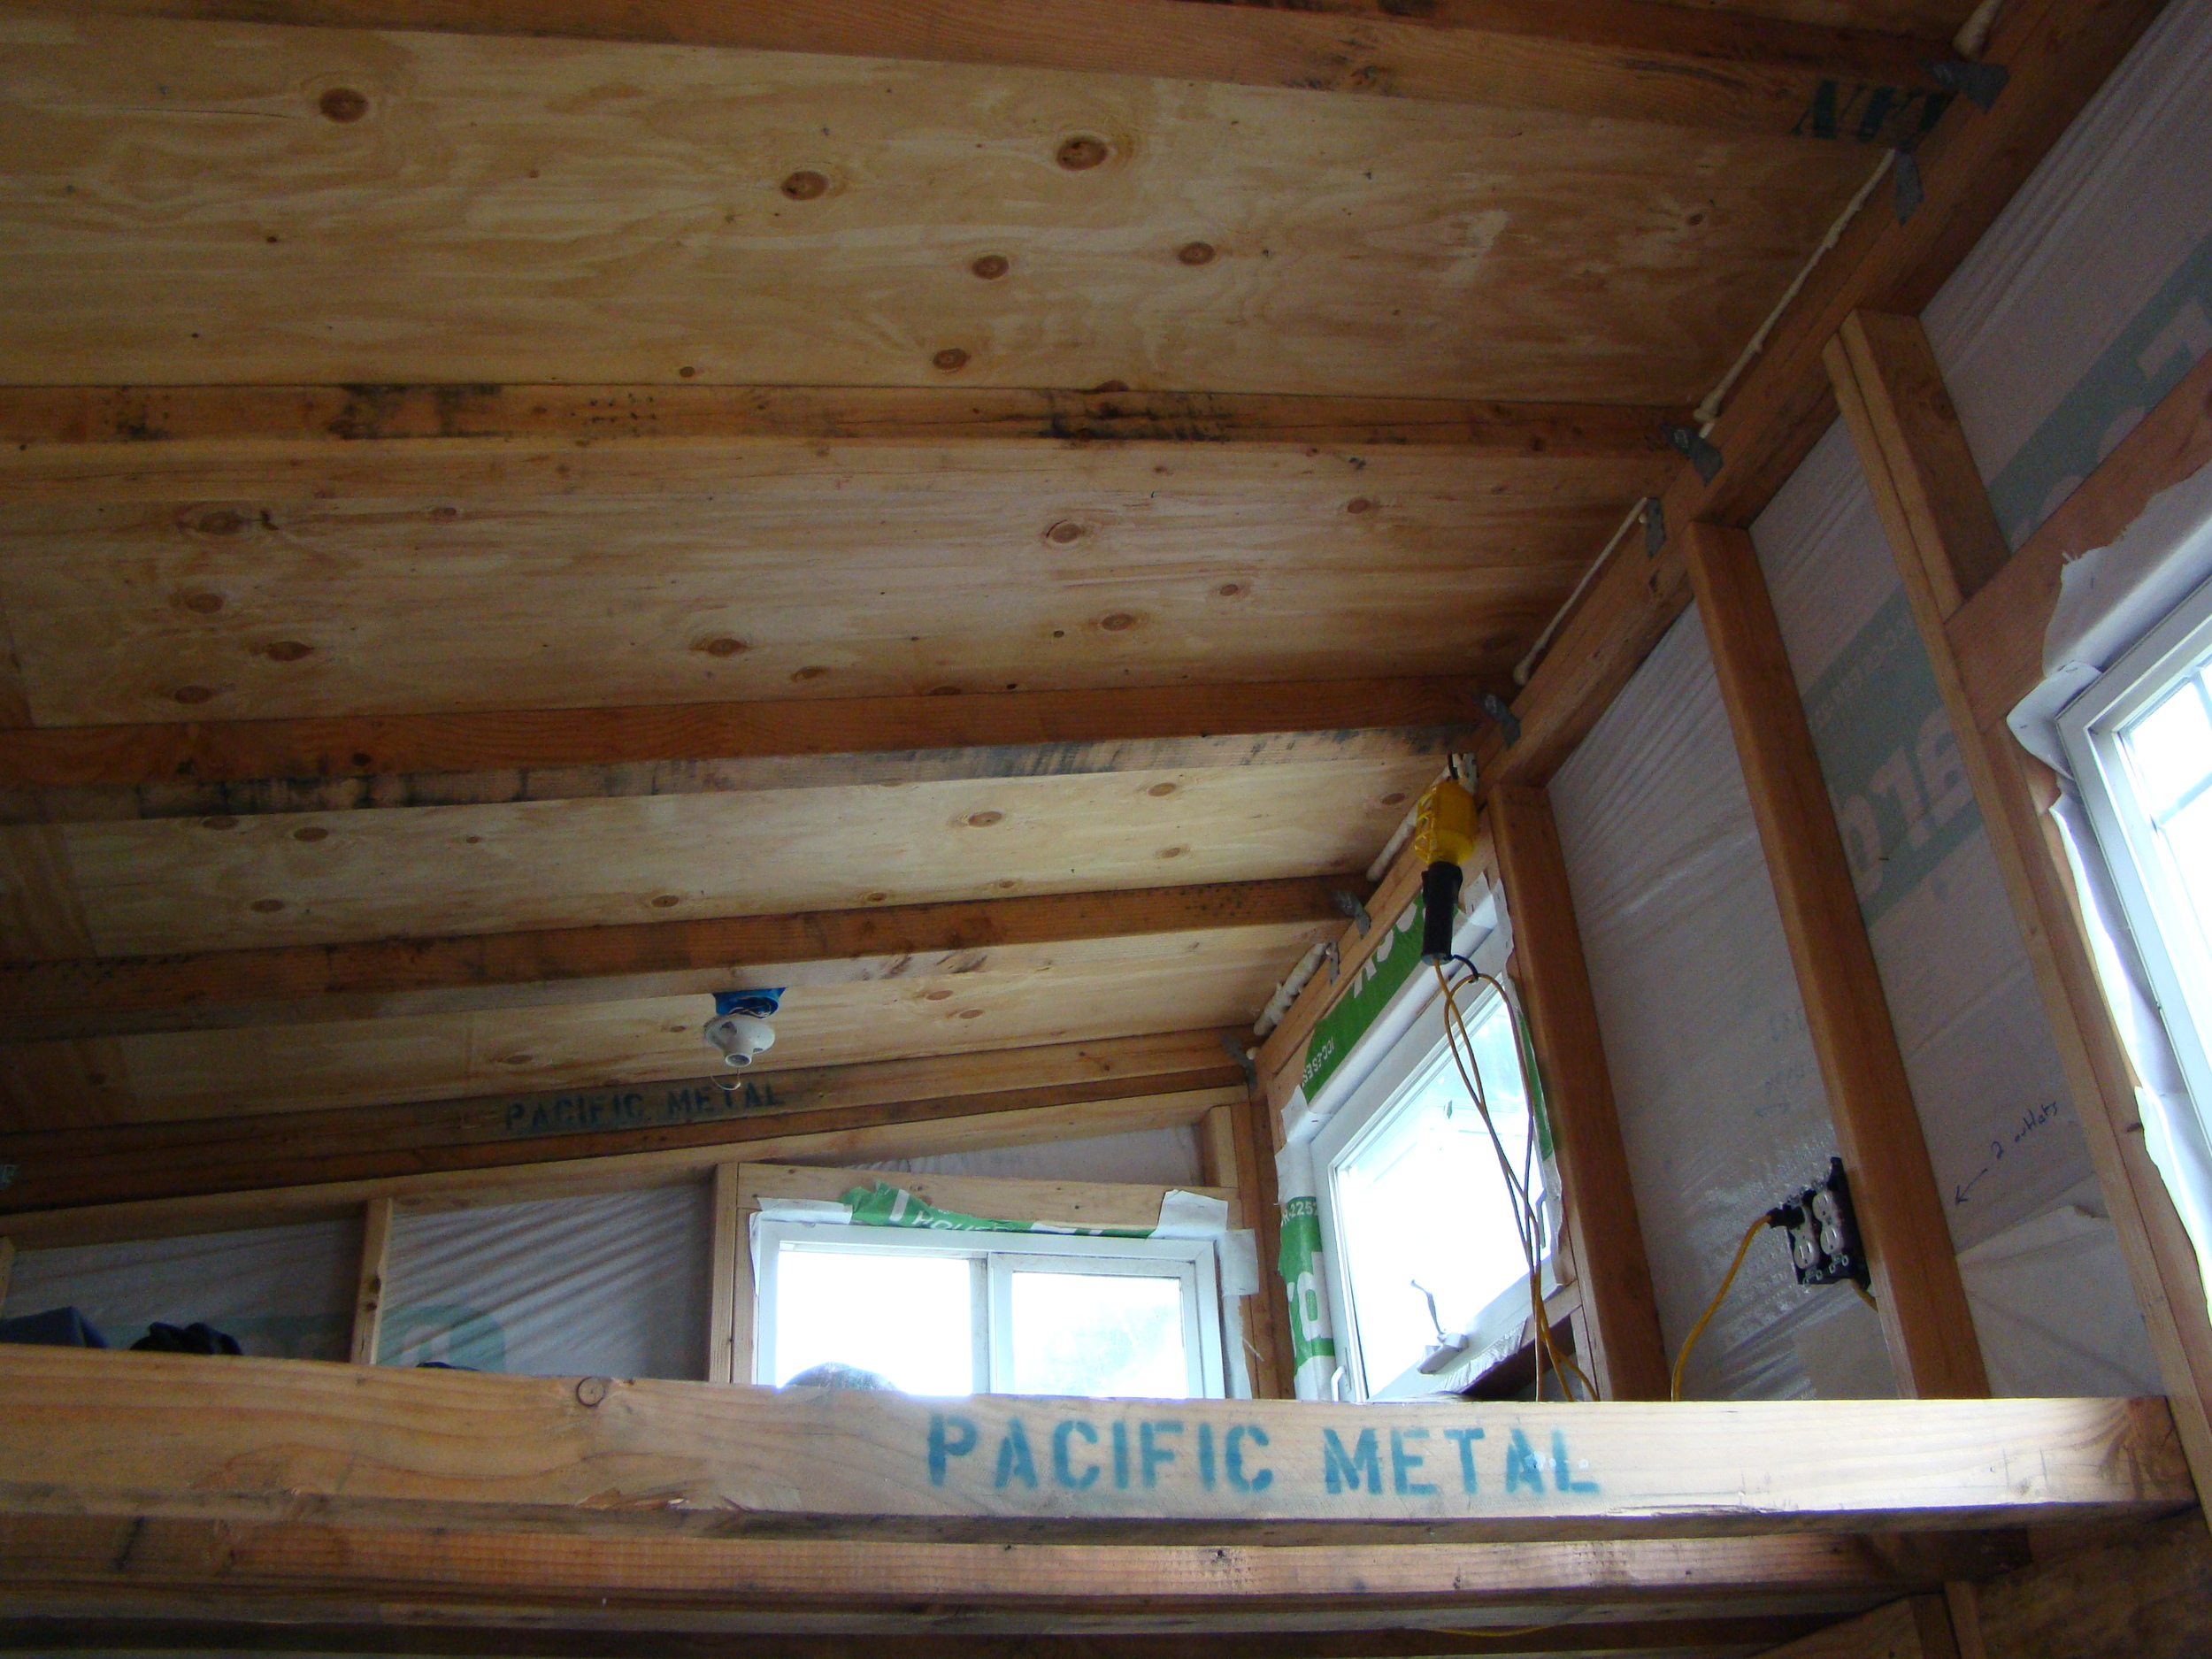
Ryan's Loft - Framed w/ Industrial Pallets

Ryan has kept a blog of the project which you can check out here for more photos. The tiny house will also be on the Pedalpalooza Tiny House Bike Tour in June, so stay tuned for more info so you can check it out in real life. Ryan's keeping pretty busy these days with his small business, but also building bike sheds and food carts on the side, so if you're interested, get in touch.

A Tiny Natural House

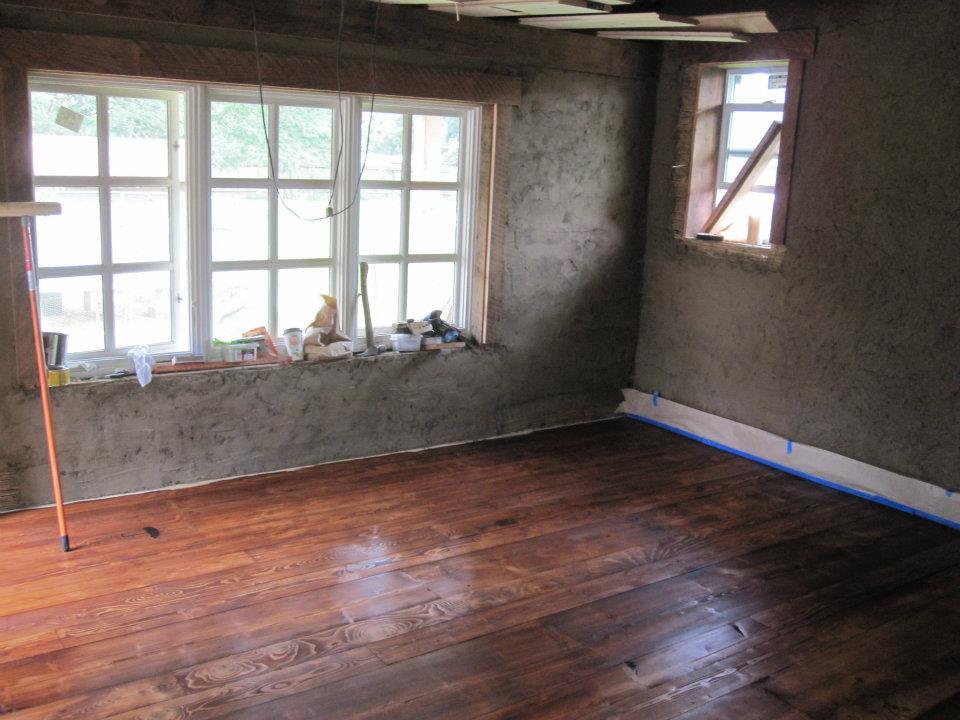
Another tiny houser lives just around the corner! Light Straw Clay Walls with Rough Plaster & Stained Salvaged Floors

This week I had the pleasure of meeting a carpenter who has built her own tiny house in the backyard of the property she owns in Northeast Portland. Katie's green eyes start twinkling as she shows me around her Little House: her cozy abode, her labor of love. Katie's only a few inches taller than me and she teaches carpentry for a living. Needless to say, I have a new hero. And since her house is still a work in progress and she's one of my nearest neighbors, I hopefully have a new mentor as well. She'll be working on the Little House each weekend this spring and I've promised to set aside the books when I can to help out.

Light Straw Clay Tutorial

Katie considered building her tiny house on a trailer but decided against it for two main reasons. First, she wanted a wider house. The 8'5" restriction on width that makes a tiny house on wheels street legal is a major constraint in terms of layout. It's amazing what people have managed to do with less than 9 feet of width, but it's even more amazing what you can do if you have three more feet with which to play! Second, Katie wanted to use natural building materials and was particularly interested in trying out light straw clay for her wall system.

Friends Help at Light Straw Clay Work Party

Unfortunately, natural building wall systems and mobility don't play well together. Natural materials are often heavier than synthetic materials and they are more fragile. Plaster and tile are likely to crack if moved and natural insulations are more likely to settle. Natural materials also take up more room to achieve the desired effect. For instance, straw bales provide fantastic insulation against cold and noise infiltration, lend themselves to neat windowsills and windowseats, and create an amazing surface for plaster. I've worked on two straw bale houses and I look forward to building my straw bale dream home someday. In a place like Walla Walla, where straw is a waste produce of the wheat industry, straw bale is a sustainable and appropriate building material. But even if you place bales "on edge" (on their narrowest side), you're still looking at fourteen inch thick walls!

Tamping Light Straw Clay into Walls

Light straw clay walls can be built much thinner than straw bale walls, but they still require more space than stick framing. Katie's light straw clay walls are 8 inches thick to provide the same insulating value as a standard 2 x 6 wall. Light straw clay is a mixture of clay and straw that is compacted into the wall cavity using either plywood slips or woven mats to hold the material in place while it dries. Light straw clay has the insulating properties of straw with the massive properties of clay and once it is covered in a homemade plaster the walls have a beautiful natural look. Katie's will be a nice creamy color that will brighten up the space and contrast nicely with her dark wood trim and floors. The thickness and fragility of natural wall systems simply aren't practical for a tiny house on wheels. So Katie decided to build directly on-site.

After drafting up dozens of different floor plans she settled on the current layout which includes a main room for socializing, cooking, and lounging, a bathroom, and a sleeping loft that extends over a deep porch. Beautiful beams that run across the width of the house will remain exposed when the peaked ceiling is covered with lath strips. Her bathroom will be a wet bath with a shower head in the ceiling and a drain in the floor. It will include a compost toilet, a soaking tub, and a little corner sink. Katie says her love for entertaining was a guiding aspect of her design. Even though her house is only 190 square feet her fold-out table and open kitchen plan allow her to comfortably host dinner parties for a dozen friends at once. Many of the materials for the house are salvaged including beautiful wood flooring, roughhewn trim, and an apartment-sized electric range and oven. She has shaped her house around the windows and door that she acquired for free. (She's currently on the lookout for two round windows for the loft. If you know where she can score a couple, let us know!)

Light Straw Clay Work Party

Katie has enjoyed the sense of independence of doing most of the work herself, but she's also grateful for the help of some talented friends and family members. A group of friends joined her for a light straw clay work party. Her sister, an electrician, is doing her electrical work and a friend who does iron working is helping with shelves. She plans to have a couple more work parties this spring so that she can move in and enjoy summer in her Little House. She is particularly looking forward to sitting out on her covered porch in the evenings to watch her chickens pecking around the garden while the sun sets.

Cheers to that!

Weather Report: Rain on the Skylight

Recently a couple people have asked for updates about how the tiny house and I have fared through the Portland winter. "Winter?" I think. "What winter?" Ice Crystals by Moonlight

There have been cold days. There was, for instance, the day that sleet froze on my skylight, making beautiful crystalline patterns when the full moon shone through it.

I used the oil radiator heater in addition to the wall-mounted heater several times a week during December and January. Twice when I was using the oil radiator heater I tripped the circuit breaker because I made the mistake of also using my electric water kettle which is electricity intensive. The irony is that both times I turned on the oil heater because I had company coming and wanted to make the place nice and toasty for them even though I would have been fine just wearing my down vest and slippers if it had just been me at home. It was when I decided to make my company a cup of tea that I lost all power which meant all heat and light. In trying to make everything warm, bright, and cozy I made the tiny house dark and cold. I couldn't find the circuit breaker in the big house, so I boiled water on the propane stove, bundled my company up in blankets, and lit some candles. I have that little propane boat heater, too, but without the electric fan it's pretty useless. I turned it on for the psychological warmth even though it didn't do much good. Fortunately, one of my visitors is a fellow tiny house dweller and the other is a nomad and minimalist so they were both good sports about candlelit conversation. The first time I maxed out my electrical capacity I hadn't realized how I'd done it, but the second time I figured out where the circuit breaker is located and I learned to make a choice between heating the space and heating water in a hurry. I started boiling water on the stove more often. It was an easy adjustment.

Propane Boat Heater

Throughout February I've been back to using the Envi wall-mounted space heater as my sole heat source and I've been very pleased with it. It's silent, has a sleek, slim design, and has kept my house at a pleasant temperature. I do keep it on 24/7 because I find that if I turn it off the house cools down enough that it takes a while to get all the surfaces warmed up again. But here it is February and there are times that it's been so warm I've been able to turn it down a notch. In the next two months I'll be weaning myself off of it.

Winters here are so mild compared to what I'm used to that it's amusing to me that winter is already on its way out. I was delighted to discover a front yard in my neighborhood completely covered in crocuses while I was biking home from visiting another tiny house dweller this afternoon. I always think of my friend Claudia when I see the first crocuses of the year. When we were in college she helped call my attention to crocuses, teaching me that they are a harbinger of springtime to come. Next: daffodils. Then: tulips. Stay tuned. The world is about to become a lot more colorful!

Crocuses: Harbinger of Spring

Claudia's attention to natural cycles and her giddy appreciation for little joys are two of my very favorite things about her. This winter I have found myself thinking of Claudia frequently, imagining how much she would like being in a house so small that the rest of the world surrounds her. We have had several storms that have lashed winds against the tiny house, sending driving rain through the screens and onto the window panes. When the bluster really picks up momentum the house rocks, ever so slightly, and I imagine myself on a sailboat.

It's fun to watch the way that the sunlight moves around the house throughout the day, first peeping in through the eastern windows, then the southern, casting rainbows across the sleeping loft from the prism that hangs in the window there. The evening sun spills in through my western window, above my desk. The days that I focus on my internship instead of classes I luxuriate in an afternoon nap in the sleeping loft and then enjoy the sunshine's company as I type up reading notes or a blog post.

On clear nights I love falling asleep to the stars shimmering through the skylight in my little wooden ceiling. Mornings that I wake up to the drum of rain on the skylight I grin and hit the snooze button, knowing that I'm off the hook for riding my bike to campus. I have twenty more minutes before I need to get up, make my tea, and catch my bus.

Successful Window Shopping

When you're looking for windows instead of through them window shopping tends to be an expensive excursion. Fortunately, it wasn't nearly as expensive as it would have been if Jane had sprung for new windows. She decided to use salvaged windows for her tiny house for several reasons: she's interested in reusing materials to give them a second chance and keep them out of the landfill, she wanted to save money, and she enjoys the character of found objects. We're not going for the cobbled-together look that characterizes so many house trucks, but we knew that using some salvaged materials could give the house some quirky character. Jane likes Britt's Bungalow but feels like it's a little too straight-edge for her style.

So this week Jane and I made a trip to a nearby window liquidators to scout for windows for her tiny house. We had our wishlist in-hand but since we were looking for salvaged windows we knew that we'd have to be flexible about exact dimensions. We also knew we'd be taking a risk that some of the windows wouldn't be in ideal shape. So we set out determined to inspect everything carefully and to set some standards.

All salvaged windows must:

  • Be in good working order with all their necessary components
  • Have wooden interior frames or wood-clad interiors
  • Be double-paned and have screens
  • Open in the proper direction according to the tiny house layout

We found a fantastic 5-foot wide sliding door which will be the main door for the tiny house. We snagged a pair of windows that will make good dormer windows in the sleeping loft. We also selected several windows that will work for the kitchen windows. Jane considered purchasing one large new window for the window seat so that she could have exactly what she wanted, but she ended up deciding that going with a fixed picture window and two operable windows on the side walls would provide nice cross-ventilation while saving her several hundred dollars. All-in-all the windows and door cost just over $1,000 (about a third of what they would have cost new).

The design process is, of course, iterative, but having some constraints can actually help make the process more manageable since we're not starting with an endless series of choices. Besides, it's sometimes easier to design around a neat found object than to try to find exactly the right piece to fit into the plan, so the windows are a great find.

Picking Up Studs on Valentine's Day

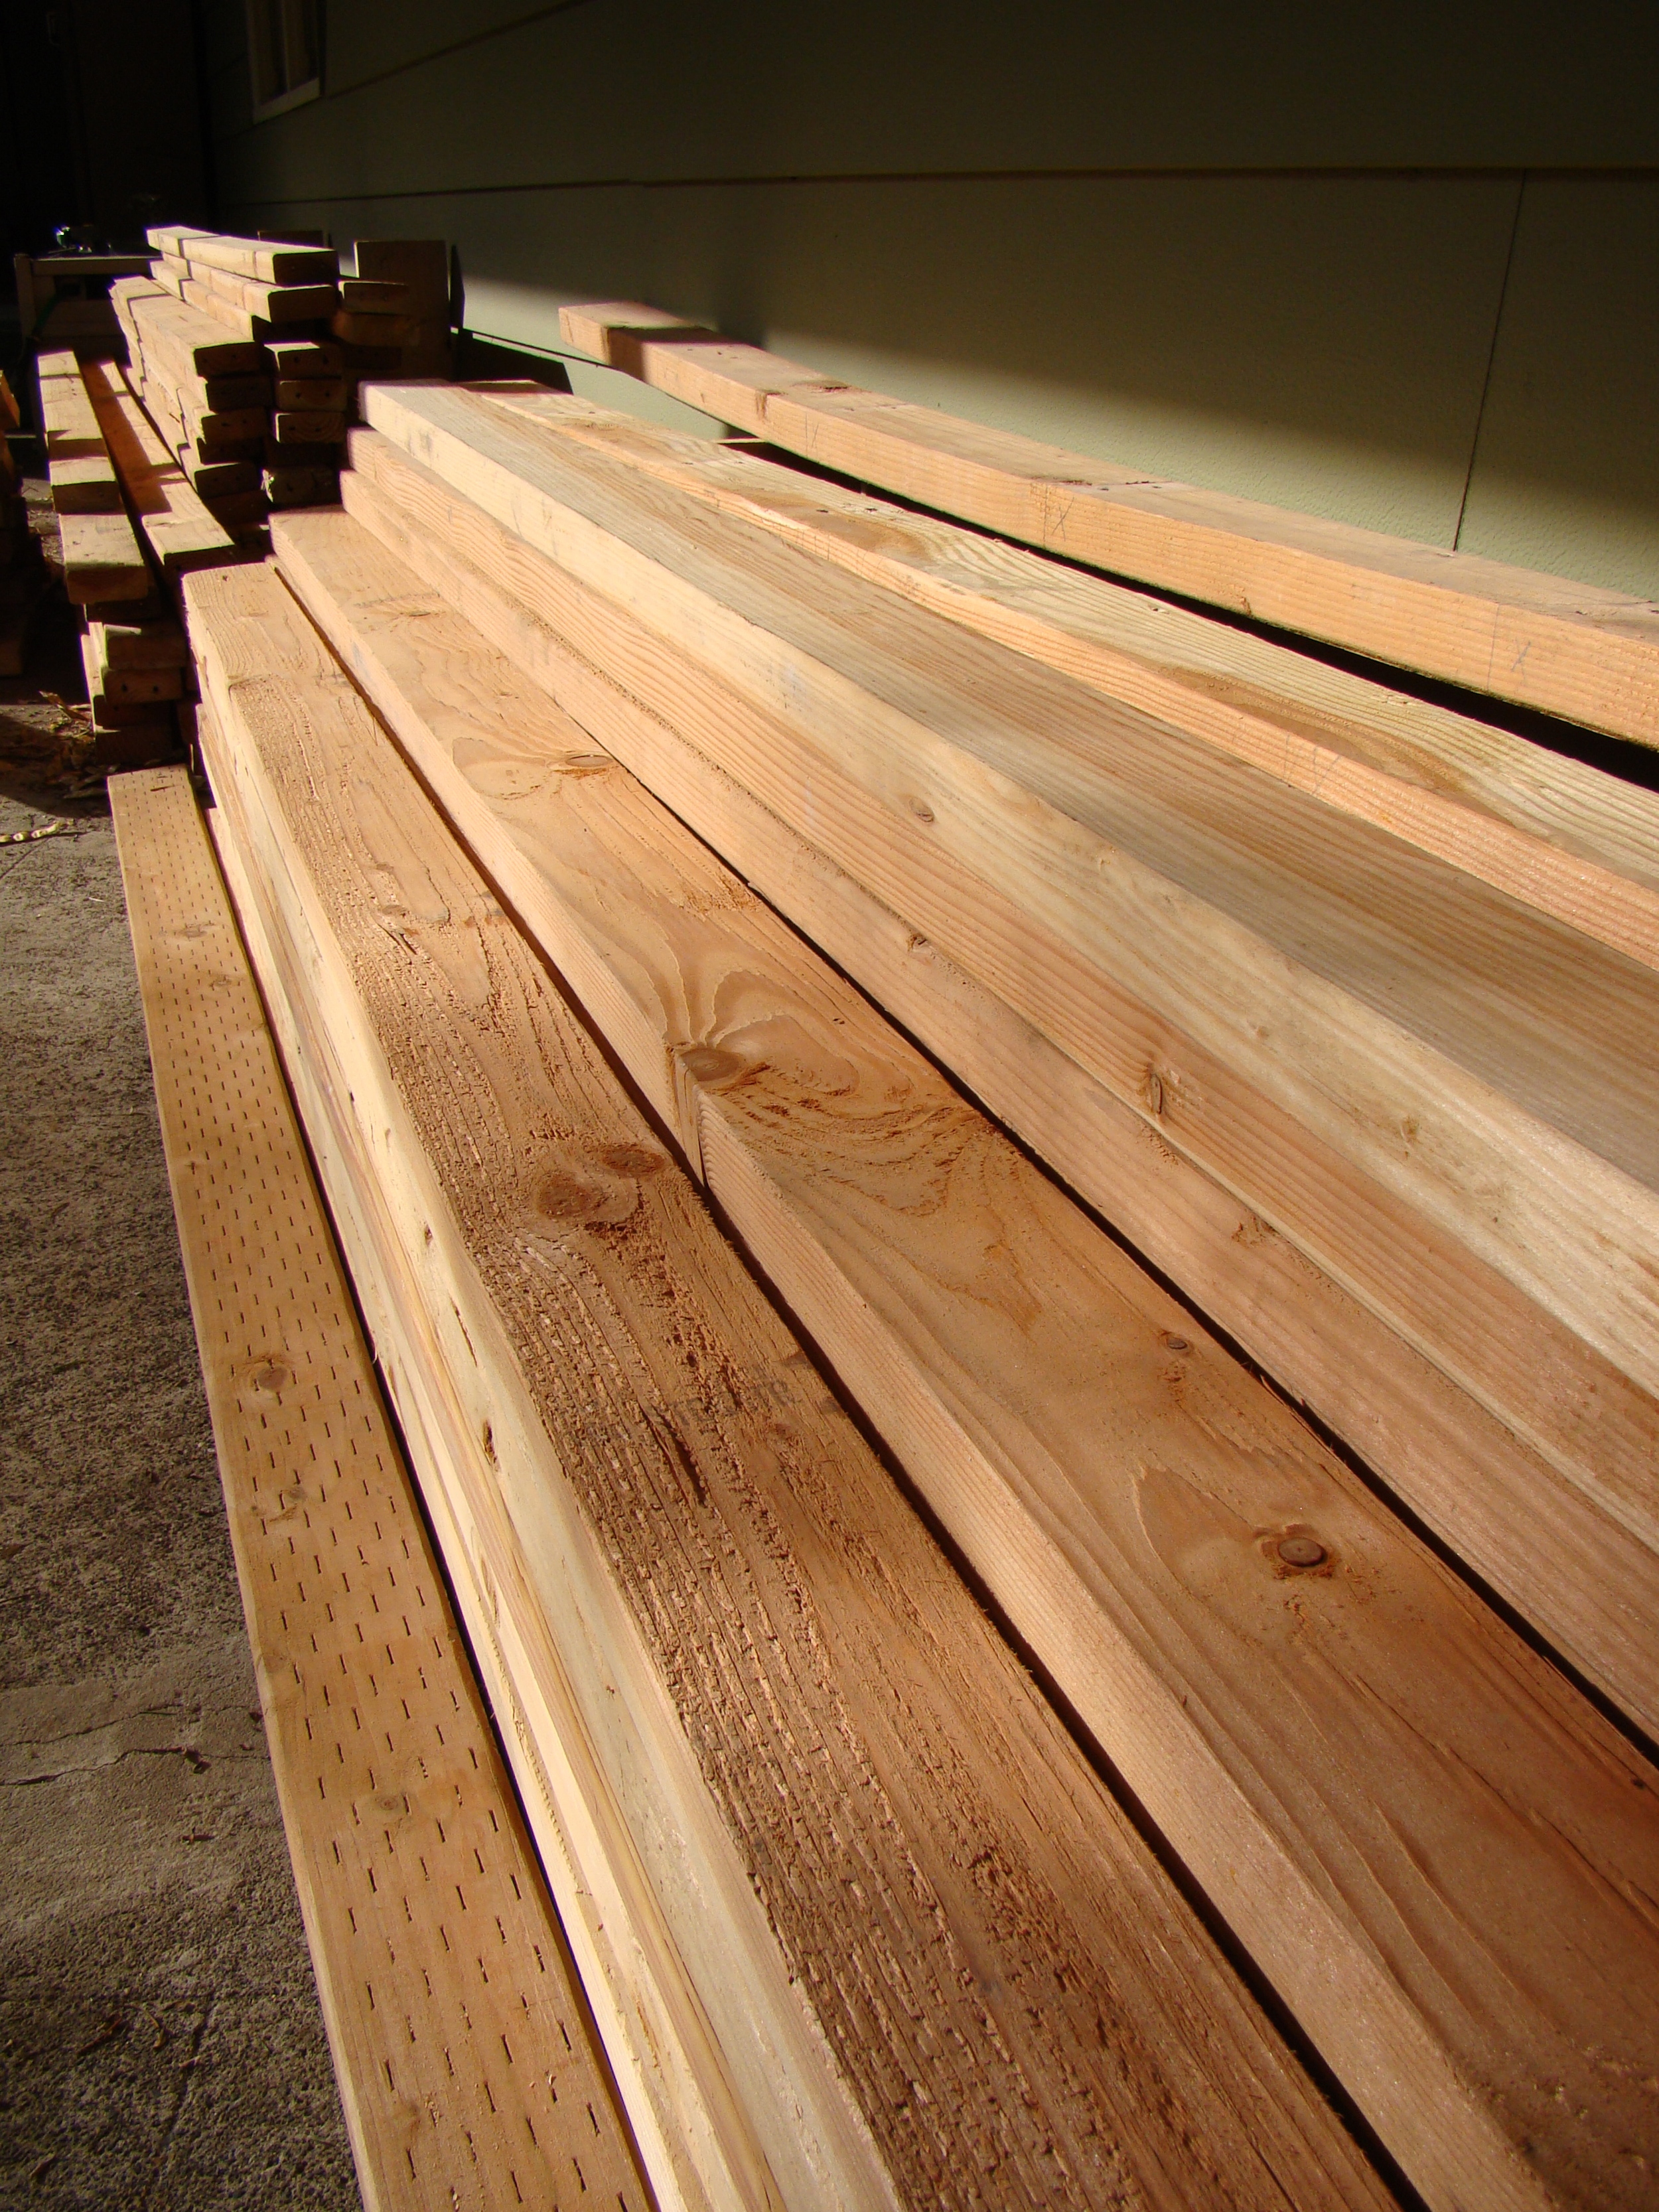
Salvaged Lumber Jane and I spent Valentine's evening picking up a whole truckload of studs!

If that doesn't sound sexy to you, you must not be as in love with tiny houses as we are.

A friend of Jane's told her a couple of days ago that he had piles of two-by-fours of various lengths that she could have for the tiny house if we would haul them away soon. We are still playing with layouts, but Jane has already decided that the house will be "stick built" (the walls will be framed in wood). So we knew we'd need dimensional lumber no matter how the design evolves. We decided it was too good an offer to pass up, so we decided to snag them now and store them until we are ready to start building. And fortunately, we've found a great place to store building materials!

We met Jane's friend at a warehouse downtown and figured out how to park the truck so that it could be loaded as we passed the lumber over the balcony from the second story. The studs had been used to frame up walls that were never rocked, taped, or mudded, so other than a few nail holes, they are in pretty good shape. It was hard to resist taking more than the little truck could handle. We just kept reminding ourselves that we could come back for more. We made another trip this afternoon and plan to make at least one more. Any that we don't use for the tiny house can be used for another project.

What a great score!

Tiny House Floorplan Considerations

Tiny House Program For months I have been discussing the merits of various tiny house layouts with my friend Jane who is designing and building a tiny house this spring. So it's no surprise that when we sat down with paper and markers earlier this week the draft floorplan for her tiny house developed rather quickly. It was fun for me to ask prompting questions and witness the emergence of a plan.

We began by identifying what functions the tiny house would serve and which would fall to the host house. Jane decided that she wanted her tiny house to enable someone to sleep, eat, cook, and lounge. She considered whether bathing was a necessary element of the tiny house and decided she wants the tiny house to be as self-contained as possible, so she will include an RV-sized shower. But laundry facilities would be overkill in a tiny house and she wanted to avoid the bugaboo of the tiny house world (dealing with a blackwater system), so the host house will accommodate the needs for laundry and a toilet.

I asked Jane to identify what she likes about Brittany's house and other tiny houses she's seen, as well as what she would do differently. She said that she loves the sleeping loft and the window seat, so she'll include both in her tiny house. She would like a little more headroom in the loft and since we can't go any taller than 13'6" we'll go wider by adding a couple of dormer windows. She thinks (and I agree) that a window seat that runs the full width of the house would be a more comfortable place to lounge, so we'll claim the space that accommodates a tiny front porch in Britt's Bungalow and stretch the windowseat longer and wider.

Lofts & Elevations

In Britt's Bungalow the kitchen and bathroom are side-by-side underneath the sleeping loft. It works pretty well to have the shower and closet underneath the sleeping loft because it provides a ceiling for these two spaces. Having the kitchen under the sleeping loft works well, too, because the ceiling provides another surface from which one can hang a wine bottle rack, a wine glass holder, a fruit basket, and a roll of paper towels. However, Jane will put the shower and closet at the back and a galley kitchen towards the front of the sleeping loft. This layout will open up the space under the loft to the rest of the house.

As we considered the floor plan, we also talked about the vertical space. I asked Jane where she imagined the windows: where she would like the light to be coming from and which views she wants to capture. She wants to create privacy from the next door neighbors, so she's limiting windows on the east side to two small ones. Having more windows on the west side of the house will also provide a passive heating assist. She likes having the window seat facing the garden so she wants big picture windows there. She also likes the idea of a sliding glass door which will let more light into the house. She'd like to have a porch off of the sliding door to provide outdoor space and connection with the host house.

Drafting up plans is a project for this week, but I can already envision the space in my mind. I've been playing with window layouts on exterior elevations and basic massing in Sketch Up today. It was fun to show these rudimentary visuals to Jane and see her excitement.

Having a sense of the layout enabled us to create a list of used materials to hunt for: five operable windows, four fixed windows, a sliding door, and an RV shower. Time to start scouting Craigslist!

Seeking: Everything but the Kitchen Sink

Kitchen Sink It seems the first thing one does when committing to build a tiny house is to buy the kitchen sink. Brittany decided to build the tiny house I'm currently living in while she was traveling. So she bought her beautiful sink in Mexico and brought it home as her carry-on item. A tiny sink is the only item I've purchased so far for the house I hope to build someday. It was just $5 at the Builder's ReSupply in Walla Walla and so cute I couldn't resist. John's antique hand pump was his first tiny house purchase and it guided the feel of his design. If this trend continues a friend of mine is going to have a happy and delightfully quirky tiny home this summer.

My friend Jane has been scheming about designing and building a tiny house. She recently asked if I'd help out and I grinned. I've been wanting to build a tiny house for two years now. But I wasn't quite ready to tackle the project on my own. My friend, meanwhile, has 1) no trepidation about big projects, 2) impressive capacity to envision built structures, 3) great follow-through and 4) connections to a veritable army of talented people.

So we've been brainstorming for a few weeks now. As the conversations became more detailed, I decided this would be a splendid Practicum Project to complete my Certificate in Sustainable Building & Design through Yestermorrow Design-Build School. I started pulling together the paperwork necessary for my proposal: programming questionnaire, timeline, draft budget, materials list, etc. Meanwhile, my friend contacted a couple of builders and started searching Craigslist for flatbed utility trailers.

Still, it wasn't until she showed me the kitchen sink yesterday (her first purchase for her tiny house) that I knew for sure that the project was a go. It's official. We're going to design and build a tiny house this spring!

I'll be blogging about the build as a way of cataloging what I've learned. I'm happy to answer questions about the house and progress. Stay tuned!

*Brittany's going to be taking her wee abode back to Olympia in June so that she can rent it out as a bed and breakfast to people who are considering building a tiny house. It's a great contribution to the movement. When people are able to try out the tiny tester they often realize how doable it is. If you're considering trying out The Little Life, get in touch with Brittany at bbyunker@gmail.com.

Tiny House Slideshow

Several of you have asked to see more photos of the tiny house, so for your viewing pleasure, here is a Tiny House Slideshow. Please click on an image to see the captions and higher quality images. [mj-google-slideshow feed_url="https://picasaweb.google.com/data/feed/base/user/113106675420027749099/albumid/5705178479888915265?alt=rss&kind=photo&hl=en_US" width="500" height="500" link_target="google.feeds.LINK_TARGET_BLANK" /]