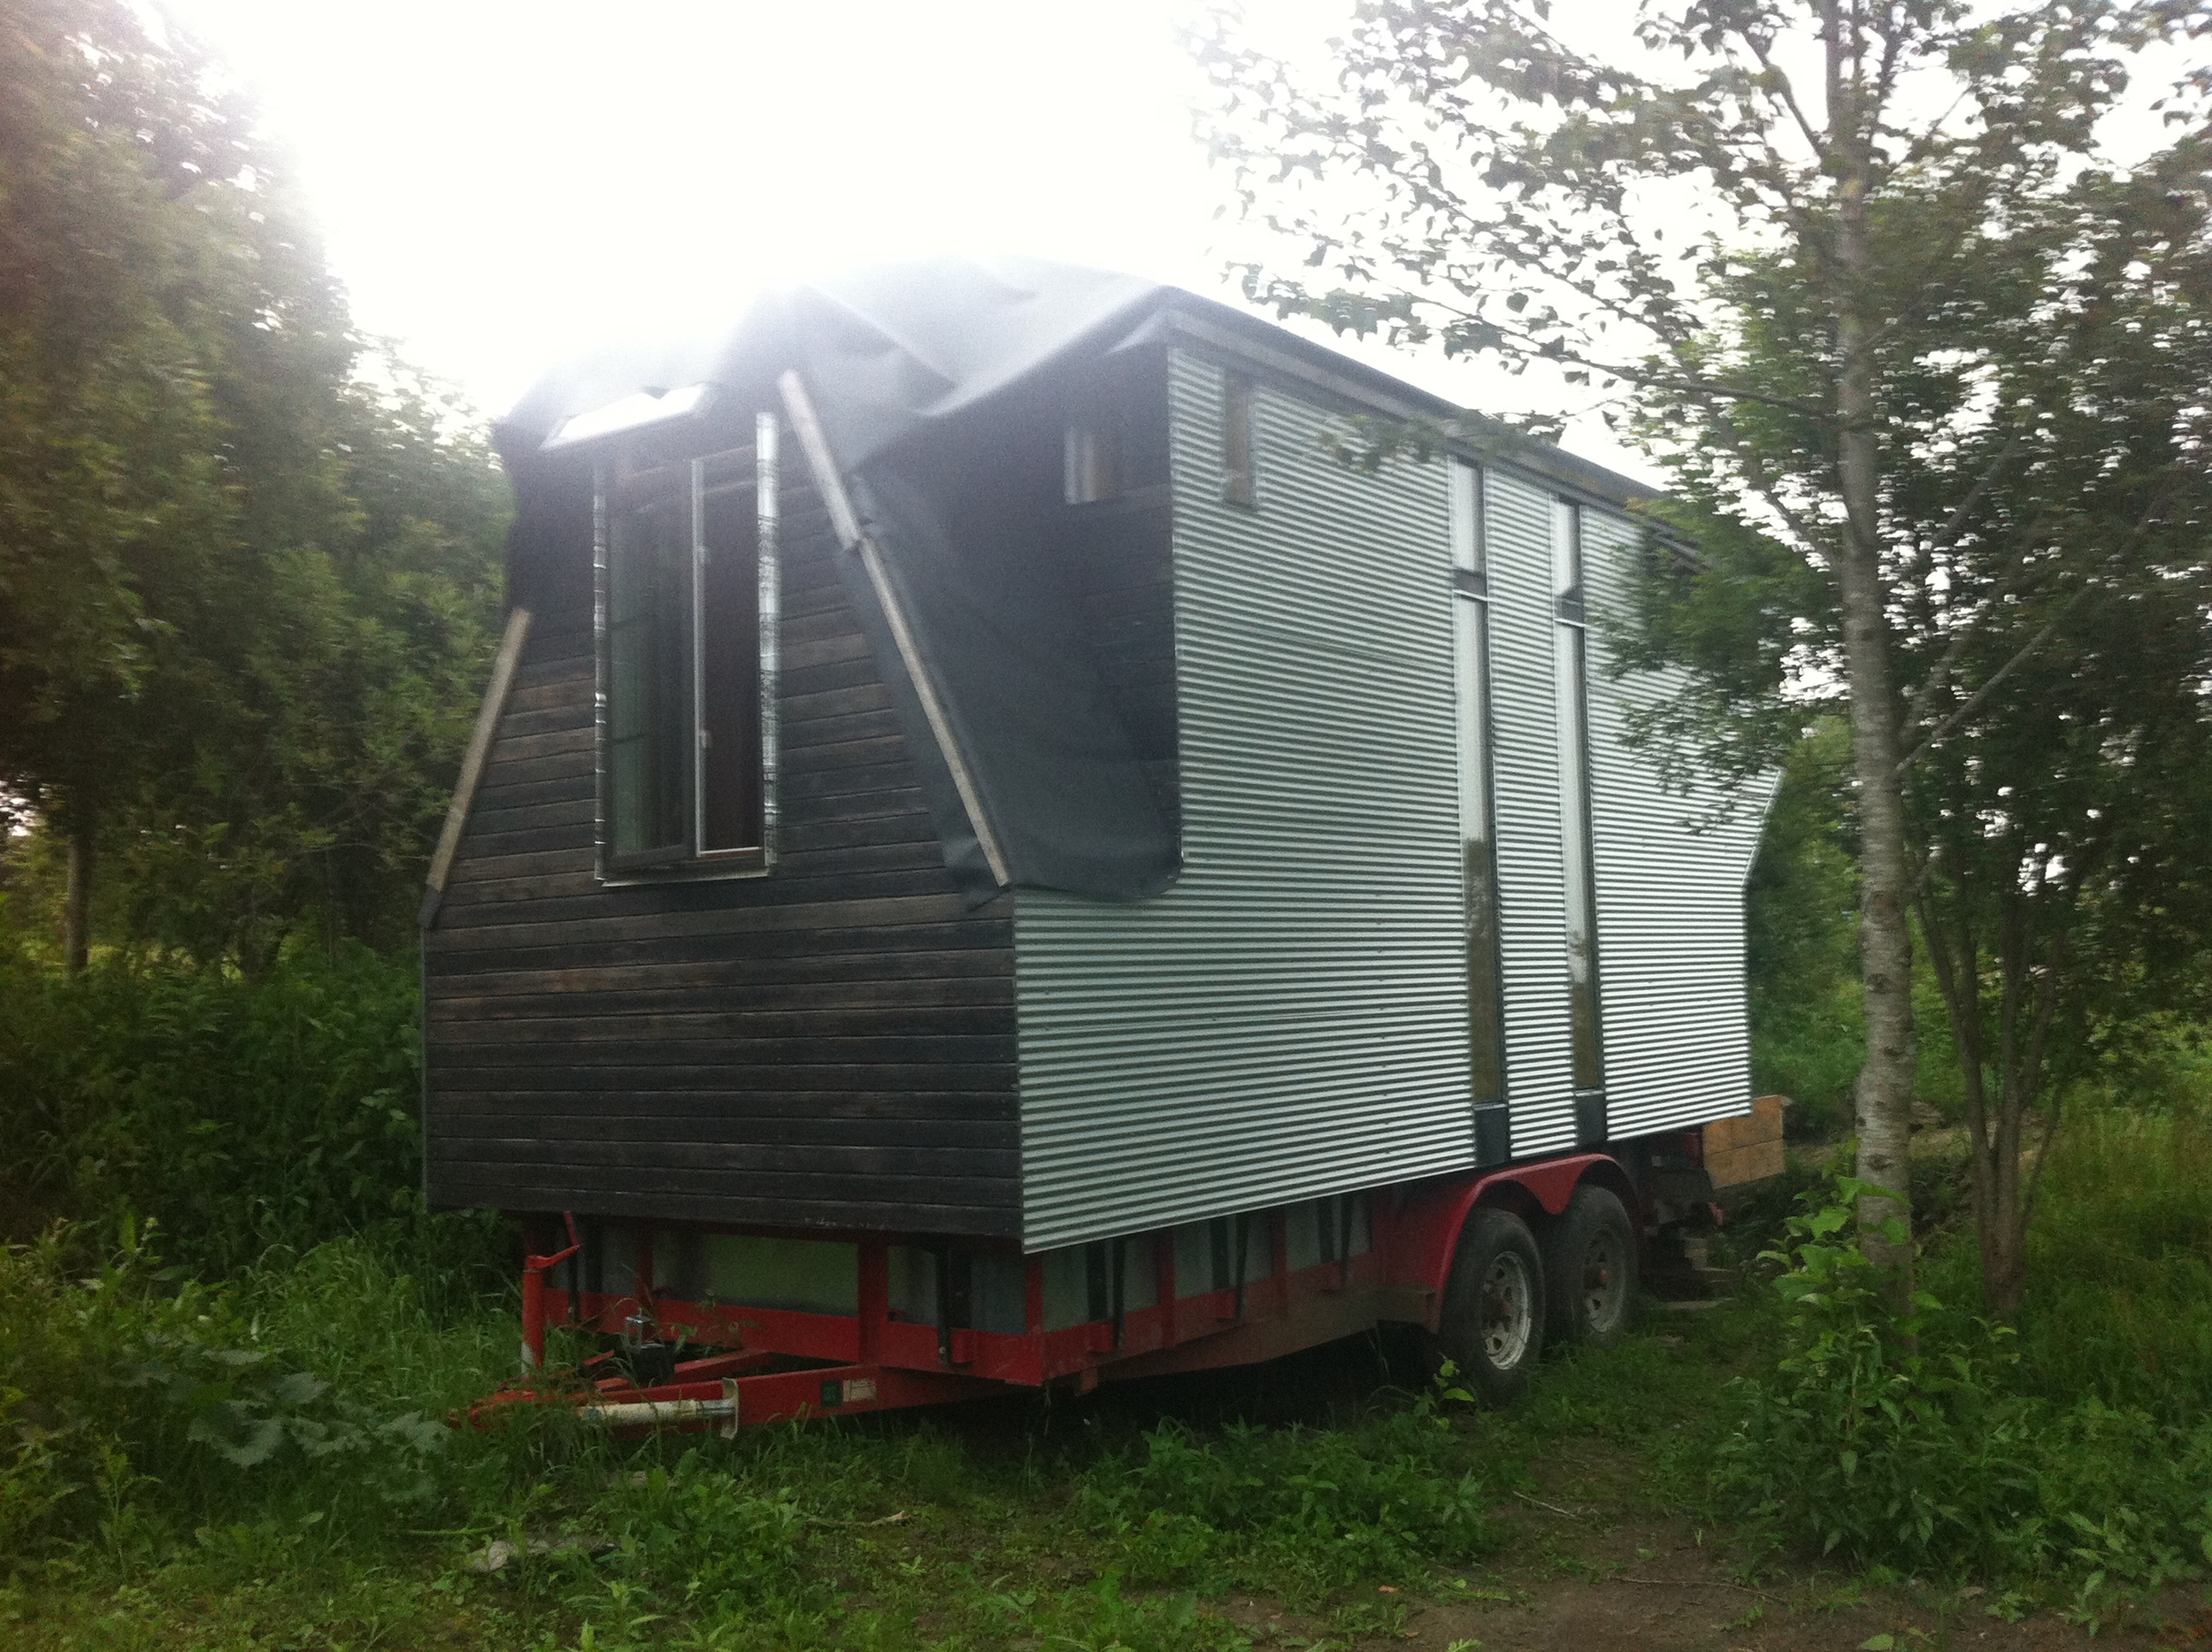
Note bene: This post has lingered in draft mode for a long time, like many others that chronicle Lucky Penny Finishes. (This is one of the side effects of Finishing an Owner-Built House!) The Lucky Penny has been livable since Nov 2014, when I had my Move In Day & Housewarming. I’m finally getting this post out there now because I have the motivation of the T42 Build Timeline approaching!
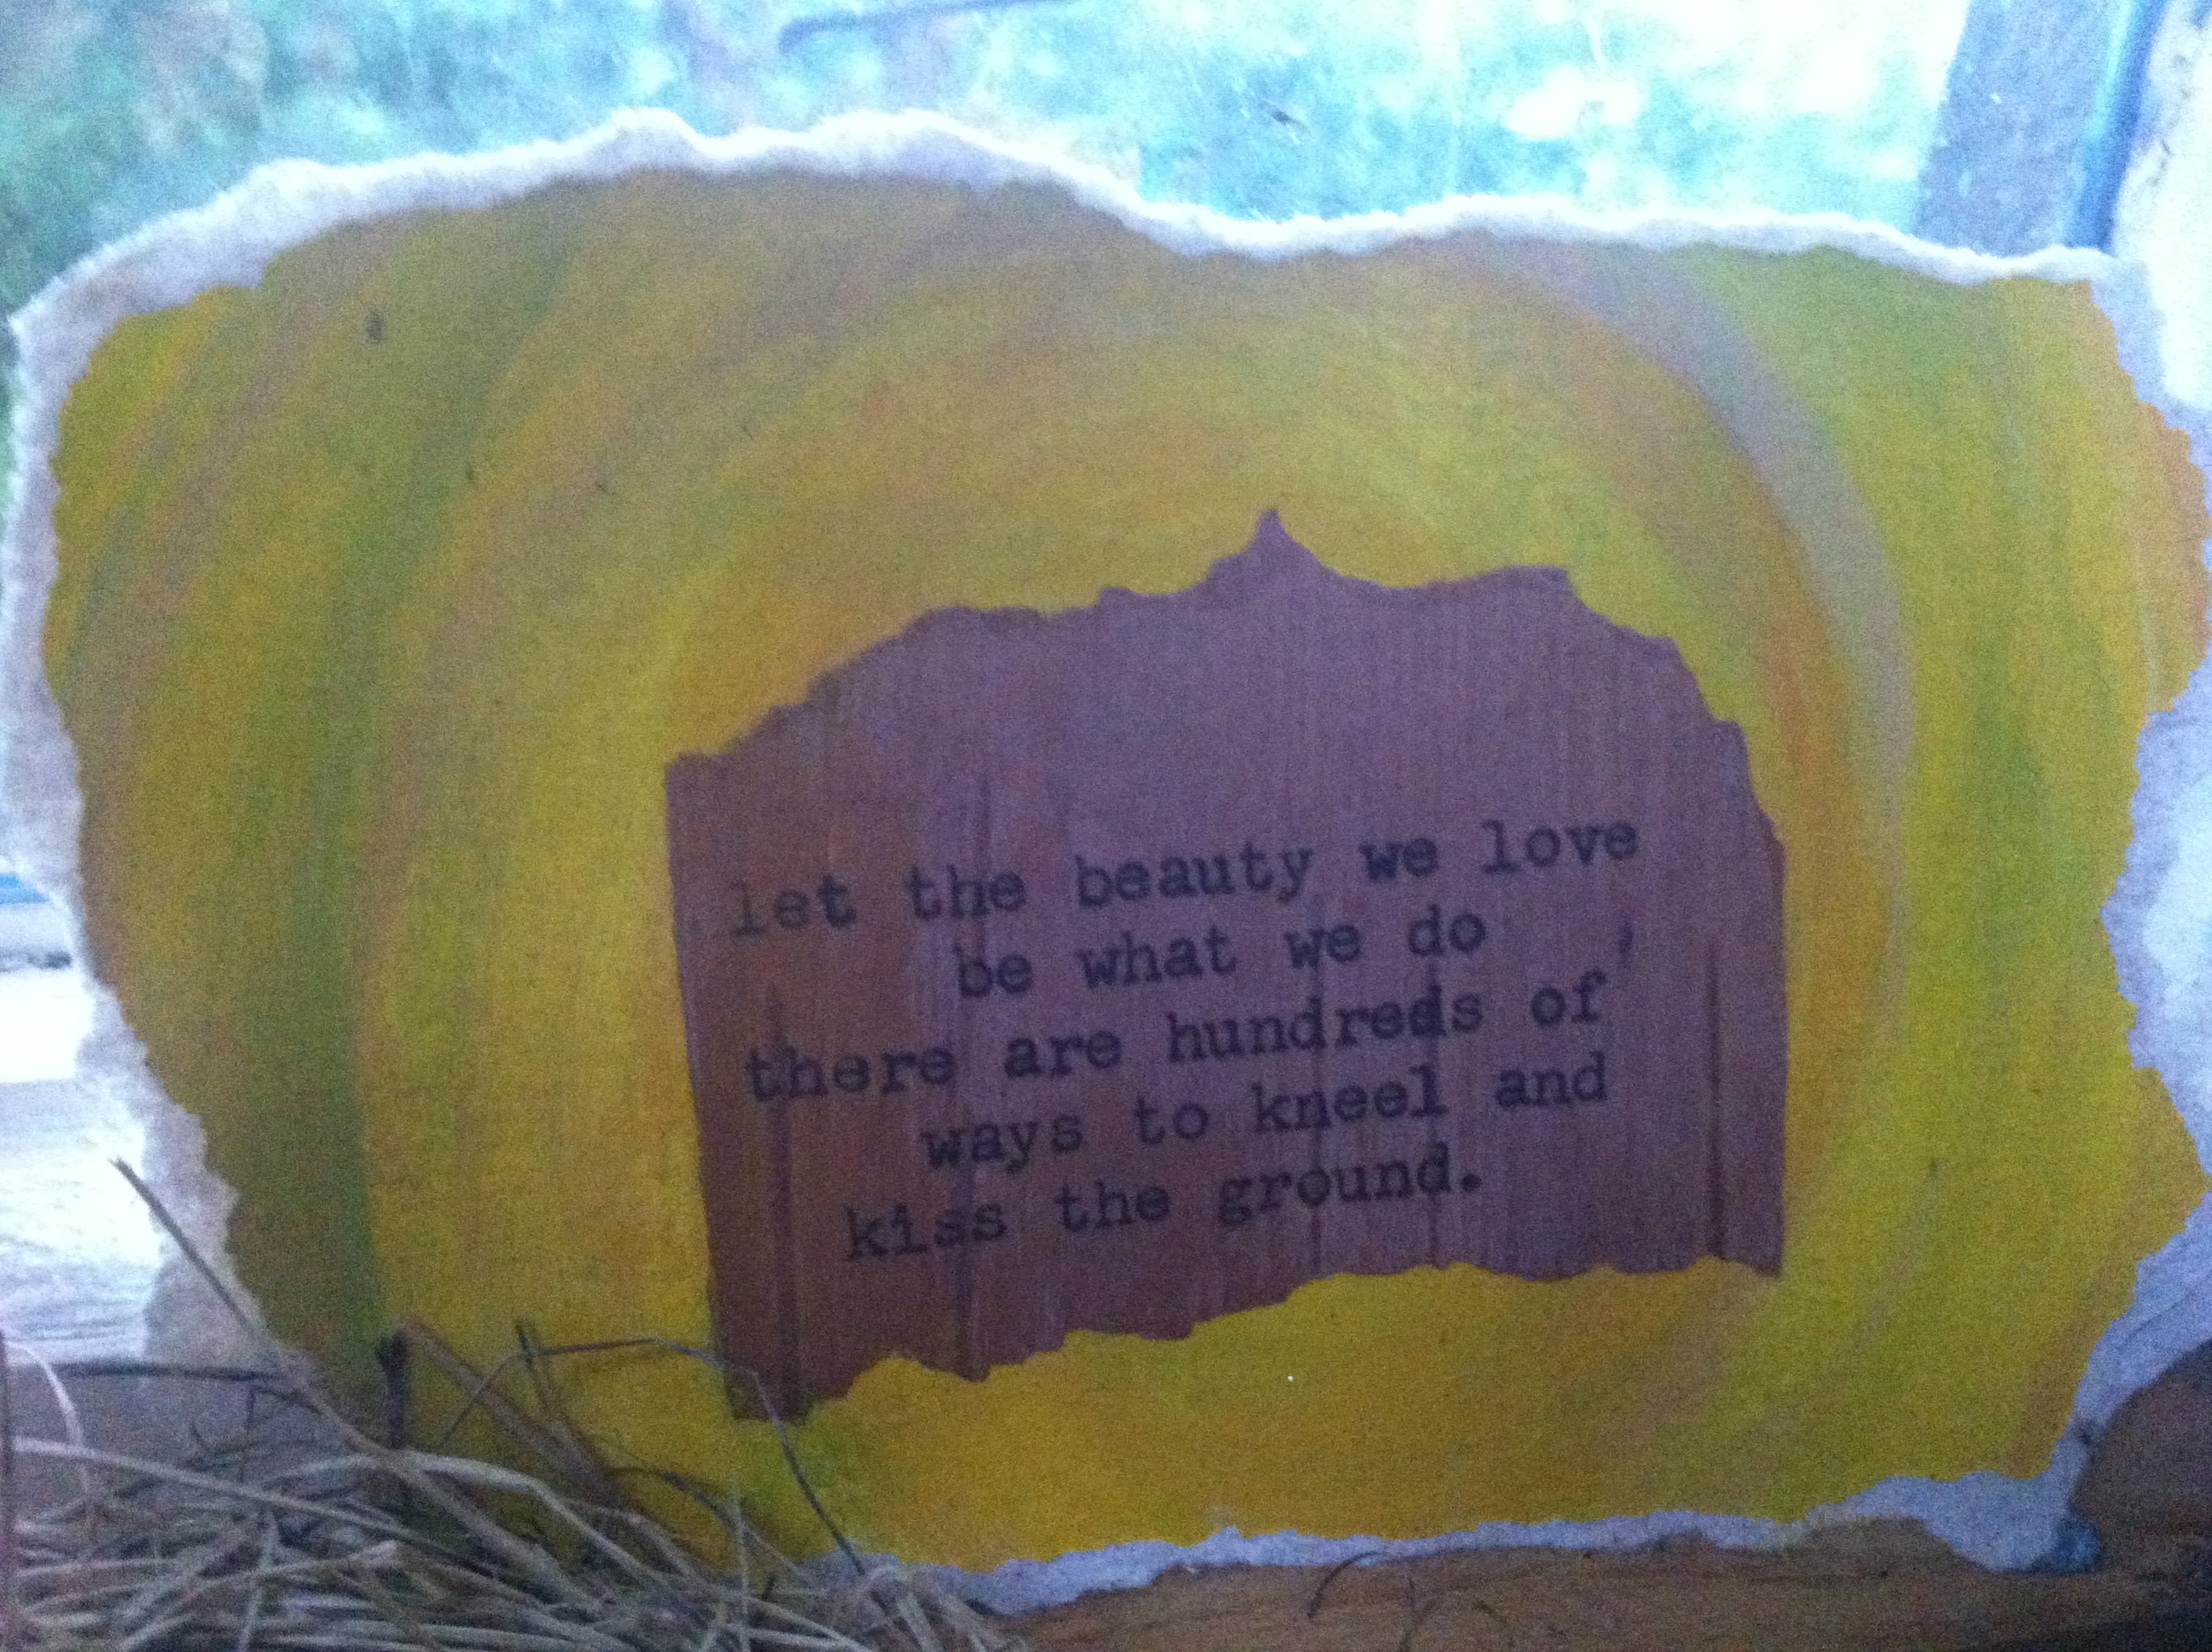
Can you guess what color we painted the walls of my tiny house and what we matched to get it? Read on for the answers!
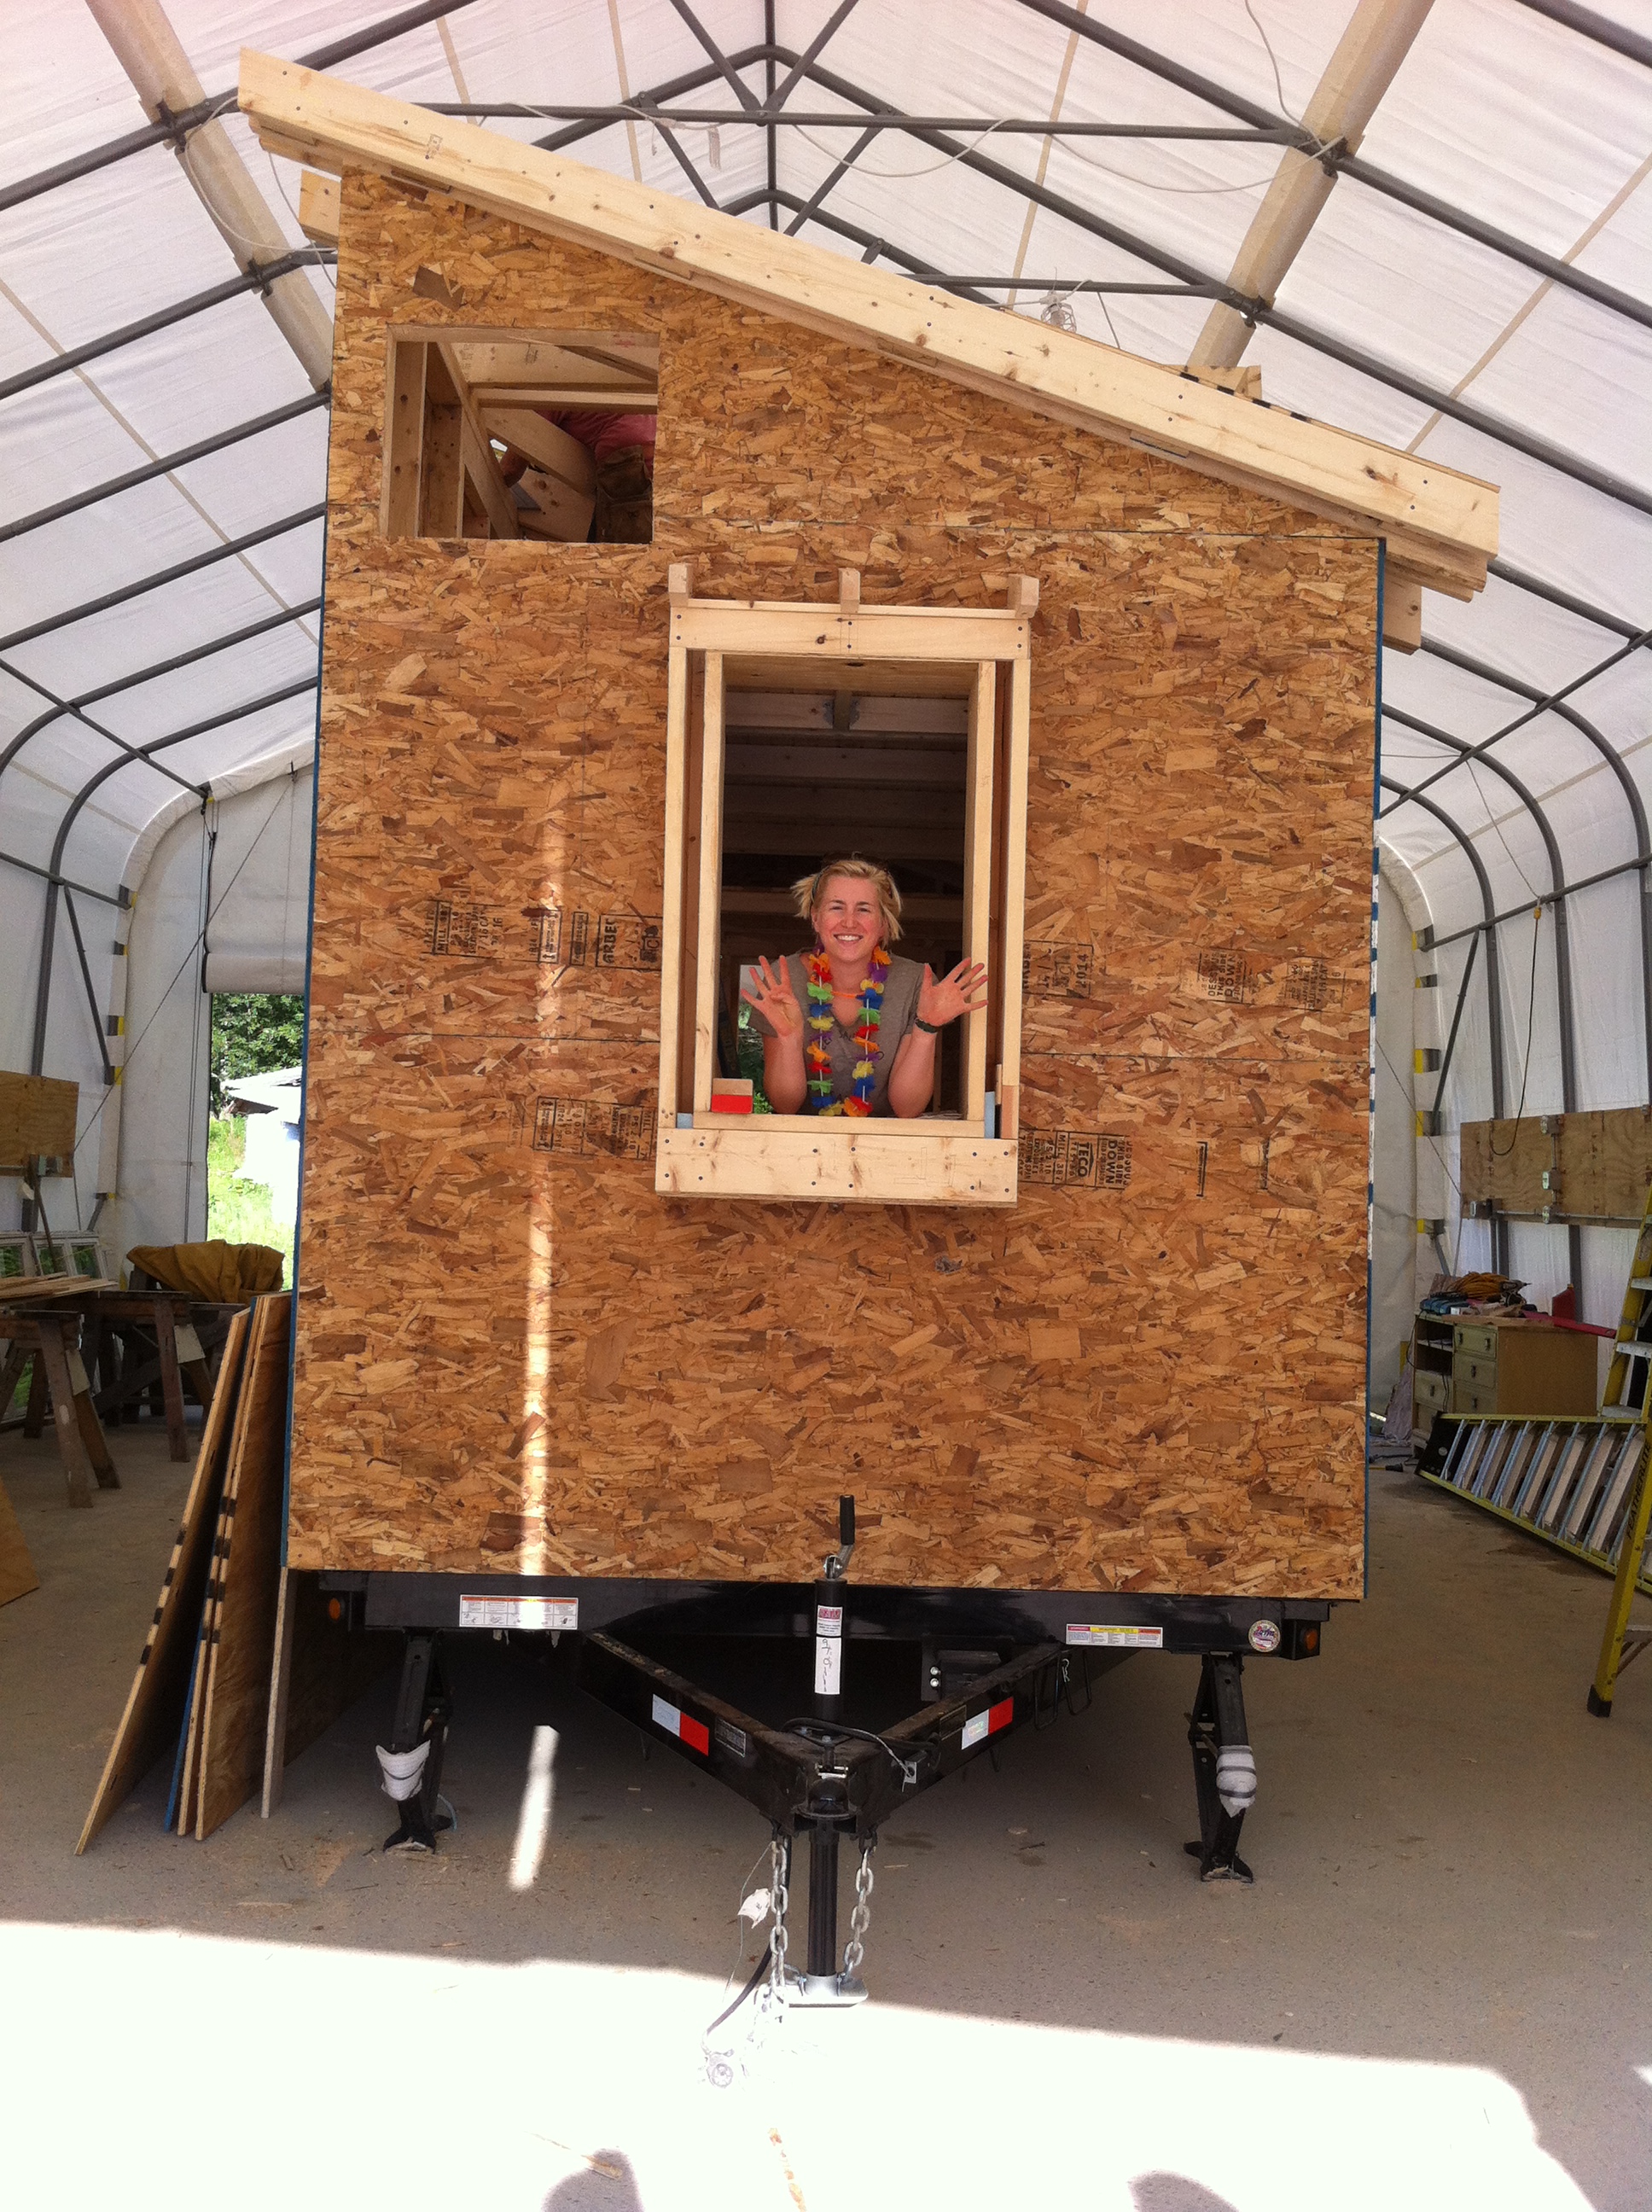
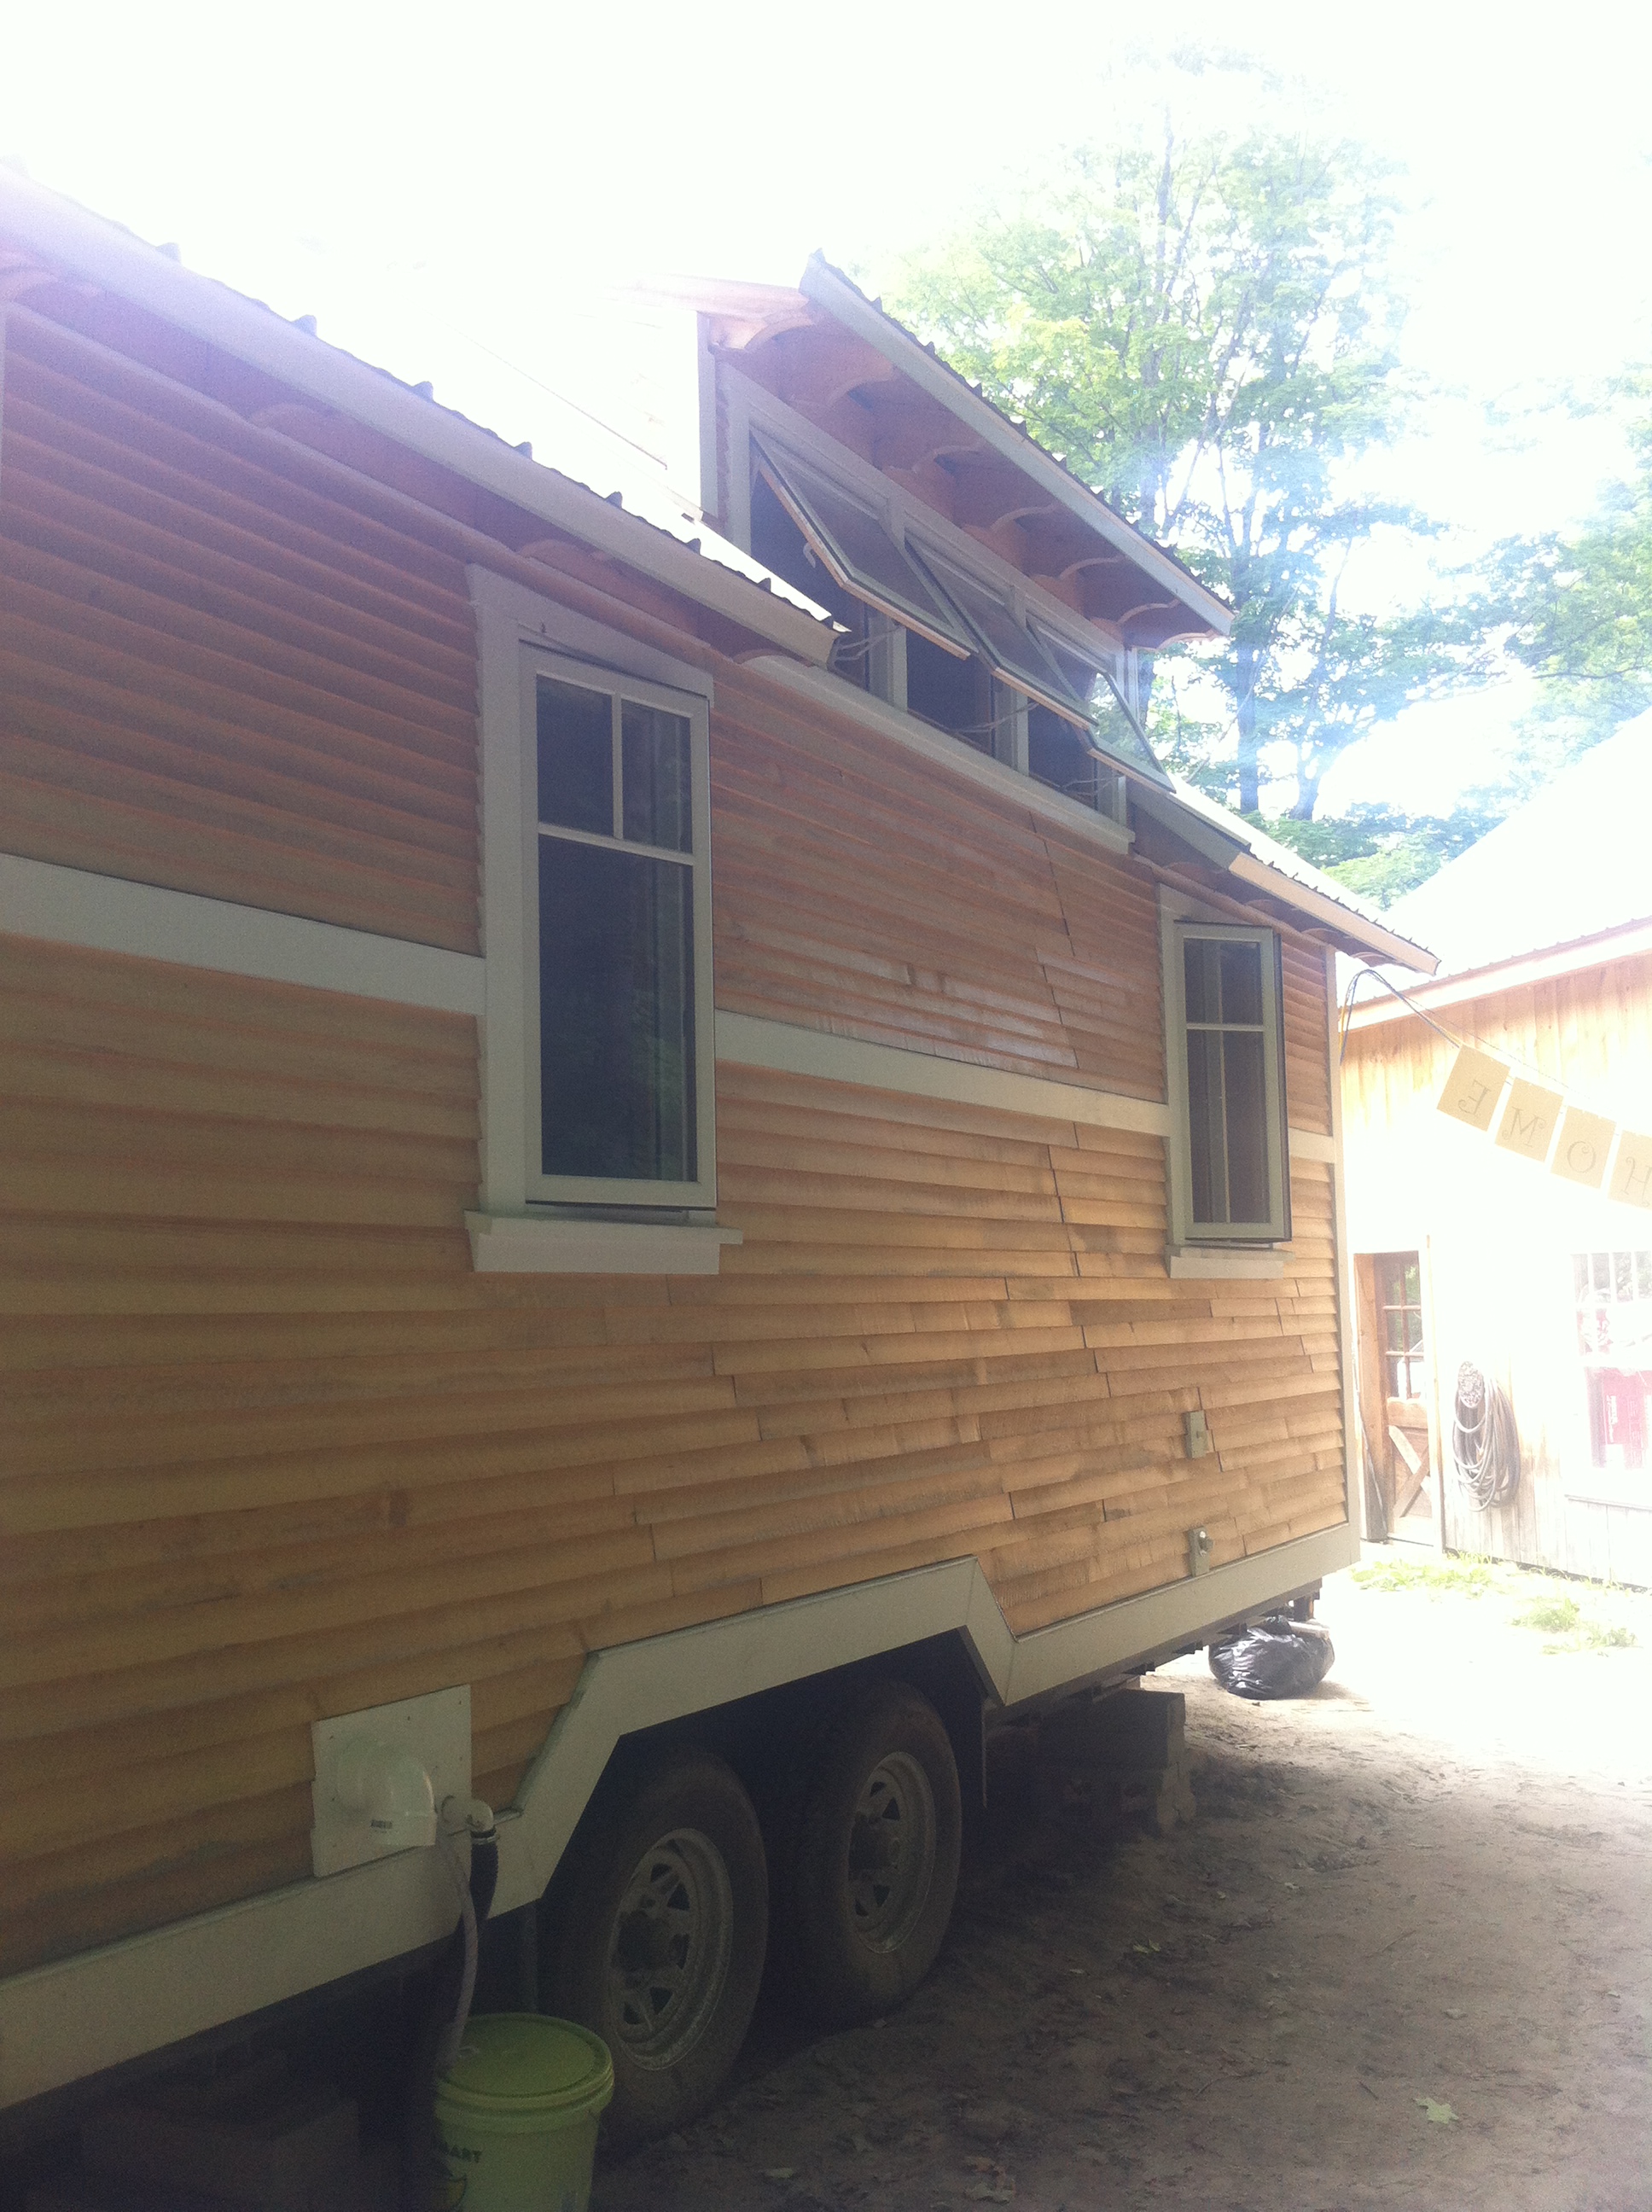
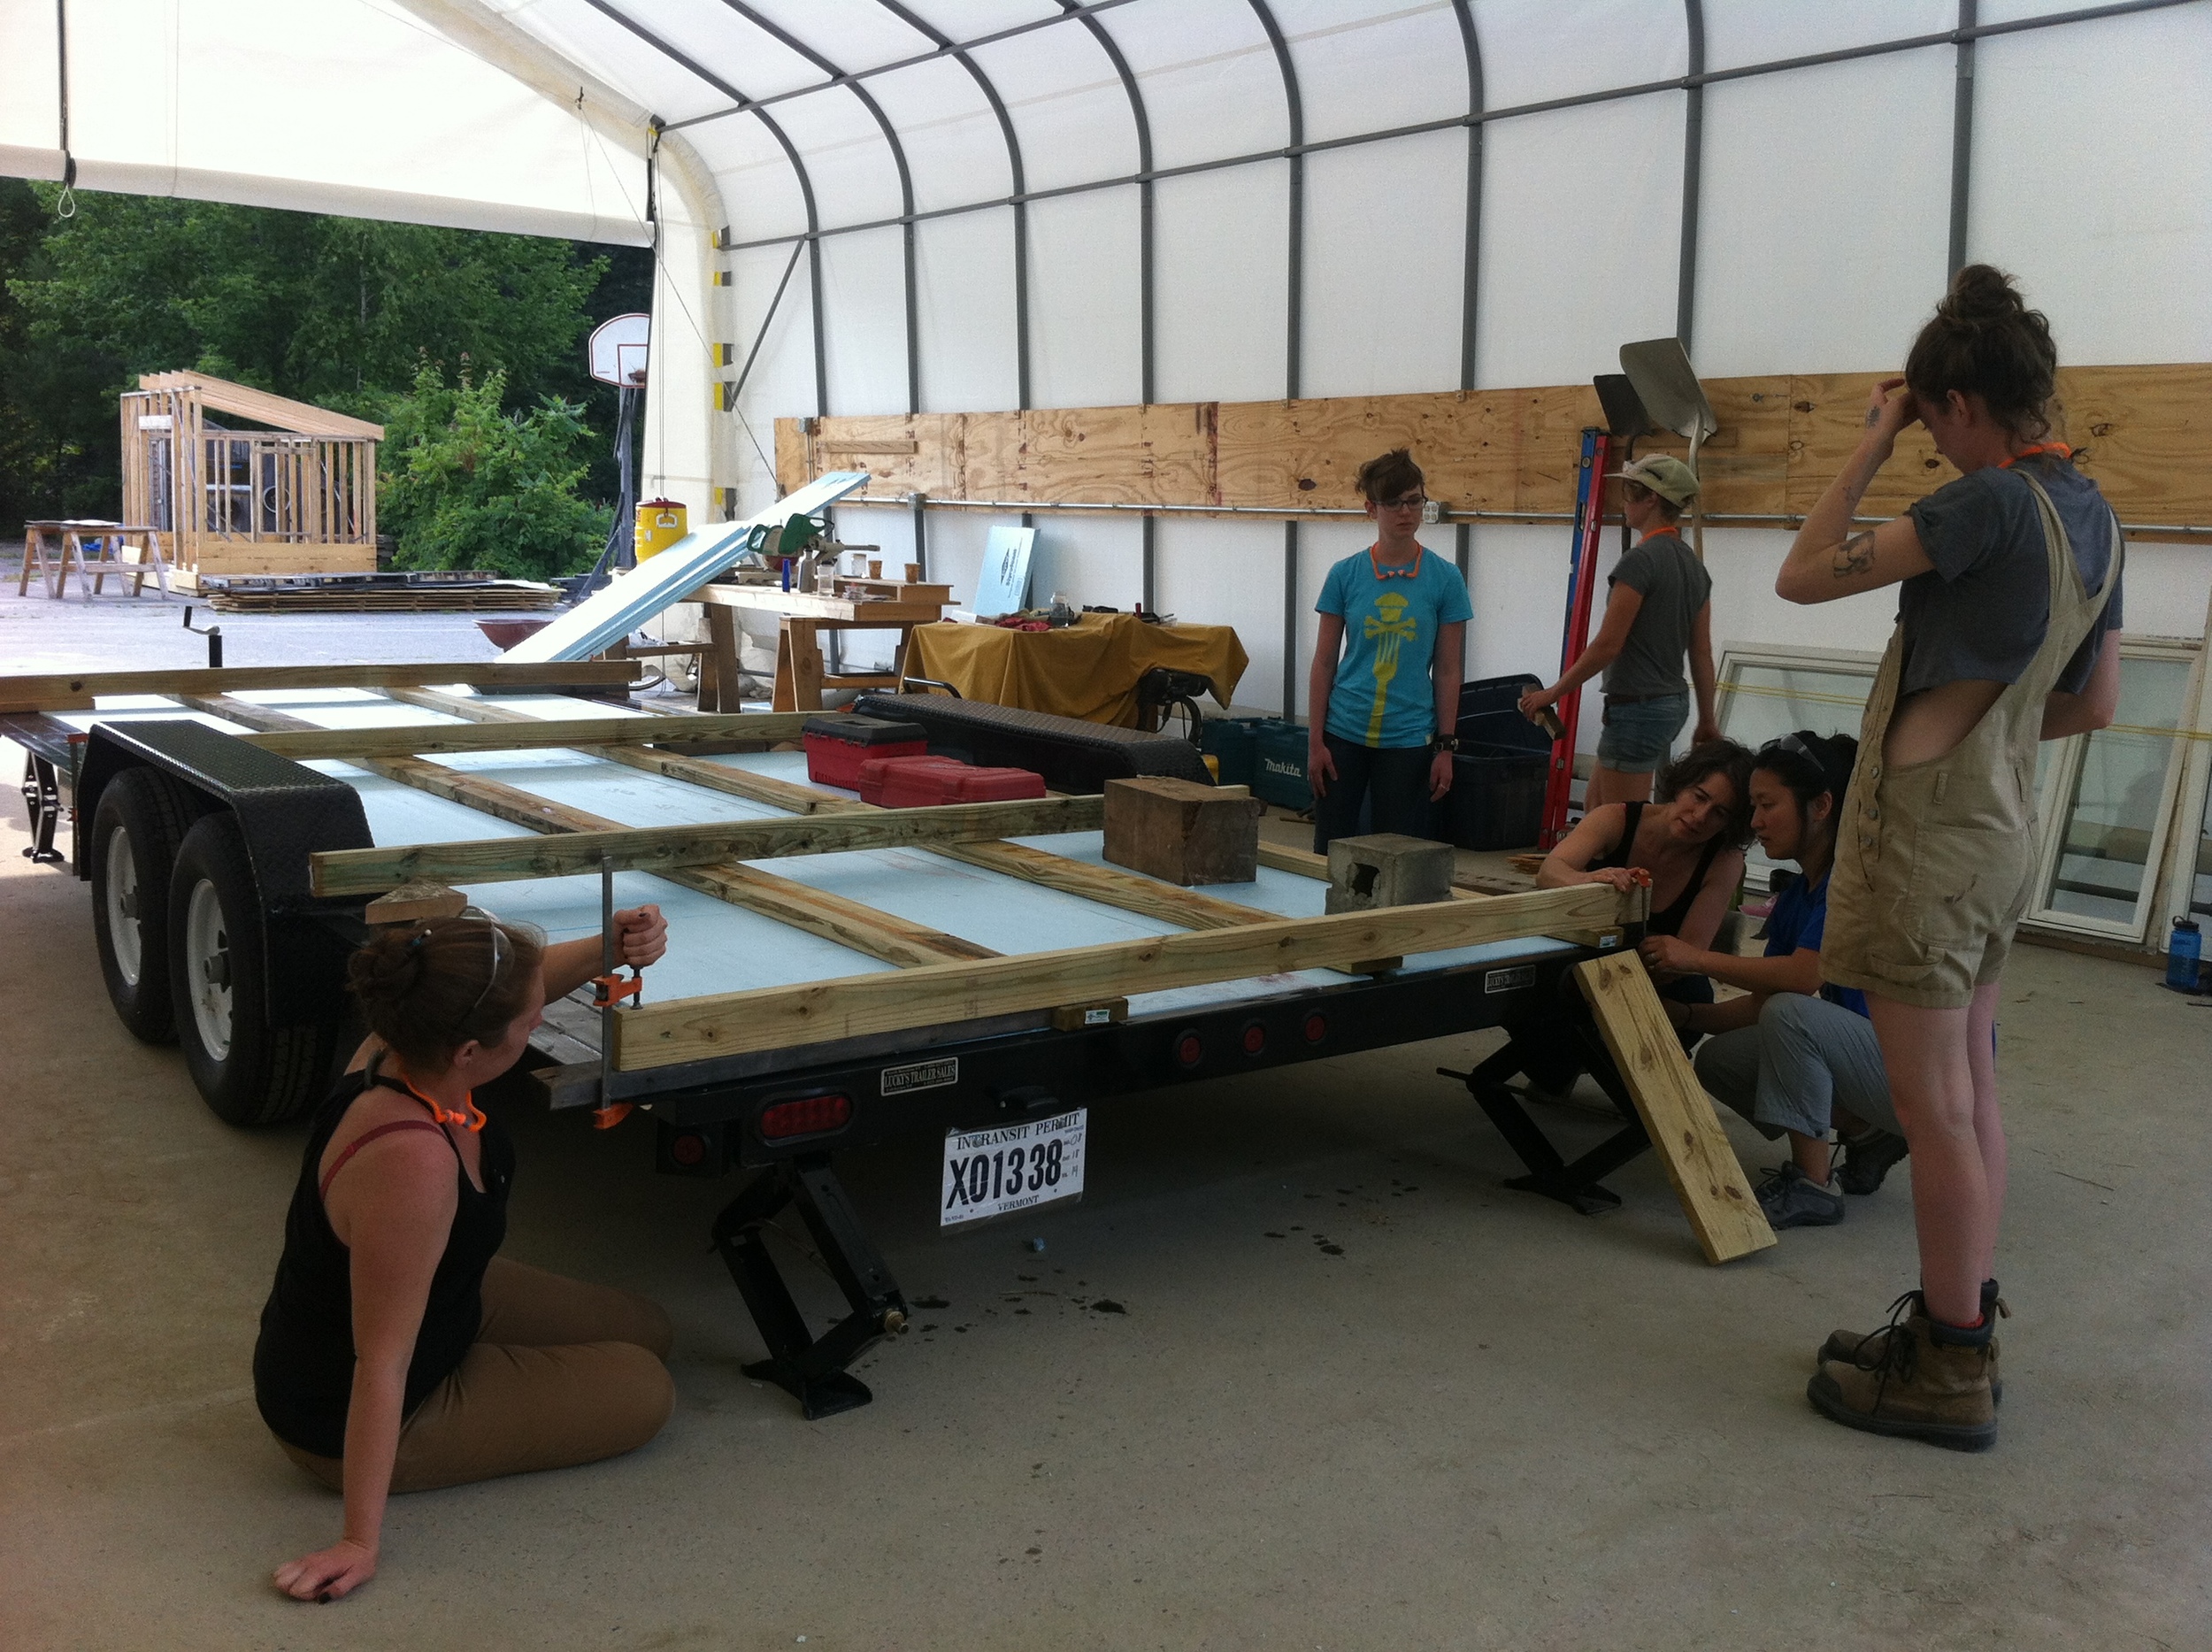
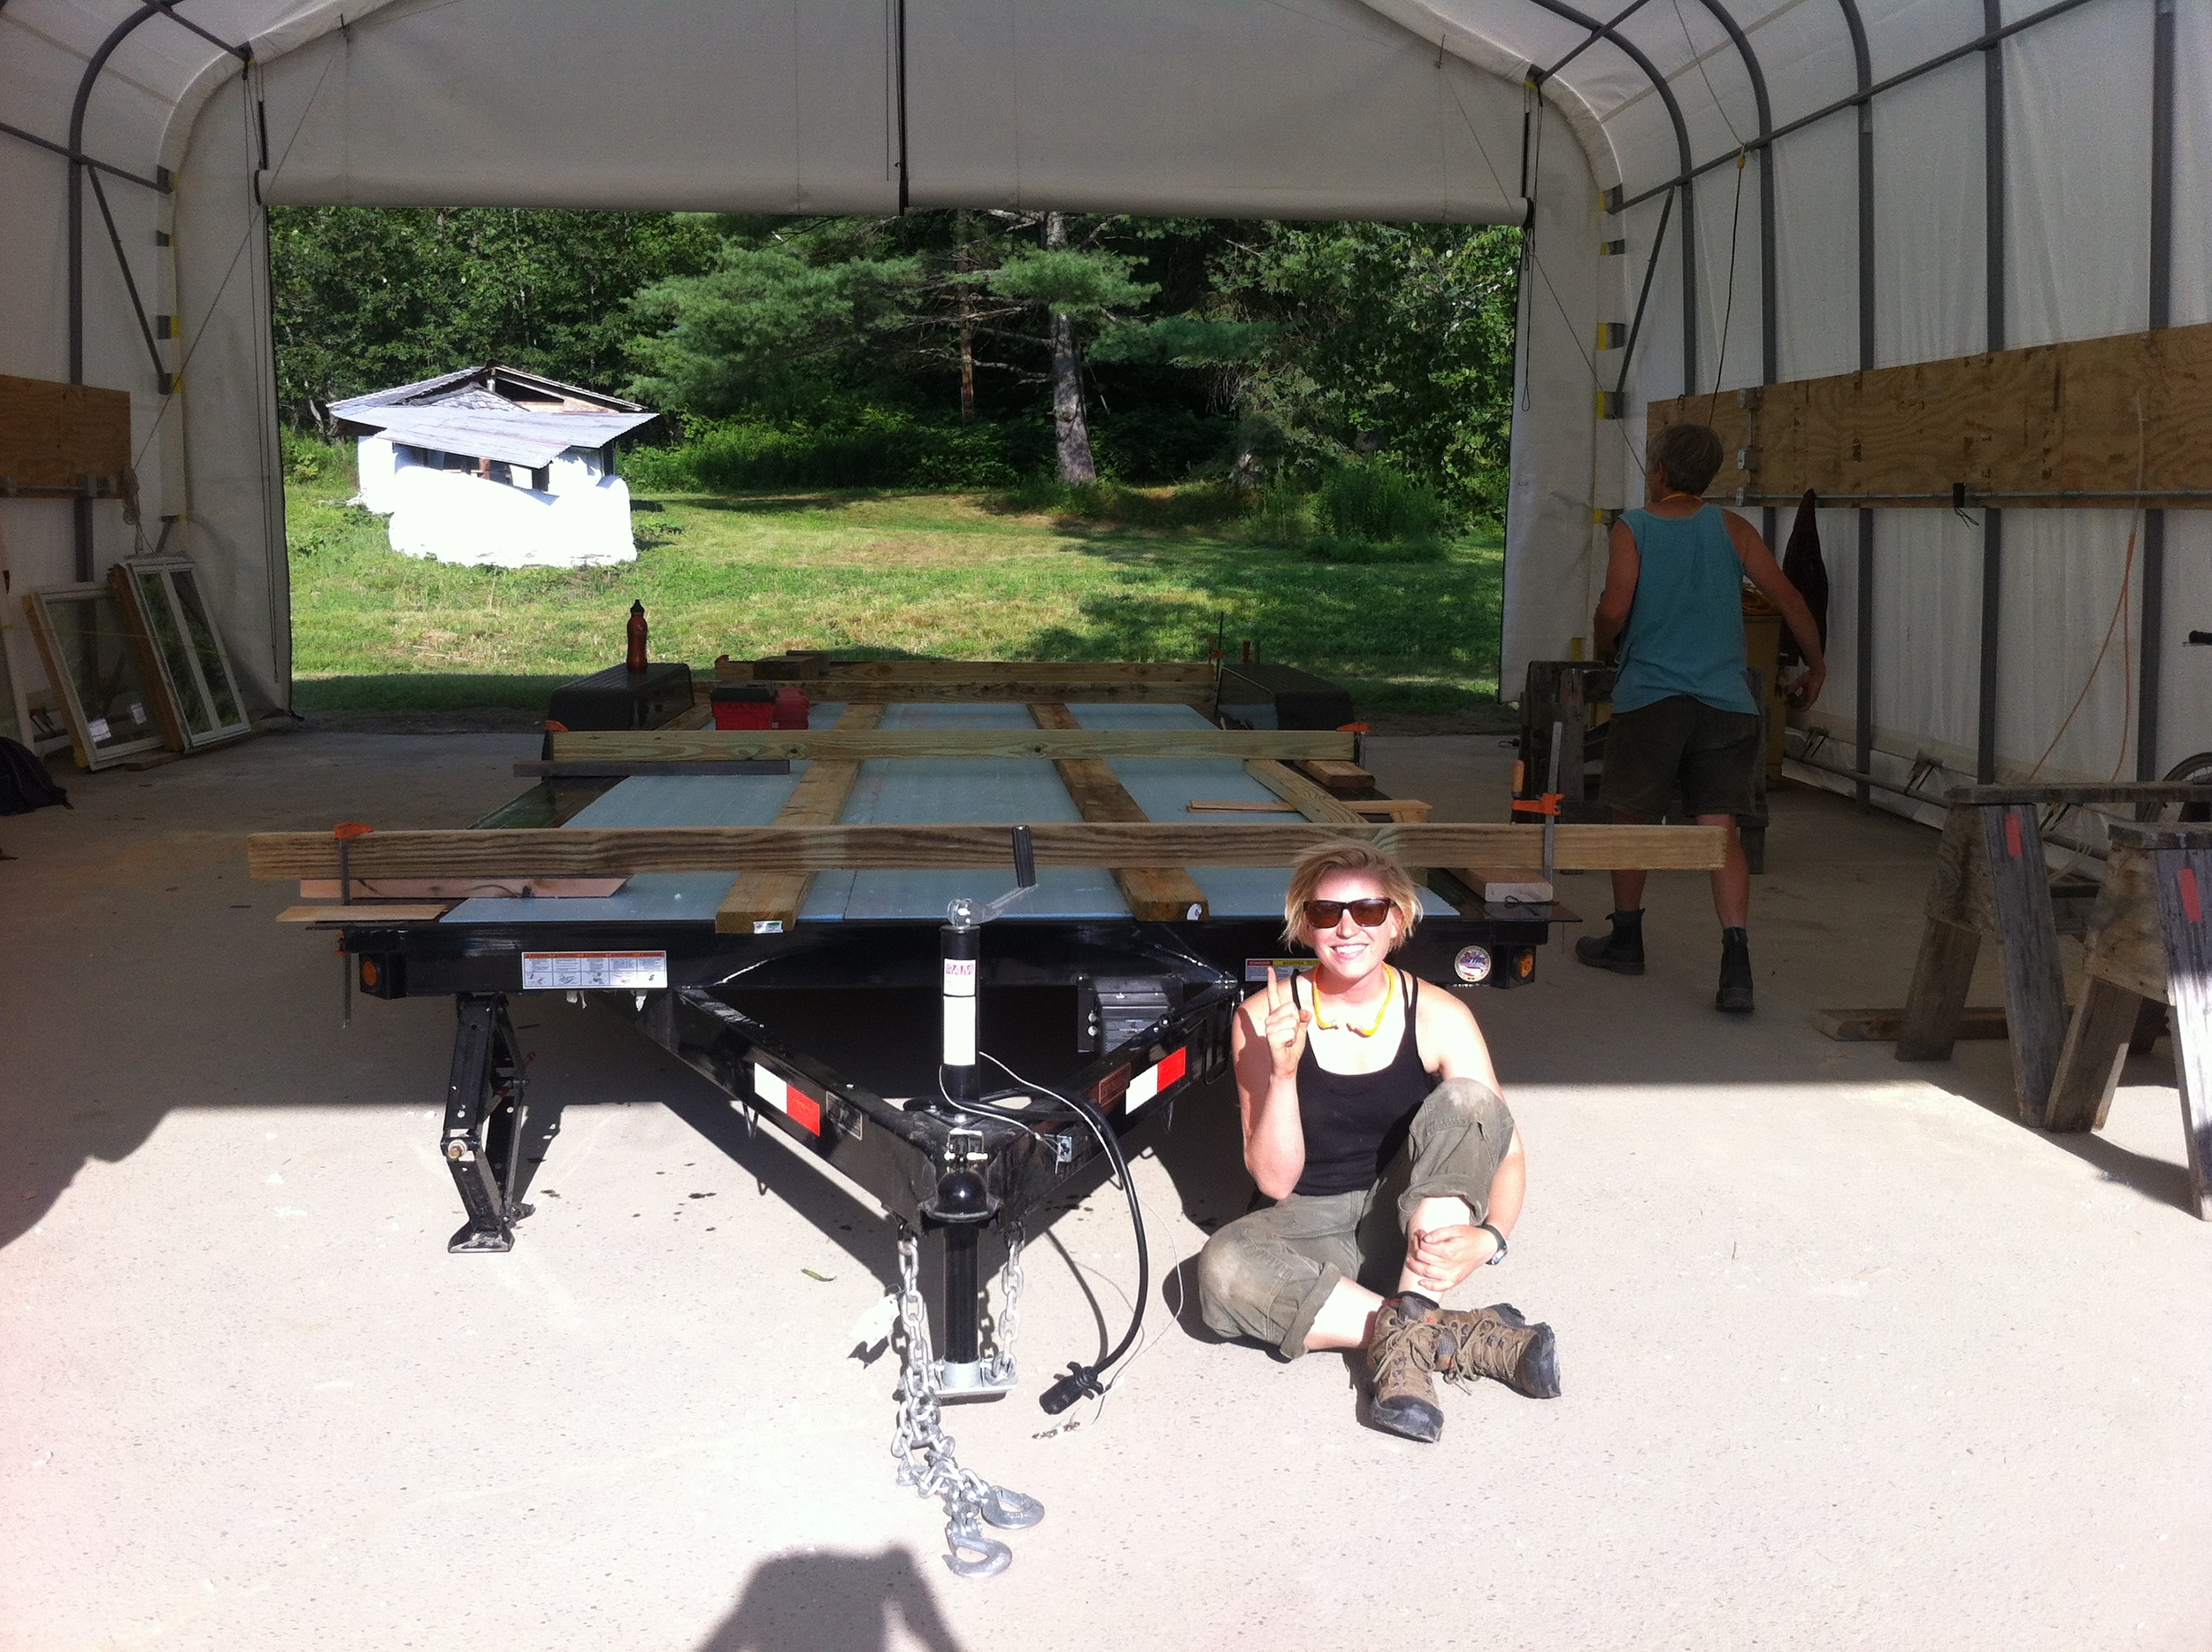
Since my tiny house, The Lucky Penny, was built with SIPs, the interior wall surface was there by the time we finished My SIPs Wall Raising. There are, of course, some folks biuild with SIPs who choose to install drywall inside the house to create that smooth textured look that's ubiquitous throughout homes in America today. I've installed drywall before and I really enjoy doing it (hooray for playing in - er, I mean "working with" - mud!) And, of course, many tiny houses have wood paneling on the interior. This is so darn common I've had people ask me if it's required in a tiny house! (It's not!) But I decided not to install any kind of additional interior paneling in The Lucky Penny for three main reasons.

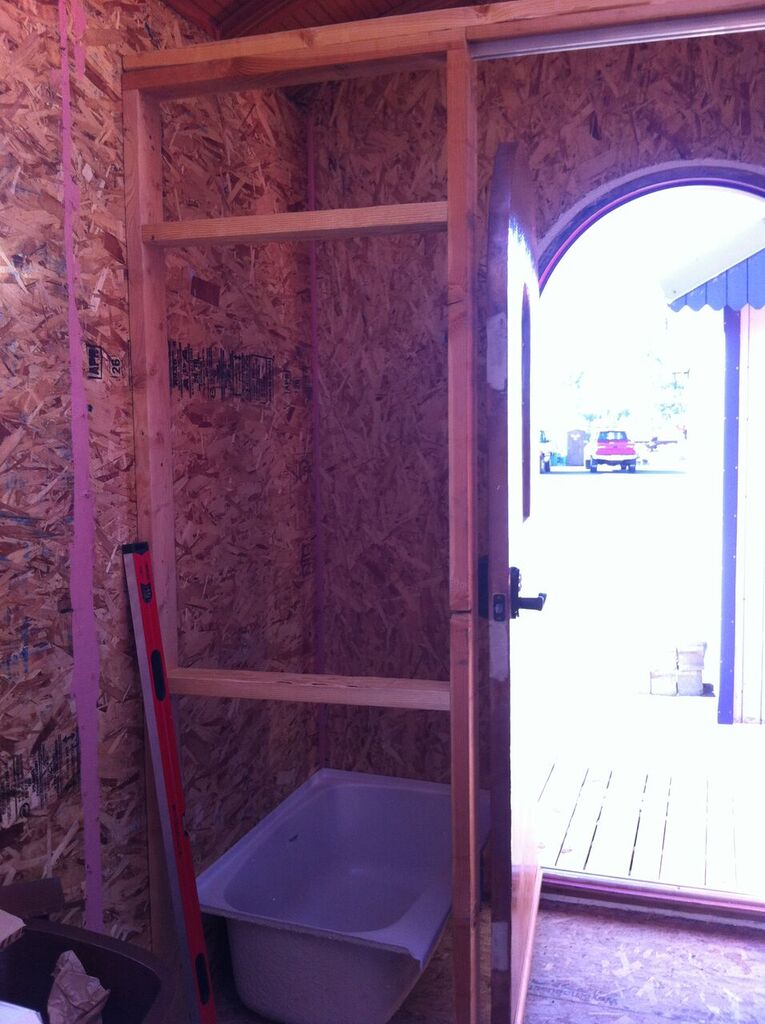
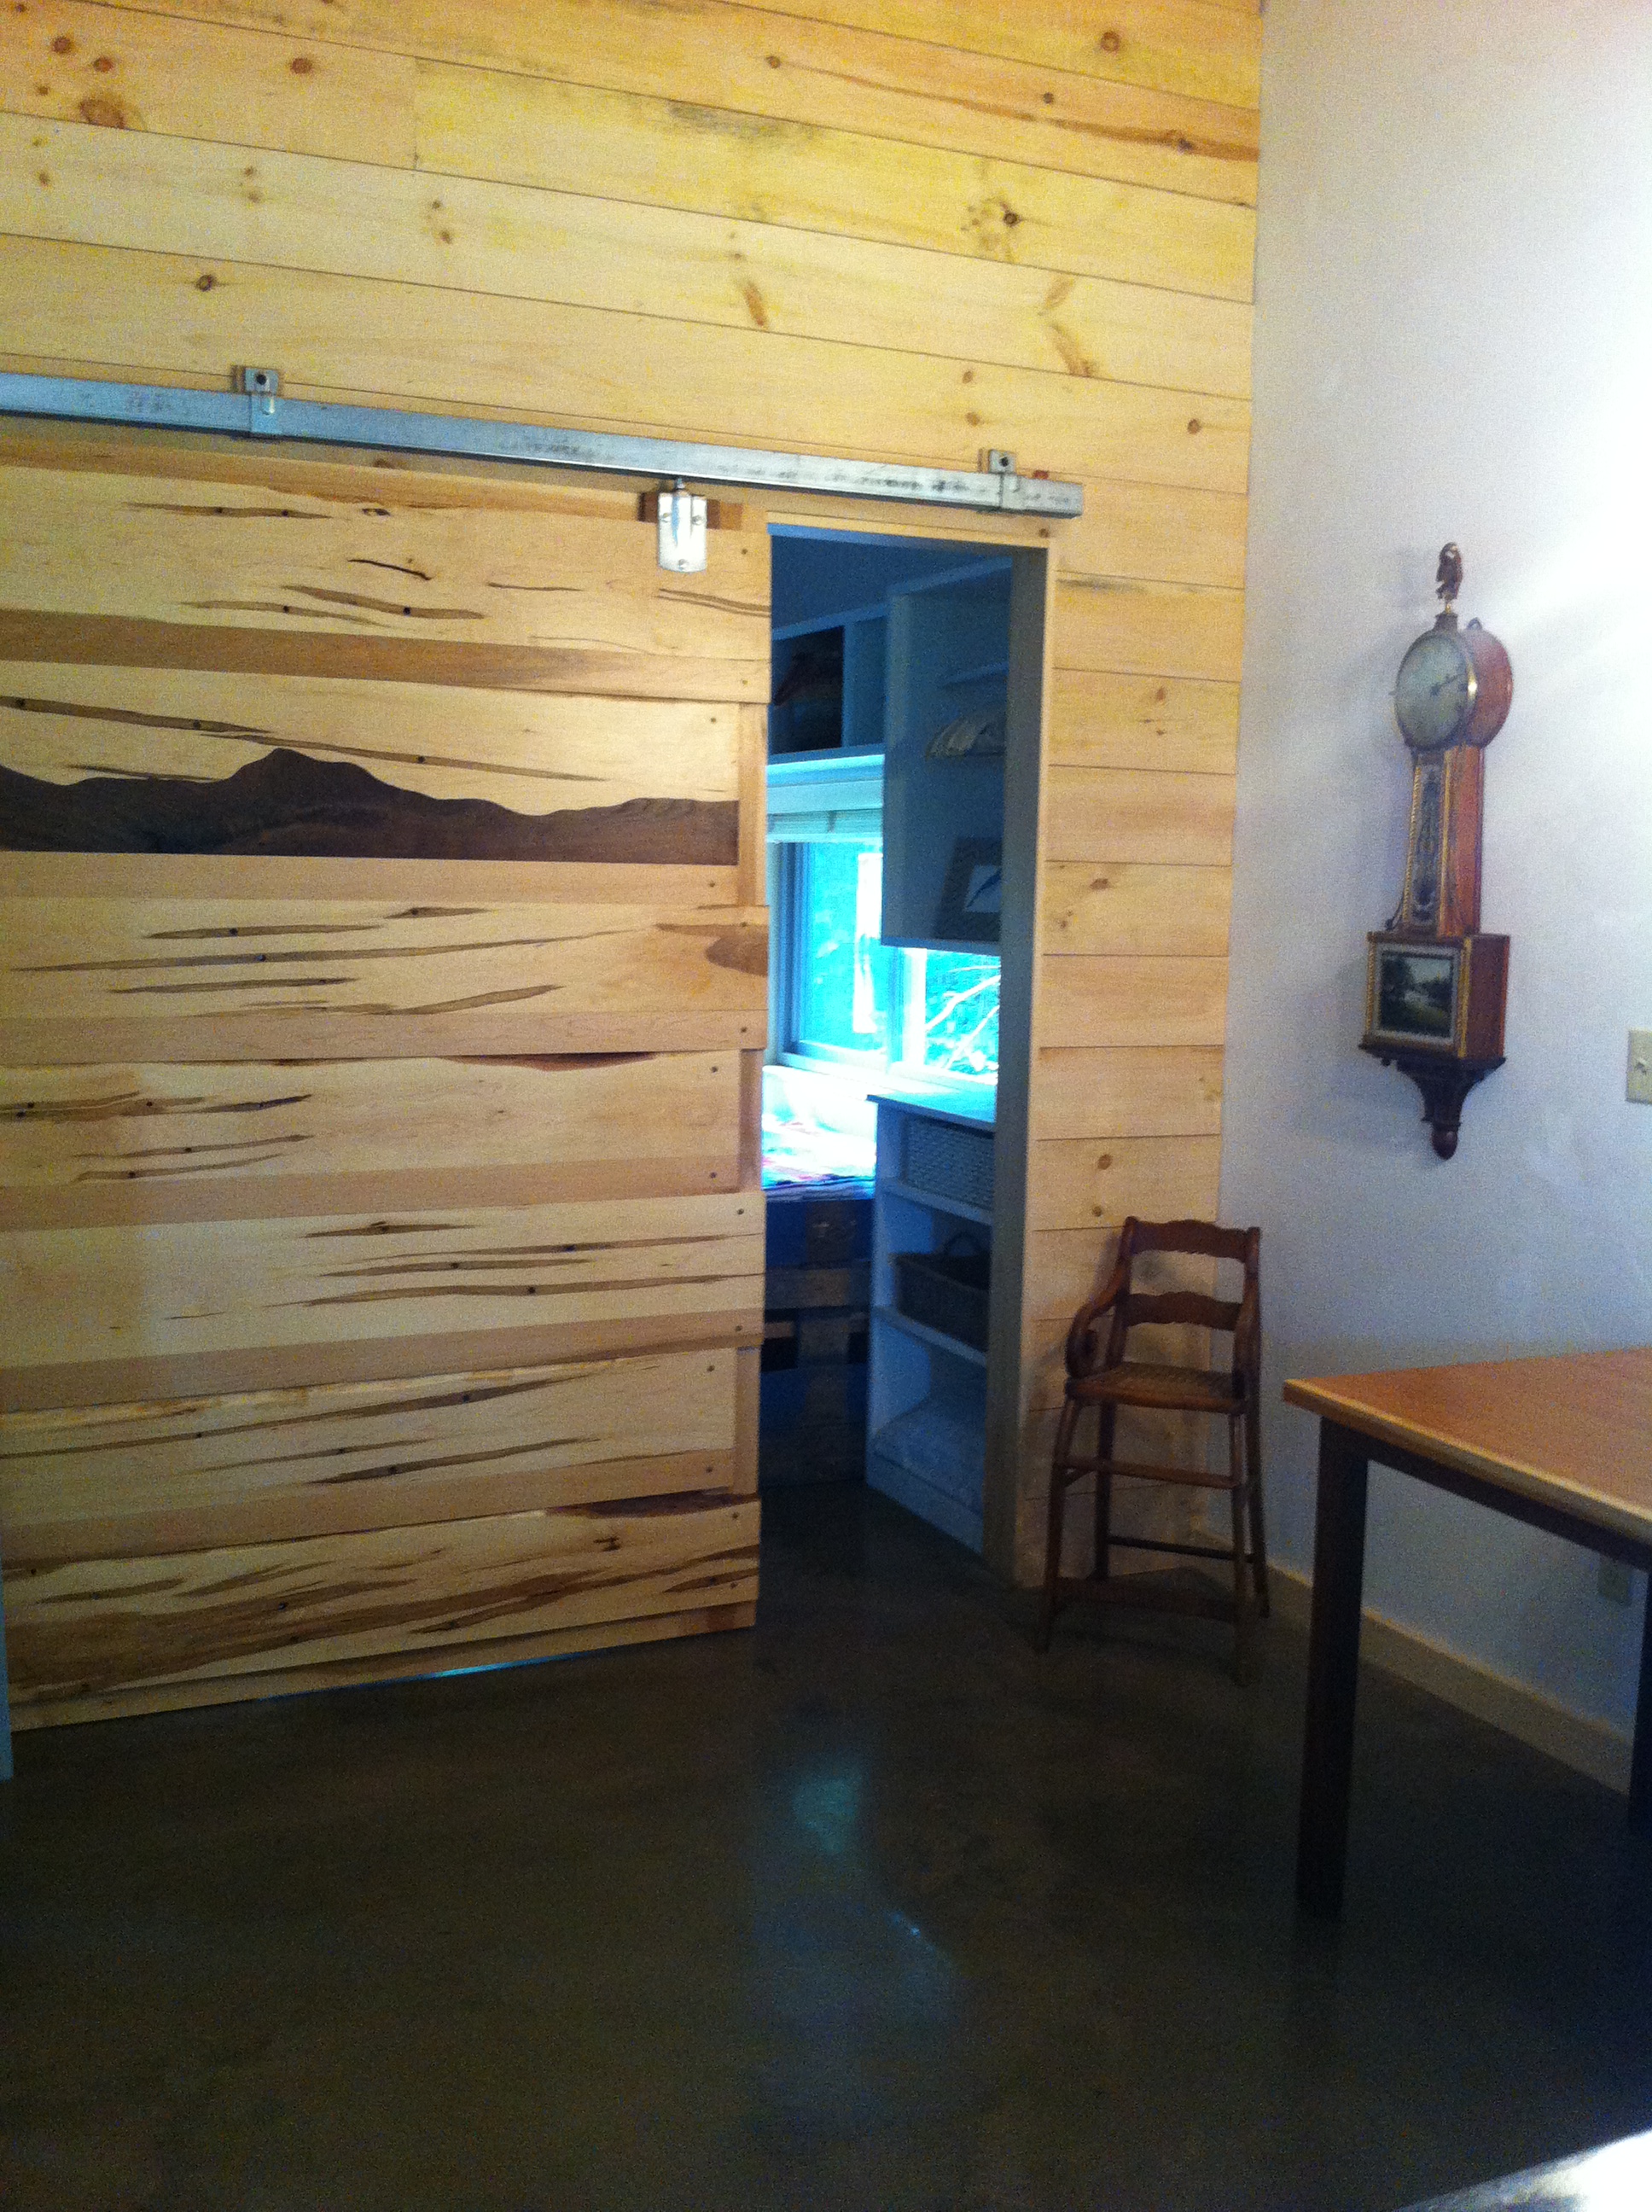
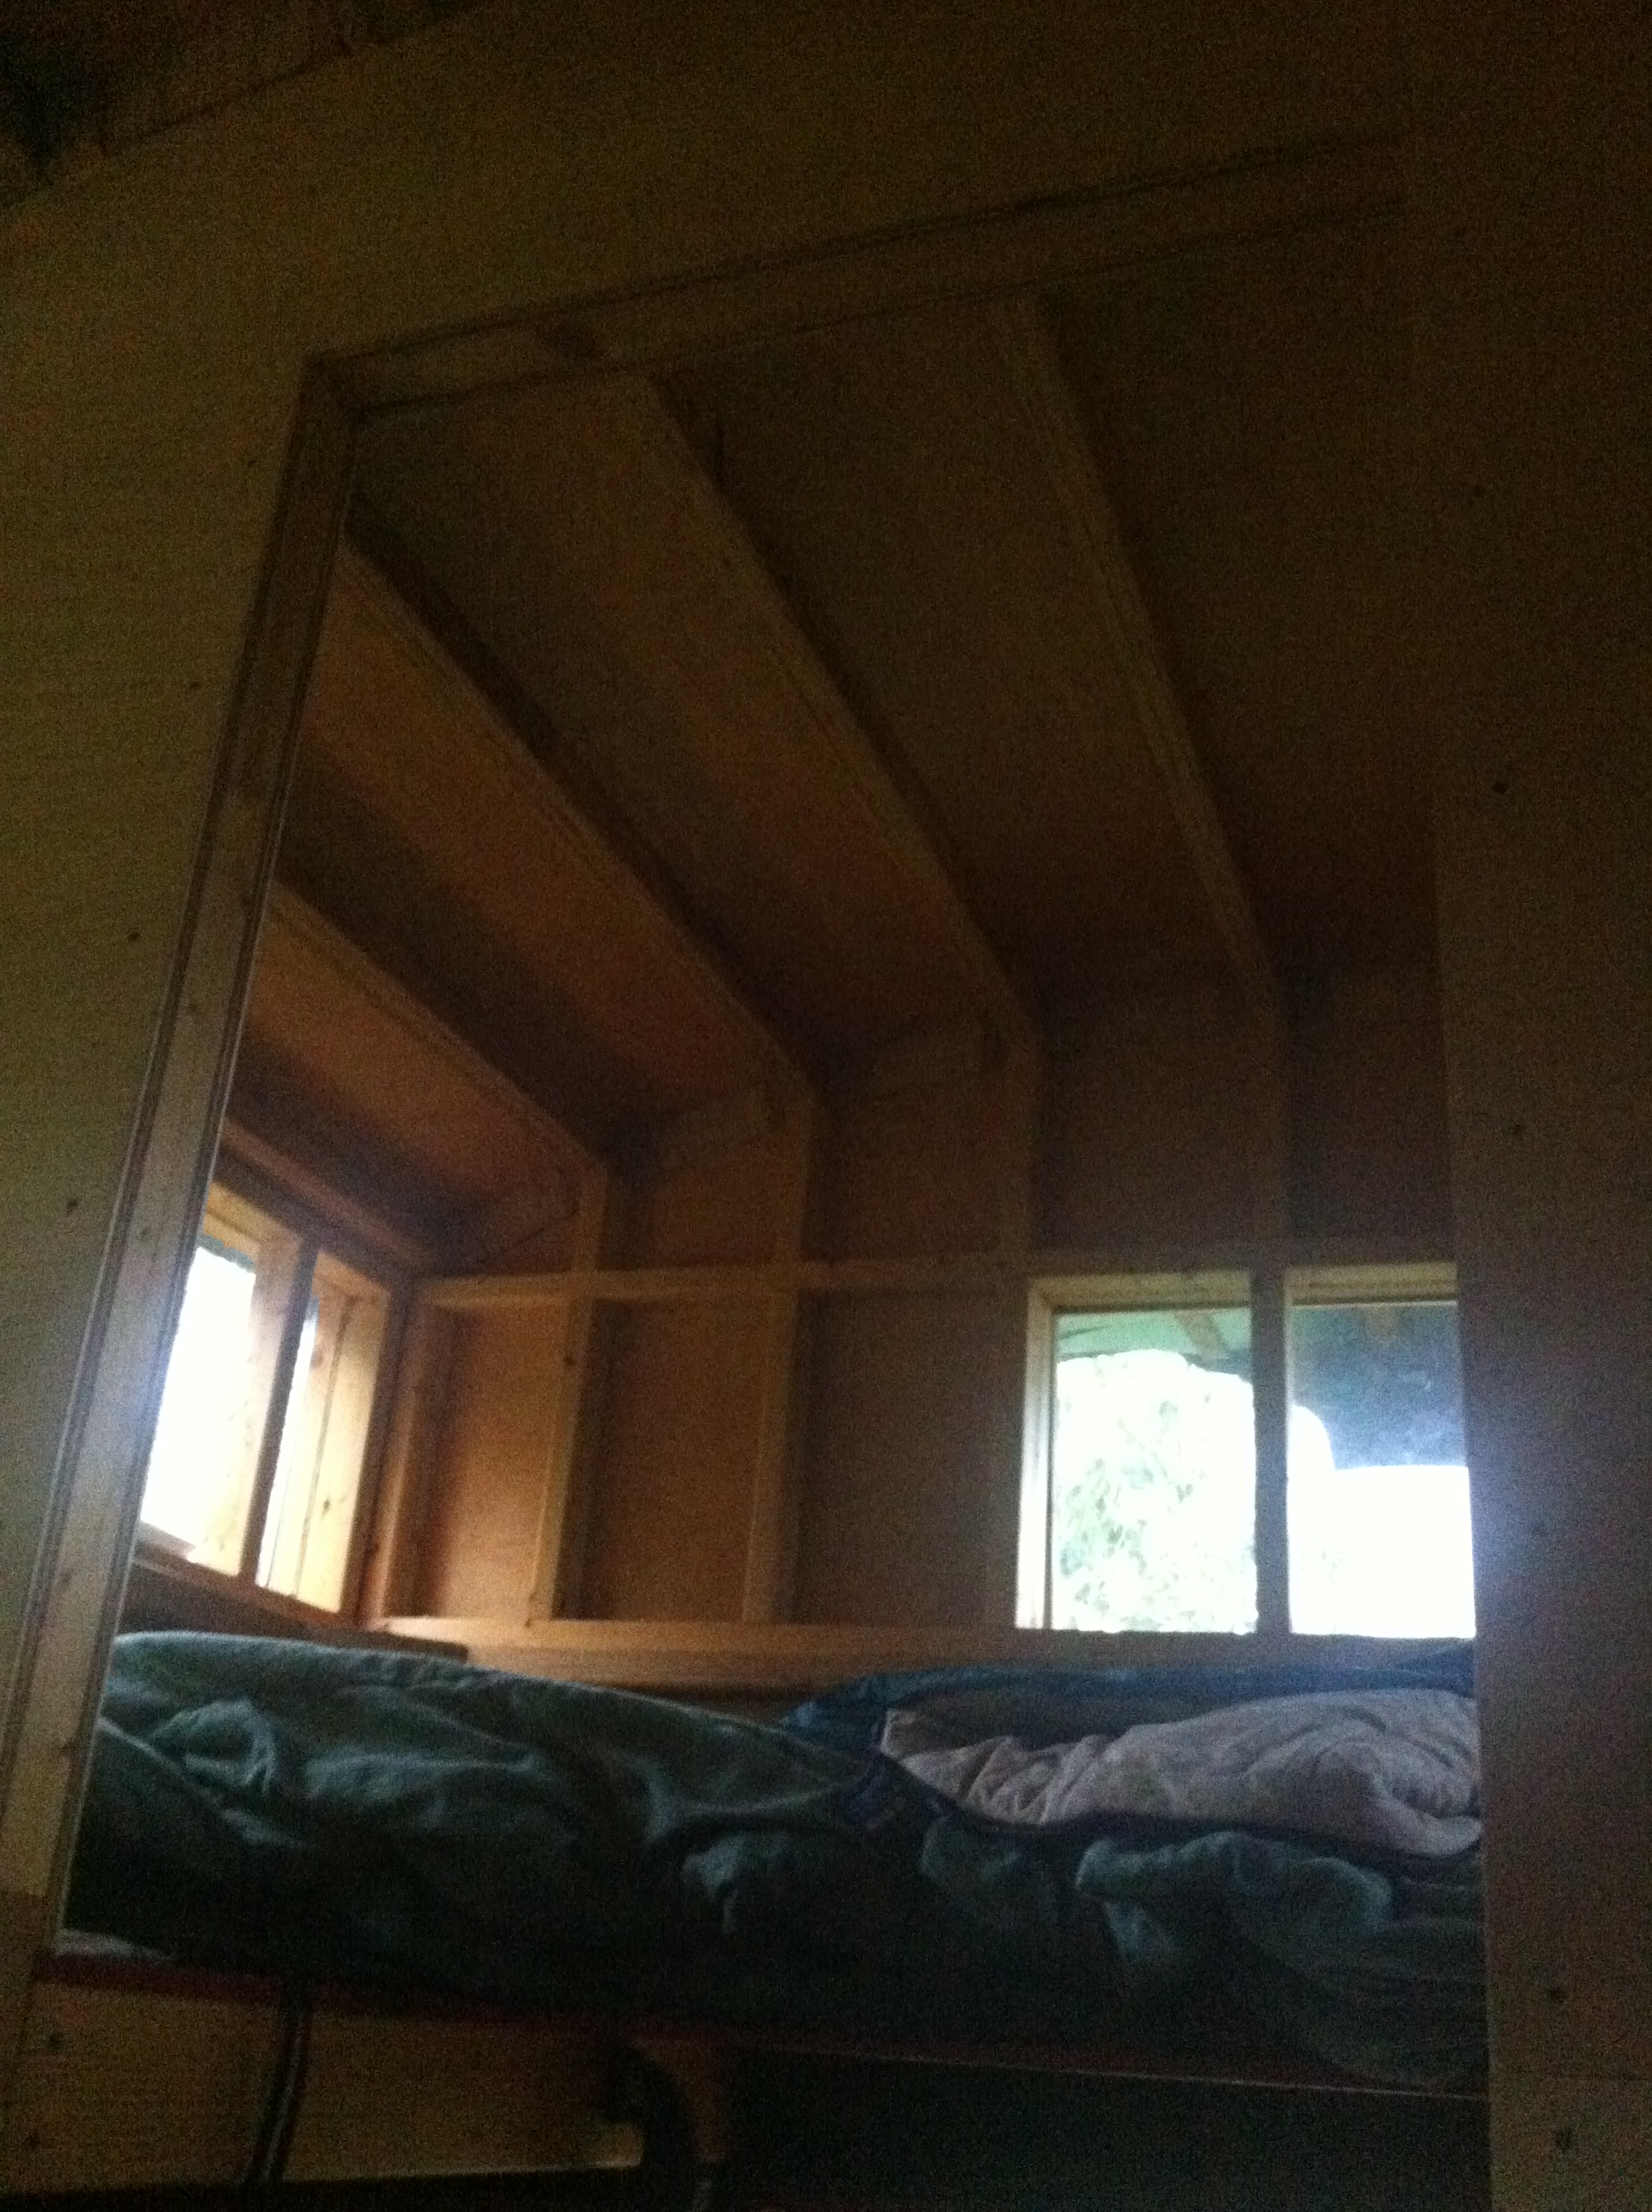
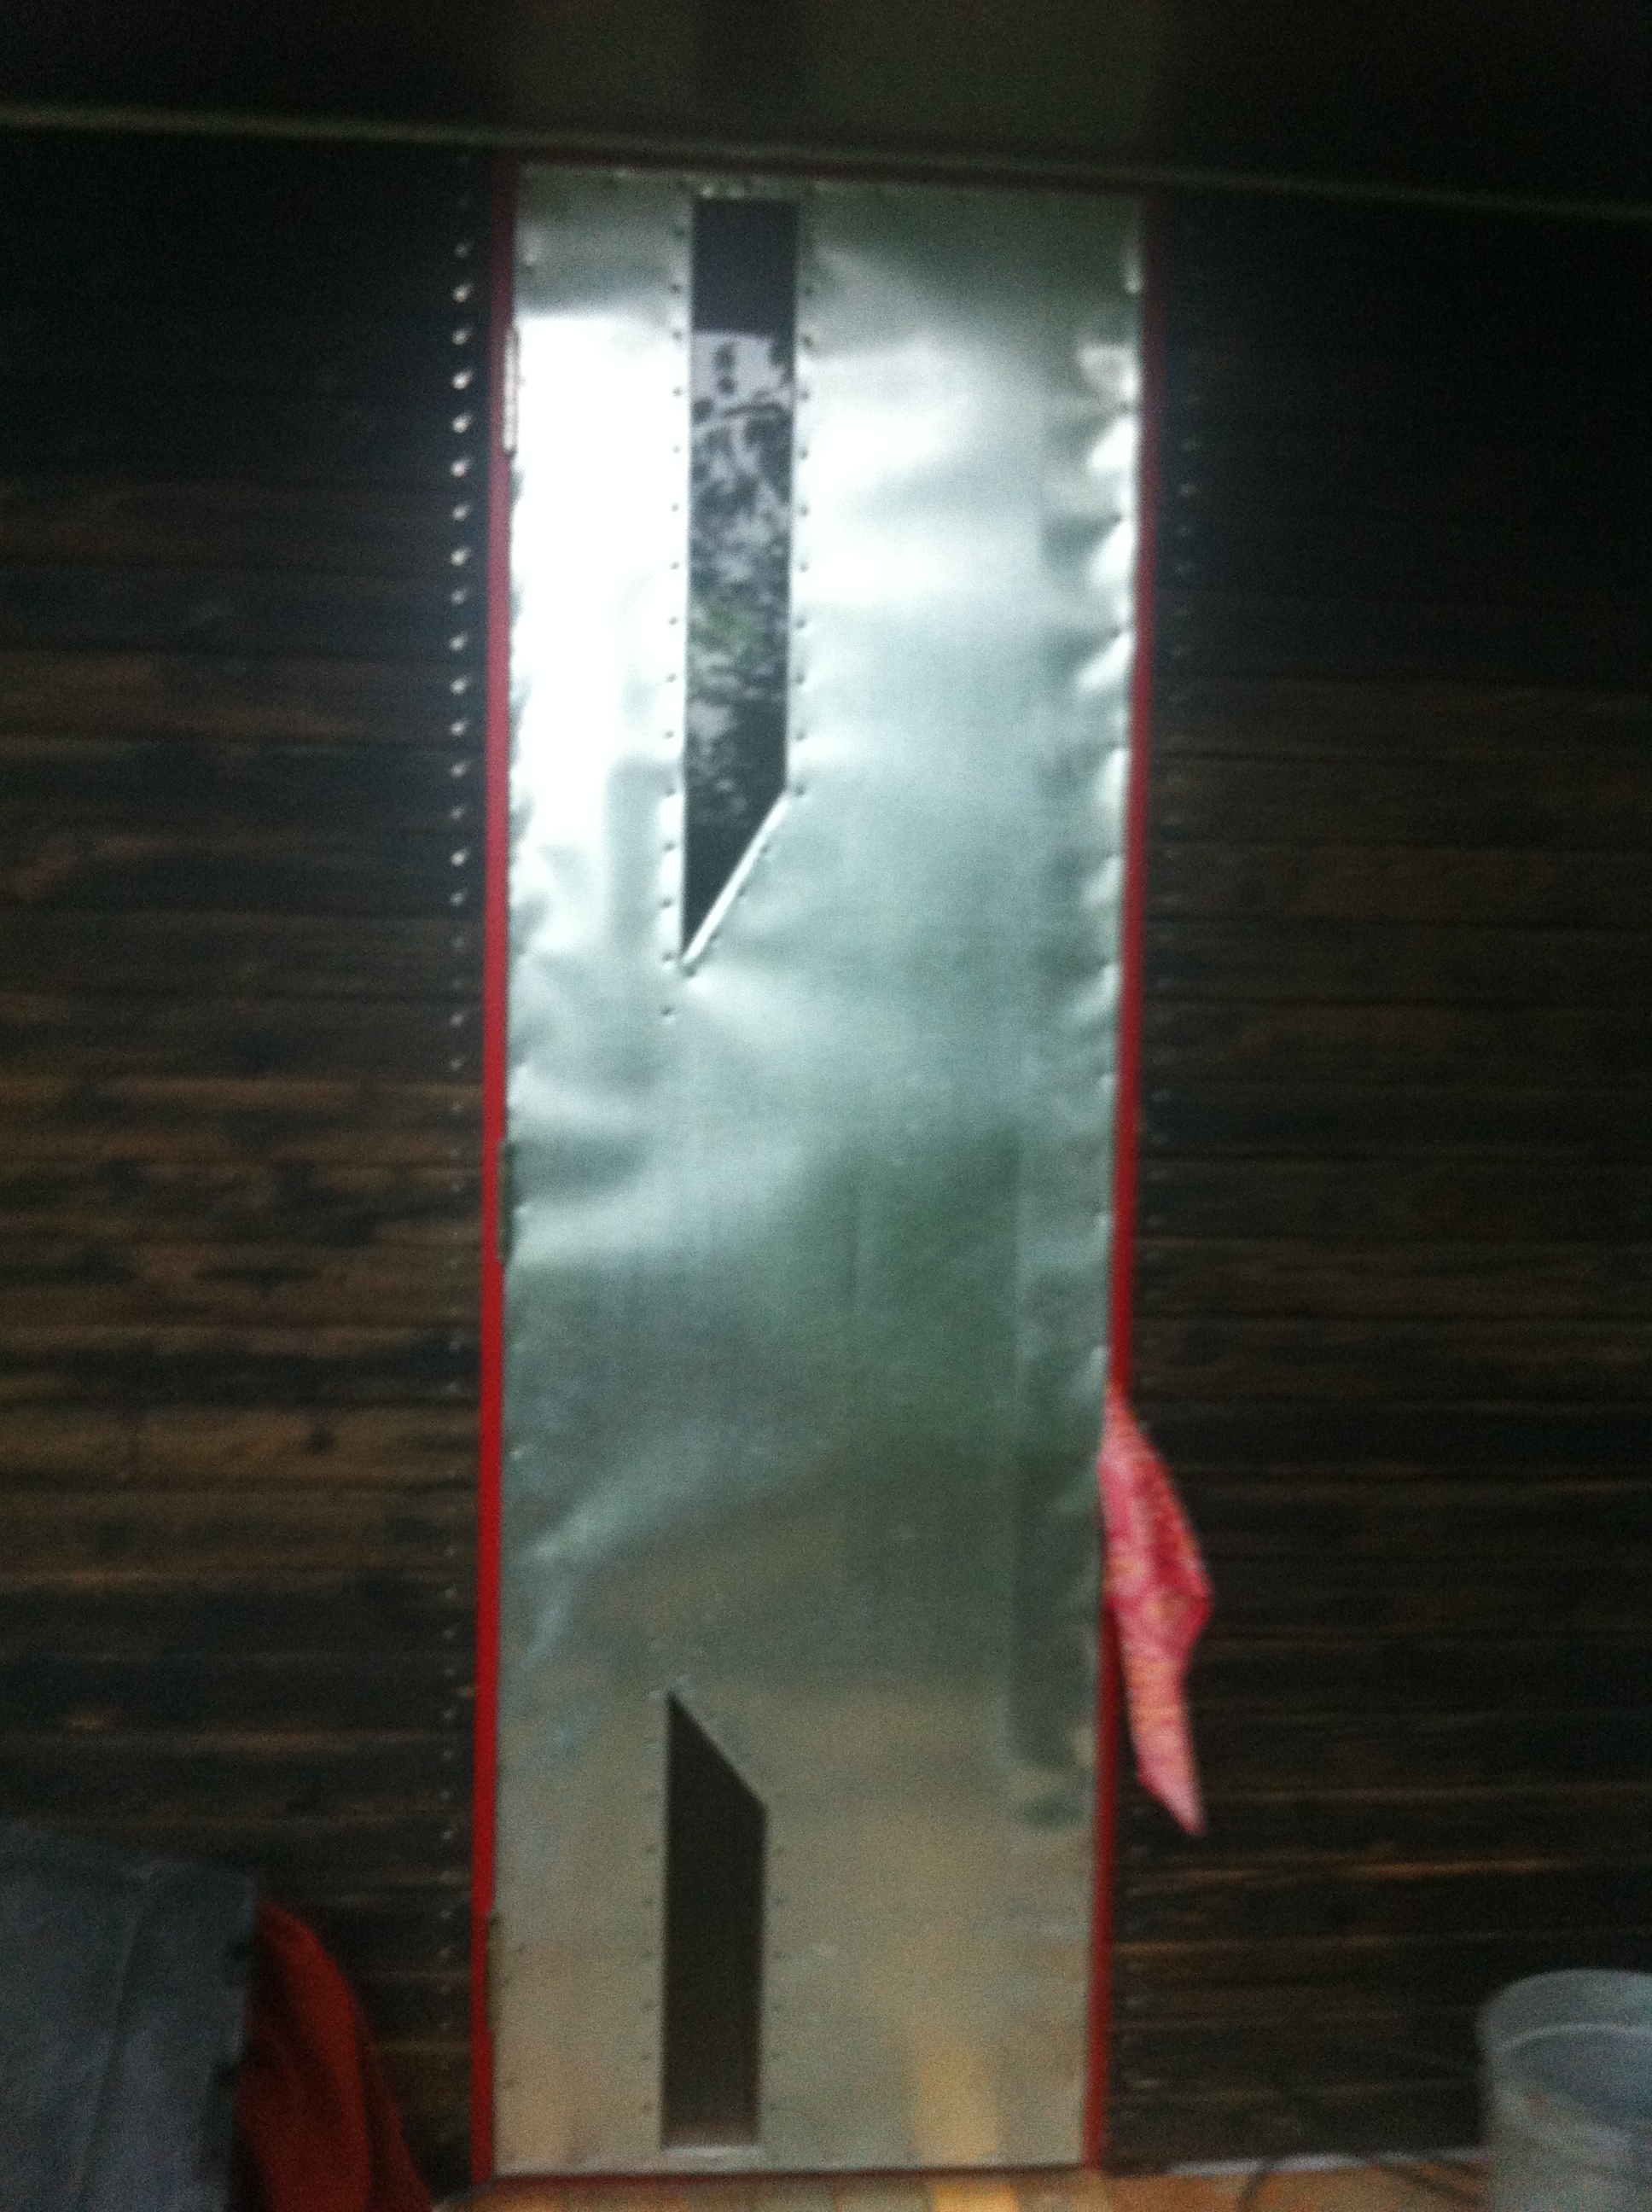
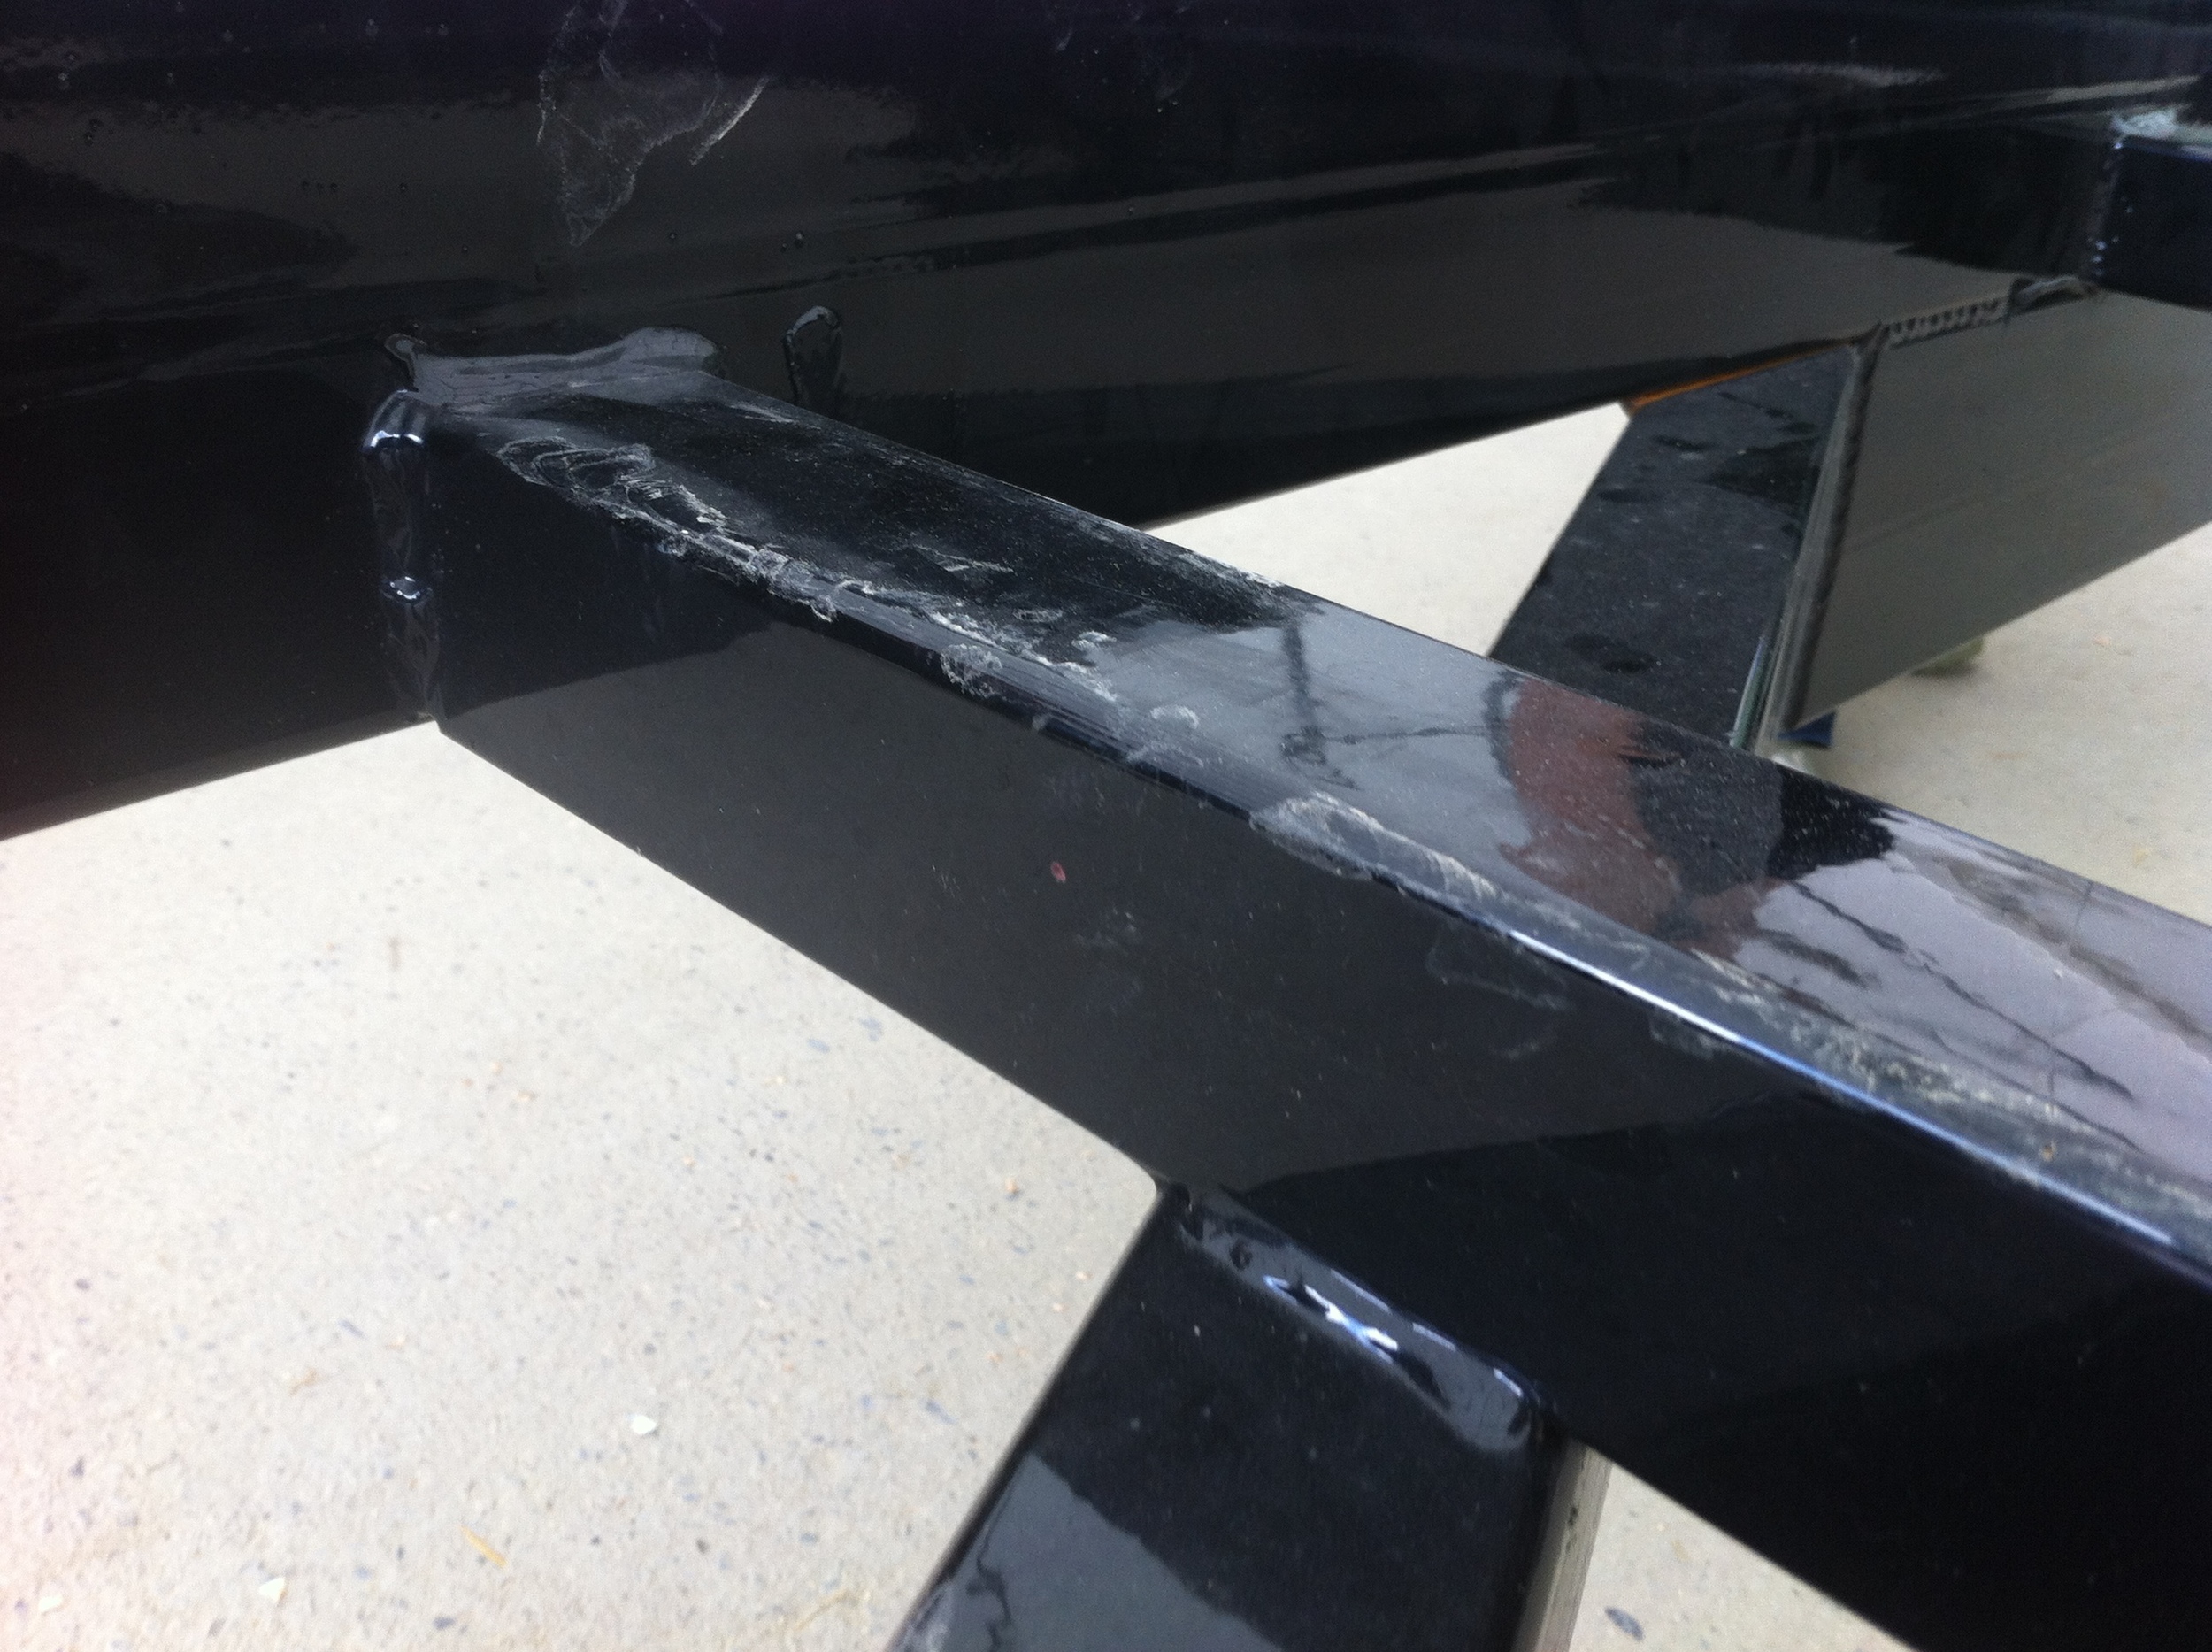
First, I didn't want to add the weight of additional paneling. Even if I went with an interior that's super lightweight like cedar tongue and groove or Alupanel, it's still additional weight and I'd rather not add it. Second, some folks have concerns about the drywall seams cracking when a little house is moved. (I haven't actually seen this happen yet, but I'm curious about whether anyone has. Feel free to leave comments below either way!) Finally, I kinda like the texture of the OSB being available. It's almost like the "truth window" in a straw bale house. It lets people know that my walls are really and truly SIPs!
So I knew I wasn't going to add an additional interior finish, but I did consider using a plaster paint because I love the look and feel of it. It seems almost magical to me how it captures the light. (Oh, and did I mention getting to play in the mud?!) But the lead time was really long and I had some concerns about it cracking in transport. And finally, none of the colors seemed quite right. Plasters tend to come in really lovely and sometimes quite complex hues, but I decided I wanted something more vibrant!

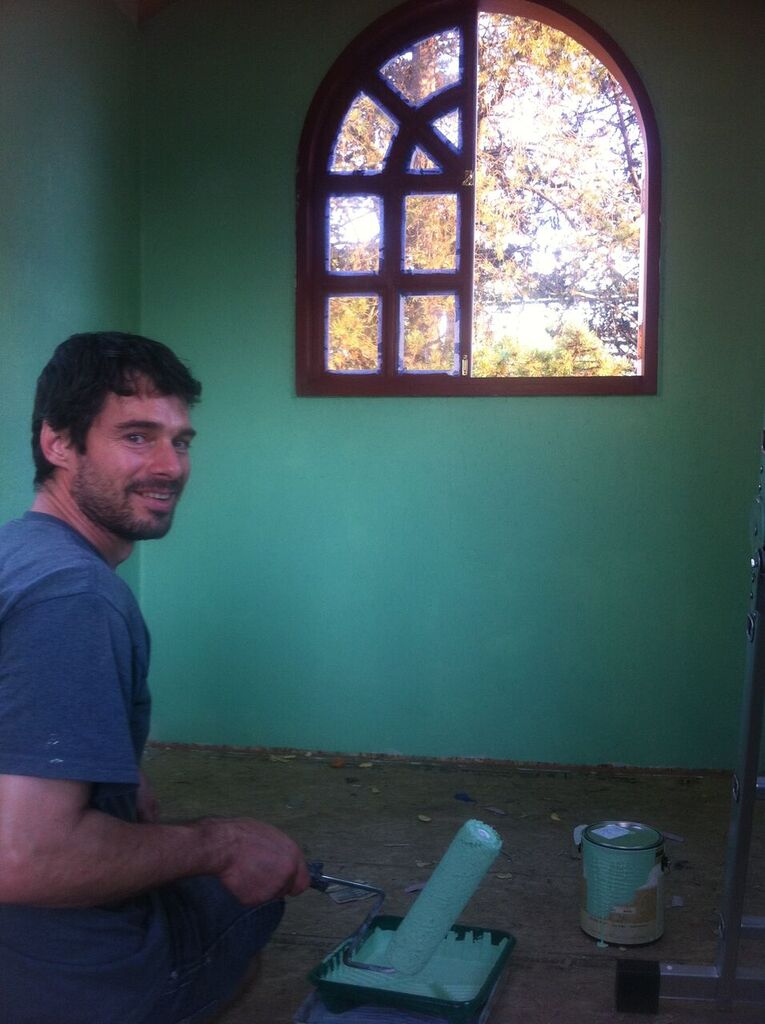
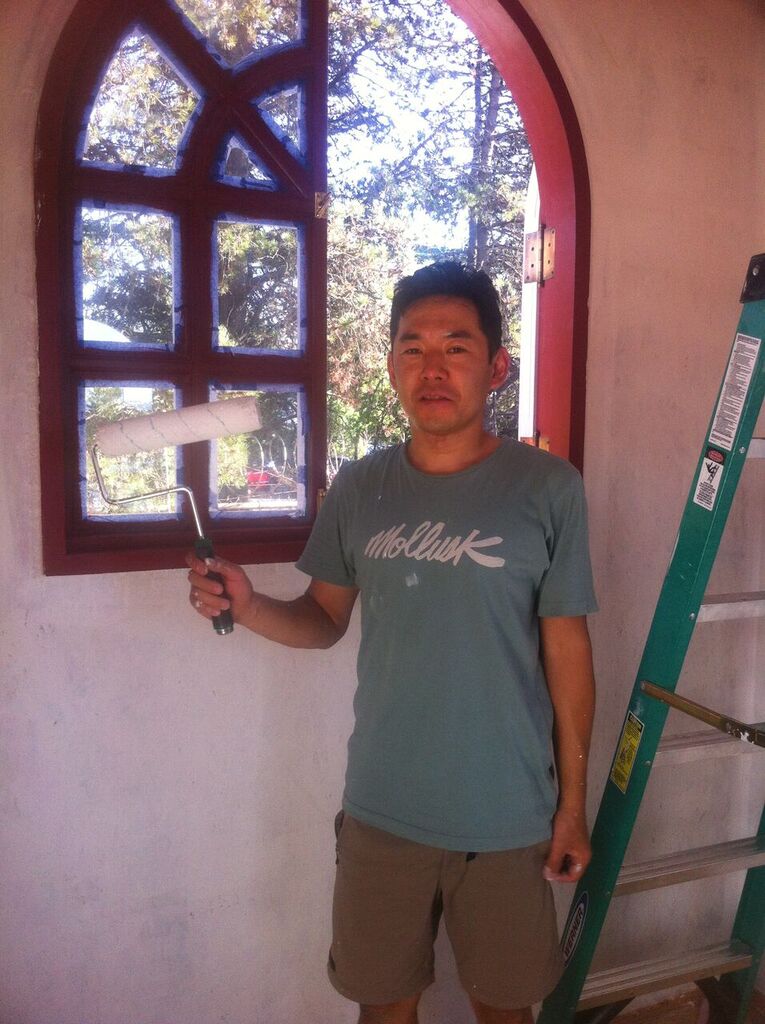
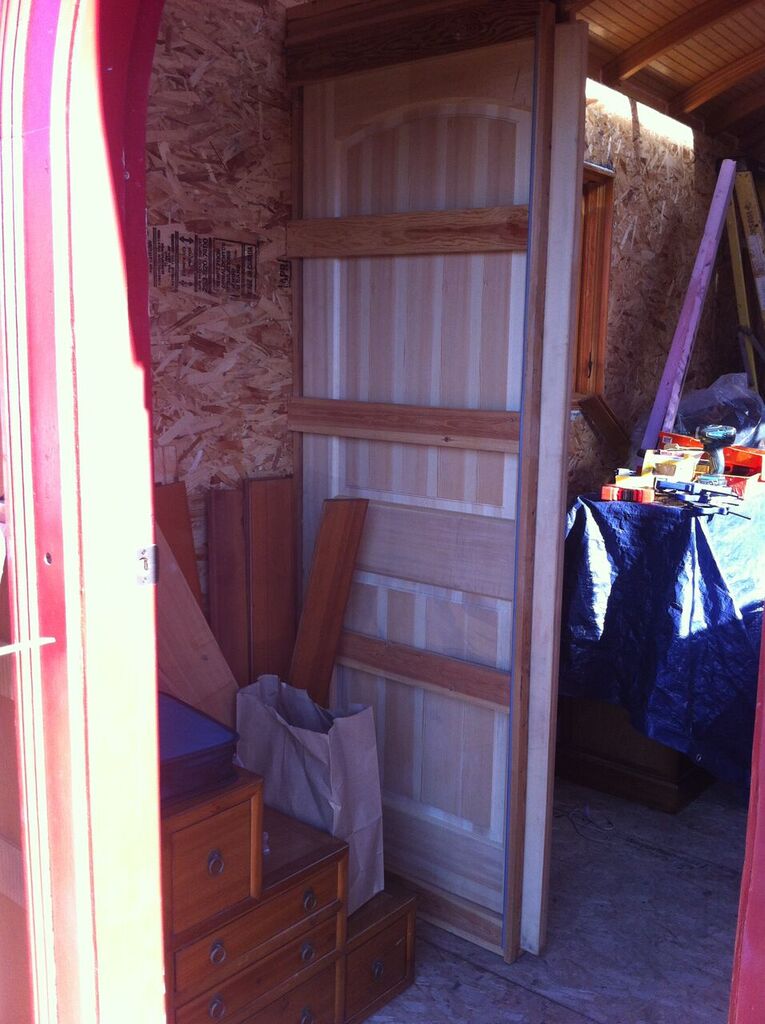
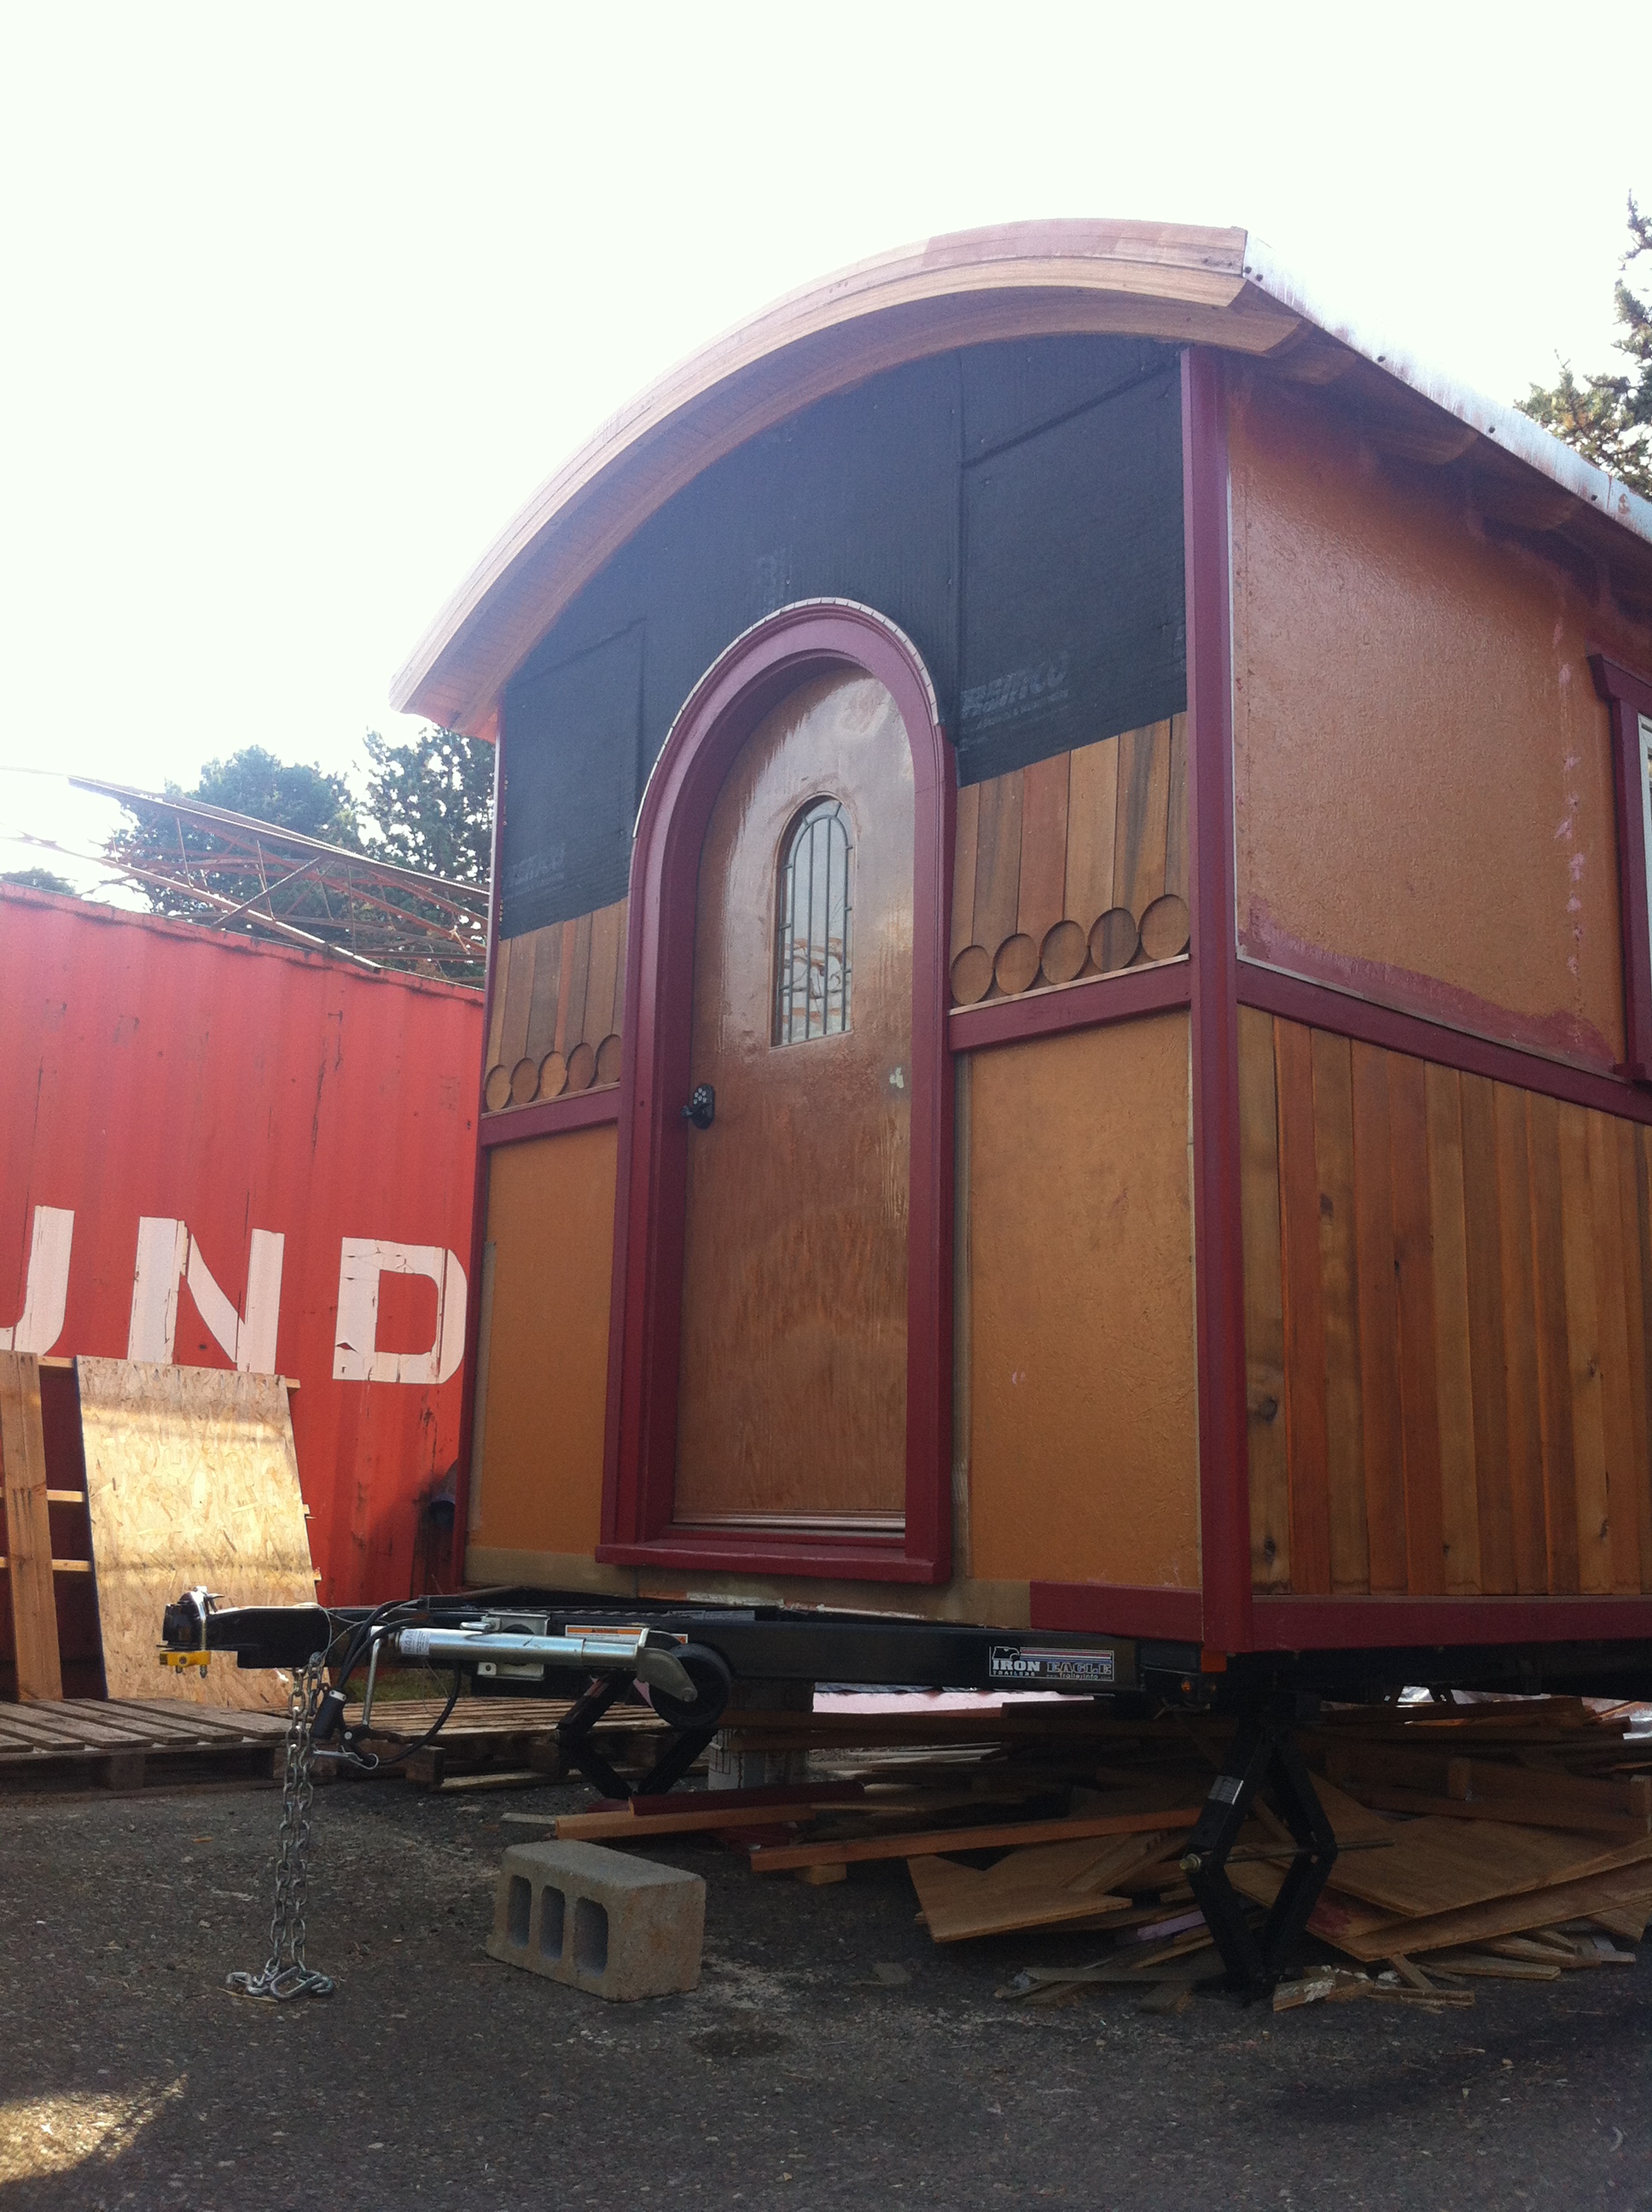
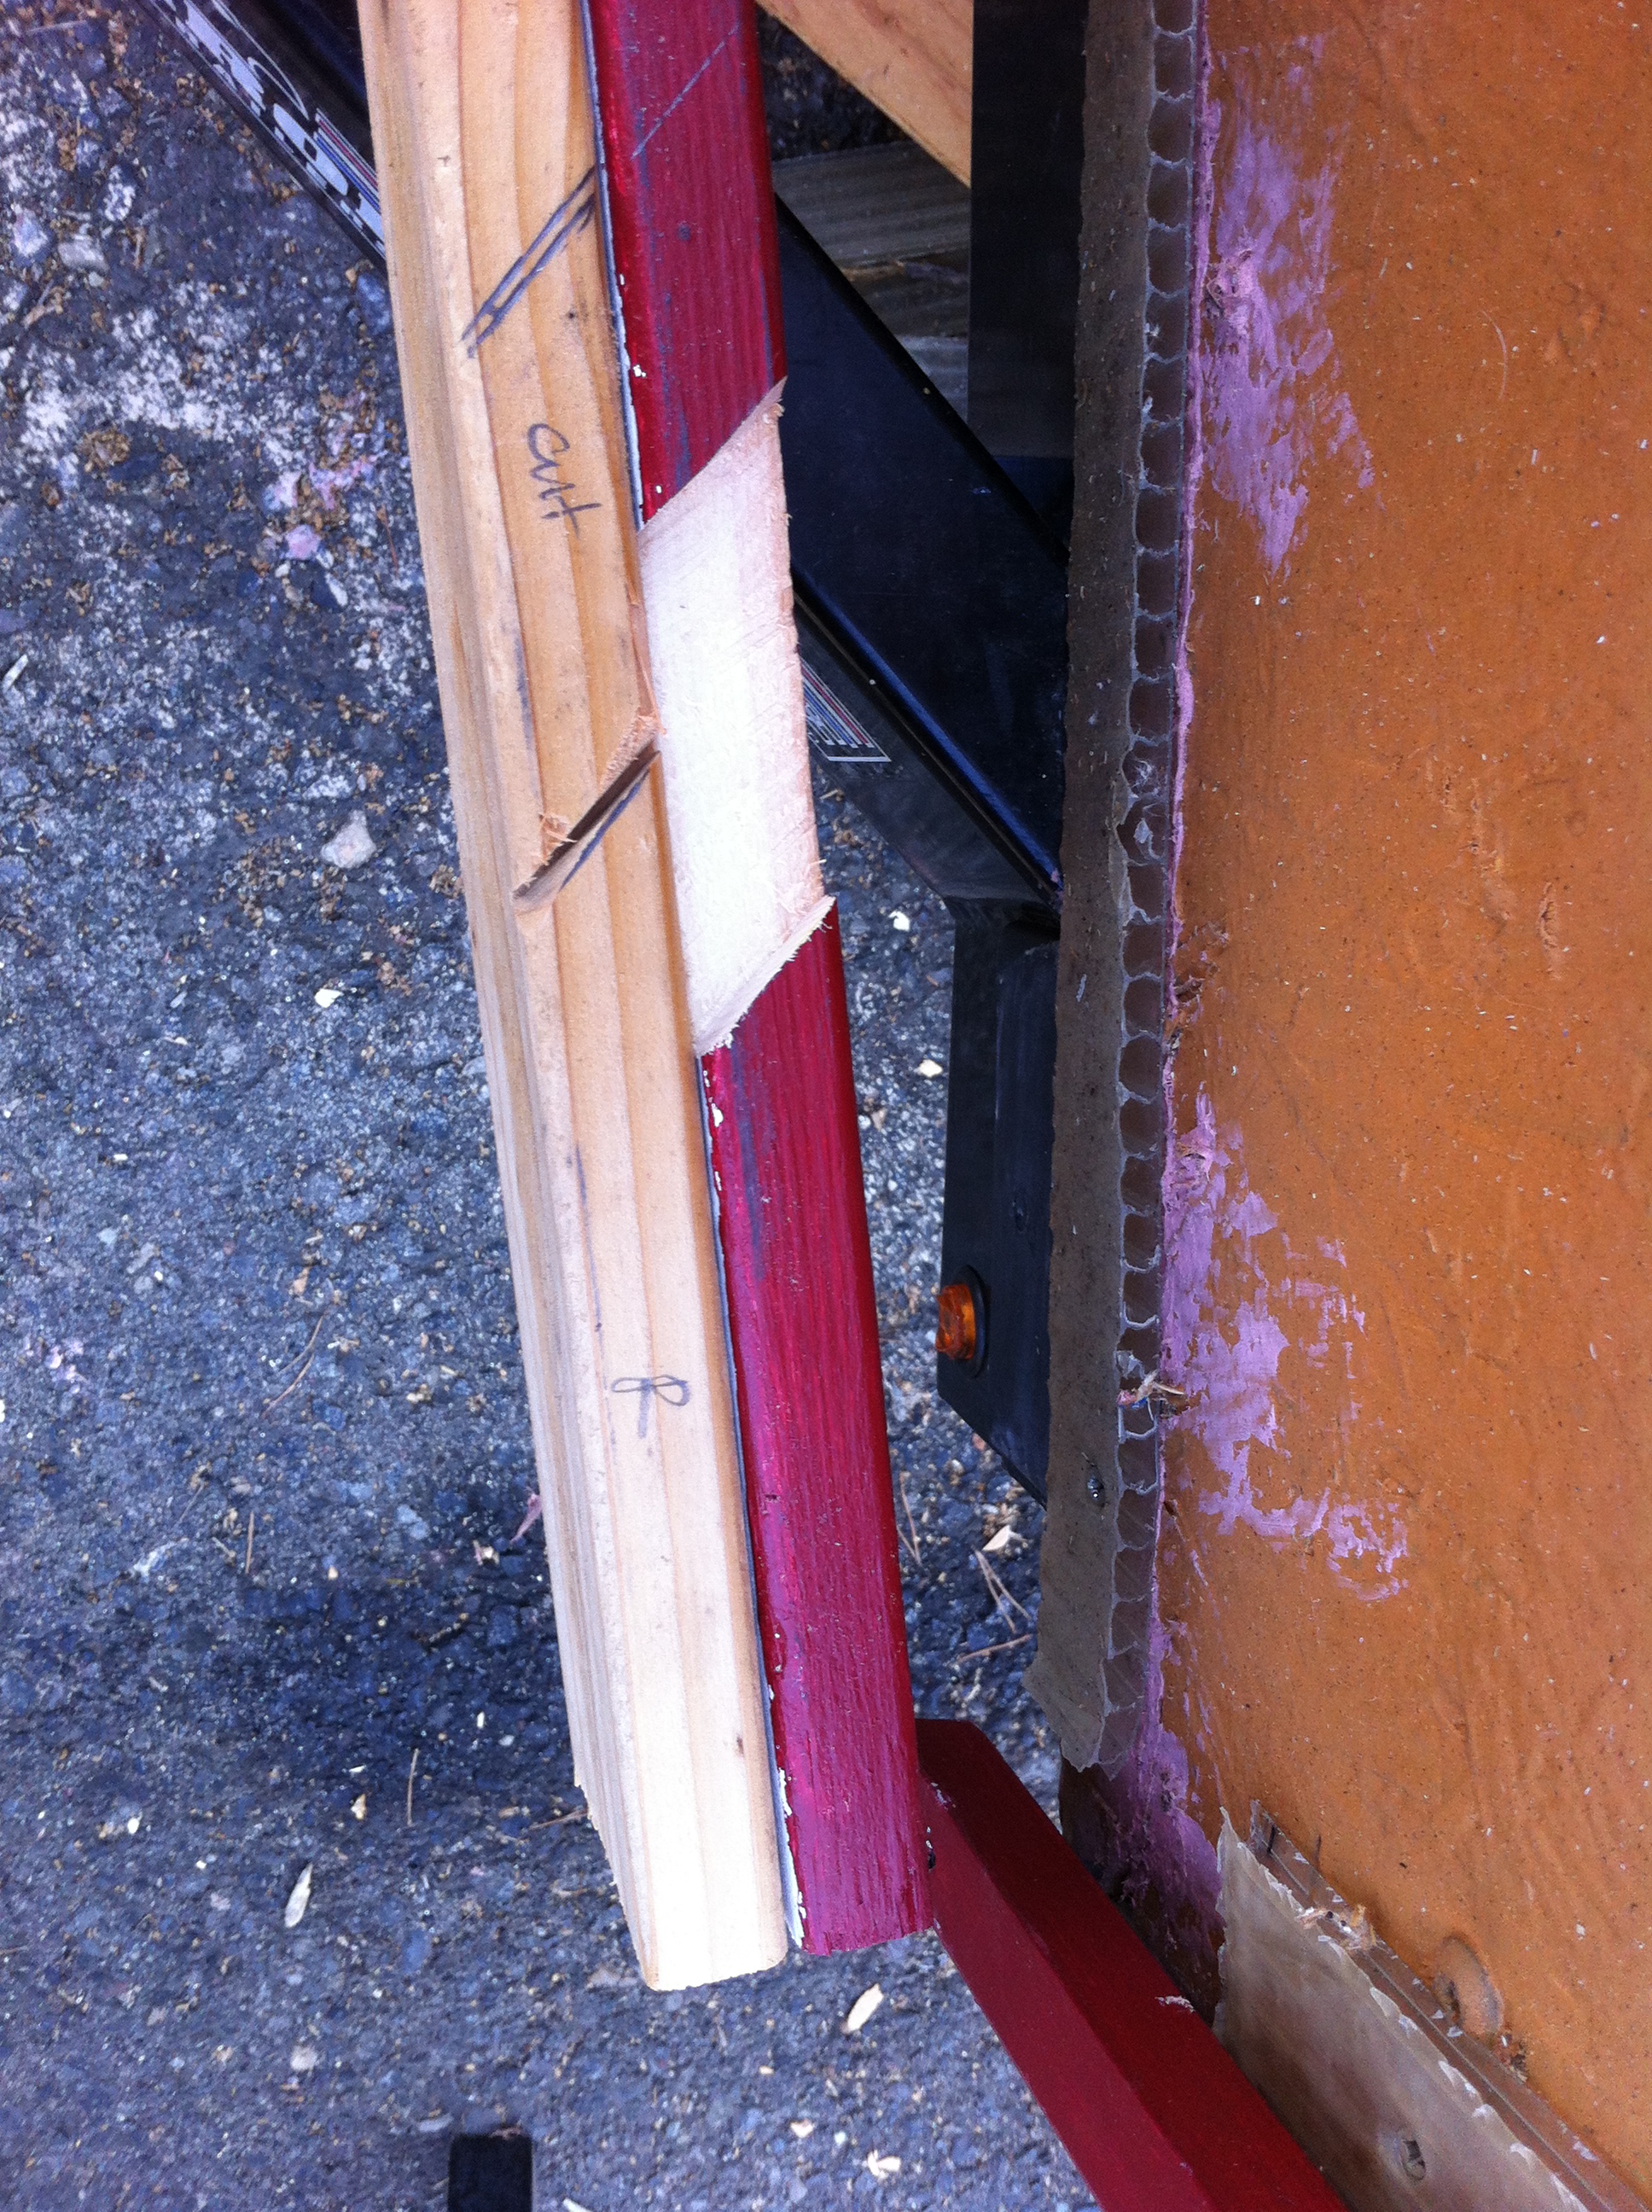
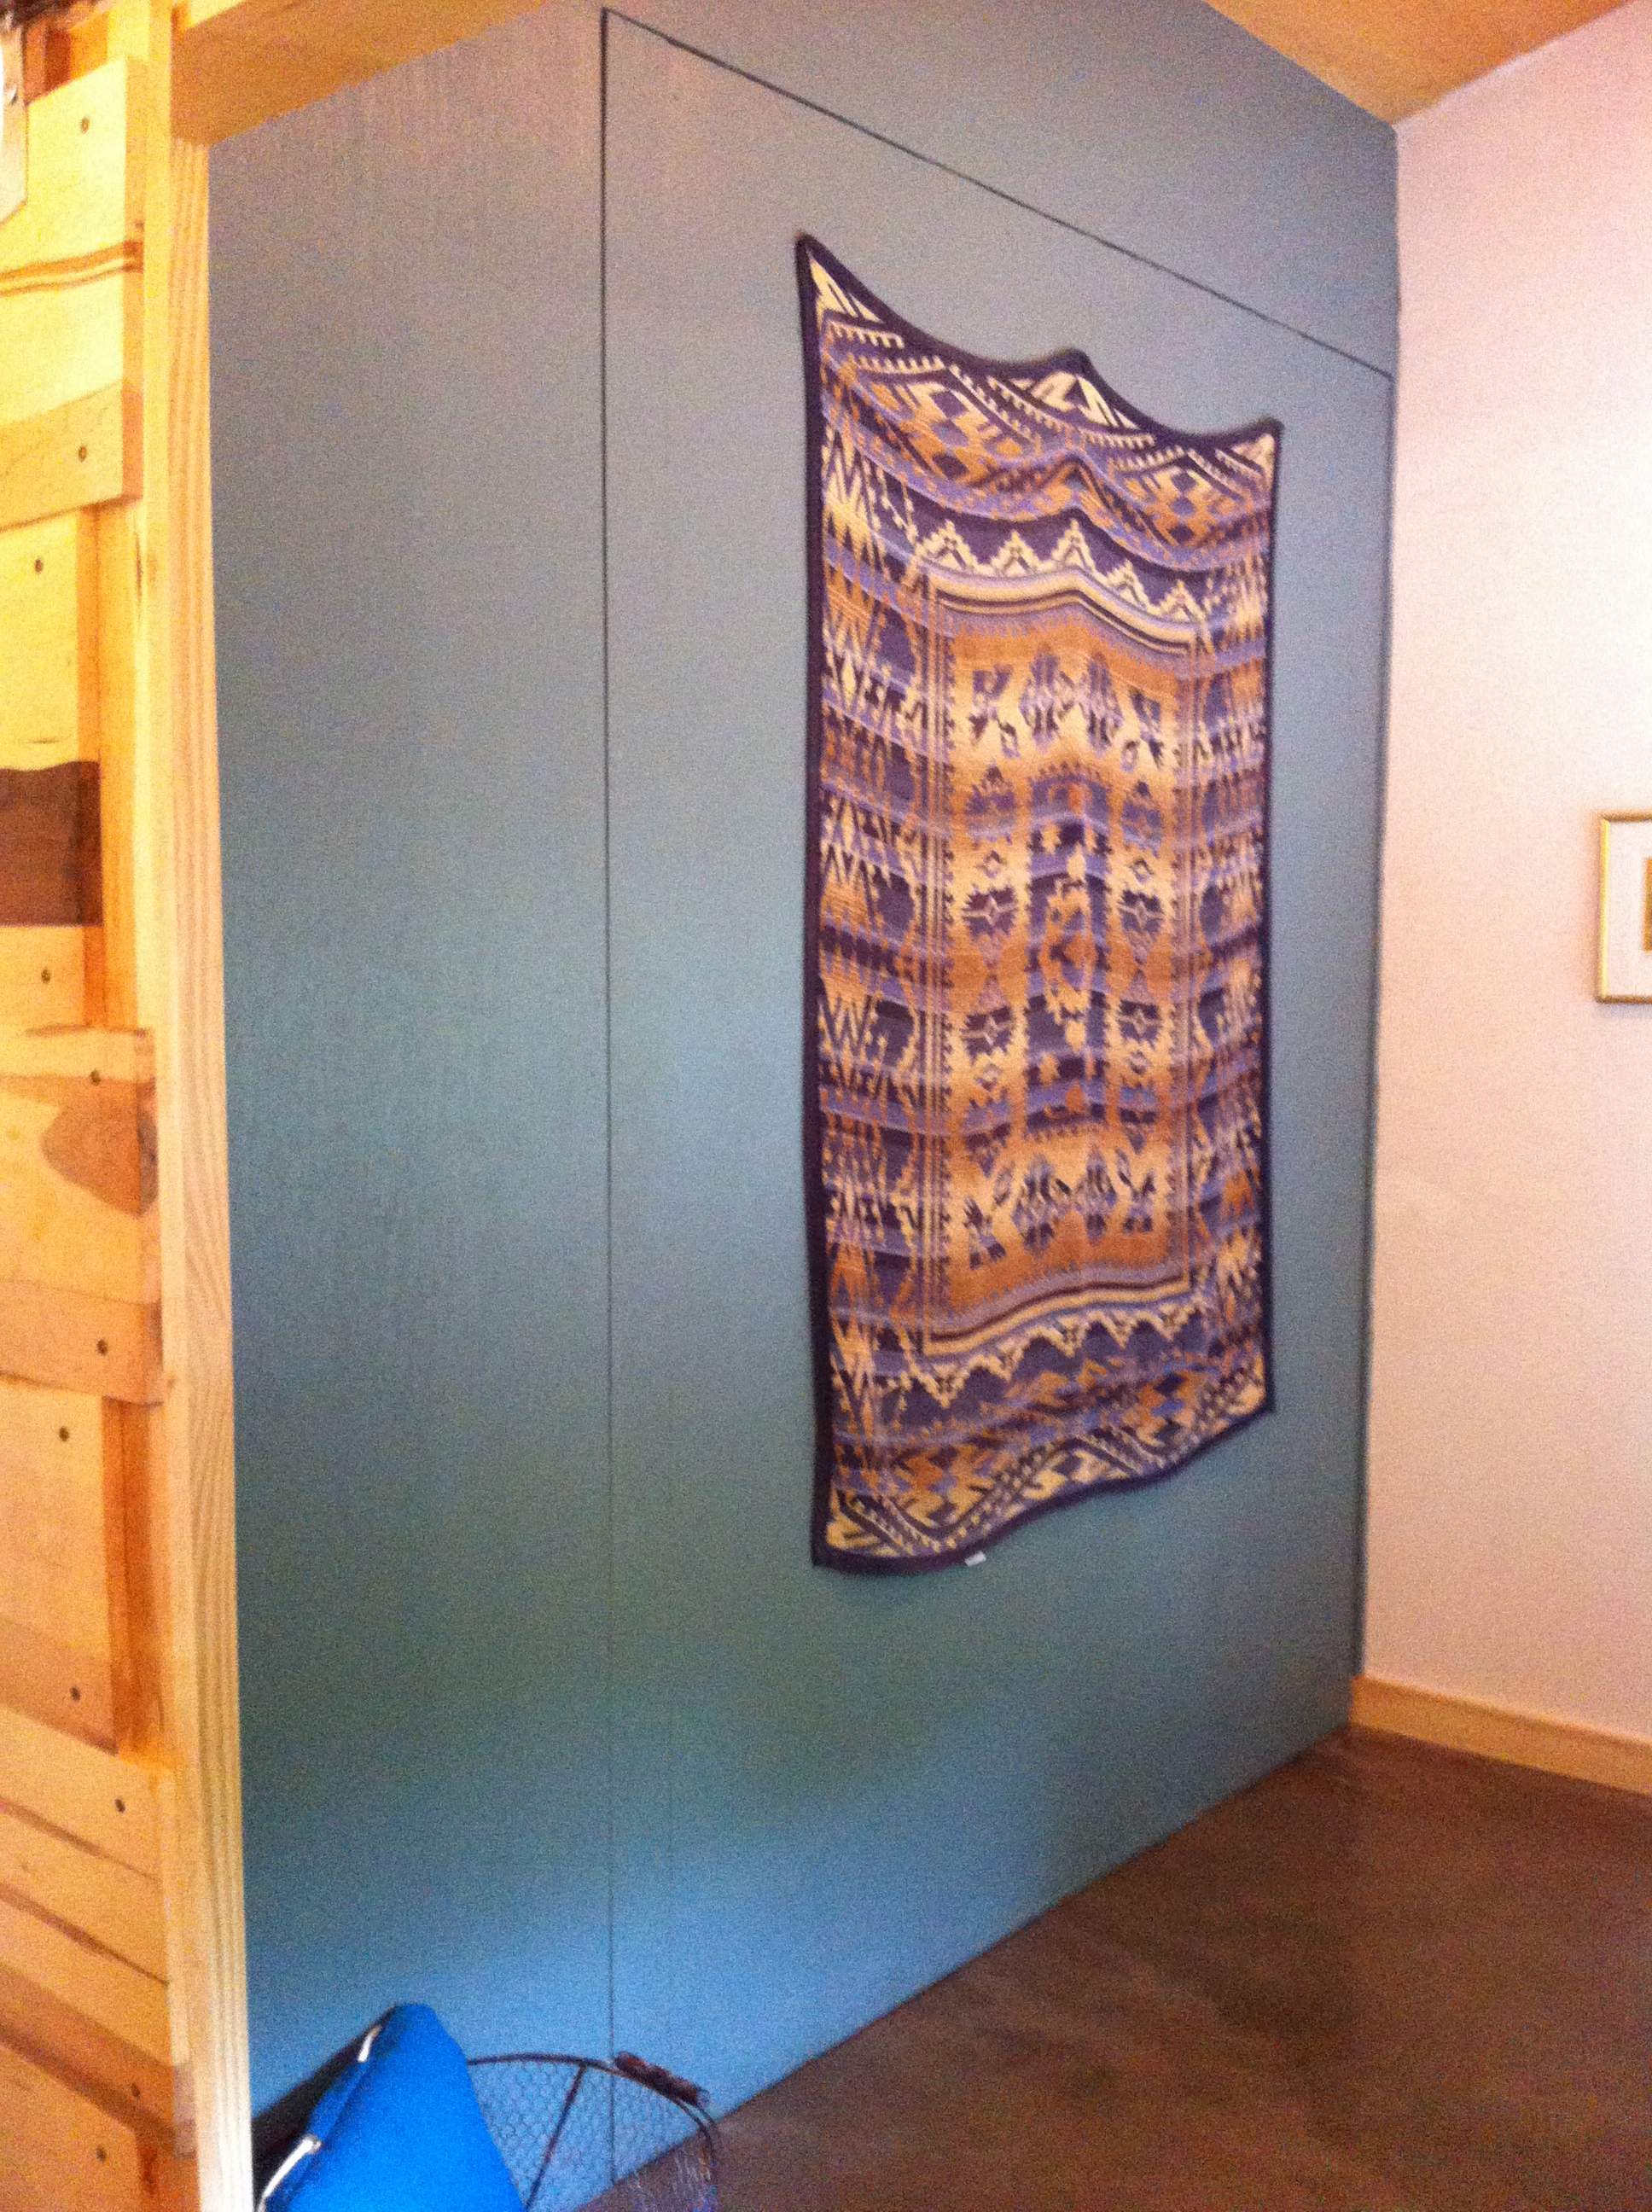
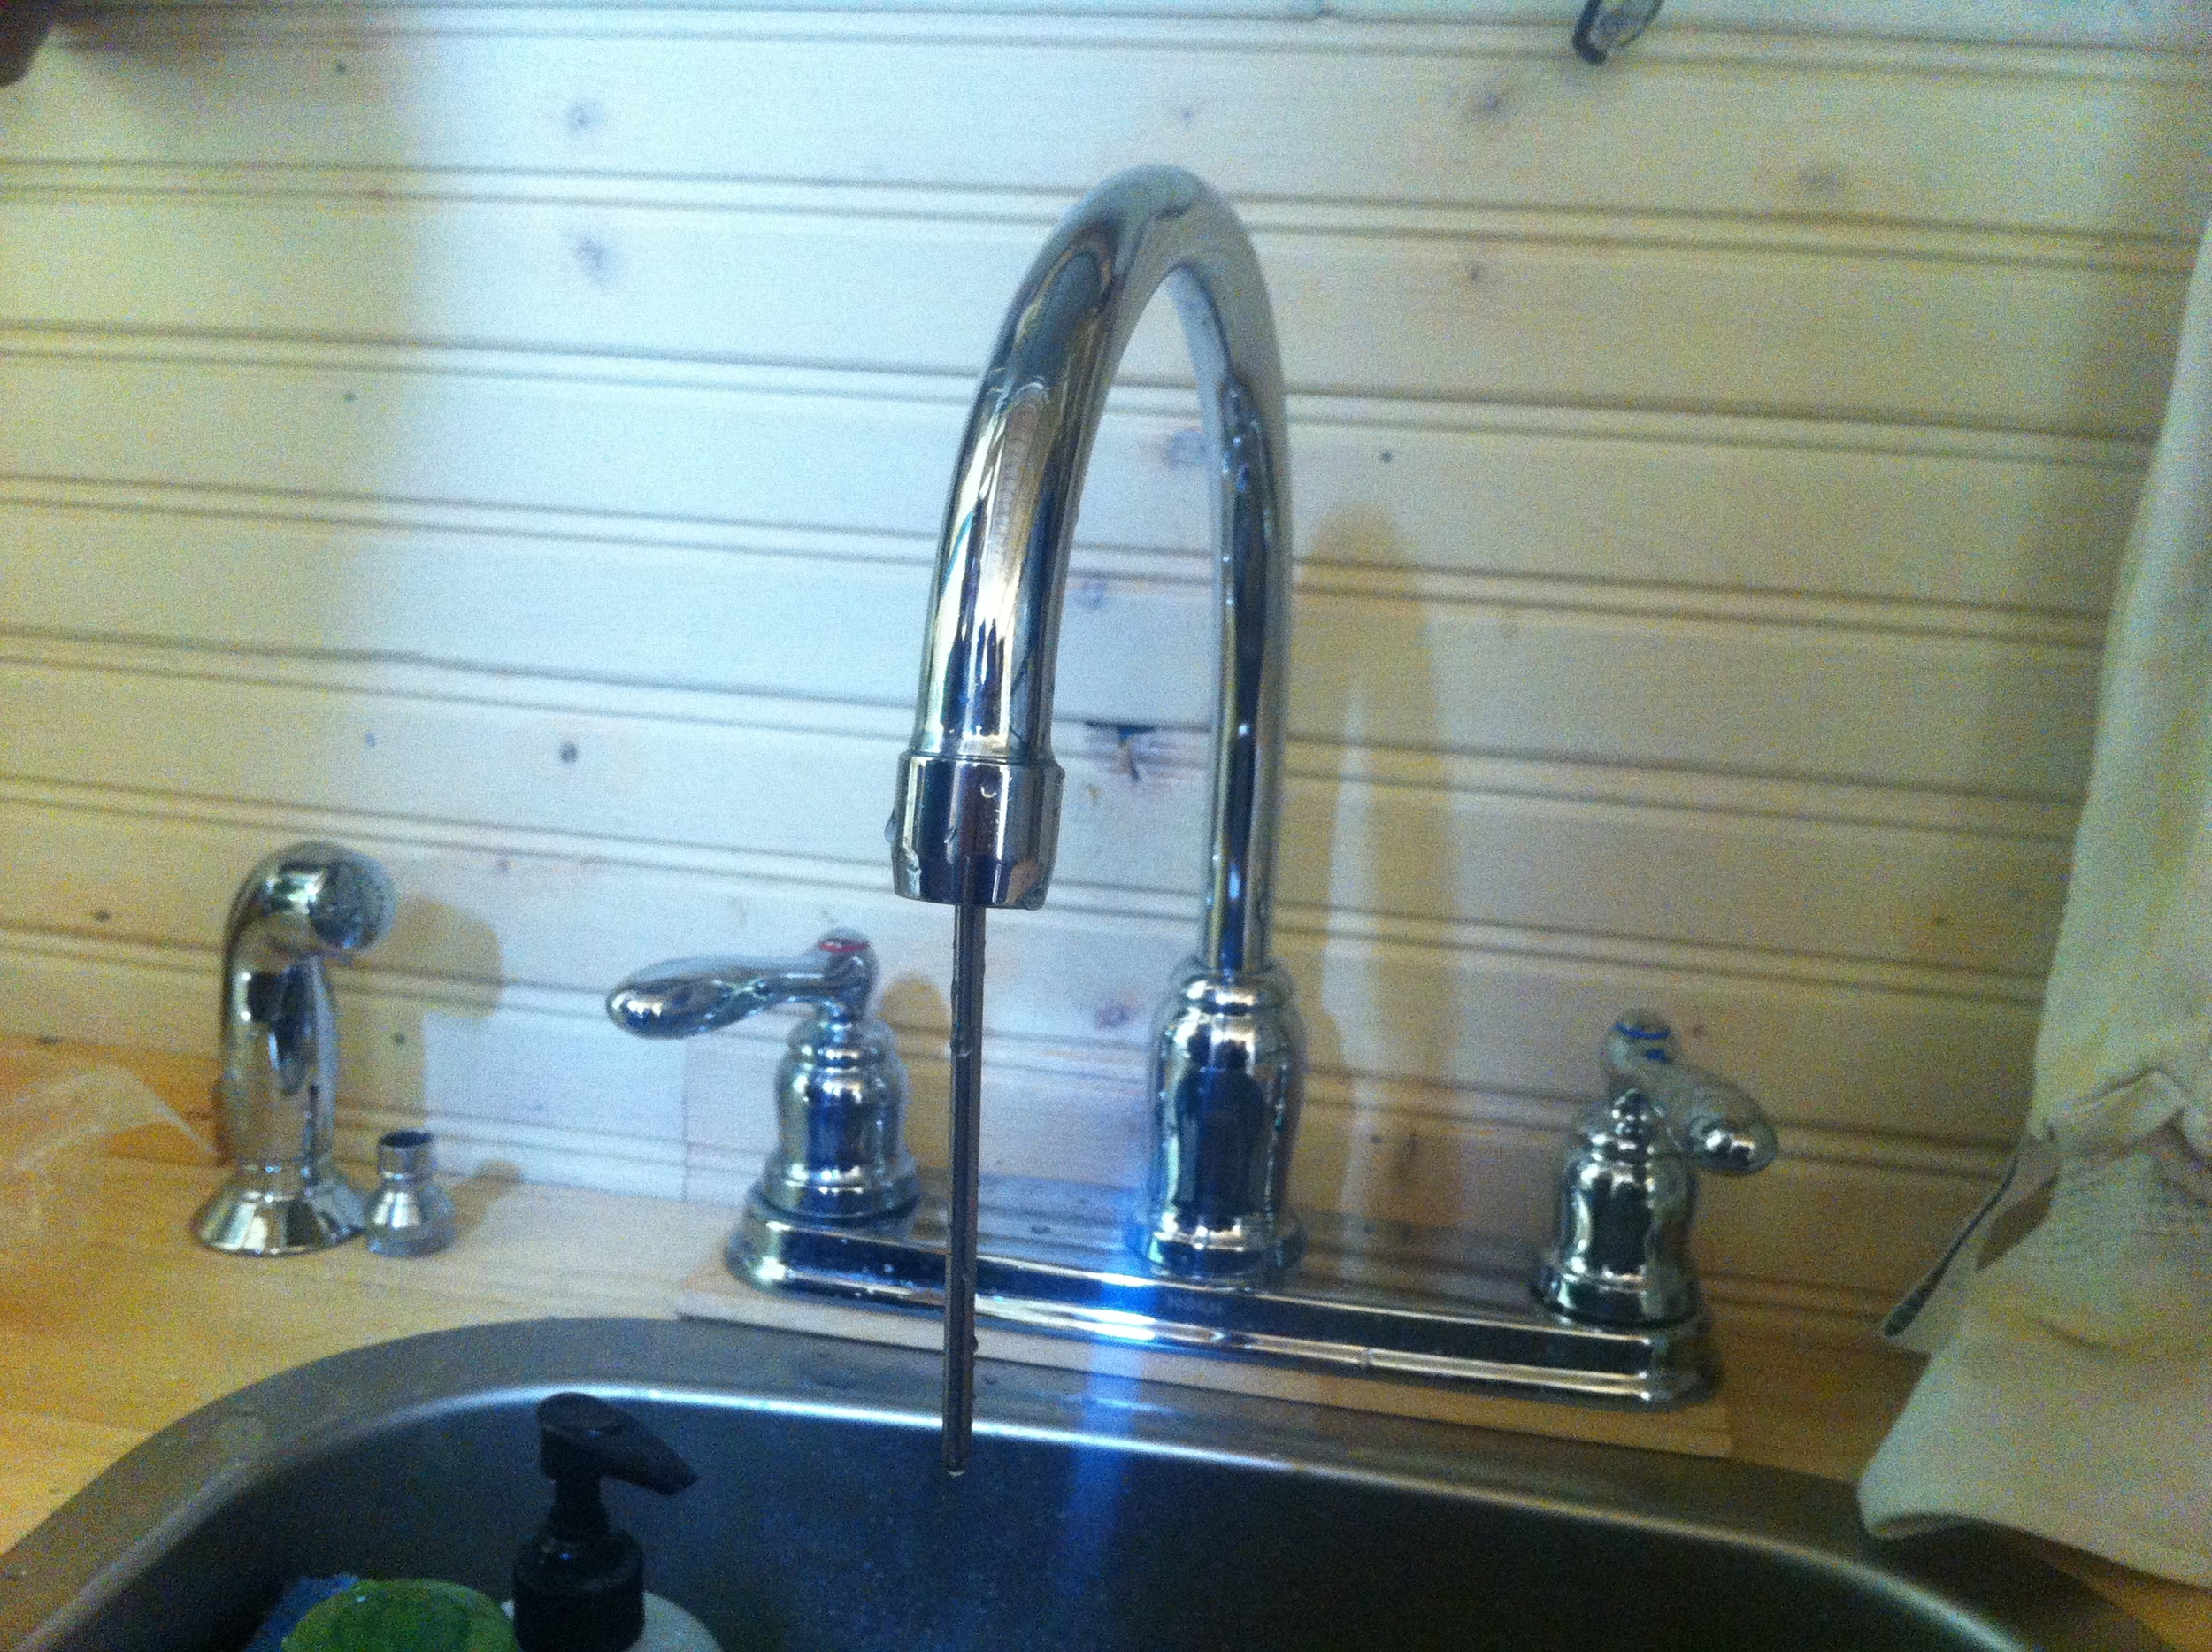
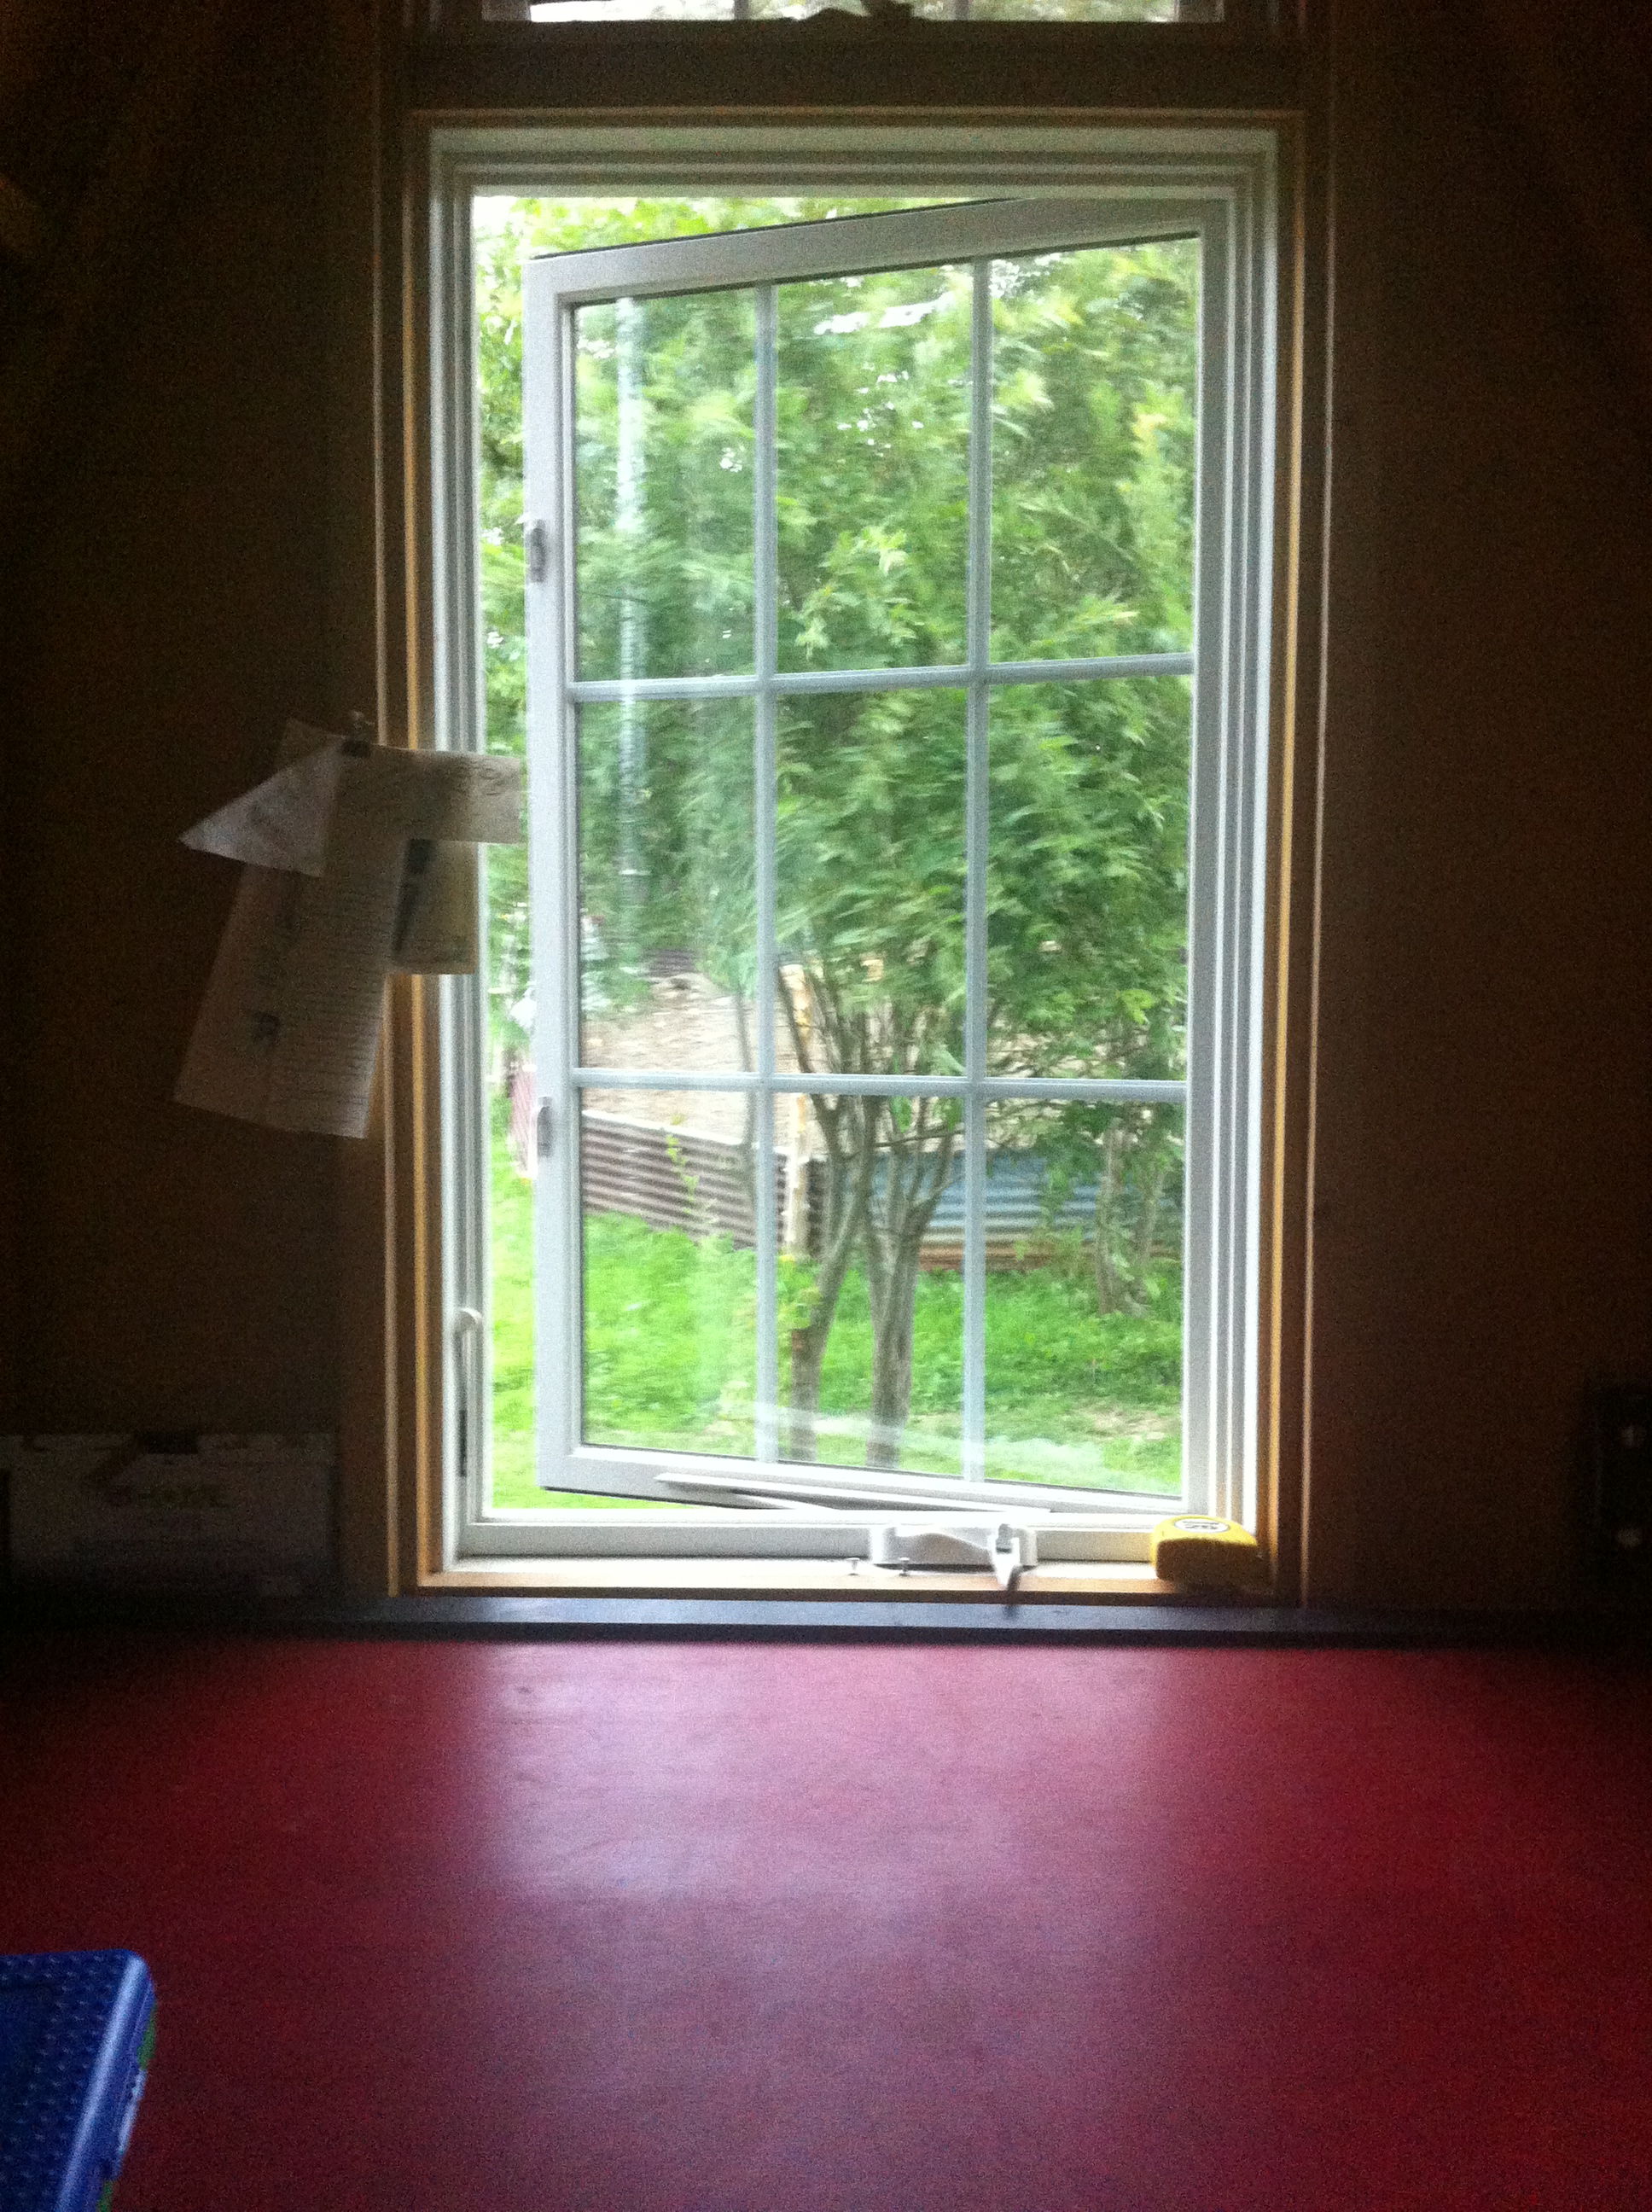
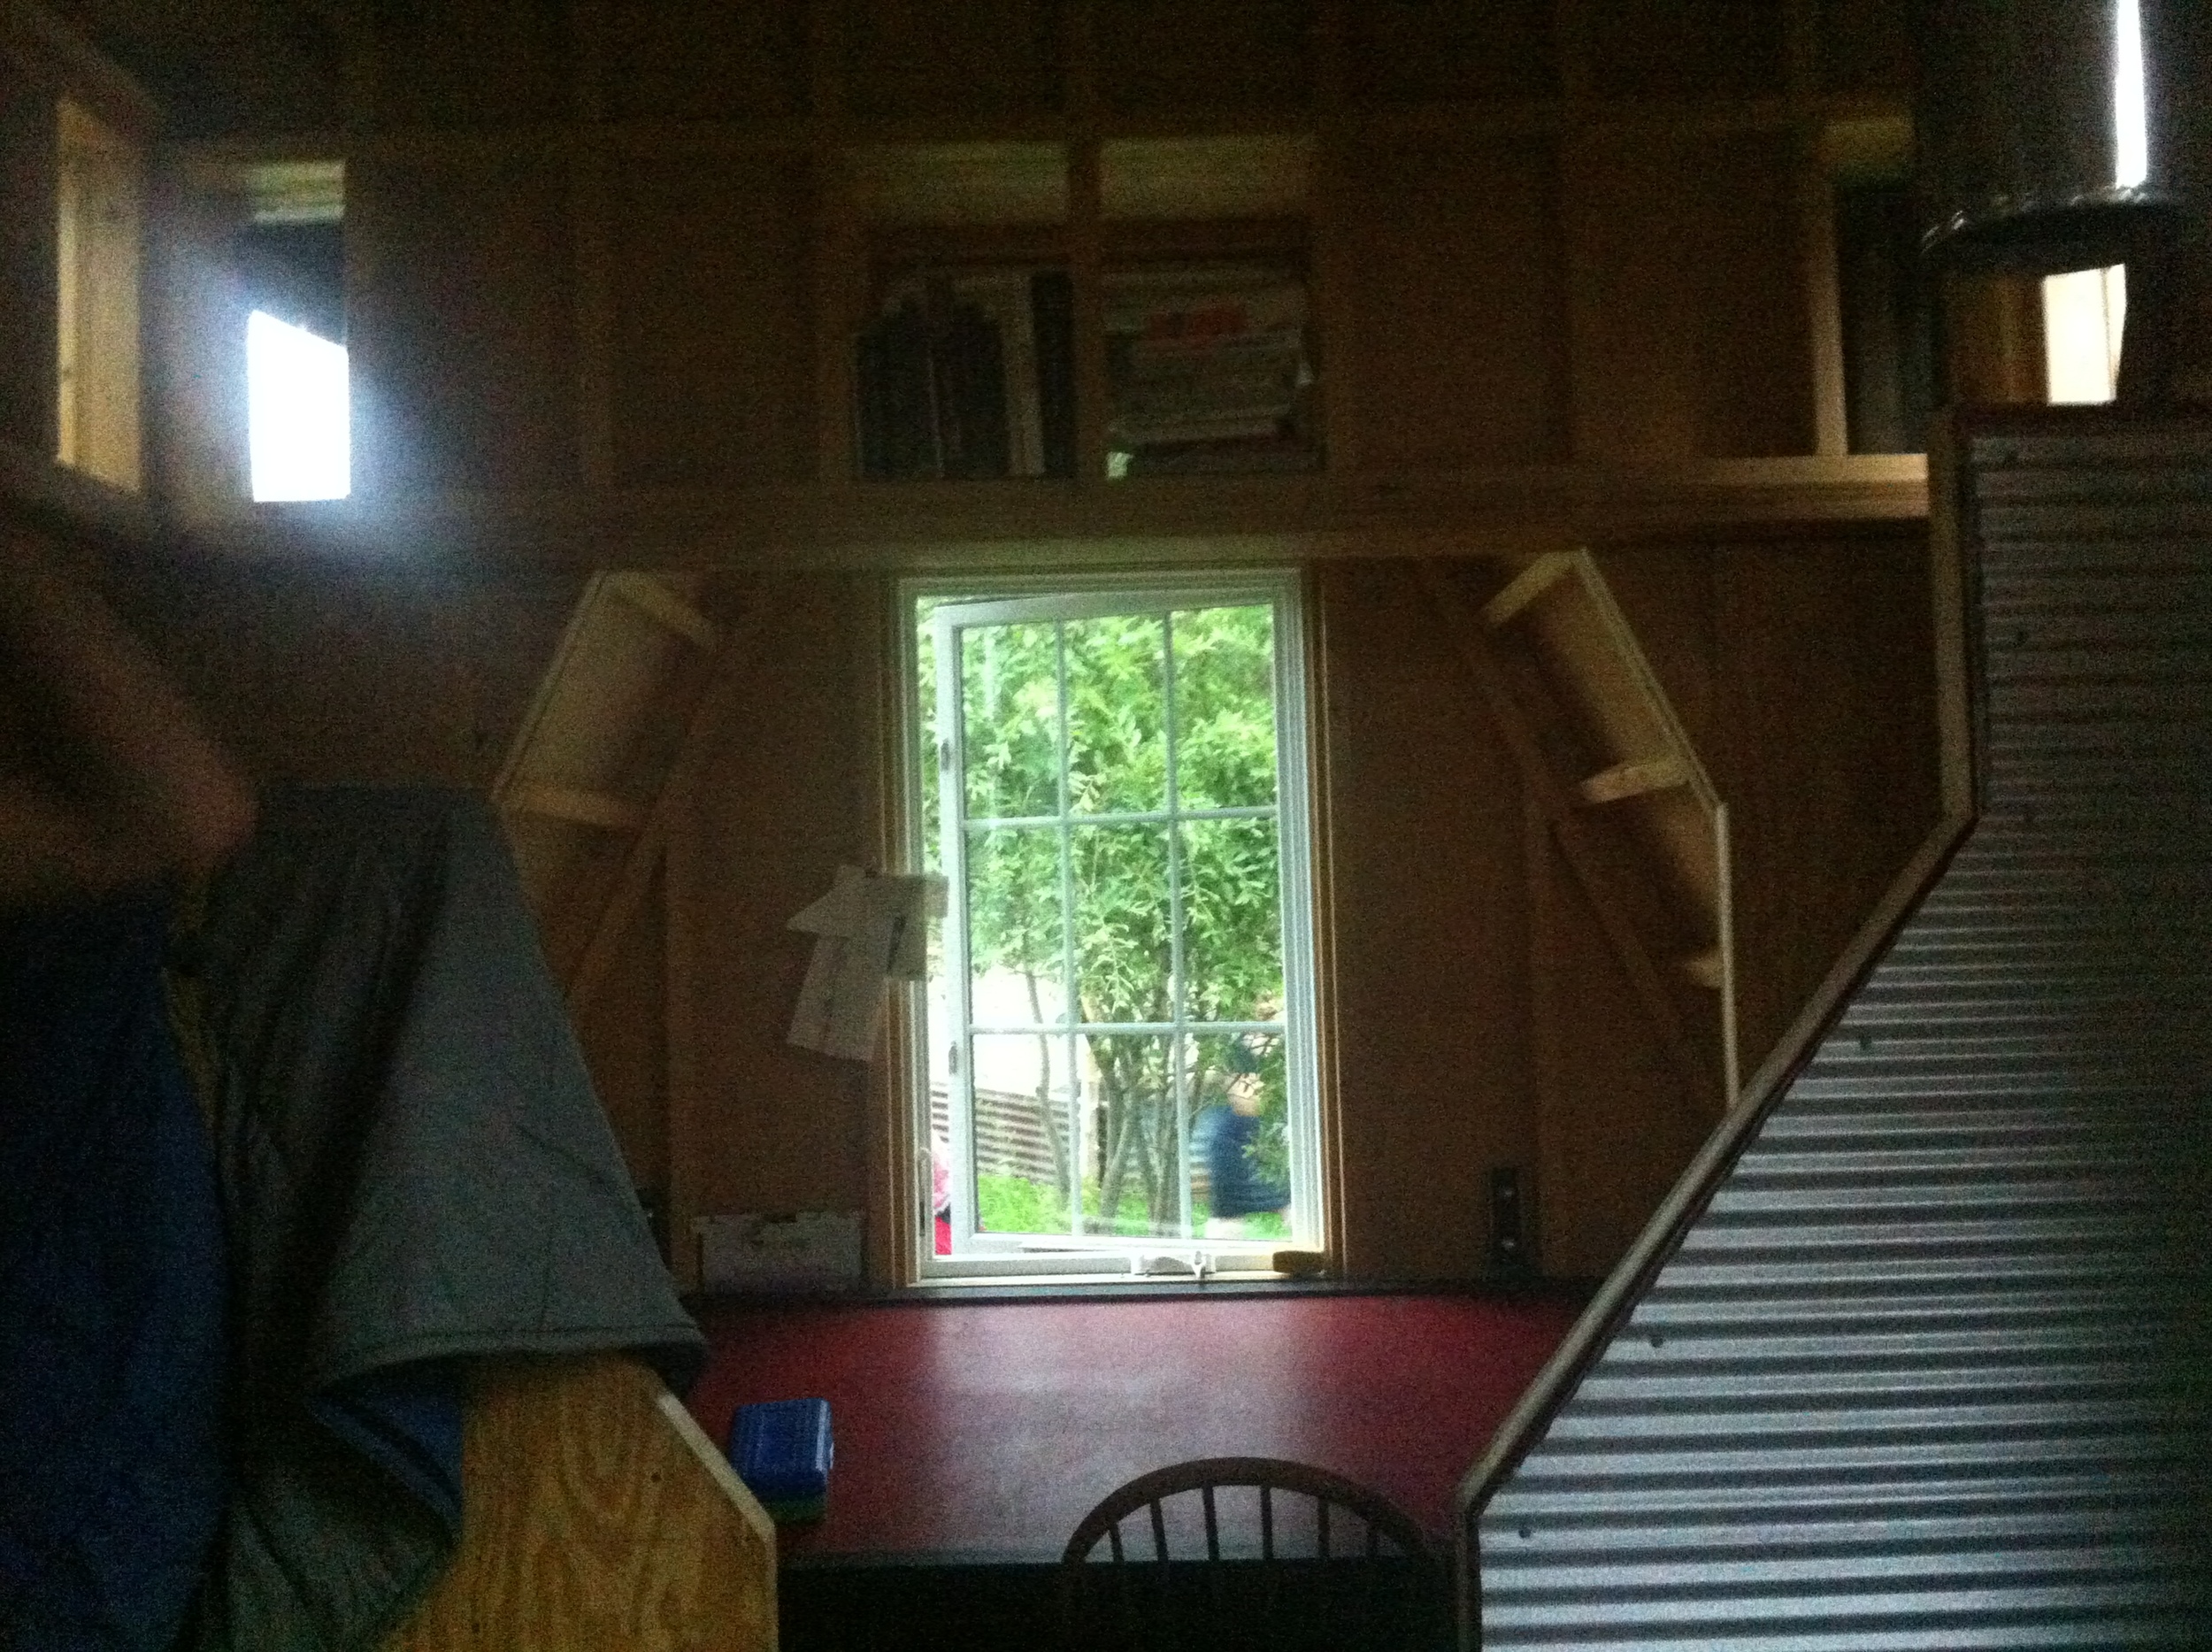
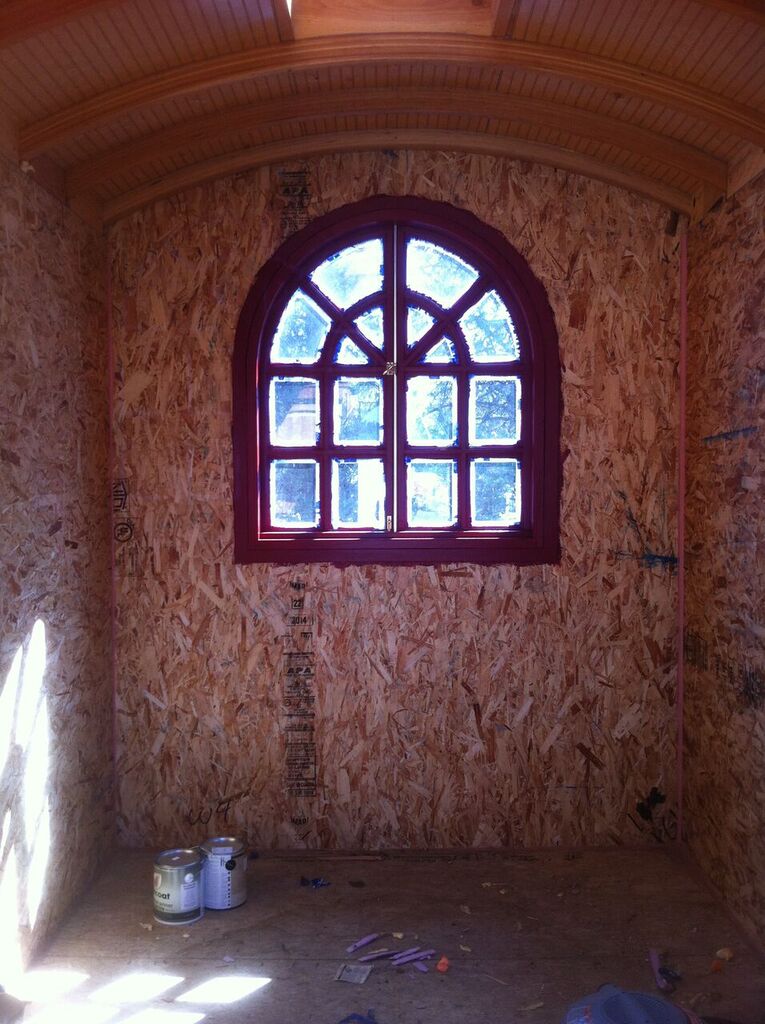
So I decided I was just going to paint my walls with a no VOC paint. Picking my trim color was really easy. When my friend Matthew and I went to the paint shop to pick a trim color for my arched door, the burgundy called California Claret just seemed to jump out at us. I knew it would great against the copper of My Refinished Arch Door, so it was the obvious choice. I felt the same way about the paint color for my interior walls. It just had to be the color of patinaed copper. So I took a piece of copper with a nice patina on it down to Green Depot where we matched it with the Yolo Paints color ways. The color is called Thrive 04 (which happens to be my lucky number!) I'll take it. Oh, and this is when I learned that another benefit of building a teeny tiny house is that you can paint your interior with just one gallon of paint!
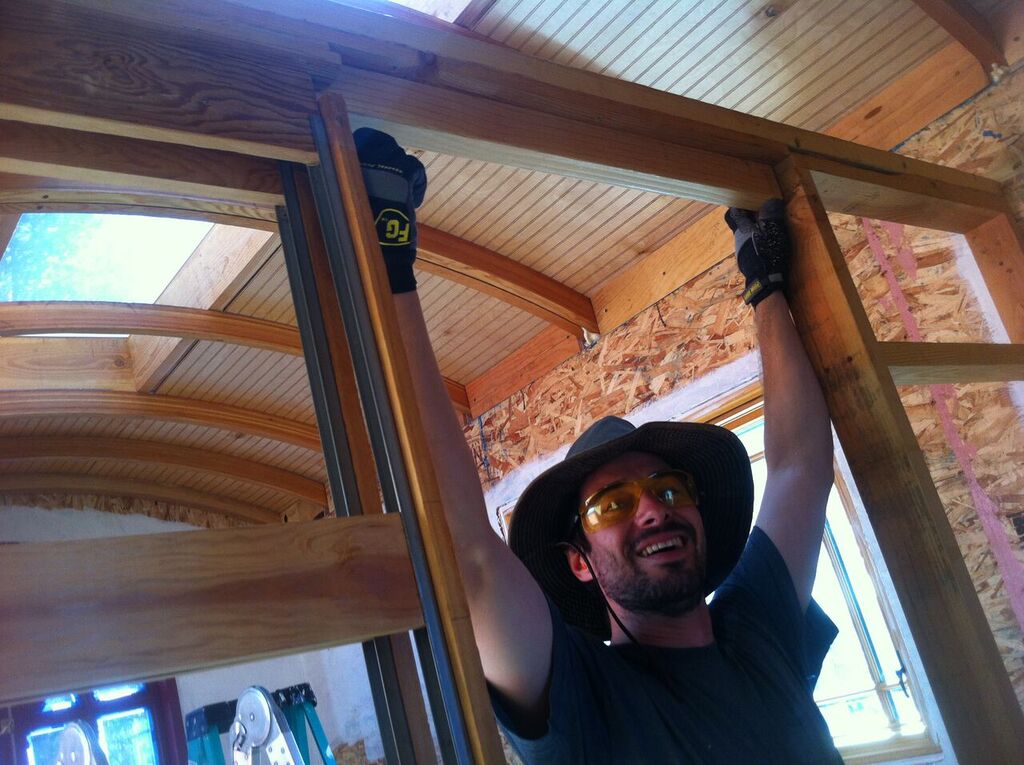
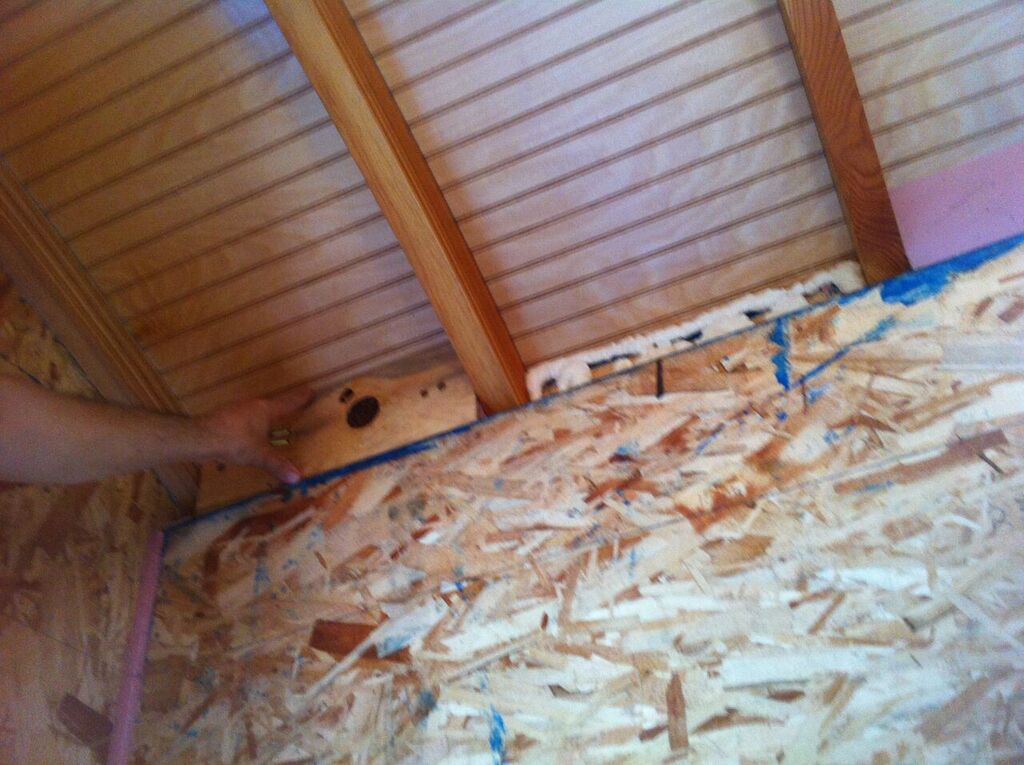
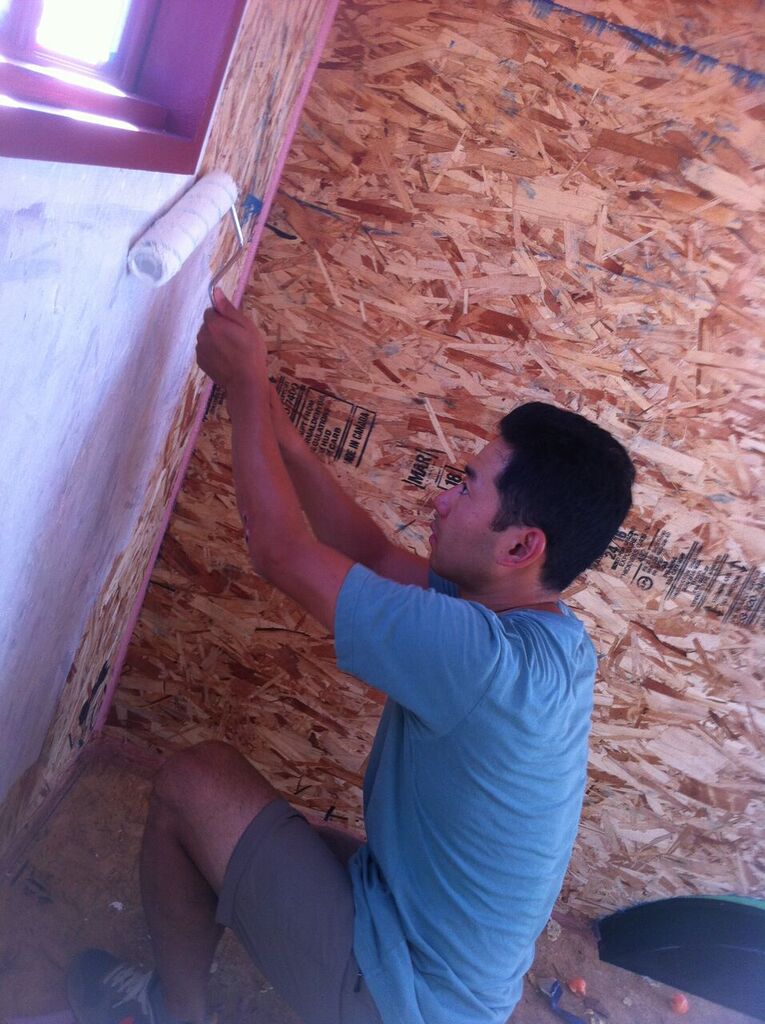
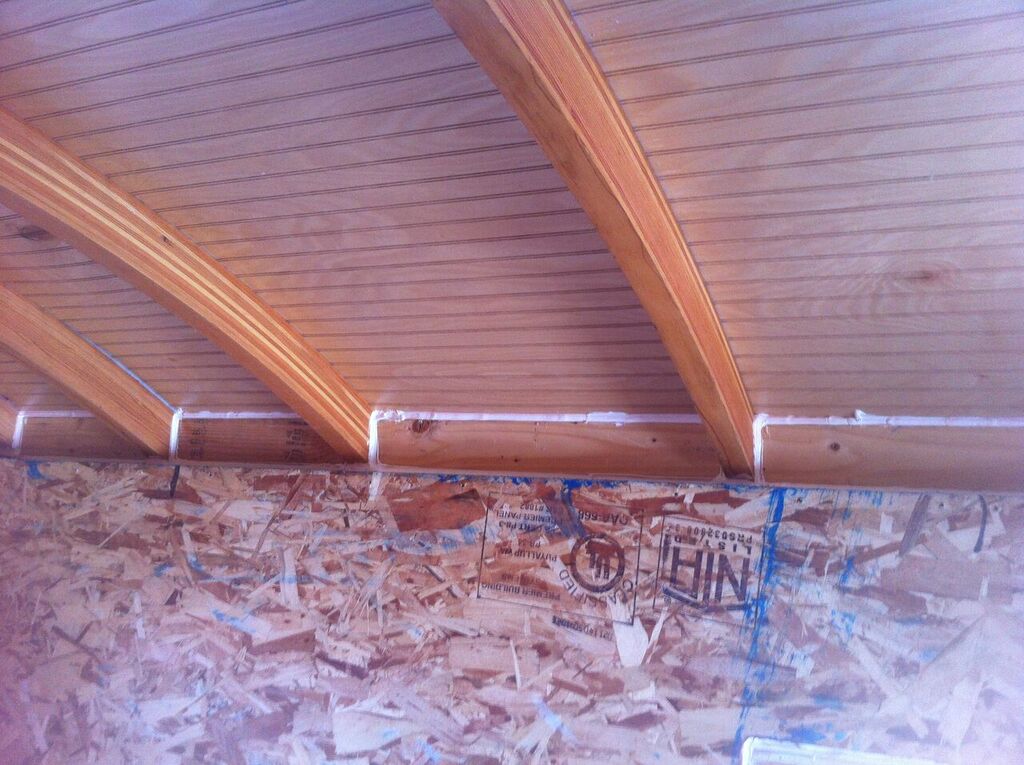
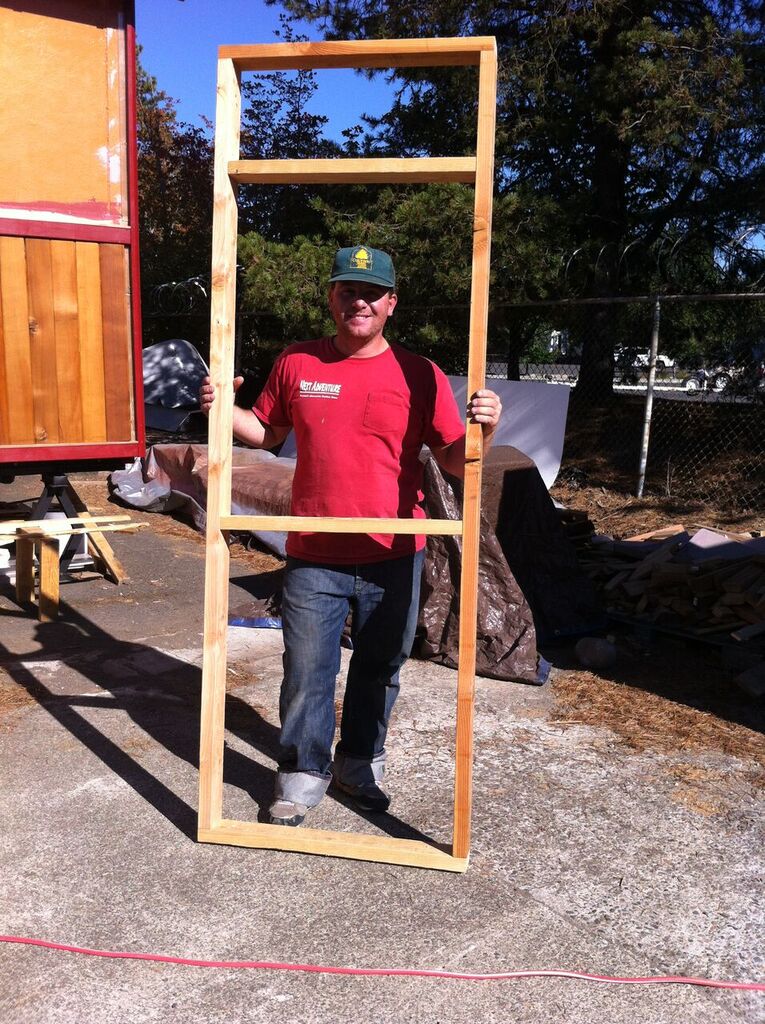
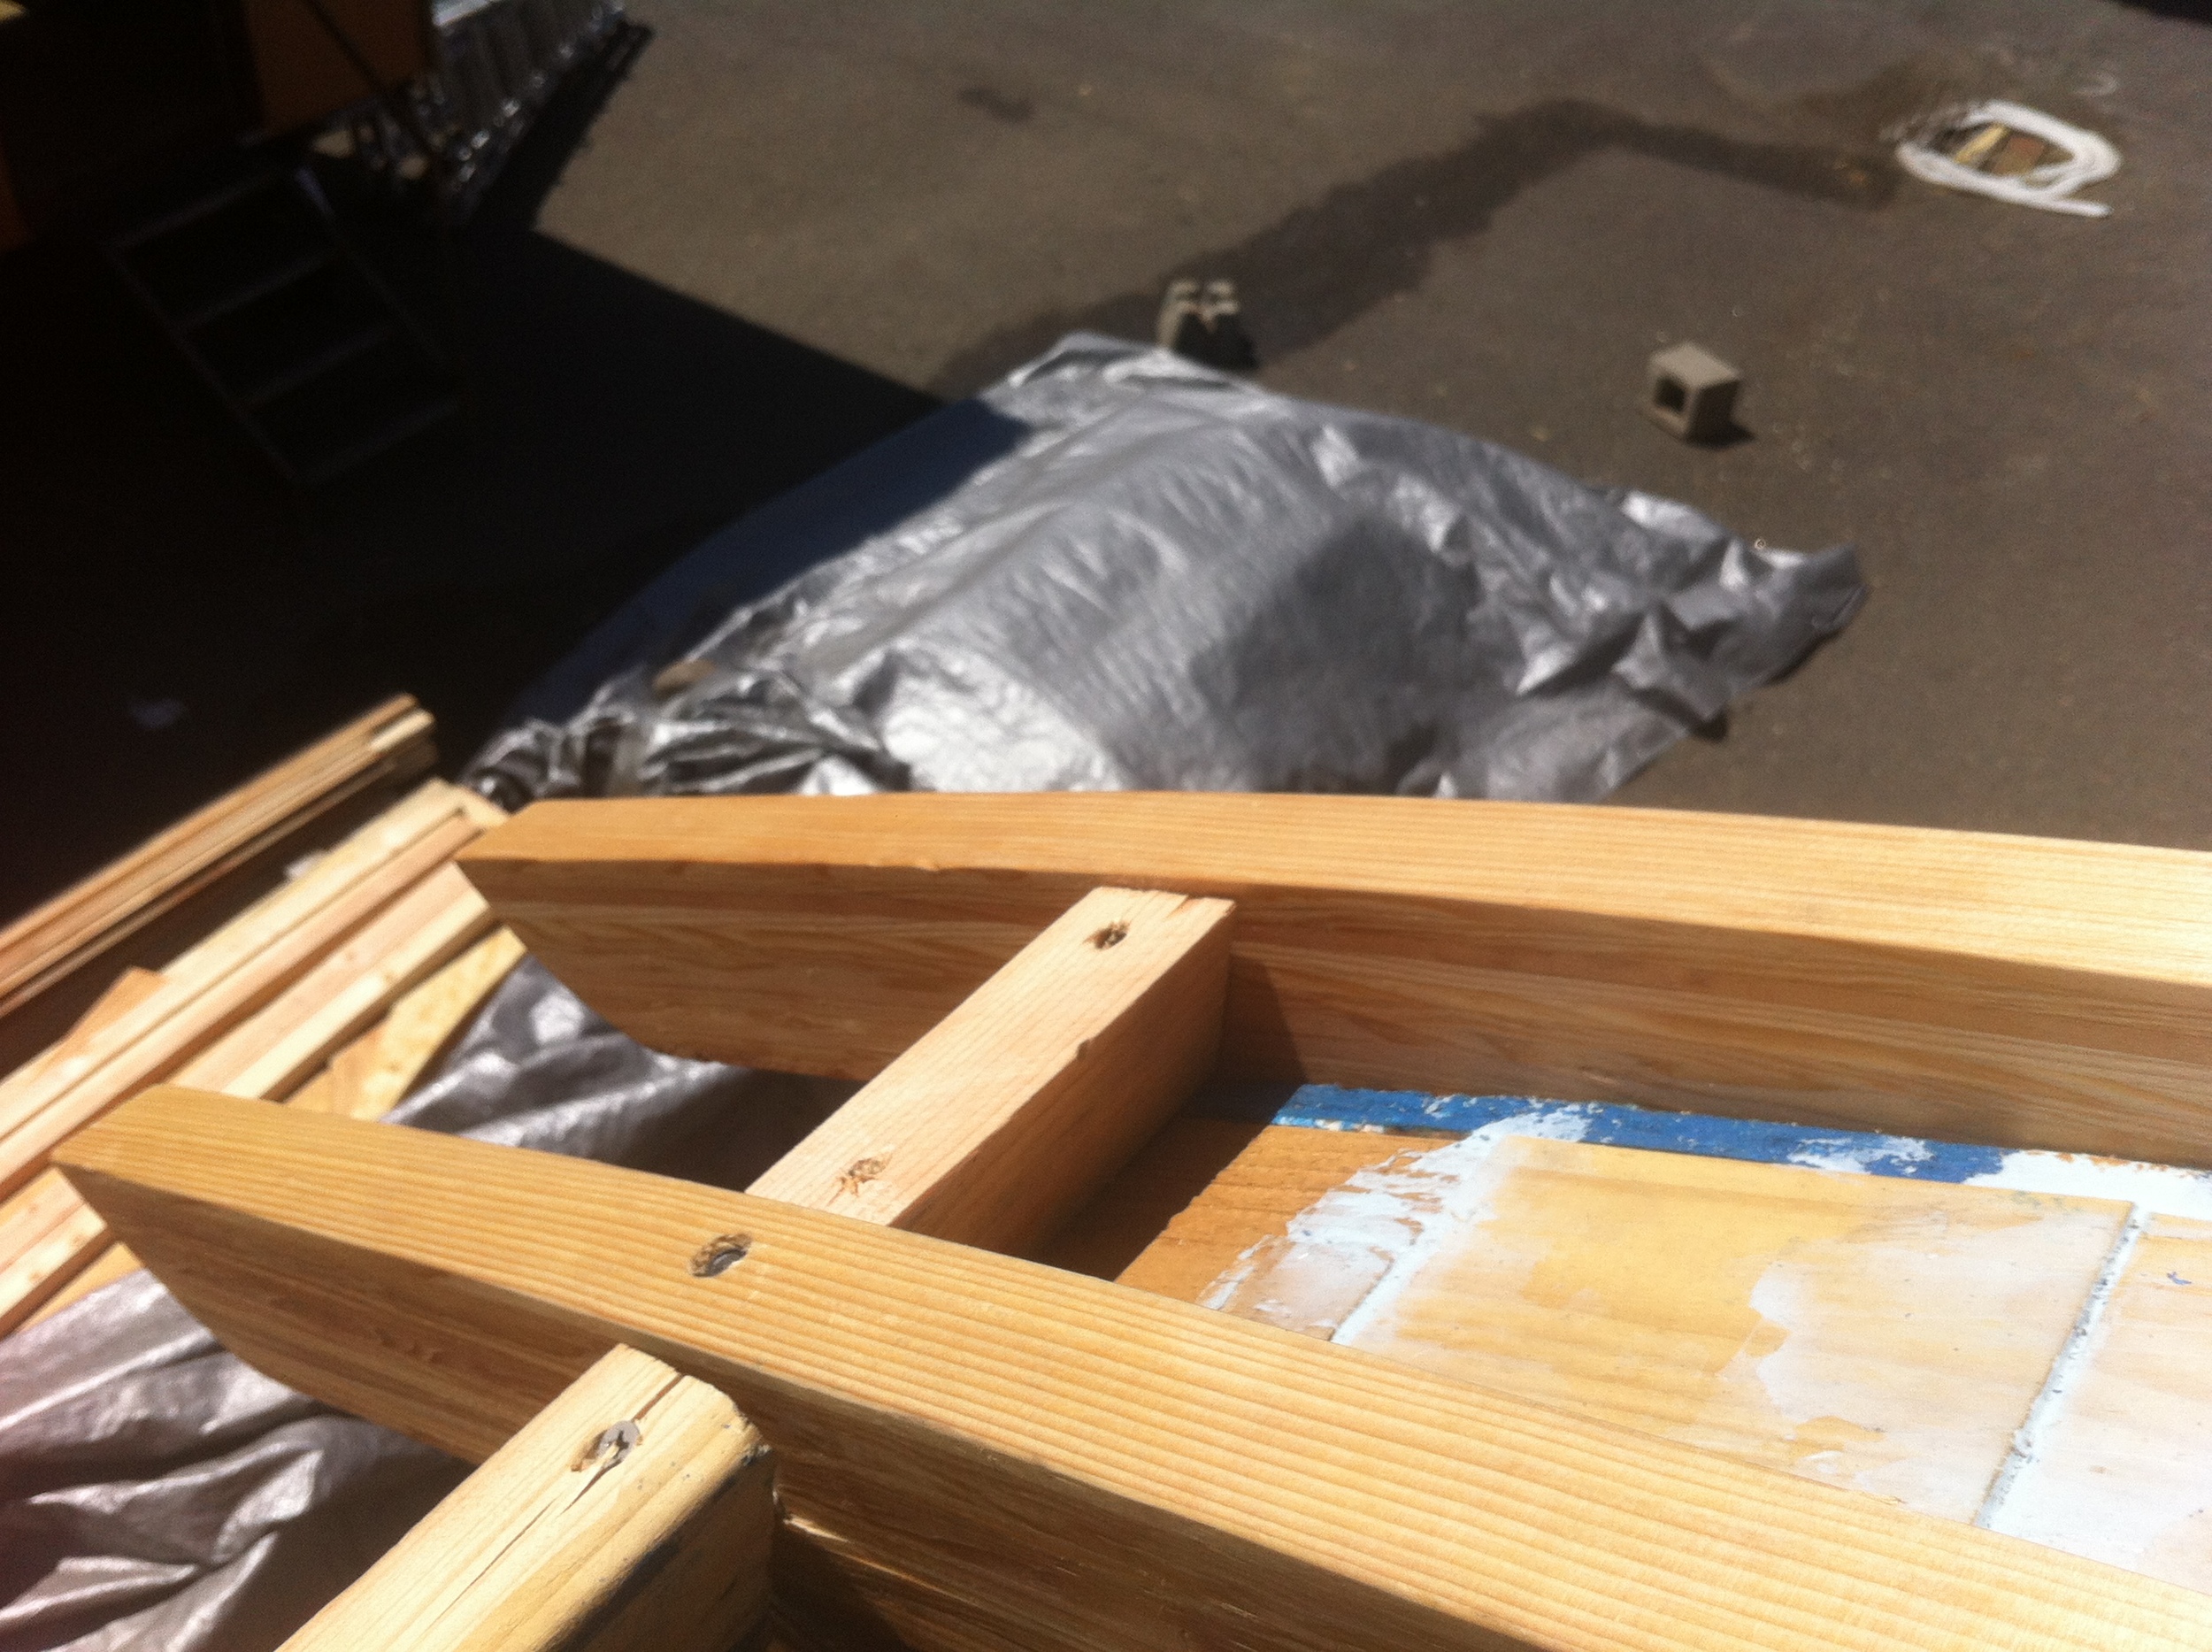
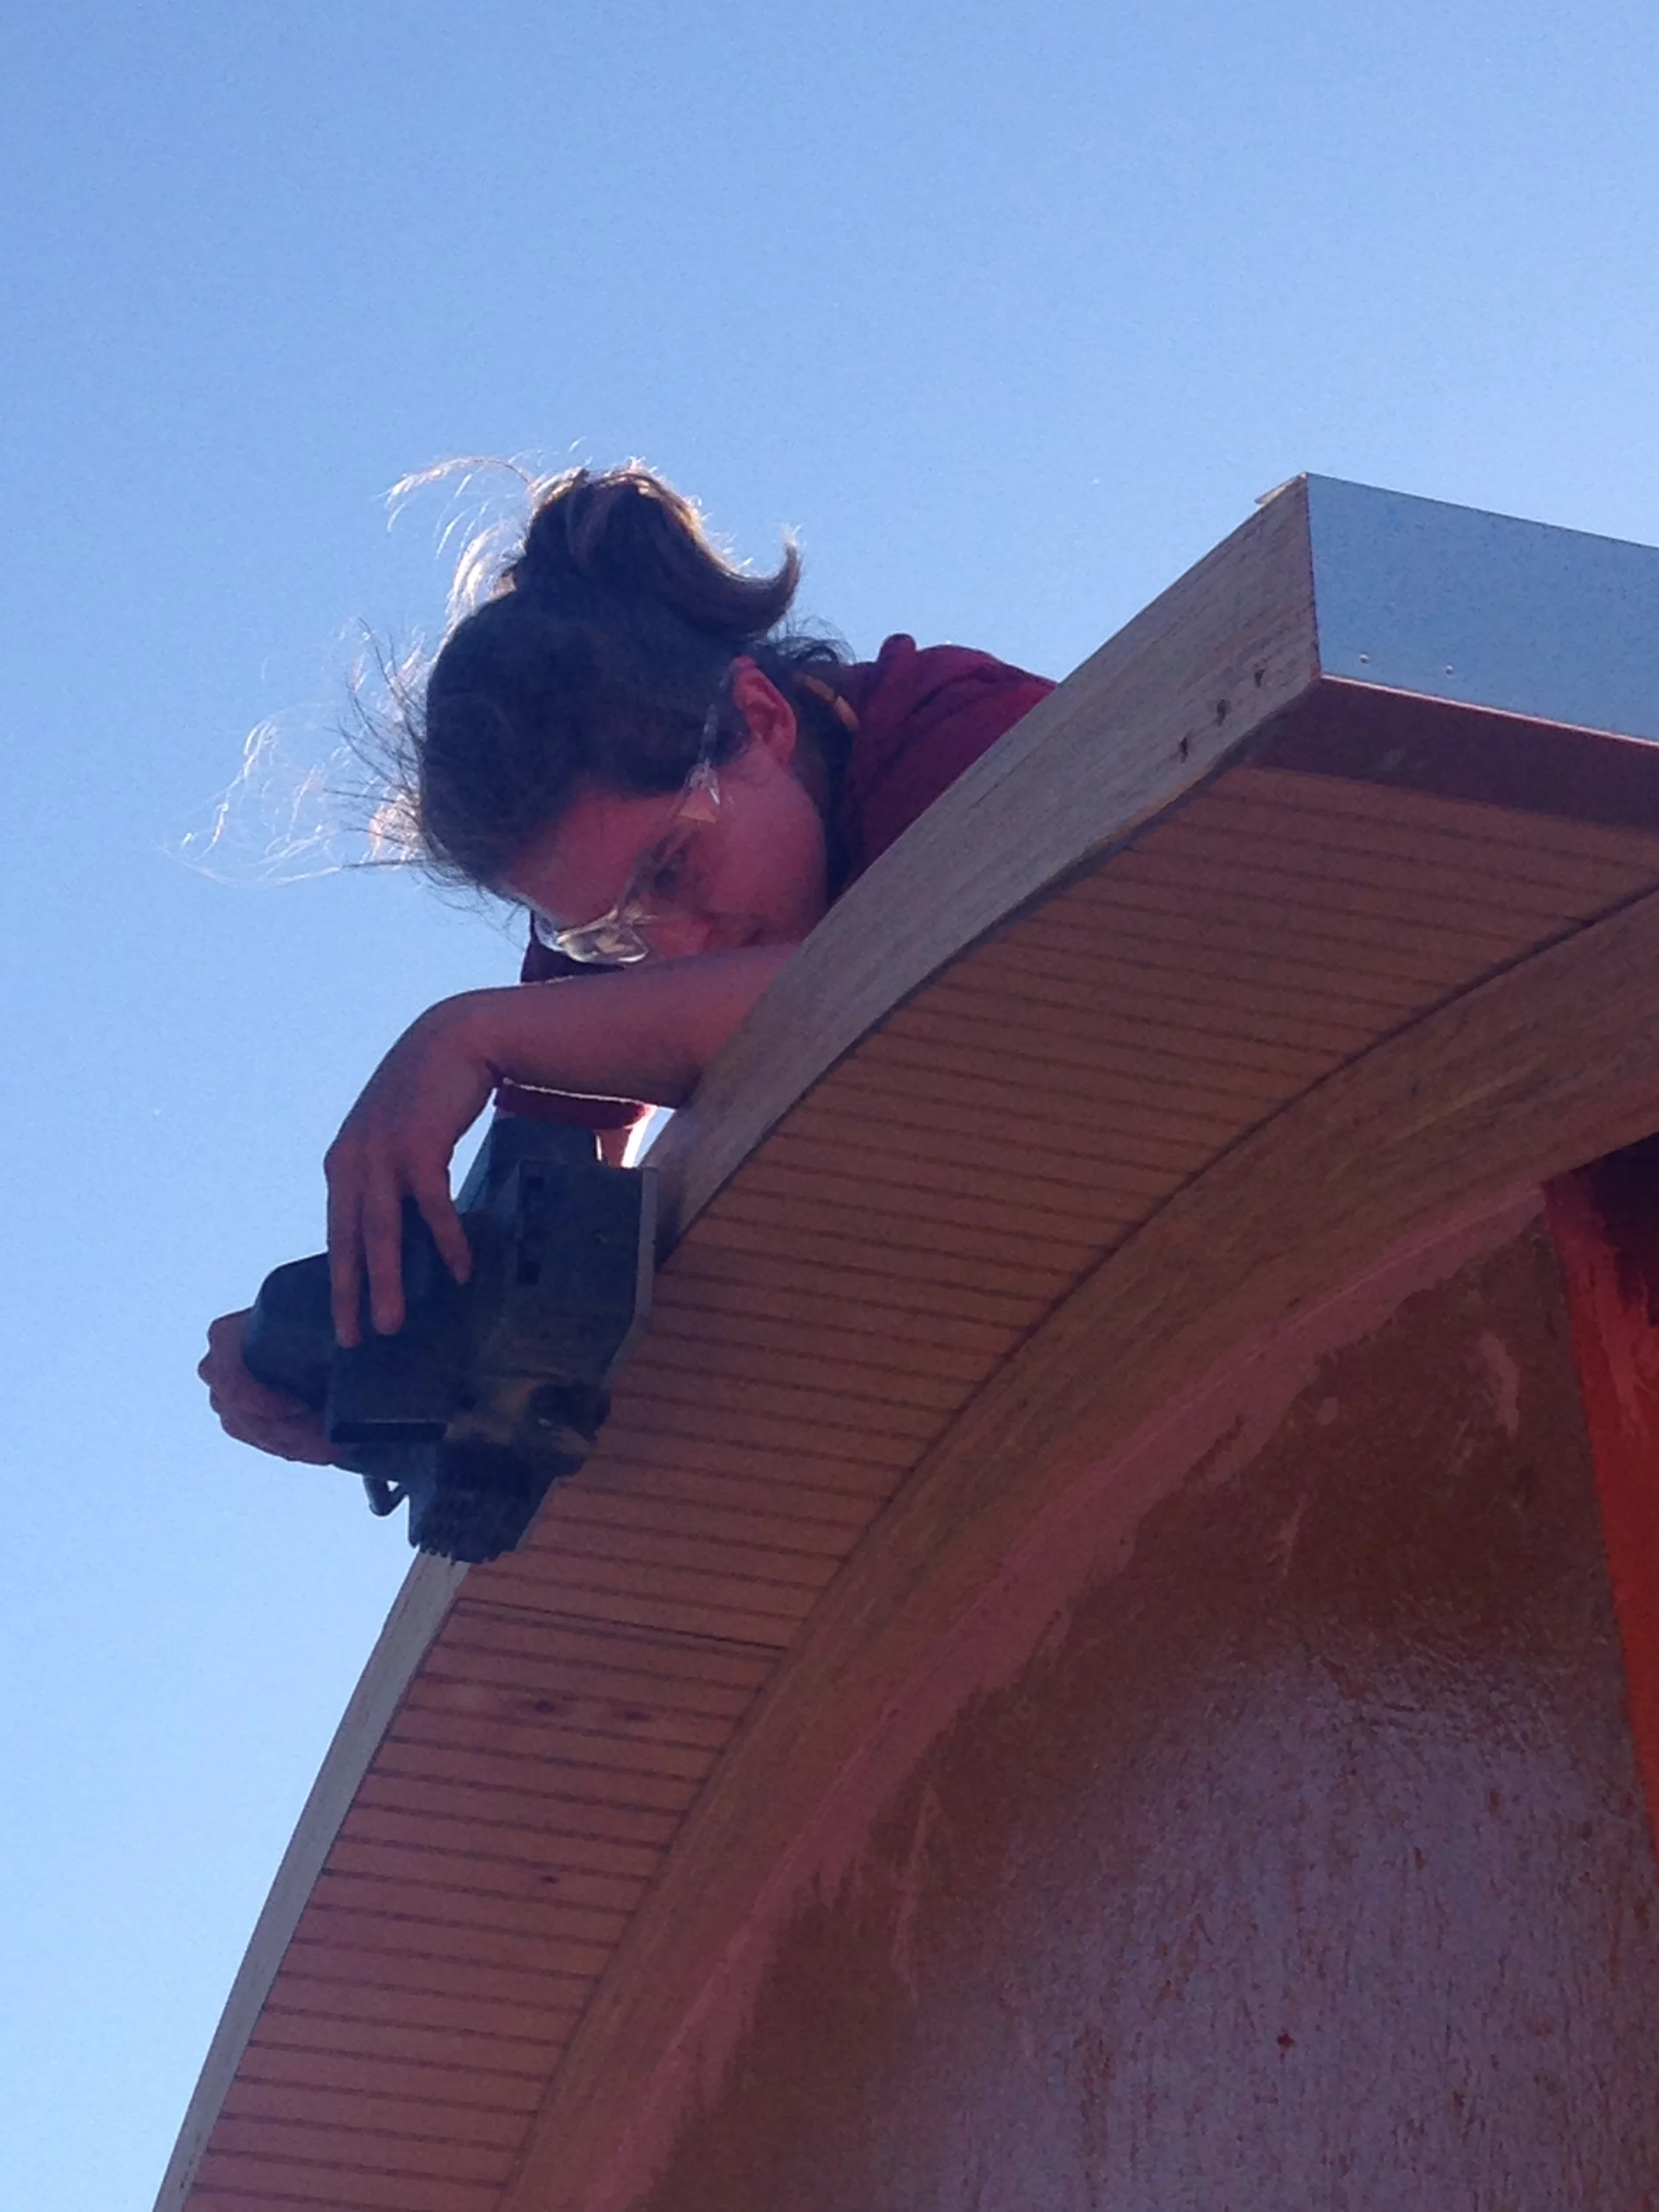
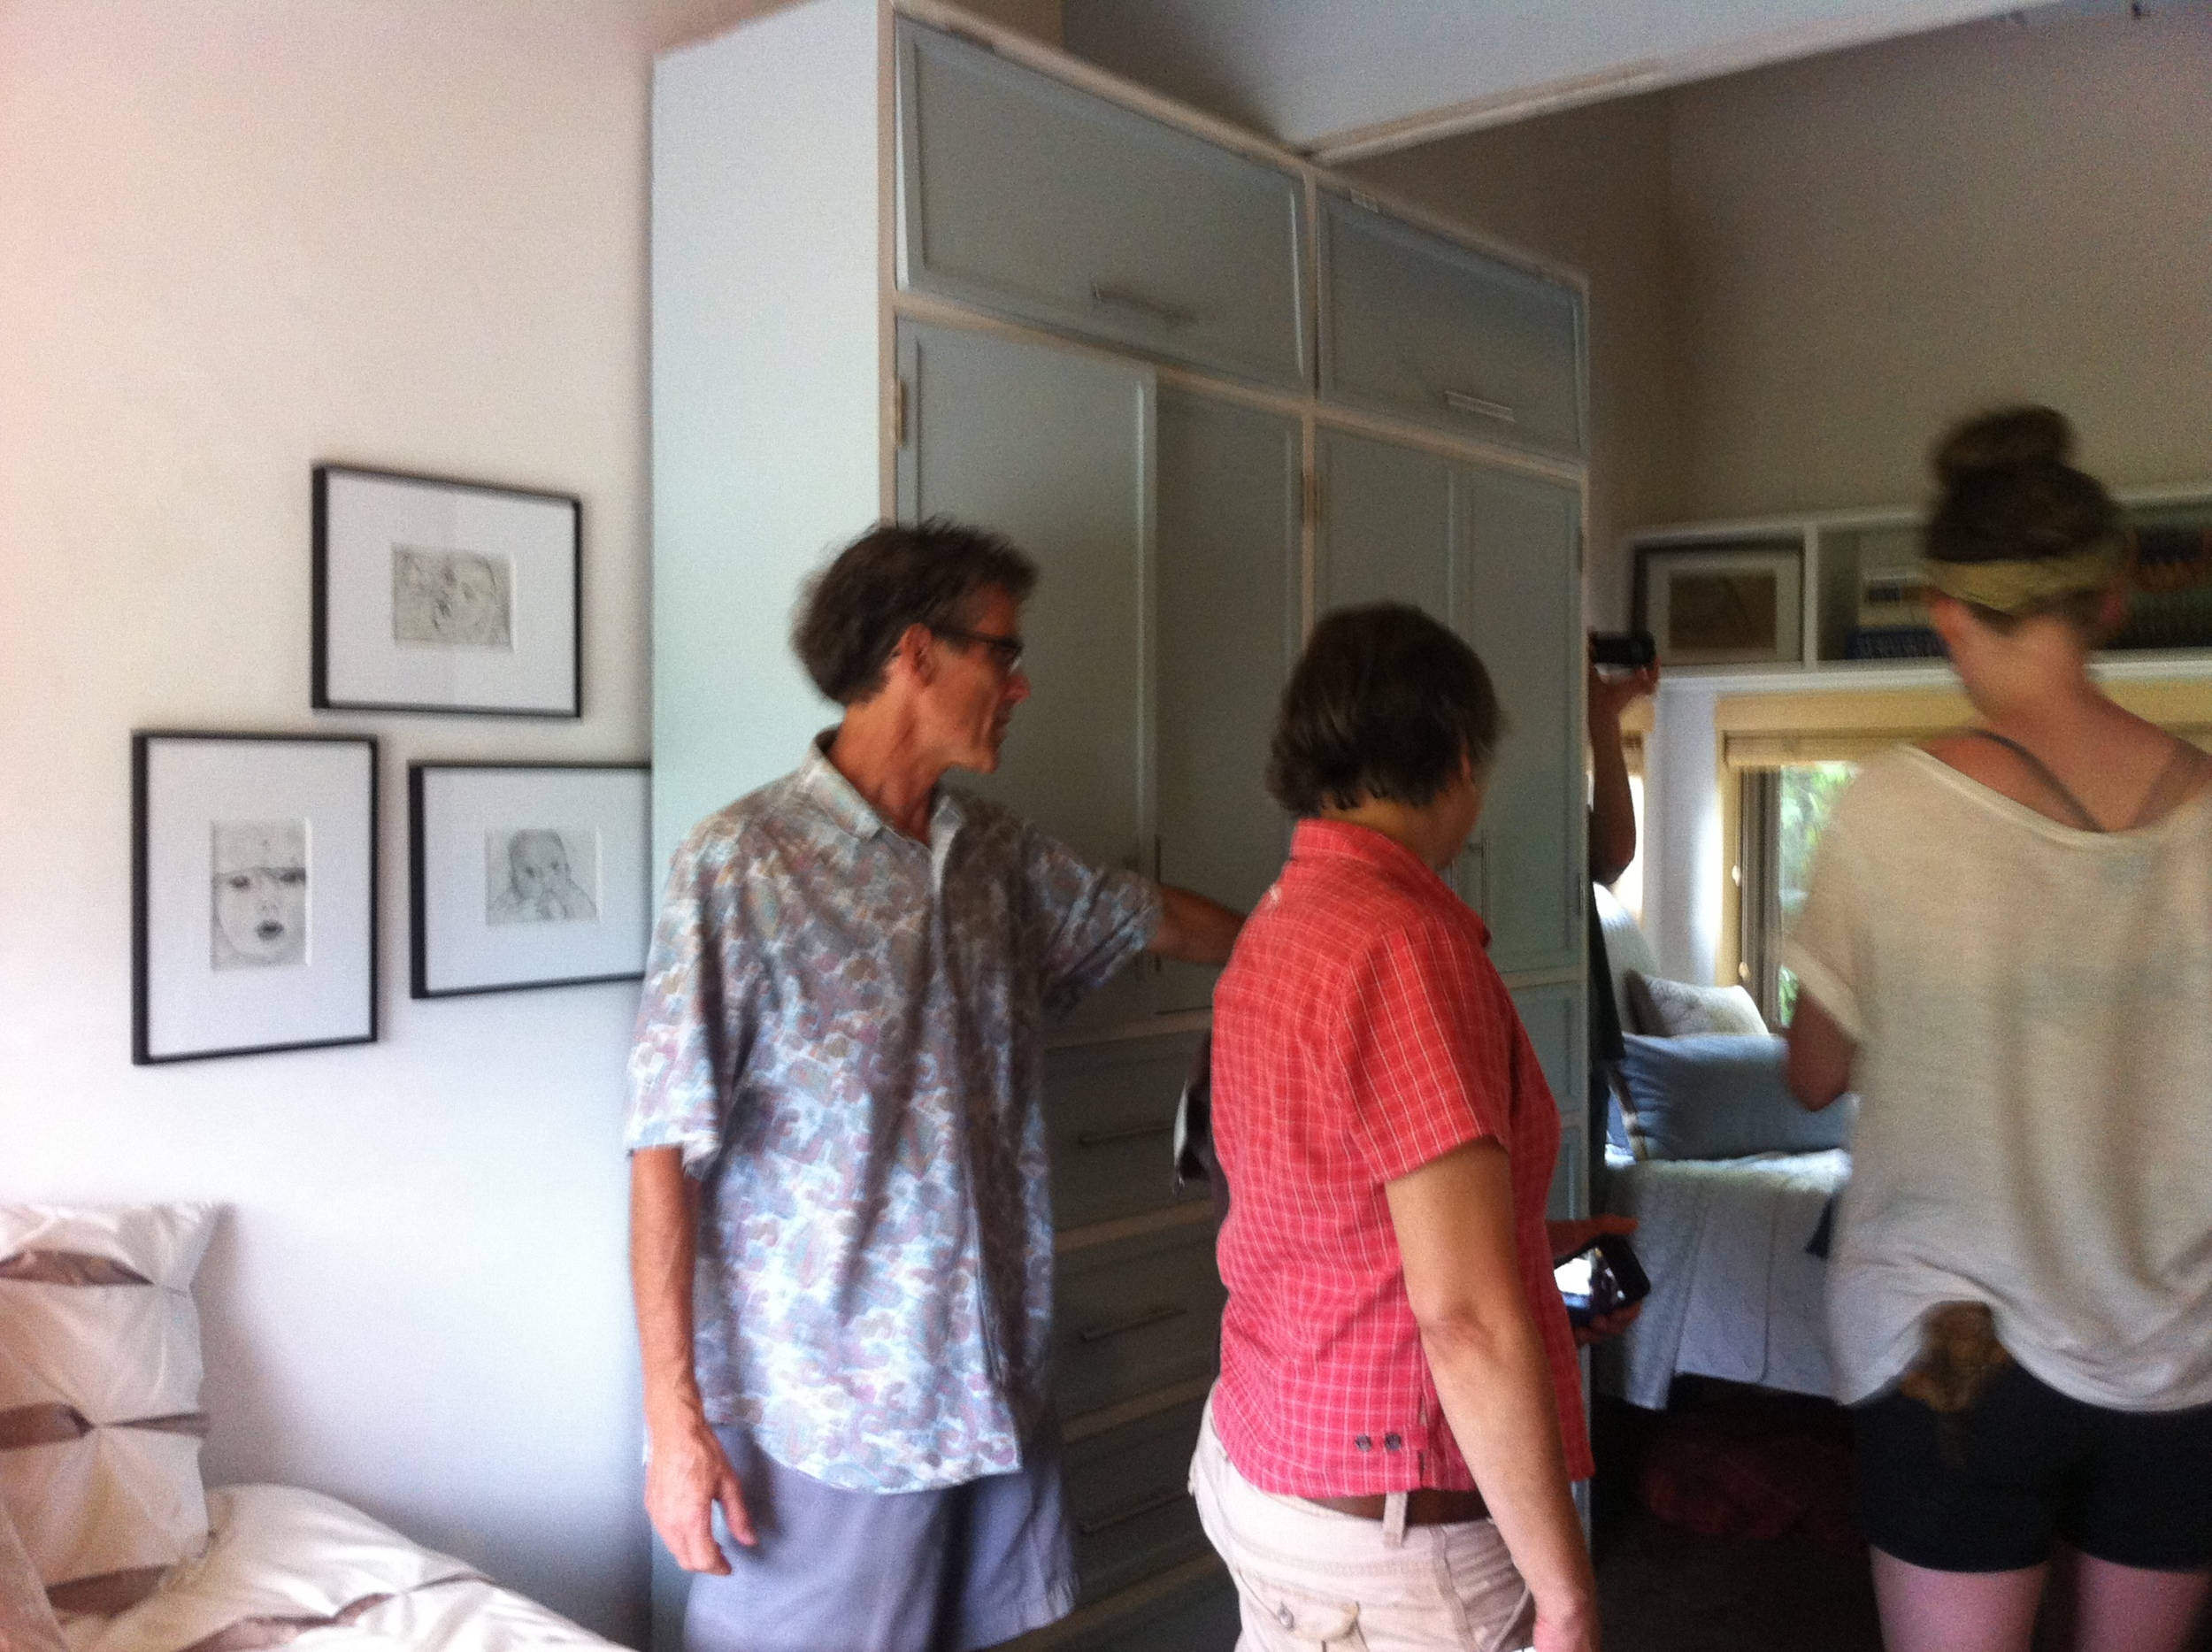
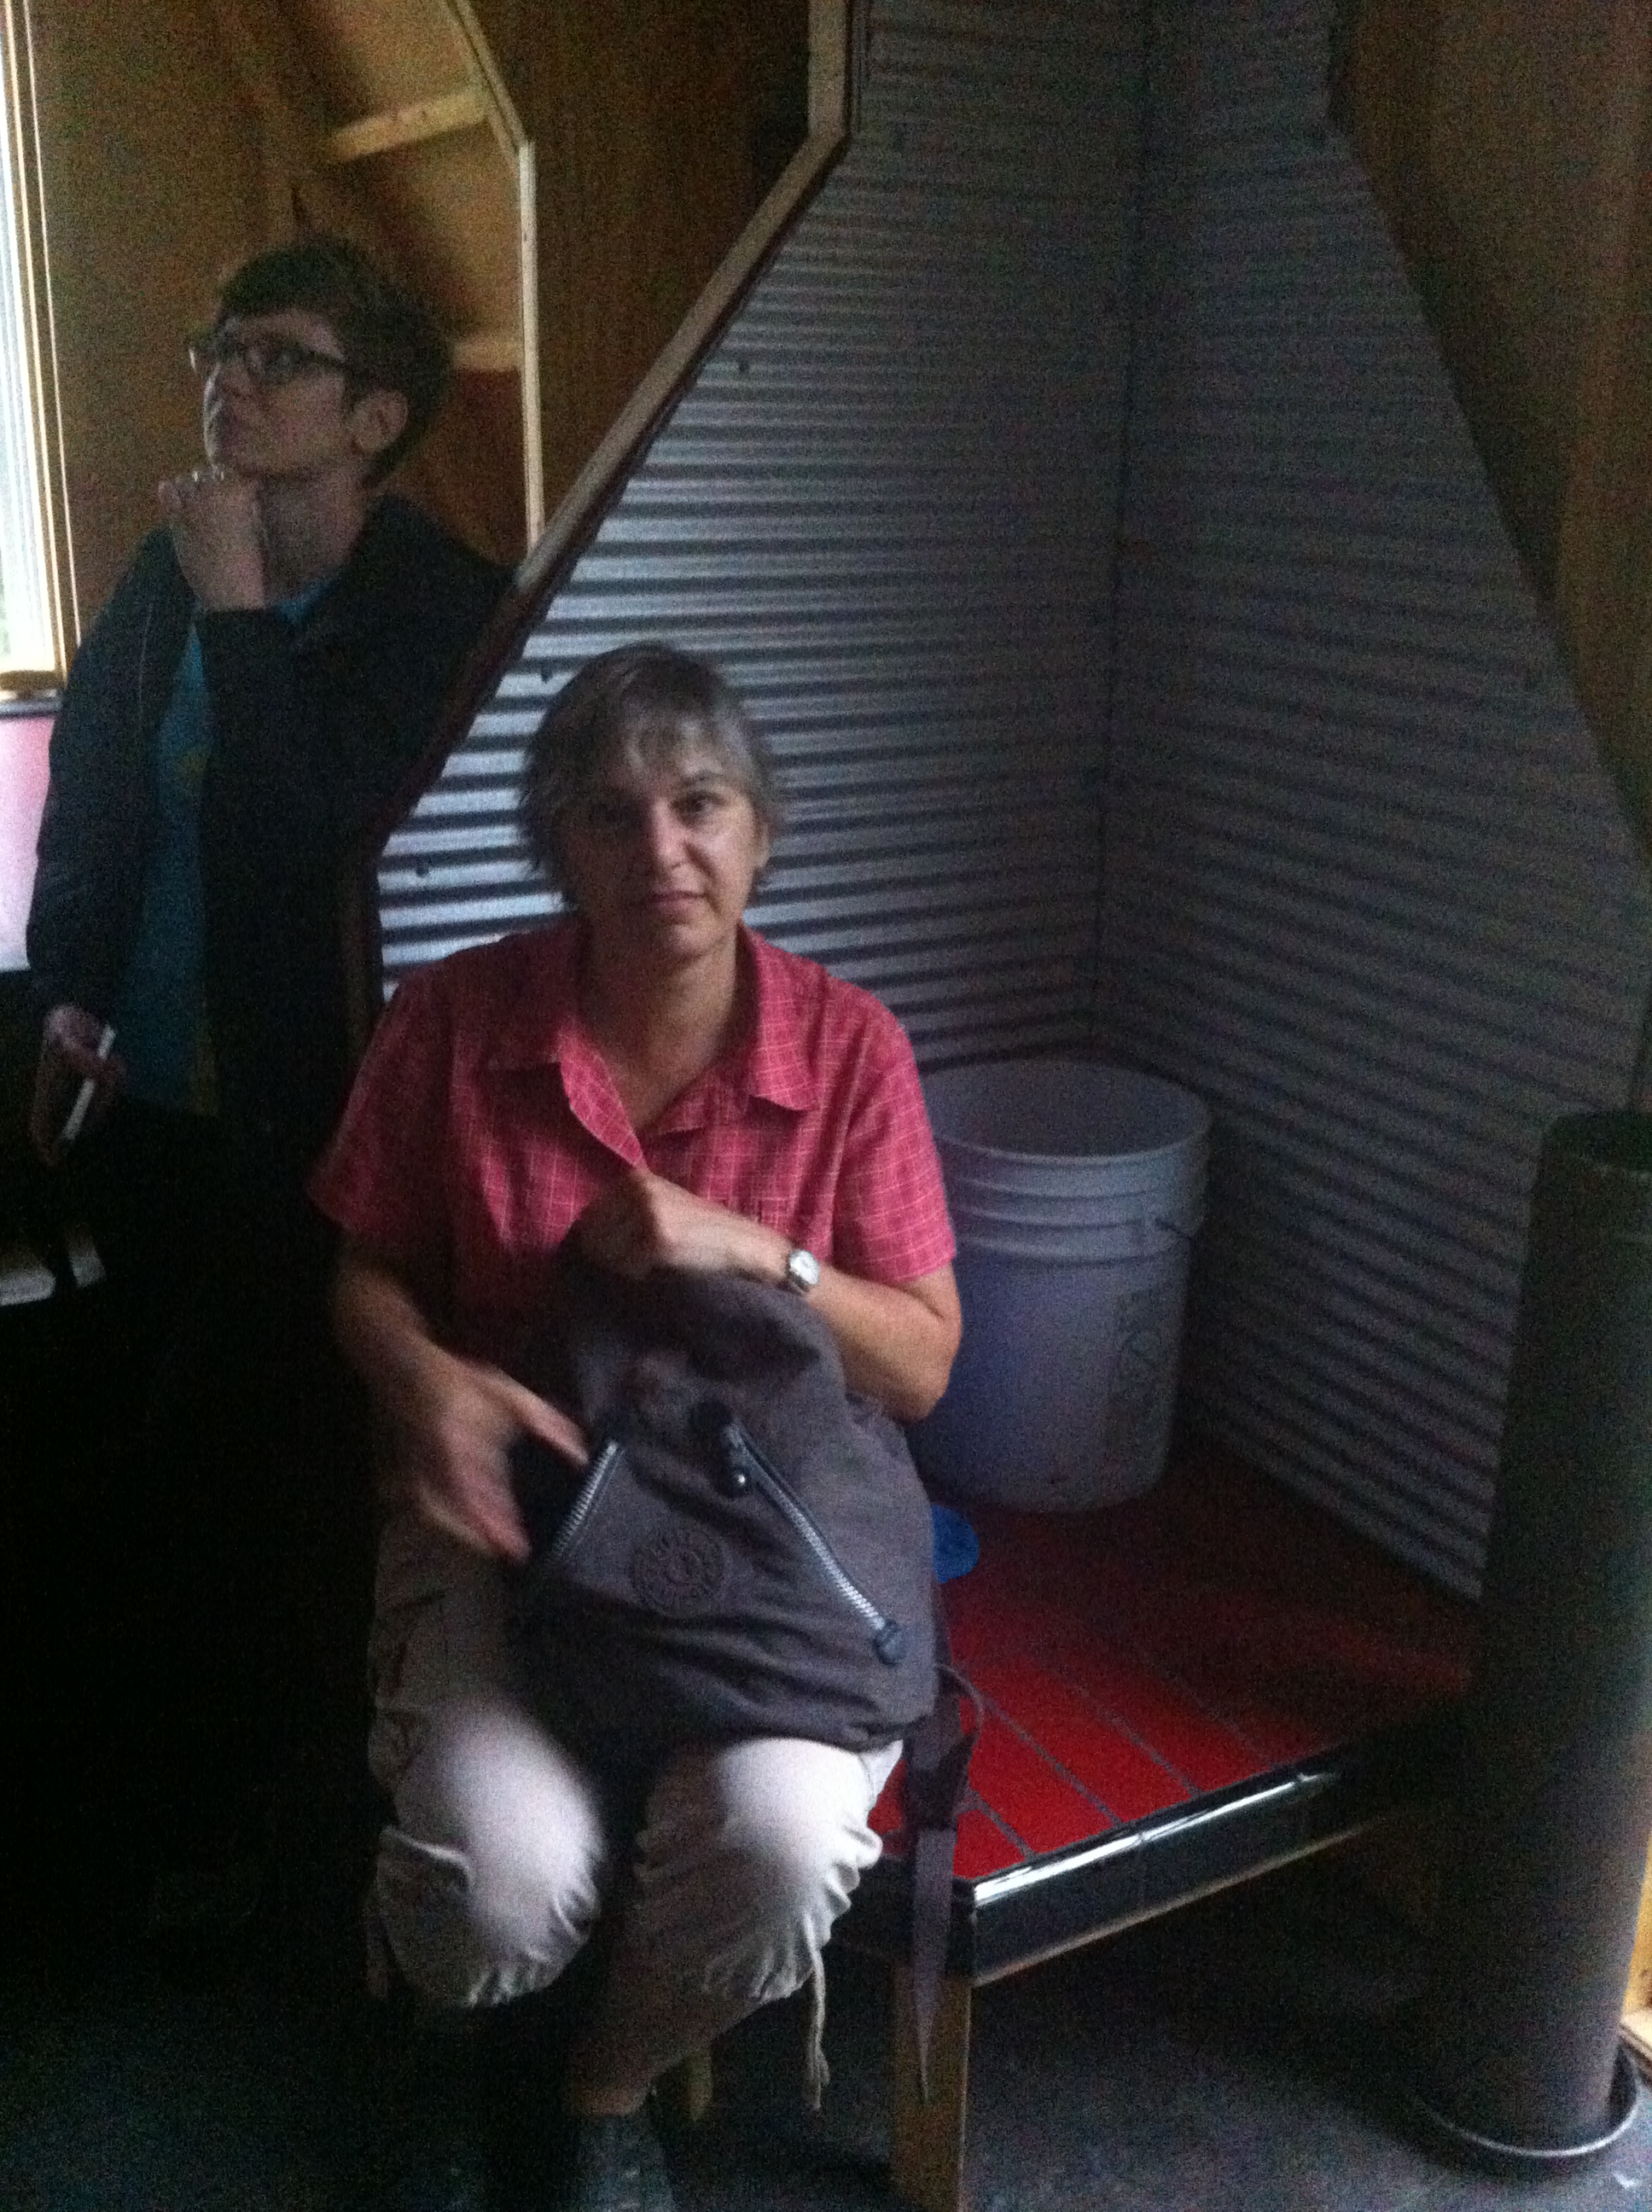
This past weekend a couple Tiny House Helpers assisted me in putting a layer of primer and then two layers of this lovely patinaed copper paint on my walls. We also did a few little tweaks to my interior walls and pocket door. (Thanks, Benn Kovco!) Meanwhile, I worked on a few fussy bits like closing up the top of the walls and sealing seams.
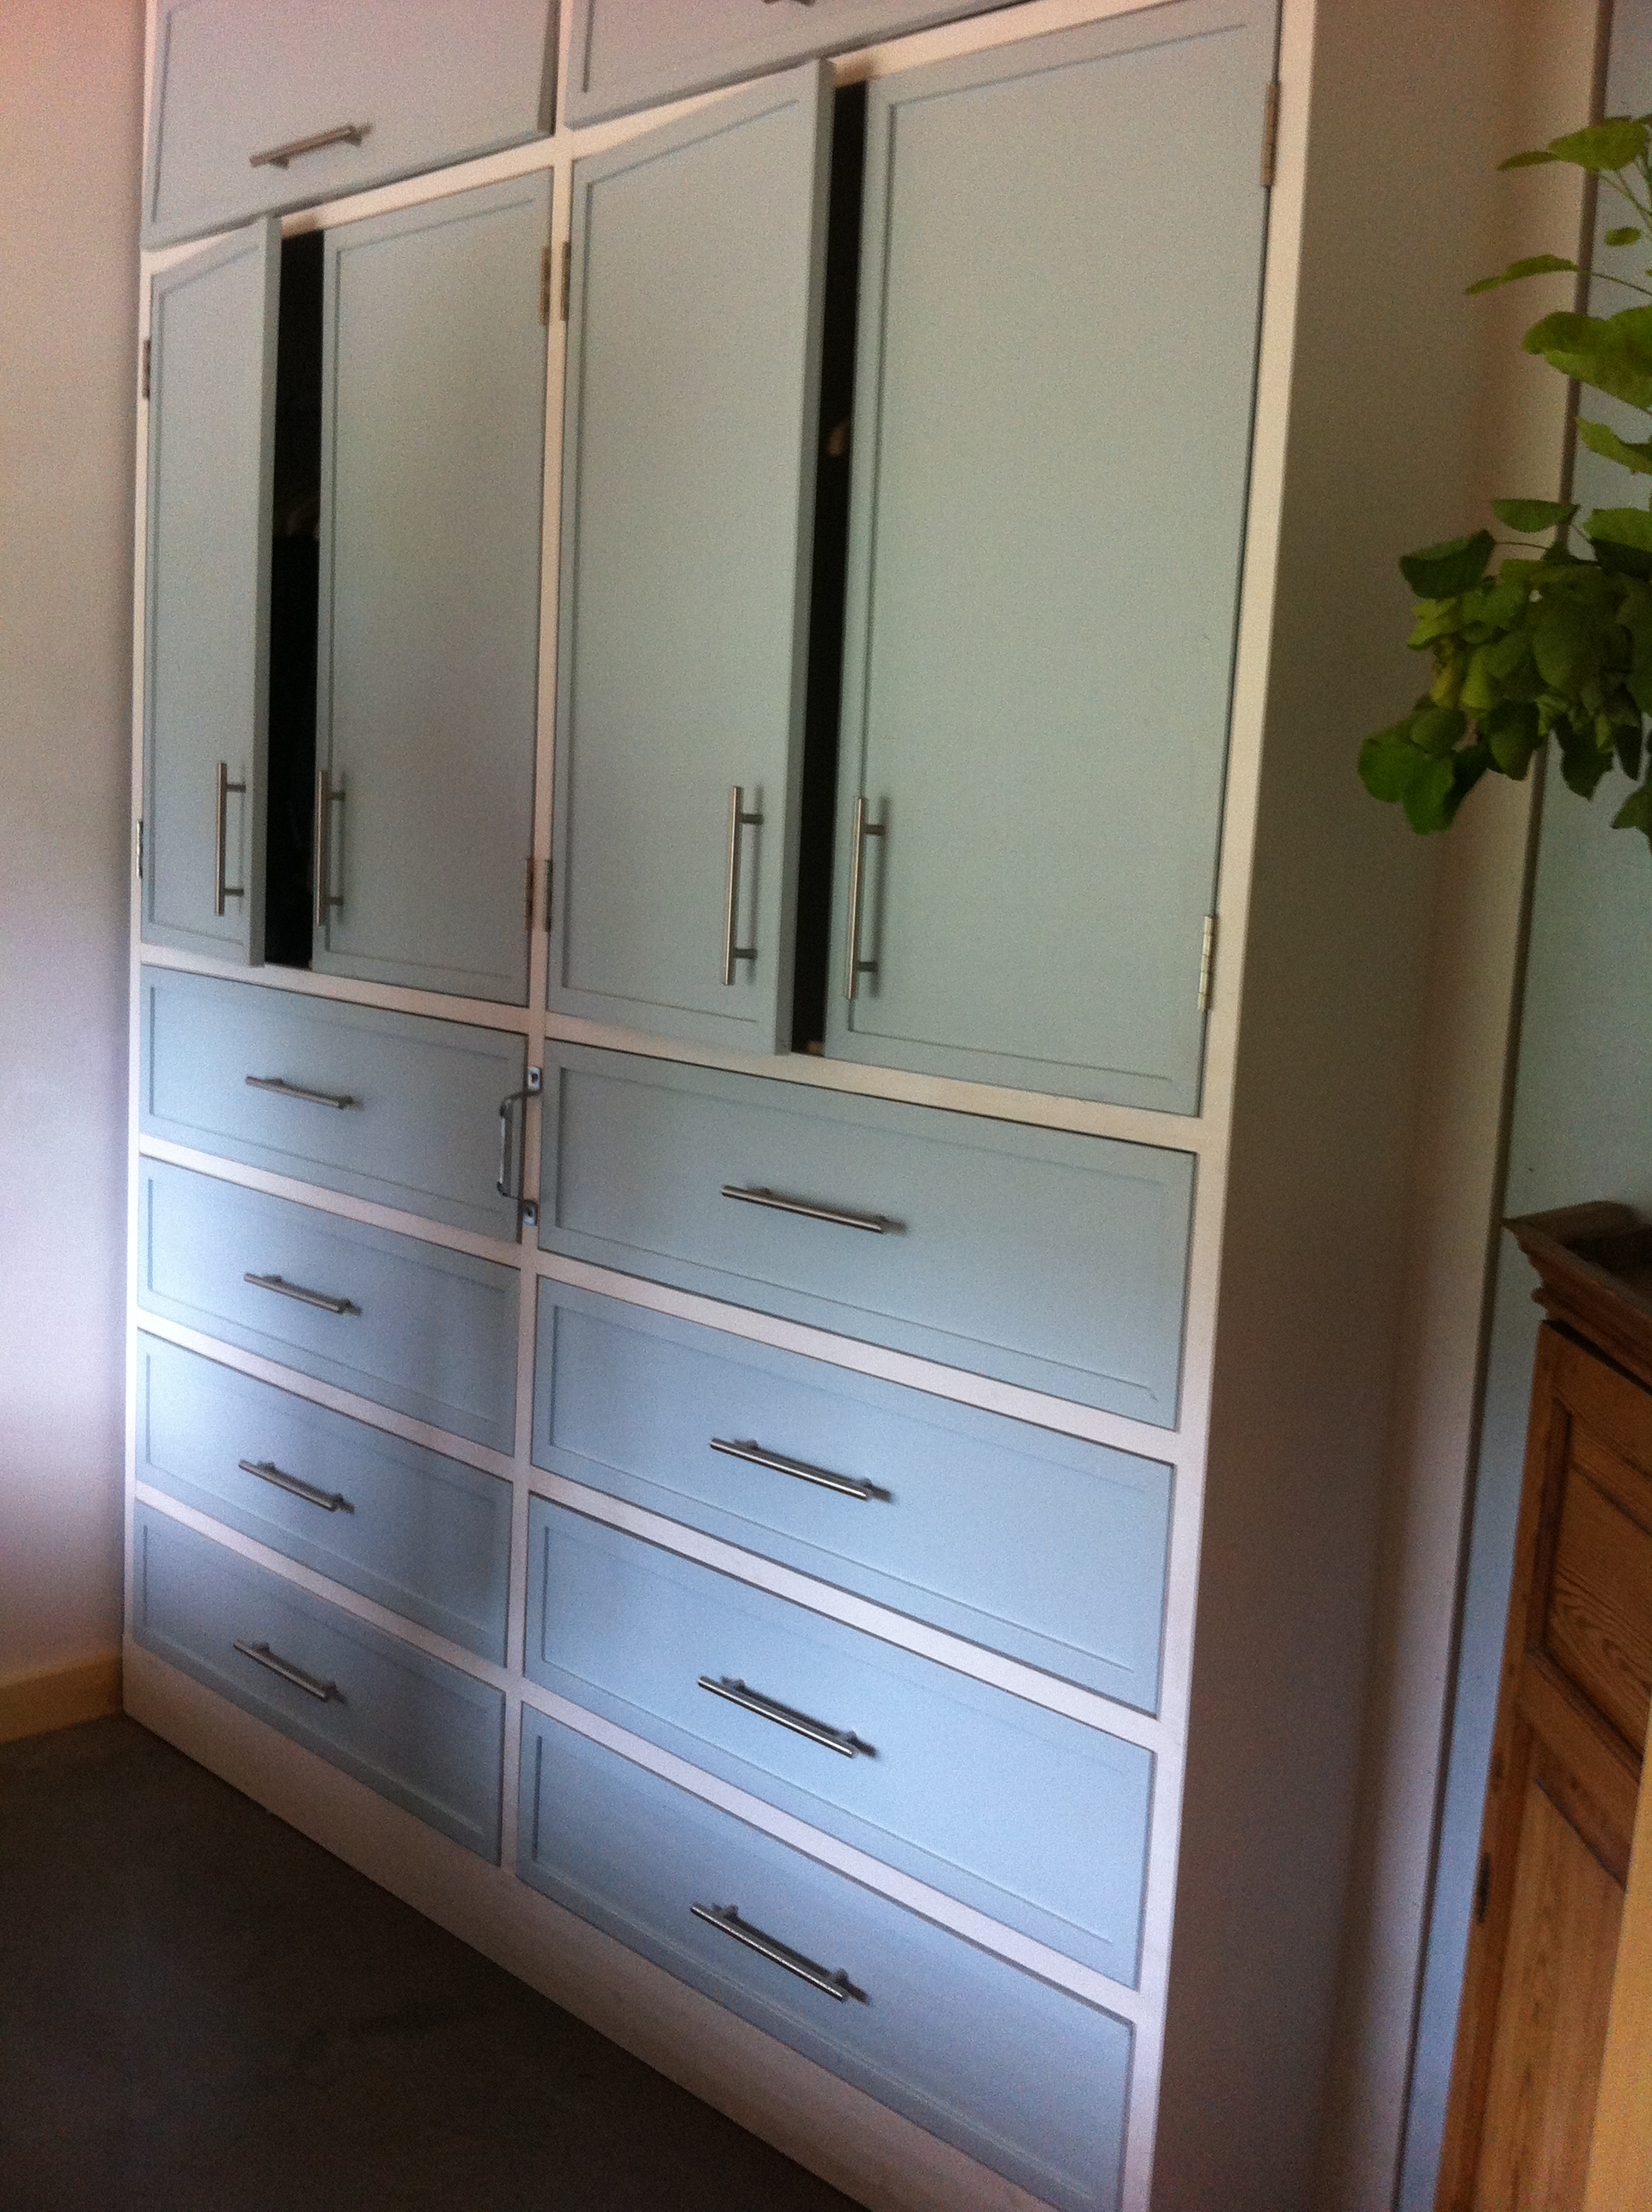
I didn't think I'd end up with quite such a bold color, but I do truly love it. And much of it will end up being covered up since we'll be Installing My Cabinets next!