tiny houses

Home is Where Your House Is

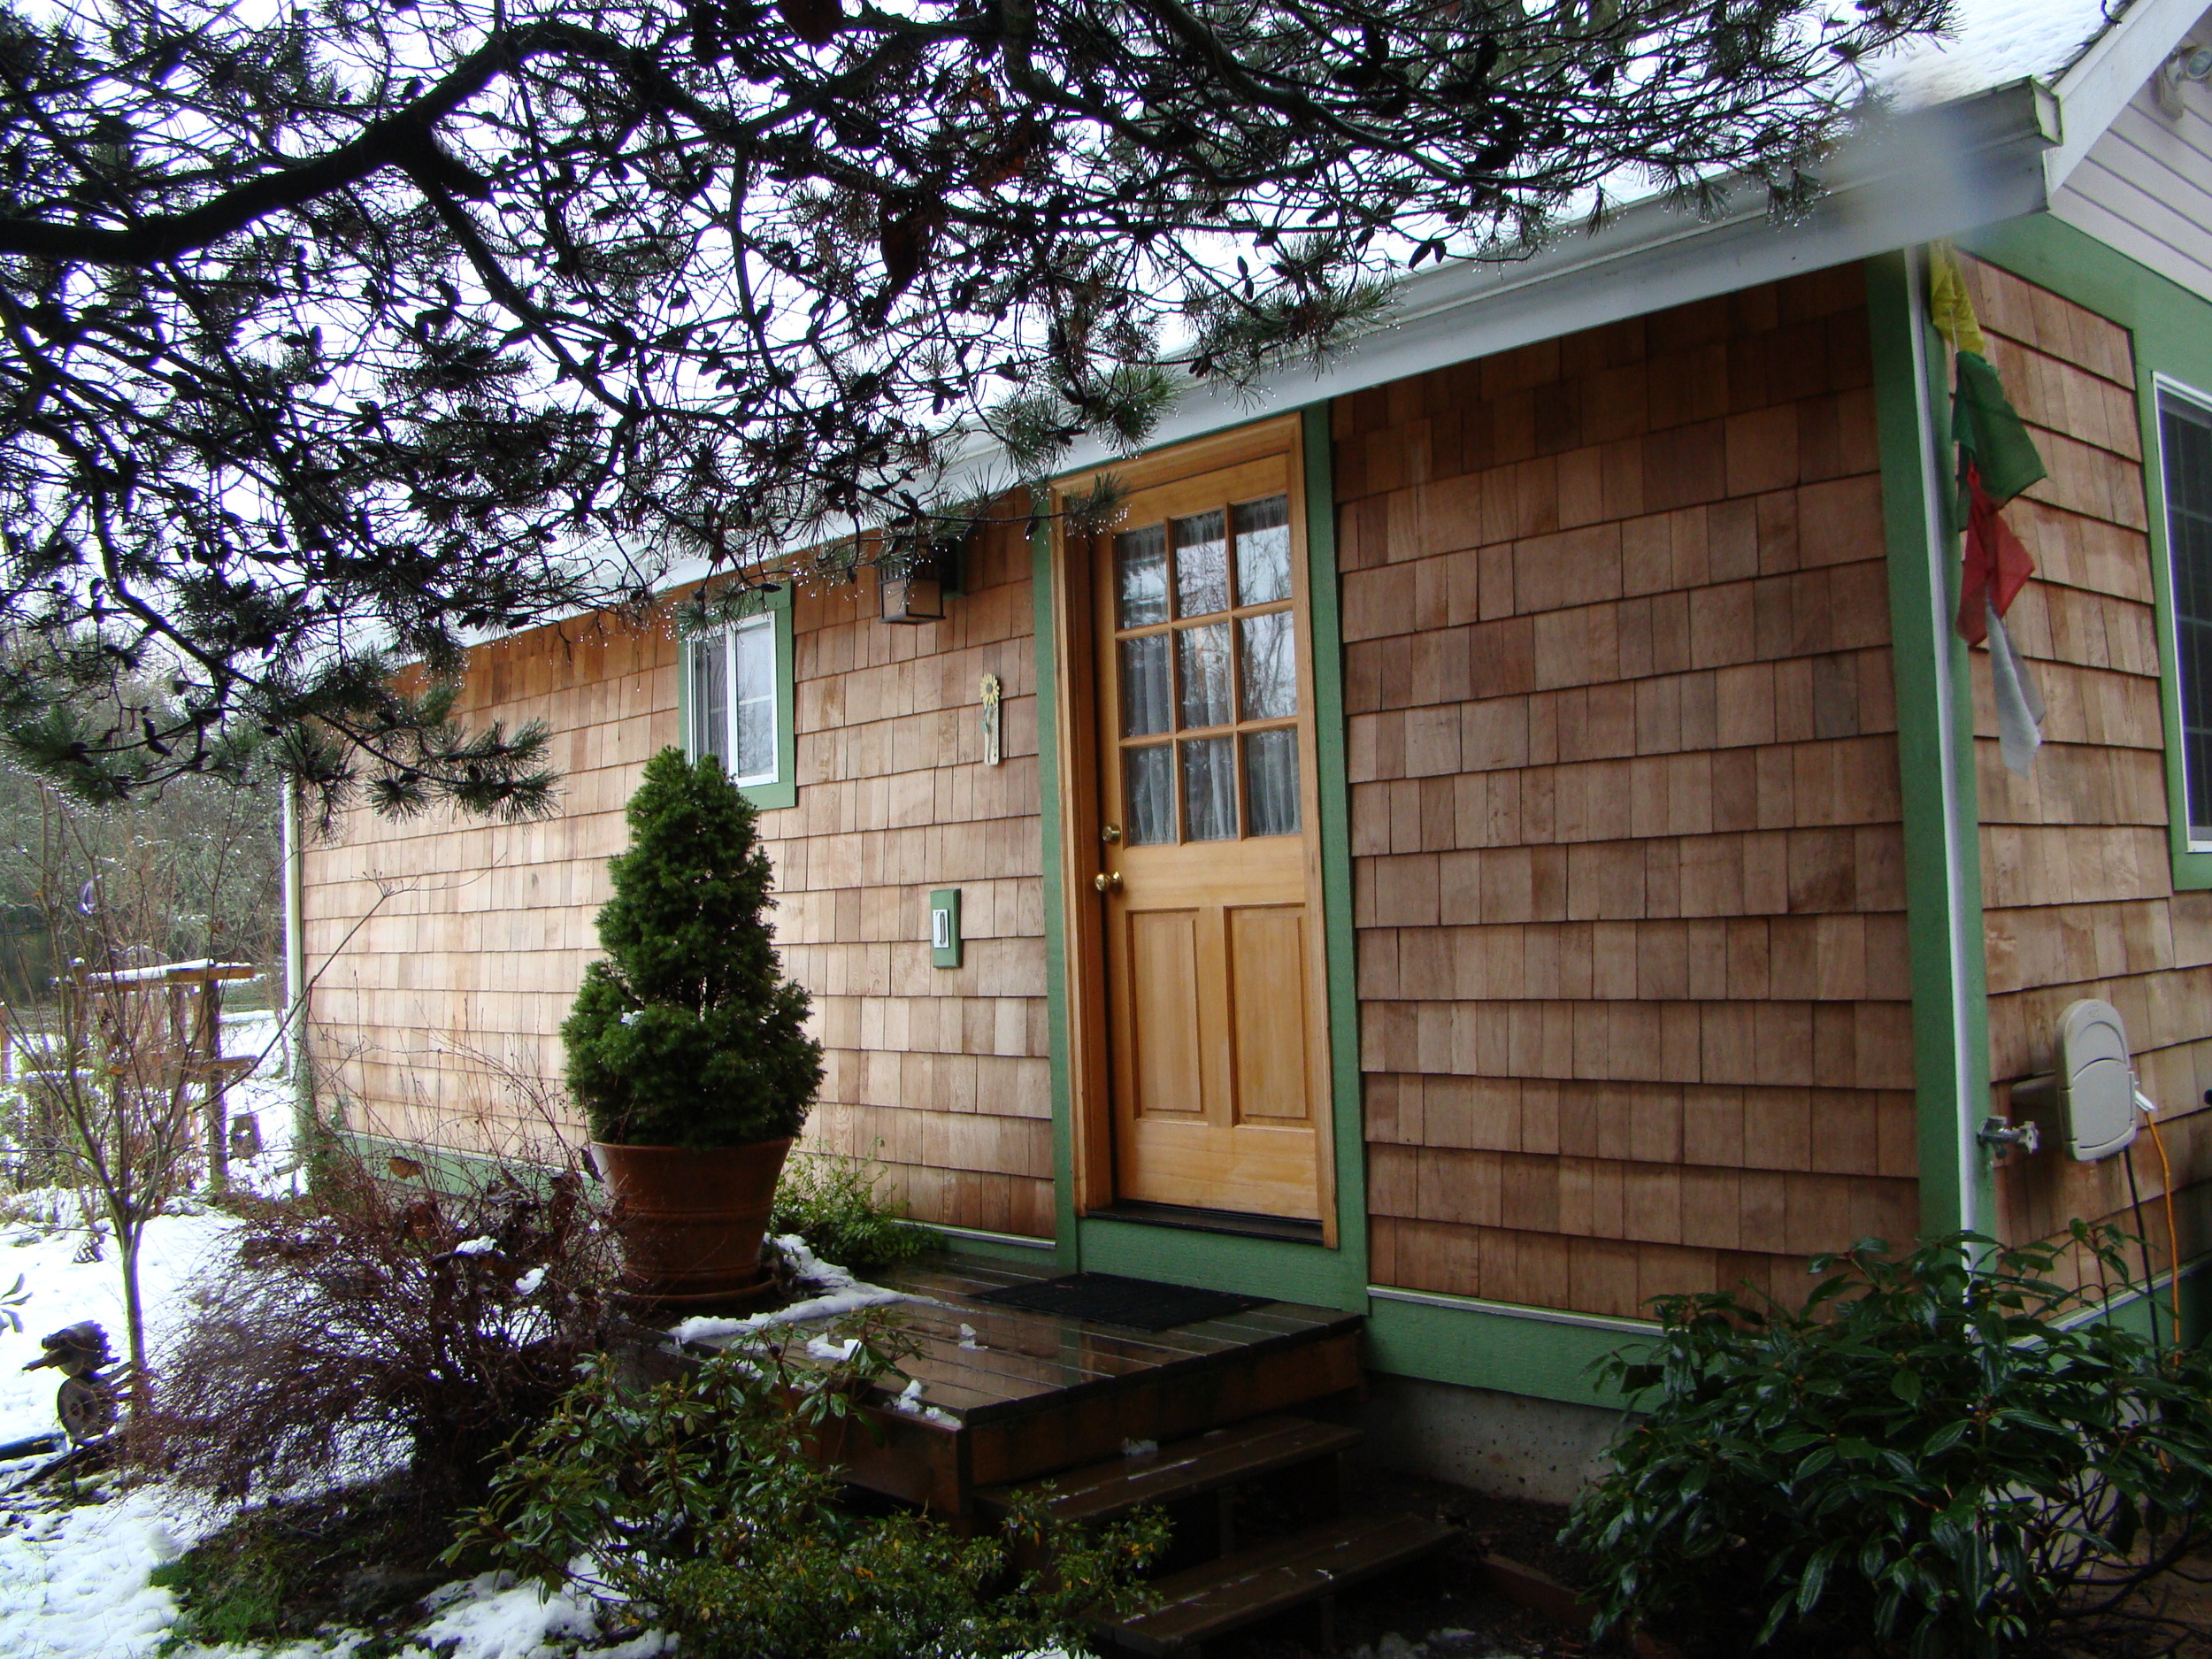
tiny house settled into a new parking spot I'm now settled in my new parking spot and I think I'm going to like it here. This morning I woke up to sunshine and rolled over to discover two hummingbirds sipping nectar from the flowers on the bush outside my skylight. Glorious deep purple blooms of the old lilac trees just outside my window seat provide shade and a lovely aroma. My front door is near the street so I wave to neighbors passing by. Ella is settled into the chicken coop (It's totally amazing that I happened to find two parking spots with empty chicken coops!) The folks who live in the house seem very nice. And there's a garden and a hammock just steps from my front door.

I had fun showing the place off this afternoon to Hannah Doyle, a journalism student at the University of Oregon who is doing a story for OR Magazine. She and her colleagues visited with me on a picnic blanket, munching chips and salsa, asking questions about the Little Life, and taking tons of pictures.

One of her questions was "What has surprised you about living in a tiny house?" I told her I've become more attuned to the weather. I explained that when you can see every side of the house from where you're standing you know where the moon rises, which way the wind is blowing the driving rain, which constellations are hanging over the skylight.

It's incredible how rotating the house 180 degrees from how it was oriented at the last location really

new view through the skylight

changes the feel of the house. Now my windowseat is to the south and my kitchen window is to the north which is completely opposite how it was before. I've especially been marveling at how the light moves through the house differently.

My kitchen gets direct sunshine first thing in the morning before the sun rises behind the trees. That morning light is fresh and bright, but without the rich golden hues of evening. By the time the sun makes its way south it's partially blocked by the lilac trees which dapple the light coming into the house. Even though we have had a streak of unseasonably gorgeous weather the house hasn't overheated. Unfortunately, I can't see the sunrise from my bed anymore and I'll miss the pink sunrises. But now my kitchen window now faces west so I can see sunset skies while cooking supper.

It's neat to see how the same space can have a different atmosphere because of it's orientation. It's a great argument for strategically siting and orienting a house that is fixed to a foundation! Nevertheless, my tiny house still feels very much like home in its new location. I hope someday to live in a tiny house that can be transported easily so that I can try out different settings. Way better than rearranging the furniture!

Tiny House on the Move

tiny house on the road again! My tiny move only took me a few hours. Packing was a piece of cake. My to do list read like this:

  1. Wrap breakable kitchen items (dishes and mason jars of rice, lentils, oats, etc.) in towels and put them into a storage tote
  2. Snug shiftable things (spice rack, olive oil, office supply basket) into laundry hamper
  3. Take wine bottles out of rack and tuck them into dresser drawer (ditto with candles)
  4. Strap kitchen drawers and refrigerator closed with a bungee cord

Since I was taking my whole house with me there were all sorts of things

drawers & fridge strapped shut

I didn't have to pack up at all. My jackets remained on the rack, my shoes in their basket, and my pots on their shelf. My bed stayed made up and ready for another night's sleep. I left all my clothes in their dresser drawers and just strapped the drawers shut with a bungee cord. For me the last step of feeling settled in a new place is getting art up on the walls, but this time it was already there!

tuck breakables into clothes in dresser drawers, bungee closed

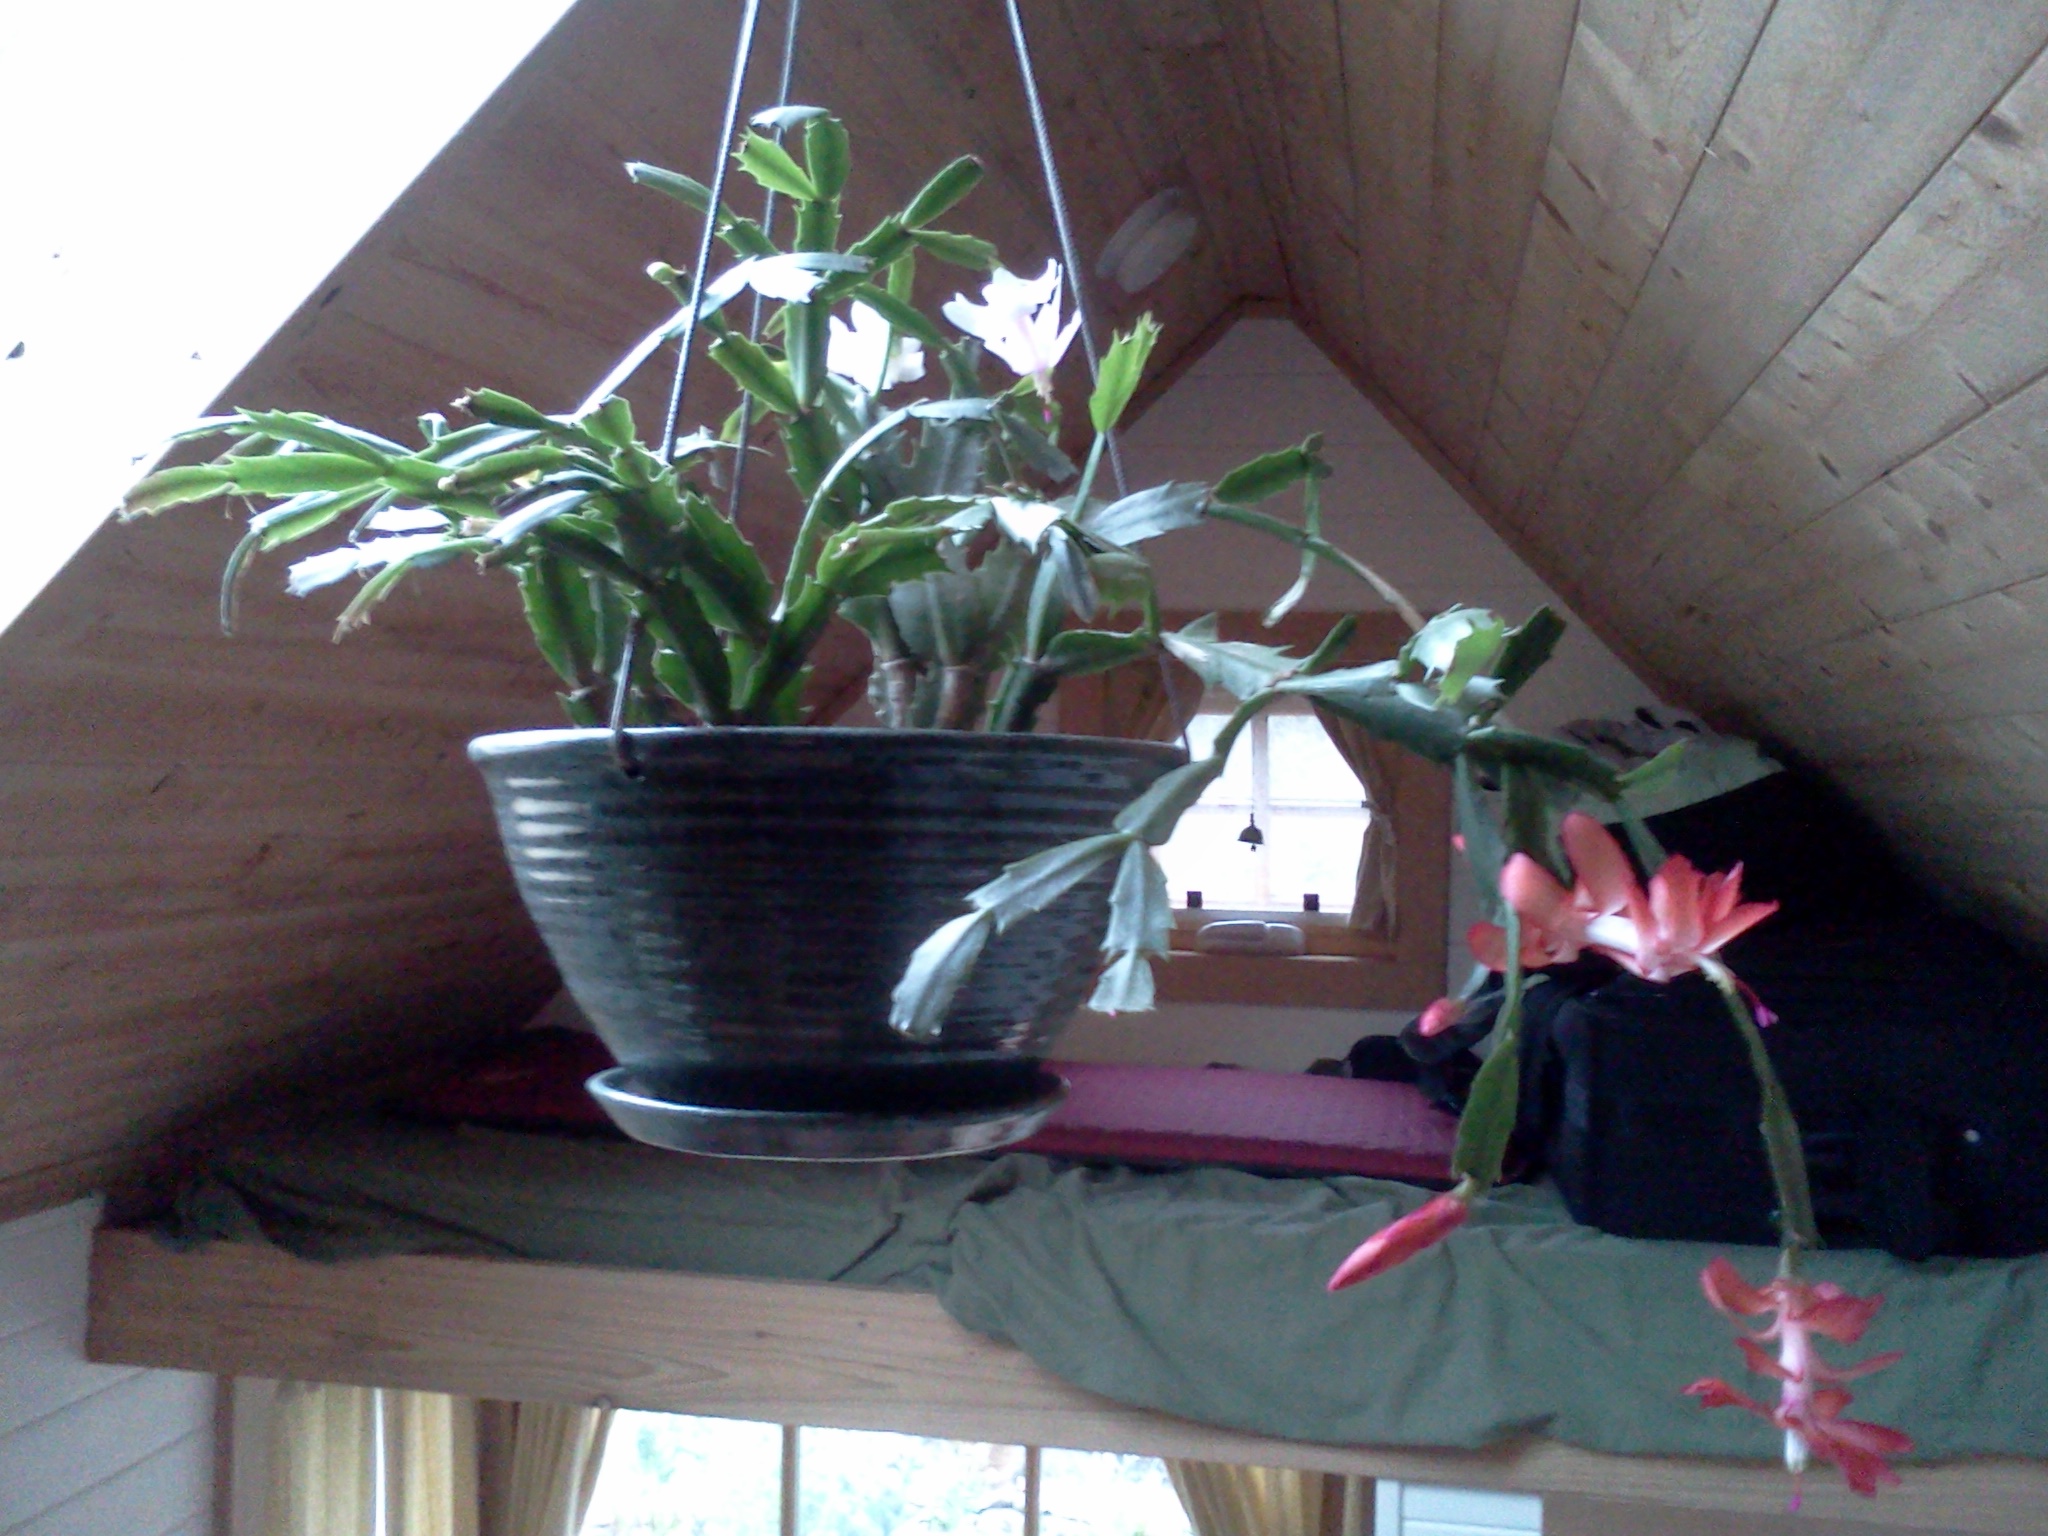
A few neat tiny house details made the move simpler, too. I have a little shelf with a bar across the front for my empty mason jars (read: drinking vessels, aka glasses), so I left them where they were.  Since my dishrack hangs on hooks I knew it would likely sway a little but that nothing would fall and break. So I just left the dishes drying in the rack. I even decided to just leave my Christmas cactus hanging from its hook on the ceiling! No problems there. As I design a tiny house for myself that will be more mobile than this one, I will try to remember these little tricks made hitting the road much quicker and easier.

pulling the tiny house into its new parking spot

Once I knew everything was secure inside I headed outside to disconnect the house from its utilities. I unscrewed the water supply hose and disconnected the waste pipe from the corrugated drainage pipe of my greywater system. I unplugged my electrical cord and unscrewed my propane line and wrapped the lines up with zip ties so they wouldn't drag along the way. Then I closed the shutters so they would protect the windows in transit. I removed the wheel covers and tire blocks. With the propane tank, front steps, and jacks safely tucked inside the house, we were ready to roll.

We got the tiny house parked in its new spot, stabilized on jacks, and hooked up to water, power, and propane. Simplest move I've ever made!

A Tiny Move for a Tiny House

it's been a great parking spot for a tiny house A new tiny house is moving into the parking spot I've enjoyed for the past seven months, so the tiny house I'm living in is moving on down the road. Literally. I found a new parking spot just three blocks away, so tomorrow morning I'll be packing up my breakables, strapping down my shiftables, and unhooking my utilities. We'll open the gate, hook my tiny house up to a neighbor's 3/4 ton pick up truck, and move the tiny house three long blocks to a new spot where I'll live for the next two months. After that Britt's Bungalow is on its way back up to Olympia where it will be a vacation rental for the summer. It's a tiny tester for people interested in living in a tiny house (or just curious about them).

I feel so lucky to have been a long-term tester of Brit's Bungalow. It's totally Lina approved. I love it! And I've really enjoyed the spot I've been parked, too. Today I'm savoring the delights of this place: the bamboo grove, the clover patch, the chicken coop, the garden, the view through the tree tops, the covered bike parking. It's been a perfect parking spot for a tiny house.

Showcasing Accessory Dwellings in Portland

  A Sister-in-Law House

As part of my internship with Orange Splot, LLC, I've been doing case studies of accessory dwelling units in Portland and guest posting on the Accessory Dwellings website. Accessory Dwelling Units (ADUs) are separate living spaces on the same property as a larger house. They're also called mother-in-law apartments, granny flats, or backyard cottages. Sometimes they're build in attics or basements or over a garage. I think ADUs are a brilliant way to increase density, utilize existing infrastructure, build community, and provide housing flexibility and adaptability.

Here are the Accessory Dwelling posts I've written:

The system development charges (SDCs) that make building an ADU cost prohibitive for most

ADU over the garage

families have been waived until 2013. This can save families thousands of dollars! So I'm working with a group of space-efficient housing advocates to share ADU stories so that people consider building ADUs while the fees are waived. We're hoping that if we can show that there's a demand for them the waiver will continue, making ADUs an affordable and efficient development strategy.

This week several space-efficient dwellings were showcased on a tour as part of the Living Future Unconference. Several more ADUs will be featured on the ADU Bike Tour I'm coordinating on Sunday, June 10th as part of Pedalpalooza.

Hammock Time!

hammock time We've had a rather convenient weather pattern of gray weekdays and sunny weekends. There's a joke around here when you have lovely days in the spring followed by another gray day. People start saying, "Don't worry. It will be back. We'll have another nice day in July or August!" It's enough to keep people hoping. Portland is like Seattle in that they don't get dolled up in their nicest weather very often but when they do they're beautiful and everyone gets outside to make the most of it. Glad I was able to soak up the sunshine while I did.

Today my friend Marti who was here for a contra dance festival came over for a picnic lunch

Happy May Day: Christmas catcus in bloom

(complete with lemonade!) Afterwards I hung my hammock up and lounged in it while I read a book for the paper that's due today. I've been enjoying reading on my kindle, especially after I figured out two tricks: 1) I can load my articles for school onto it, and 2) I can highlight and bookmark. It's especially nice for reading on transit or outside because I don't need to have a pen or a notepad with me. The pages don't rustle in the breeze, I don't get that funny ache in my hand from holding the book open, and all the paperwork I need is right there on my slim, portable reader.

In this lovely weather my Christmas Catcus finally decided to bloom. That is a nice May Day treat! I think it likes its new spot dangling from the tiny house's ceiling near the skylight.


Springtime in the Tiny House

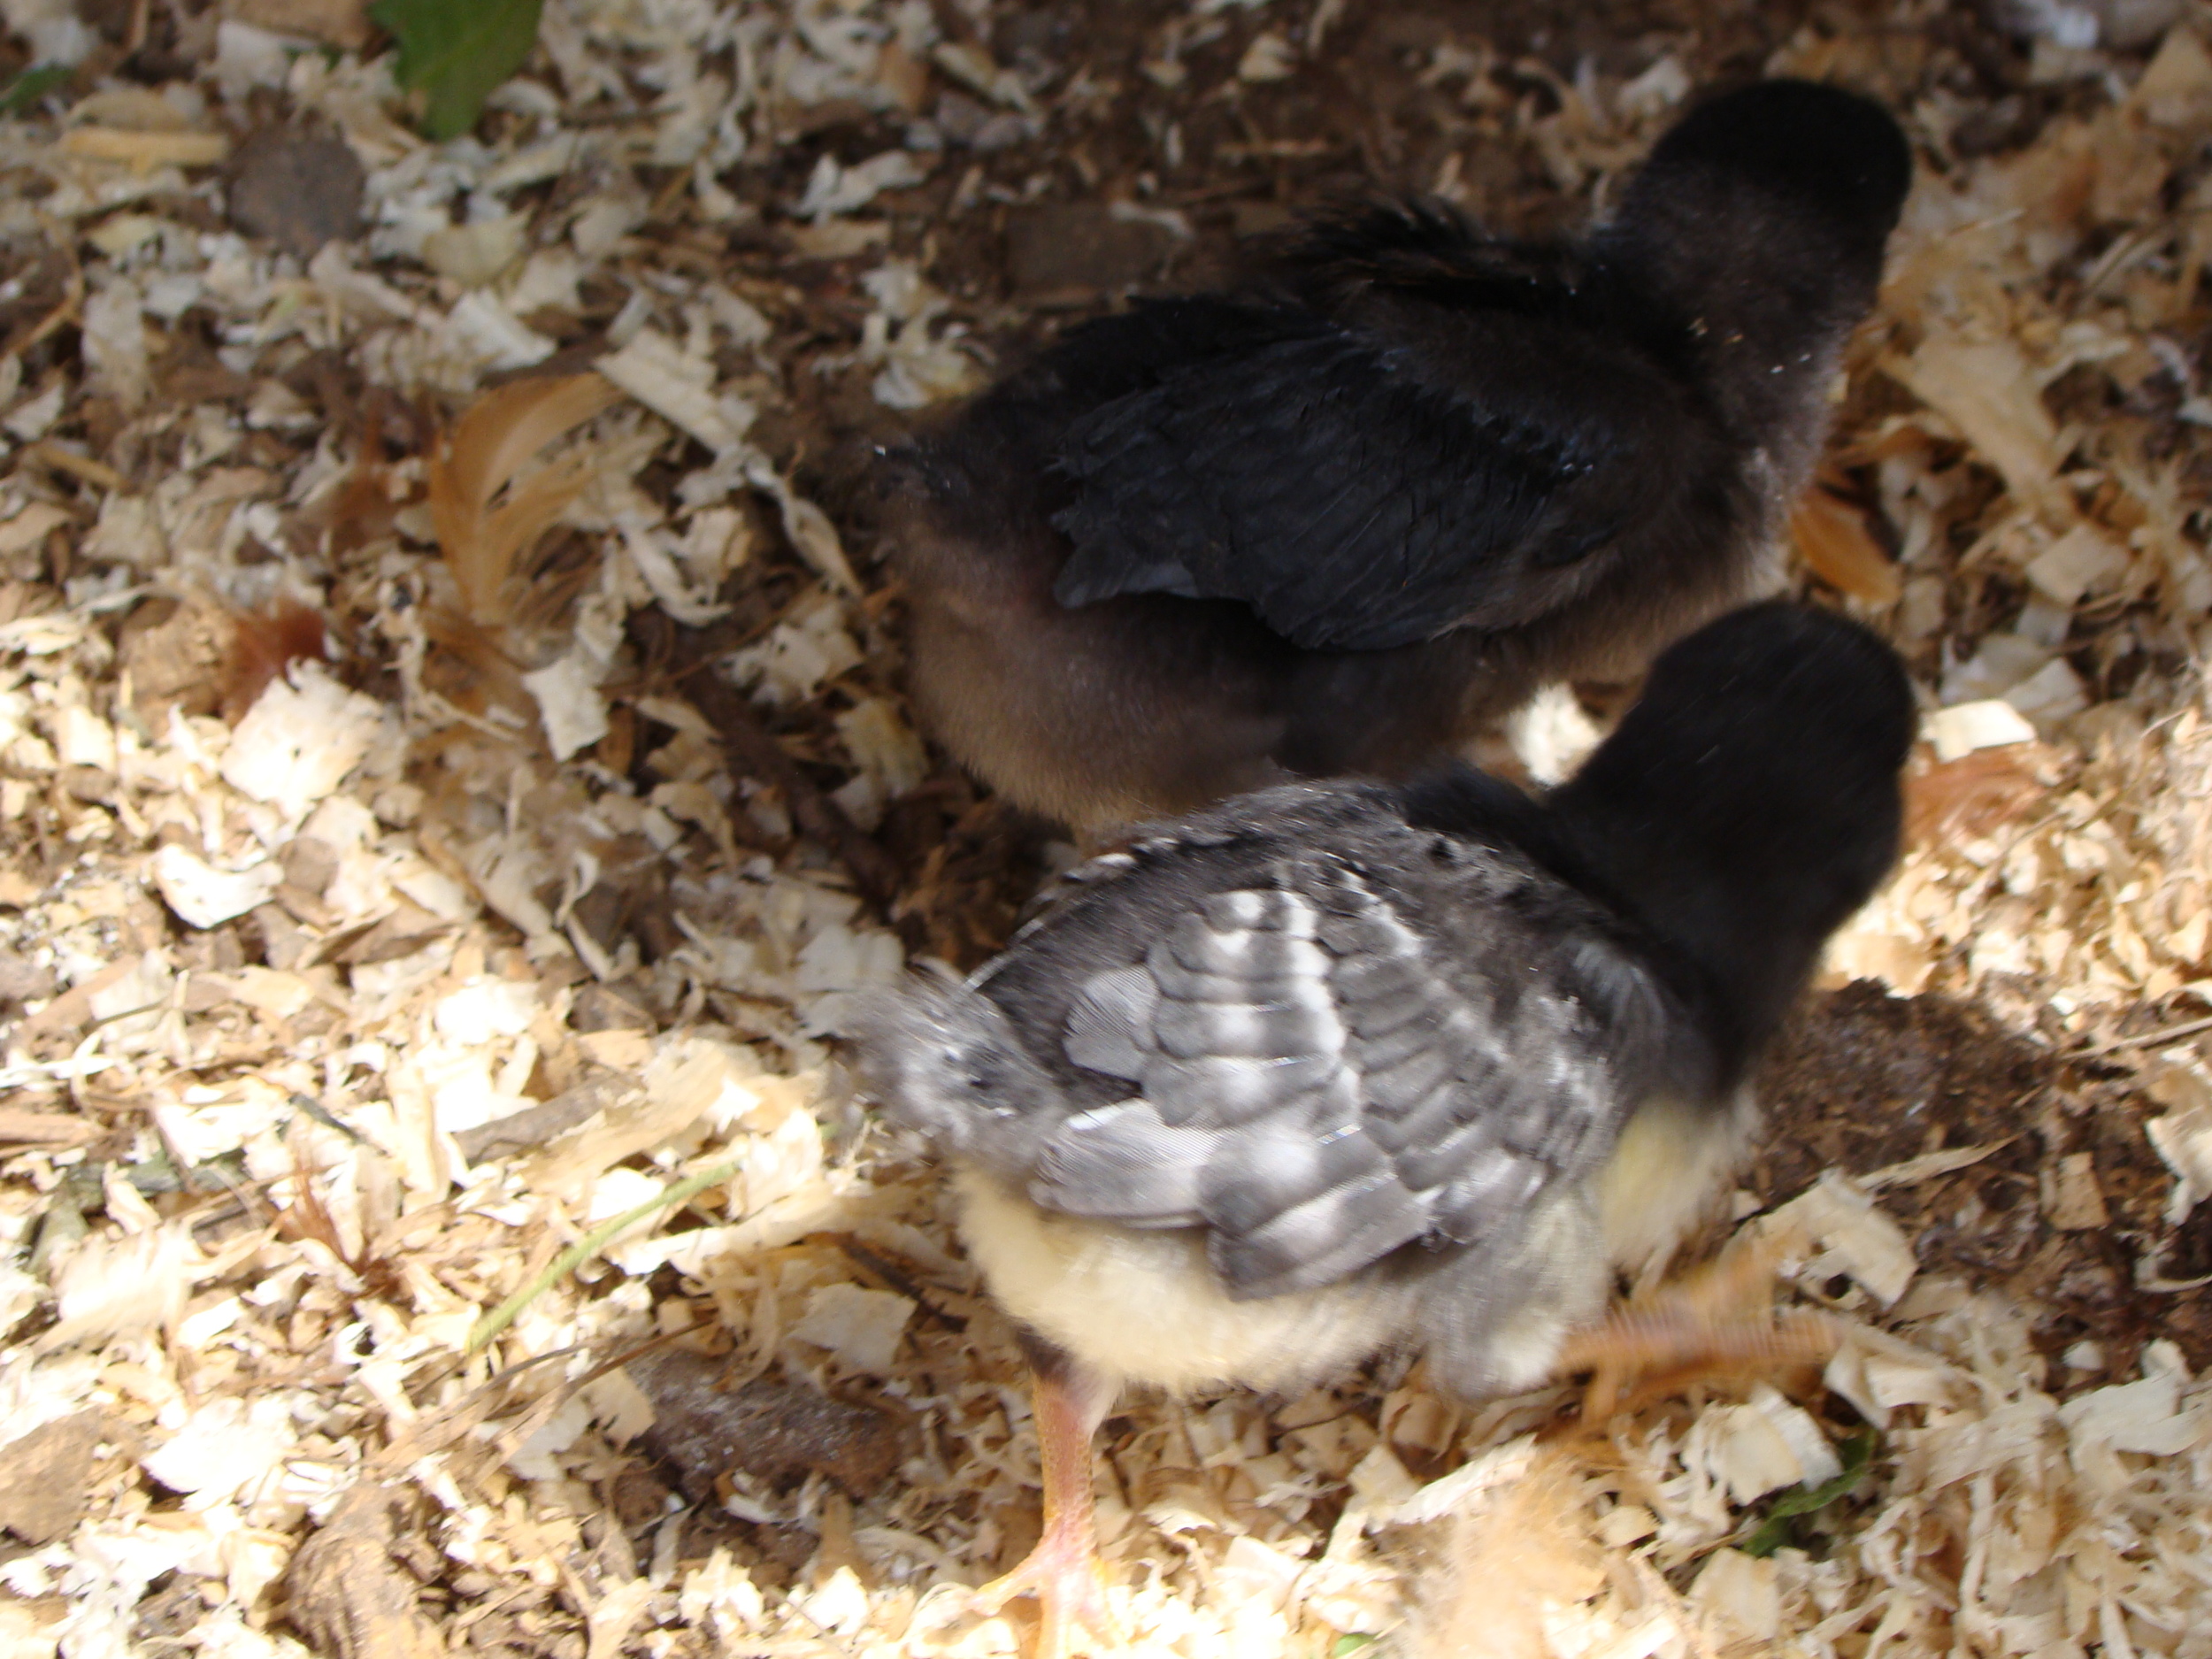
I returned from my trip to California to discover that springtime had arrived in Portland, too. I took the Max Red Line home from the airport this afternoon, switching to the bus and then walking the last couple of blocks. It was fun to have that time to see everything so vibrant: people mowing their lawns, trees and flower in bloom, backyard chickens foraging for worms. chicks curious about the great outdoors

I turned my heater off at the beginning of April since we'd had a couple of warm days. We've had some gray and rainy days, too, but overall, it's been quite pleasant. I especially love those first few days of the year when you open all the windows and leave them open all day and all night, fresh air flowing through the house. I debated leaving the heat on low when I left for my trip, but ultimately decided my cat could burrow into the blankets if he needed to. Hopefully I'll be able to leave it off from here on out. If I do, I managed to use the heater for just five months this year, from the beginning of November through the end of March. I seem to have survived a Portland winter in a tiny house no problem-o.

Ella shows her chicks to forage

Now the tulips are blooming outside my front door and the lilacs along the fence. I helped my landlady get her compost system set up so that's ready to go again, too. The garden is looking lovely and I've especially enjoyed watching a Calliope hummingbird that zips around the blueberry bushes. The greens that have overwintered are now bolting so I'm eating greens as quickly as I can! I've been making a bruised kale salad with a little lime juice, black sesame seeds, and dried cherries. I know, it sounds like a strange combination, but it's really quite tasty!

chicks playing chase with a worm

Meanwhile, the chicks are big enough that they've been playing outside the coop. It's sooo cute to watch them figure things out. They're still puffballs but they're getting more feathers all the time and they chase each other around, playing catch-me-if-you-can with worms and slugs. They all sleep tucked underneath the mama hen Ella and she clucks to them when she finds a worm or some greens for them. Spring is my favorite time of year and I feel really lucky to be able to spend it in such a pretty place!

Tiny House in Portland Tribune's Sustainable Living Section

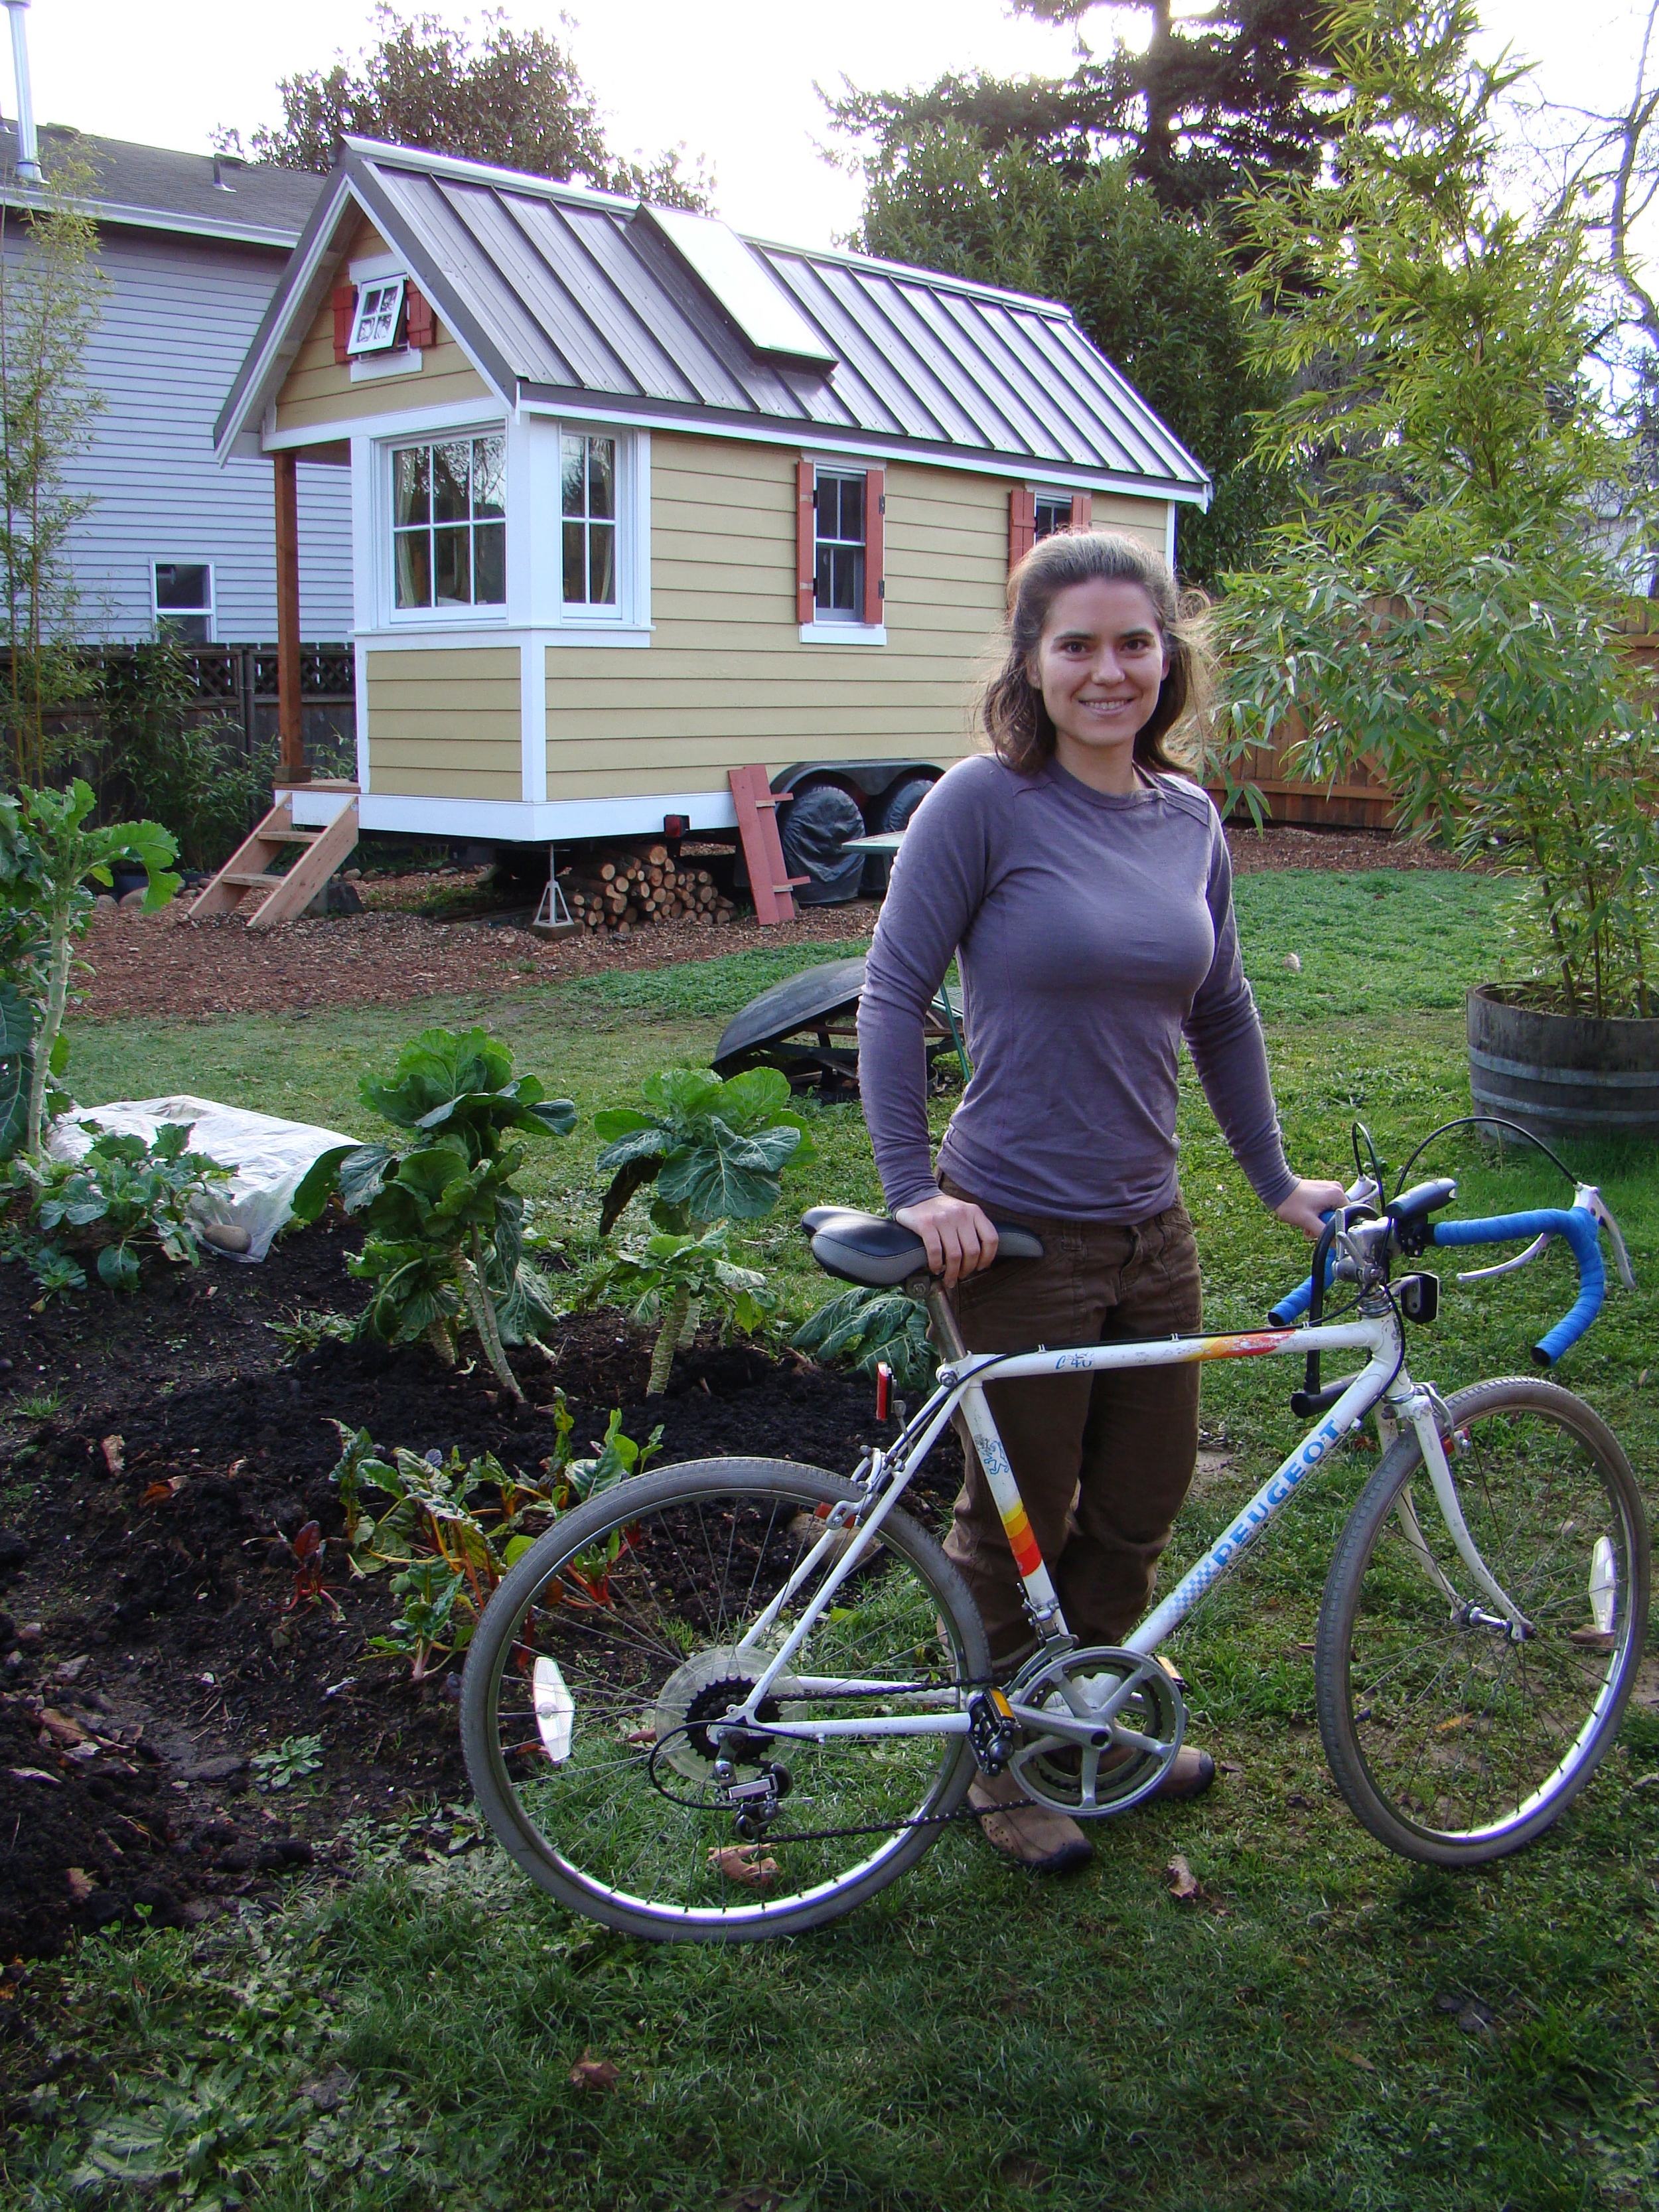
Tiny House & BikeRaffi, the tiny house, and I were on the front page of the Sustainable Living section of Friday's Portland Tribute. Check out Home Tiny Home to see the story and photos. There were a couple inacurracies: 1) the article said that I plan to have a tiny house built for me someday but I actually plan to build my own tiny house someday, and 2) the tiny house I live in is only 121 square feet, not 144 as the story claims.

But overall it was a good article and it's exciting to be part of it. The story has been picked up by other local papers like the Tigard Times and the Beverton Valley Times.

Tiny Barn Exterior Wrapping Up

Today marks three weeks since the tiny house build began. After a beehive-like first week of building, things quieted down in the second week as the roof framing, sheathing, and tar papering continued with a smaller crew. In week three the evolution has continued thanks to Jane and her talented friends. I've been busy the past two weeks with the start of a new school term so I've managed to do just few little things (installing hurricane ties for the roof rafters, deconstructing and then rebuilding the storage loft at the new and improved height, and prying up the subfloor so we can let the floor joists dry out). I discovered I really like using a palm nailer!

This week Jane's friend stained the beautiful leaded glass door and a friend of his installed it. An artist whose medium is woodworking, spent the past week in Portland applying his craft to the tiny house. I've been thoroughly impressed each evening I've stopped by on my way home to see the progress. In one week he finished the roof overhangs on the gambrel ends, installed the metal roof, trimmed out the windows and the corners, installed belly boards, hung the beveled siding, and installed shakes on the gambrels. He even carved a little lotus pattern into one of the shakes, adding an extra little touch of beauty. Thanks to his excellent craftspersonship, the house's exterior is buttoned (and nailed, screwed, and stapled) down (and up and sideways), waiting for us to resume with interior design and building.

I'm taking a break from the tiny house for the next week since I'm headed to Los Angeles for the national planning association conference and a visit with my sister. Jane has said she might take a break, too, to catch her breath before the next phase. Don't worry, we'll be back at it soon. In the meantime, I wanted to leave you all with some photos of the tiny house's progress.

Tiny House Build Week: Lessons Learned

The past couple of days pouring rain has forced me to shift to indoor activities (like taxes, scholarship essays, and catching up on emails that have piled up over the past two weeks). So I've had a chance to reflect on what I learned from our week-long tiny house build. I figure by sharing my lessons-learned I might spare someone else a bit of head scratching and perhaps enable other folks to avoid the mistakes we made. (For a full slideshow of construction details, click here.) HTT

First, building a small house that can withstand earthquake conditions requires some different considerations than traditional construction. We secured the frame to the trailer with HTT tension ties and 10 inch bolts and we'll be attaching the roof with hurricane clips, so the structure is solid. But it was tricky finding the balance between building sturdy and building light. The two aren't mutually exclusive, but to have both one must plan strategically. I certainly don't think we've maxed out the trailer's hauling capacity, but we ended up using more studs than we would have needed if we'd planned so that our sheet goods, studs, and rough openings all lined up better. I have a much better understanding of how sheer panels, tension ties, and framing work now and I'm sure I could develop a better plan now than I could have two weeks ago. I wish I'd spent a little time between the day we picked up the trailer and the day we started building to puzzle through some of the connections in advance.

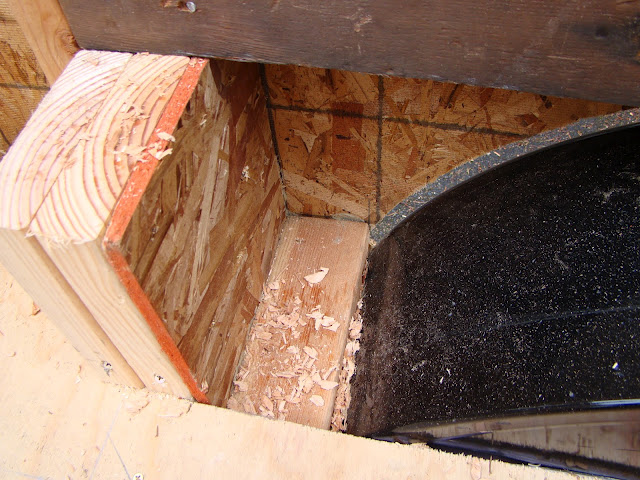
fender gap

I've come to really appreciate the design-build process for its iterative aspects. One idea influences another, which affects another, which informs another. Over the past couple of months Jane and I had developed a general layout and we had salvaged quite a few materials, but we hadn't developed detailed plans. Every time I attempted more complicated drawings or Sketch Up models I was dissuaded either by questions I didn't know the answers to (like how we were going to attach the walls to the short ends of the trailer) or by reminders that whatever we thought the plan was, it would change once builder friends came on the scene. We deferred to their experience and the house emerged as the product of collective wisdom and effort. It's both similar to and different from what I imagined it would be. The layout has shifted a bit, the envelope systems have evolved, and the roofline gives the house a whole different character than I anticipated.
fender blocking

Despite a decade volunteering with Habitat for Humanity and two spring breaks of home restoration in New Orleans, I realized that I didn't know many of the details about how a house goes together. My only framing experience was building my chicken coop and solar trellis with my friends Jon and Phil, so my vocabulary expanded this week as I learned to name roof framing elements like outrigging, rakes, and gussets. I also became much more comfortable using a circular saw, jig saw, sawzall, and staple gun, though I'm still a little shy of the table saw. I learned that plywood is supposed to be oriented with the long dimension perpendicular rather than parallel to the joists and that OSB isn't necessarily a good substitute for plywood if there's rain in the forecast (if, for instance, you live in west of the Cascades!) Figuring out how to get the fenders into the wall system and close the space to the outside was a mental puzzle and I'm glad we came up with a good solution. I decided that for future tiny houses it would be great to have the fenders be structurally sound.

bubble wrap

I also learned the hard way that it's worth taking time to do additional research and planning if using an unfamiliar product. The bubble wrap we were so excited about for its reflective heating properties caused a moisture problem in our floors. When we pulled up part of the floor to start the plumbing we found that the fiberglass insulation was damp. It seems that since we sealed the bottom of the floor system with plastic then stapled the bubble wrap across the top of the joists we created a waterproof envelope. This would have been great if everything inside it was moisture free. The trouble was that the joists we were using were made from green (wet) wood so as the house sat in the sun for four days the wood released its moisture. Since there was no way for the moisture to escape it settled into the insulation where it could cause mold or rot. When we discovered the problem I contacted a company that sells the material to troubleshoot. I was informed that we shouldn't have closed up the floors till the joists had dried out. If we couldn't wait for the wood to dry, we should not have stapled the bubble wrap over the joists; the moisture could have escaped the system if we hadn't sealed it in completely. We had originally planned to run the bubble wrap inside the bays and to not lap it over the joists, but once we started stapling the bubble wrap we found it was easy to go over the joists. I didn't take the time to think through why that might be a bad idea. Now we'll have to pry up the floors we screwed and glued down so that we can remove the insulation and bubble wrap and then re-insulate. With this reminder of building science basics, I think we could use the bubble wrap effectively if we installed it properly, but I don't blame Jane a bit for deciding to take it out of the envelope completely. Removing it will impact the insulation systems for our walls and ceiling since we had planned to use it throughout the envelope. At least we were also reminded that the plywood ought to have run the opposite direction so we'll fix that while we're at it and feel very productive for addressing two concerns in one fail swoop!

A few final thoughts:

It would have been a good idea to have our supplies delivered a day early and to check the delivery for accuracy. There was something wrong with almost everything ordered. (Working with a smaller company likely would have helped!)

Double-checking that the windows all fit into their rough openings properly before putting up the sheathing would have been a good step. We skipped it and had to do a couple tweeks later.
Rainy Day

I'm thoroughly impressed with the ability of people who have been building longer than me to think through the multiple layers of a structure - planning ahead to the surfaces on either side and how they will all come together. I hope to continue honing my spatial comprehension the more I design and build.

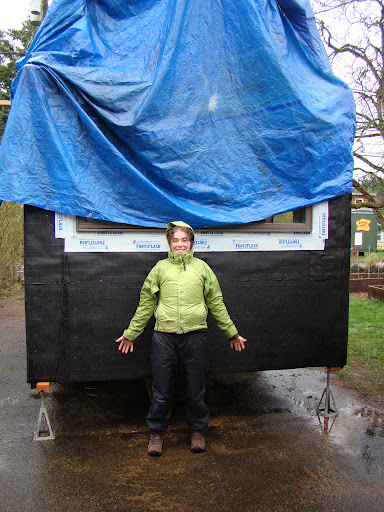
It's great to be optimistic about the weather forecast and to be willing to work through some unpleasantries. But it's also important to establish a rainy day plan so that all your hard work isn't compromised by inclement weather.

You know you're ready for a break from building when you start cracking jokes about how you're ex-sided that the exterior siding is almost finished. Get it excited, ex-sided, exterior siding. Er. Um. Yes, I can see now that it wasn't very funny. See? Time for a break!

Building the shell of a tiny house on wheels was an awesome way to spend my spring break. There will still be lots of chances to contribute over the next few weeks, so if you'd like to help out, just let me know!

Day 7: Roofing in the Rain

All week the weather forecast had predicted rain, but today it actually caught up to us. Jane's builder friends are heading home tomorrow, so we really wanted to get the roof sheathing and tar paper on today so that the house would be "blacked in" and weather tight before they left.

We set out this morning in full Gortex to see how far along we could get. We decided to unpeel the tarp from the house in 8 foot segments so we could get some of the sheathing up. We installed sheets of OSB onto two thirds of the top course of the roof and covered them in tar paper, since we realized it would be easier to cover now than it will be once the lower course is sheathed. But we weren't able to complete the whole top run because our roofing framer hadn't yet finished the outrigging support for one of the gambrel ends. Unfortunately he wasn't able to come out until the afternoon and by then the rain had picked up. We continued working through the afternoon, trying to keep things covered as much as possible. Meanwhile we continued with the plumbing and electrical. My friend Christian came to help out and he and I cut the framing for the walls at the gambrel ends, using cut requests from the roofer. It was interesting using the miter saw at several different angles and seeing the framing come together, but it was frustrating that there wasn't more we could do. With the tarp catching the wind every time we moved it the house felt like a sailboat. And with the rain pouring down I started having visions of the tiny house as an ark, floating away in the flood.

We hung around for a while since we anticipated having to work quickly to get the sheathing and tar paper up during a break in the rain. But a break never came. It continued to pour and the wind picked up so that we were afraid sheathing the roof would be too dangerous because of slipping hazards and wind gusts. Every gap in the tiny house's rain coat sent sheets of water into the house. Eventually we decided we'd be better off just getting the house as closed up as possible.

I suppose the bright side is that I was able to get a couple items checked off my to do list, enjoy a nice hot dinner, and visit with friends since I couldn't work on the house. However, it was a disappointing stopping point for a week's worth of hard work. If we had realized what a downpour we were going to get we probably would have just reenforced our tarps first thing in the morning and planned to return to the project during a break in the weather.