T42 Lofts, Interior Walls, Paint

T42 Lofts, Interior Walls, Paint

It's been a very productive week for our tiny house, T42. (It's also been a very exciting week for Isha and I because we made A Big Announcement!) This week, with the help of a few friends and a couple Tiny House Sidekicks, we managed to install the sleeping loft, the studio pocket door, the bathroom pocket door, the studio wall, the access hatch for our loo bucket, and do the first coat of paint on the interior of our little house.

T42 Door Installation & Final Dry In

T42 Door Installation & Final Dry In

Yesterday Isha and I rallied a group of friends for Build Day #17 to install our French doors. We were eager to get our little house dried in before we moved it out from our covered build spot. It was great having a bunch of strong backs and clever brains for our door install. And it was especially nice to have Russ join us since he's a contractor and he was able to teach us some great tricks!

T42 Window Installation

T42 Window Installation

T42 has windows! Hip, hip, hooray!

They were two weeks late, but our windows finally arrived yesterday afternoon and with the help of my Tiny House Sidekick Meg and my friend Sarah we got them all* installed in an afternoon!

*Okay, well not quite all of them. Our hiccup on windows is that one of them was misordered. More on that in my next post...

T42 Rainscreen & Bottom Trim

Our rainscreen system is important in the Pacific Northwest On Wednesday, which was Build Day #14, we continued our exterior work with waterproofing quality control, instilling our rainscreen, and installing the first of our exterior trim. Our day started out with sealing up the space between the SIPs and the fenders with backerrod and a liquid-applied sealant. Air sealing is important for energy-efficiency and moisture management so it's nice to have this little step done. We also installed a few SIPs screws from the exterior through the SIPs and into the ledgers that hold up our storage loft. Now it's secured into the wall SIP from both sides. These were two little steps closer to being dried in. Once the windows and door are in we'll be able to be actually dried in and that's really exciting!

Next we started putting up our rainscreen system. "Rainscreen" is a tricky term because it makes it sounds like you're adding some sort of screen to the house to protect it from rain. The reality is that a rainscreen is almost a lack of things. It's negative space. Basically, a rain screen system - which is designed to protect your house from getting waterlogged and rotting - is a gap created between the exterior siding and the water resistant covering your sheathing. Unfortunately, linguistic matters get a bit more complicated by the fact that there is often bug screen involved in a rainscreen system! I'll try to break it down. Here we go!

Day 14 = Done!

In our case the wall system is structural insulated panels (SIPs) covered in a layer of R-Guard Cat 5, which is a liquid-applied water resistant barrier. We then stapled 3/8" cedar lath over the waterproofing layer, leaving the bottoms loose so we could add bug netting at the bottom. When we're ready to put the siding up we'll attach it to the lath strips and into the sheathing. (Since we're using SIPs we don't have to line up with studs, but if you're doing stick framing you do want to line up with the studs!) Installing the lath gives us a gap between the siding and the water resistant barrier so that any water that might get behind the siding can drain away. This provides a little breathing and airing out space which makes your siding more durable and protects the structure of the house from having waterlogged siding boards sitting right against it.

After the lath was up we picked up some bug netting (the fiberglass kind you'd use to make a screen for a window or screen door) and cut it into long strips. We tucked these under the bottoms of the lath, wrapping up a few inches on both sides, and then stapled the bottoms of the lath into place to hold the netting in place, too. We now have a screen at the bottom of the house behind the bottom trim board so that water can drain out but bugs can't get in!

Once the rainscreen was up we could install our bottom trim boards, so we wrapped up the day by installing our first trim boards. Woohoo! It's starting to come together!

The windows didn't arrive today as anticipated and they're now a couple weeks late. Fingers crossed that they come tomorrow!


T42 Window Flashing & Staining Trim

This week I am working with a fabulous woman named Meg who has come all the way from Boston to participate in our T42 Build Blitz to work on exterior tasks like waterproofing, rainscreen, windows, trim, and siding. Meg plans to build her tiny house, starting this fall, with her dad who has been building most of his life.

T42 Sealing & Priming

When we wrapped up the second T42 Build Blitz a week ago, we'd put in 8 build days and we'd completed all of the following:

Priming with bare hands

Over the past week, we've slipped in a couple half-days of building in amongst the project management and design work I've been doing for my two Package Deal clients and prep for the upcoming Tiny House Collaborative Tiny House 101 Workshop in July.

Early this week we had a fabulous visit from my aunties and my baby cousin (technically a first cousin, once removed, but "baby cousin" is easier, even if she is 14 now!) My lil cousin was eager to help out with my tiny house (though I'm starting to think it's bribery to get me to come help her with her tiny house someday!) She's an incredible artist so I'm hoping she'll be up for helping when we get to finish work, but meanwhile, priming the interior seemed a good next step, so that's what my baby cousin helped me out with this week! She quickly declared that priming is boring, but she stuck with me until we had the walls primed as high as we could reach. (And she also thoroughly enjoyed exploring our build site Green Anchors.) Additionally, she has proven that it really is more fun (albeit slower) to apply primer with bare hands! (Good thing we're using Safecoat, right!?) We also had a bunch of fun designing her tiny house the next morning before they left town!

Isha sealing up the roof box

Additionally, this week Isha and I added more staples to the roof seams and sealed up exposed framing with R-Guard Fast Flash. Once the sealing around the top of the SIPs roof box was done, we were able to install cedar roof extensions, which are important since the roof of the house matched up with the walls on our SIPs kit. The extensions will enable us to add a rain screen and siding without dumping water from the roof right into the siding! Our windows, which we ordered 10 weeks ago, were supposed to be here 2 weeks ago, but they've been delayed three times now. They're now scheduled for Wednesday of next week.

Our next Build Blitz will kick off on Monday with preparation for installation of our windows and siding. Join us if you can or follow along virtually on Instagram!

T42 Roof Raising & Storage Loft


Day 8 = Done.

On Friday we wrapped up our second Build Blitz and our eighth day of building on T42, the tiny house I'm building to live in with my sweetheart Isha (who also happens to be The Guy Next Door). Monday we did T42 SIPs Prep and Tuesday and Wednesday we had our T42 Wall Raising. I anticipated that the roof might give us some challenges, so we'd set aside Thursday and Friday for Roof Raising. Fortunately, the roof went together quickly and easily with the brawn, brains, and good humor of two Tiny House Helpers, Kelly and Andy.

We got into a nice rhythm of building our skylight panels, hoisting our panels onto the scaffolding then guiding them up onto the roof, sliding them on the panel before them, and then slipping them into place and anchoring them with SIPs screws in all the corners. We had the last roof panel up before taking a late lunch so we went to celebrate our success with warm bowls of Hawaiian noodle soup at Big Kahuna's. (It was, of course, raining on roofing day, so we were darn thankful for the covered build spot!)

After lunch Andy and I installed the perimeter blocking in the roof and the rest of the SIPs screws, while Kelly worked on sealing up seams between the SIPs panels with R-Guard Joint & Seam Filler. We were at a good stopping point by the time that was done so we cut out a little early and I jumped on a conference call for the Tiny House Collaborative.

On Friday Andy helped me put the finishing touches on the Puzzle Wall. We installed a few more studs to create the appropriately sized rough openings for the windows at the top of our tall wall and then cut 1/2" OSB for the sheathing. We were able to use up a few scraps of 3/4" OSB that we'd used as the subfloor as well.

Our storage loft, made from a piece of SIP scrap

After lunch we installed our storage loft, using an extra piece of SIP. When our SIP panels were cut from the master panel (check out Picking Up Our T42 SIPs Kit for more on that!) there was an extra piece that was sent along with the rest of the panels as filler for the stack during delivery. It was 38" wide, which was just shy of the 40" we were planning to make the storage loft, so we decided to go for it. We wanted the bathroom to be 36" wide to accommodate a 36" tub and we like the idea that a twin size mattress could fit above just in case we ever want to use it as a guest bed.

Andy and I measured and marked the height of the loft, measured and cut ledgers for the three sides along the walls, and then anchored our ledgers into place from the inside with beefy structural screws. (Before we install the siding we'll also anchor the ledgers from the outside with SIPs screws.) We dry fit the panel first to make sure it would go. Then we added mastic and shimmied the SIP into place. As soon as it was ready I crawled up to test it out and, sure enough, it's quite comfy up there!

We've made good progress in 8 days of building and I'm looking forward to our next Build Blitz when we'll be installing windows, a rainscreen, and our exterior siding! If you'd like to join us, you can sign up for the Build Blitz or be a Tiny House Sidekick for a day.

T42 Wall Raising

T42 Walls Up

More photos to come soon!

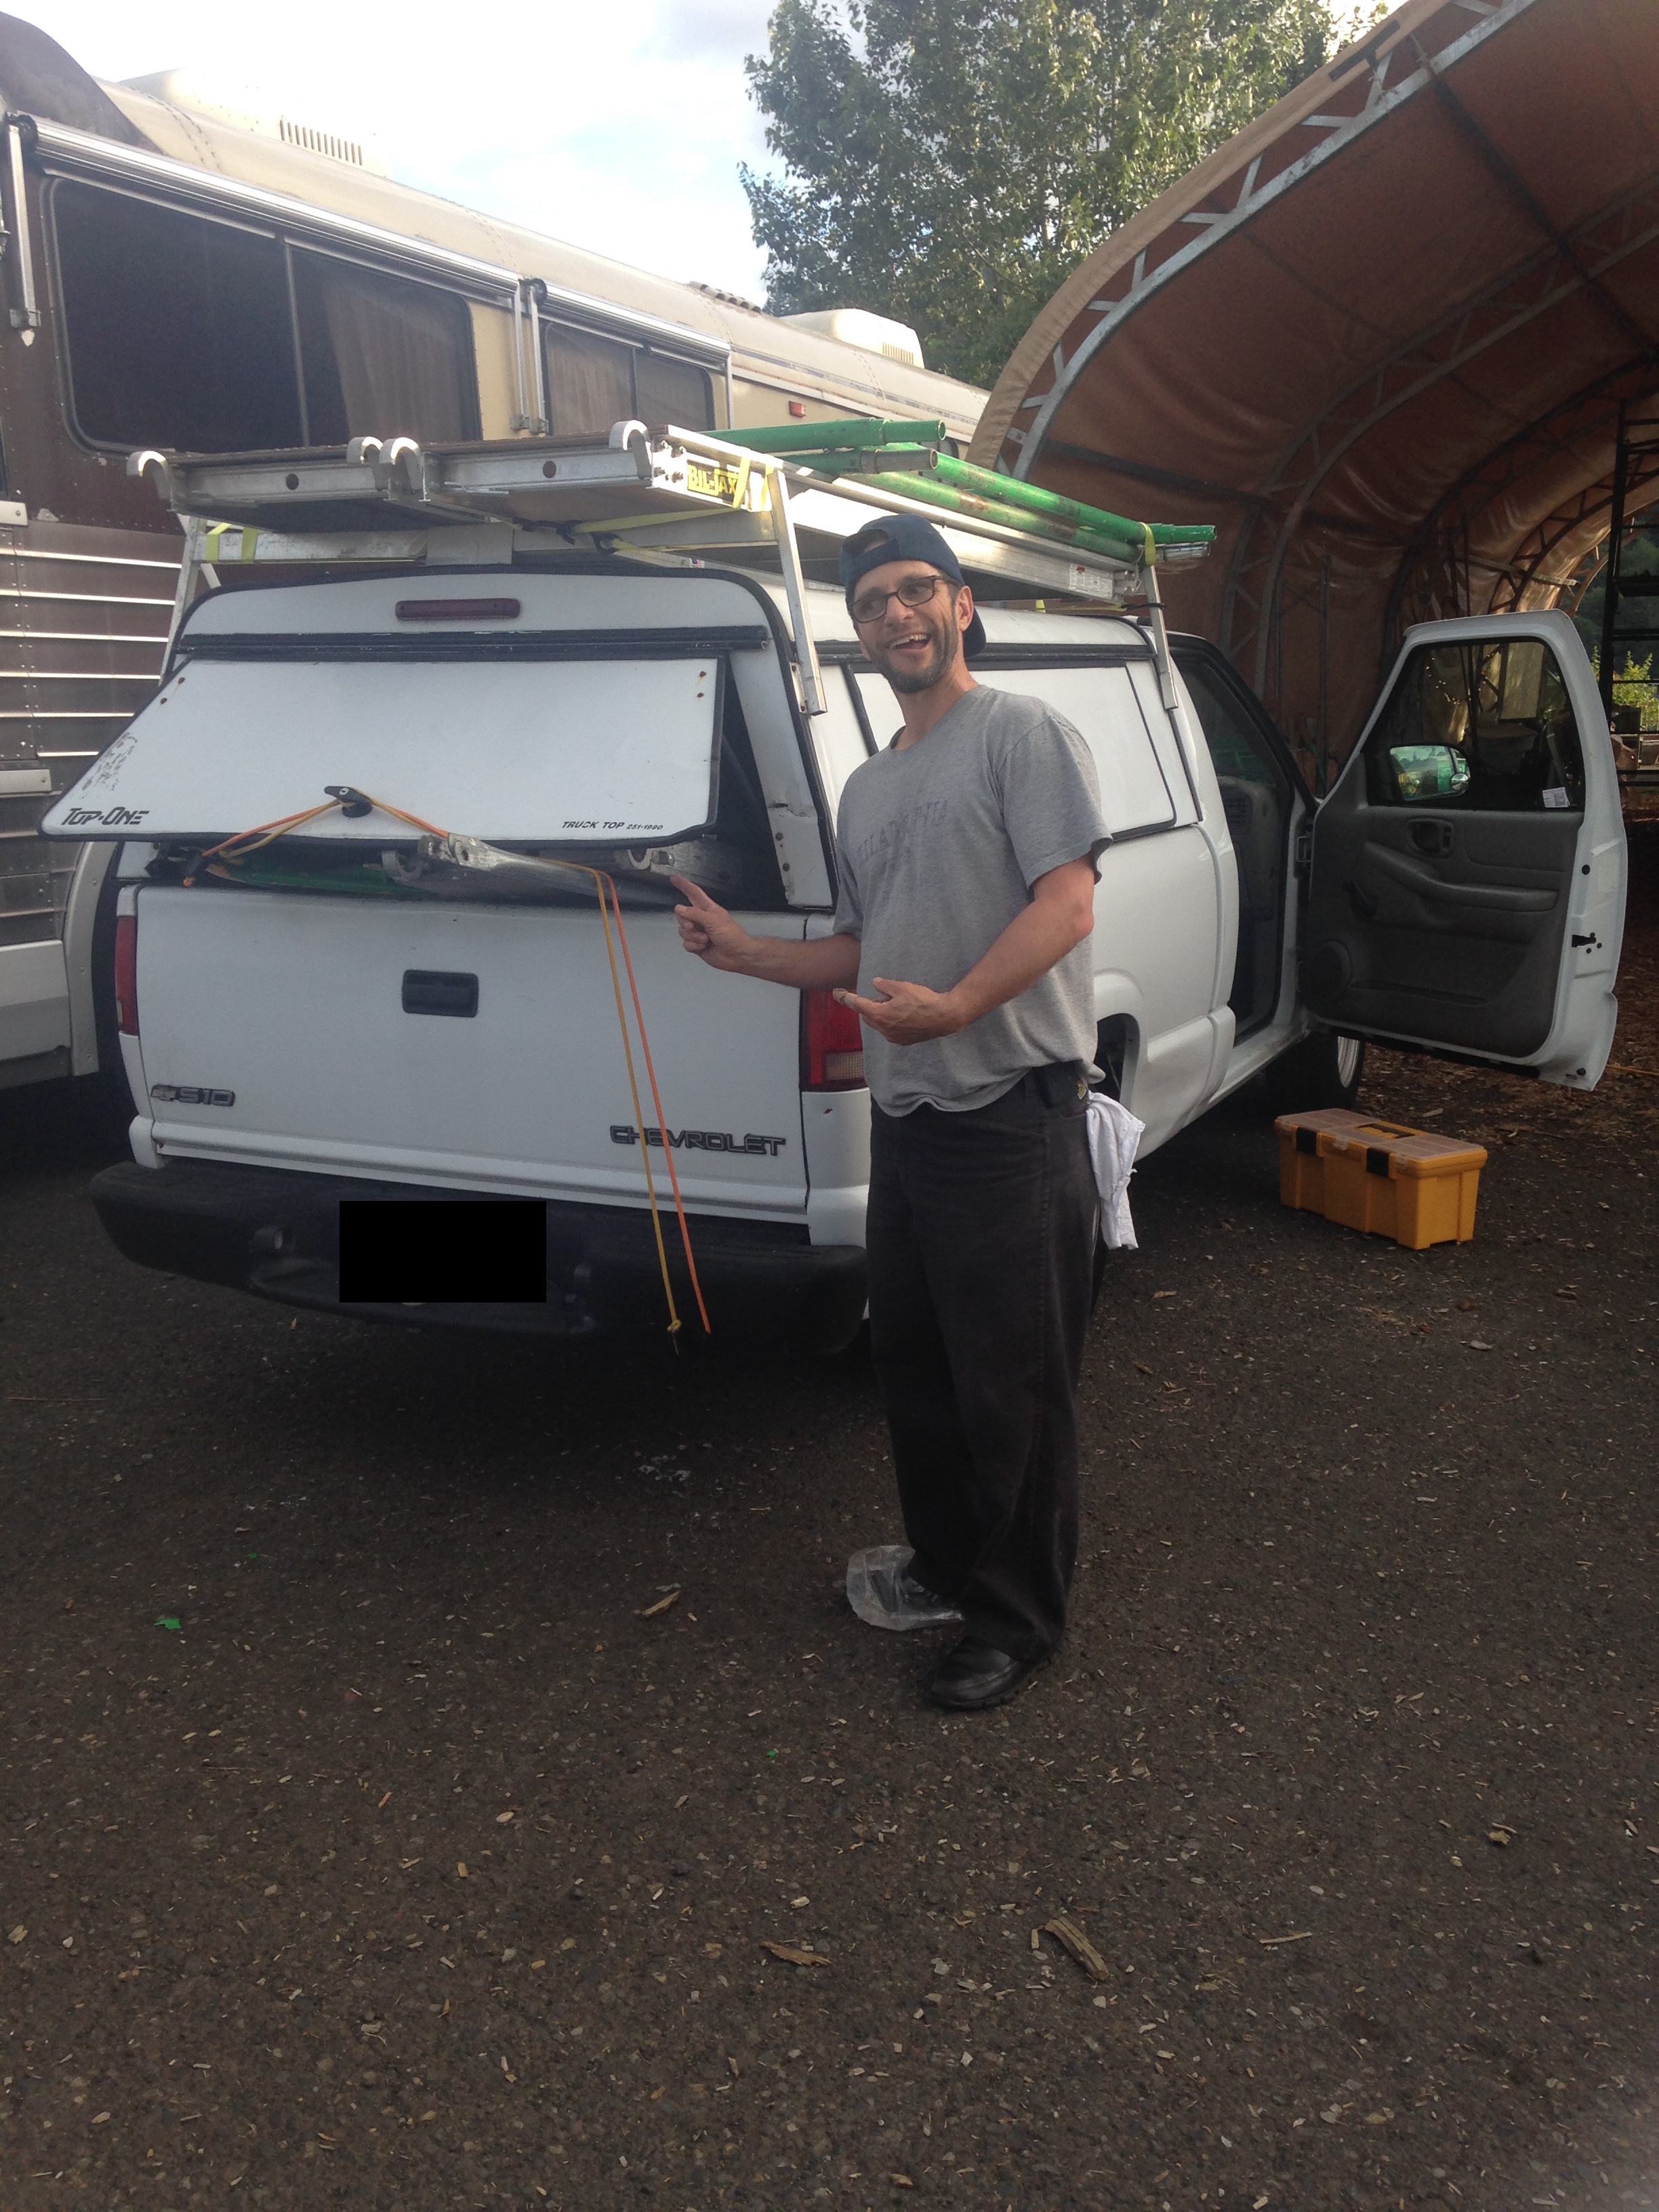
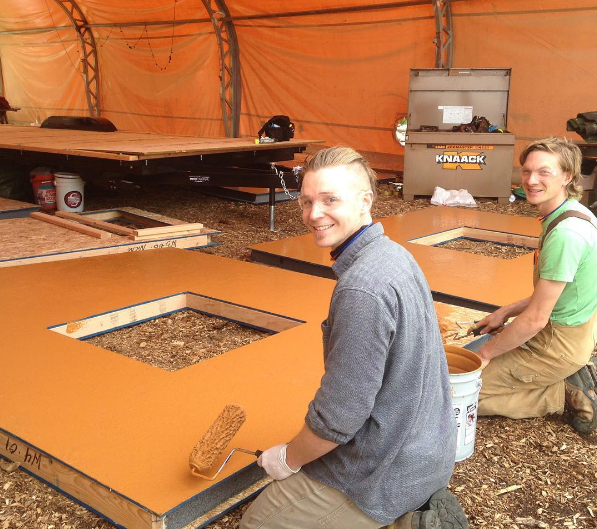
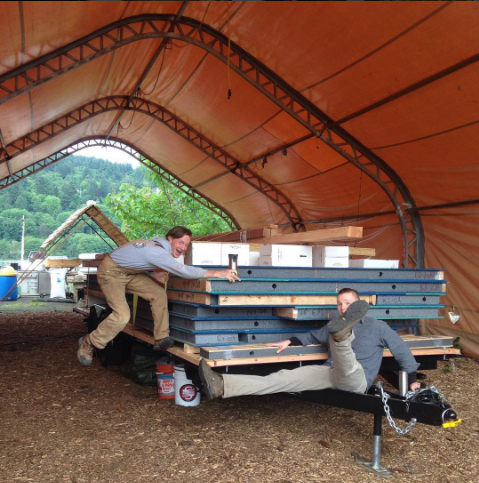
We kicked off our T42 Wall Raising Build Blitz on Monday with T42 SIPs Prep. Tuesday and yesterday were wall raising days. On Tuesday morning my beloved landie Tony came with me to Sun Belt Rentals to pick up the scaffolding we're renting for the week. With our new truck loaded up, we headed to the job site (with a quick stop at the coffeeshop, of course!)

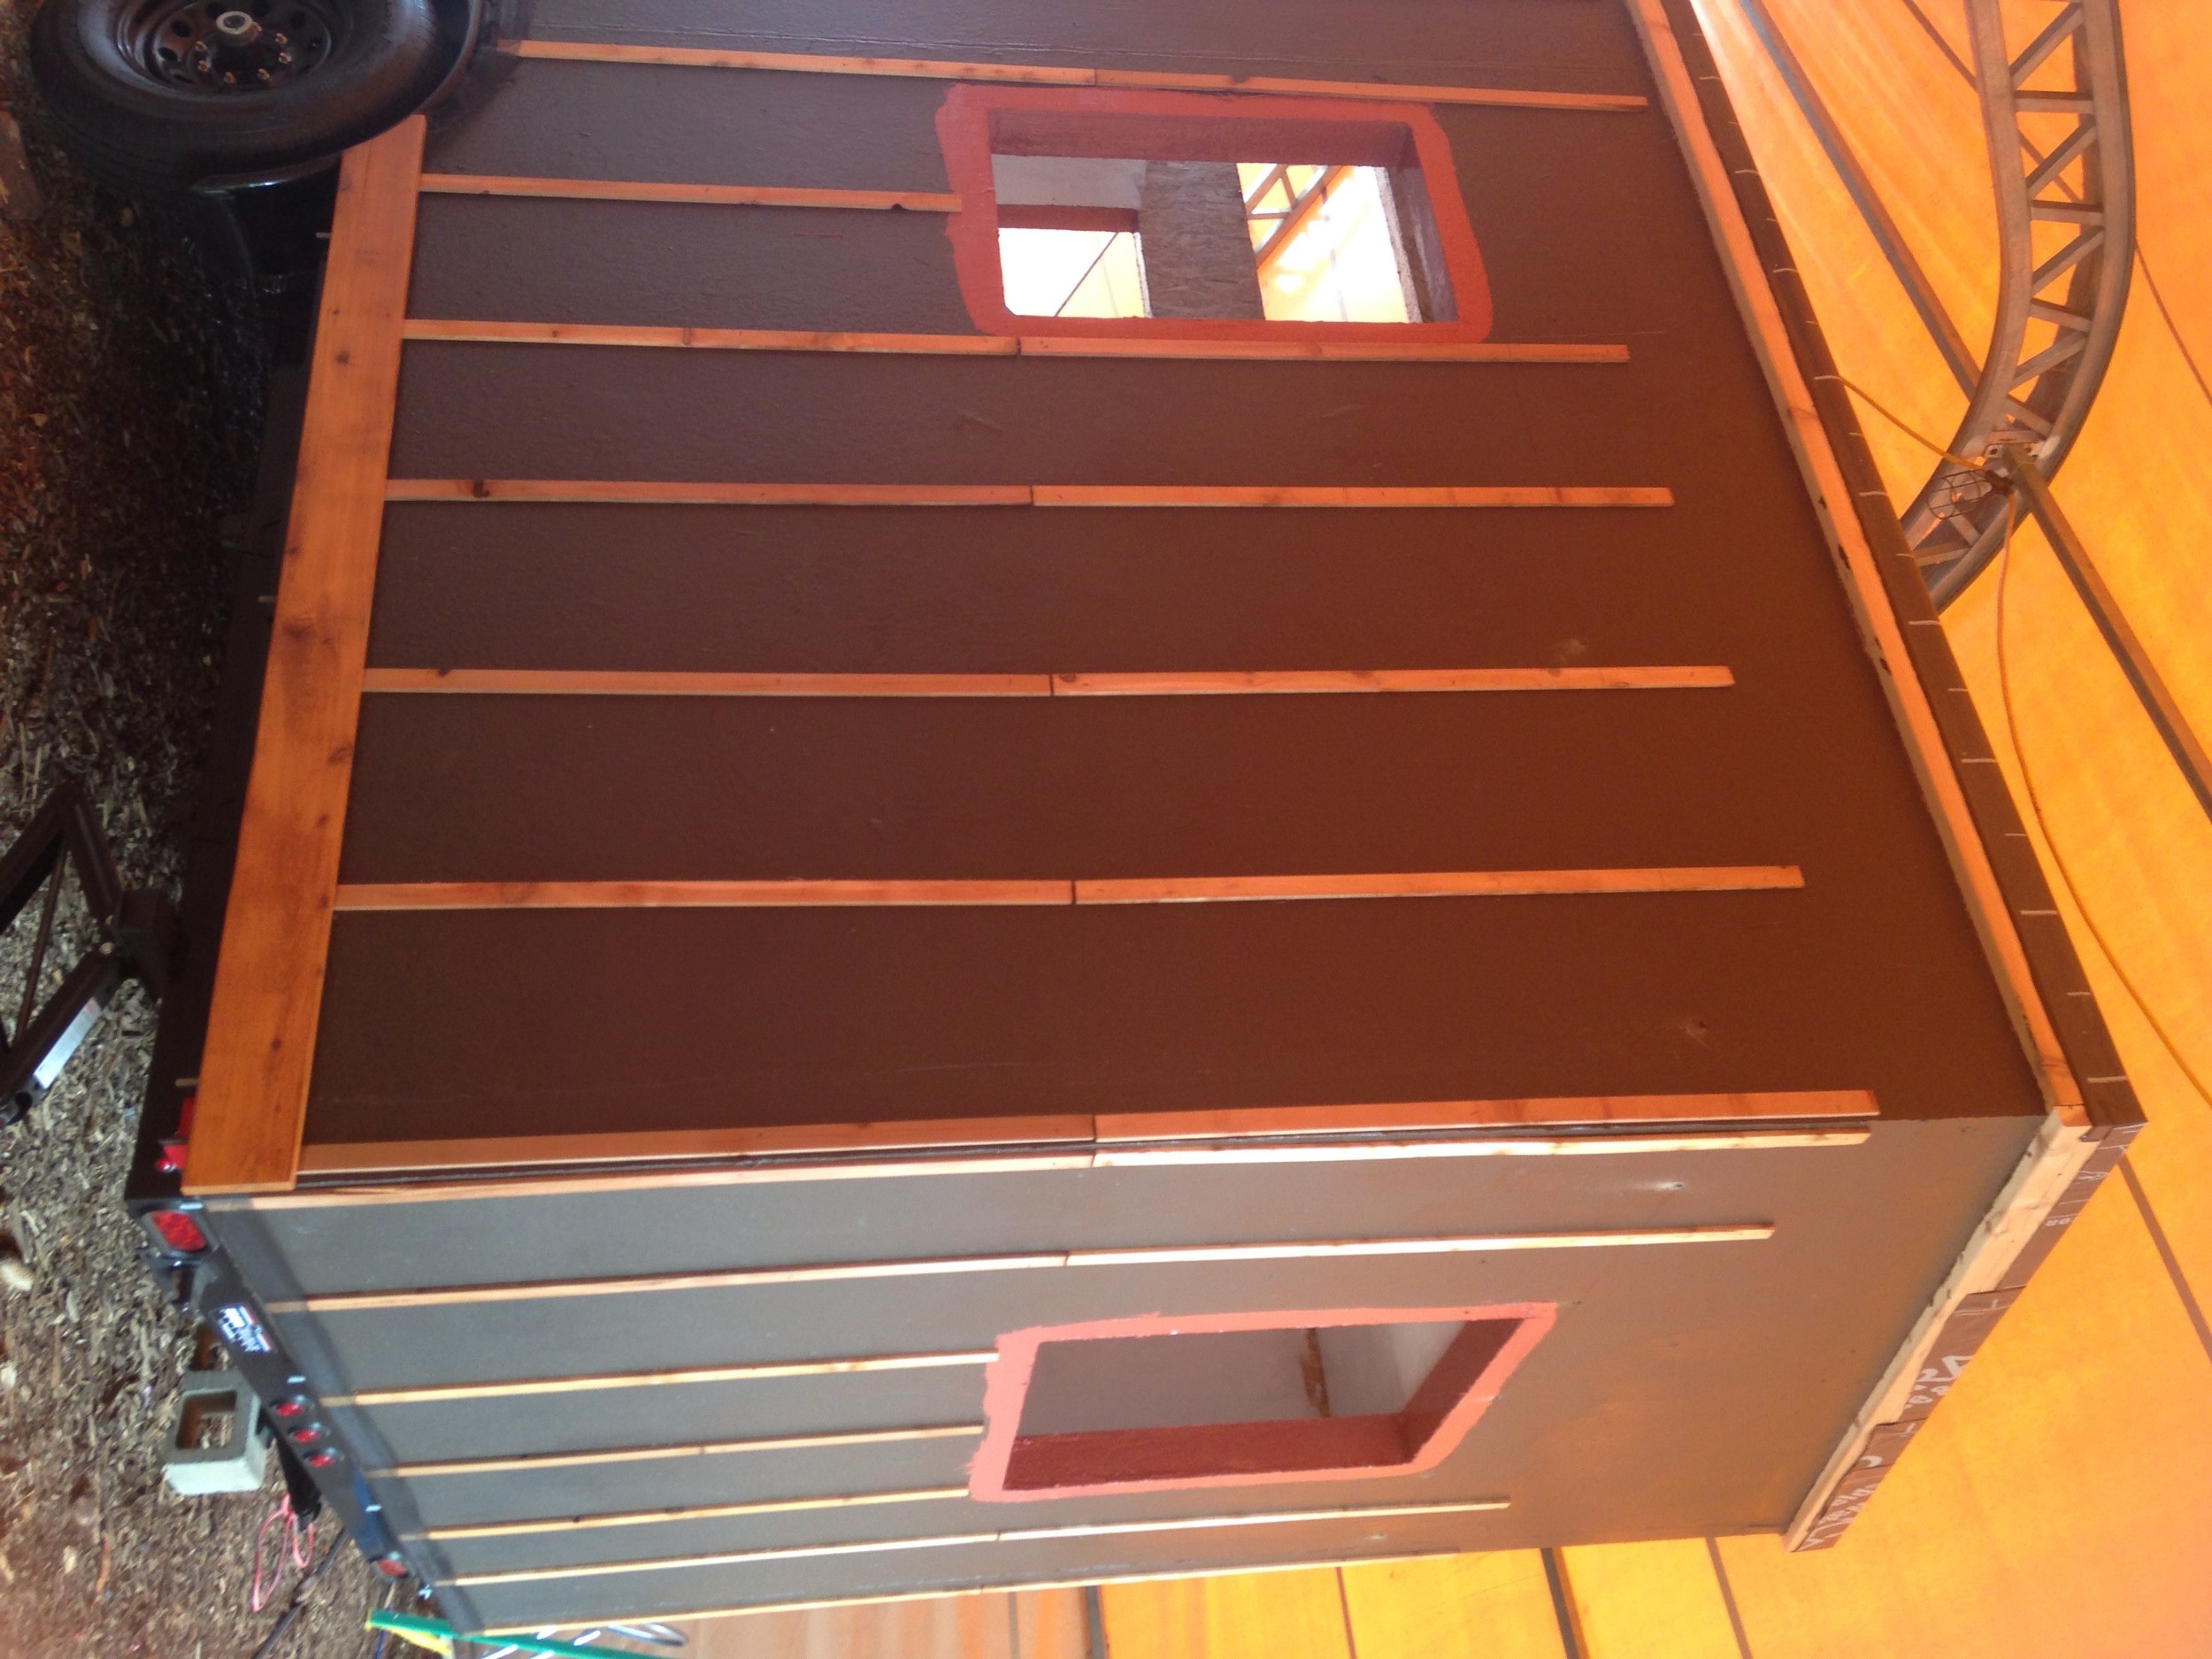
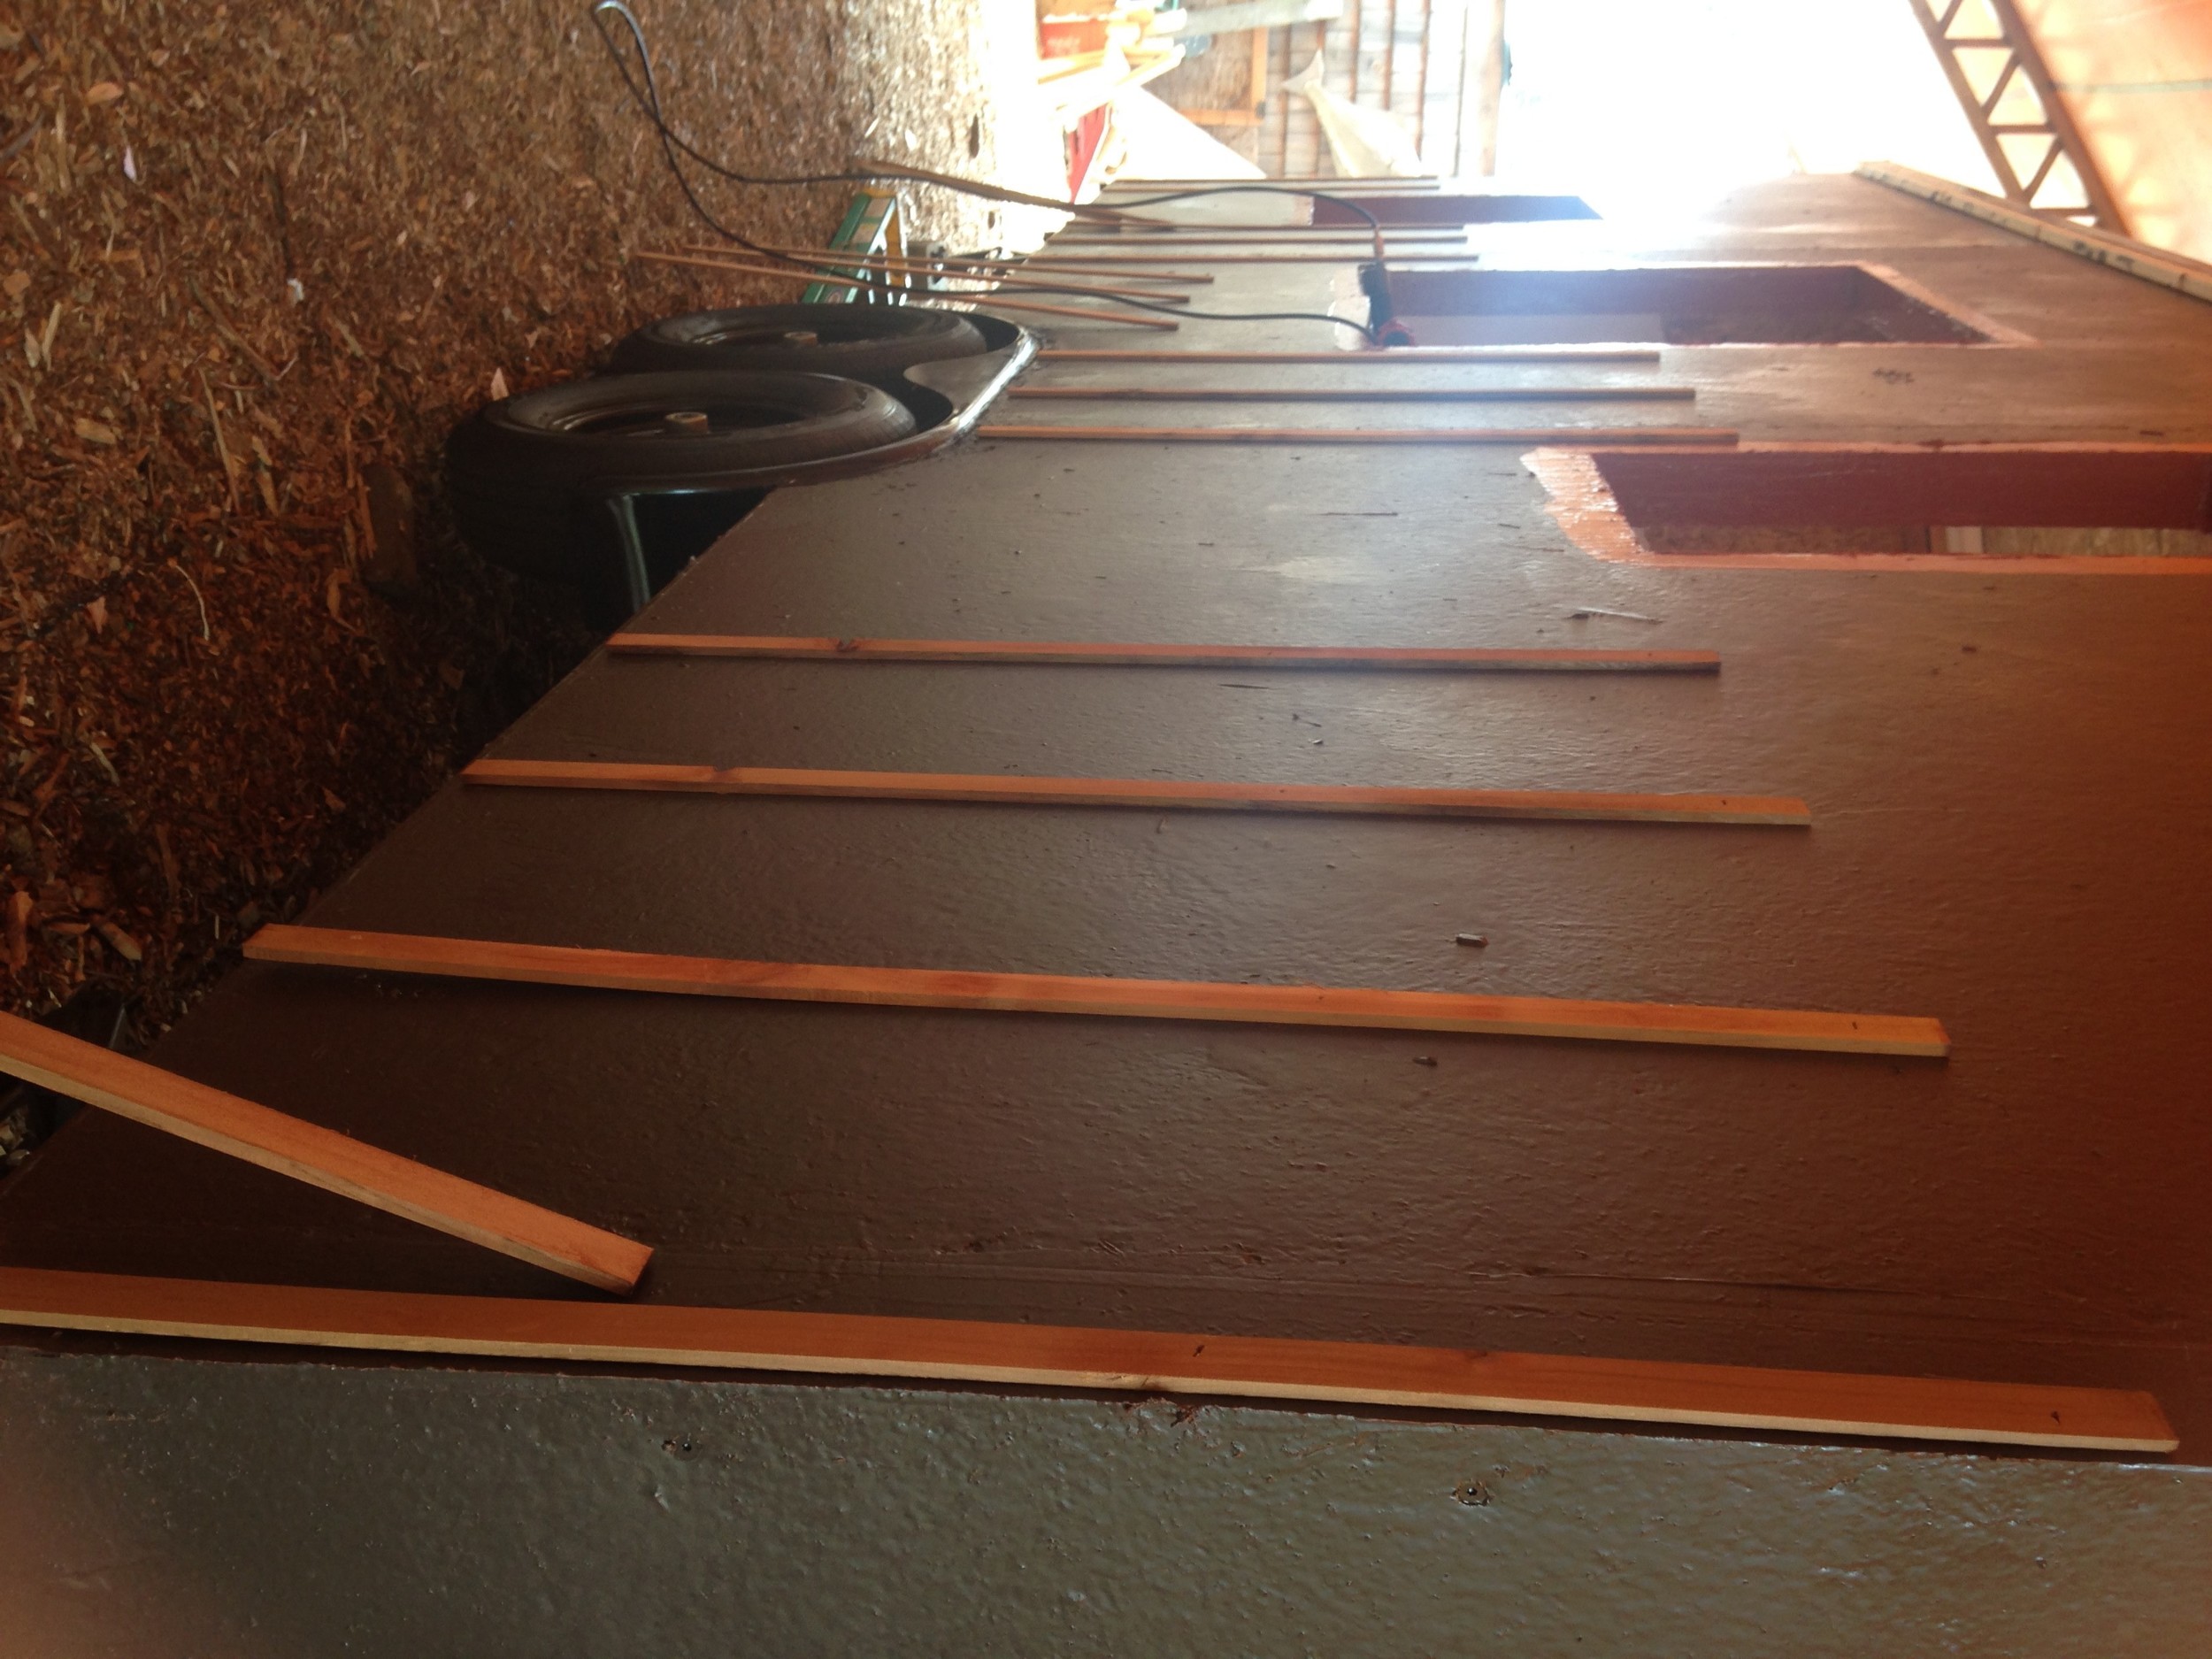
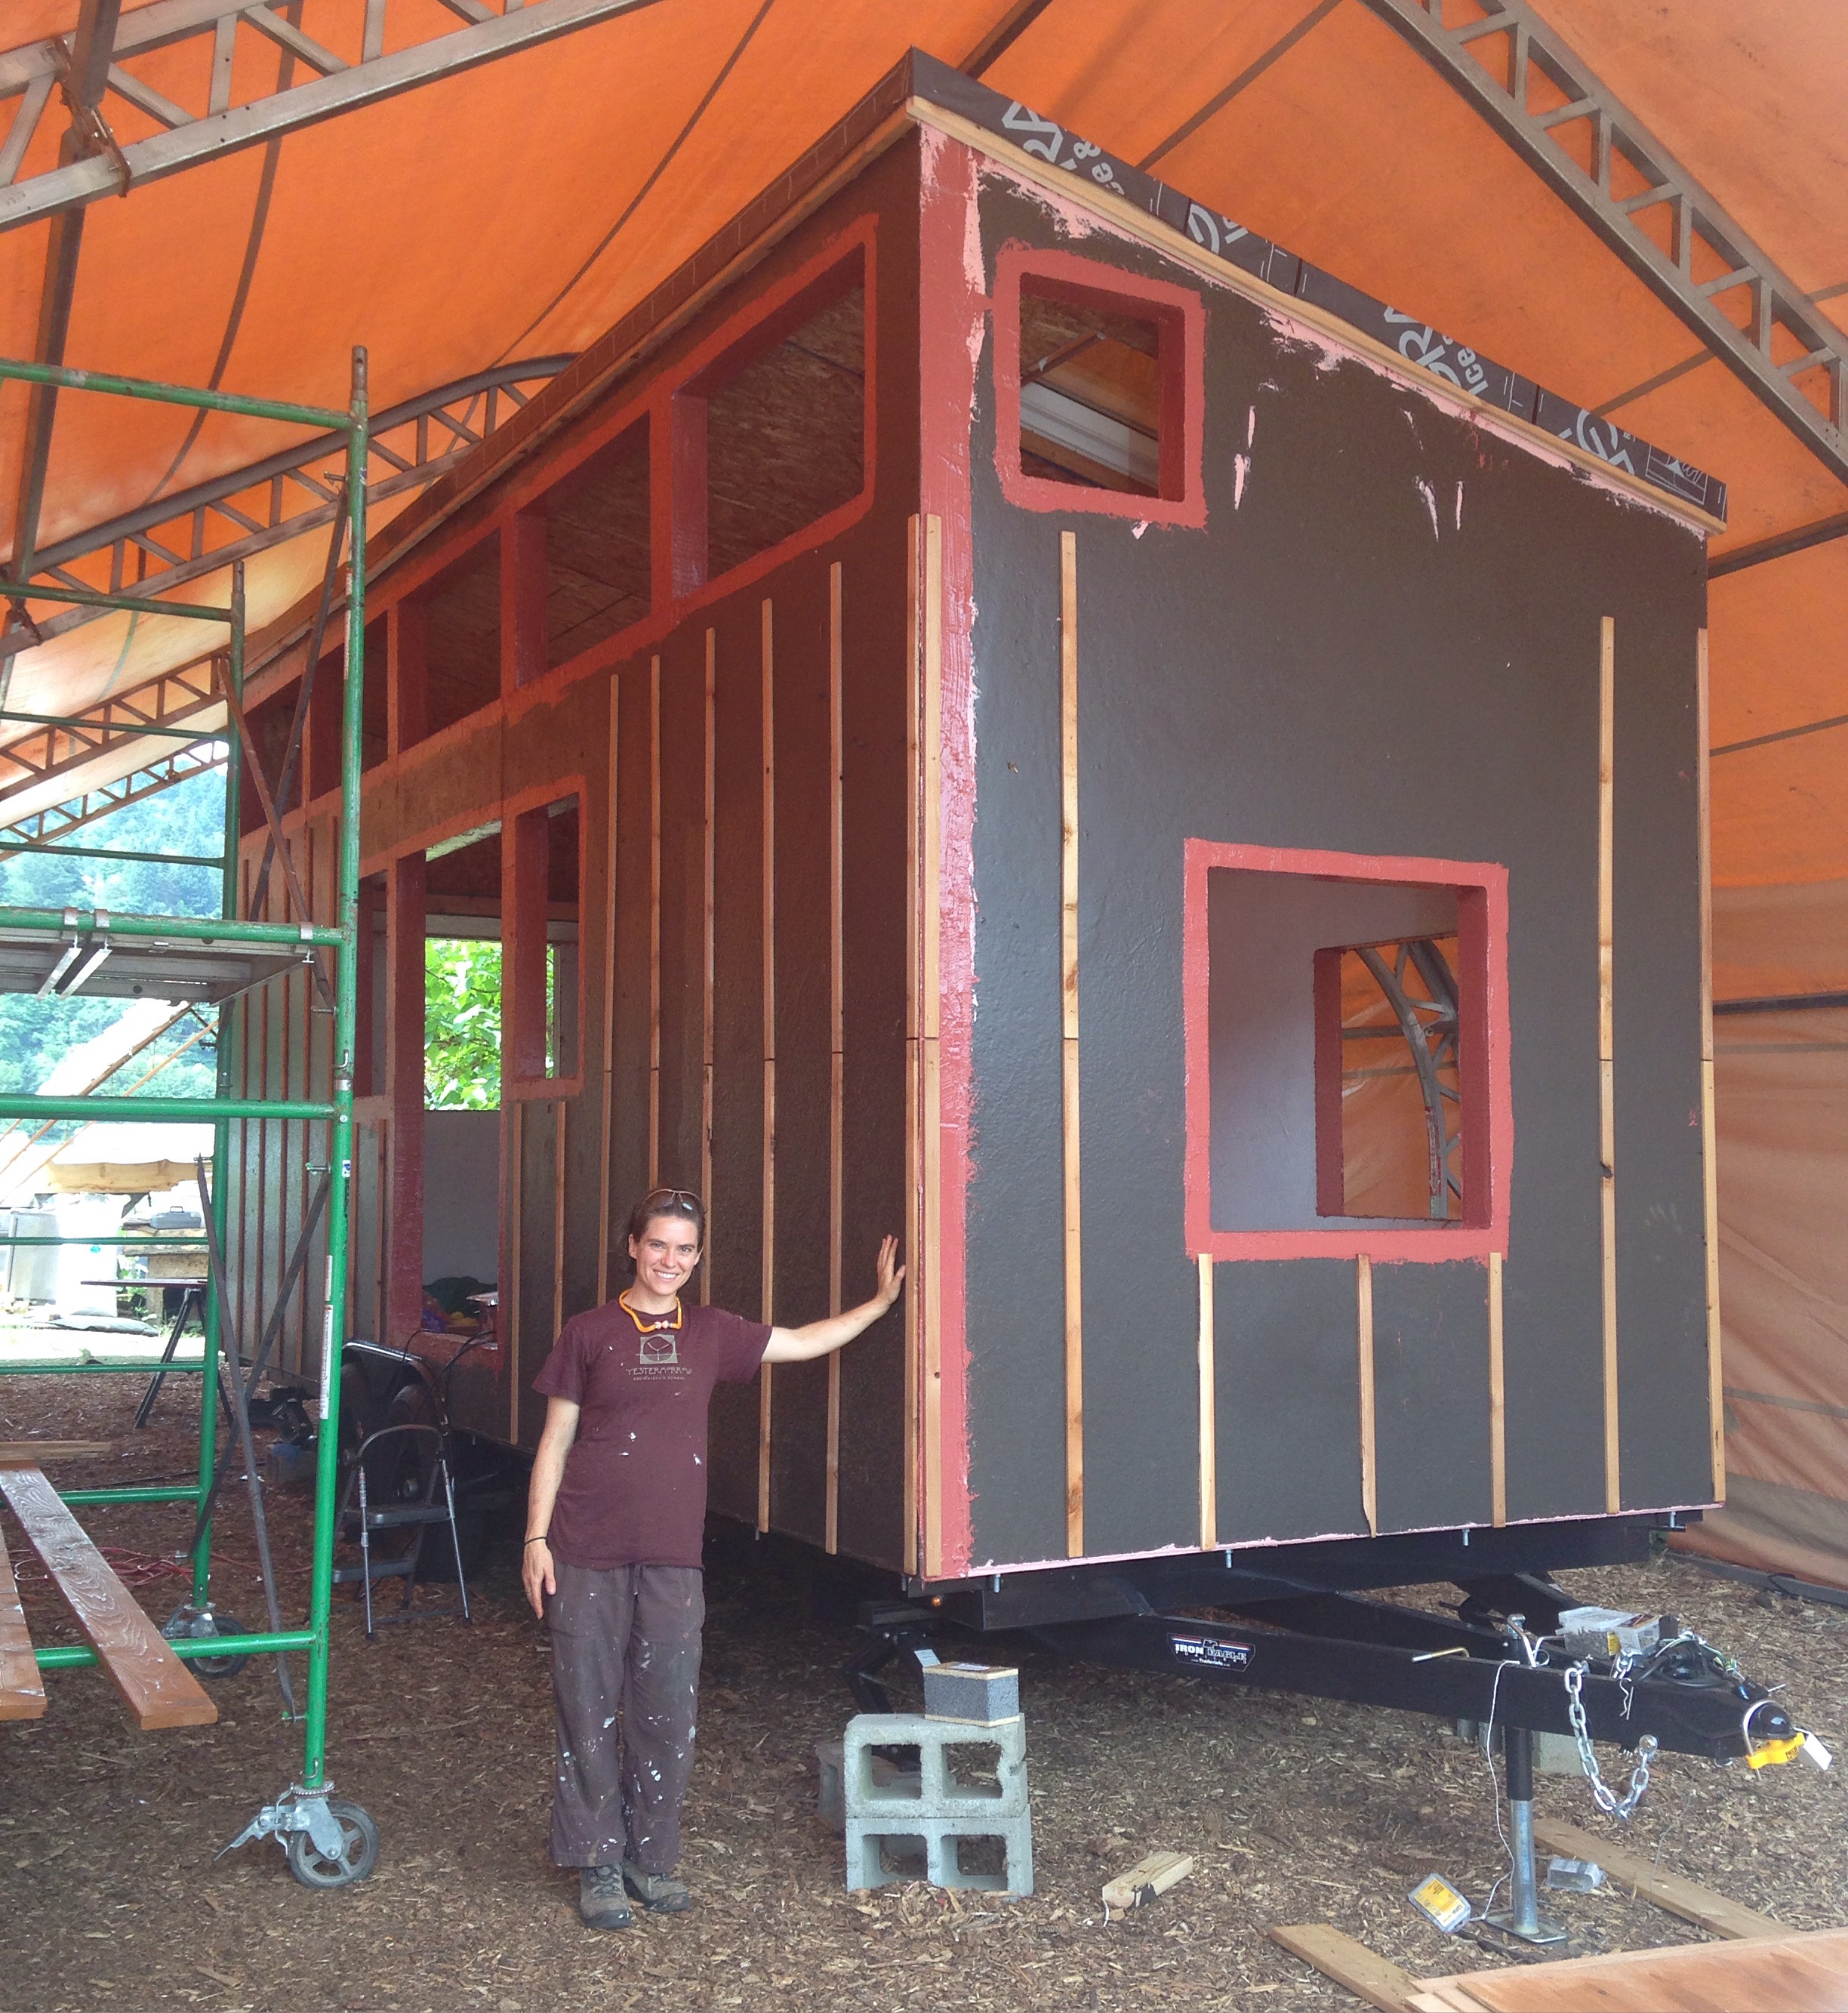
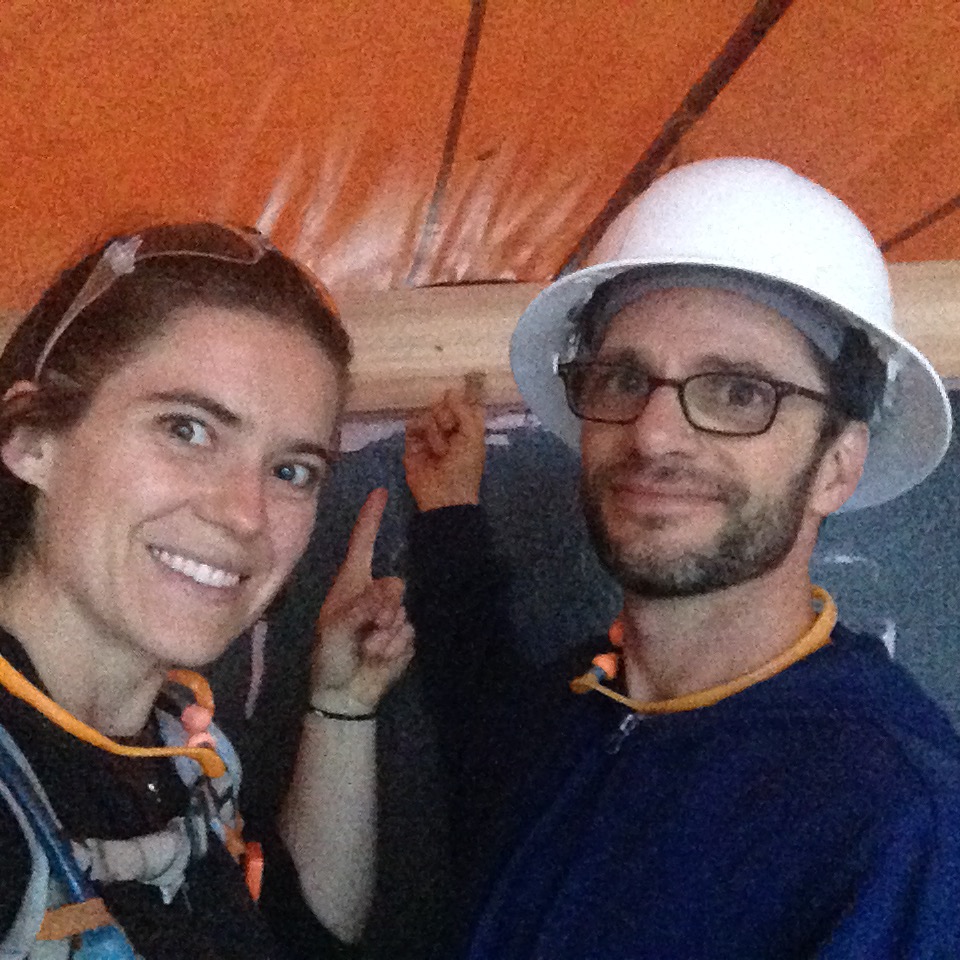
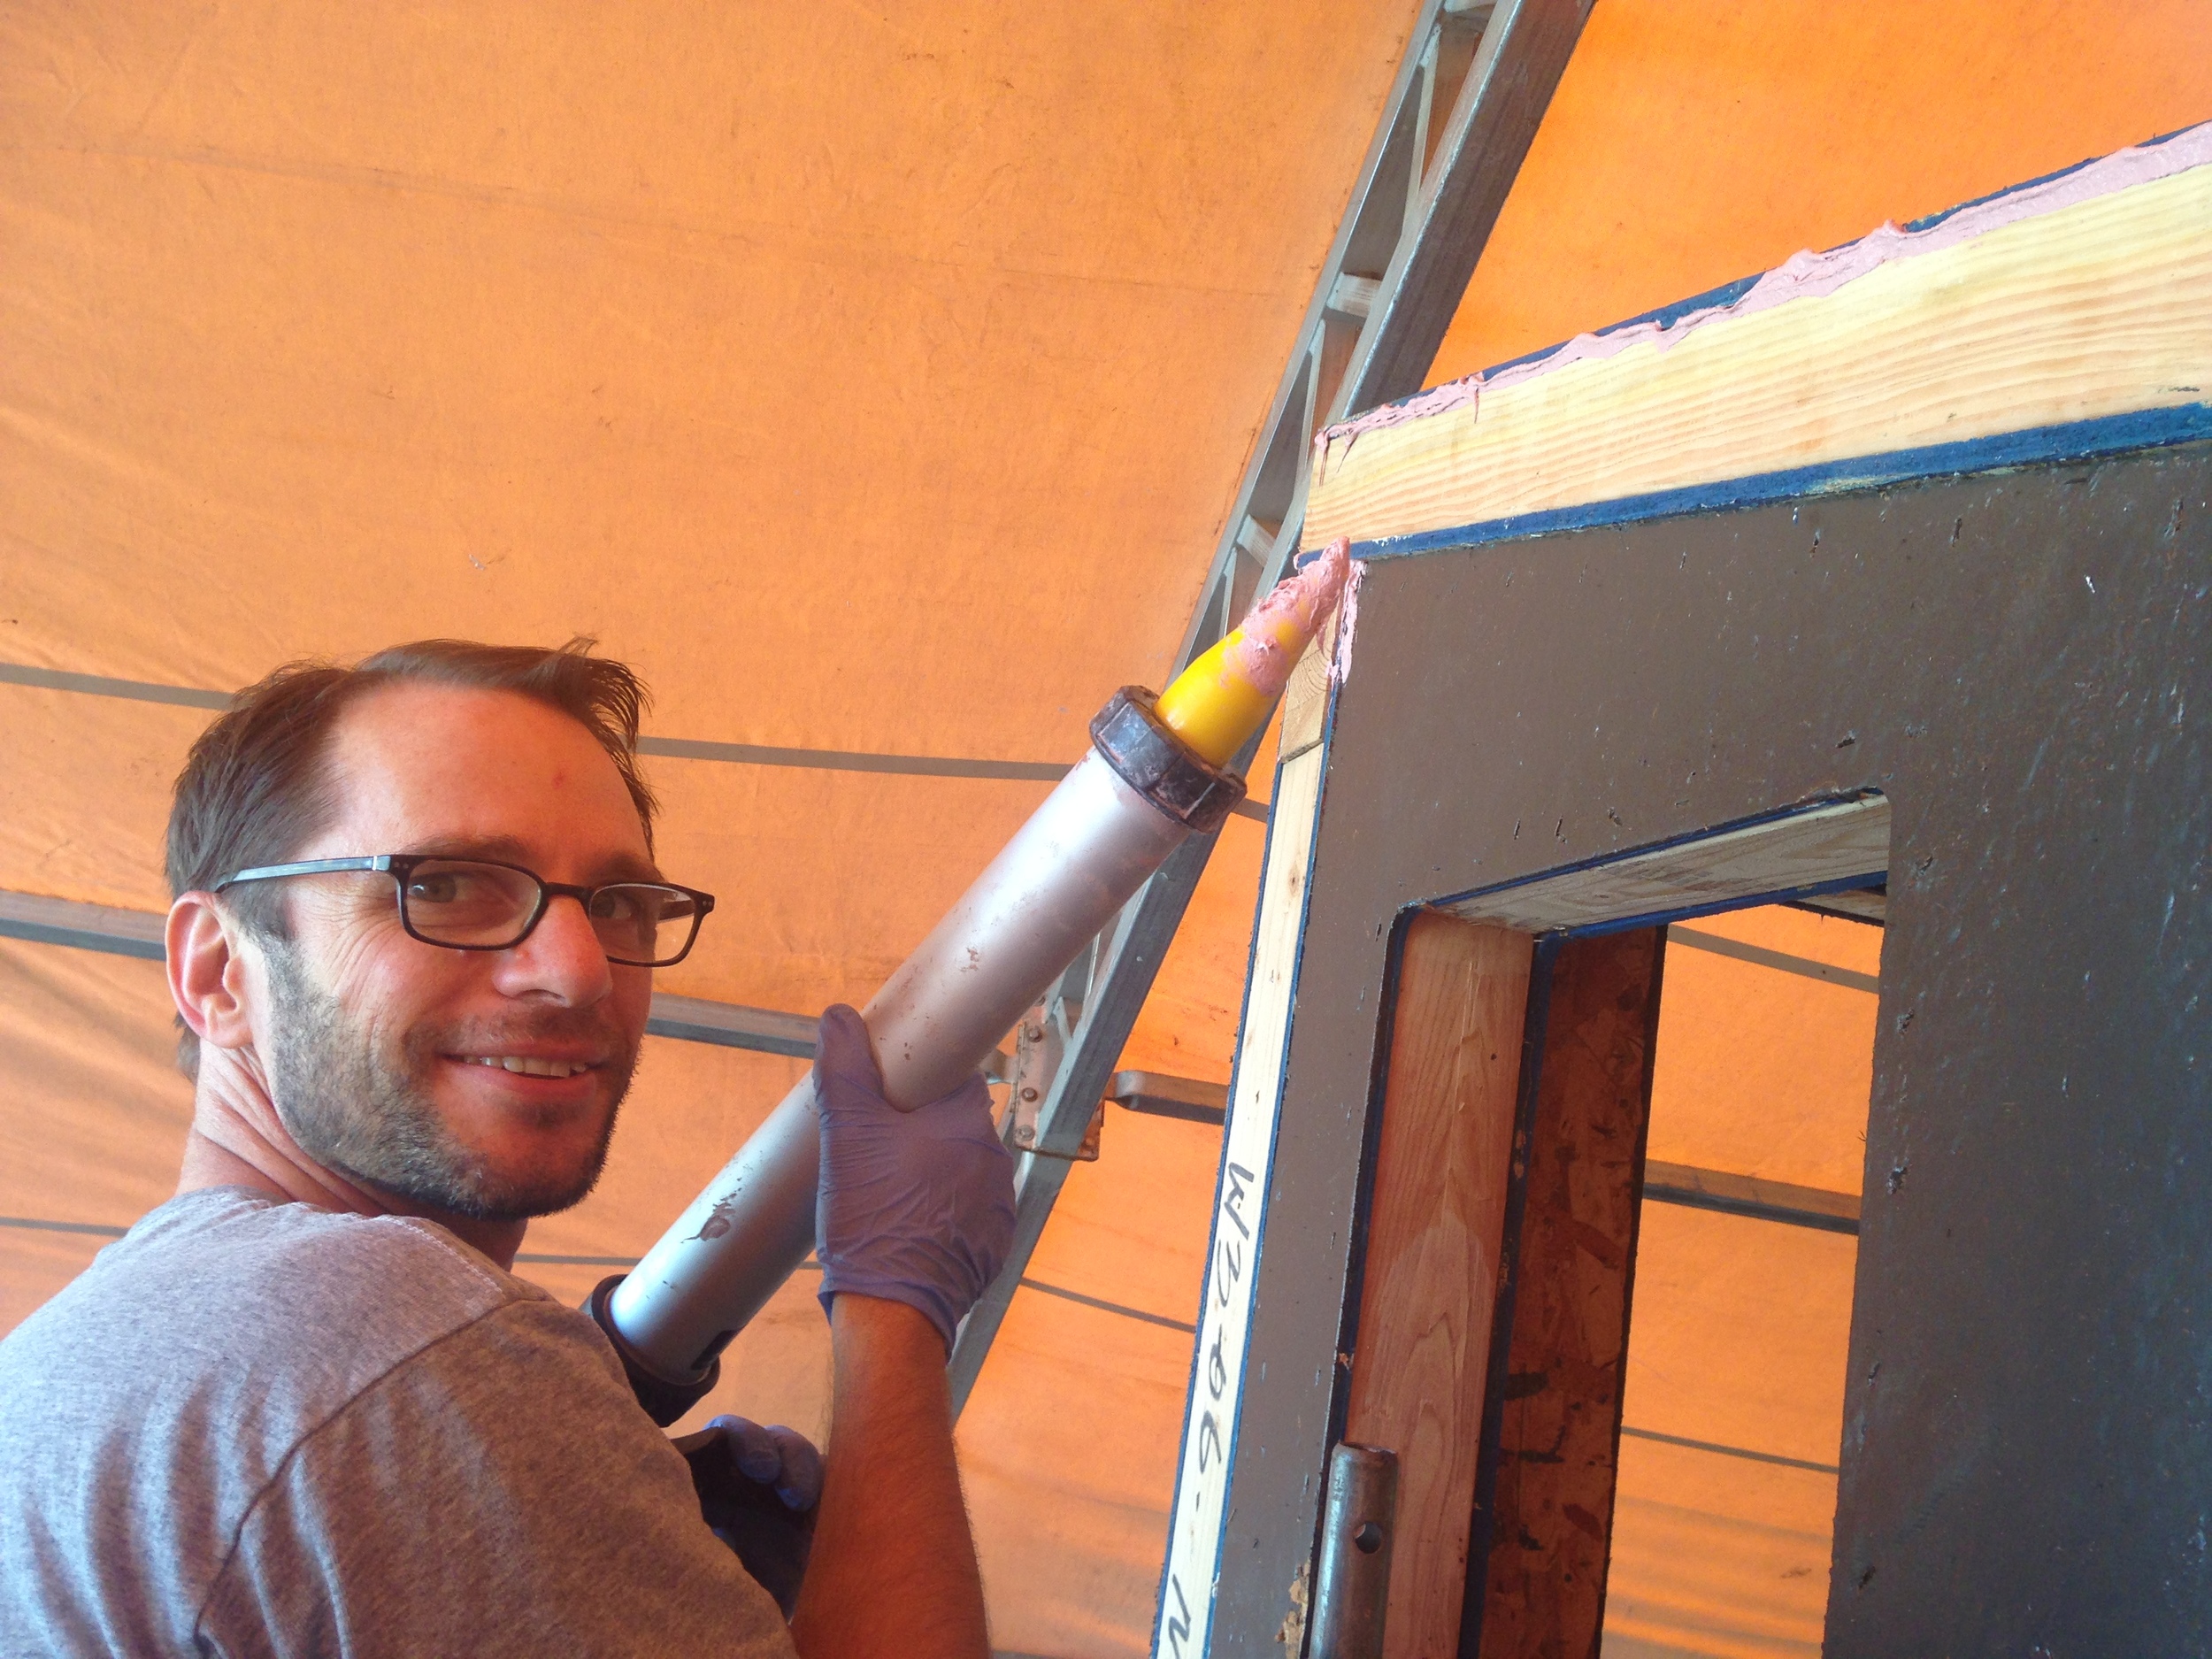
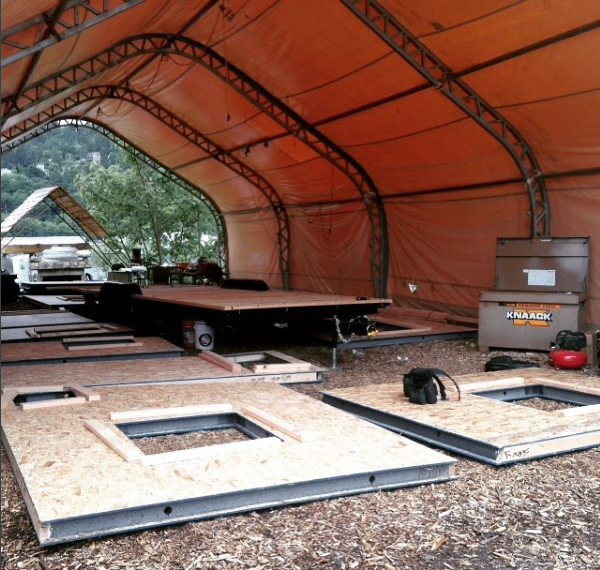
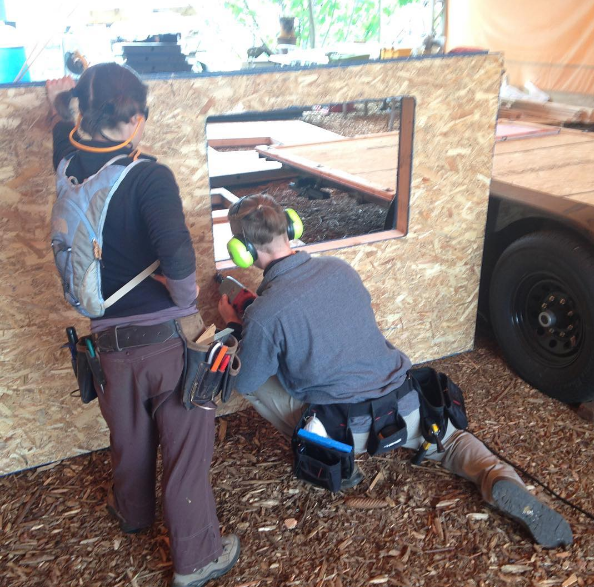
Andy and Tony helped me finish the last of the panel prep (painting the last two panels with R-Guard and leveling the trailer first thing. Then we were joined by Patrick Sughrue of Artisan Tiny House and Derin Williams of Shelter Wise. Our first wall went up around 10 AM and we got it braced into place while we got our second panel up and secured to the first. With two panels in place we had a corner! The next panel had to be cut out for the wheelwell, so we used the template I'd made to jigsaw out the curve on both sides, then removed the foam with a foam cutter, and installed blocking in recess. The second panel went up very nicely, snugging up against the first and the third panel followed along. Patrick showed us a trick to use a bottlejack in the right spot on the trailer frame to get the panels squared up. By lunchtime we had two walls up so we took a break to eat a picnic overlooking the river.

After lunch we popped the third wall into place and the first panel of the fourth wall (which is our Puzzle Wall). We started prepping the next parts of our puzzle wall. My friends Katie and Elliot from the east coast and my new friend Christian from Seattle all arrived around 4pm. The infusion of extra energy was very welcome, but we soon found ourselves scratching our heads because once we put the next wall panel up the first panel of that wall was far from level and nothing we tried straightened it out again. We finally decided to call it a day and come back to it in the morning. We pulled the last panel down and set it on the trailer again.

Yesterday, with fresh minds and bodies, Patrick and Christian removed the staples in the spline that joined the two panels and we were able to ratchet strap the panel back down into place. The next panel went up just fine afterwards and the rest of the Puzzle Wall came together nicely until we reached the last panel, which was long by about 1/2". There was only 1/4" difference between the two long walls in length, but that 1/2" wasn't working. The only thing we could figure was the the bottom plates weren't completely square. We'd measured thrice and checked square in the corners when we installed the bottom plates, but we hadn't taken diagonals, so next time we definitely will! We deliberated about a variety of options before Patrick landed on the plan: pull the last panel back, cut 1/2" off the second-to-last panel, scoop out the foam, and then slip the two panels together again. It worked beautifully!

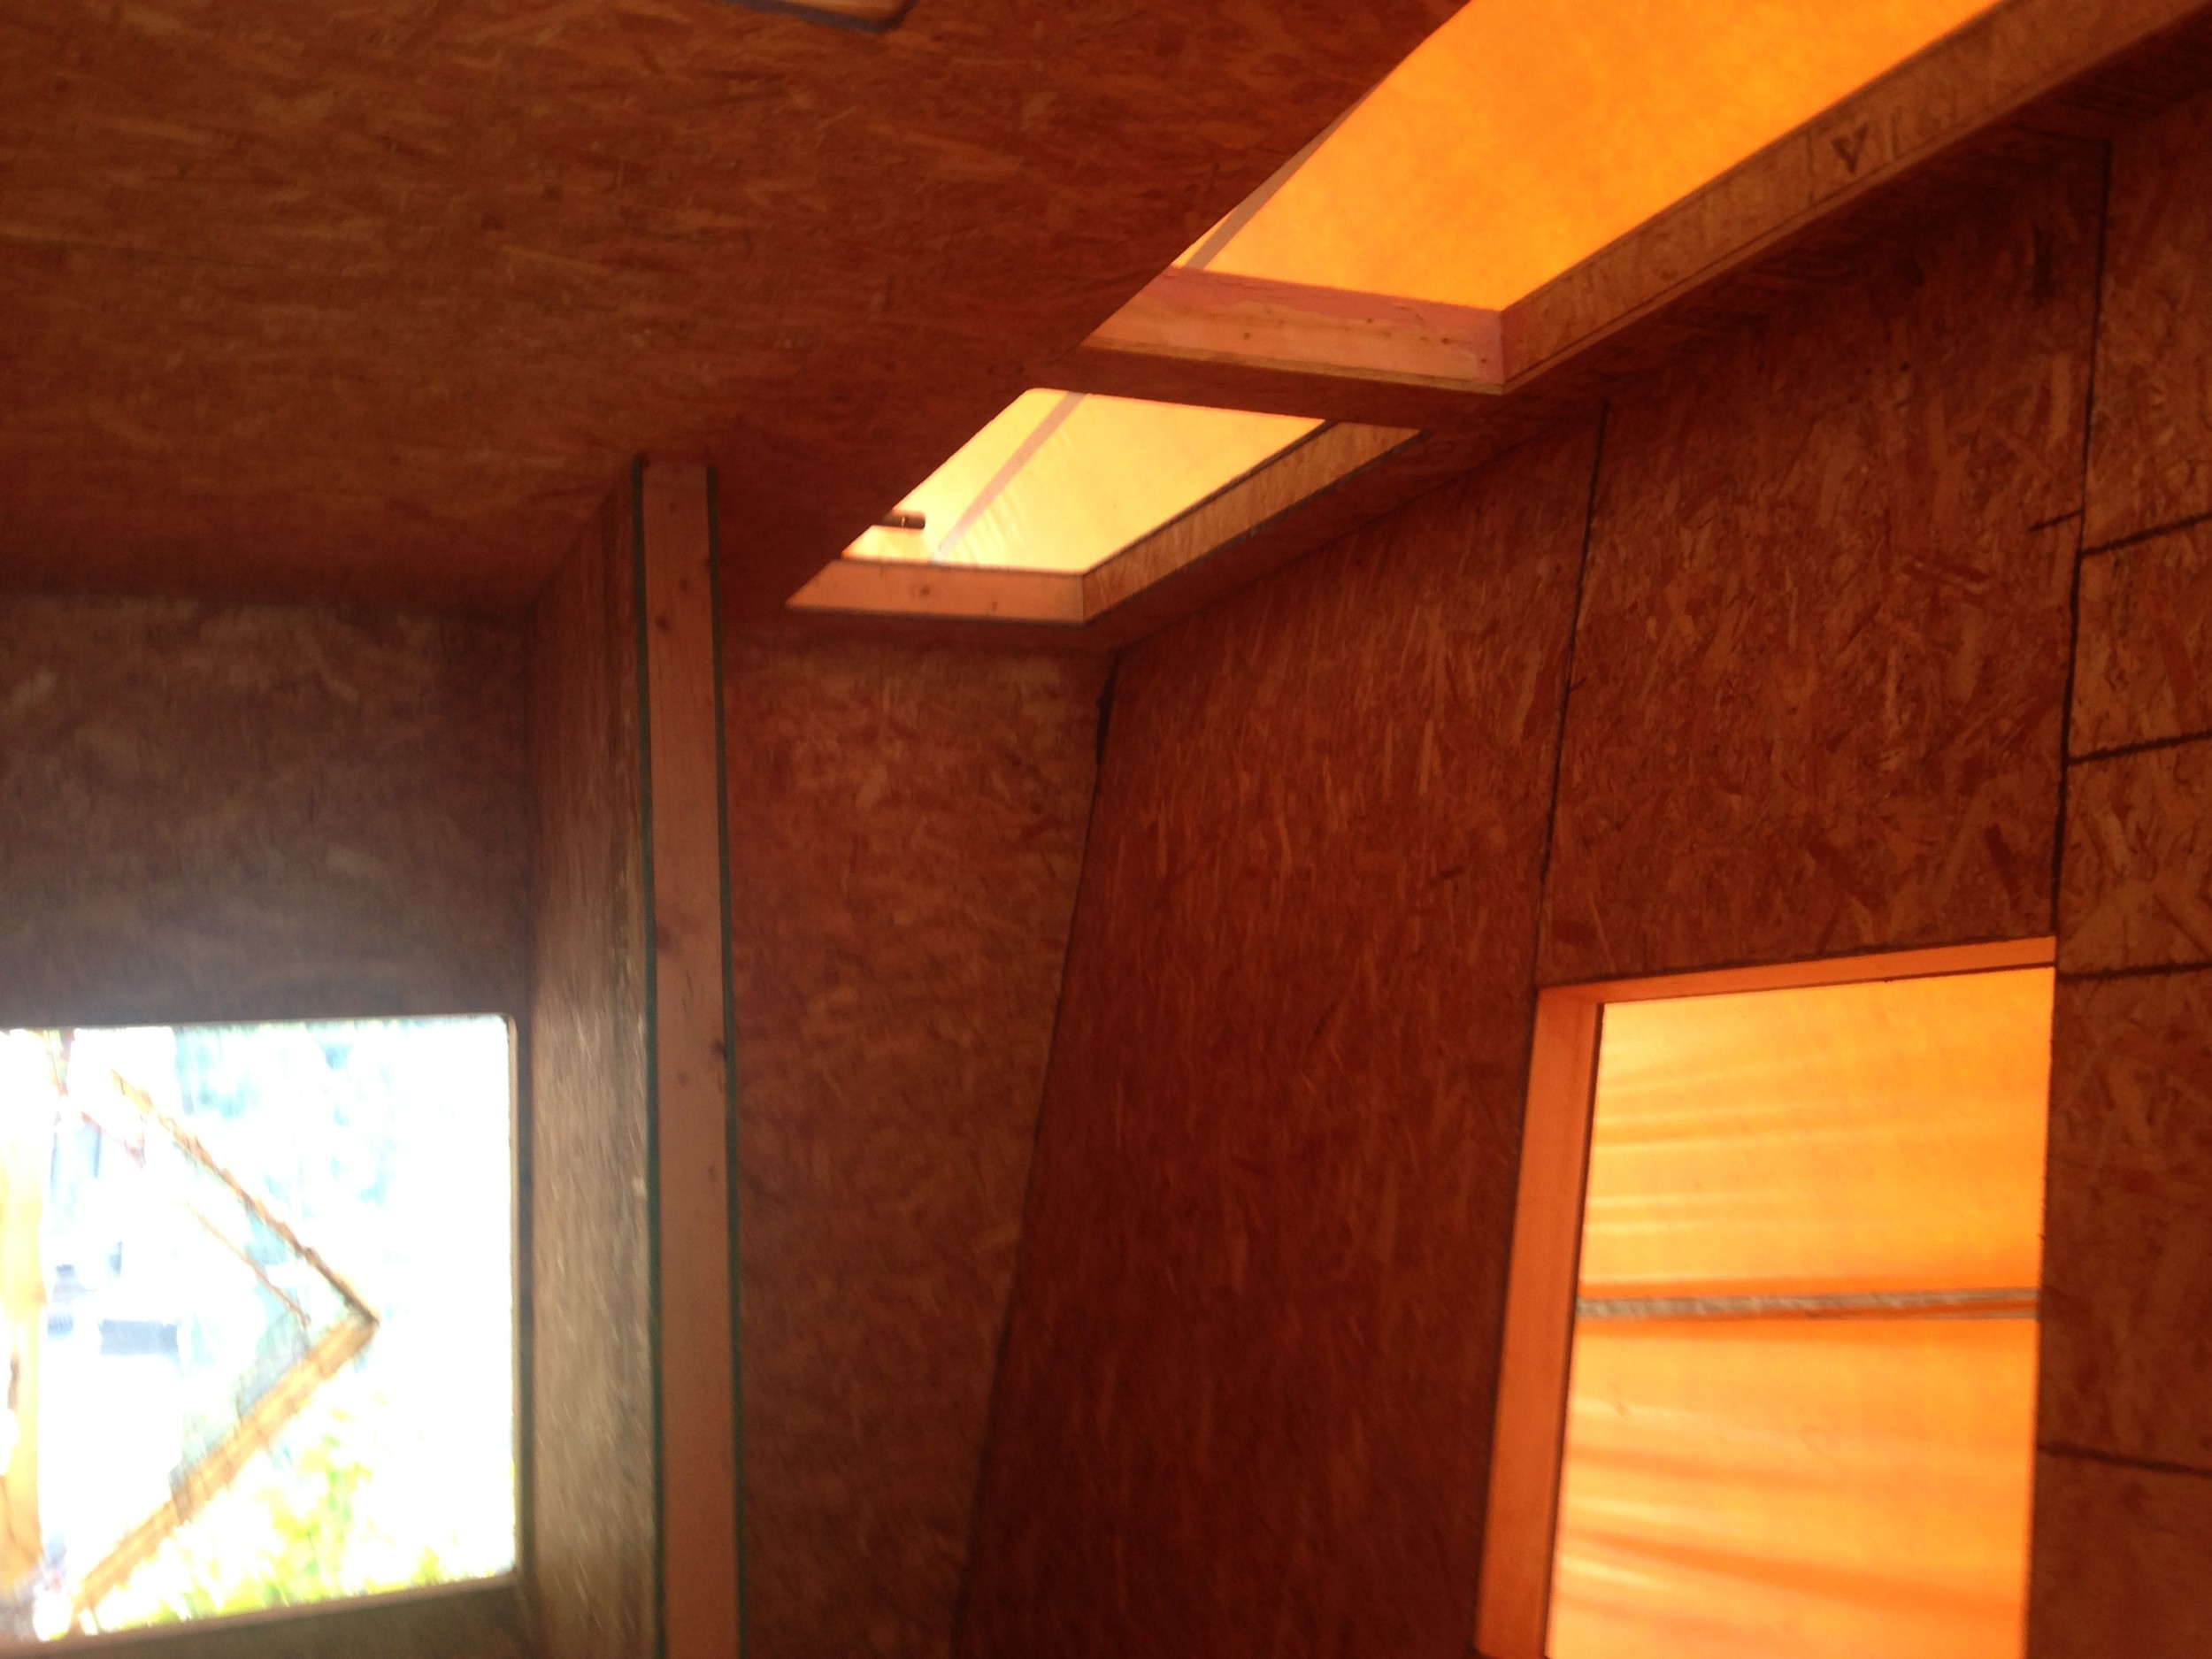
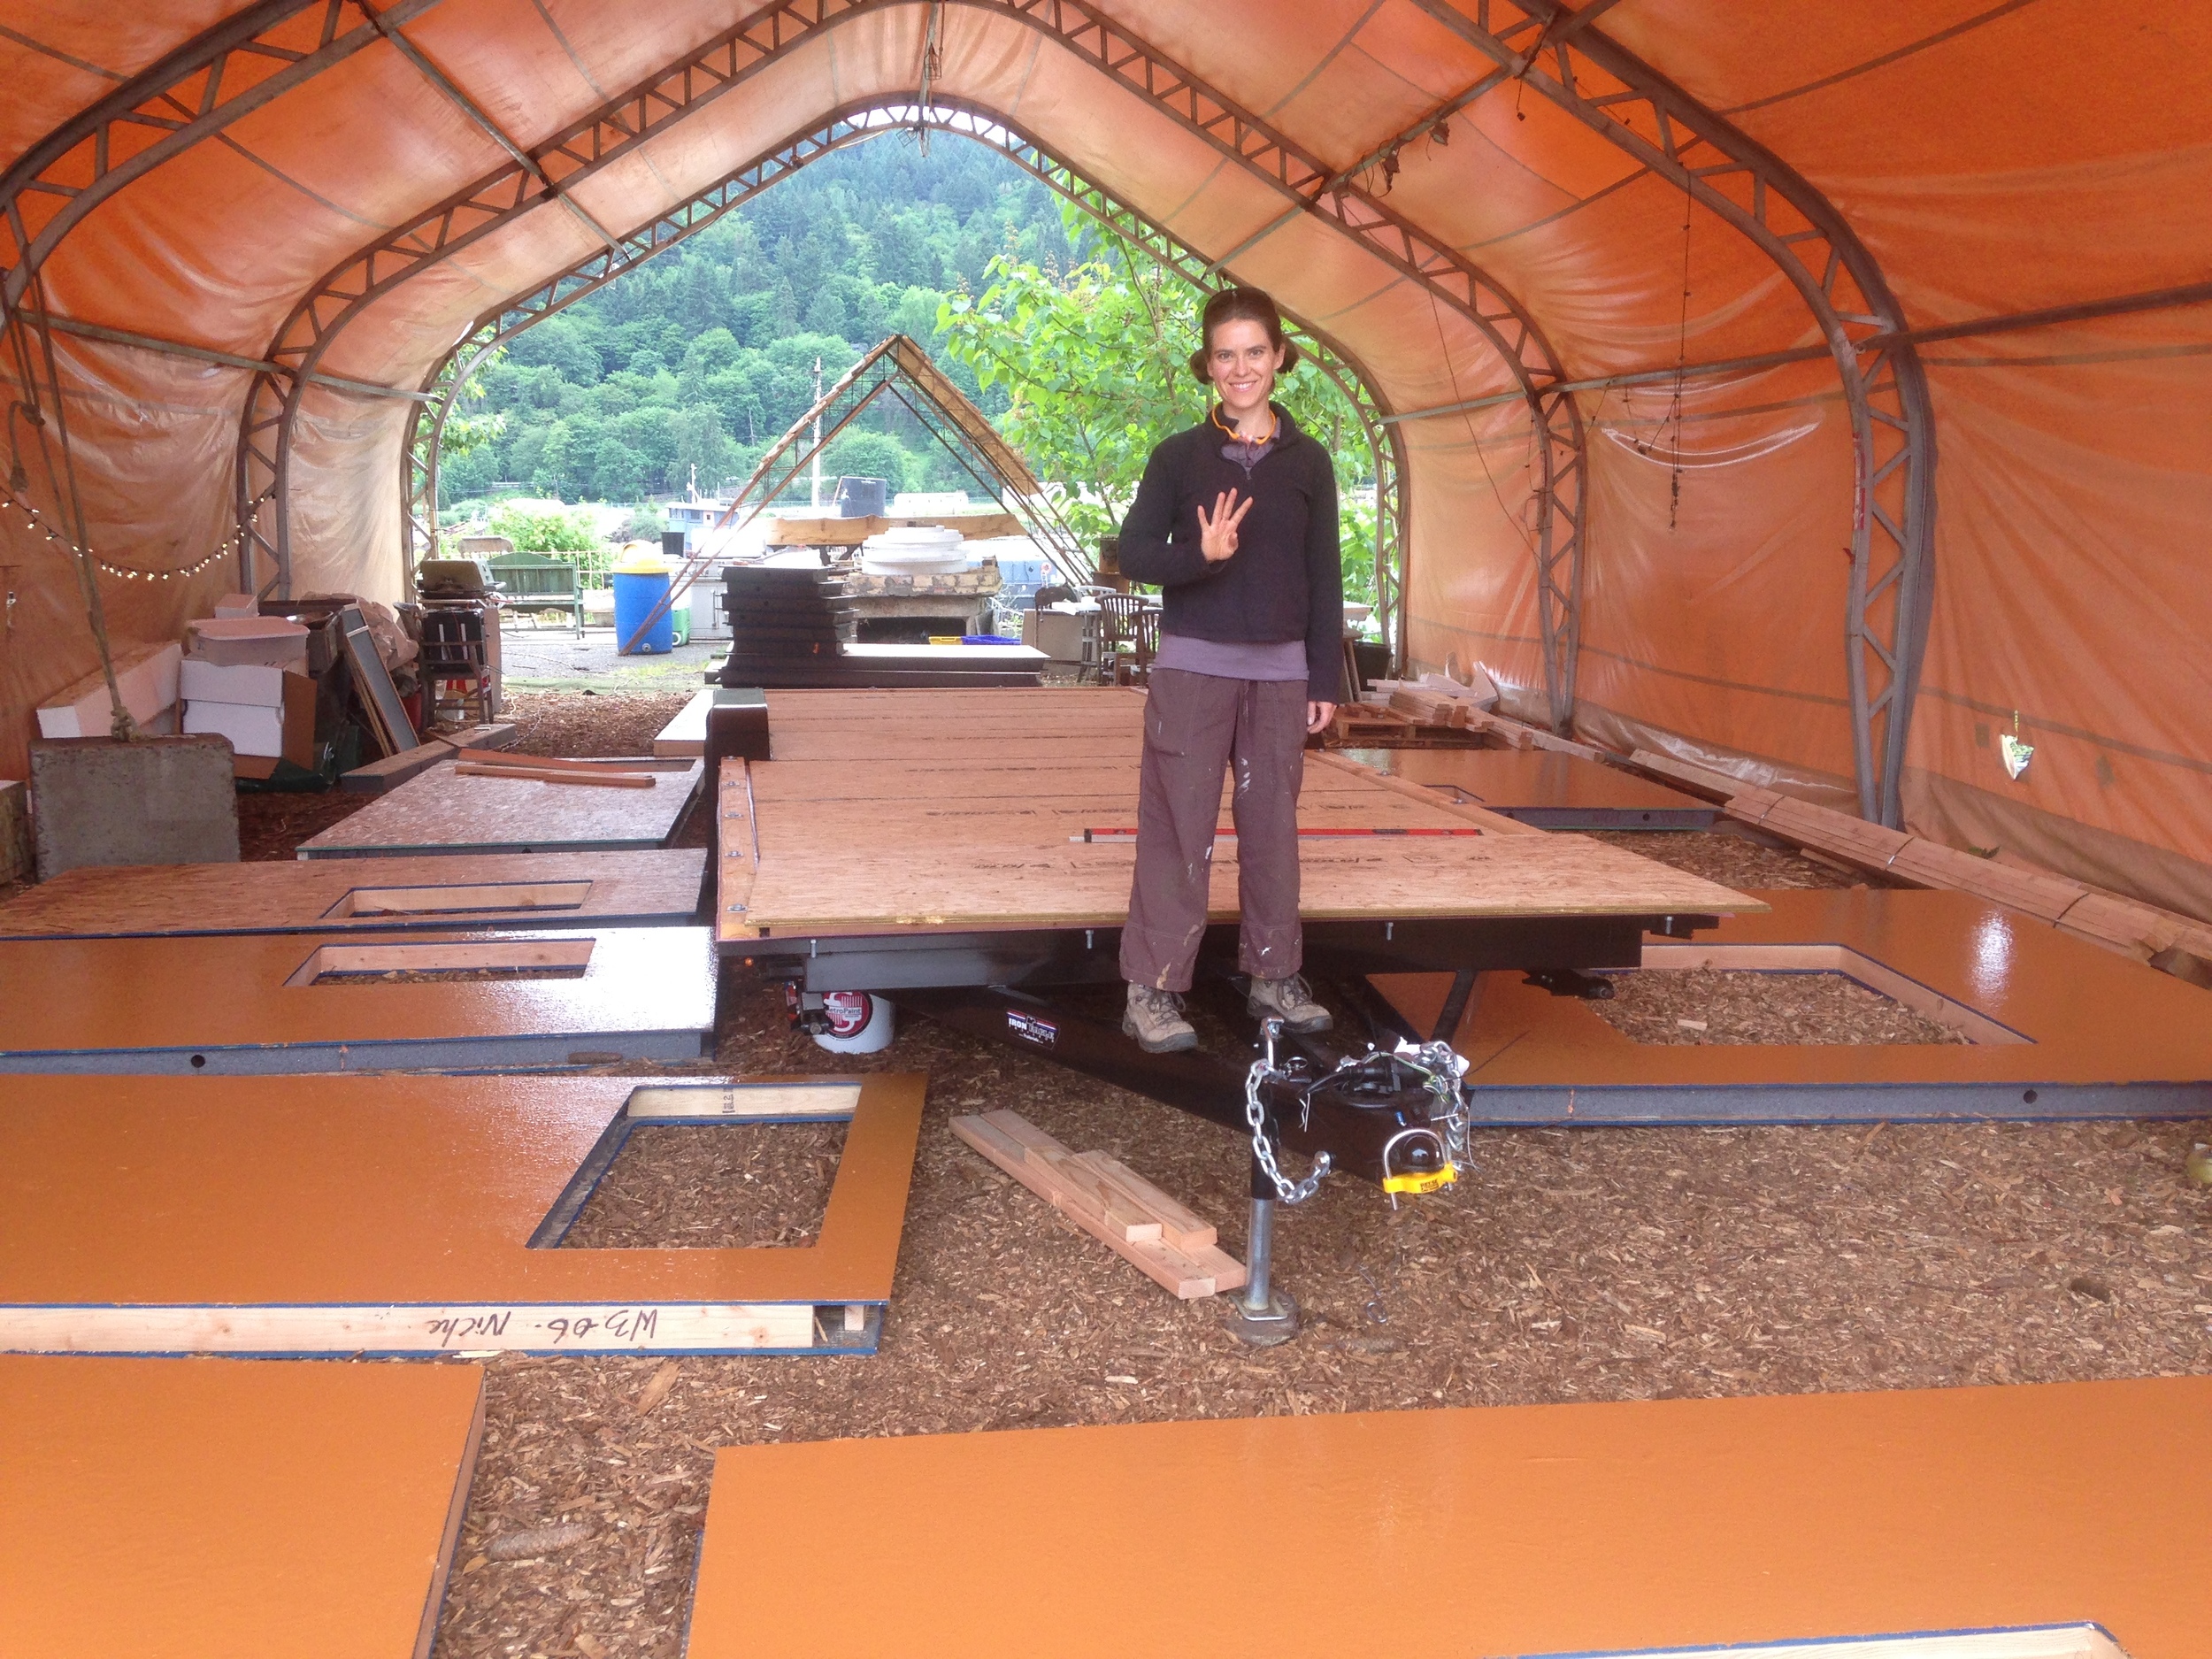
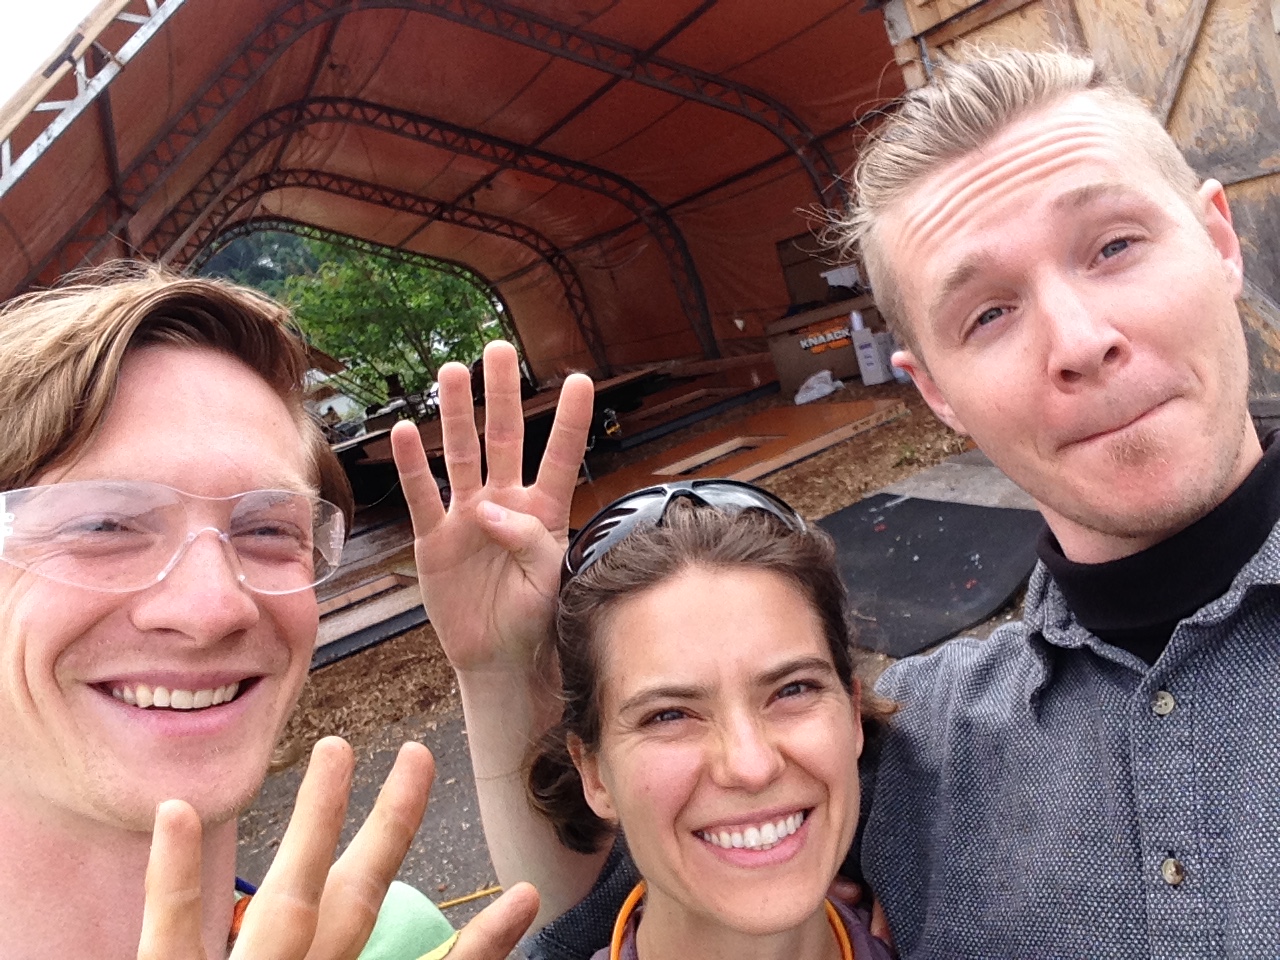
We'd earned our lunch, so we headed up to my favorite St. John's haunt, Proper Eats, to celebrate having 4 walls up! After lunch Michael (who is also building a tiny house at Green Anchors) helped us get our glulam in place at the top of the tall wall. Then Patrick talked us through the roof details before he headed out.

Andy, Christian and I got our first wall panel (the biggest and therefore heaviest) and were horrified to discover how far off it was from square. One of the things I love best about SIPs is how well the usually come together! So we had another round of brainstorming before Andy reminded me that messed with the level of the trailer the day before while trying to get those two Puzzle Wall panels to square up! Usually we level the trailer before we start raising walls and again before we install the roof. As soon as we leveled the trailer the roof panel lined up beautifully! I can't believe I forgot, but I don't think I'll ever forget again!

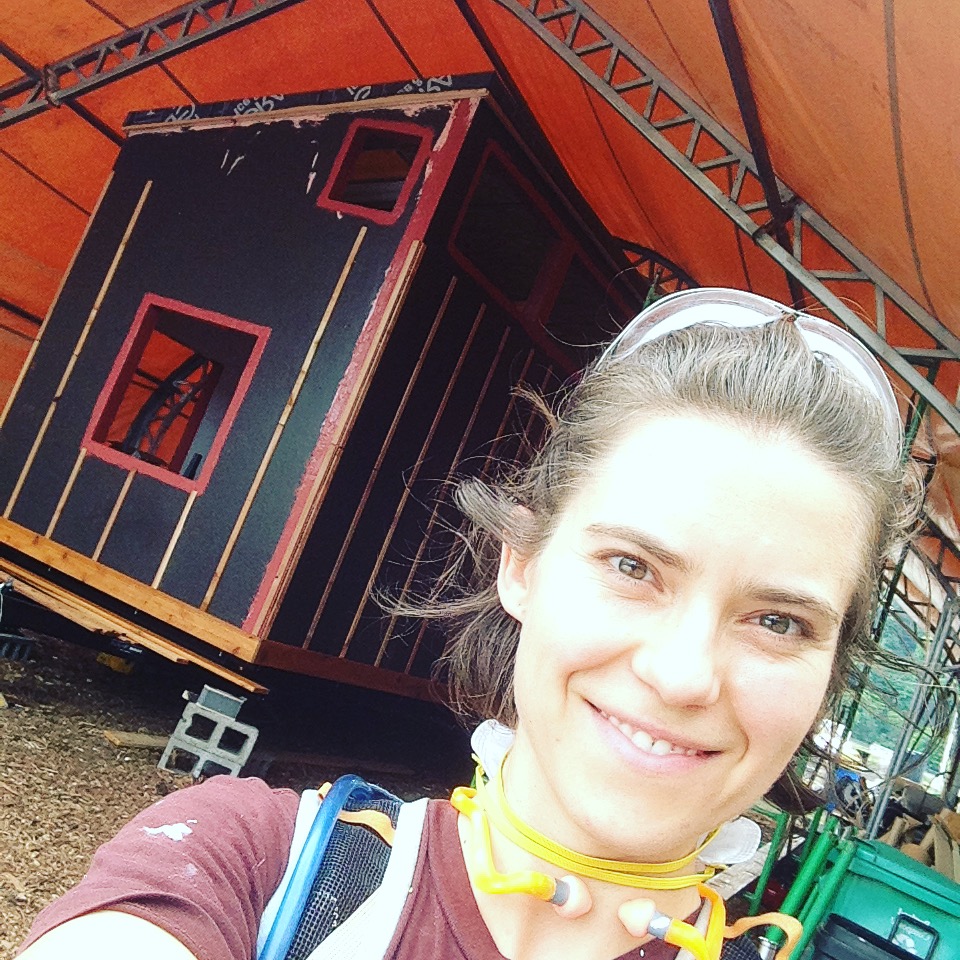
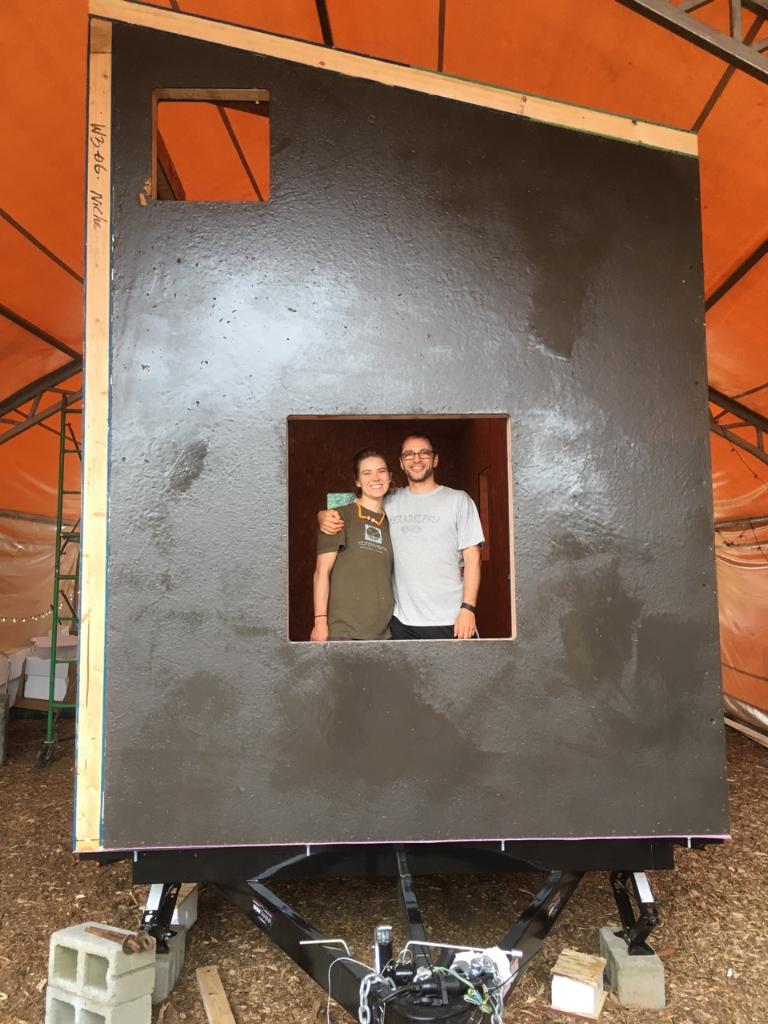
Isha came down after work as we were wrapping up and we got to enjoy stepping into our house with all four walls up (and a roof panel, too!) We celebrated with a beer at Occidental Brewing around the corner. Whew!

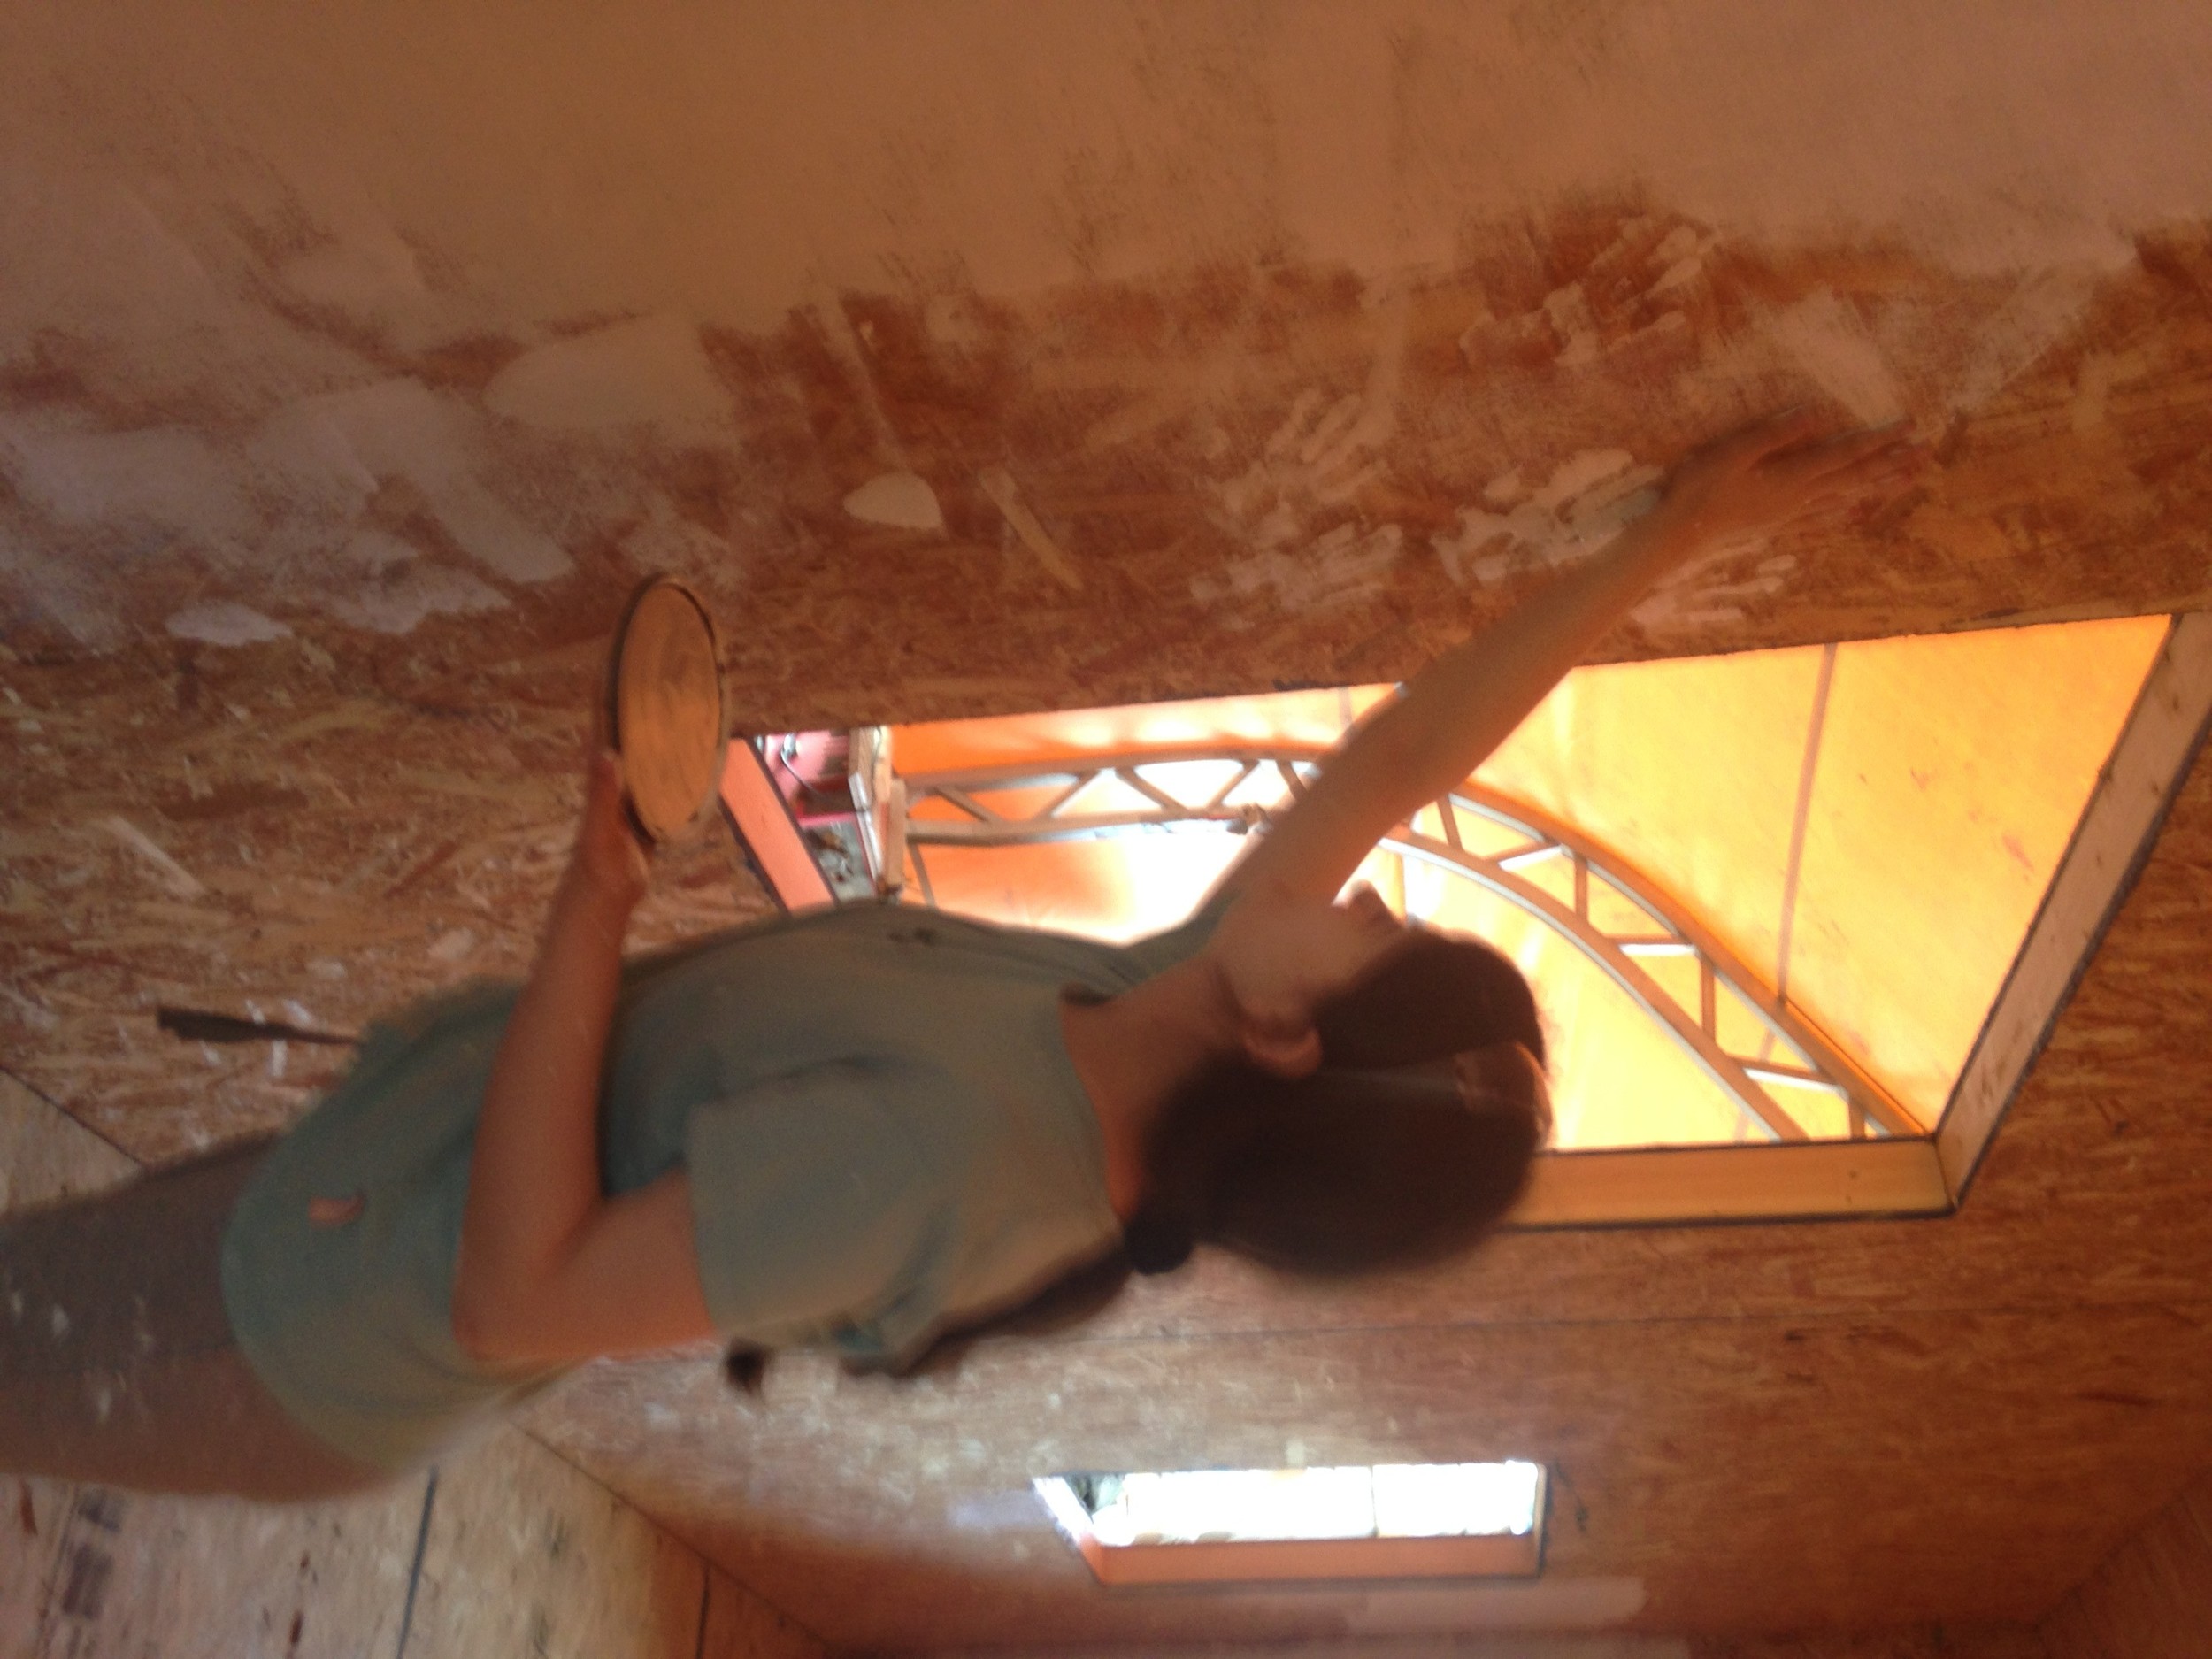
Today Andy, Kelly, and I will work on the roof raising. It's raining (of course!) so I'm really glad we're under shelter. Here we go!

T42 SIPs Prep

Unstrapping Panels with Strapping Lads A week ago yesterday I was Picking Up Our T42 SIPs Kit. Fortunately, we were able to store our SIPs in the covered area at Green Anchors where we're drying in the tiny house while Isha and I headed out of town for a wedding.

Yesterday we kicked off our T42 Wall Raising Build Blitz by preparing the SIPs for the wall raising. Andy (who helped with the first T42 Build Blitz when we worked on the T42 Undercarriage & Floor Insulation and the T42 Subfloor & Bottom Plates) and Jake (my beloved landmate) came to help out. We started the day by unstrapping the stack of panels and sorting and inventorying the SIPs. We laid them out around the trailer in the orientation they needed to be installed, we checked to make sure the bevels for the roof were all pointed the right direction, and we double-checked that the right side of the SIPs (in our case the outside) was facing up.

Stapling Window Framing

Then we started installing the window frames that Isha and I had prepped on Build Day #3. We applied the SIPs mastic all around the window opening, put in the framing (first the top and bottom pieces and then the sides), and stapled them in place with 1.5" long, 14 gauge staples. We got into a rhythm and had all the frames we could install before putting up The Puzzle Wall in place by lunchtime.

Tom Demontrates Air Pressure Testing Equipment

We snagged some lunch at a local taqueria and then headed out on a field trip to Clackamas to meet with Tom Schneider, who invented the R-Guard liquid applied waterproofing system we're using for our little house. Tom gave us a tour of the laboratory where they test their products under various conditions and explained the benefits of the liquid applied system.

Andy & Jake Installing R-Guard

Back at the job site, we painted the SIPs with our R-Guard liquid applied barrier. When I installed the My Tiny House Air Barrier on The Lucky Penny the walls were already up and it was tricky getting the thick, sticky R-Guard onto the panels high over our heads. We ended up wearing no small amount of it home on our clothing! So when we did the Cilantro Poncho Build Blitz (which also used a liquid applied air barrier) we tried applying it before raising the walls. It worked beautifully and taking advantage of gravity was even more wonderful with the R-Guard system because it's much more viscous.

We wrapped up Day 4 of building for T42 with the panels almost ready to be raised. We're excited about the wall raising today and tomorrow and the roof raising Thursday and Friday. Wish us luck!