Lucky Penny’s Maiden Voyage

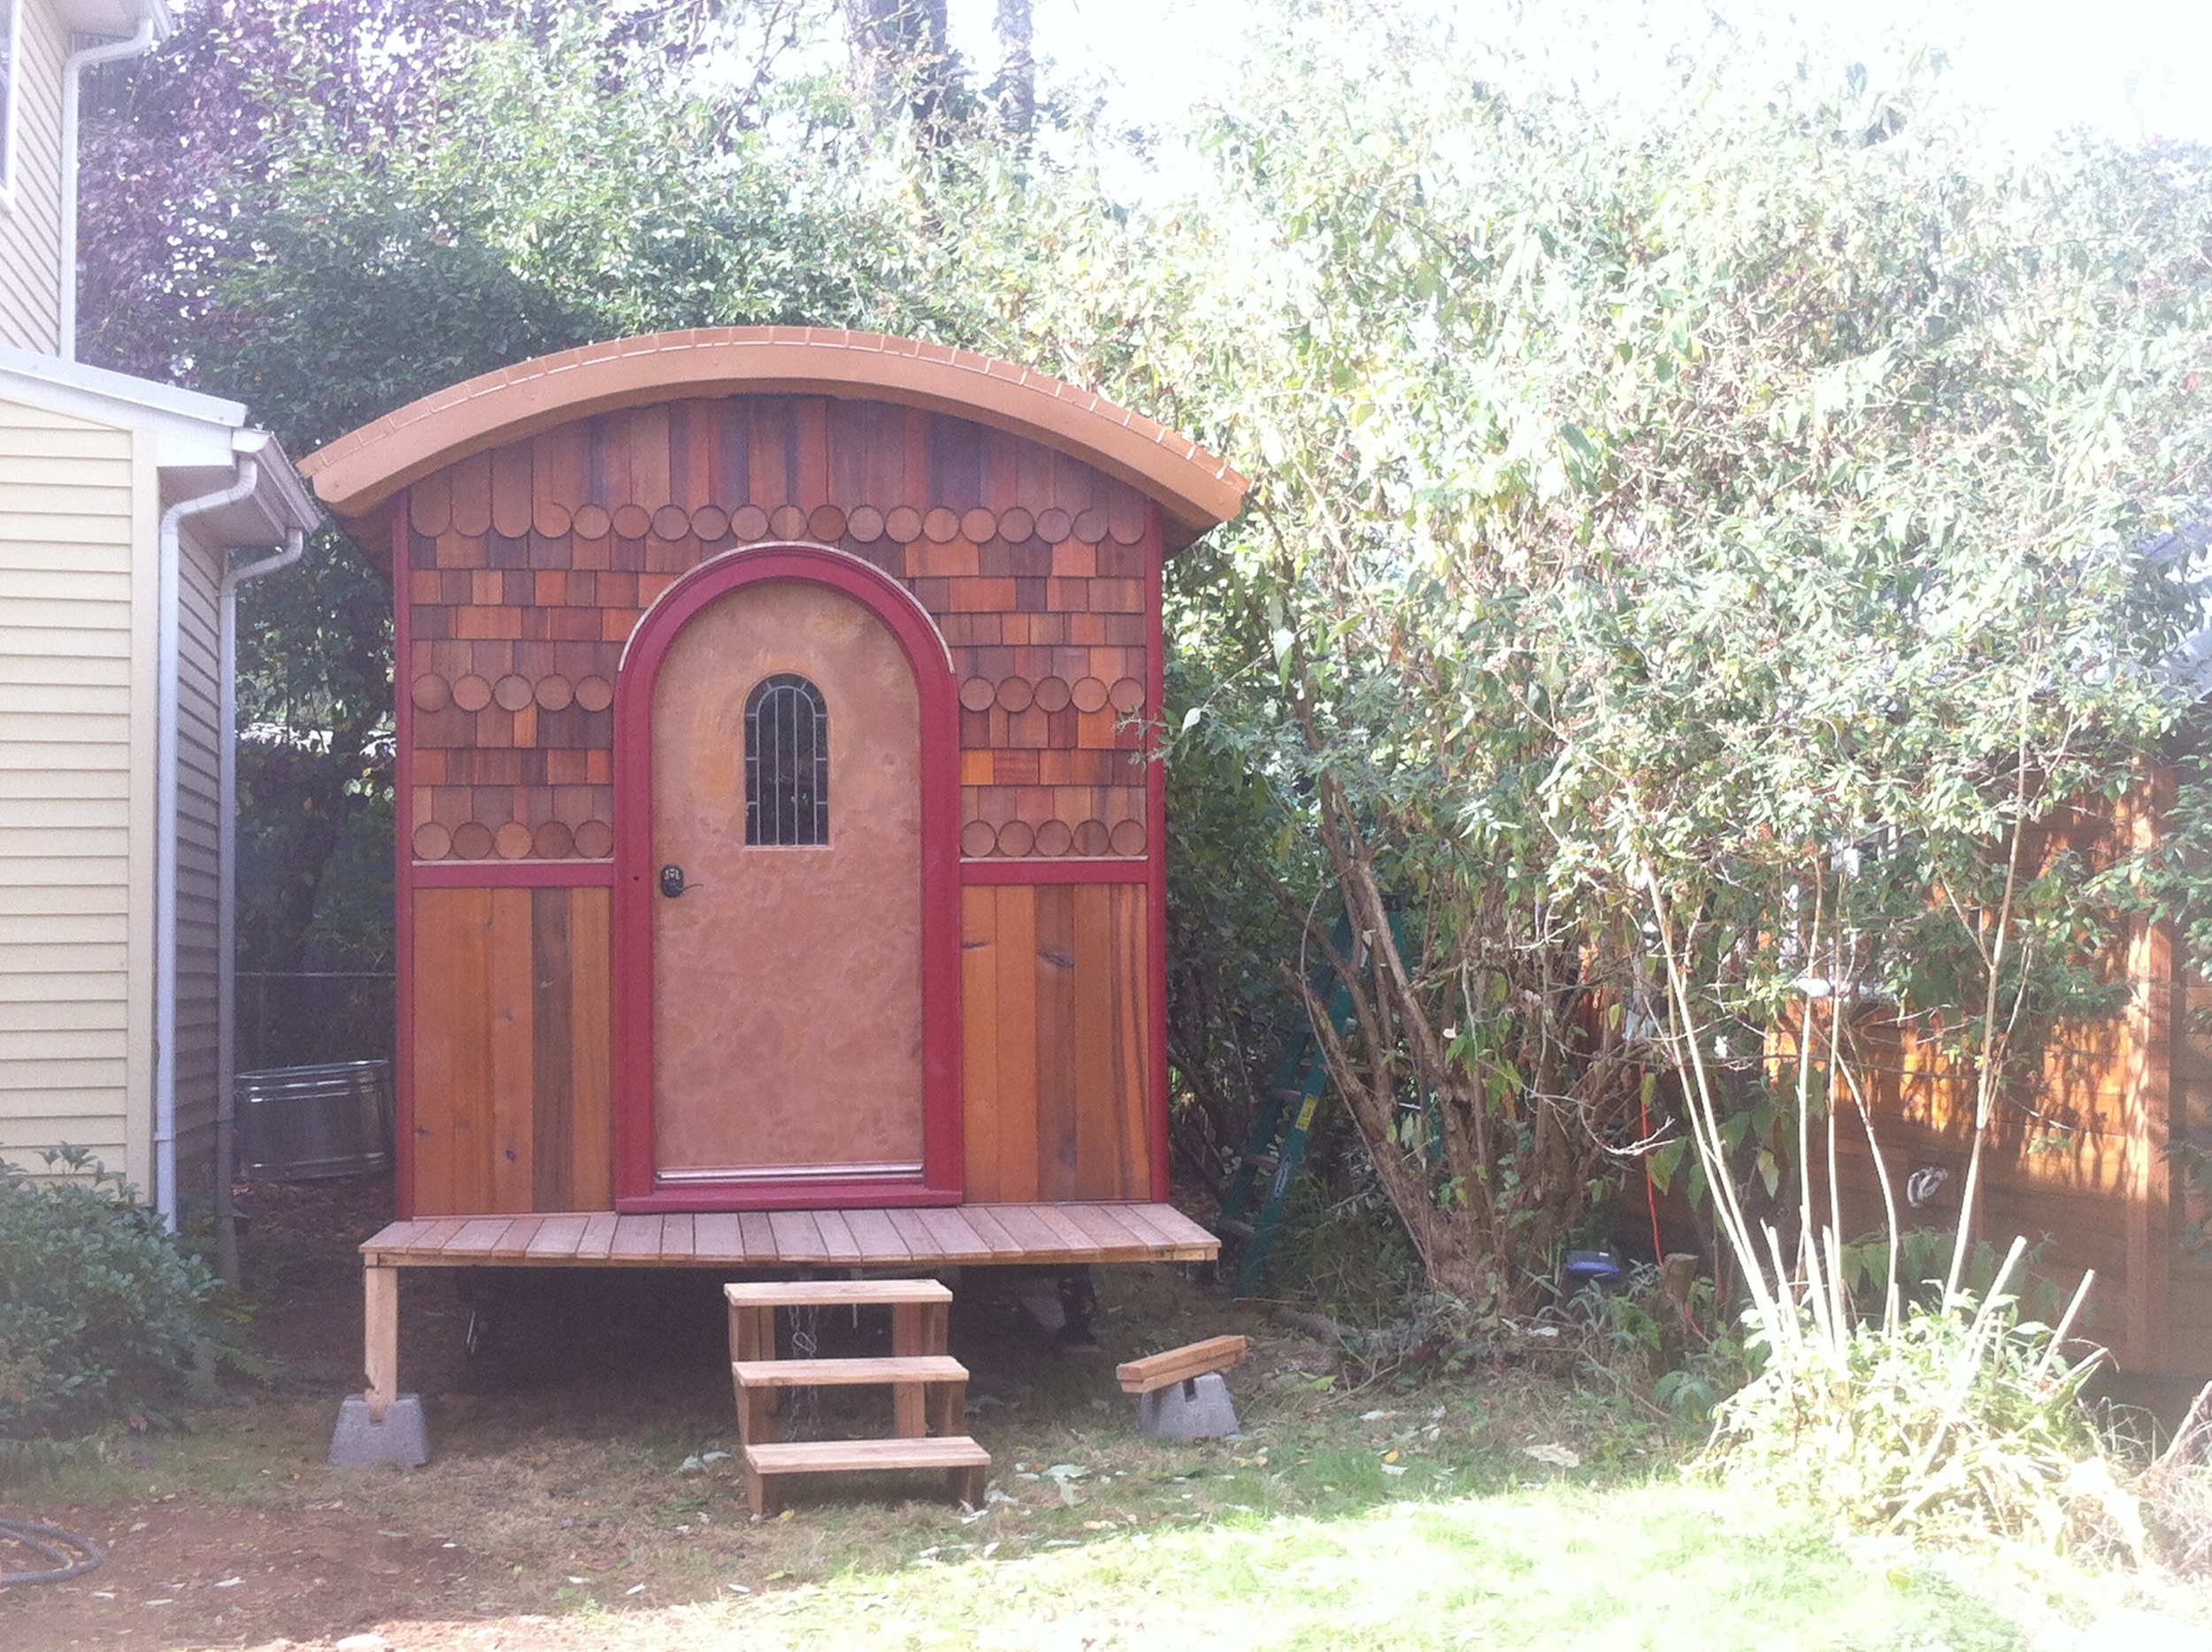
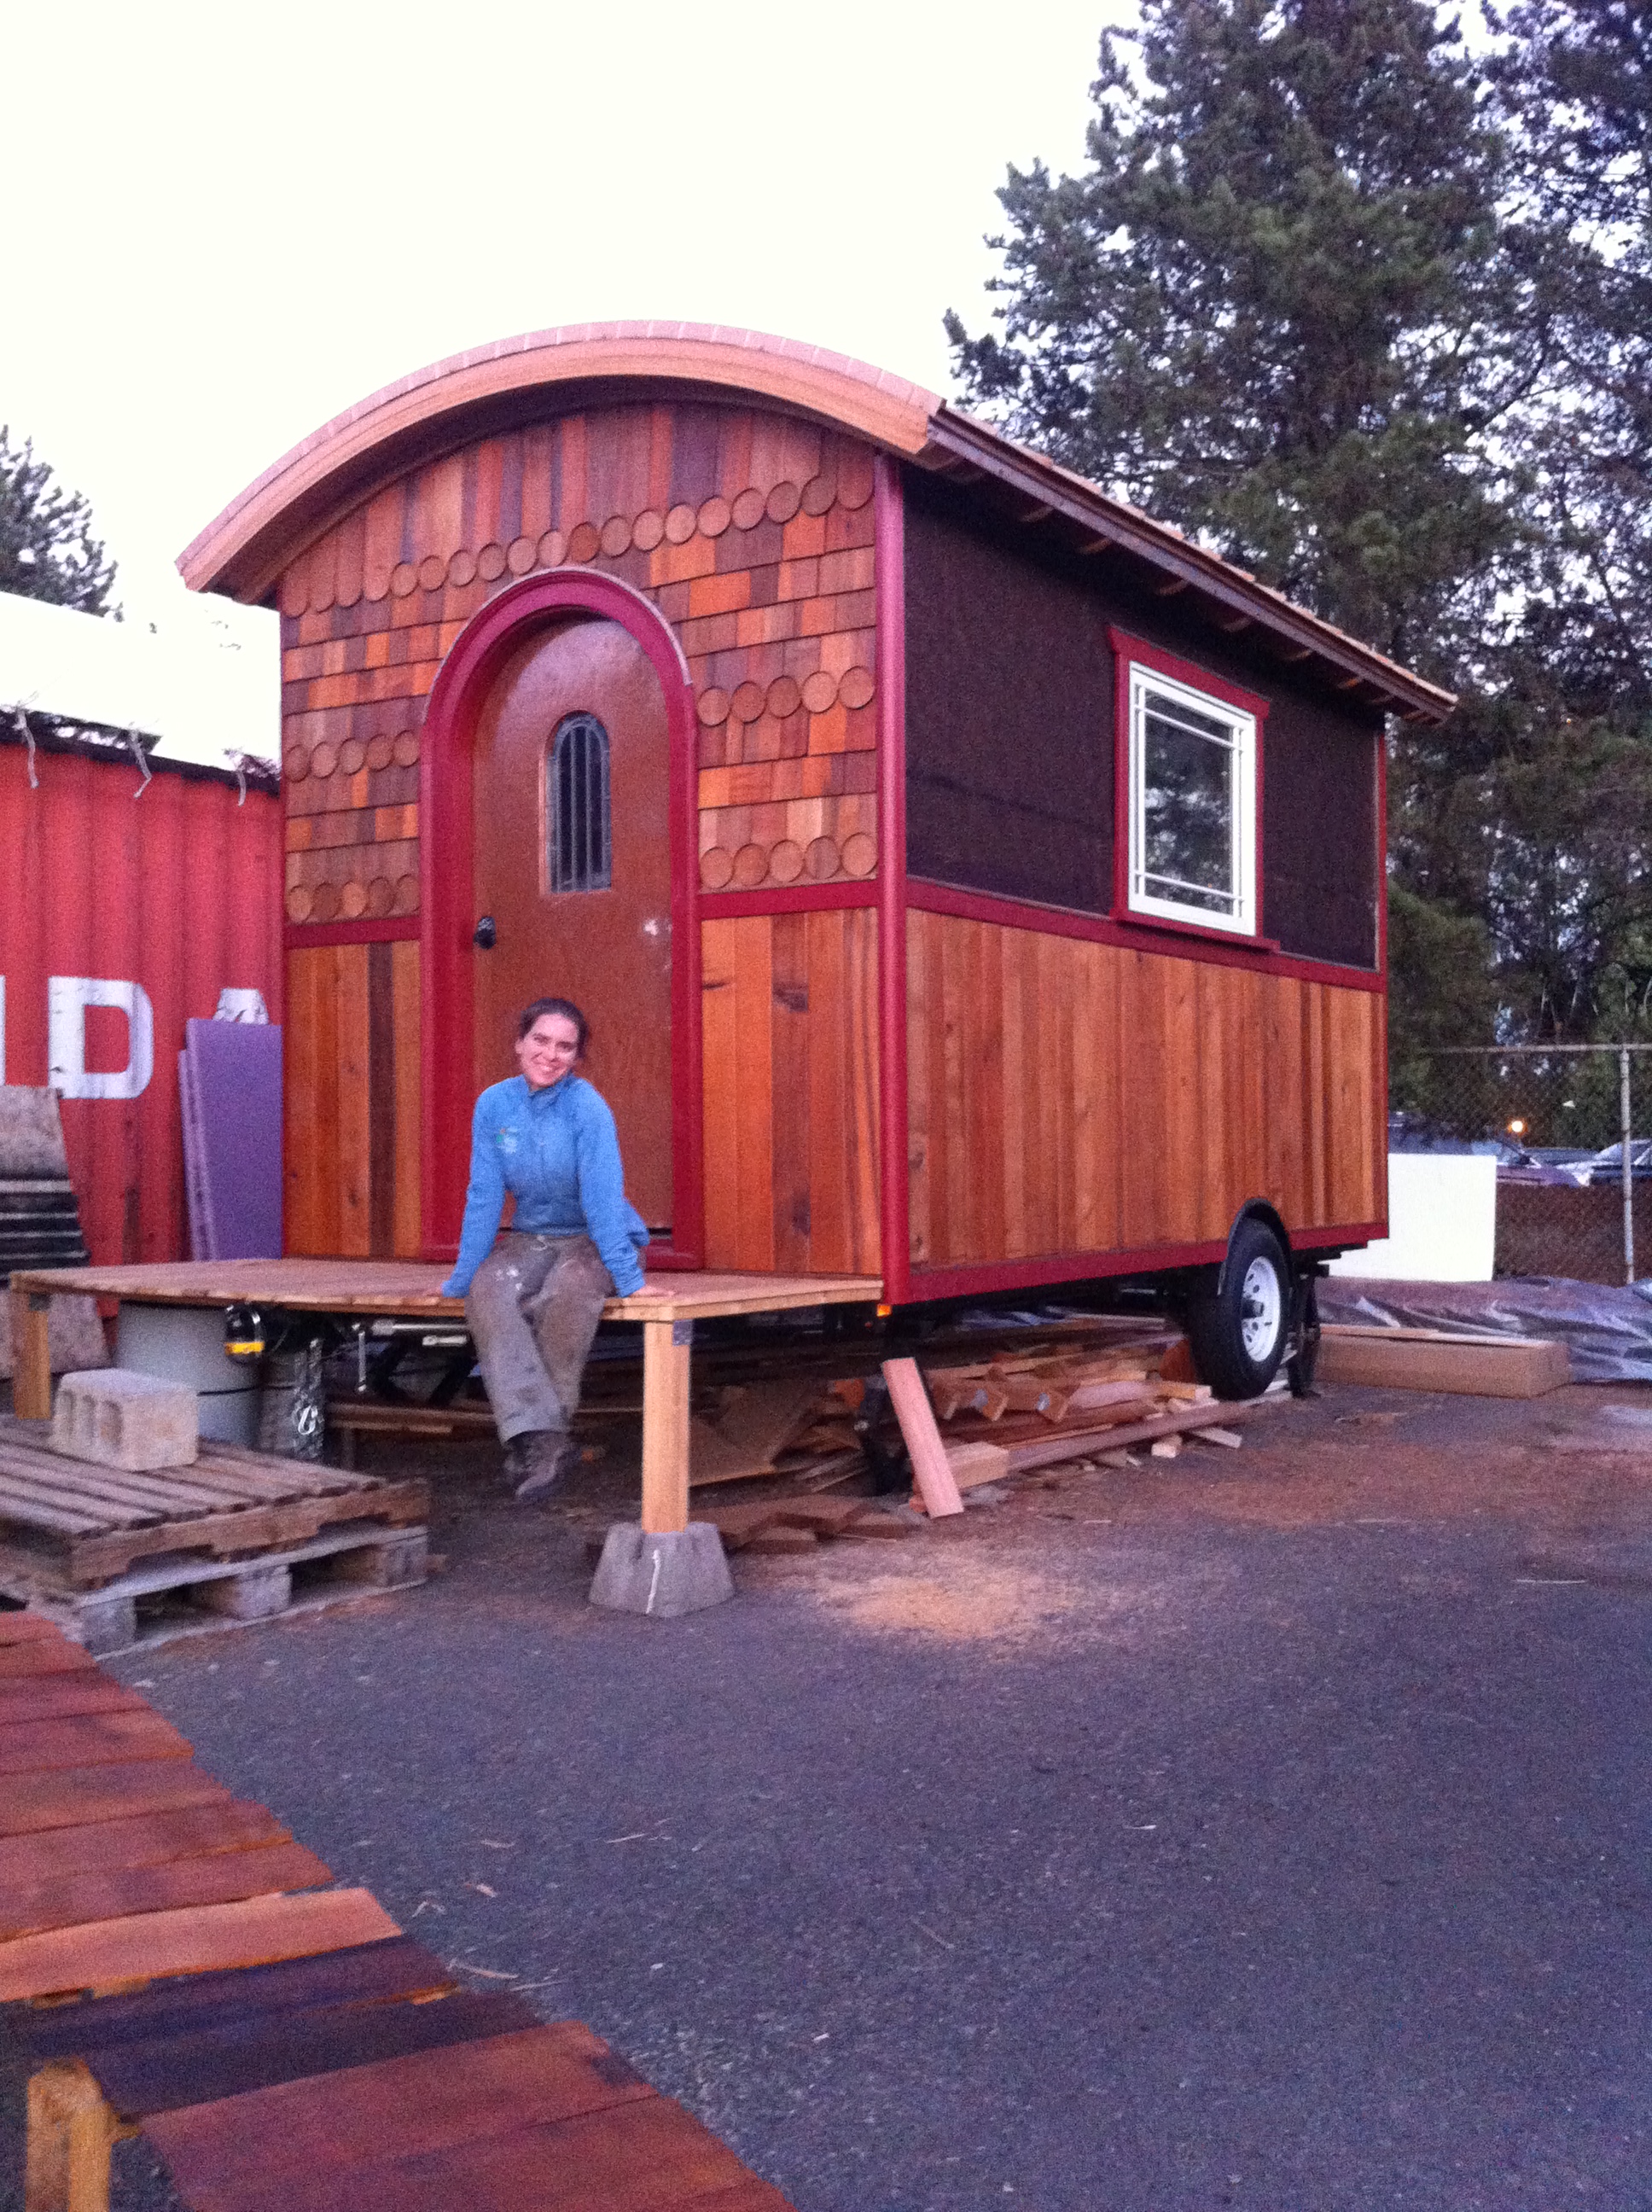
Thank you so much to everyone who has followed up to ask how the move went. The tiny has landed. I repeat. The tiny has landed. Everything went according to plan and The Lucky Penny has Come (Simply) Home. 10387224_10105245055917830_316295343464841875_n
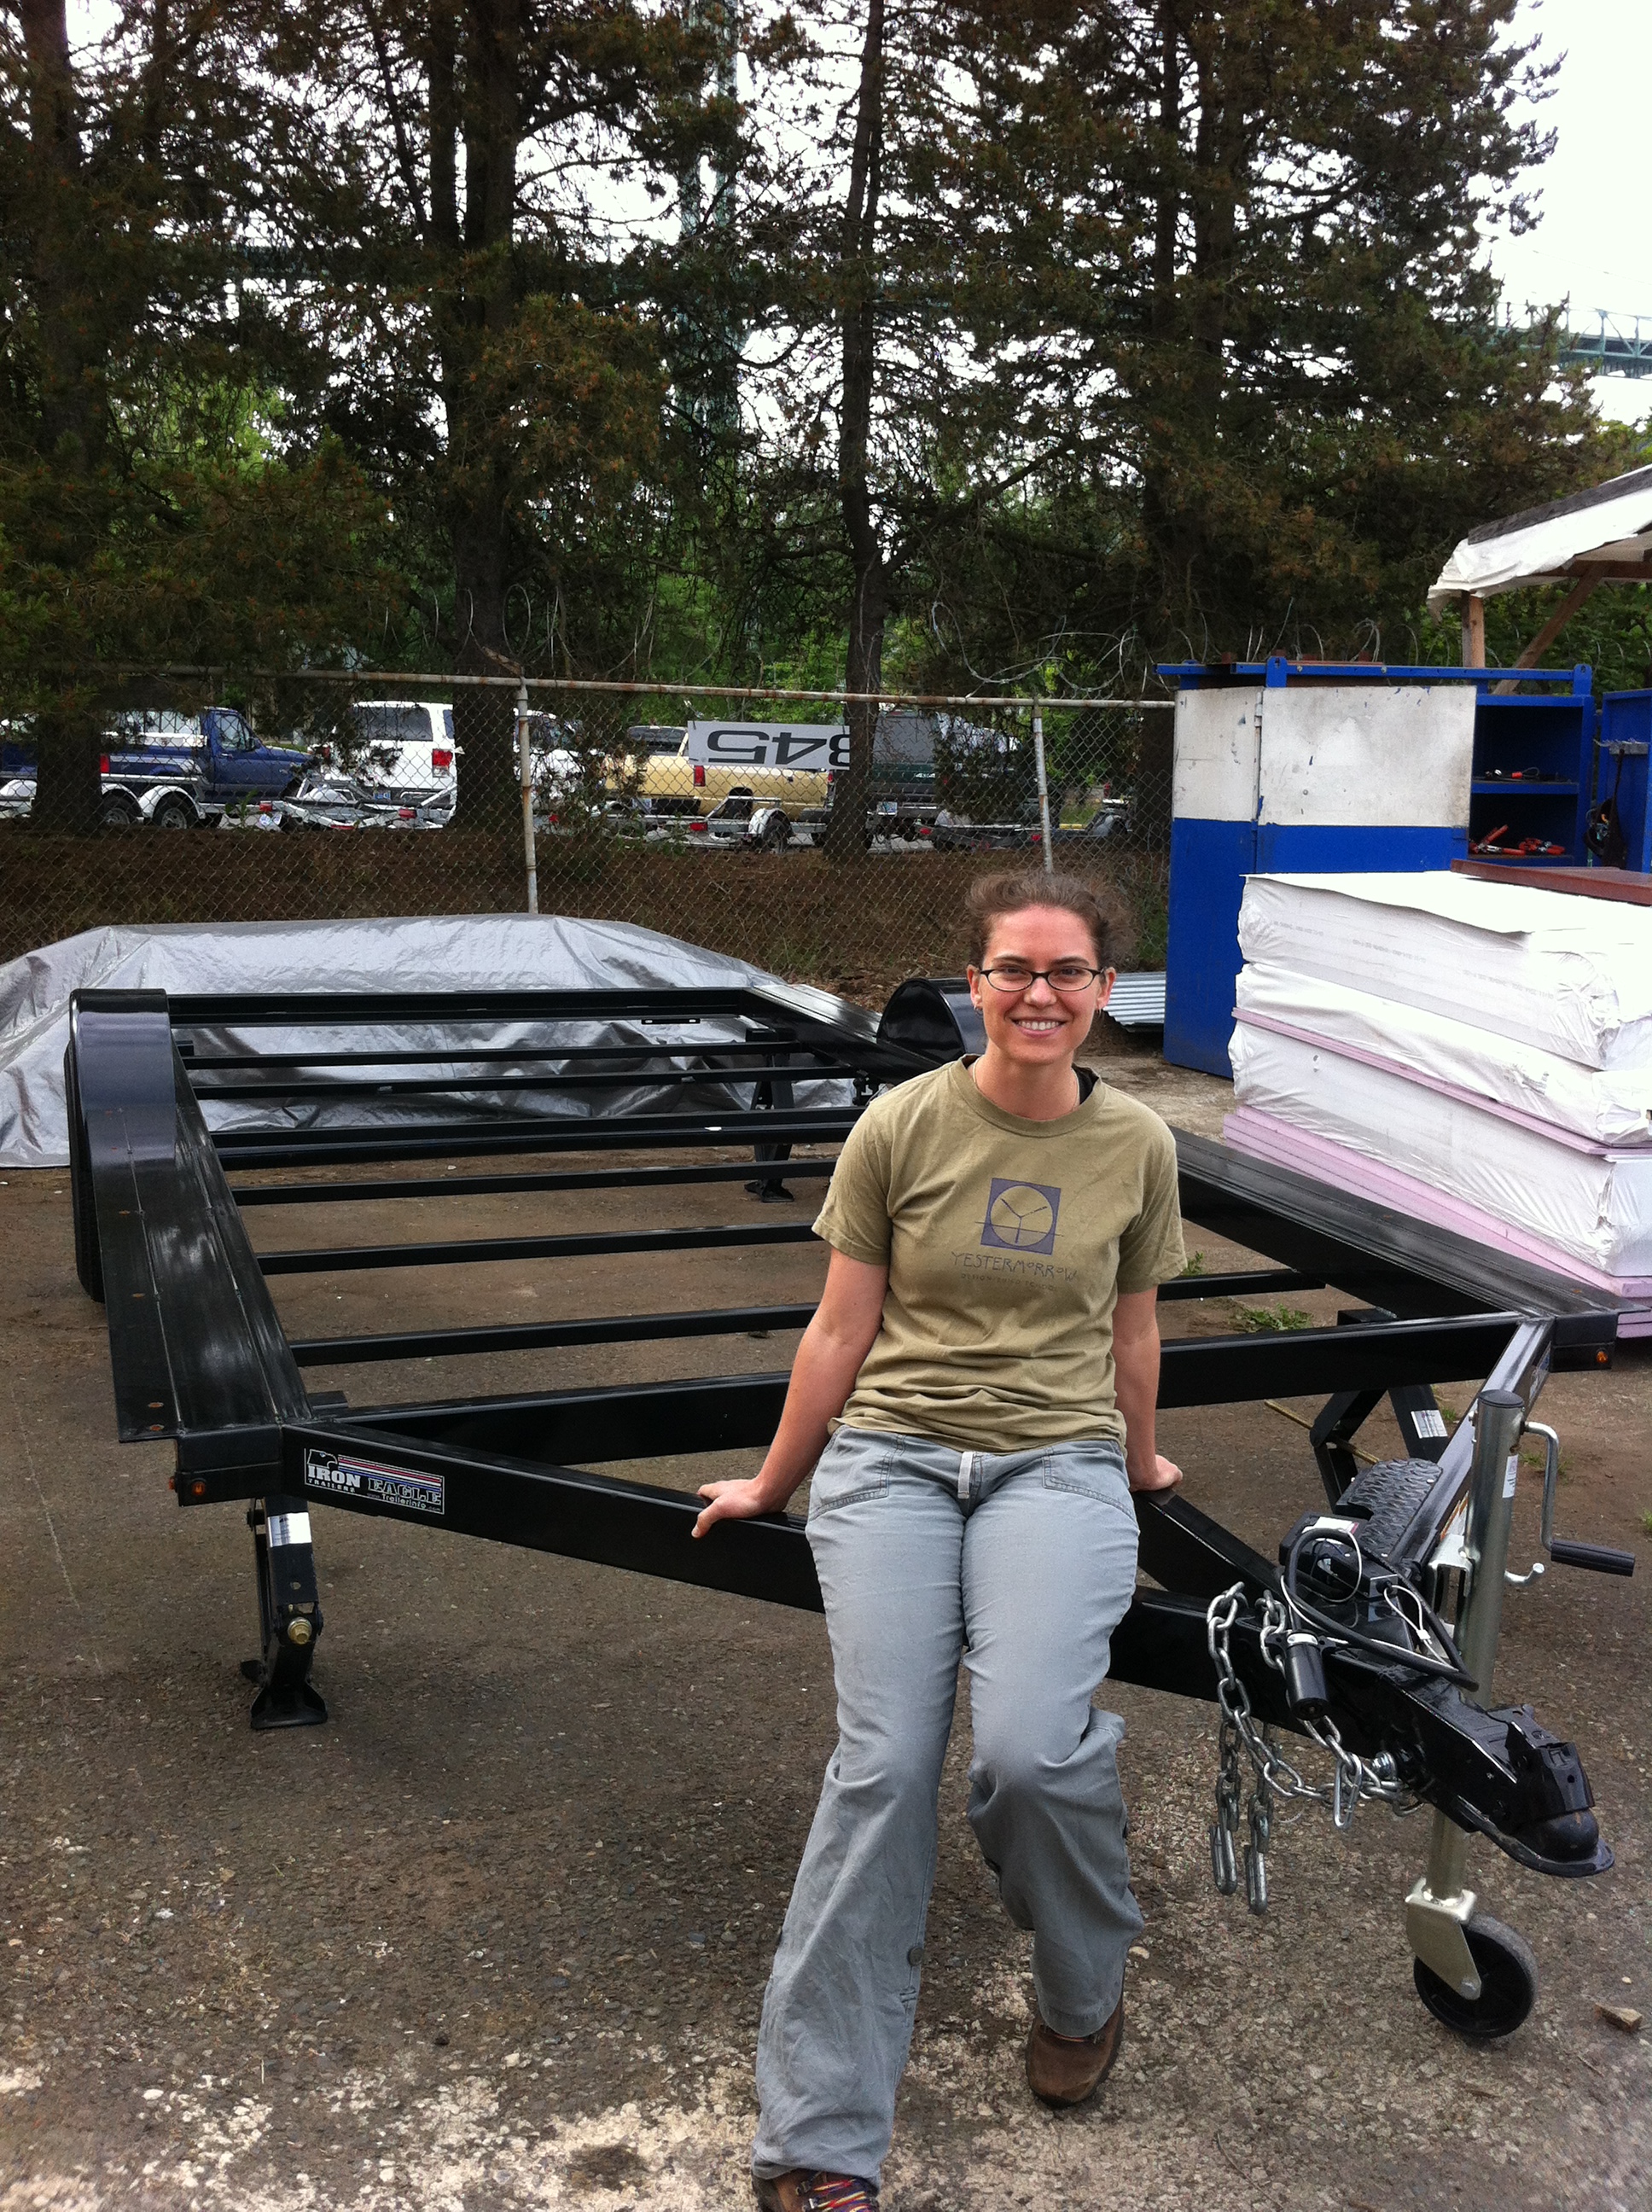
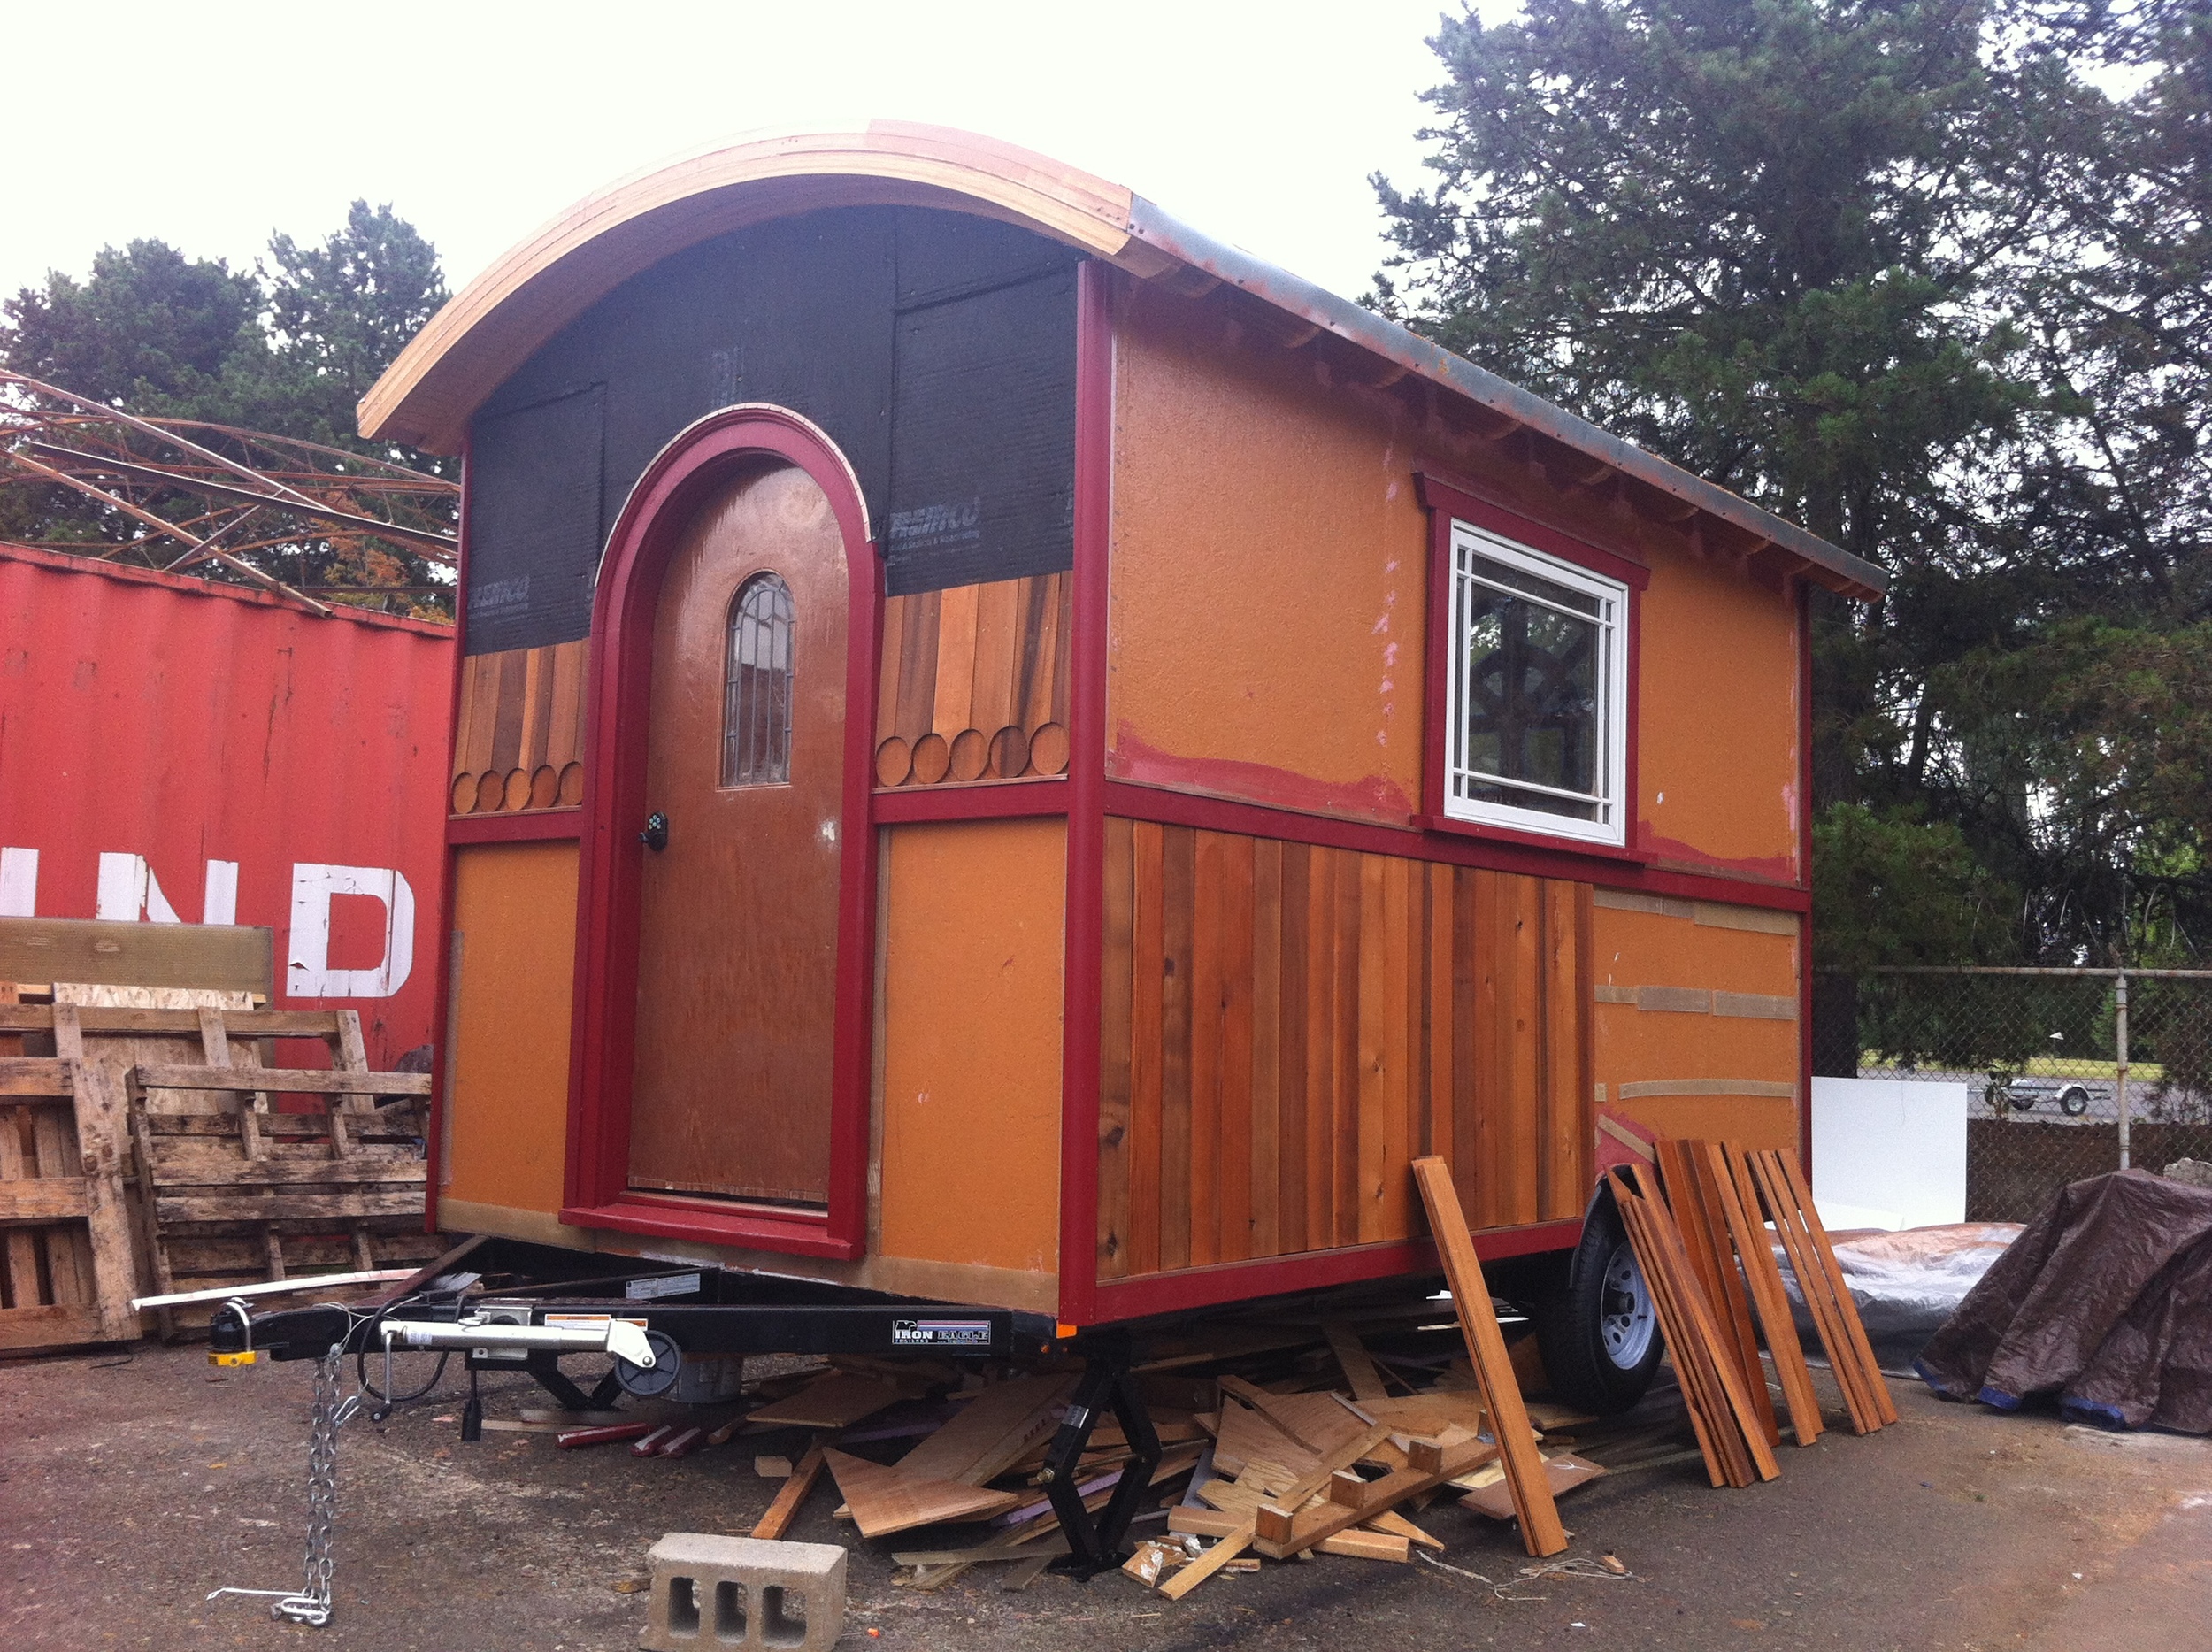
On Monday morning my build buddy Laura Klement arrived before dawn to pick up me and the tiny house mover. The tiny house mover is a power dolly that has helped many tiny houses in Portland nestle into their spots. We weren’t sure we would need it to wrangle The Lucky Penny out of her parking spot at Green Anchors but we didn’t want to need it and not have it, so we brought it along.

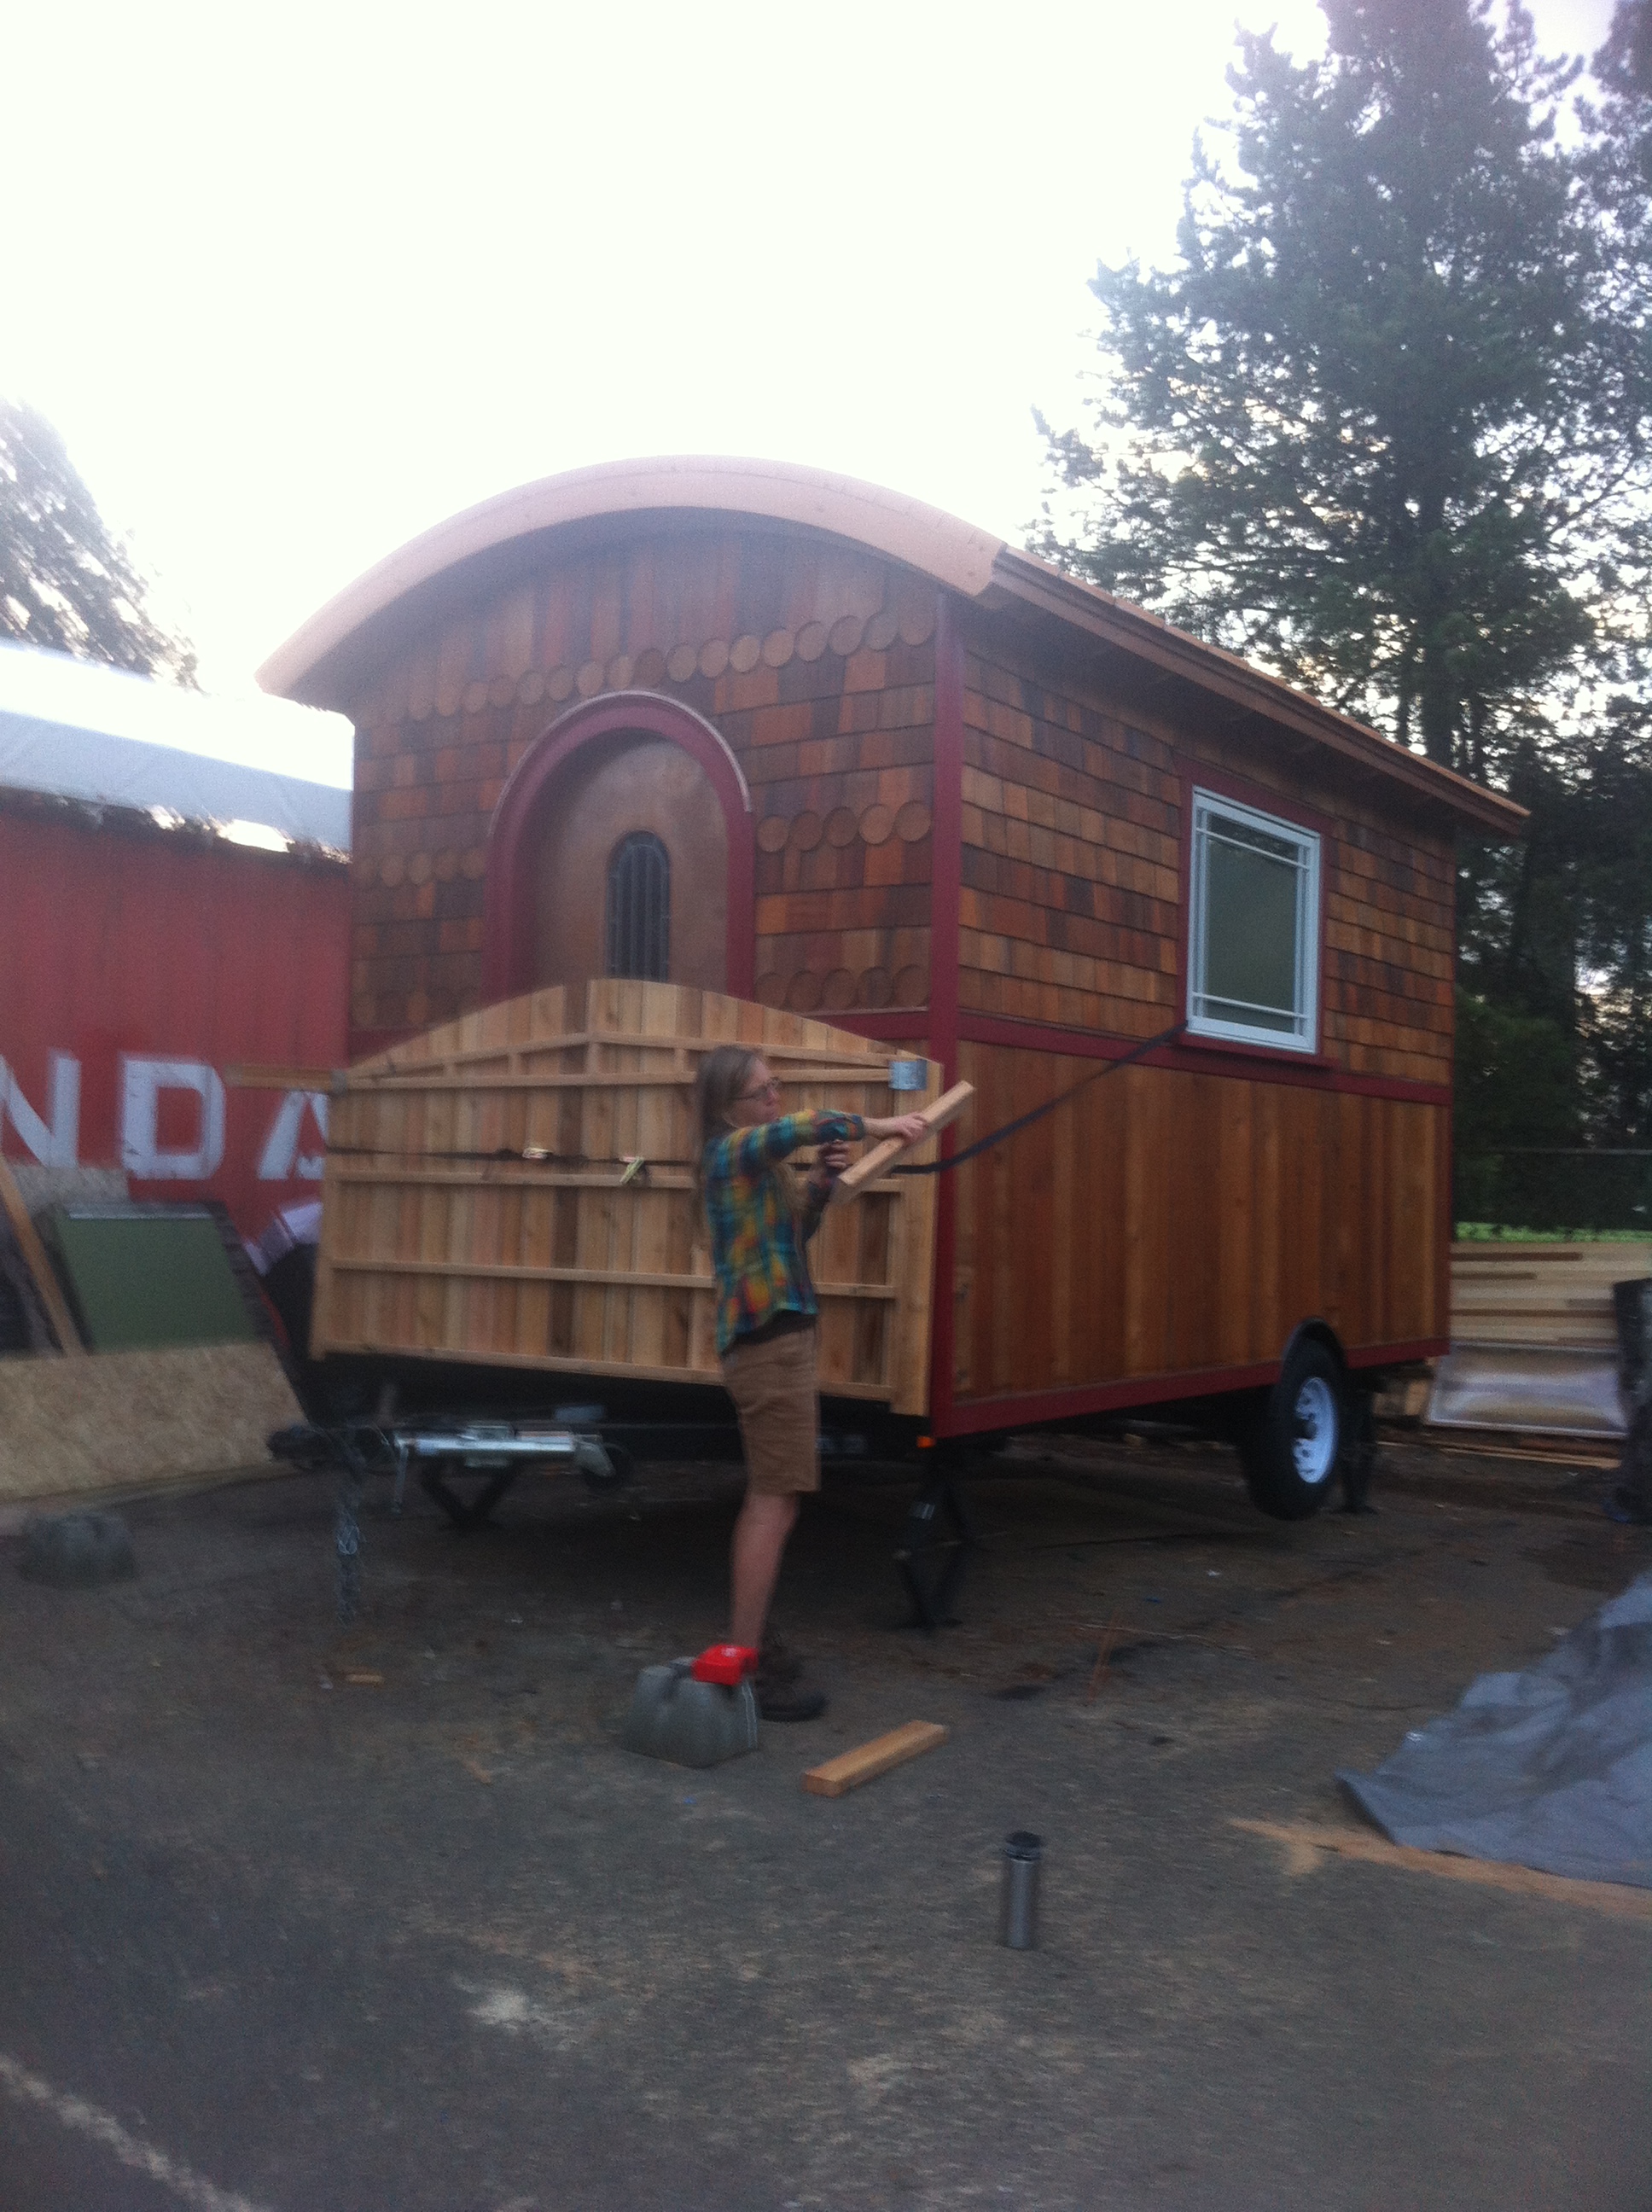
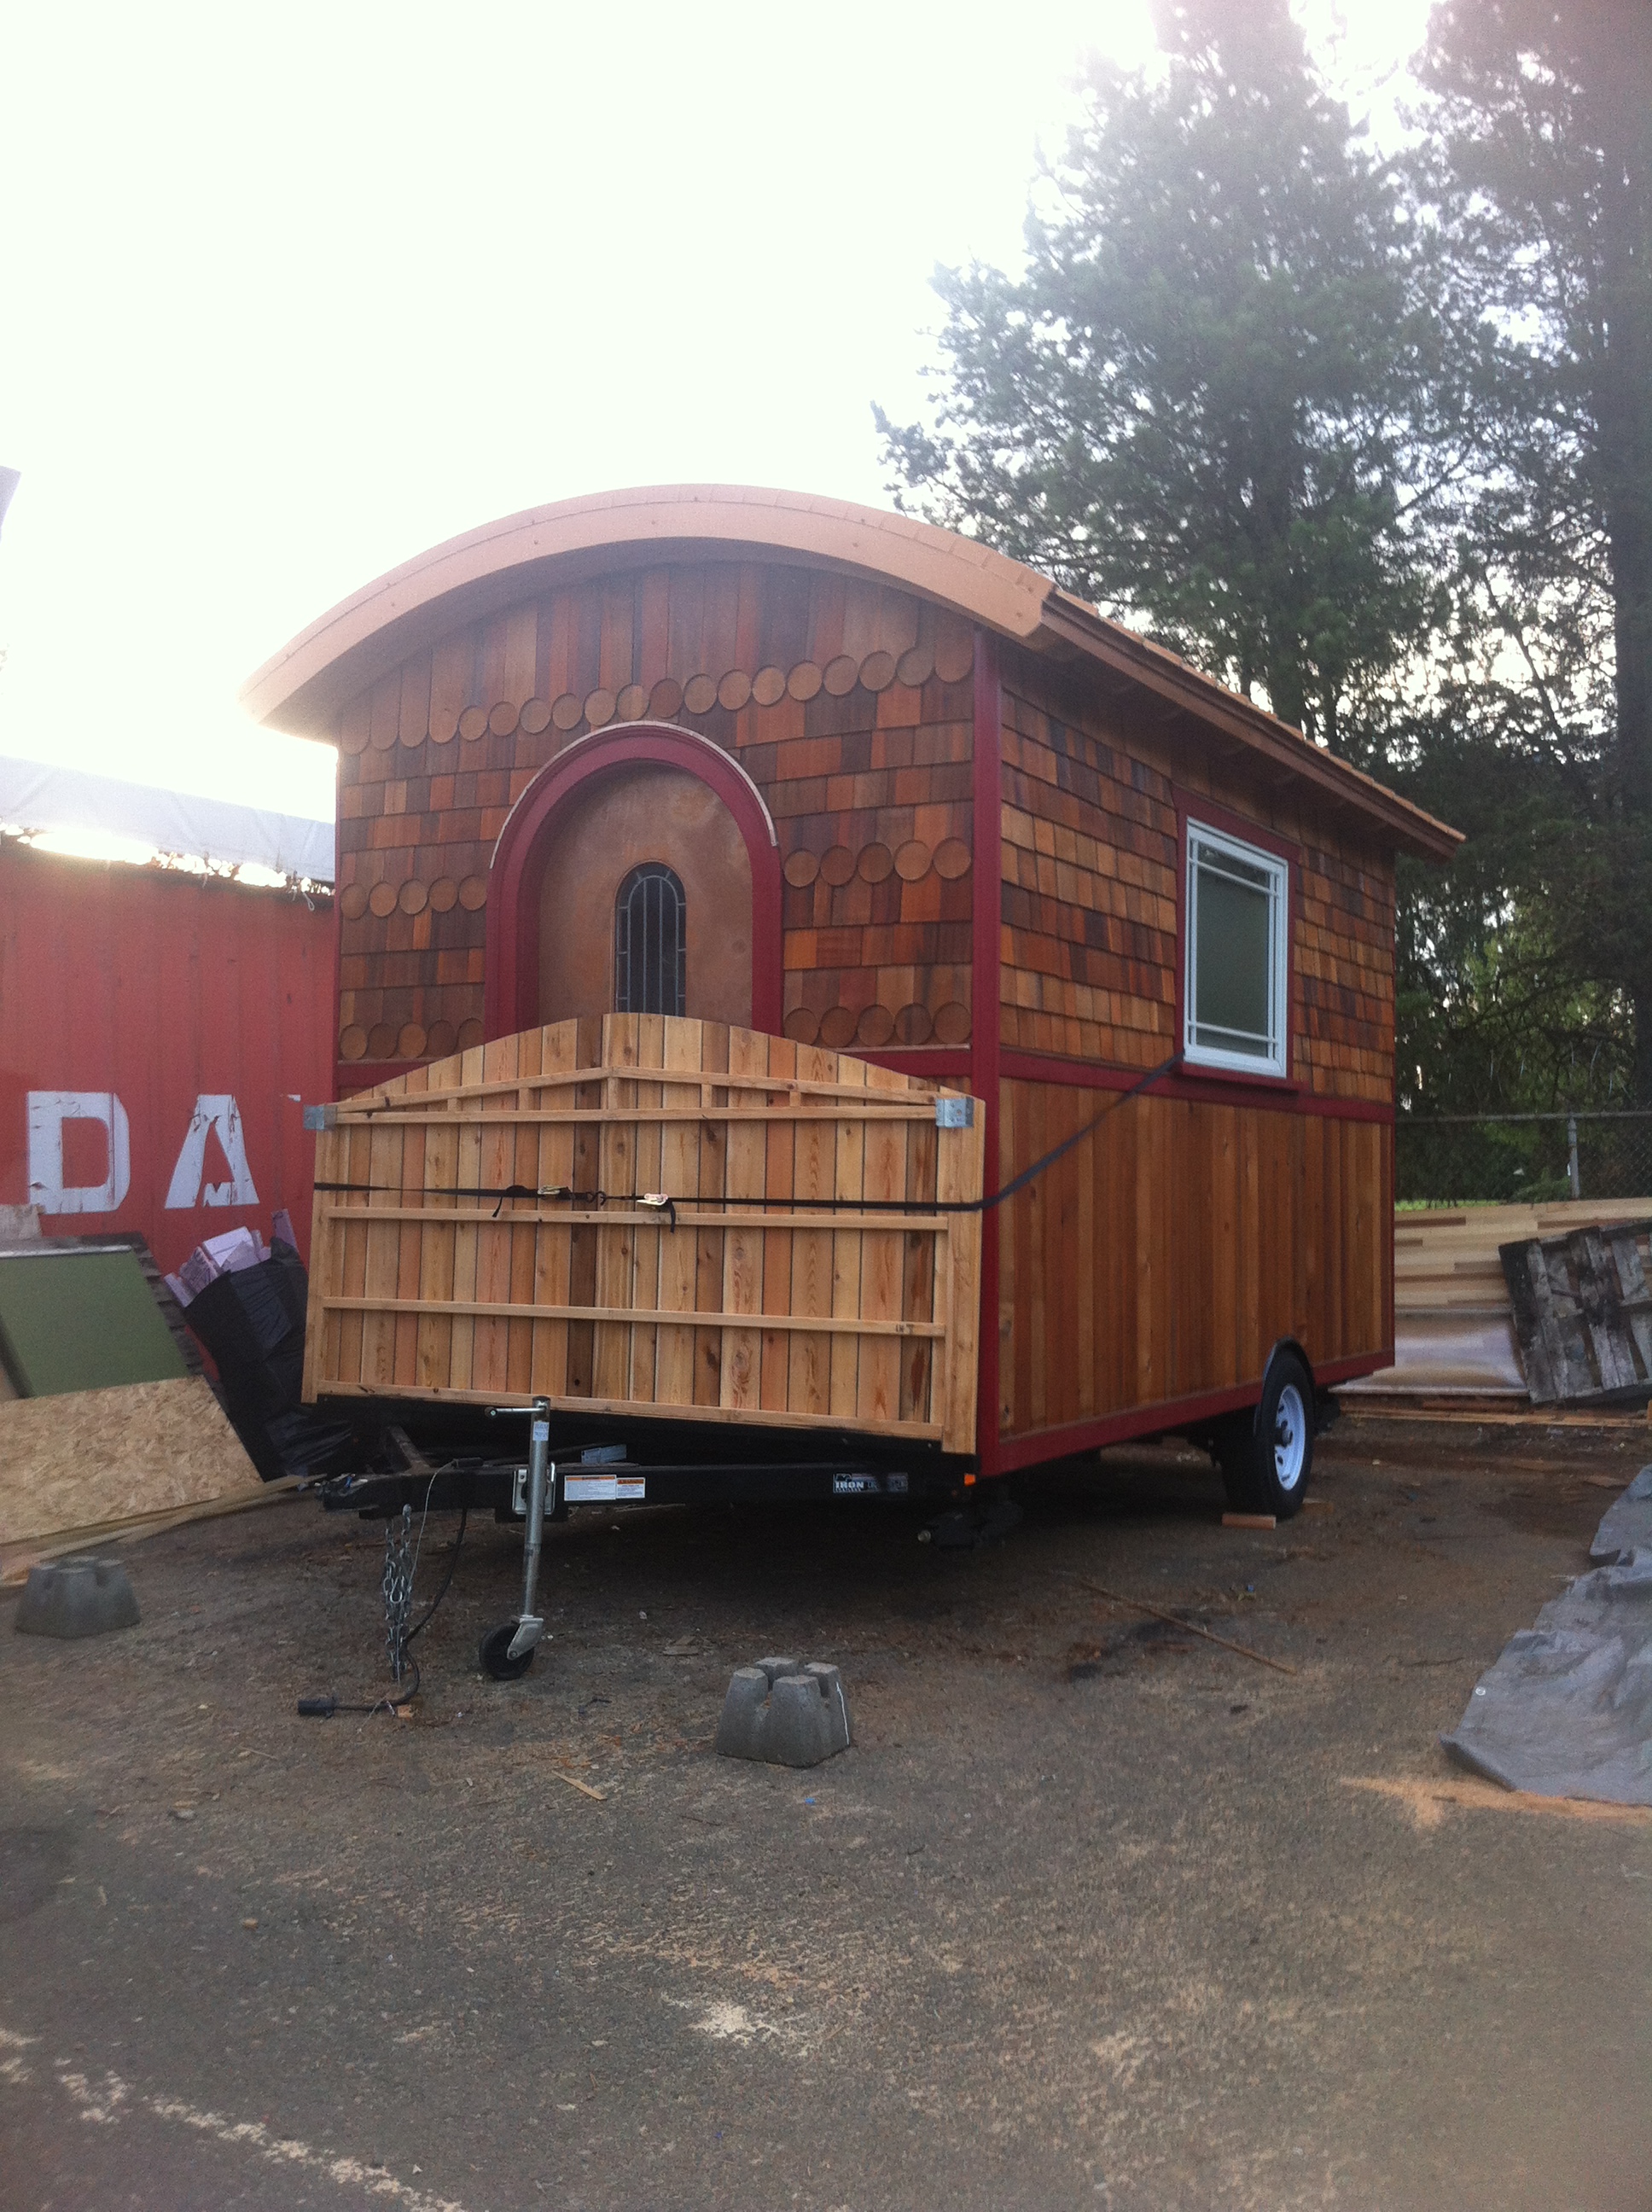
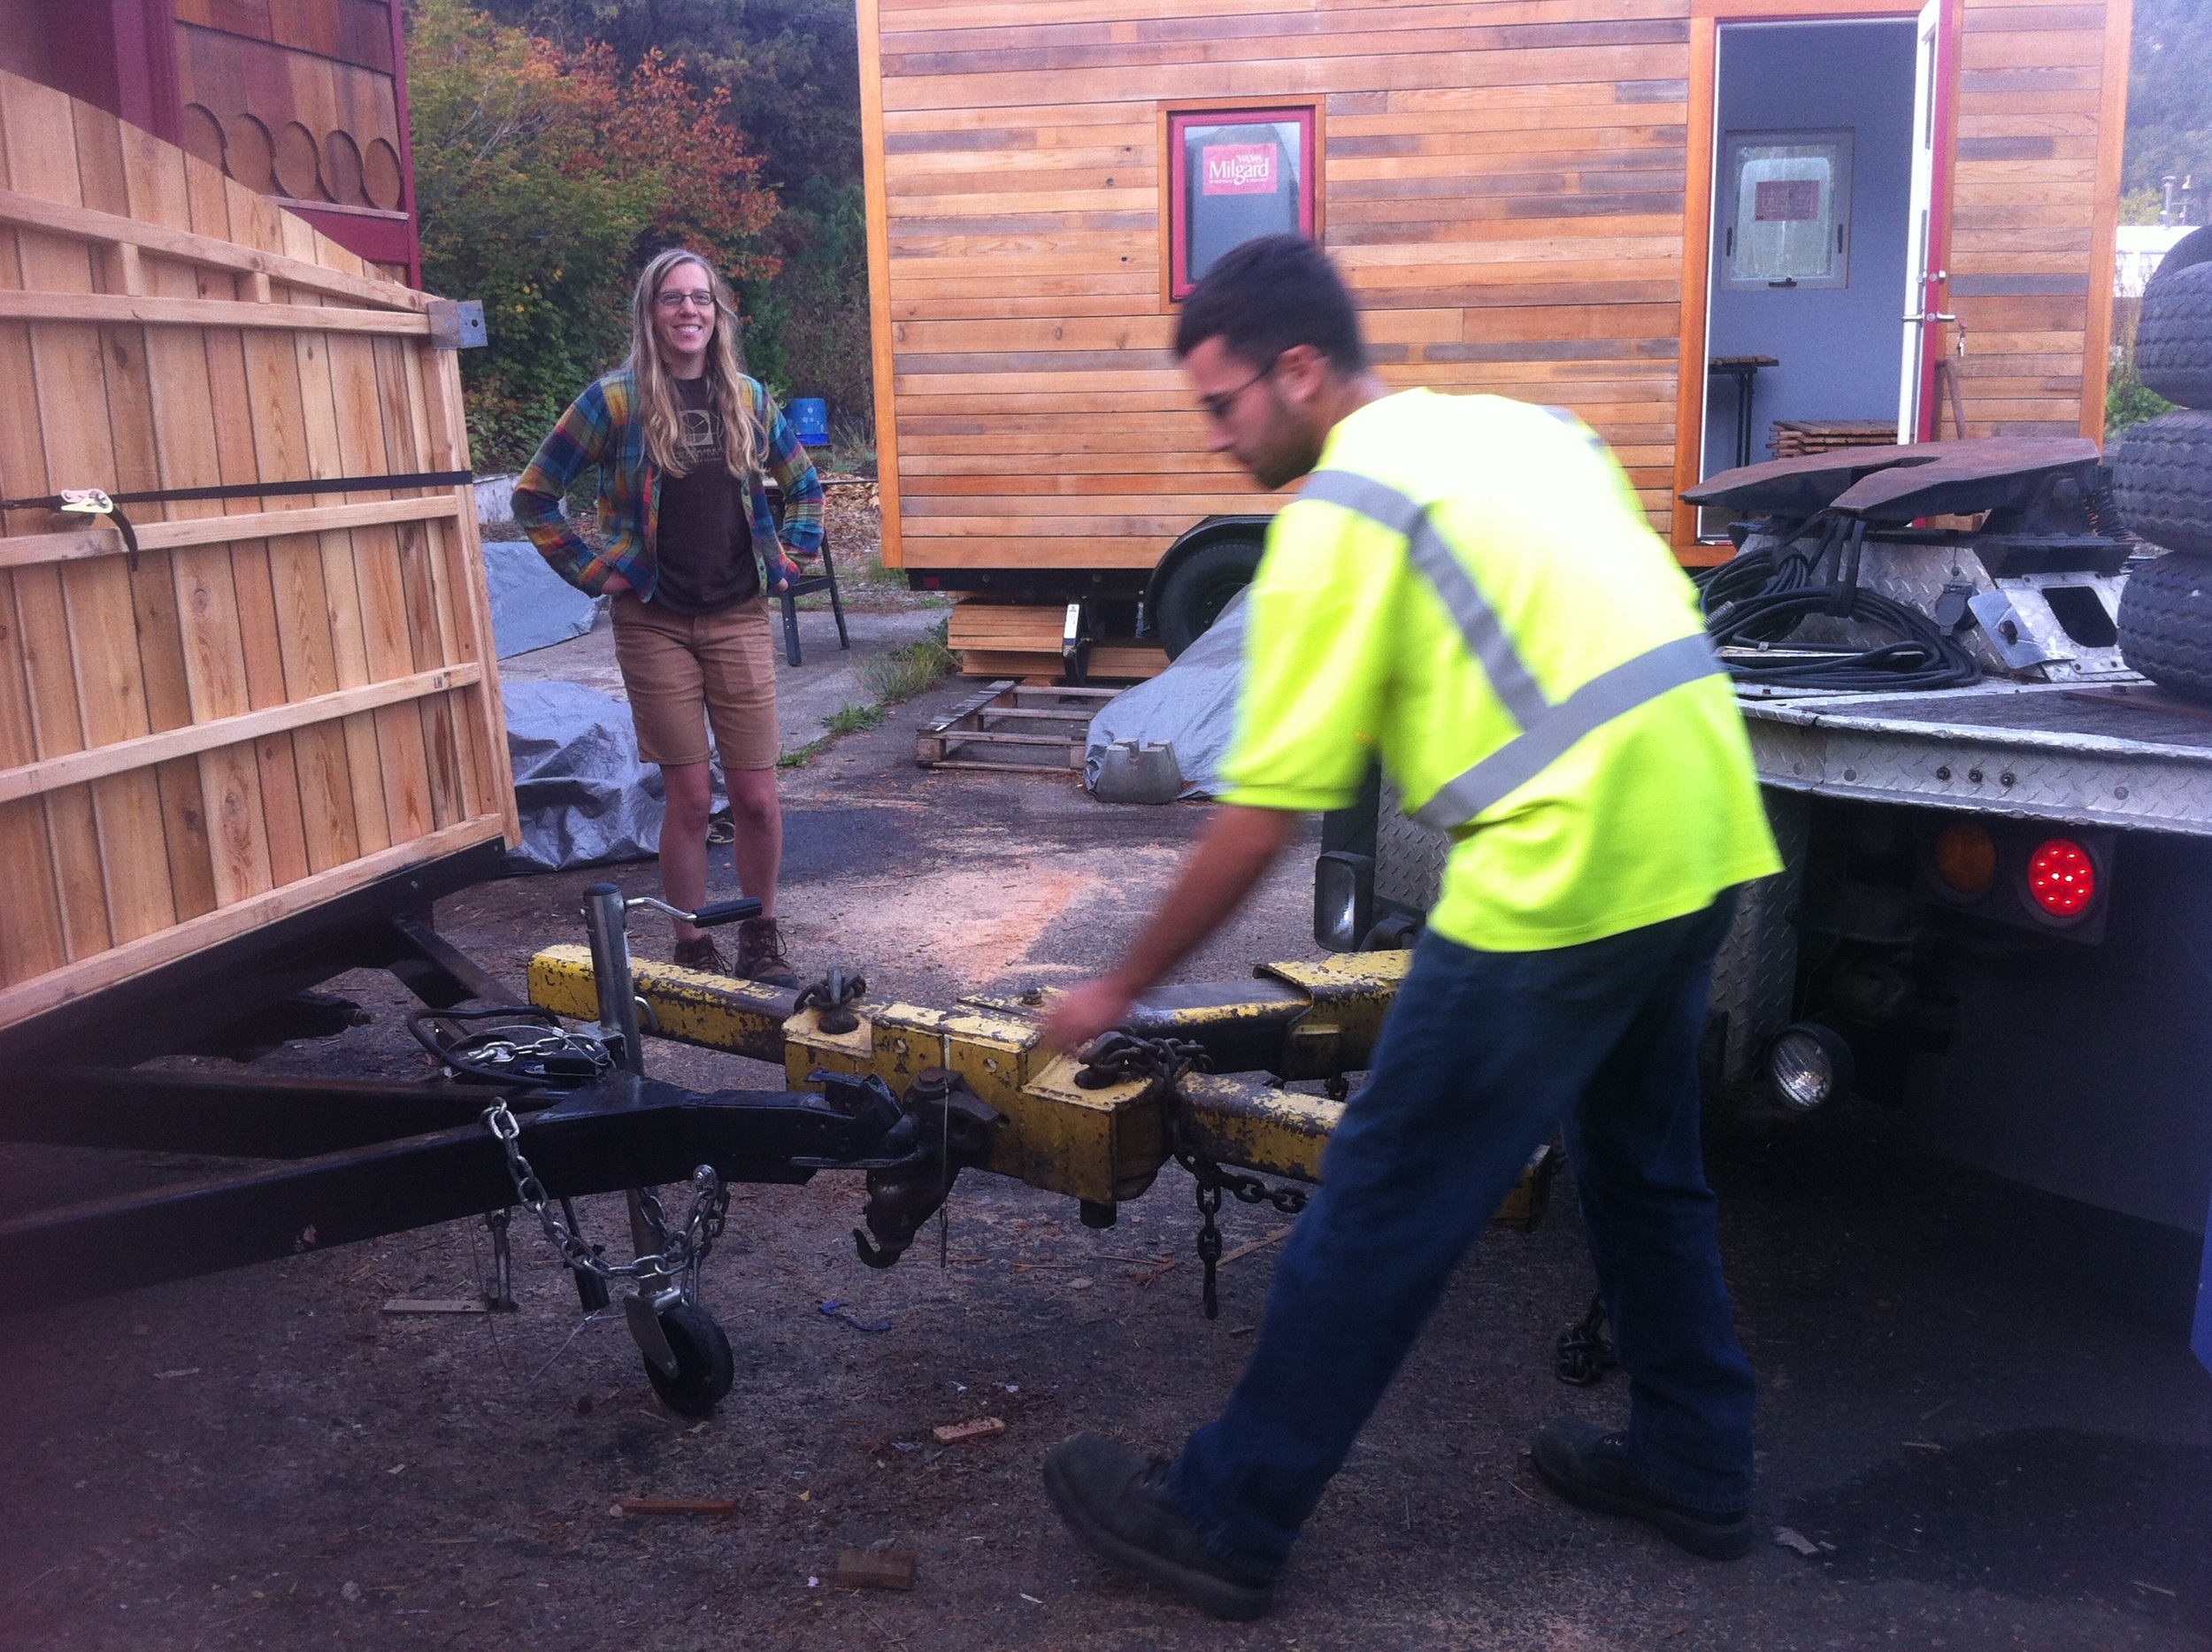
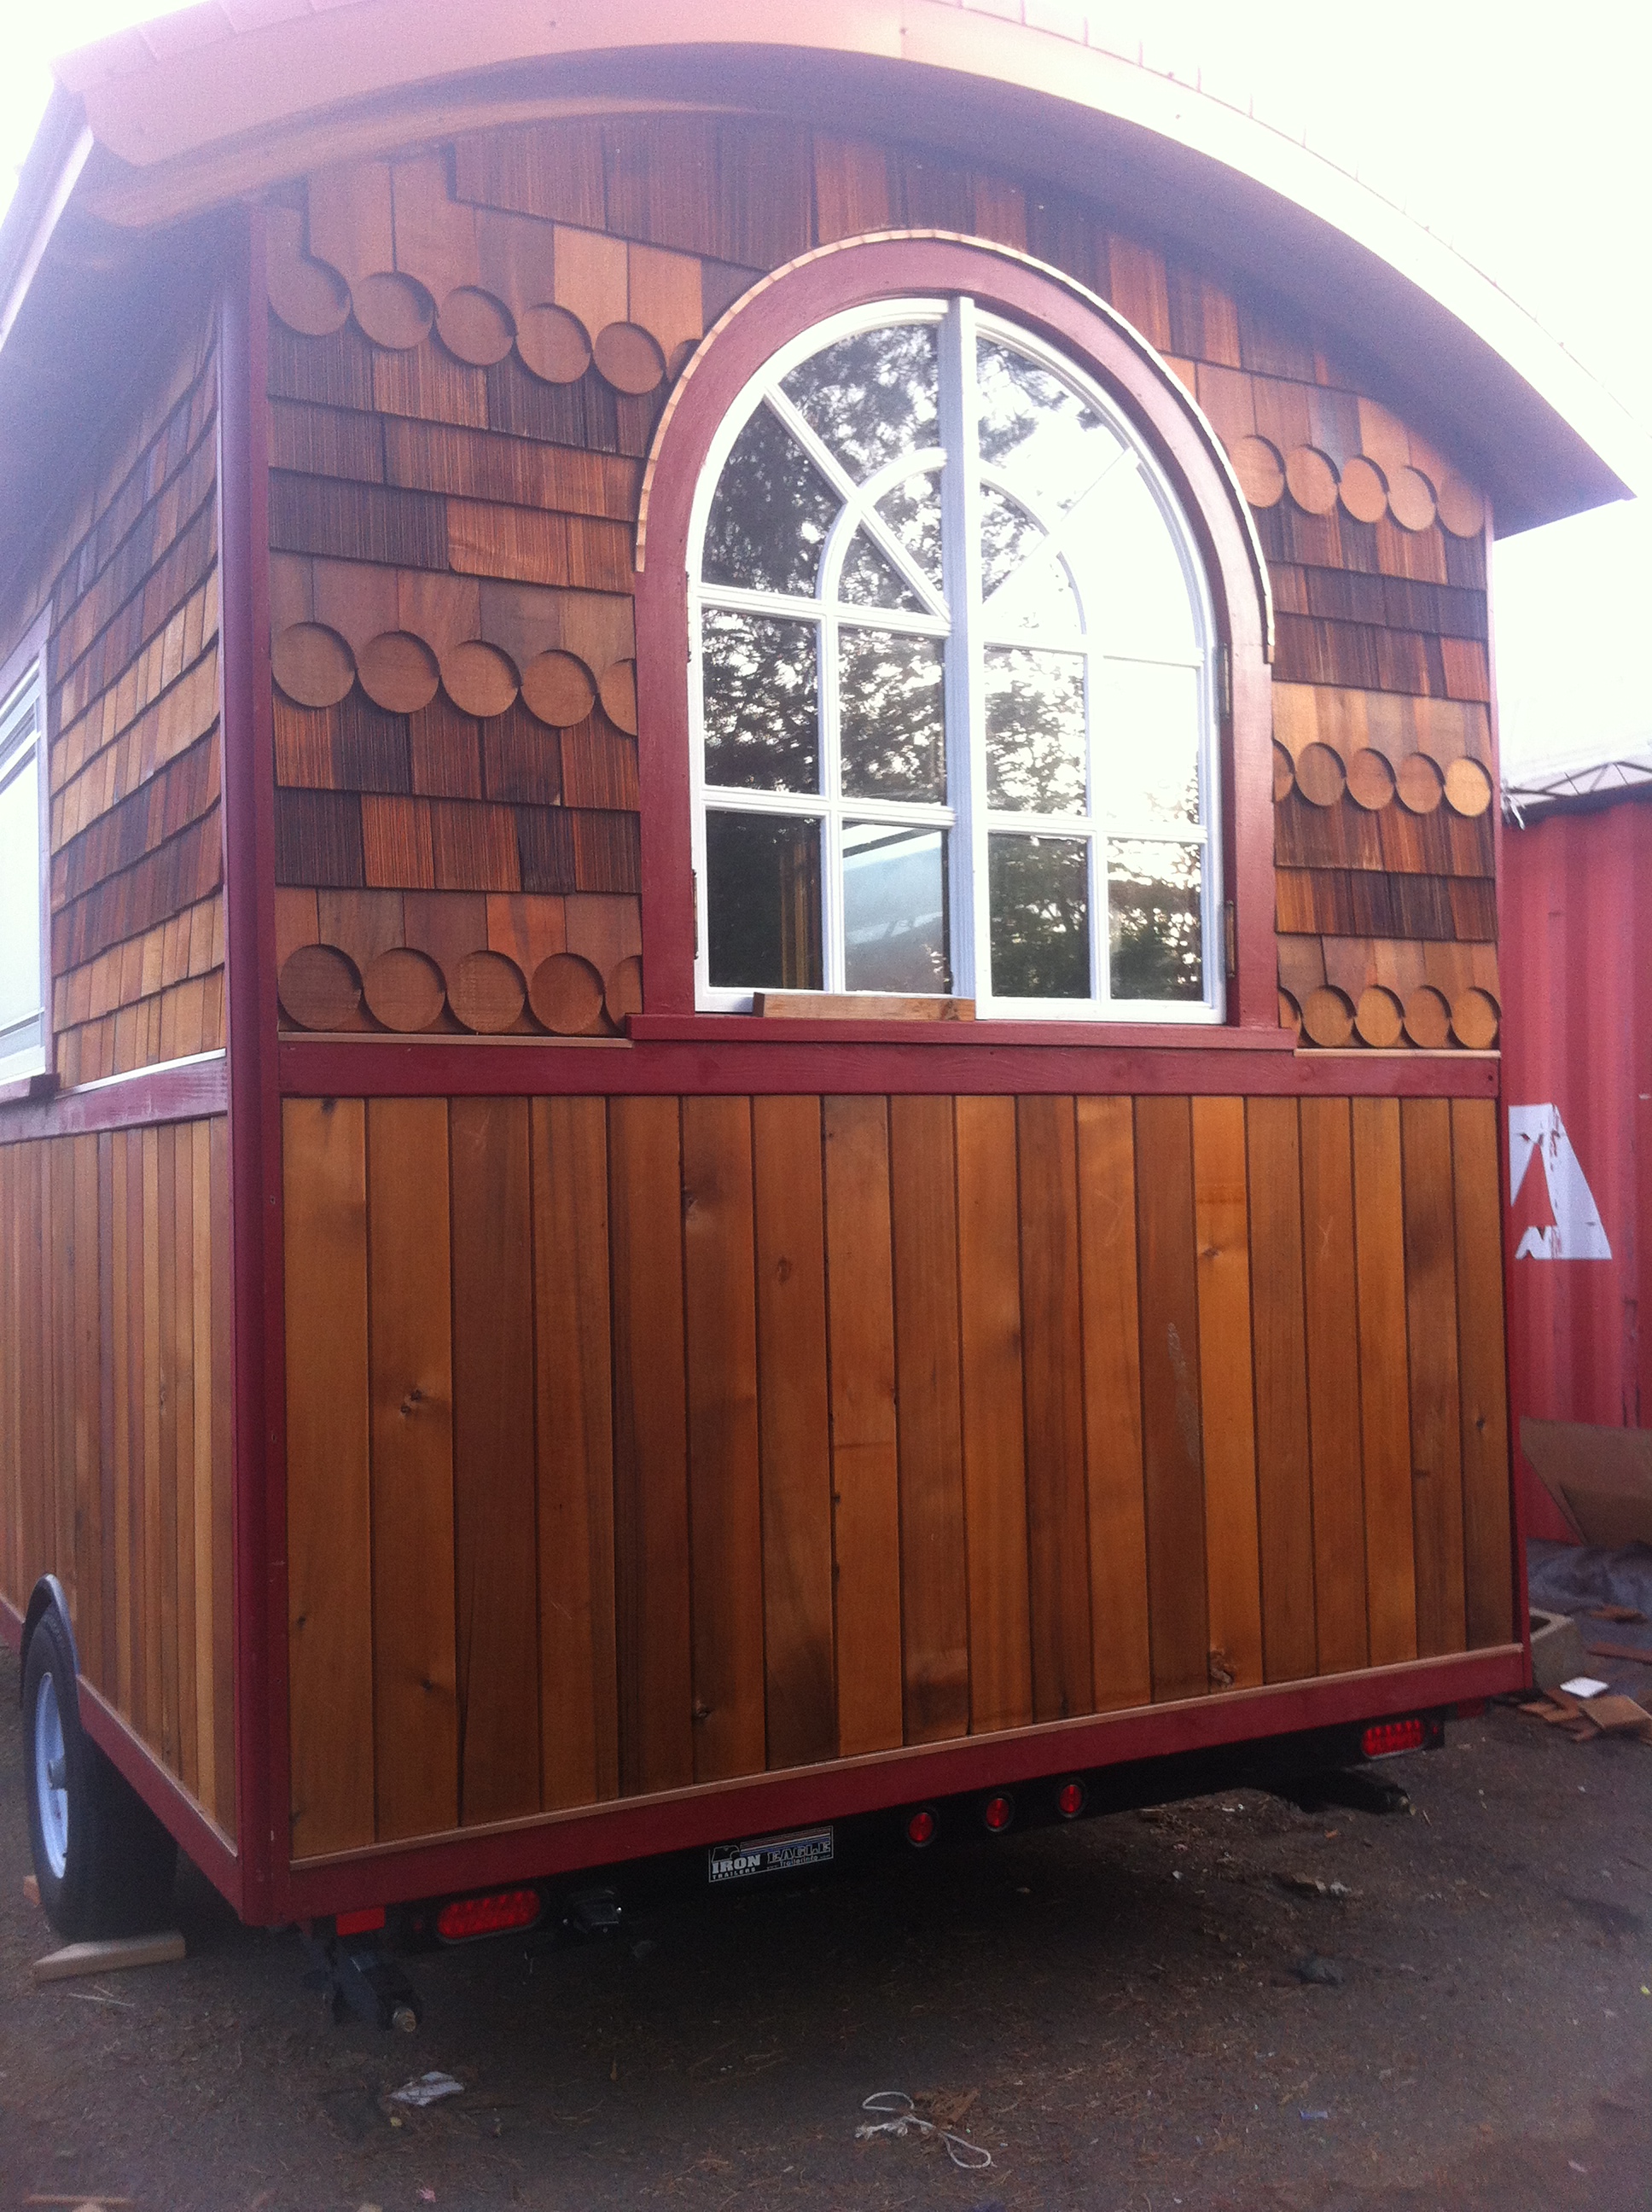
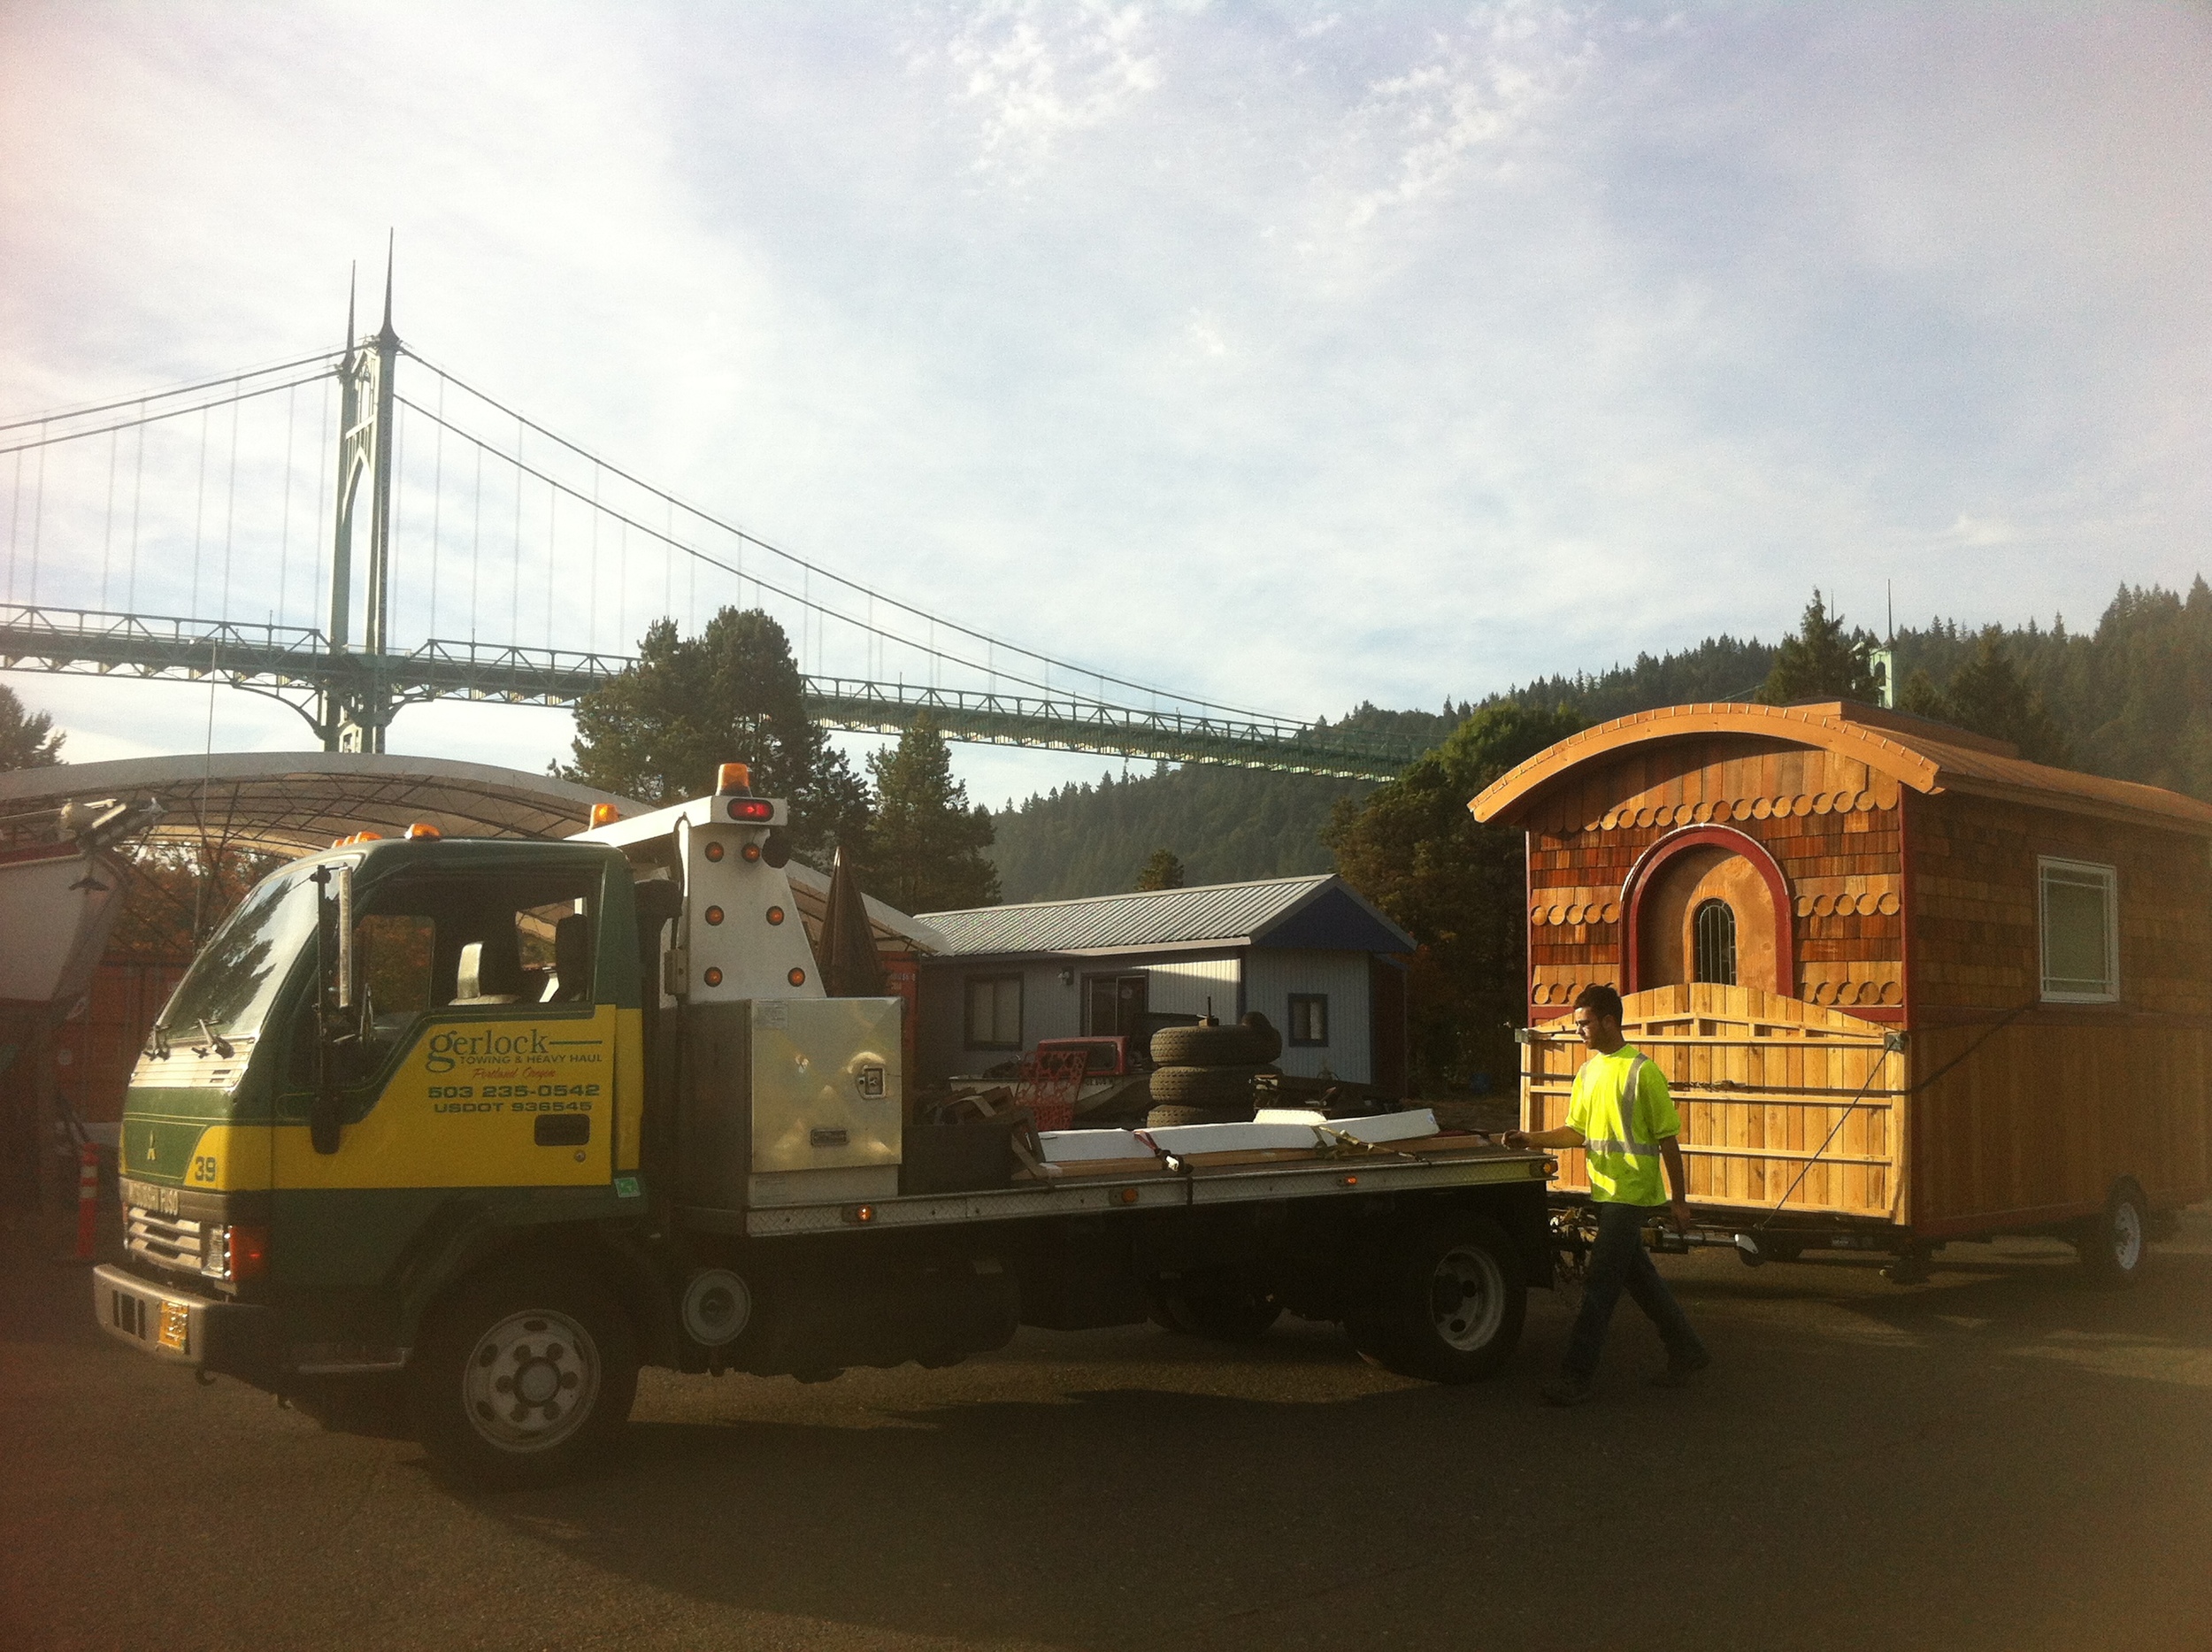
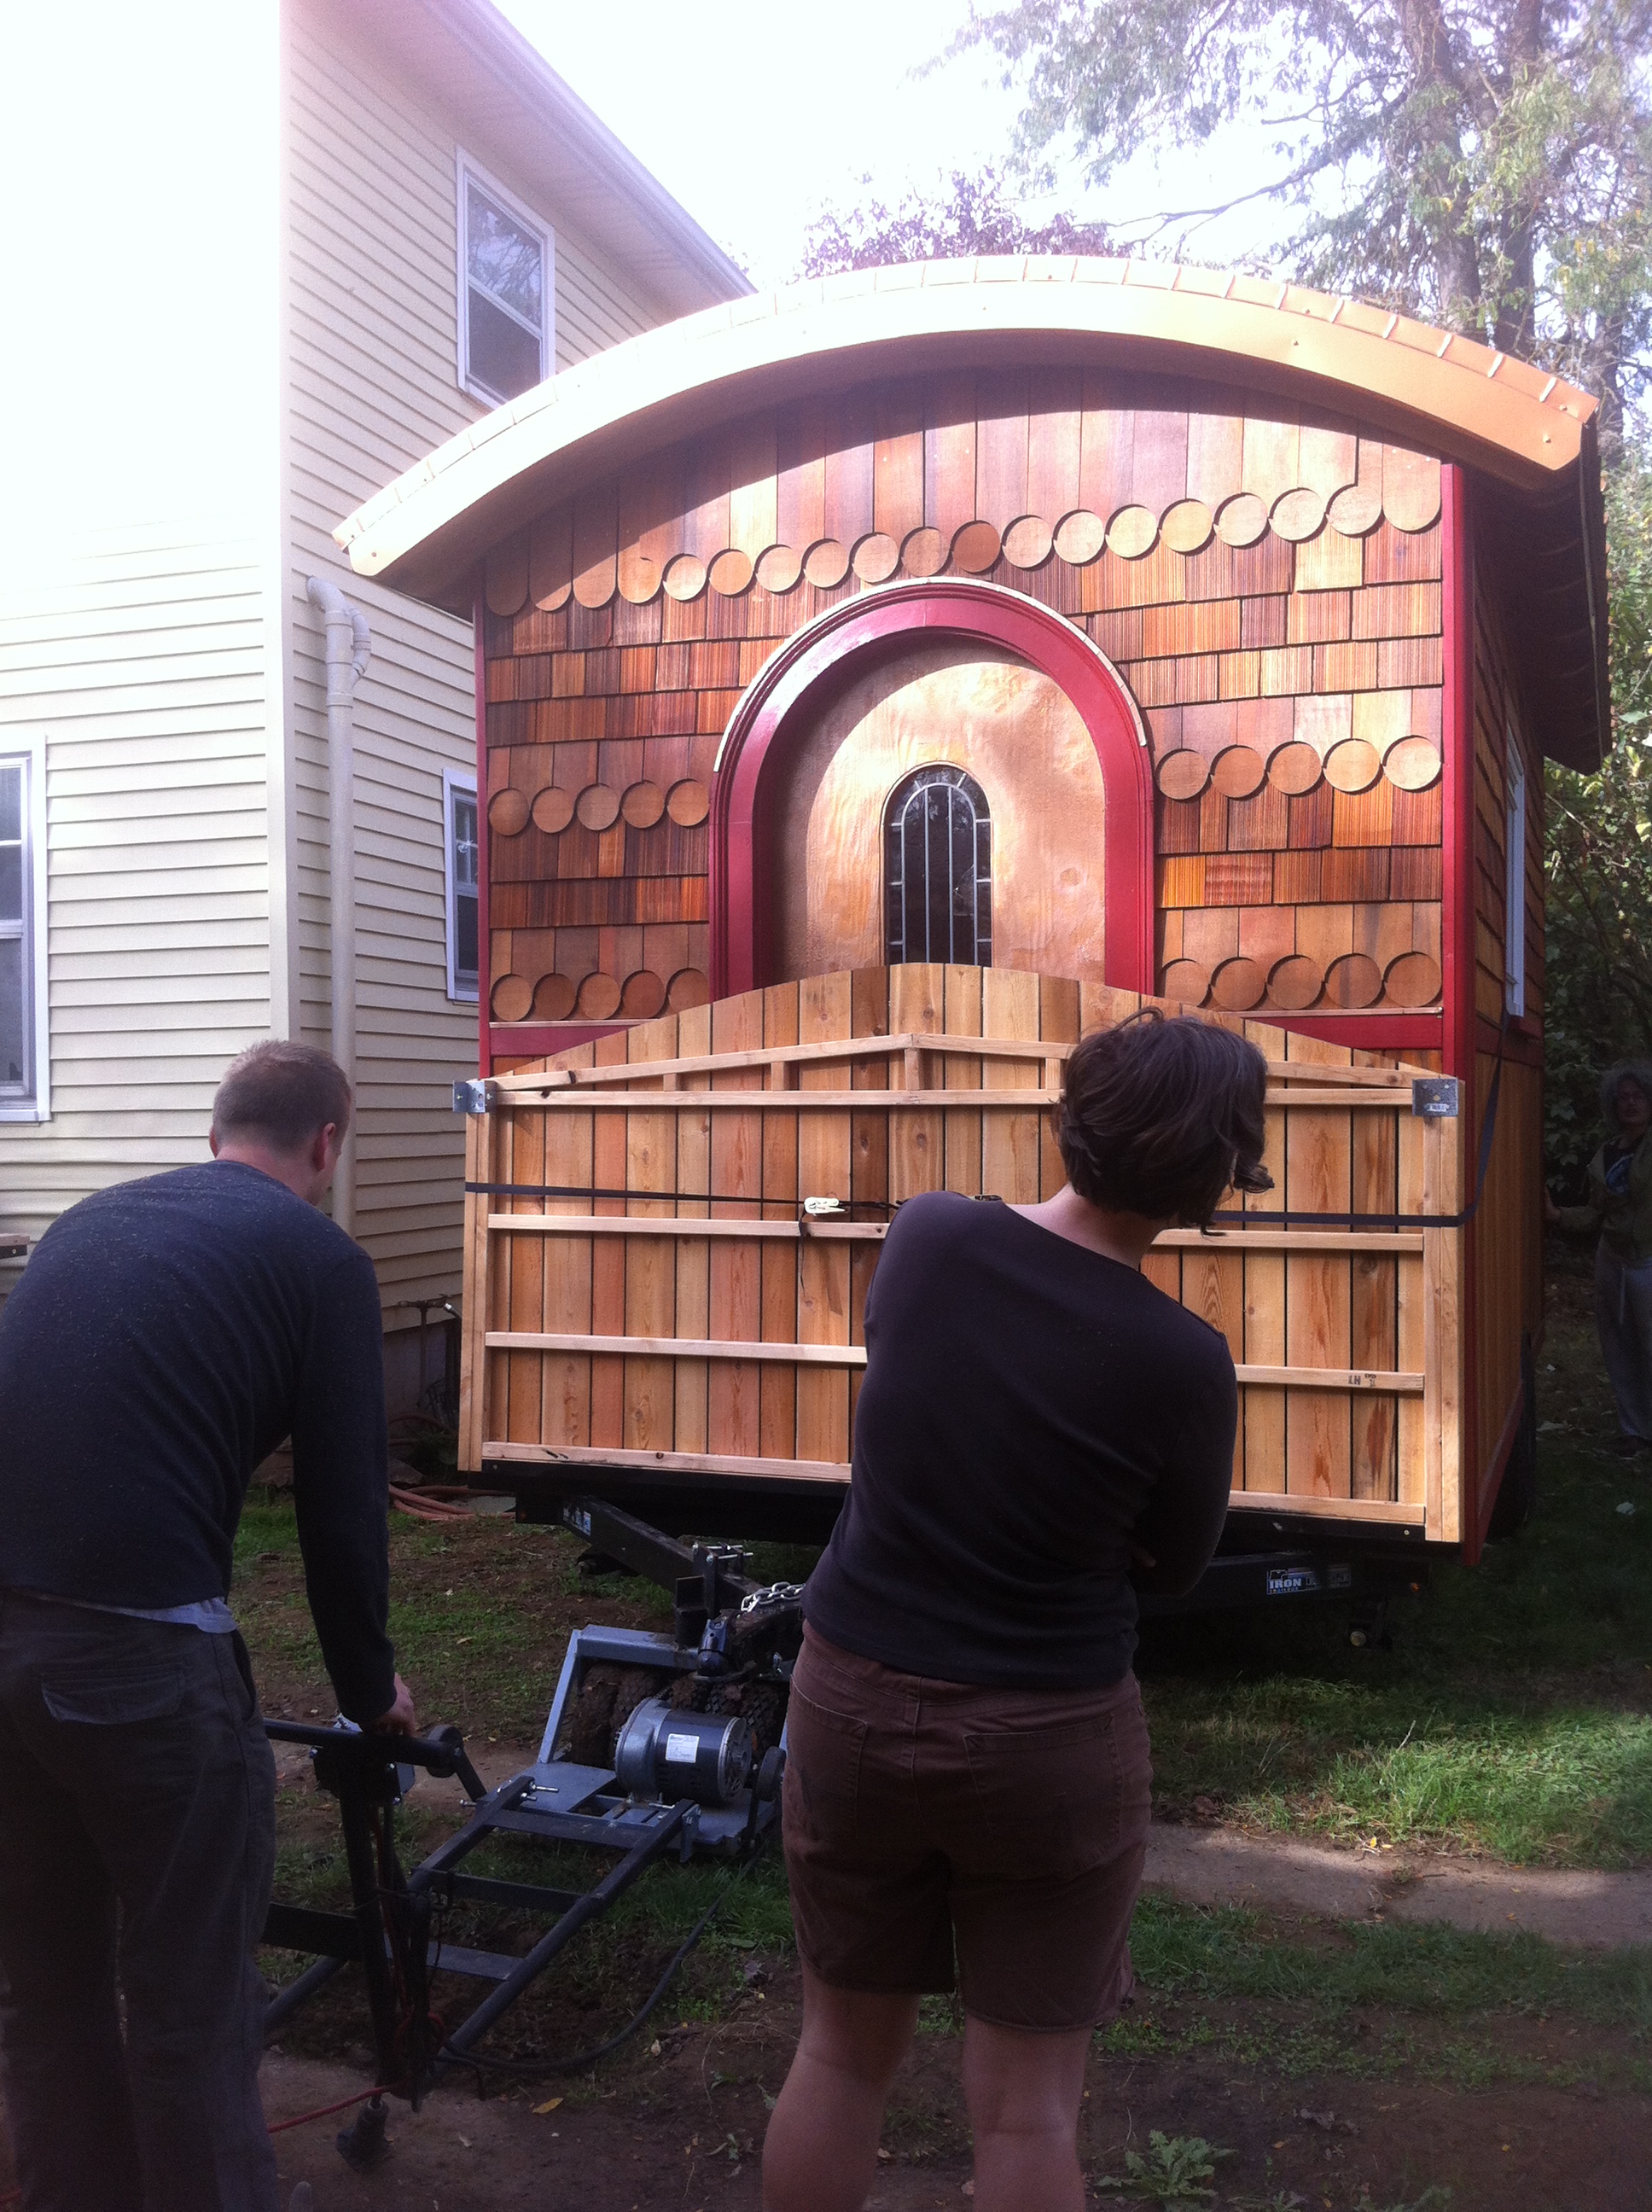
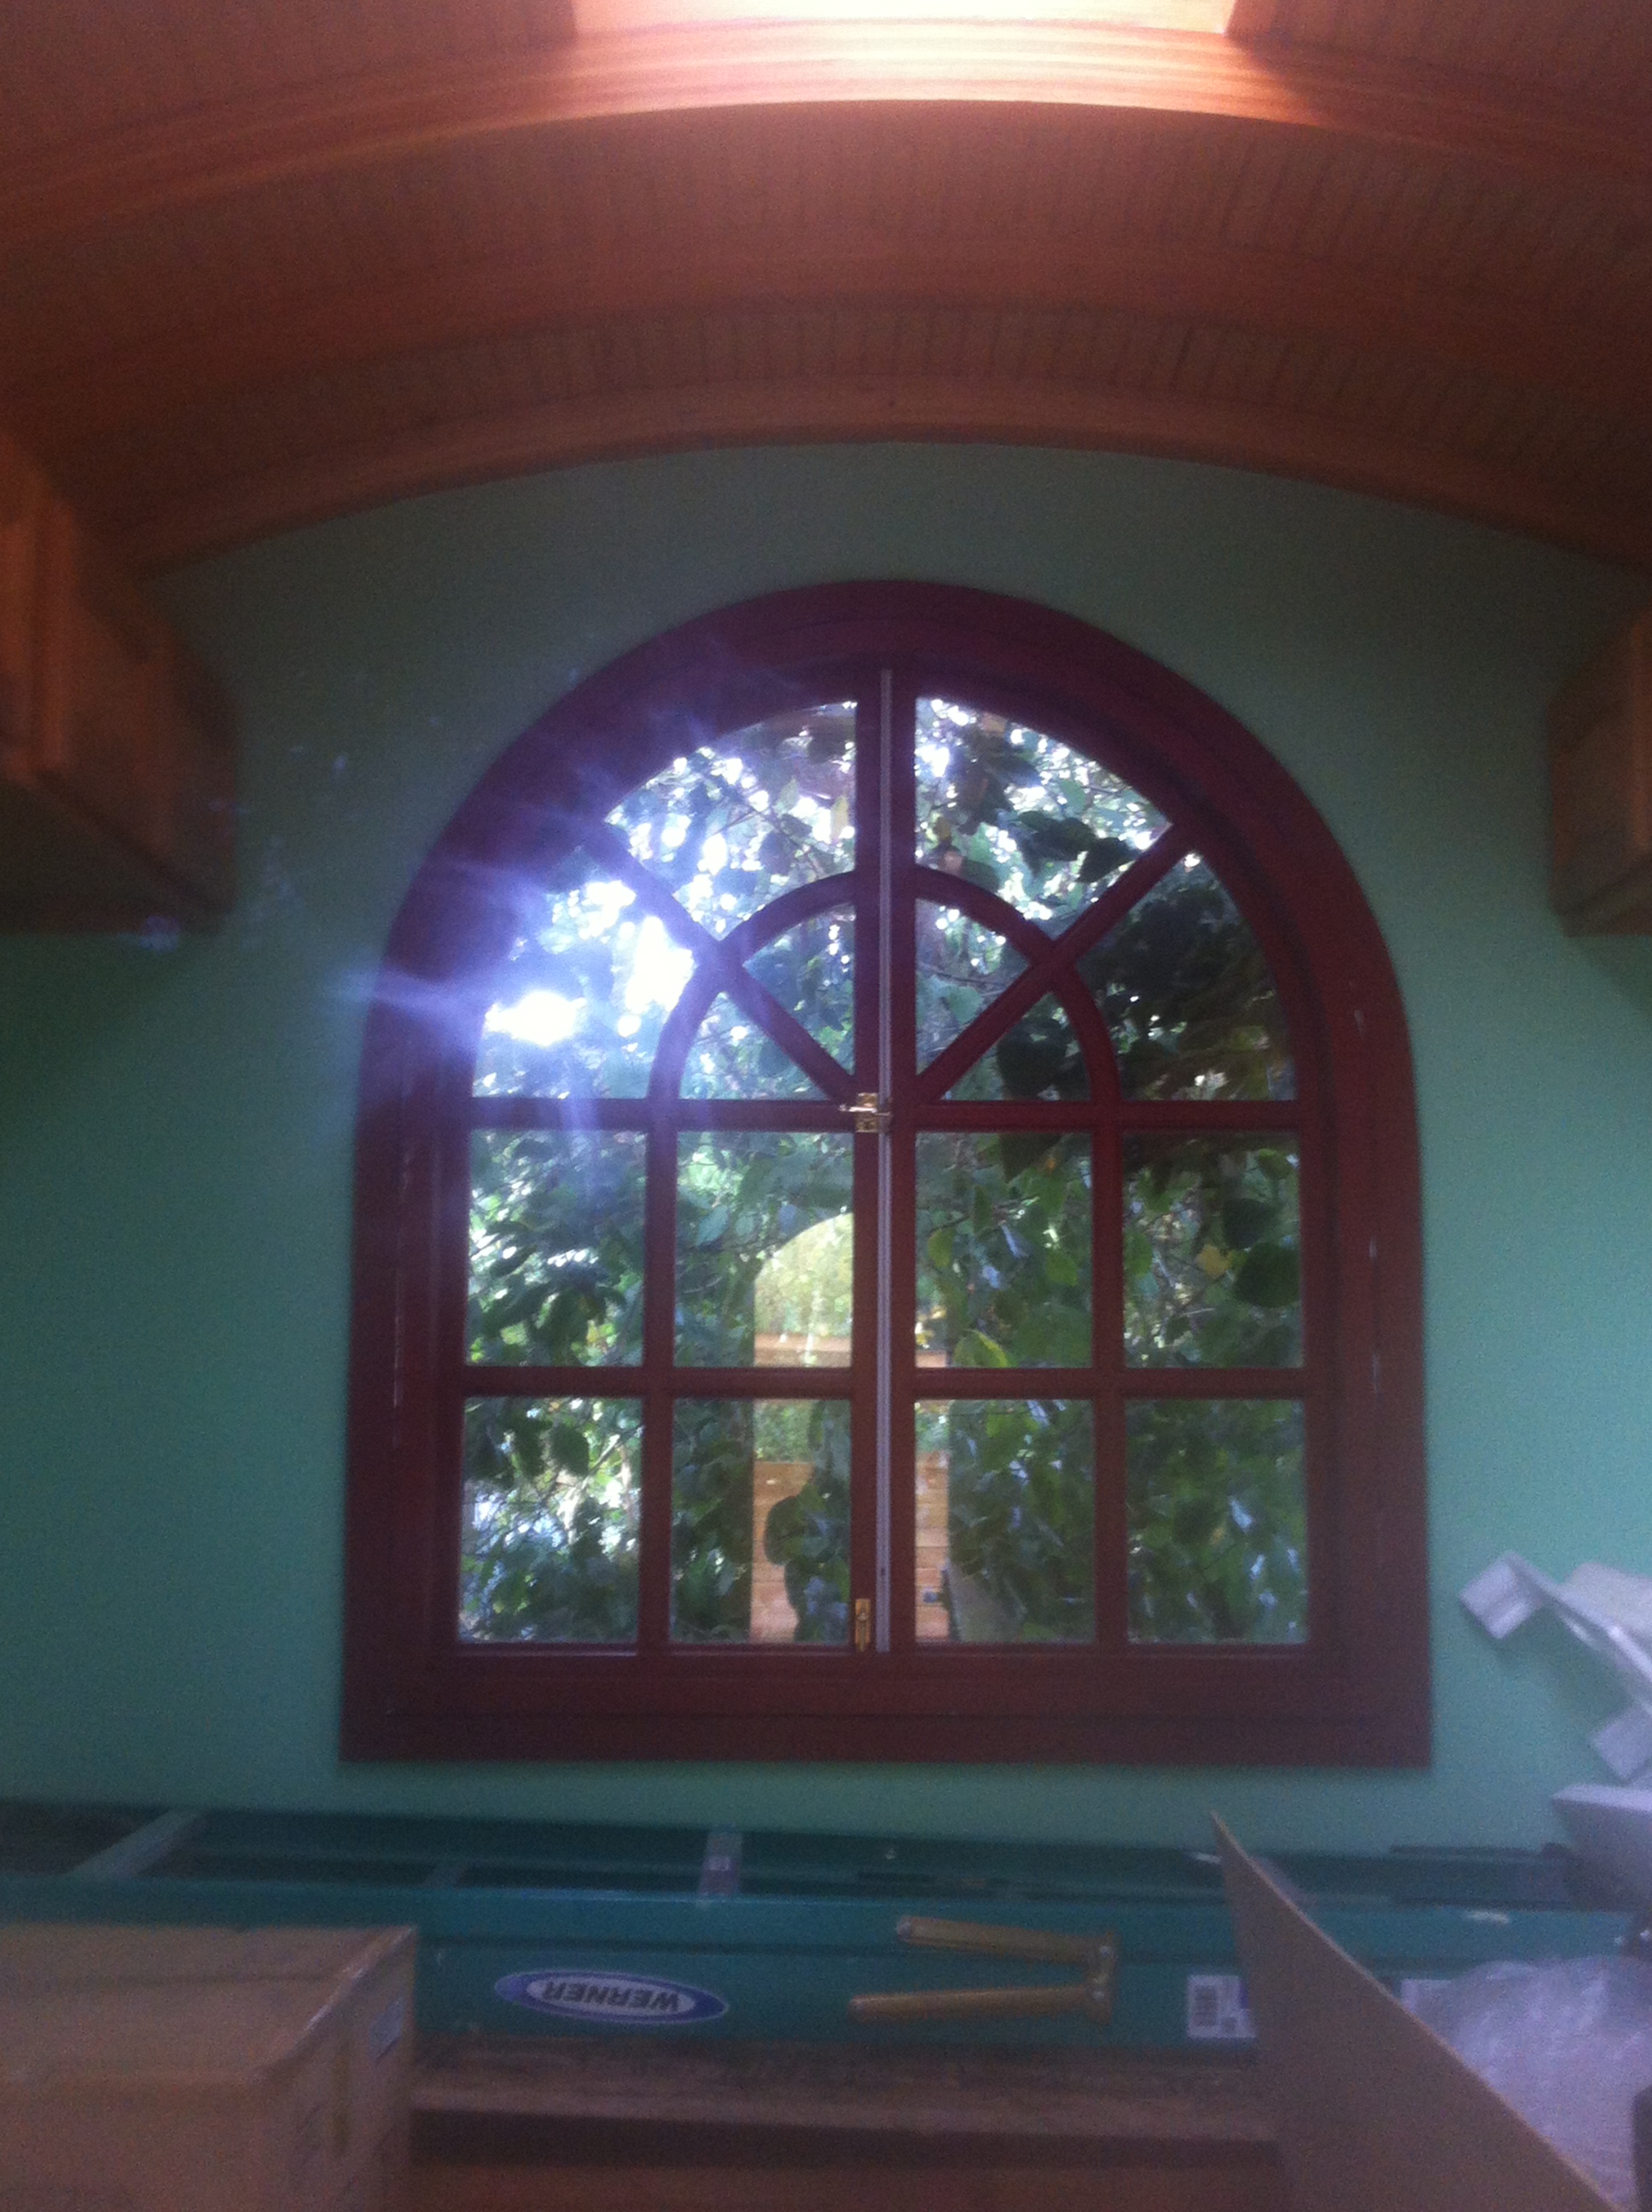
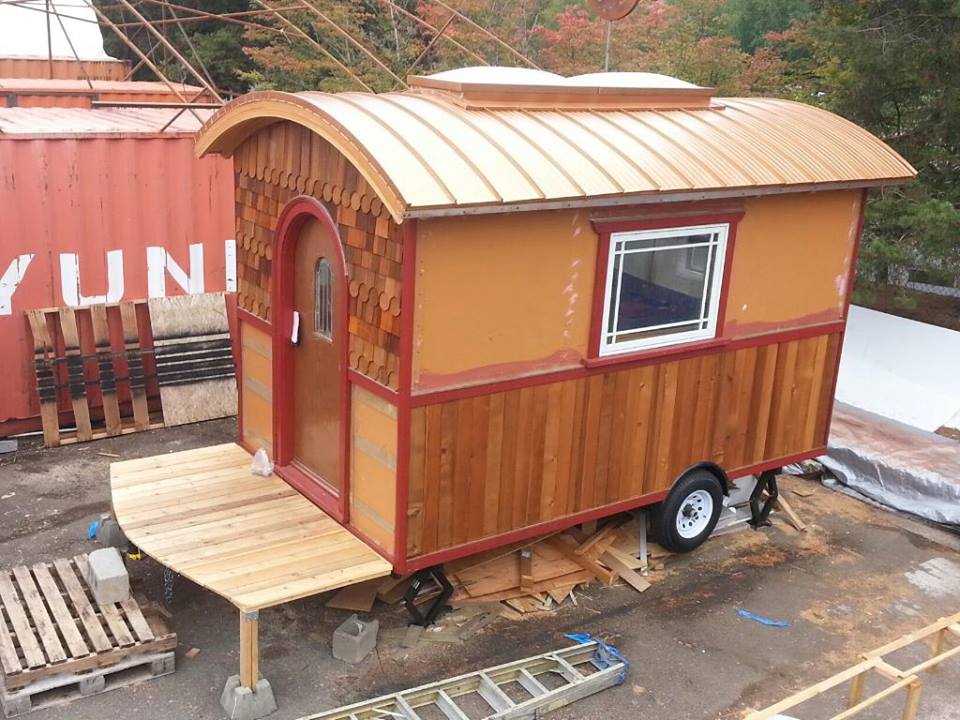
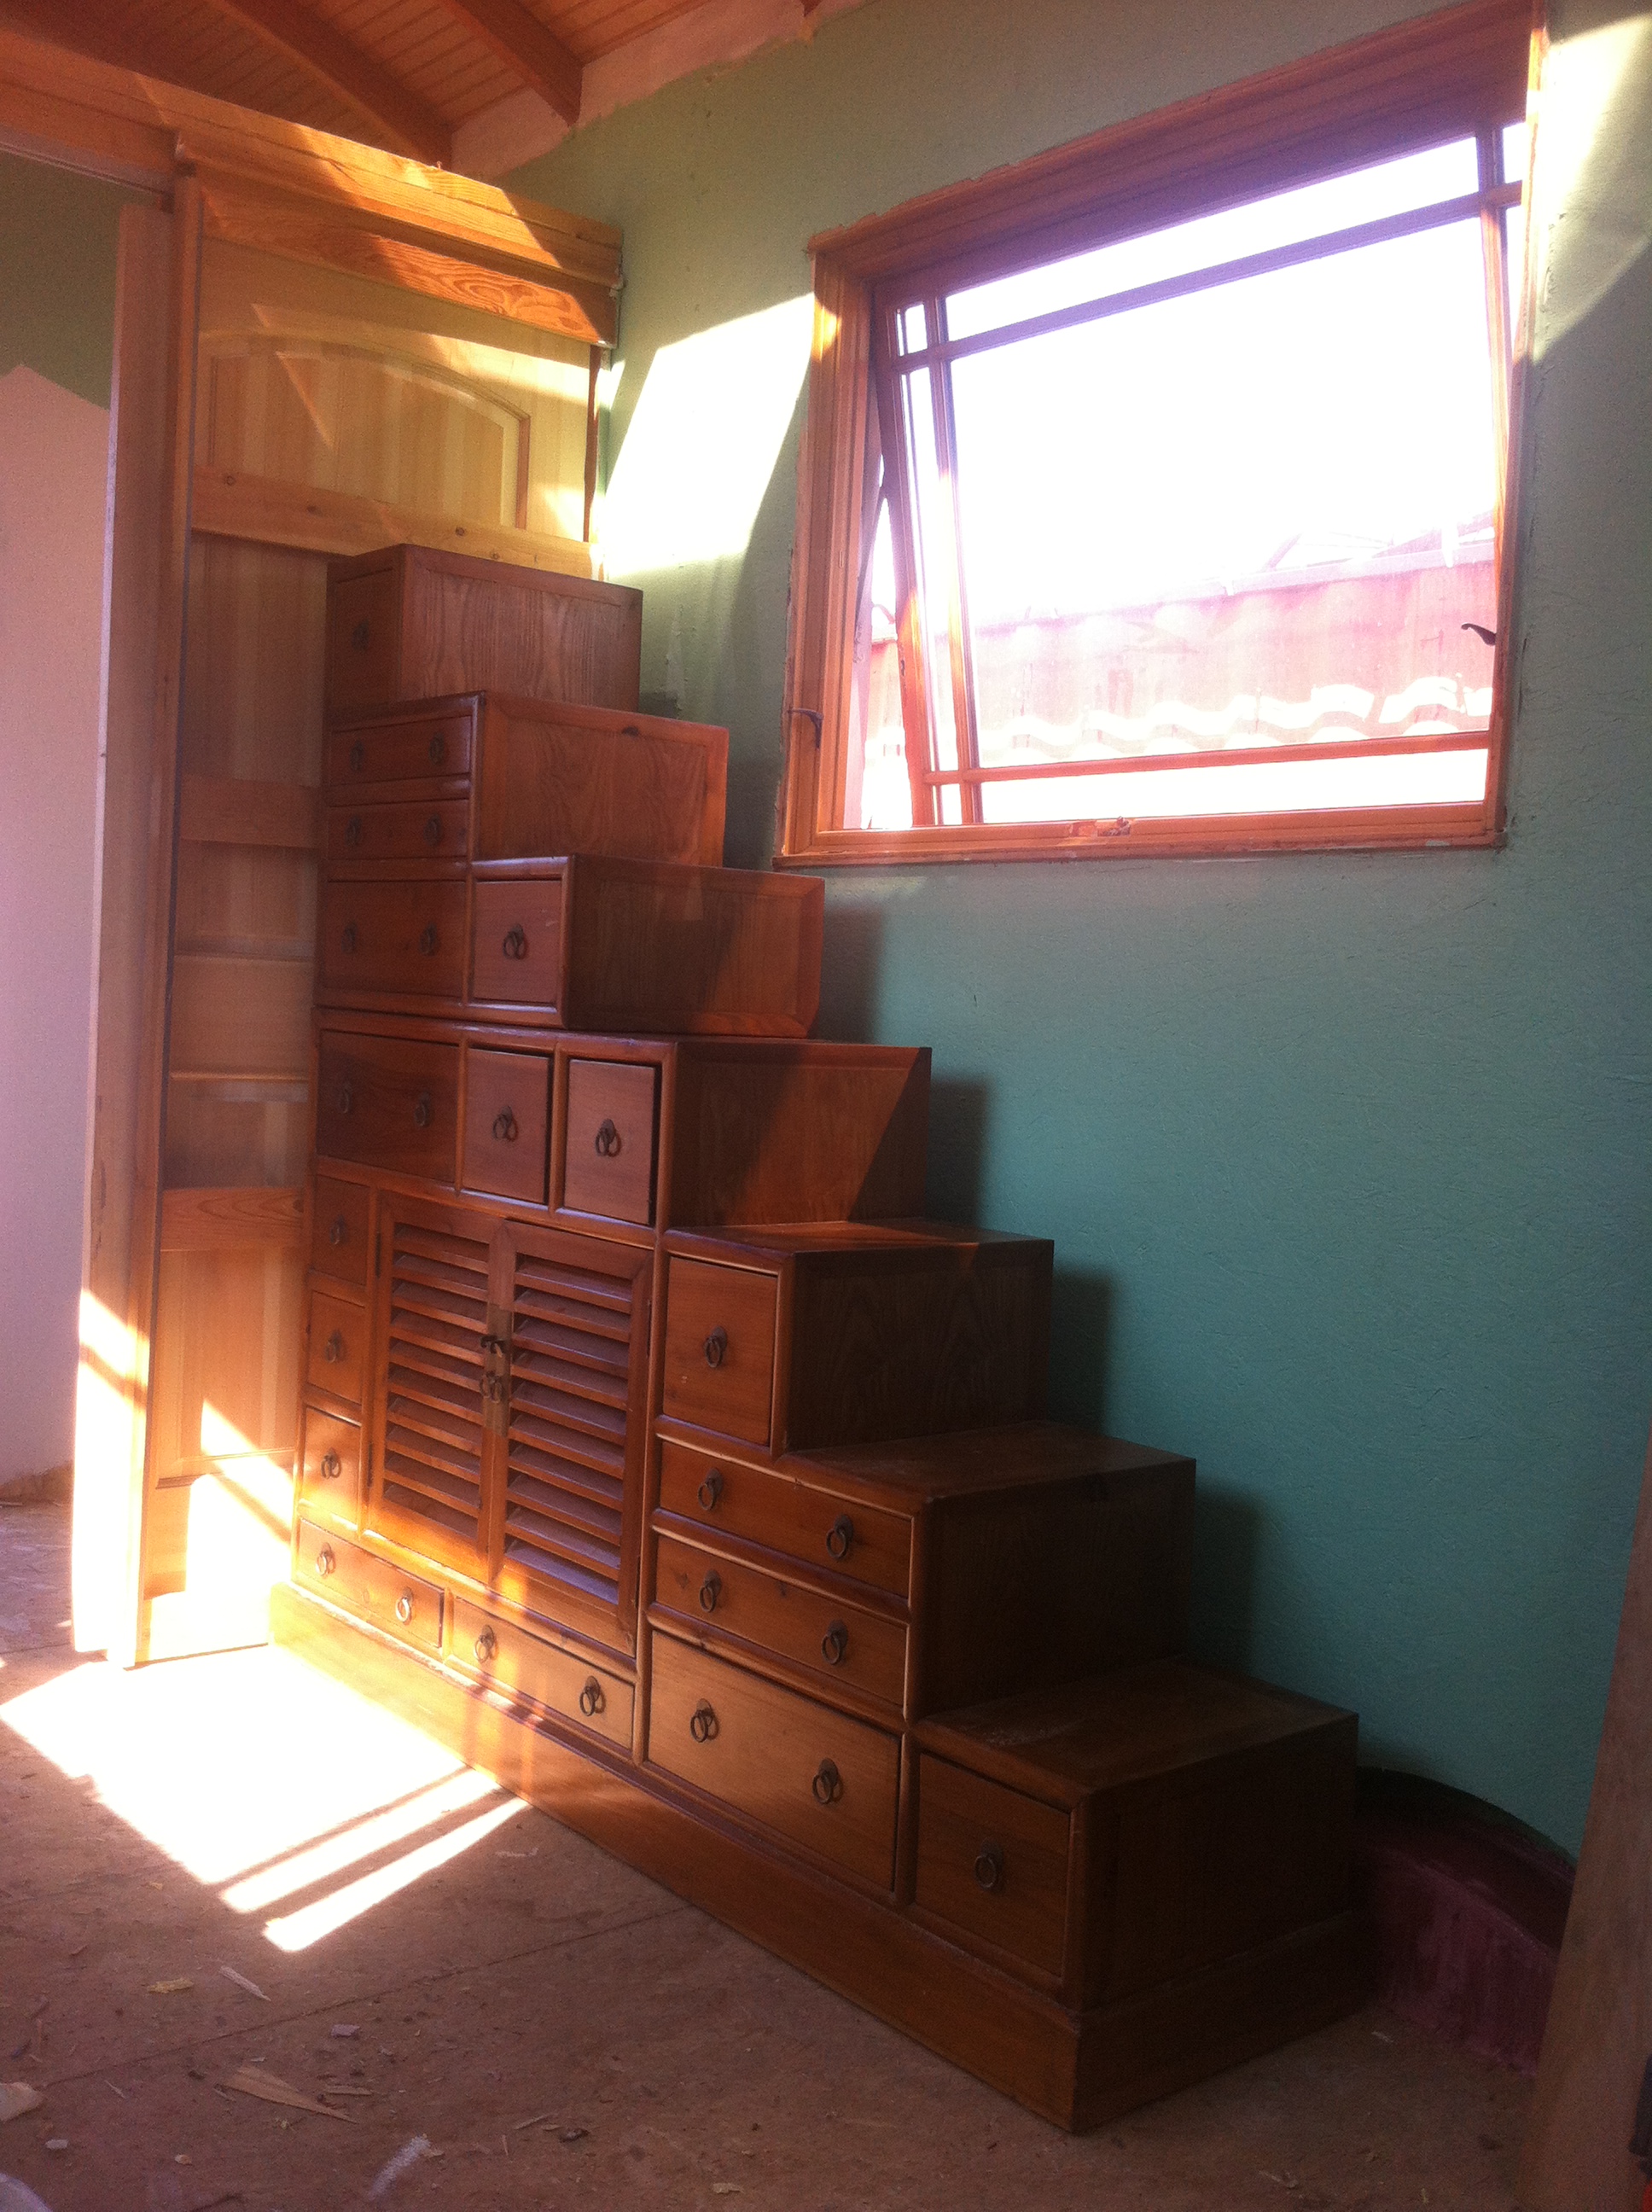
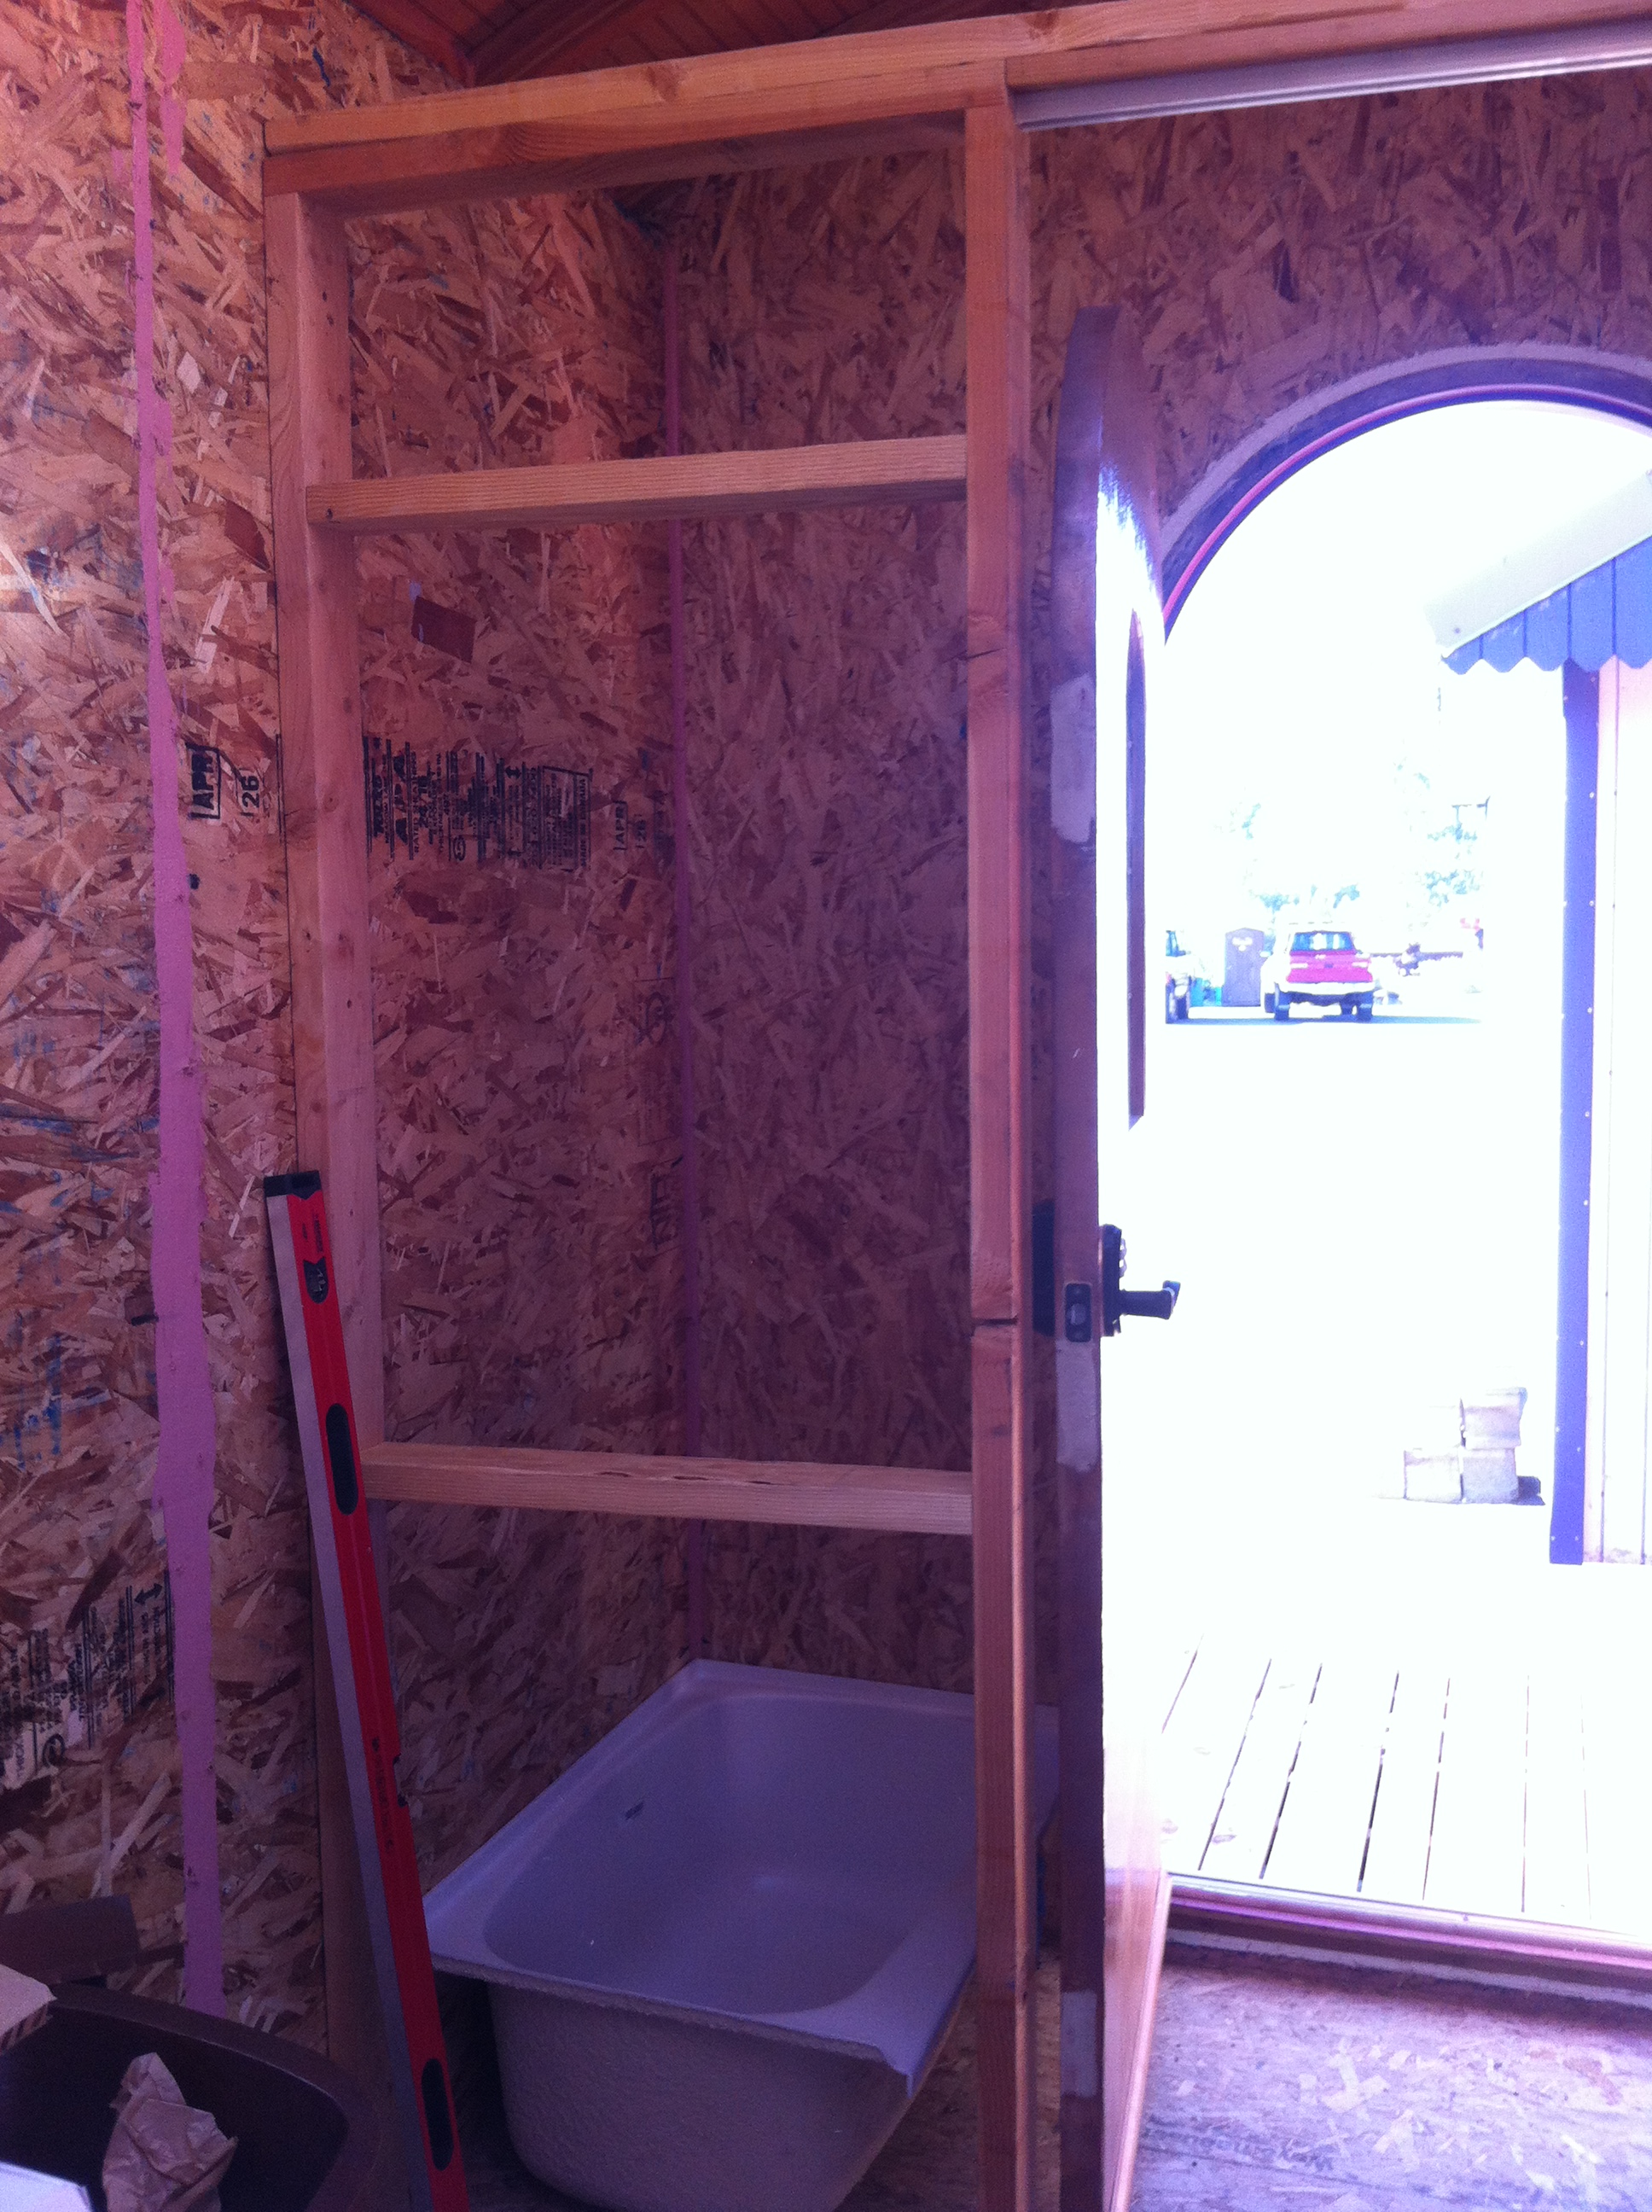
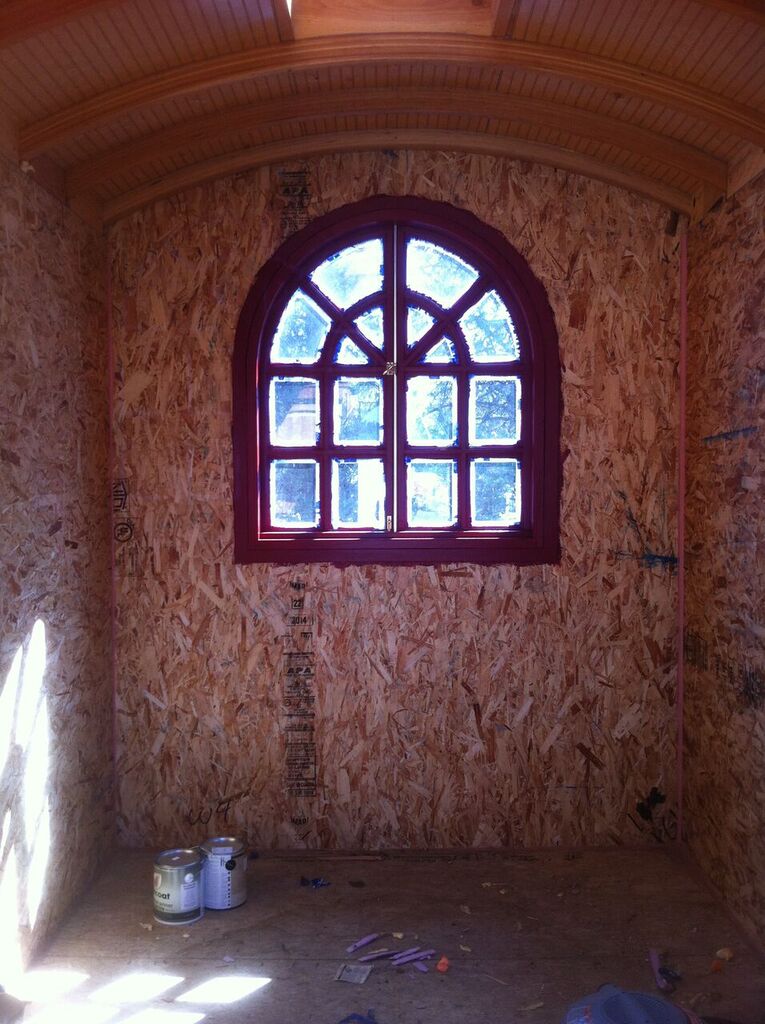
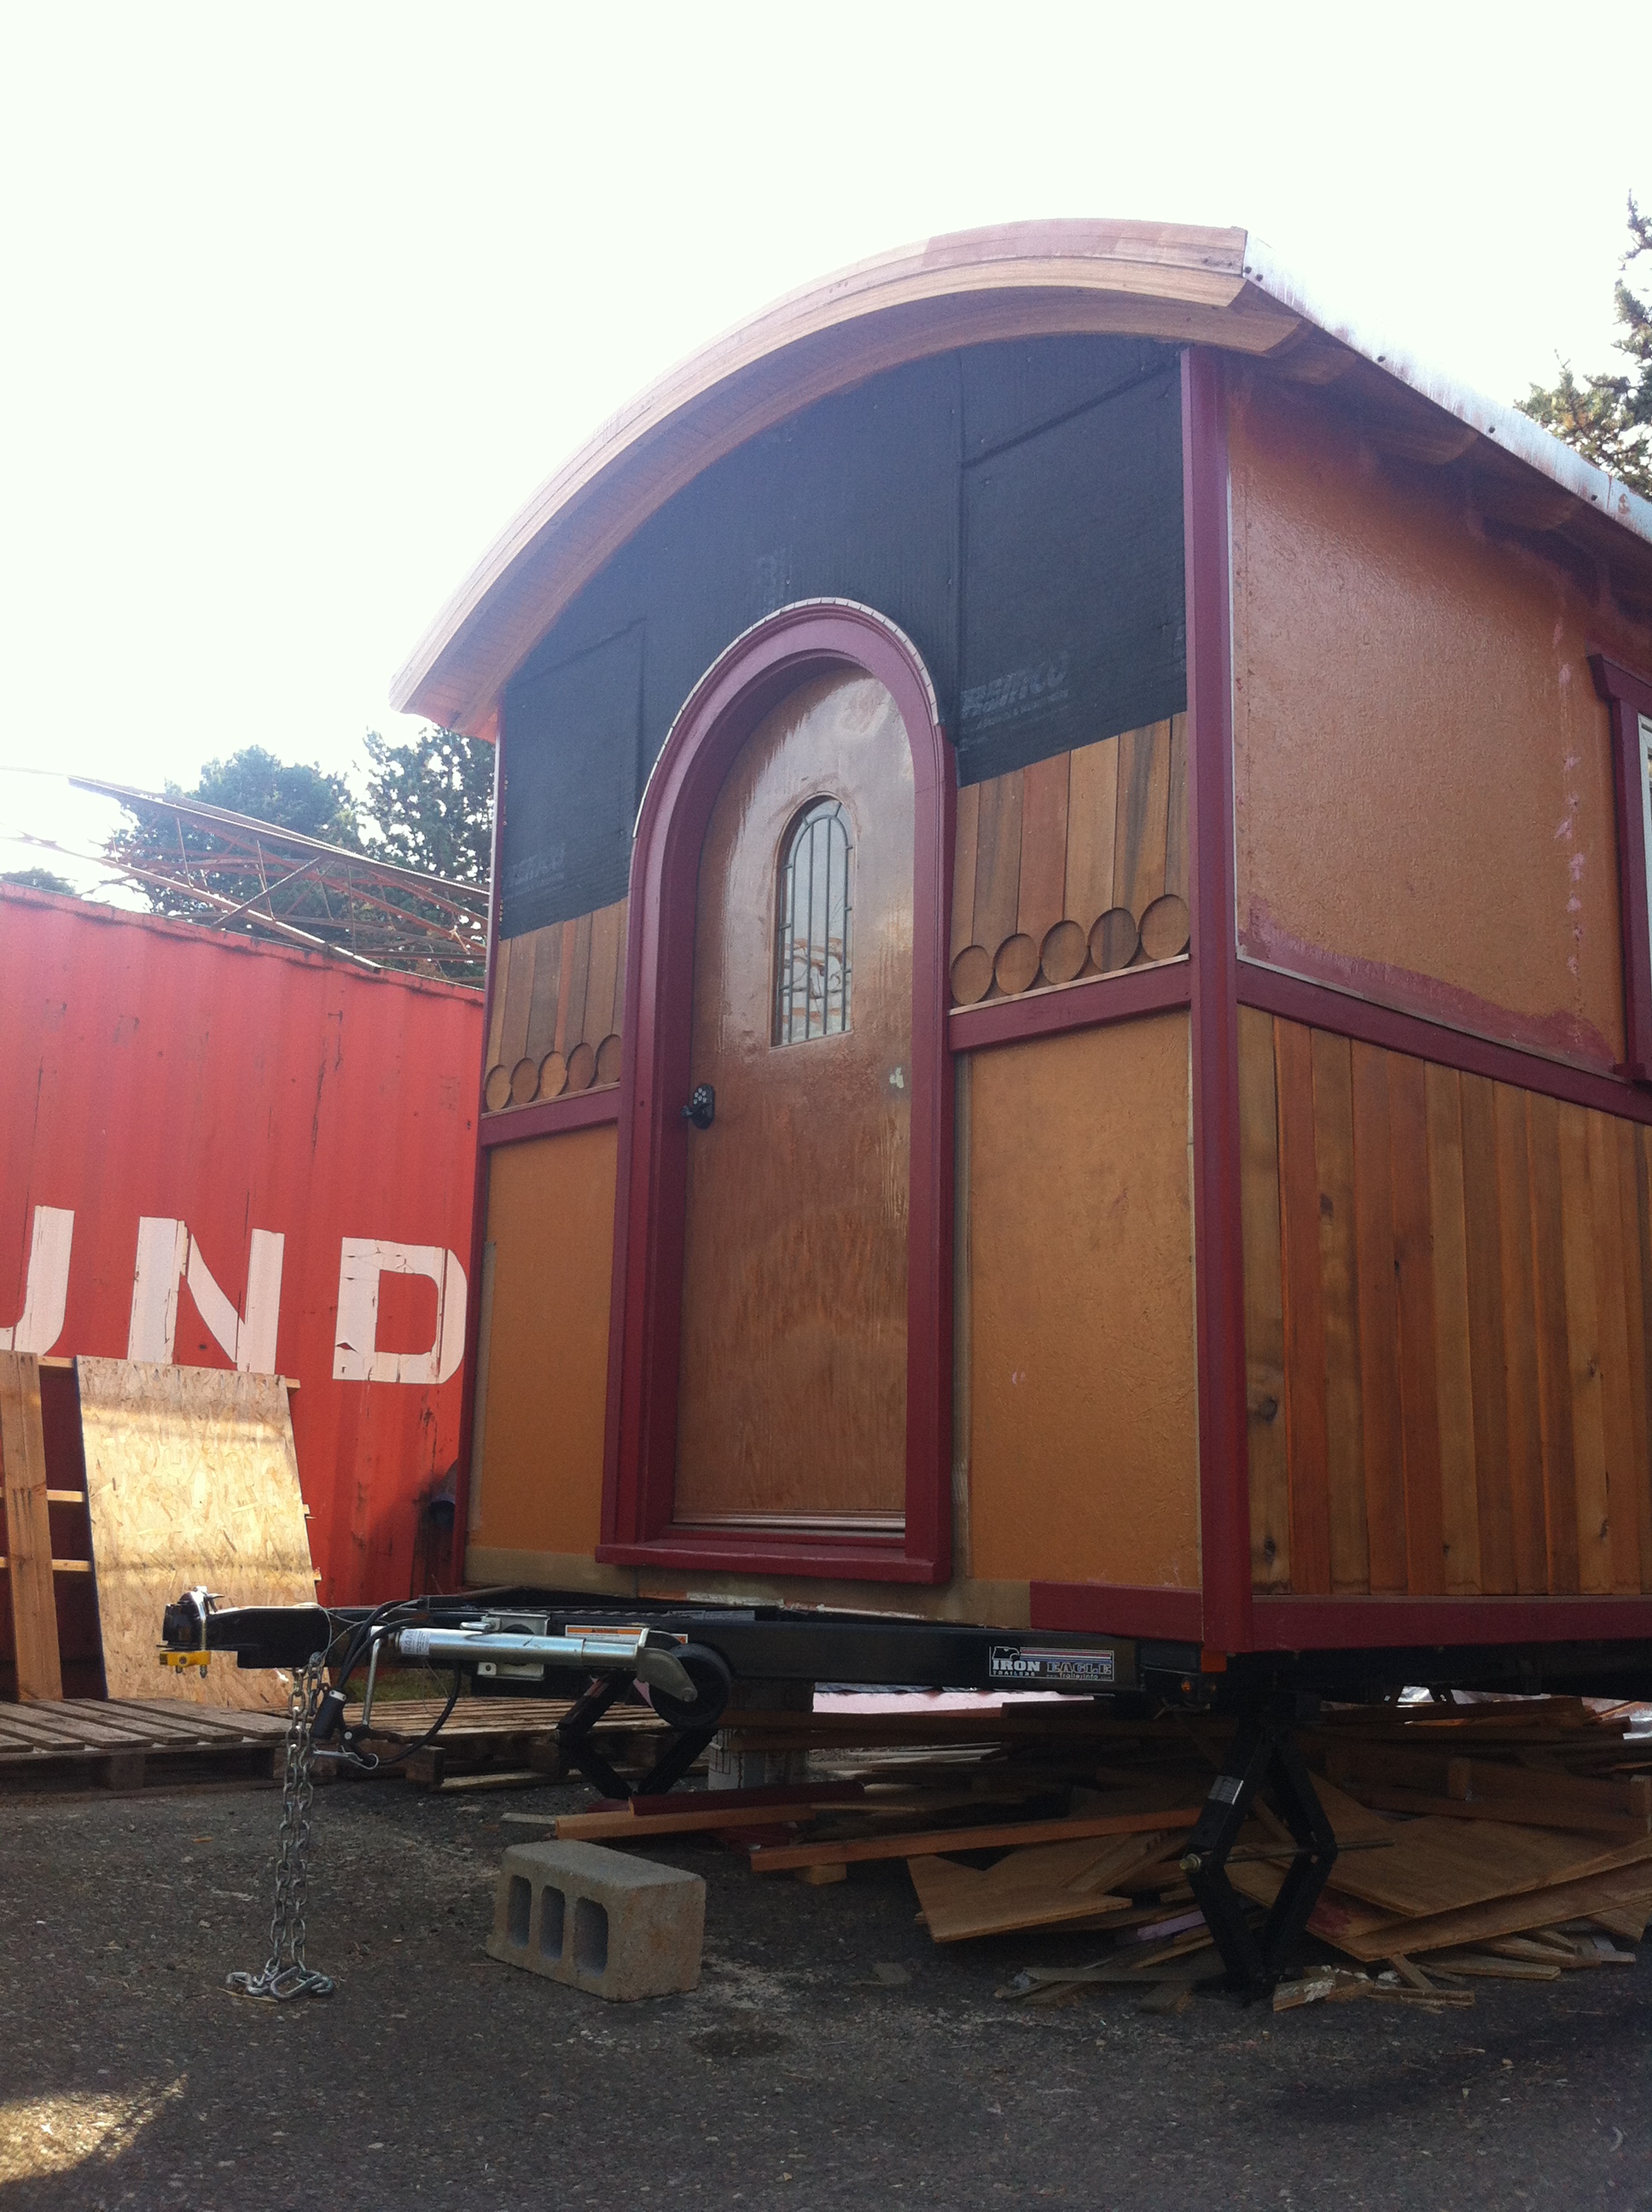
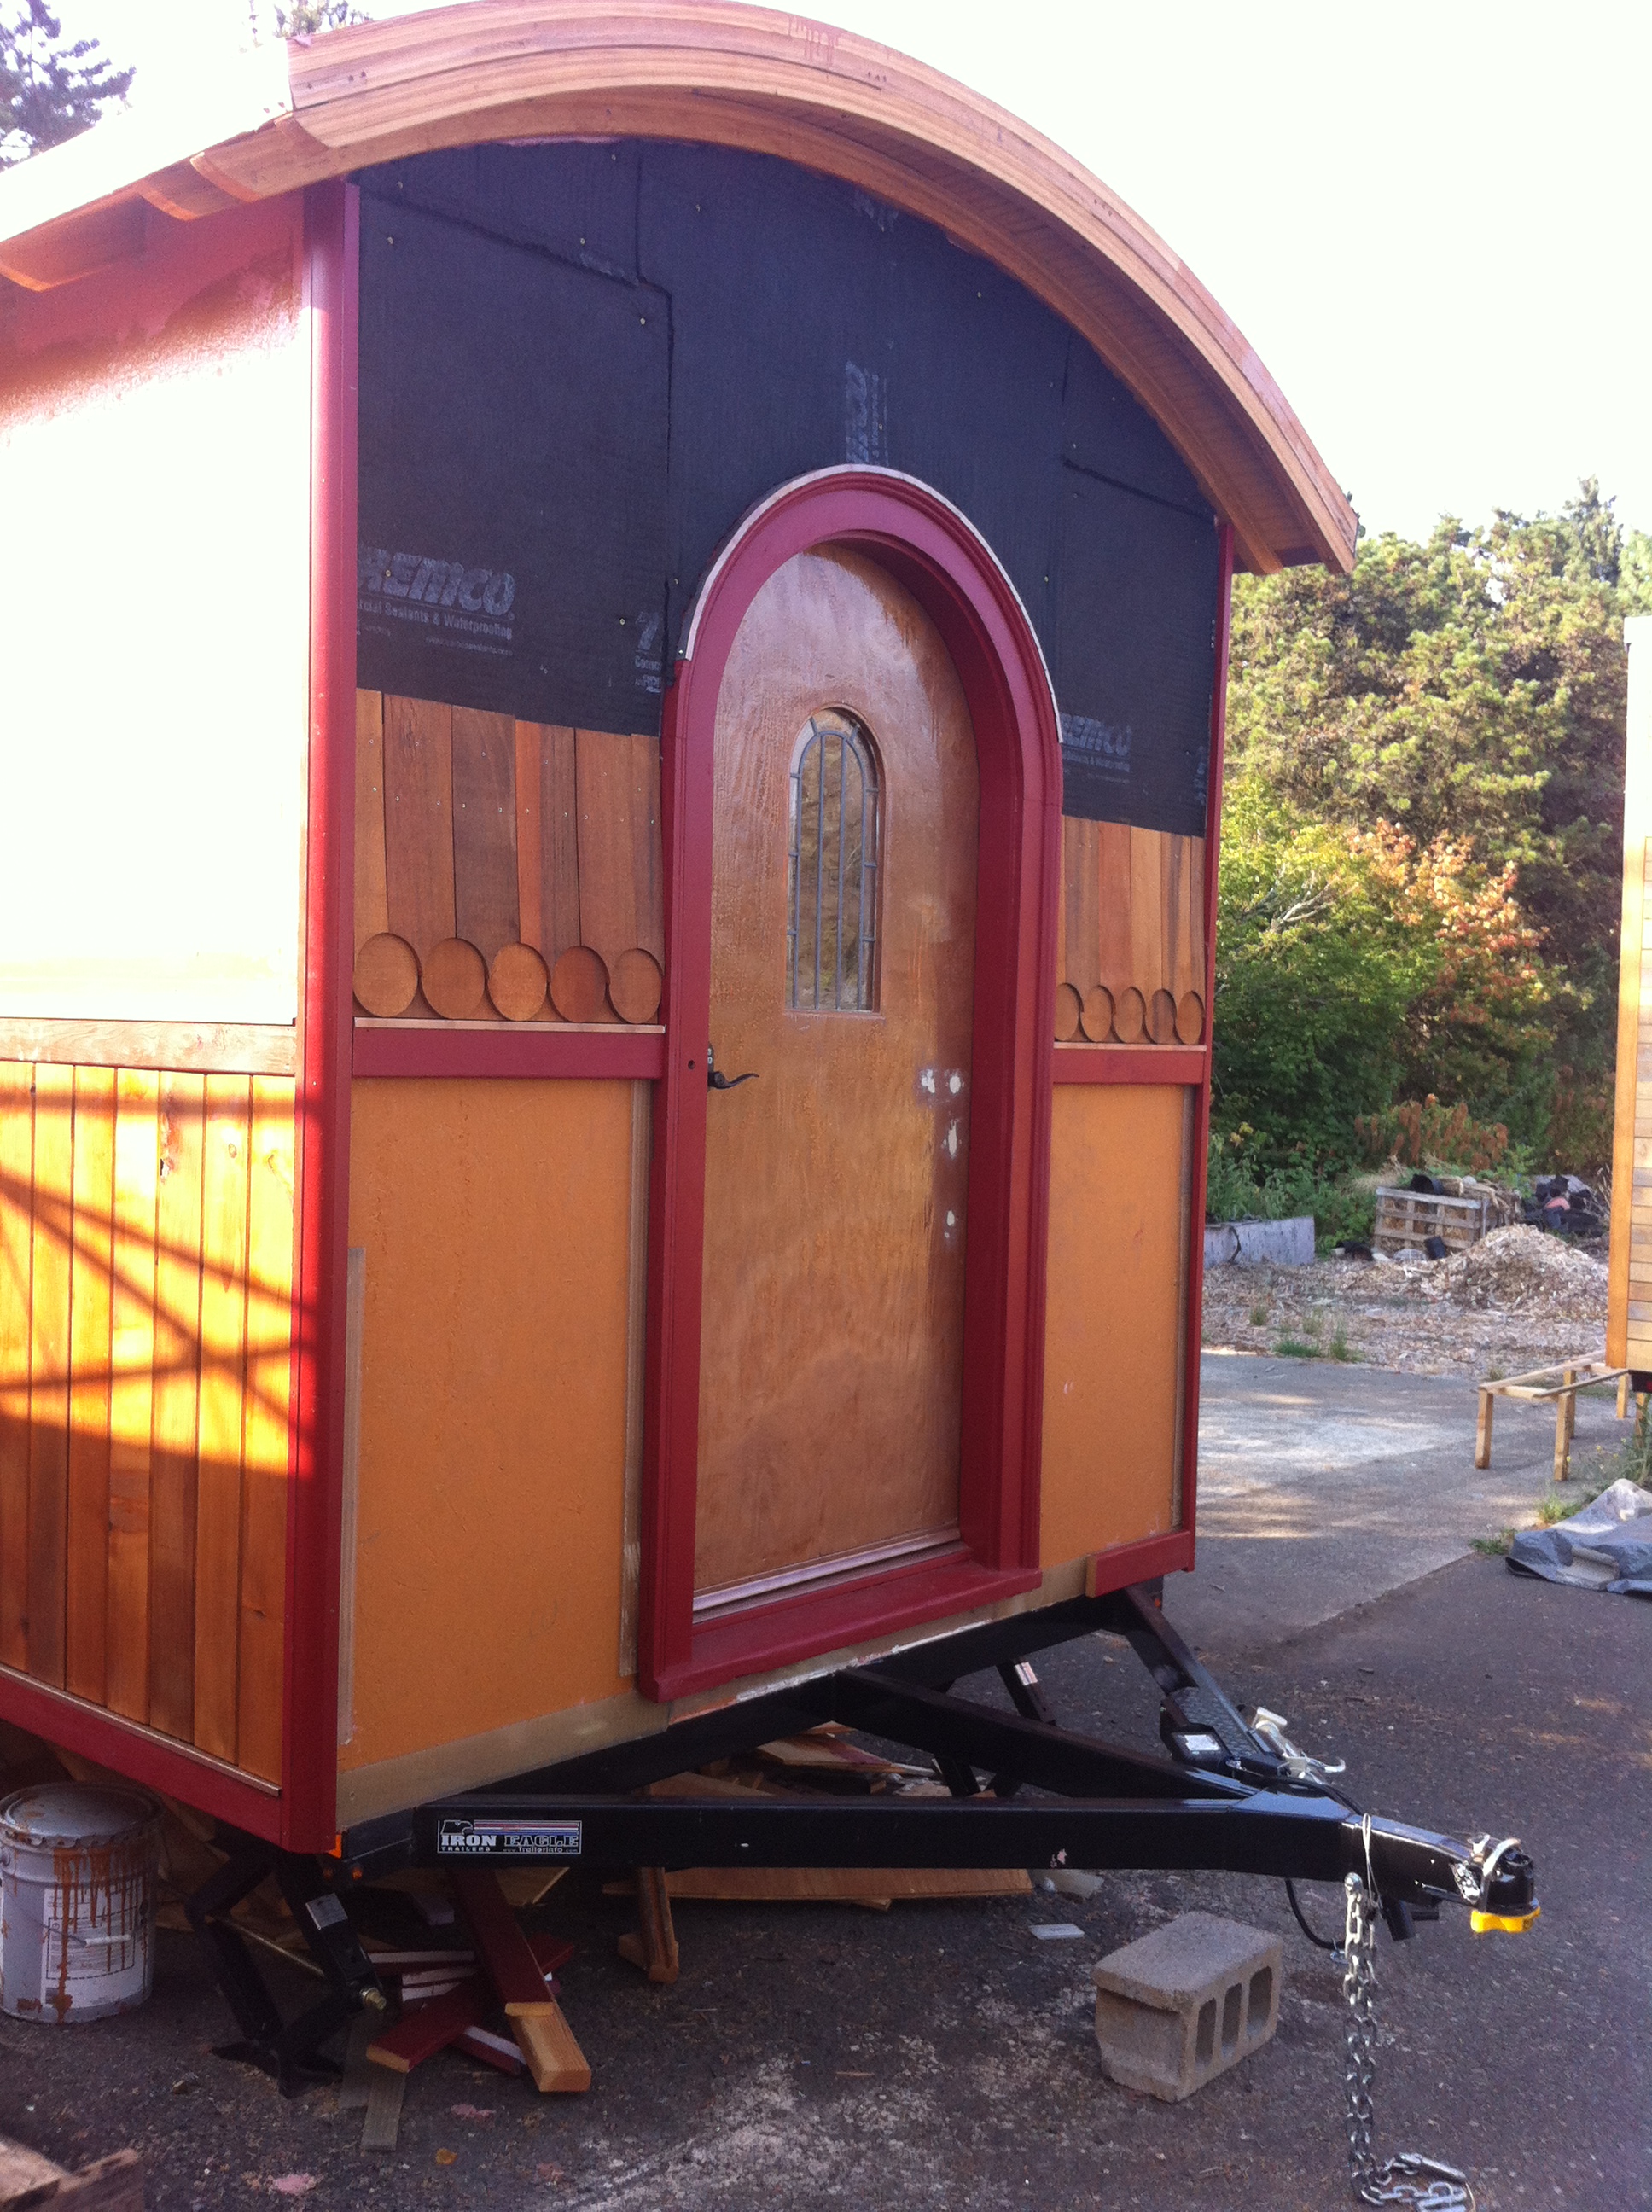
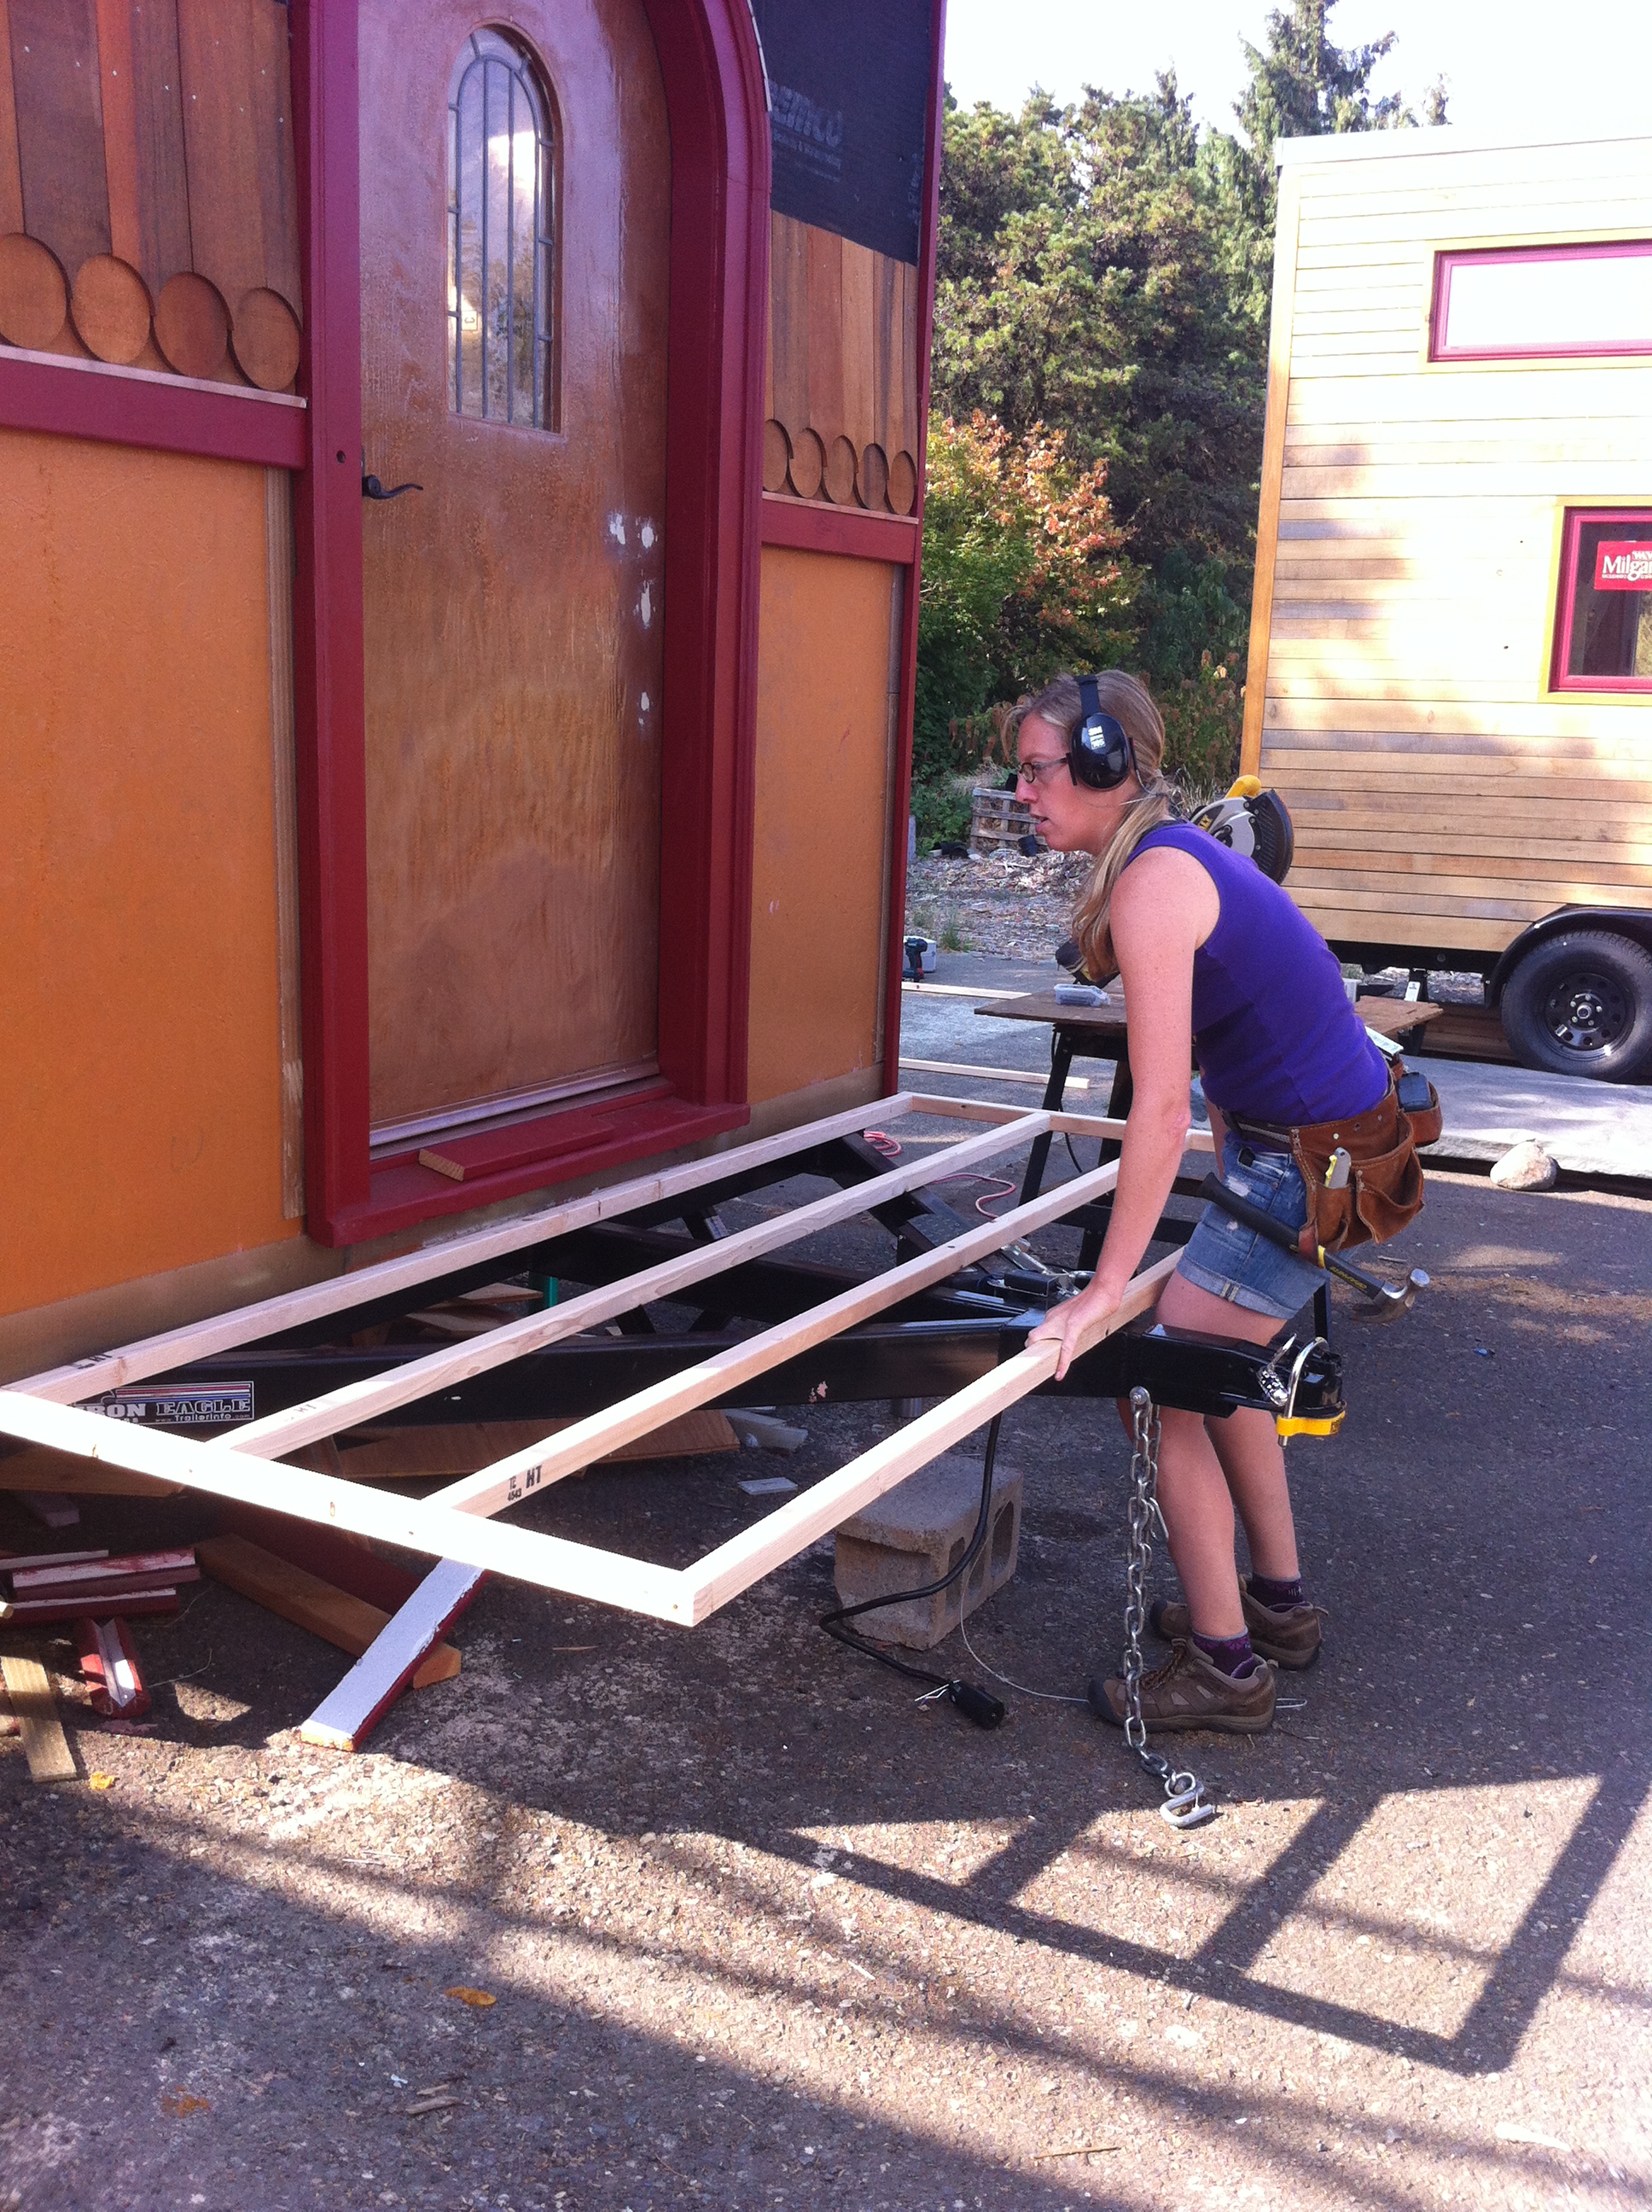
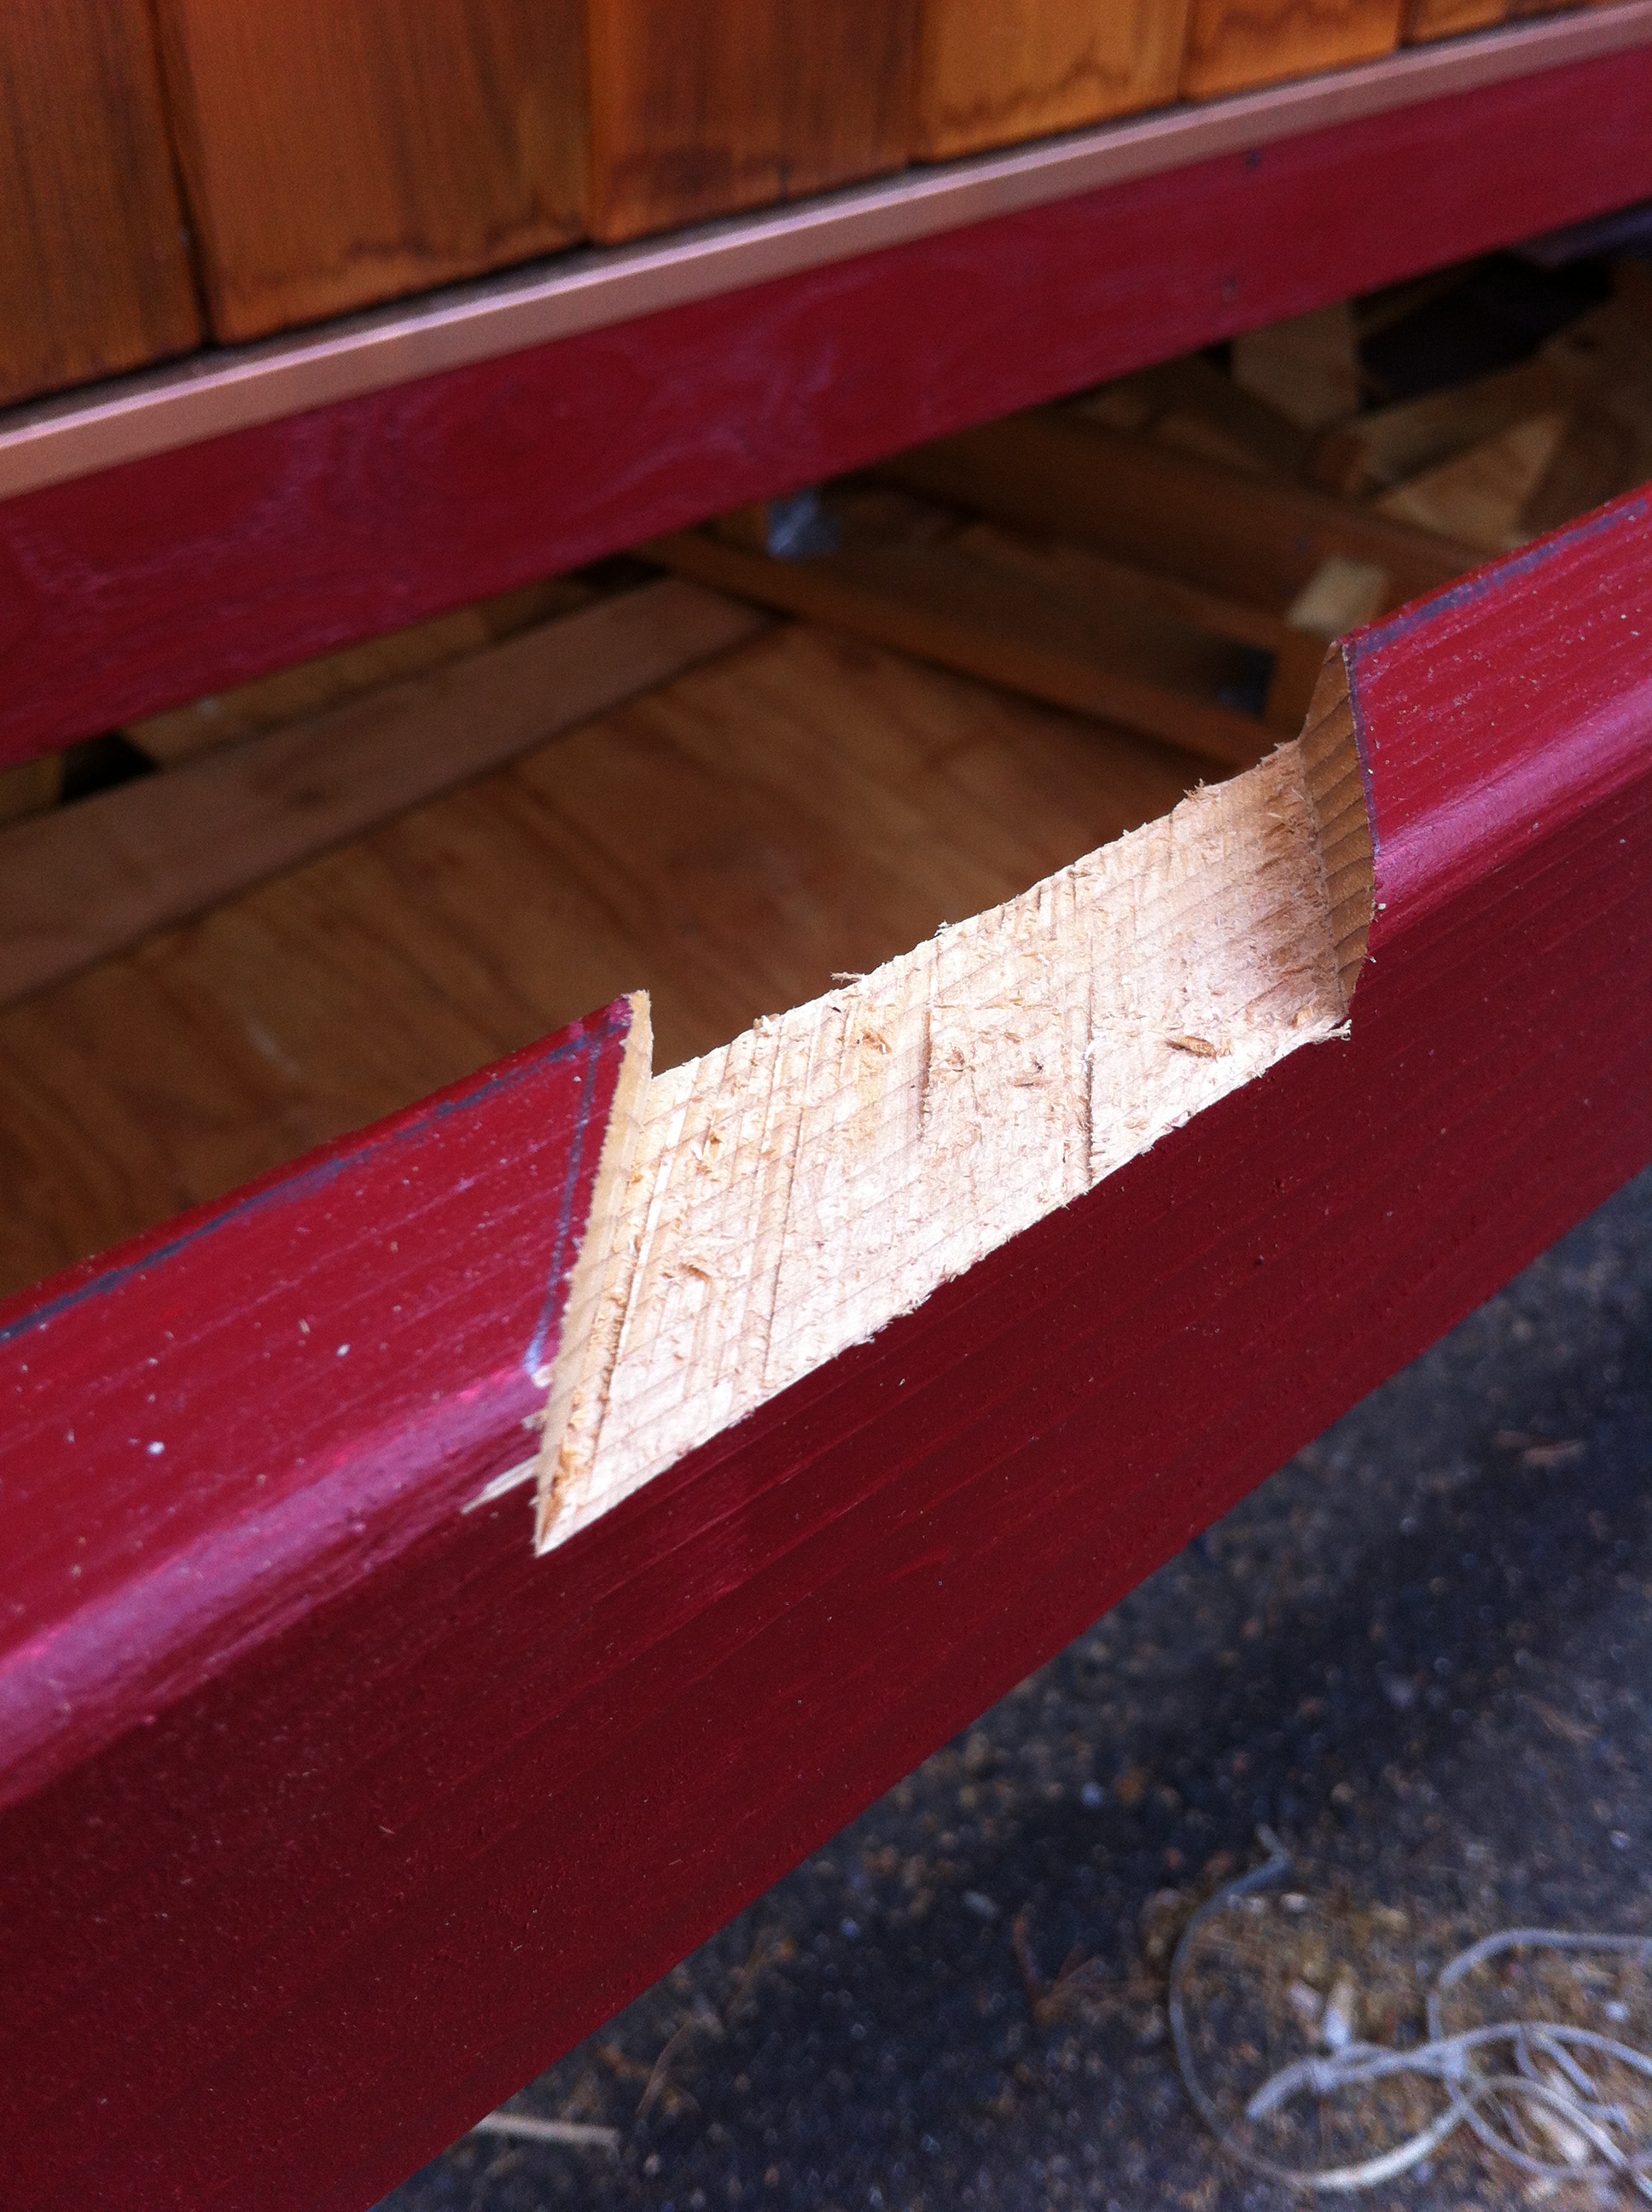
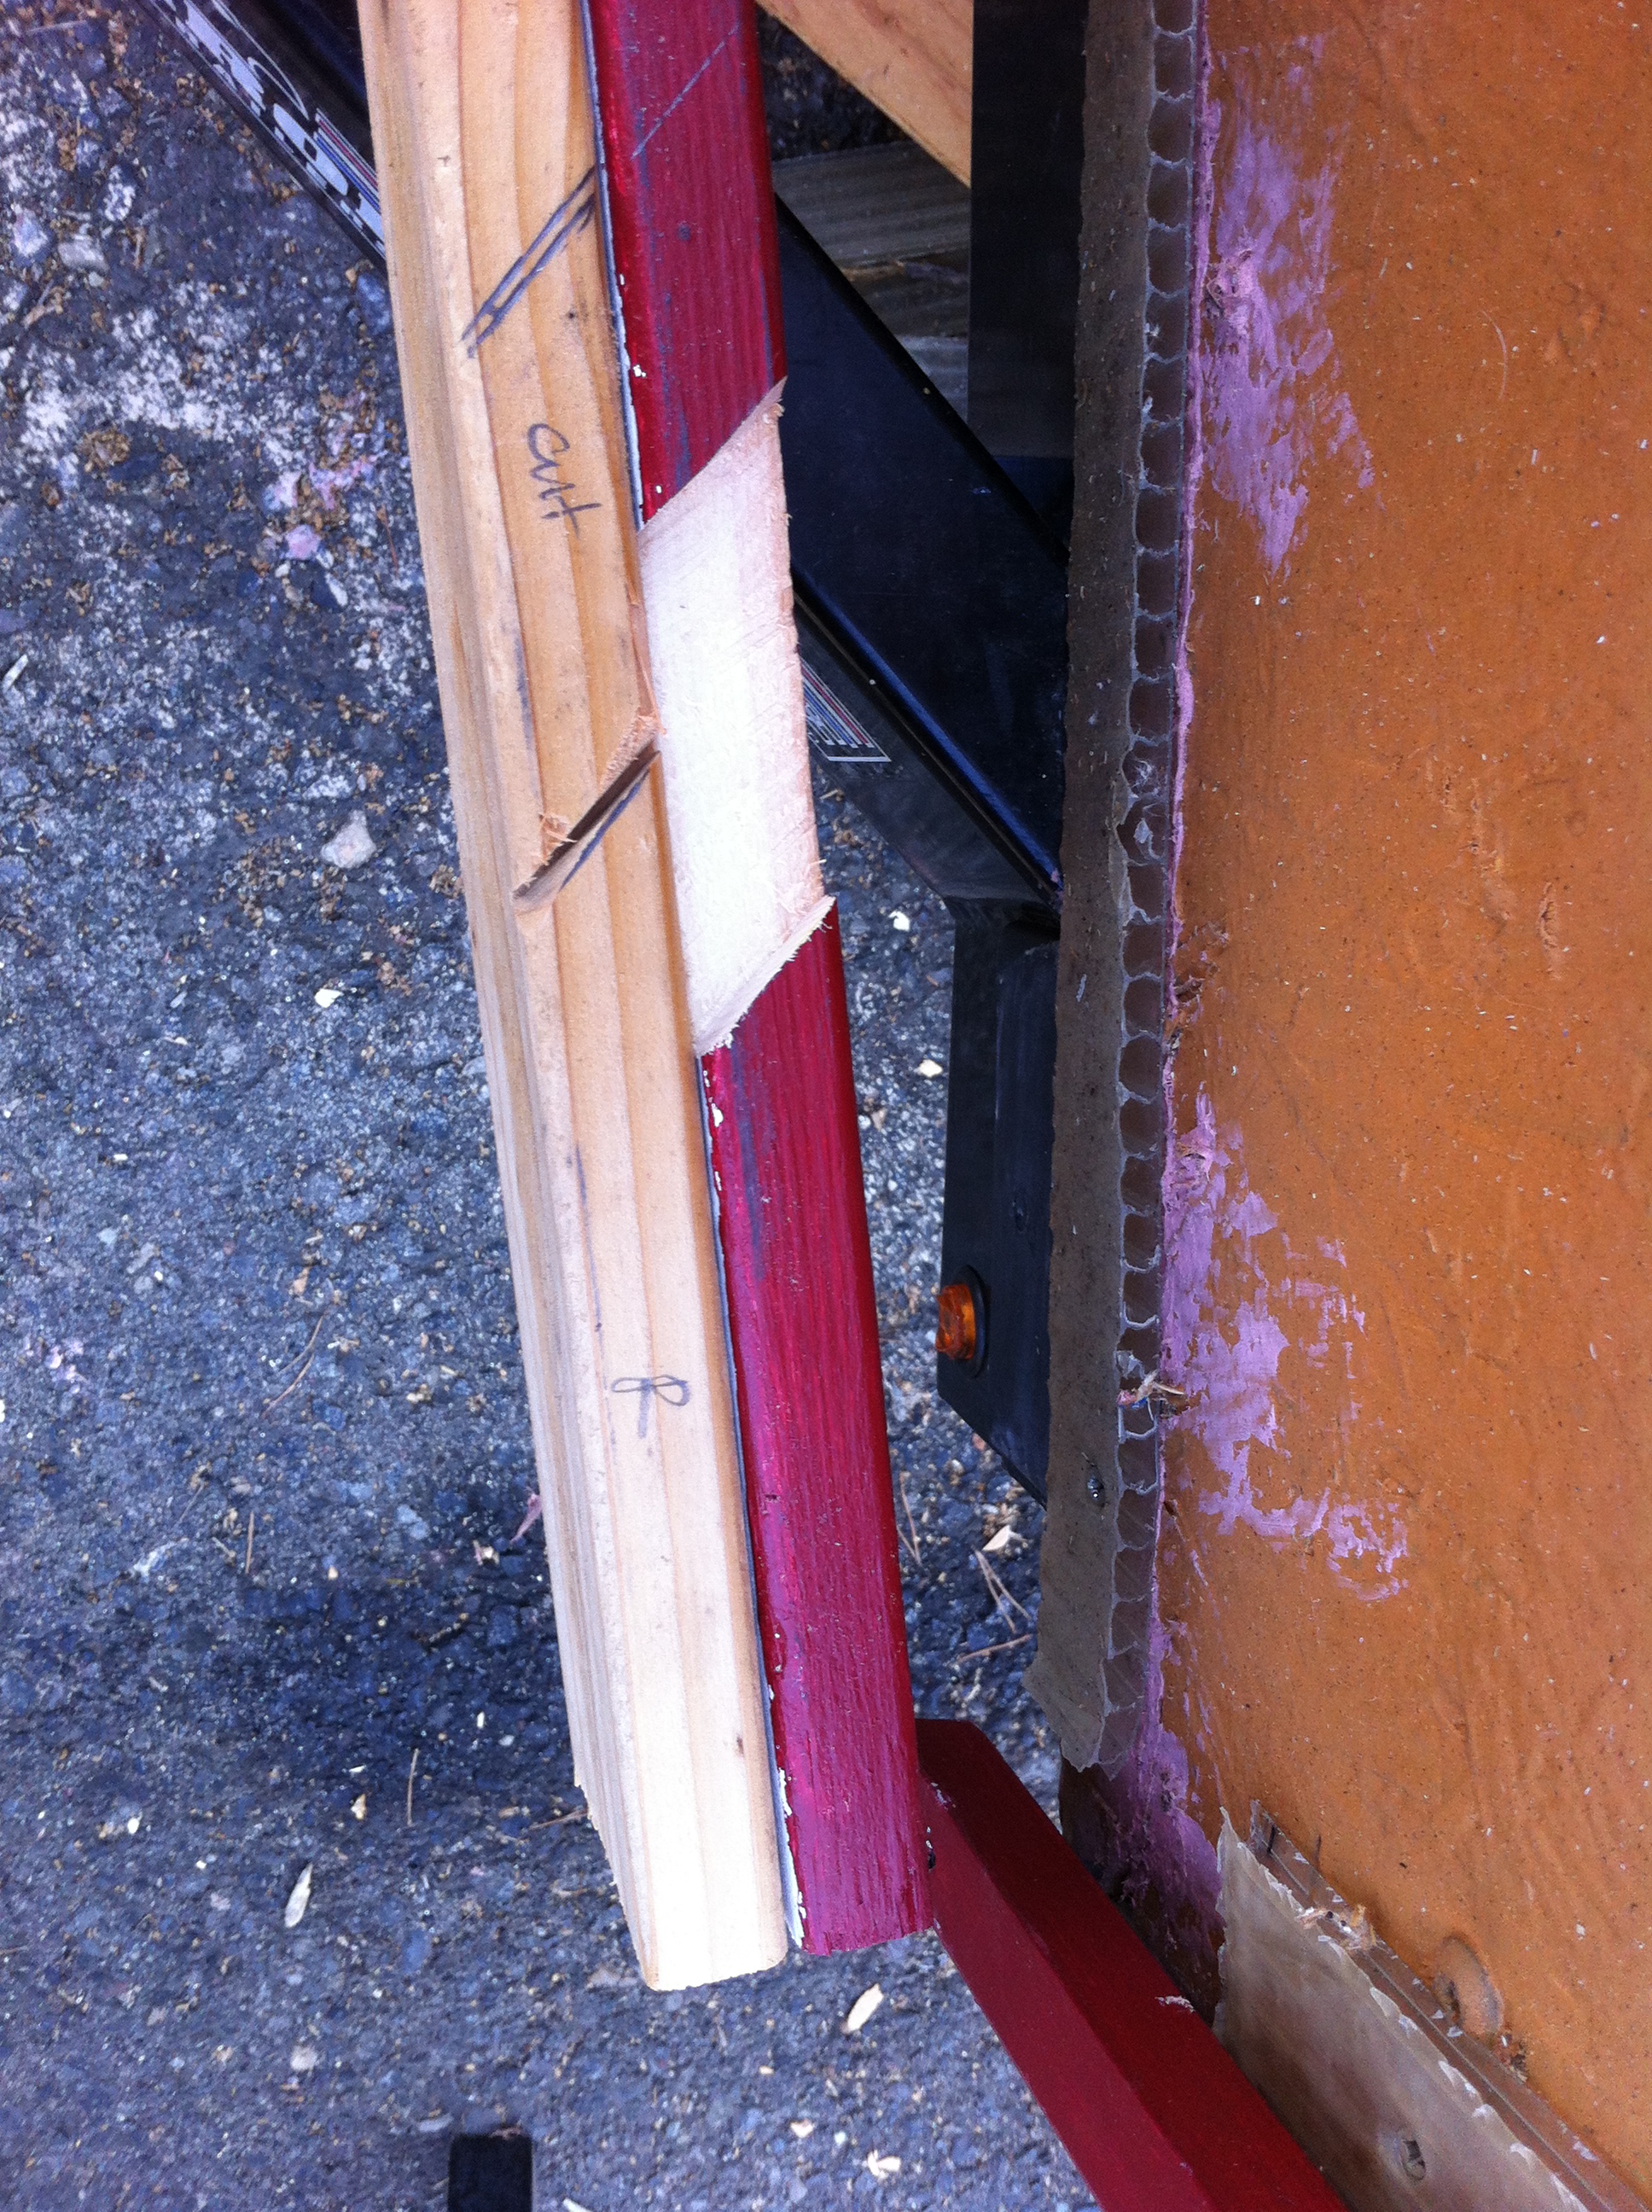
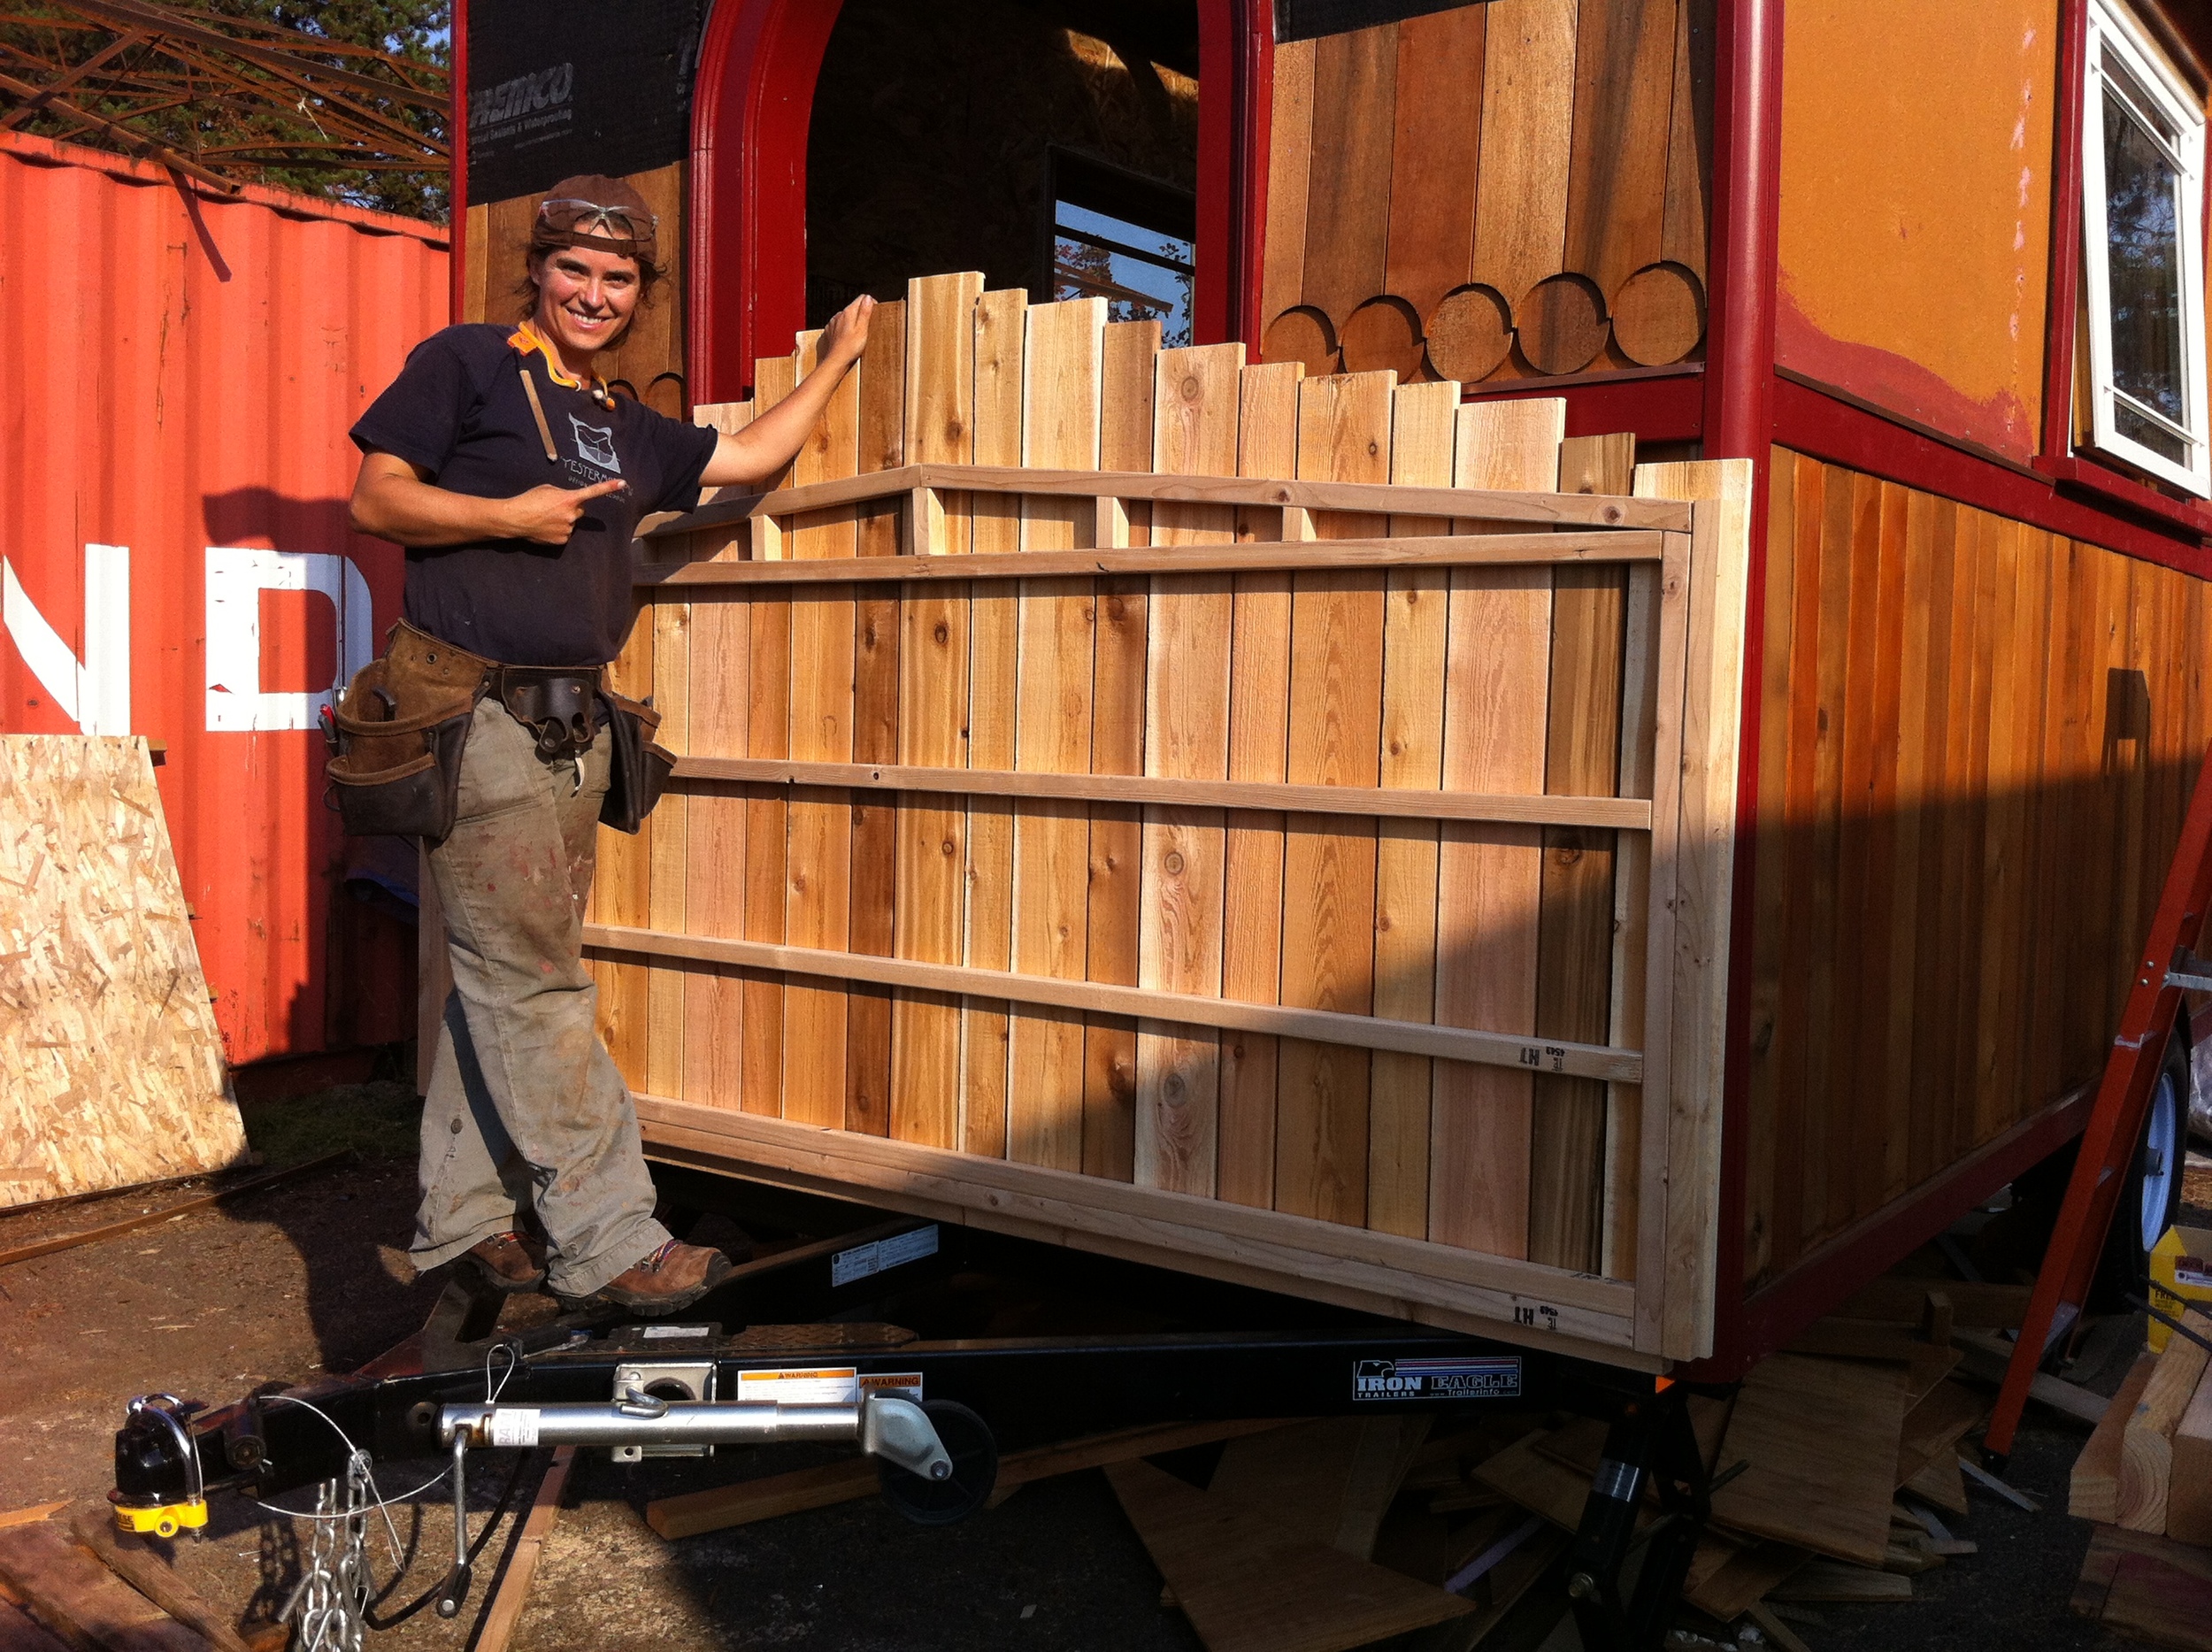
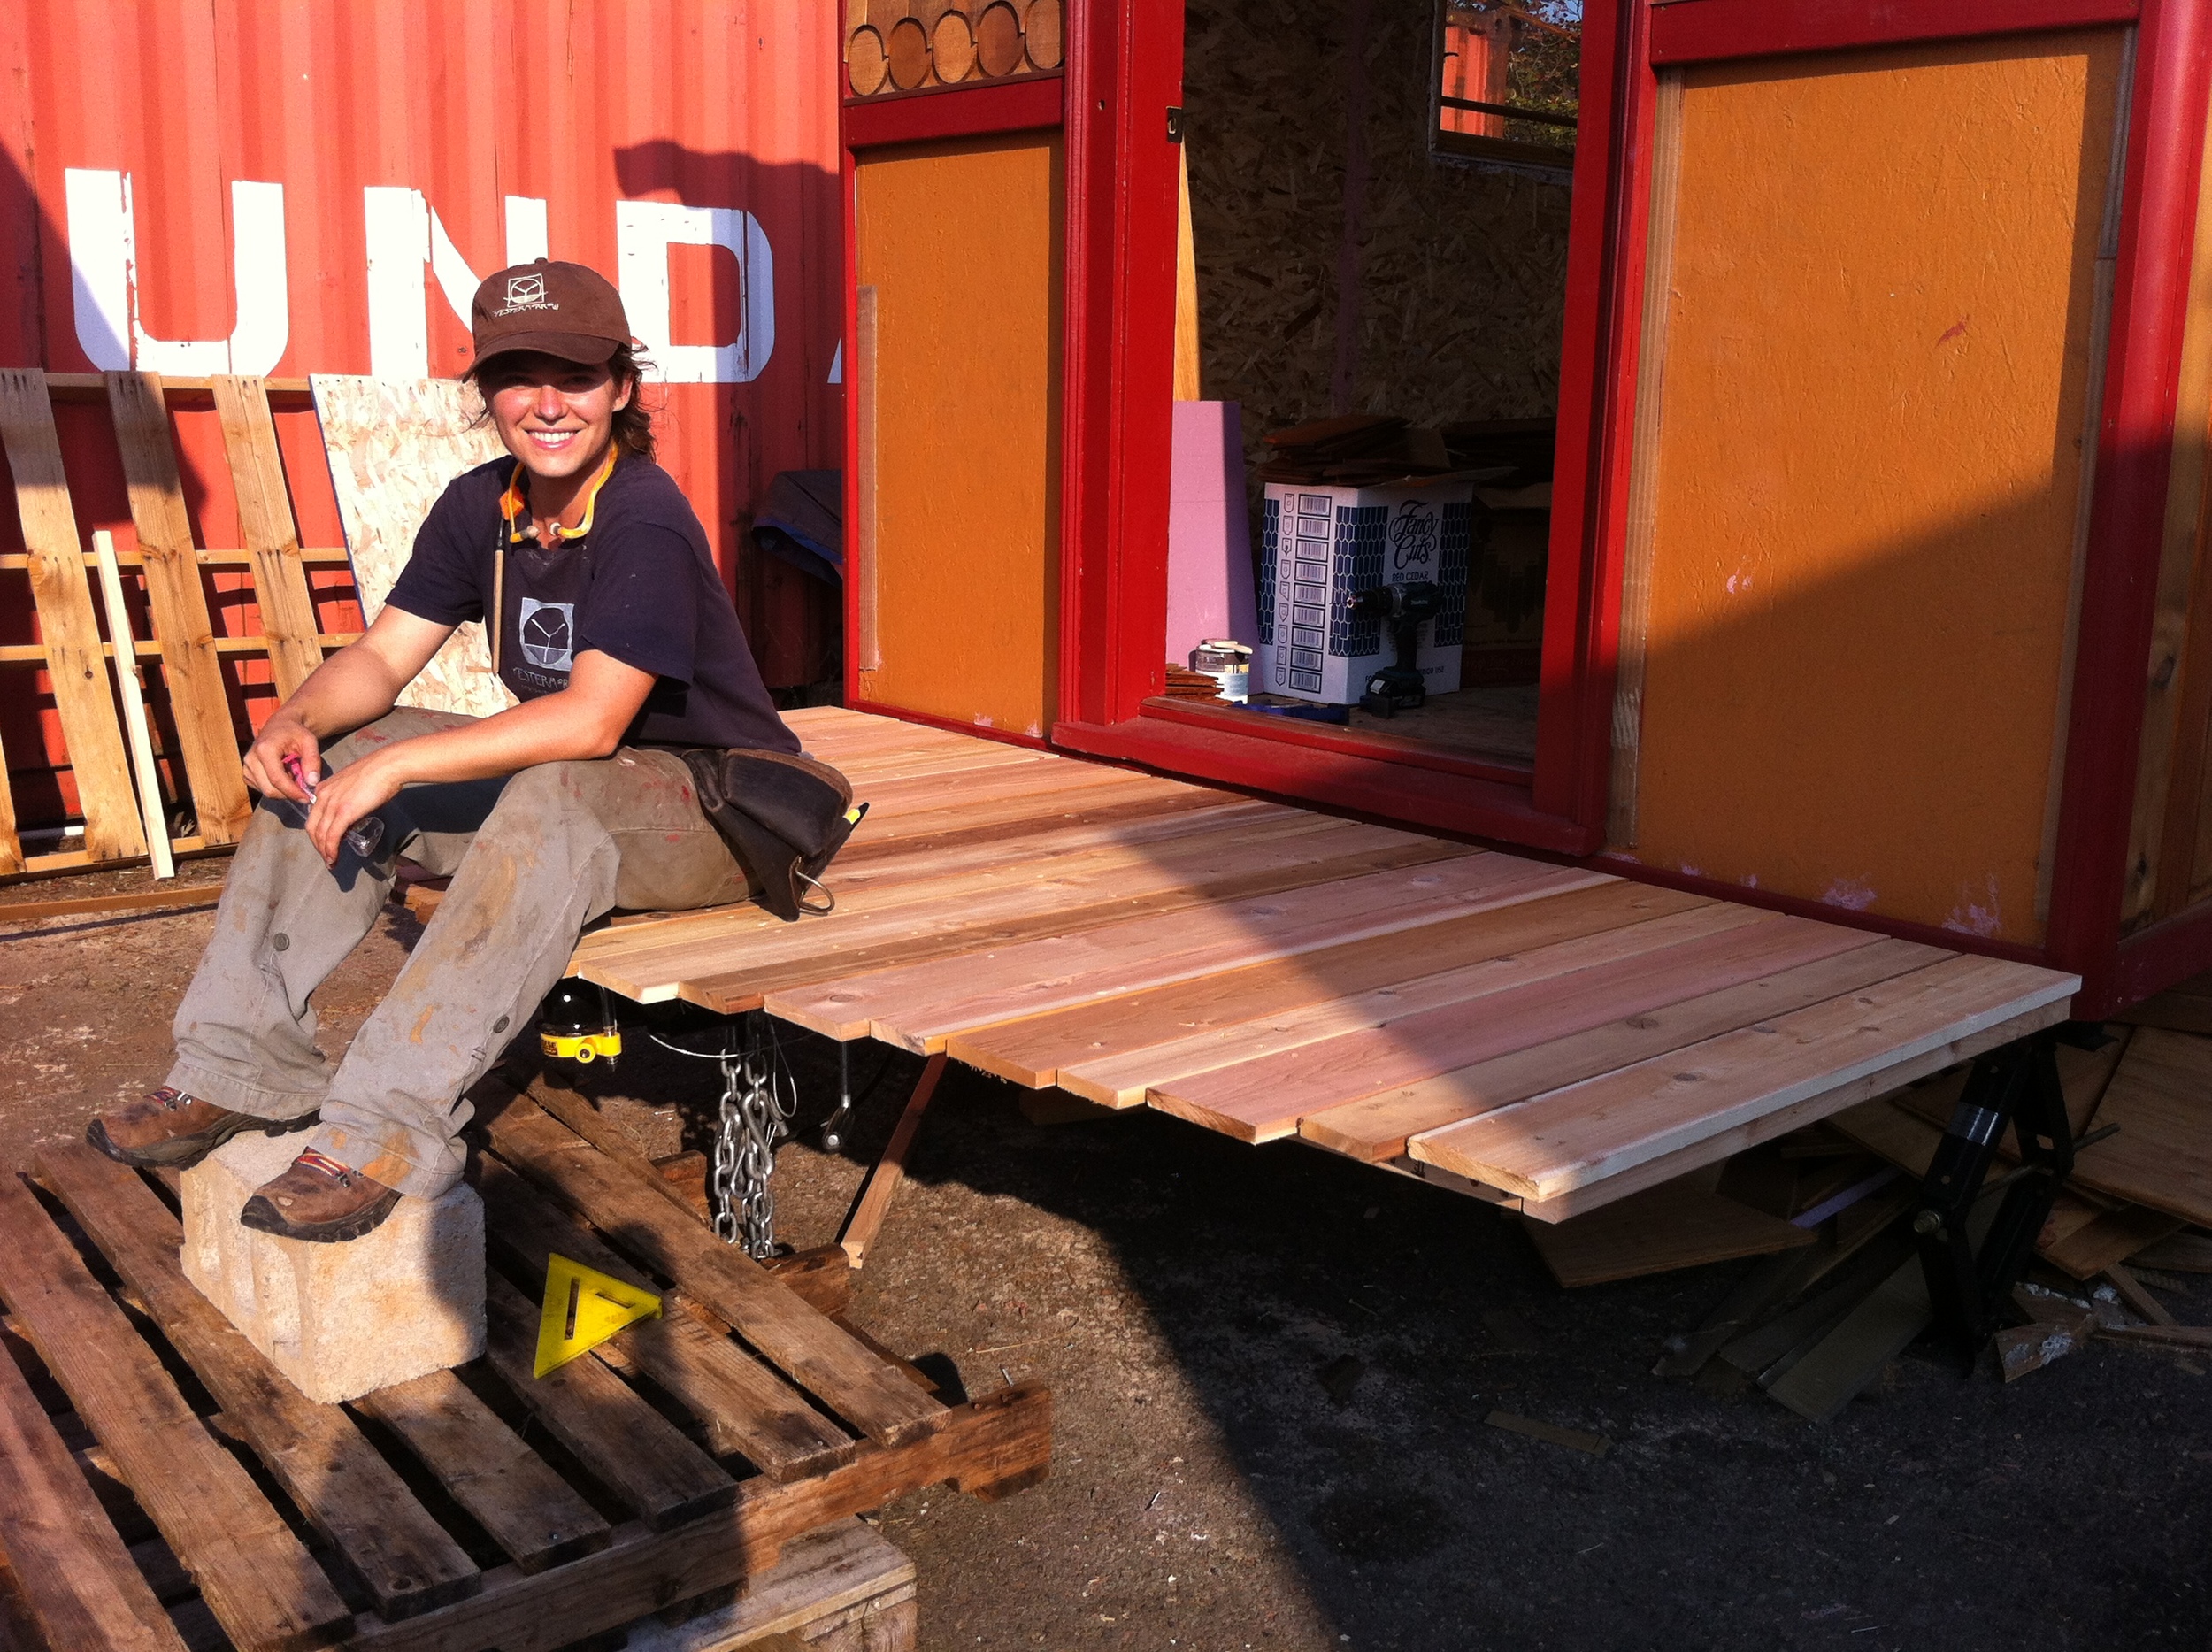
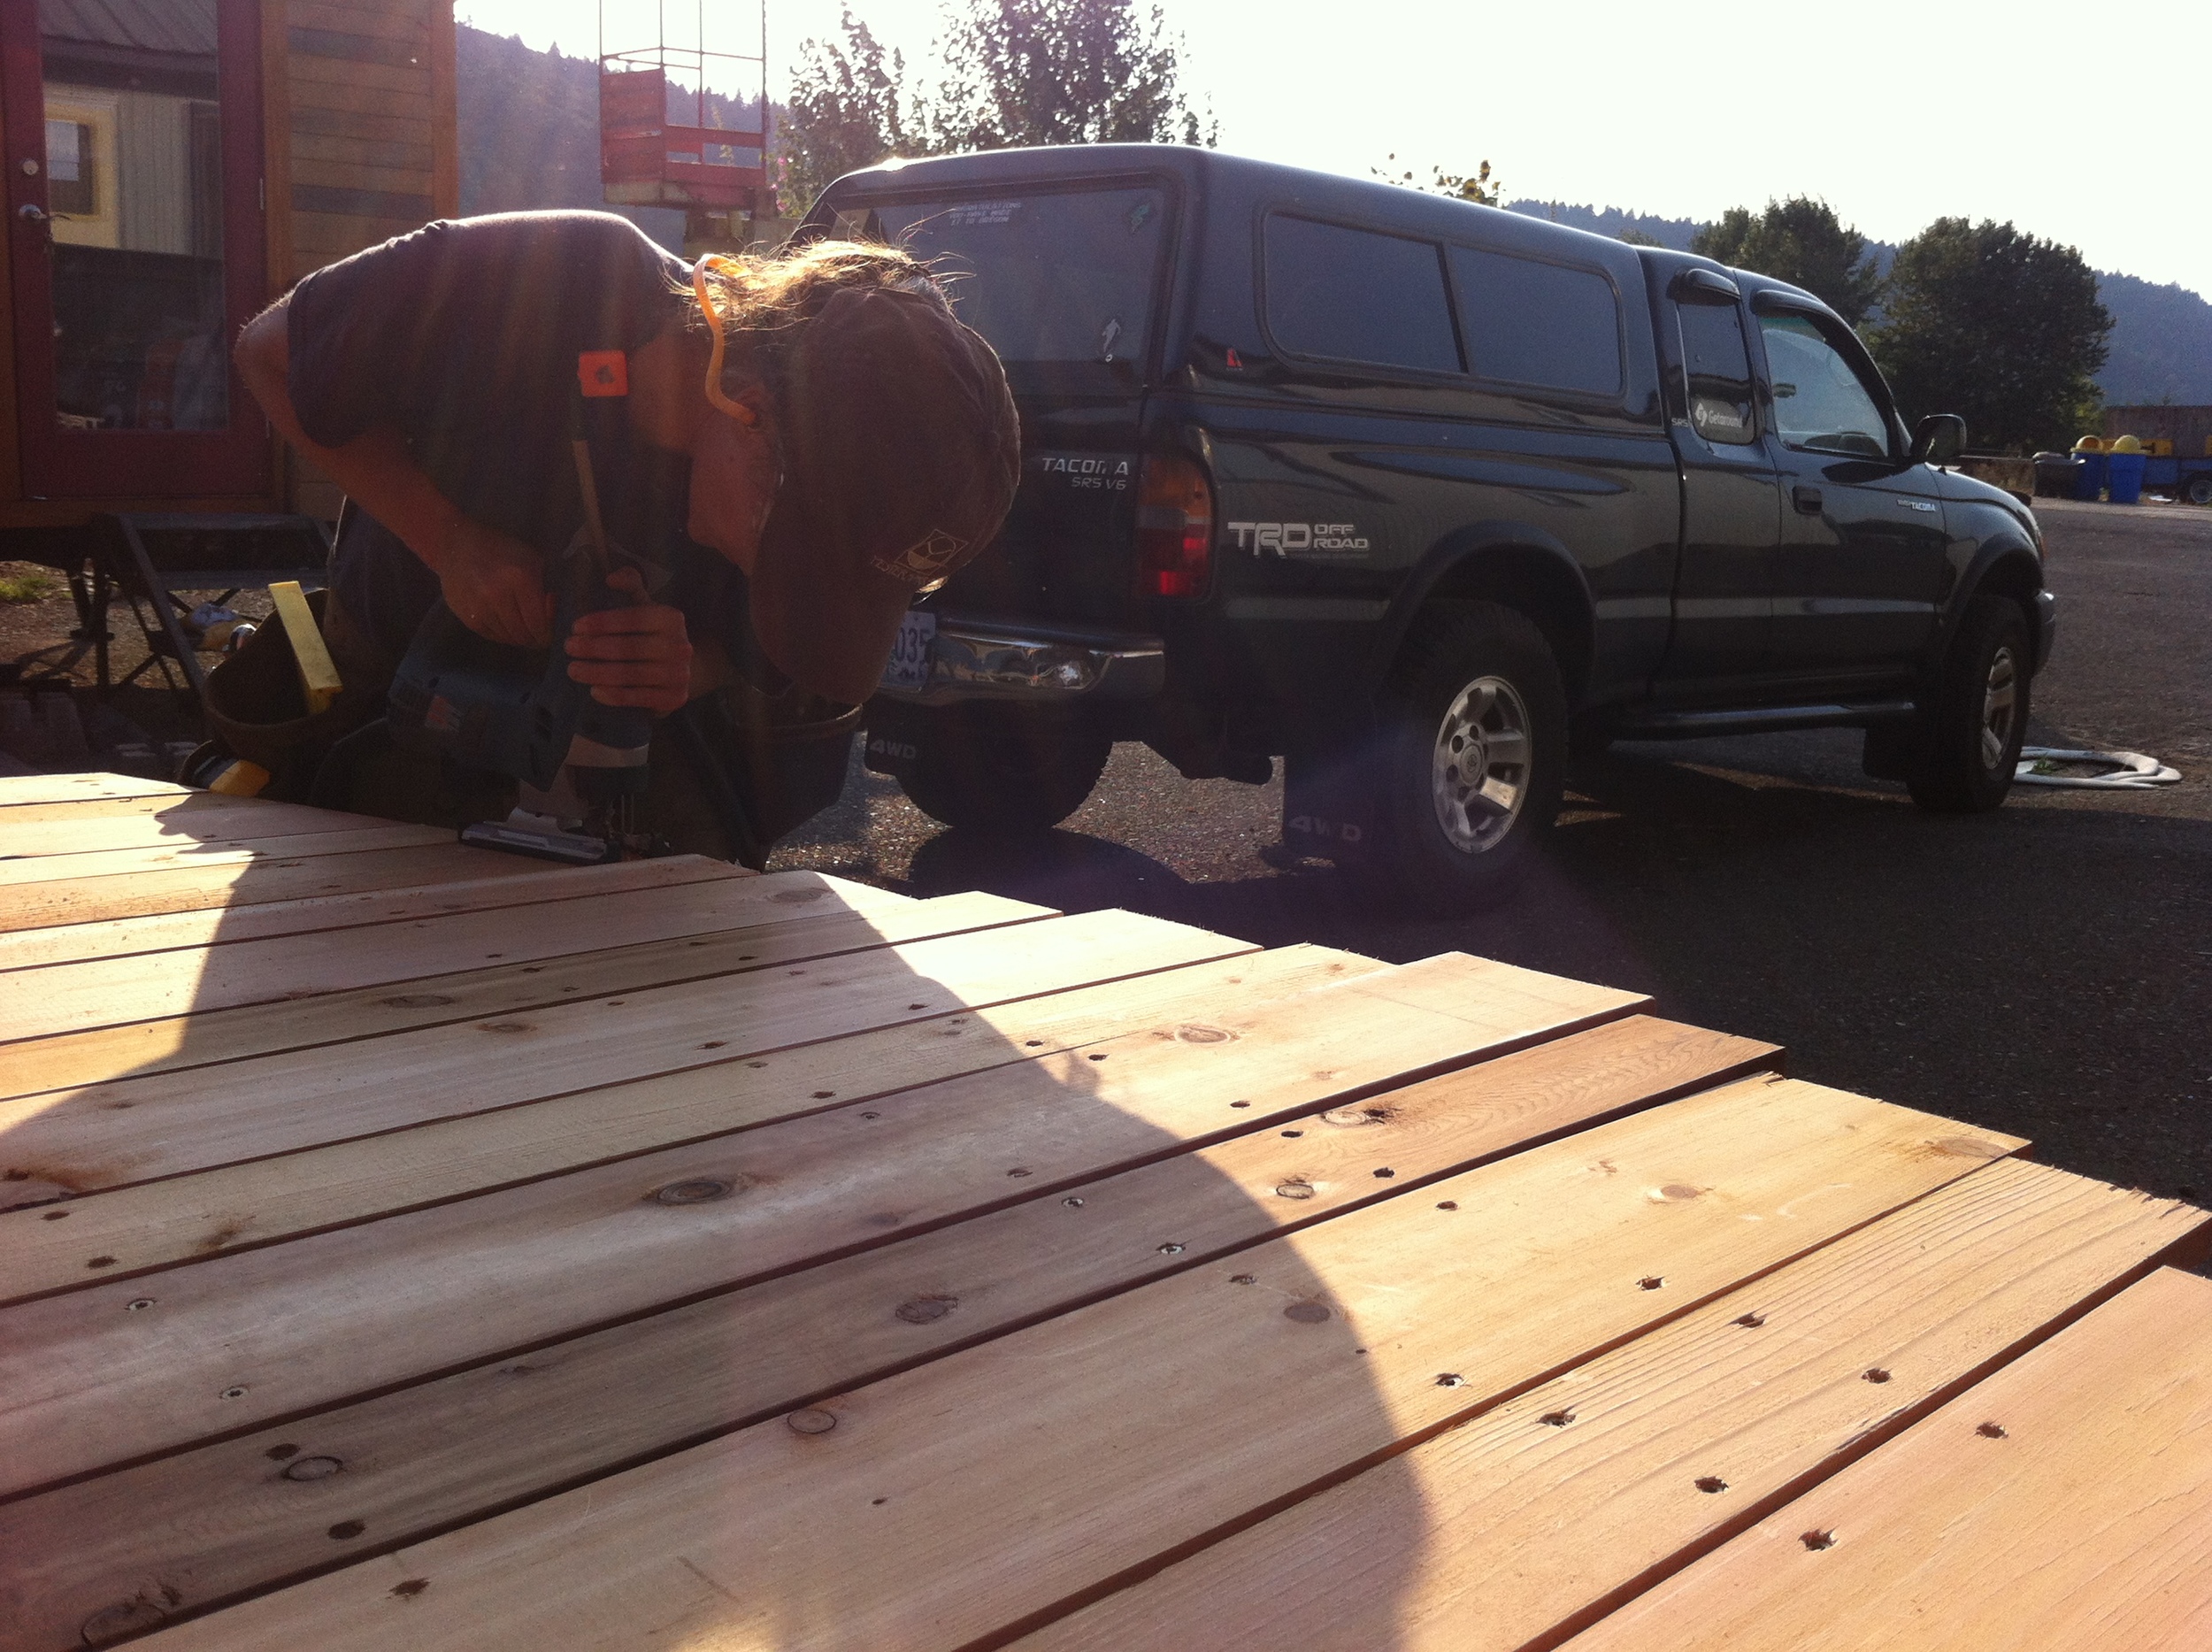
Once we arrived at Green Anchors we secured things inside the tiny house, using scrap pieces of rigid foam to pad the tansu. We tucked the stairs inside. Then we strapped My Flip-Up Front Porch into its traveling position. We hooked two ratchet straps to each other and passed them through the kitchen windows then closed the windows, exited the house, flipped up the porch, and joined the two pieces of ratchet strap and cinched them tightly. We put chucks in front and back of the wheels and lowered the tiny house from its jacked-up position onto its wheels. The final detail was screwing a piece of blocking into the windowsill of the arched window to ensure that the arched window would stay closed.

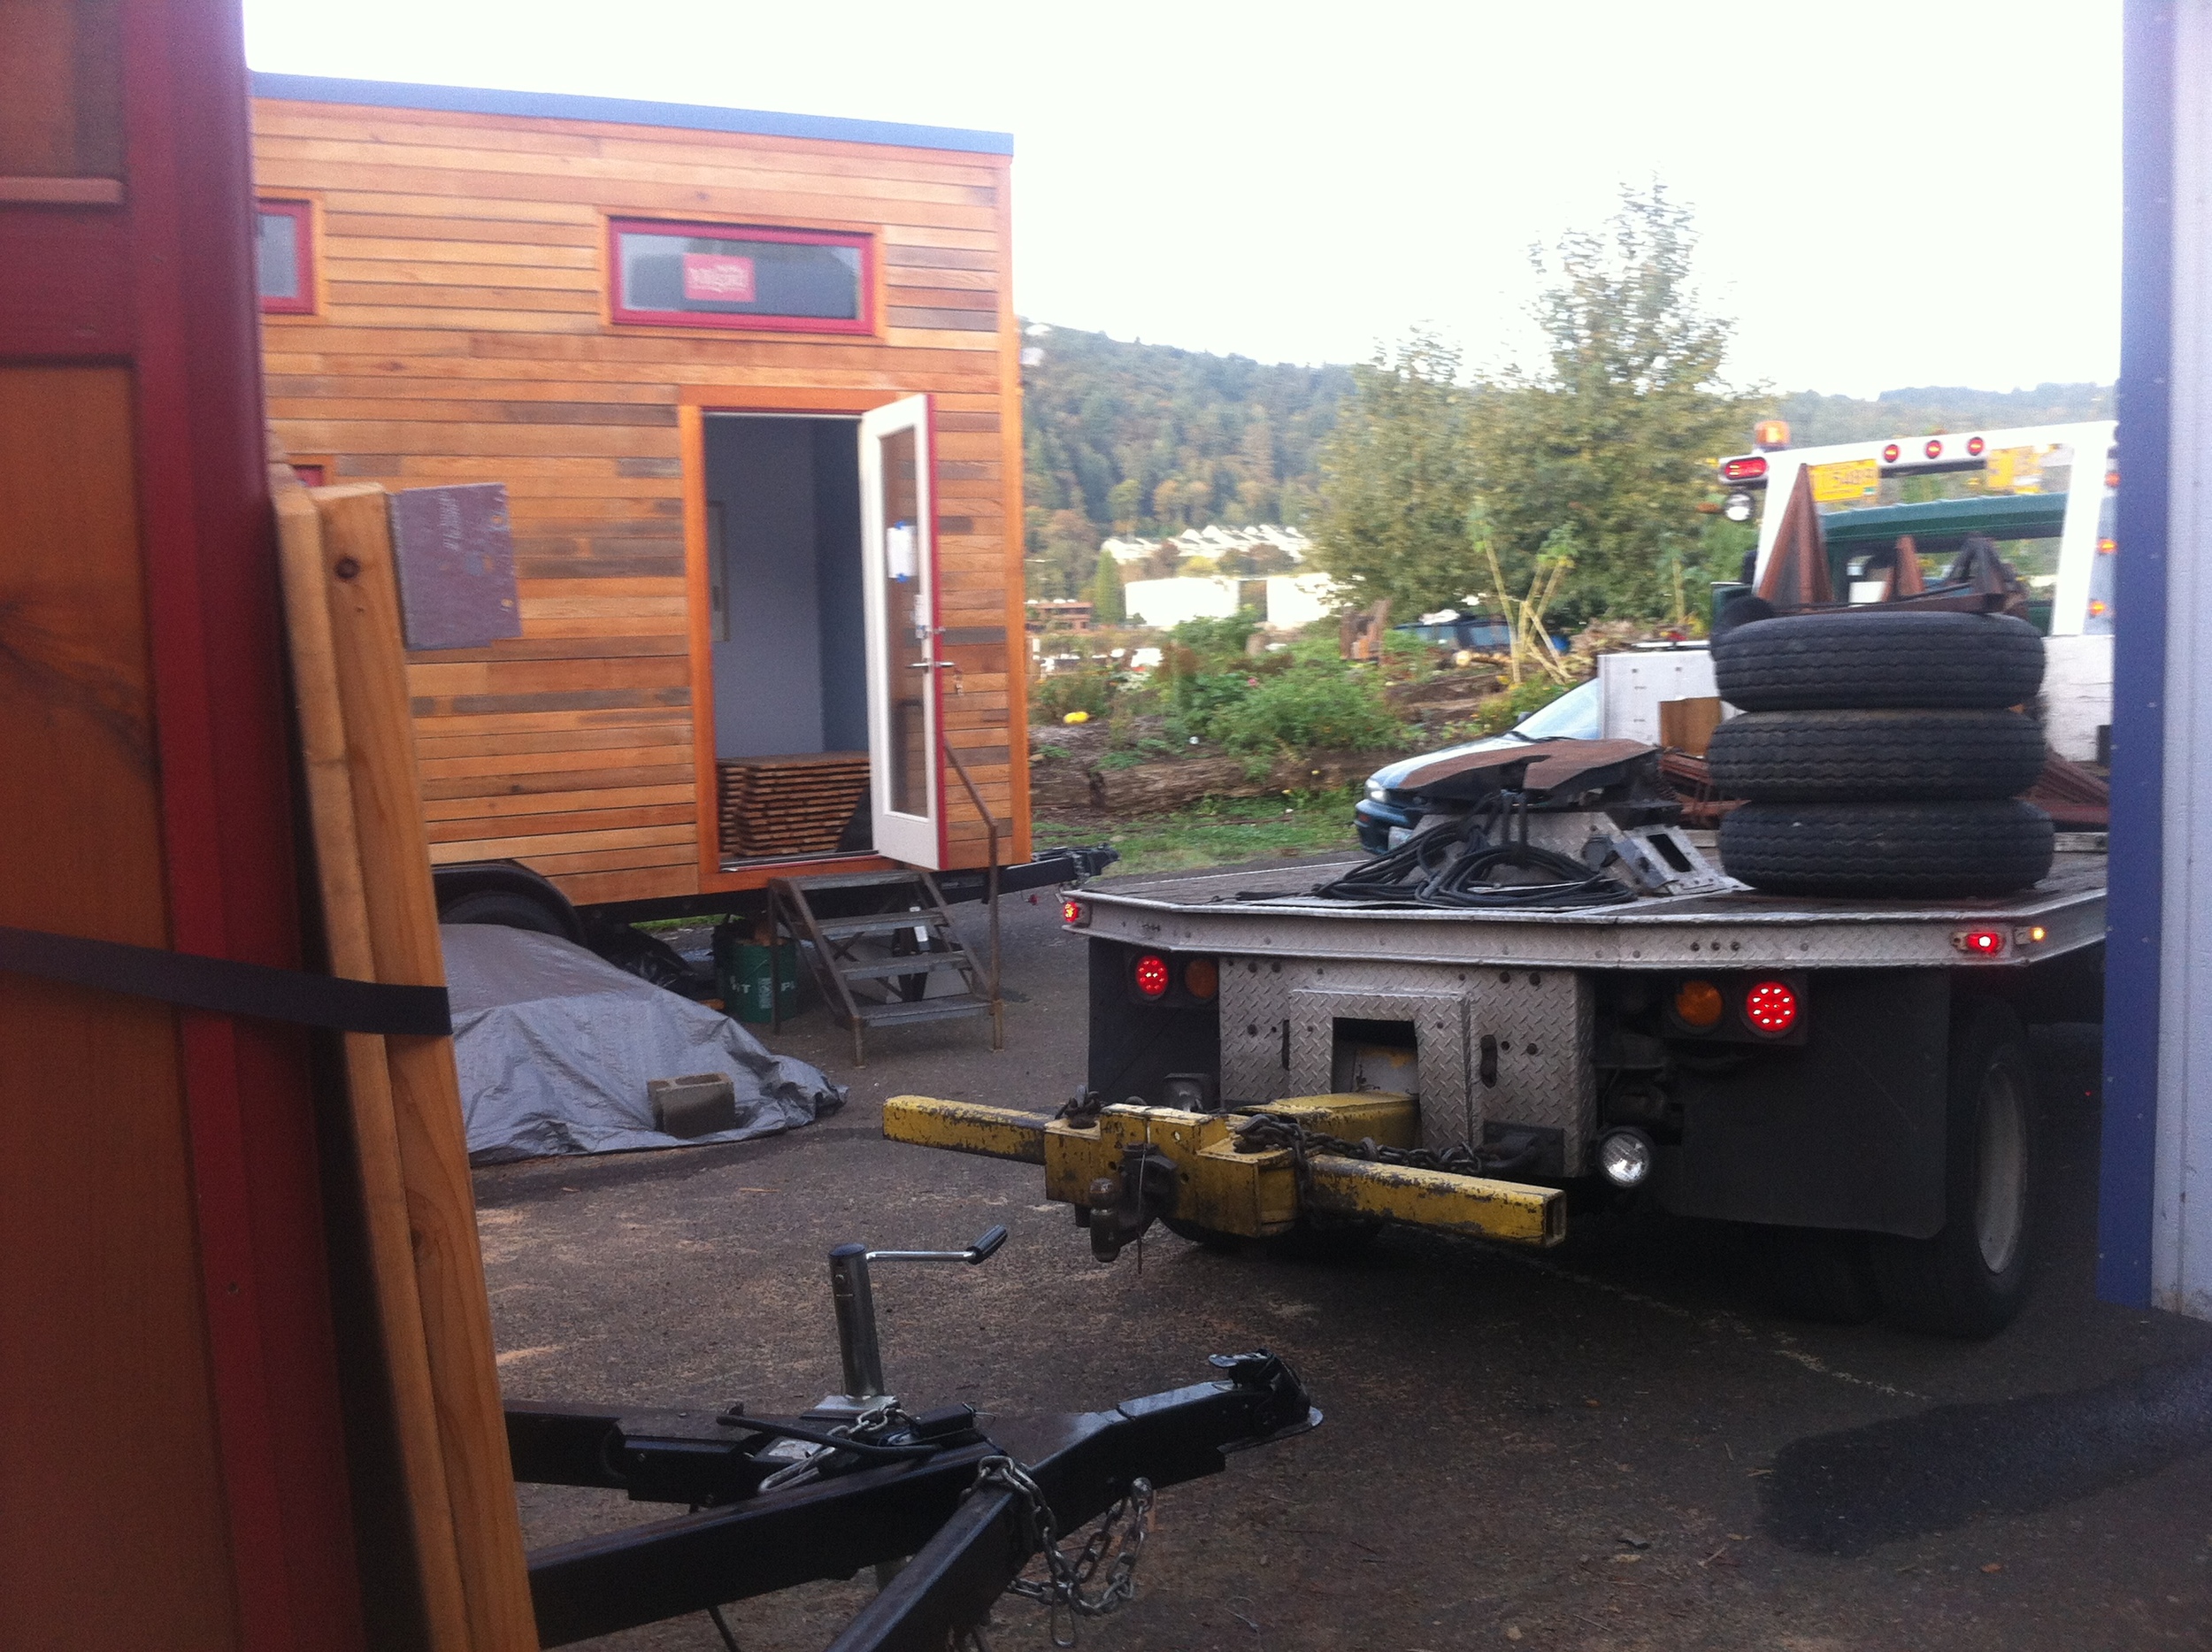
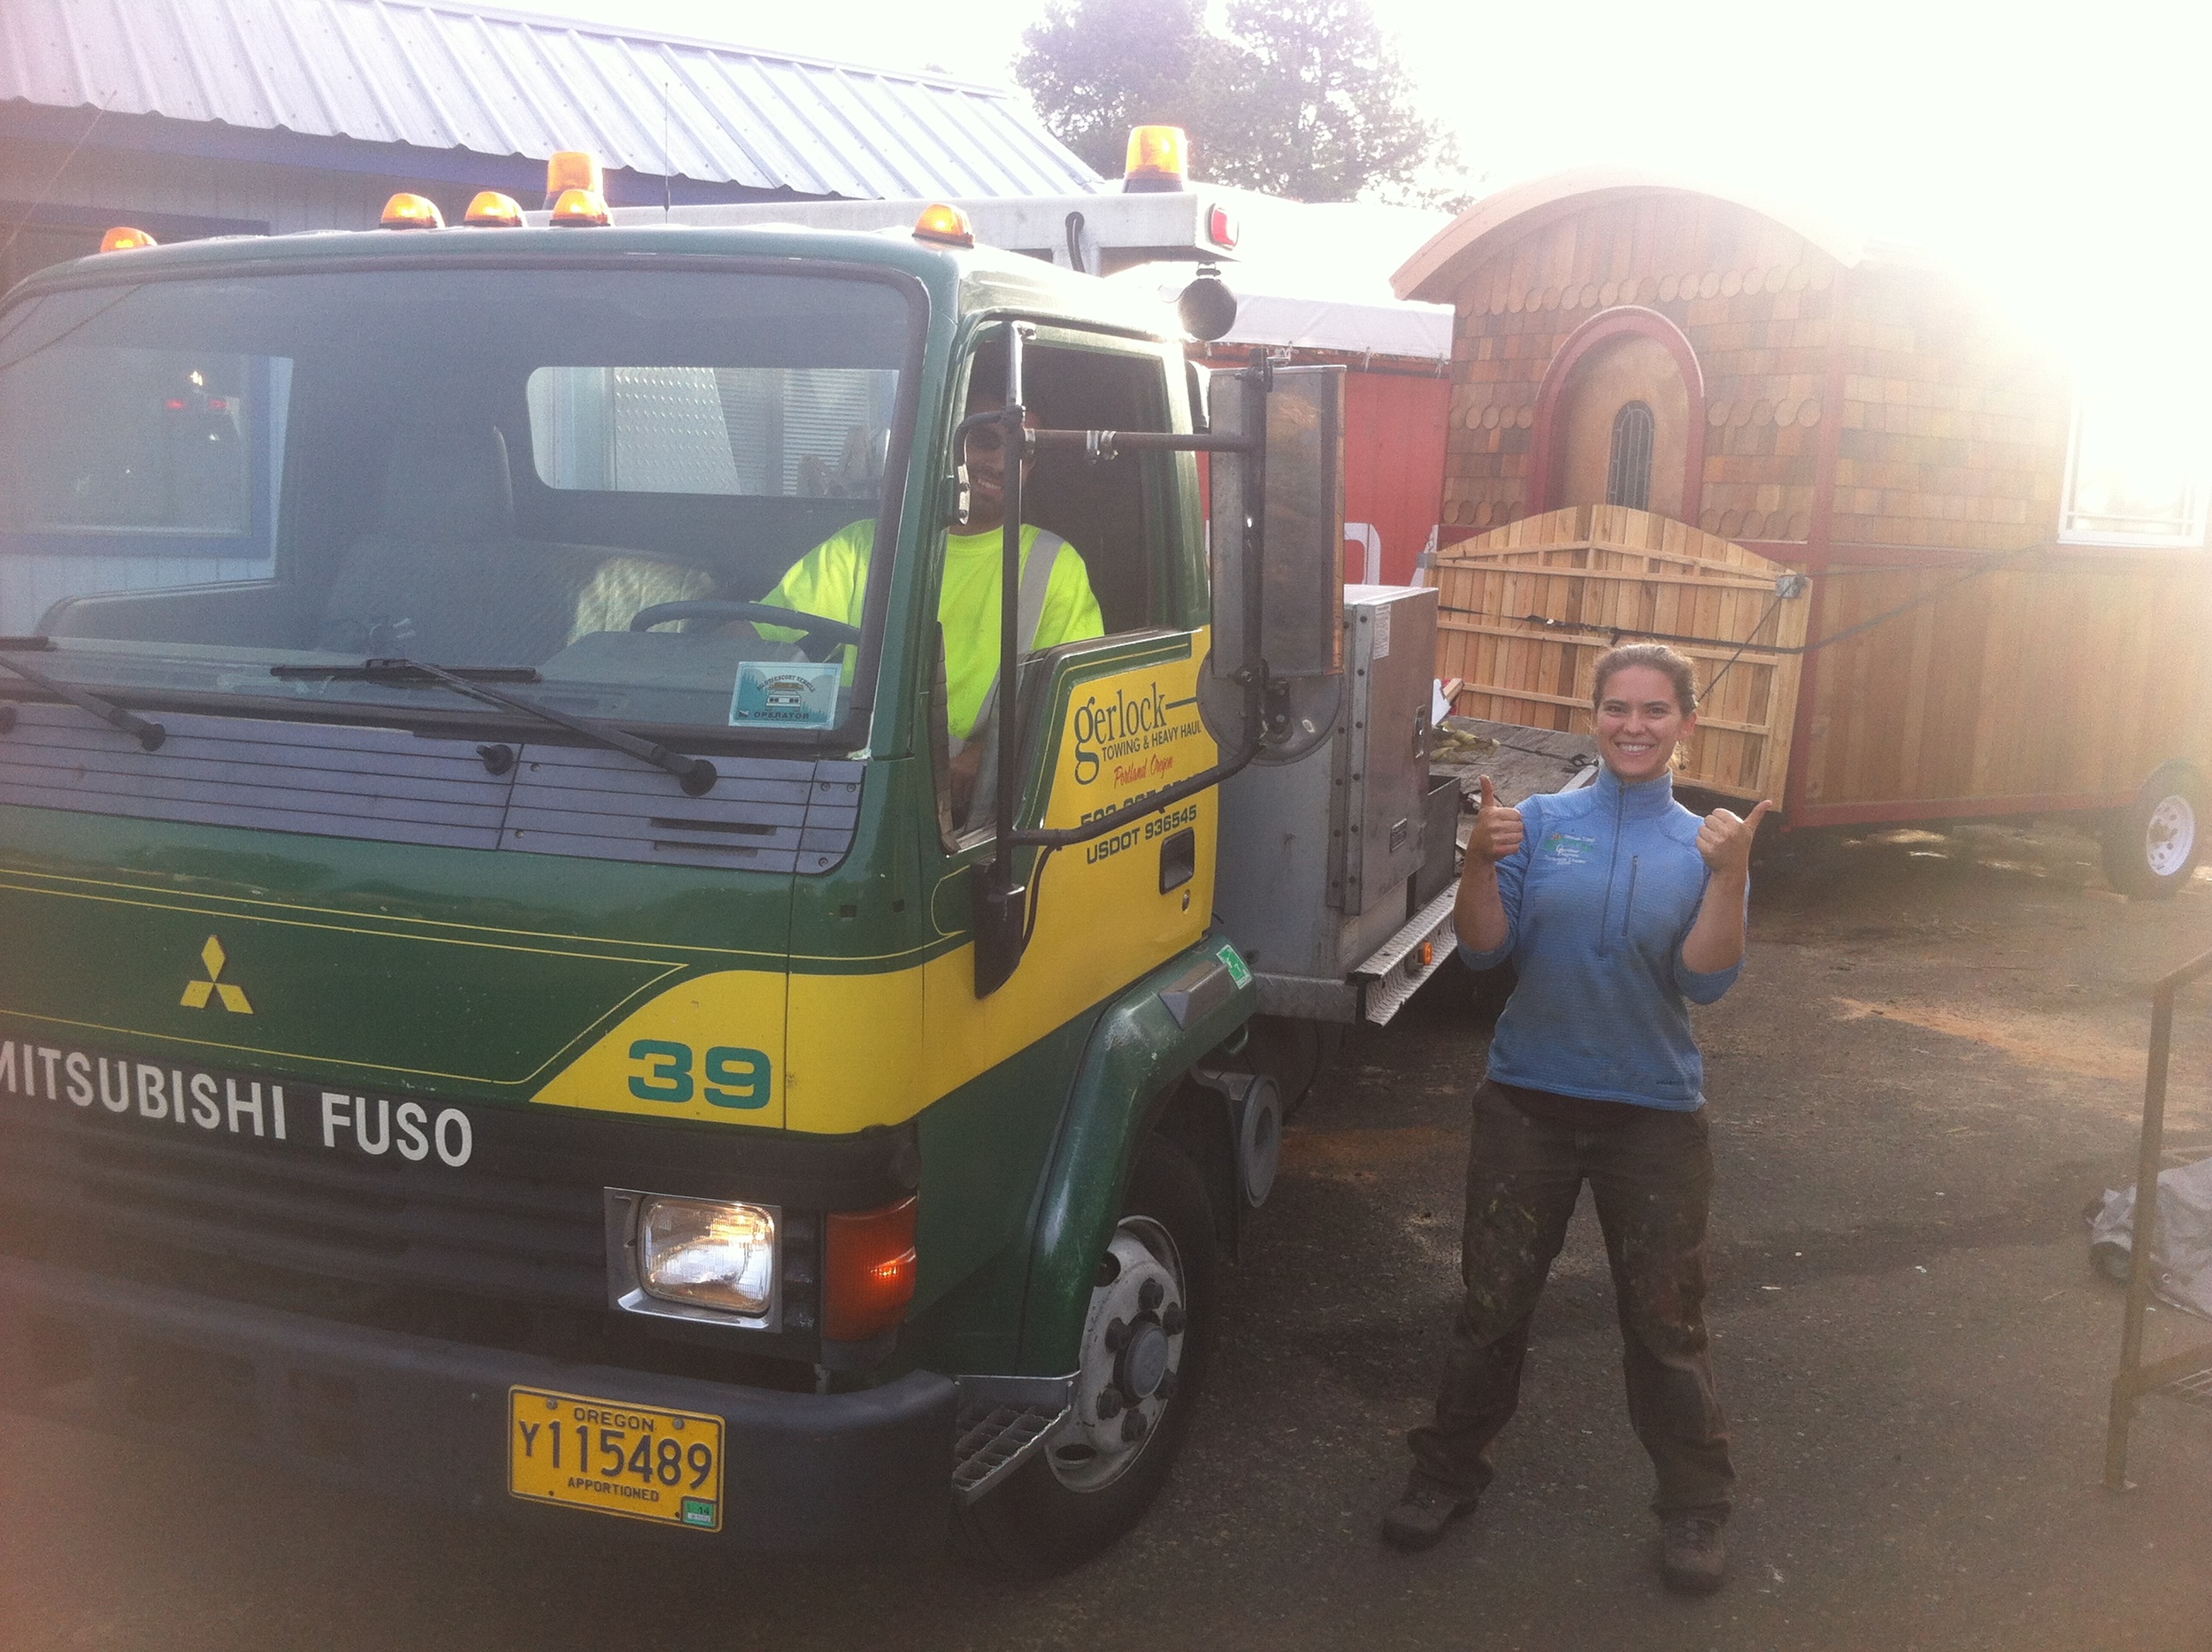
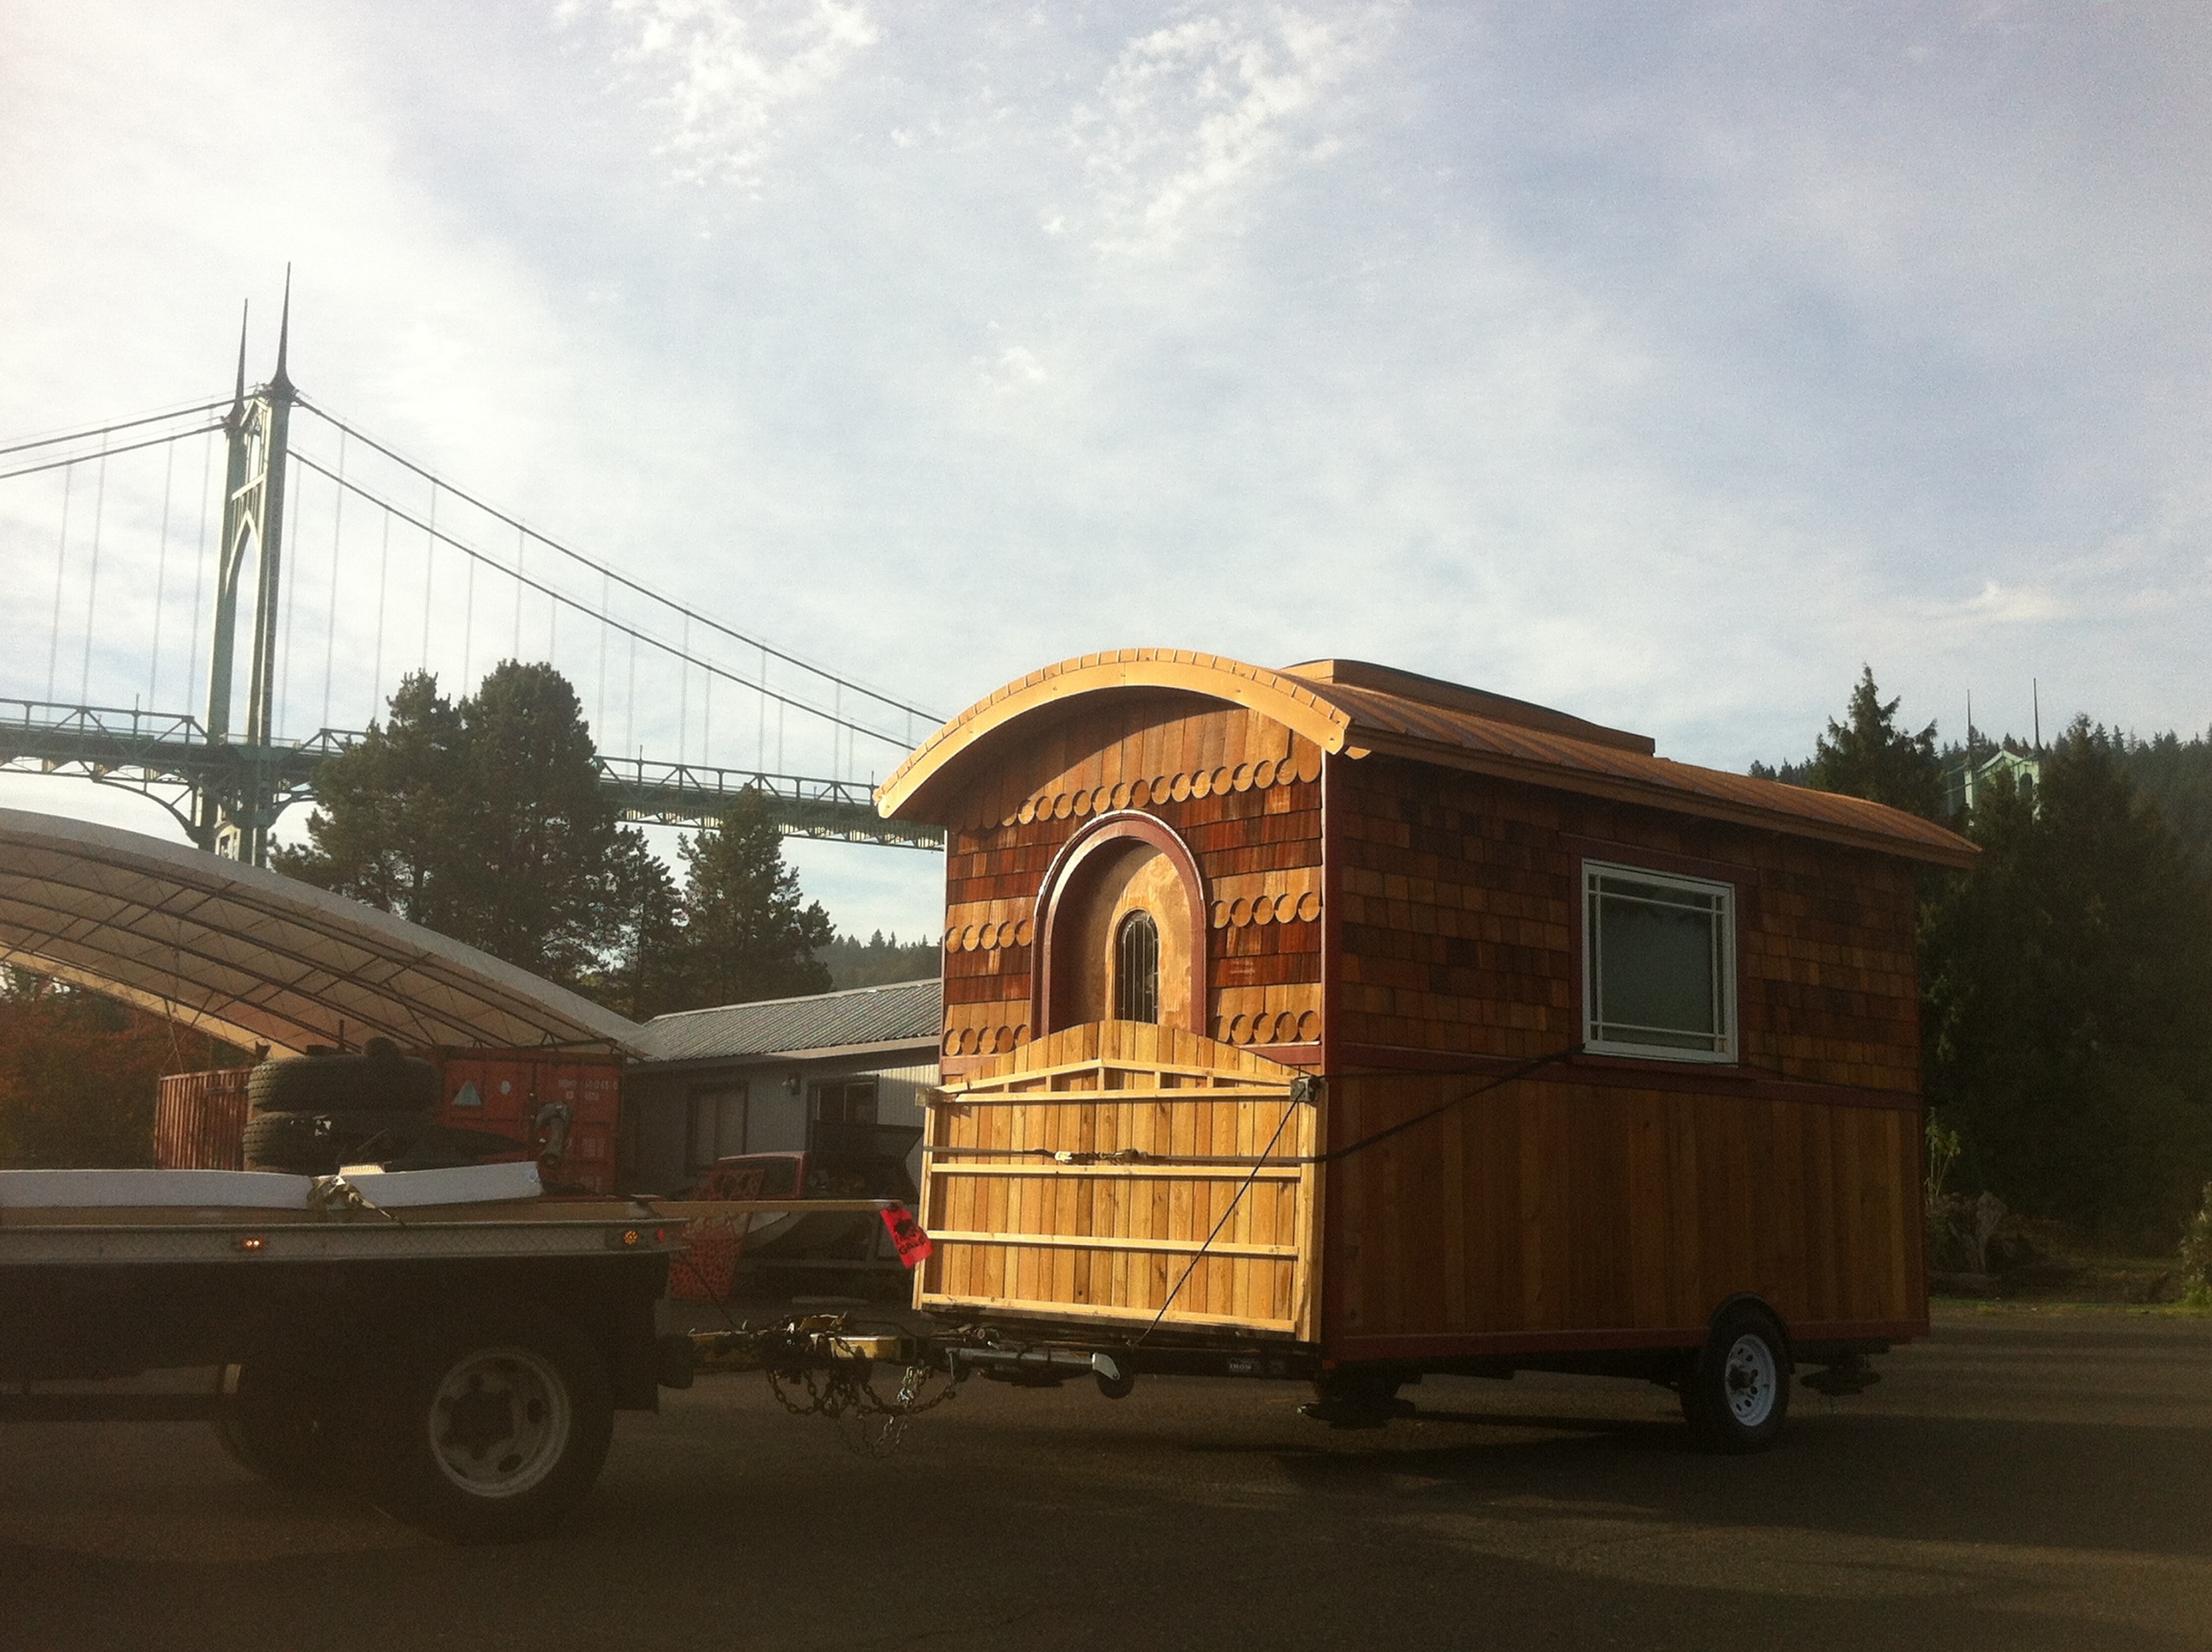
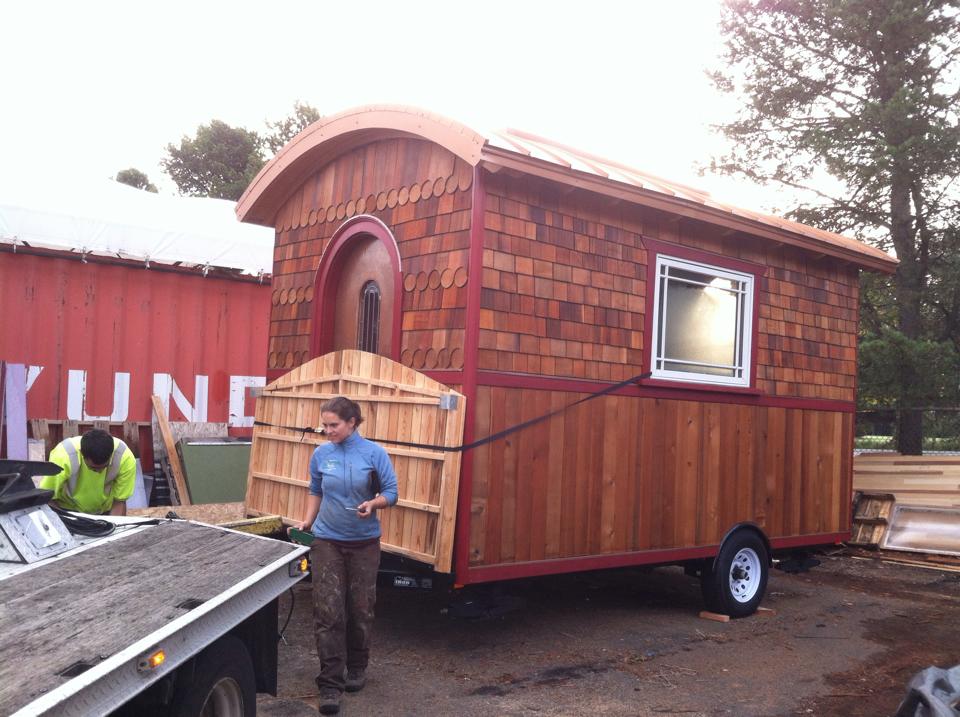
When Morgan from Gerlock Towing arrived he assured us that it wouldn’t be a problem for him to get The Lucky Penny out of her spot. So we hefted the tiny house mover back into Laura’s car and then filled in the space around it with tools and supplies while we were waiting for Morgan to get the house secured to his truck.

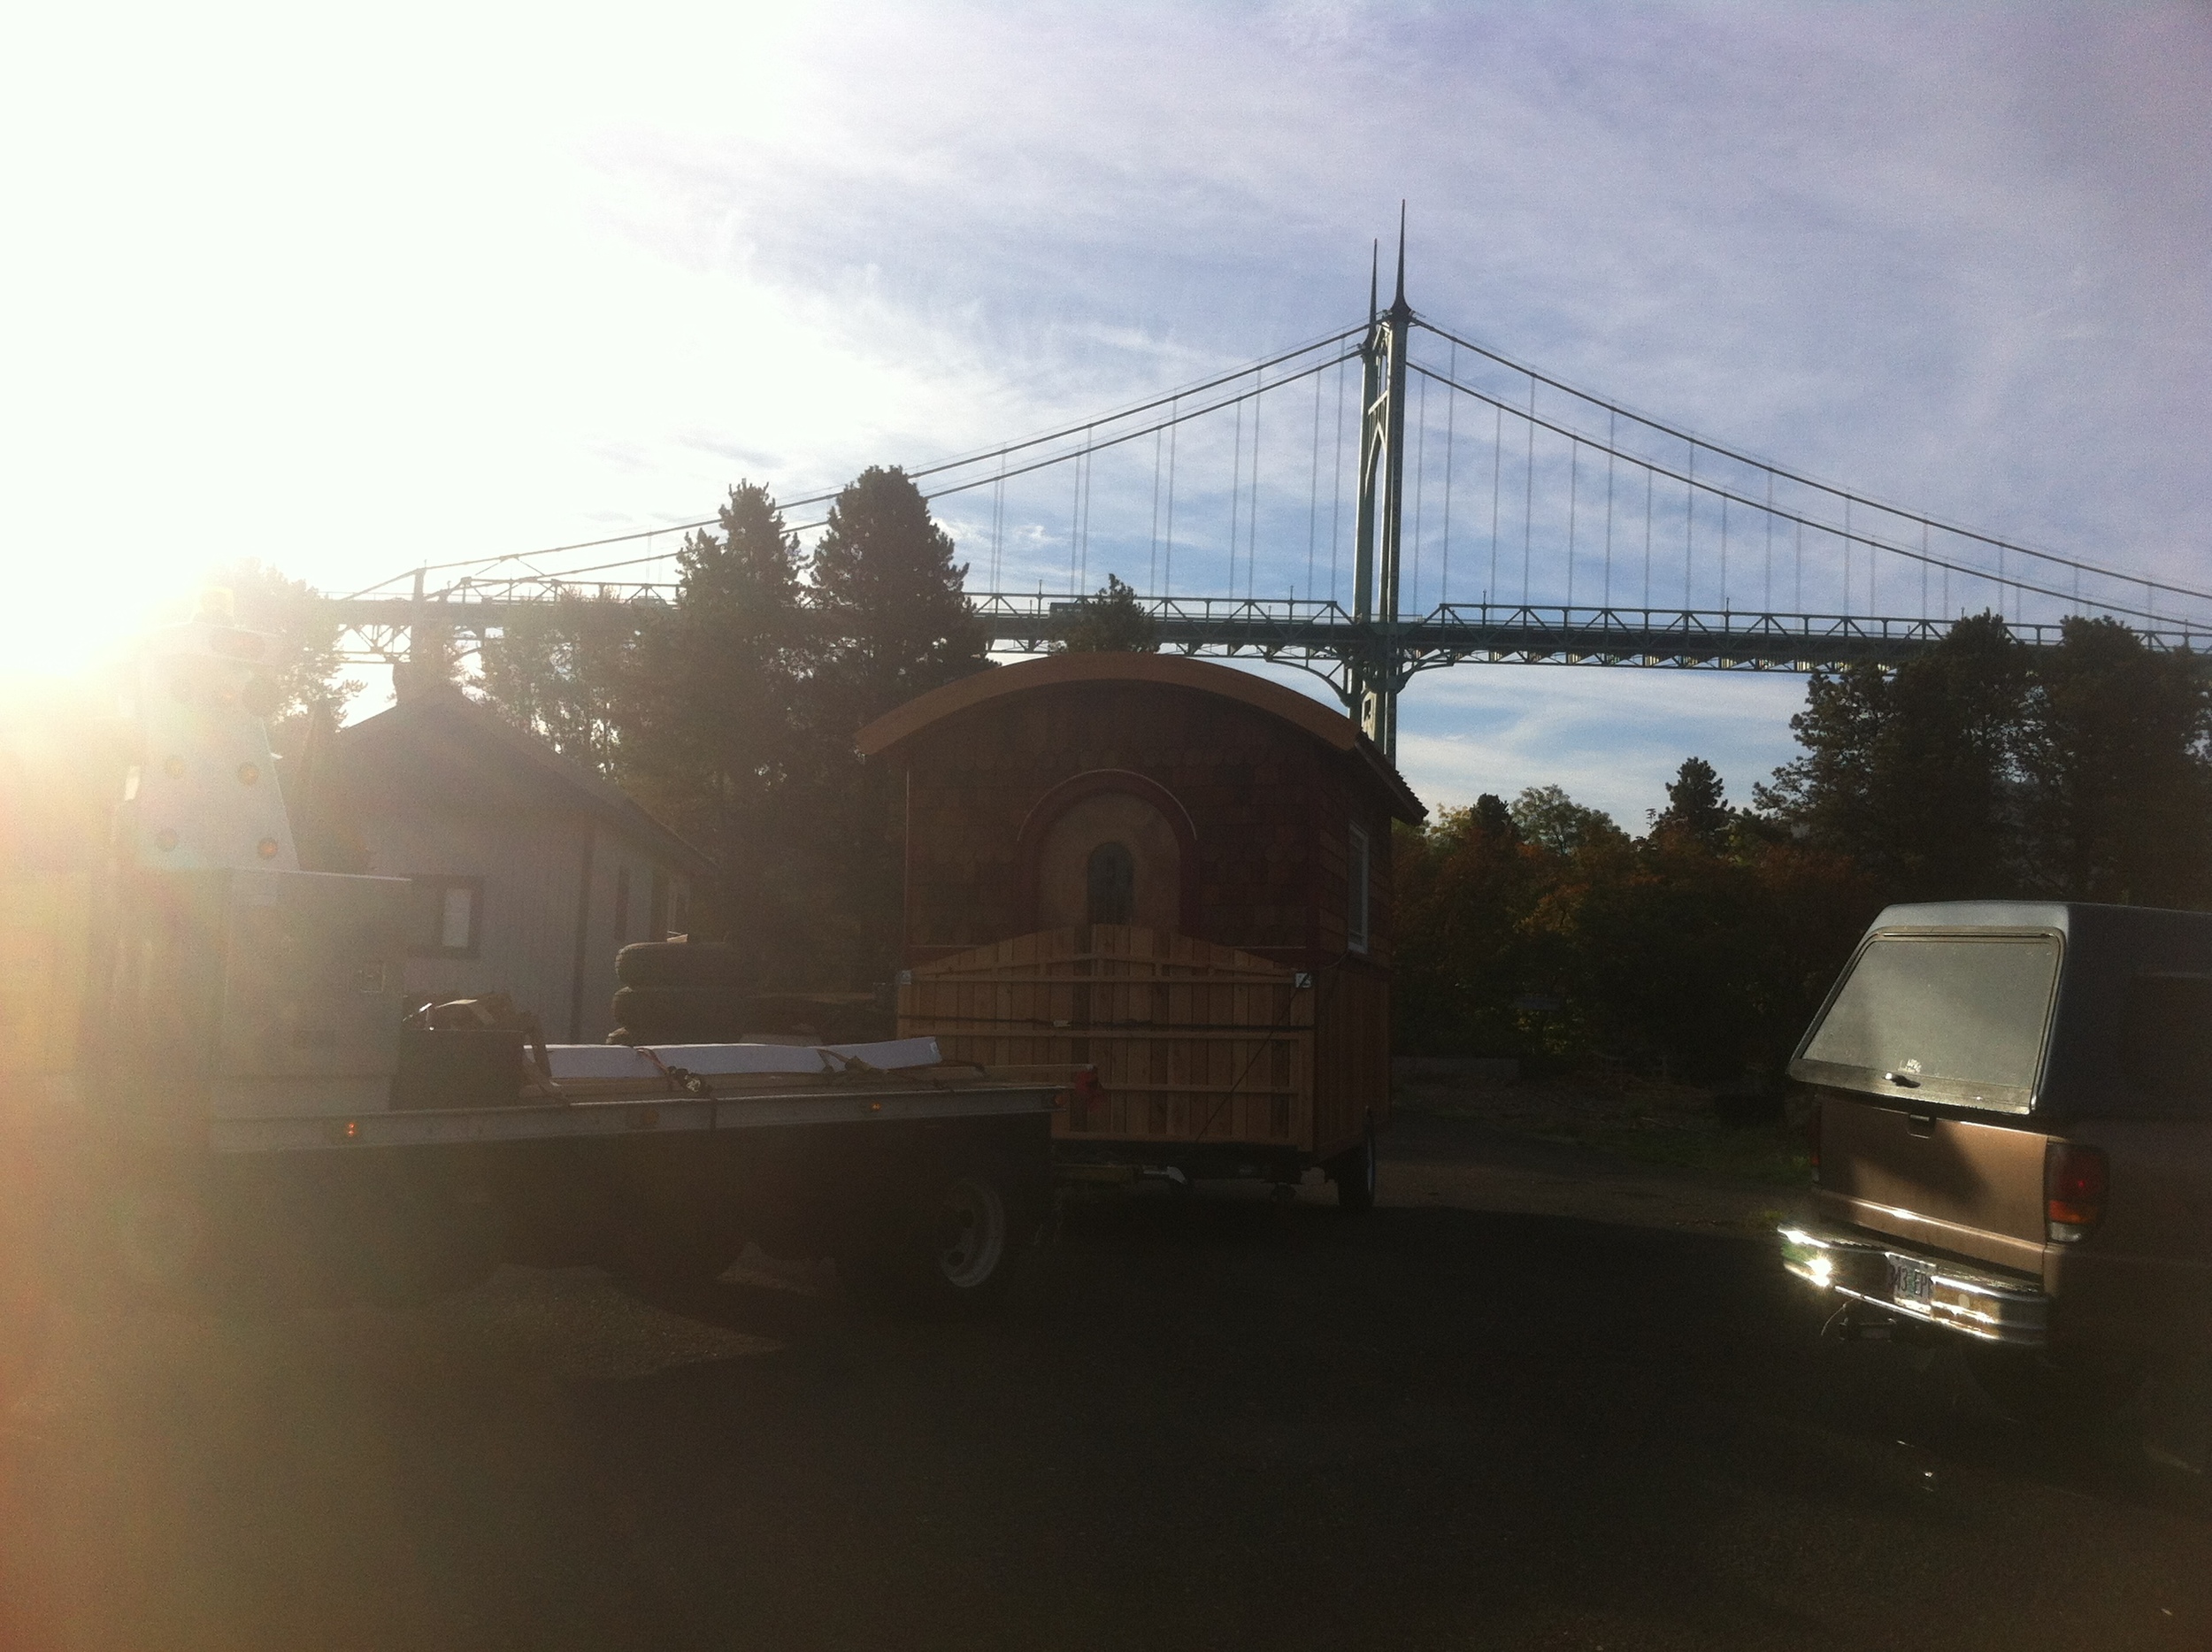
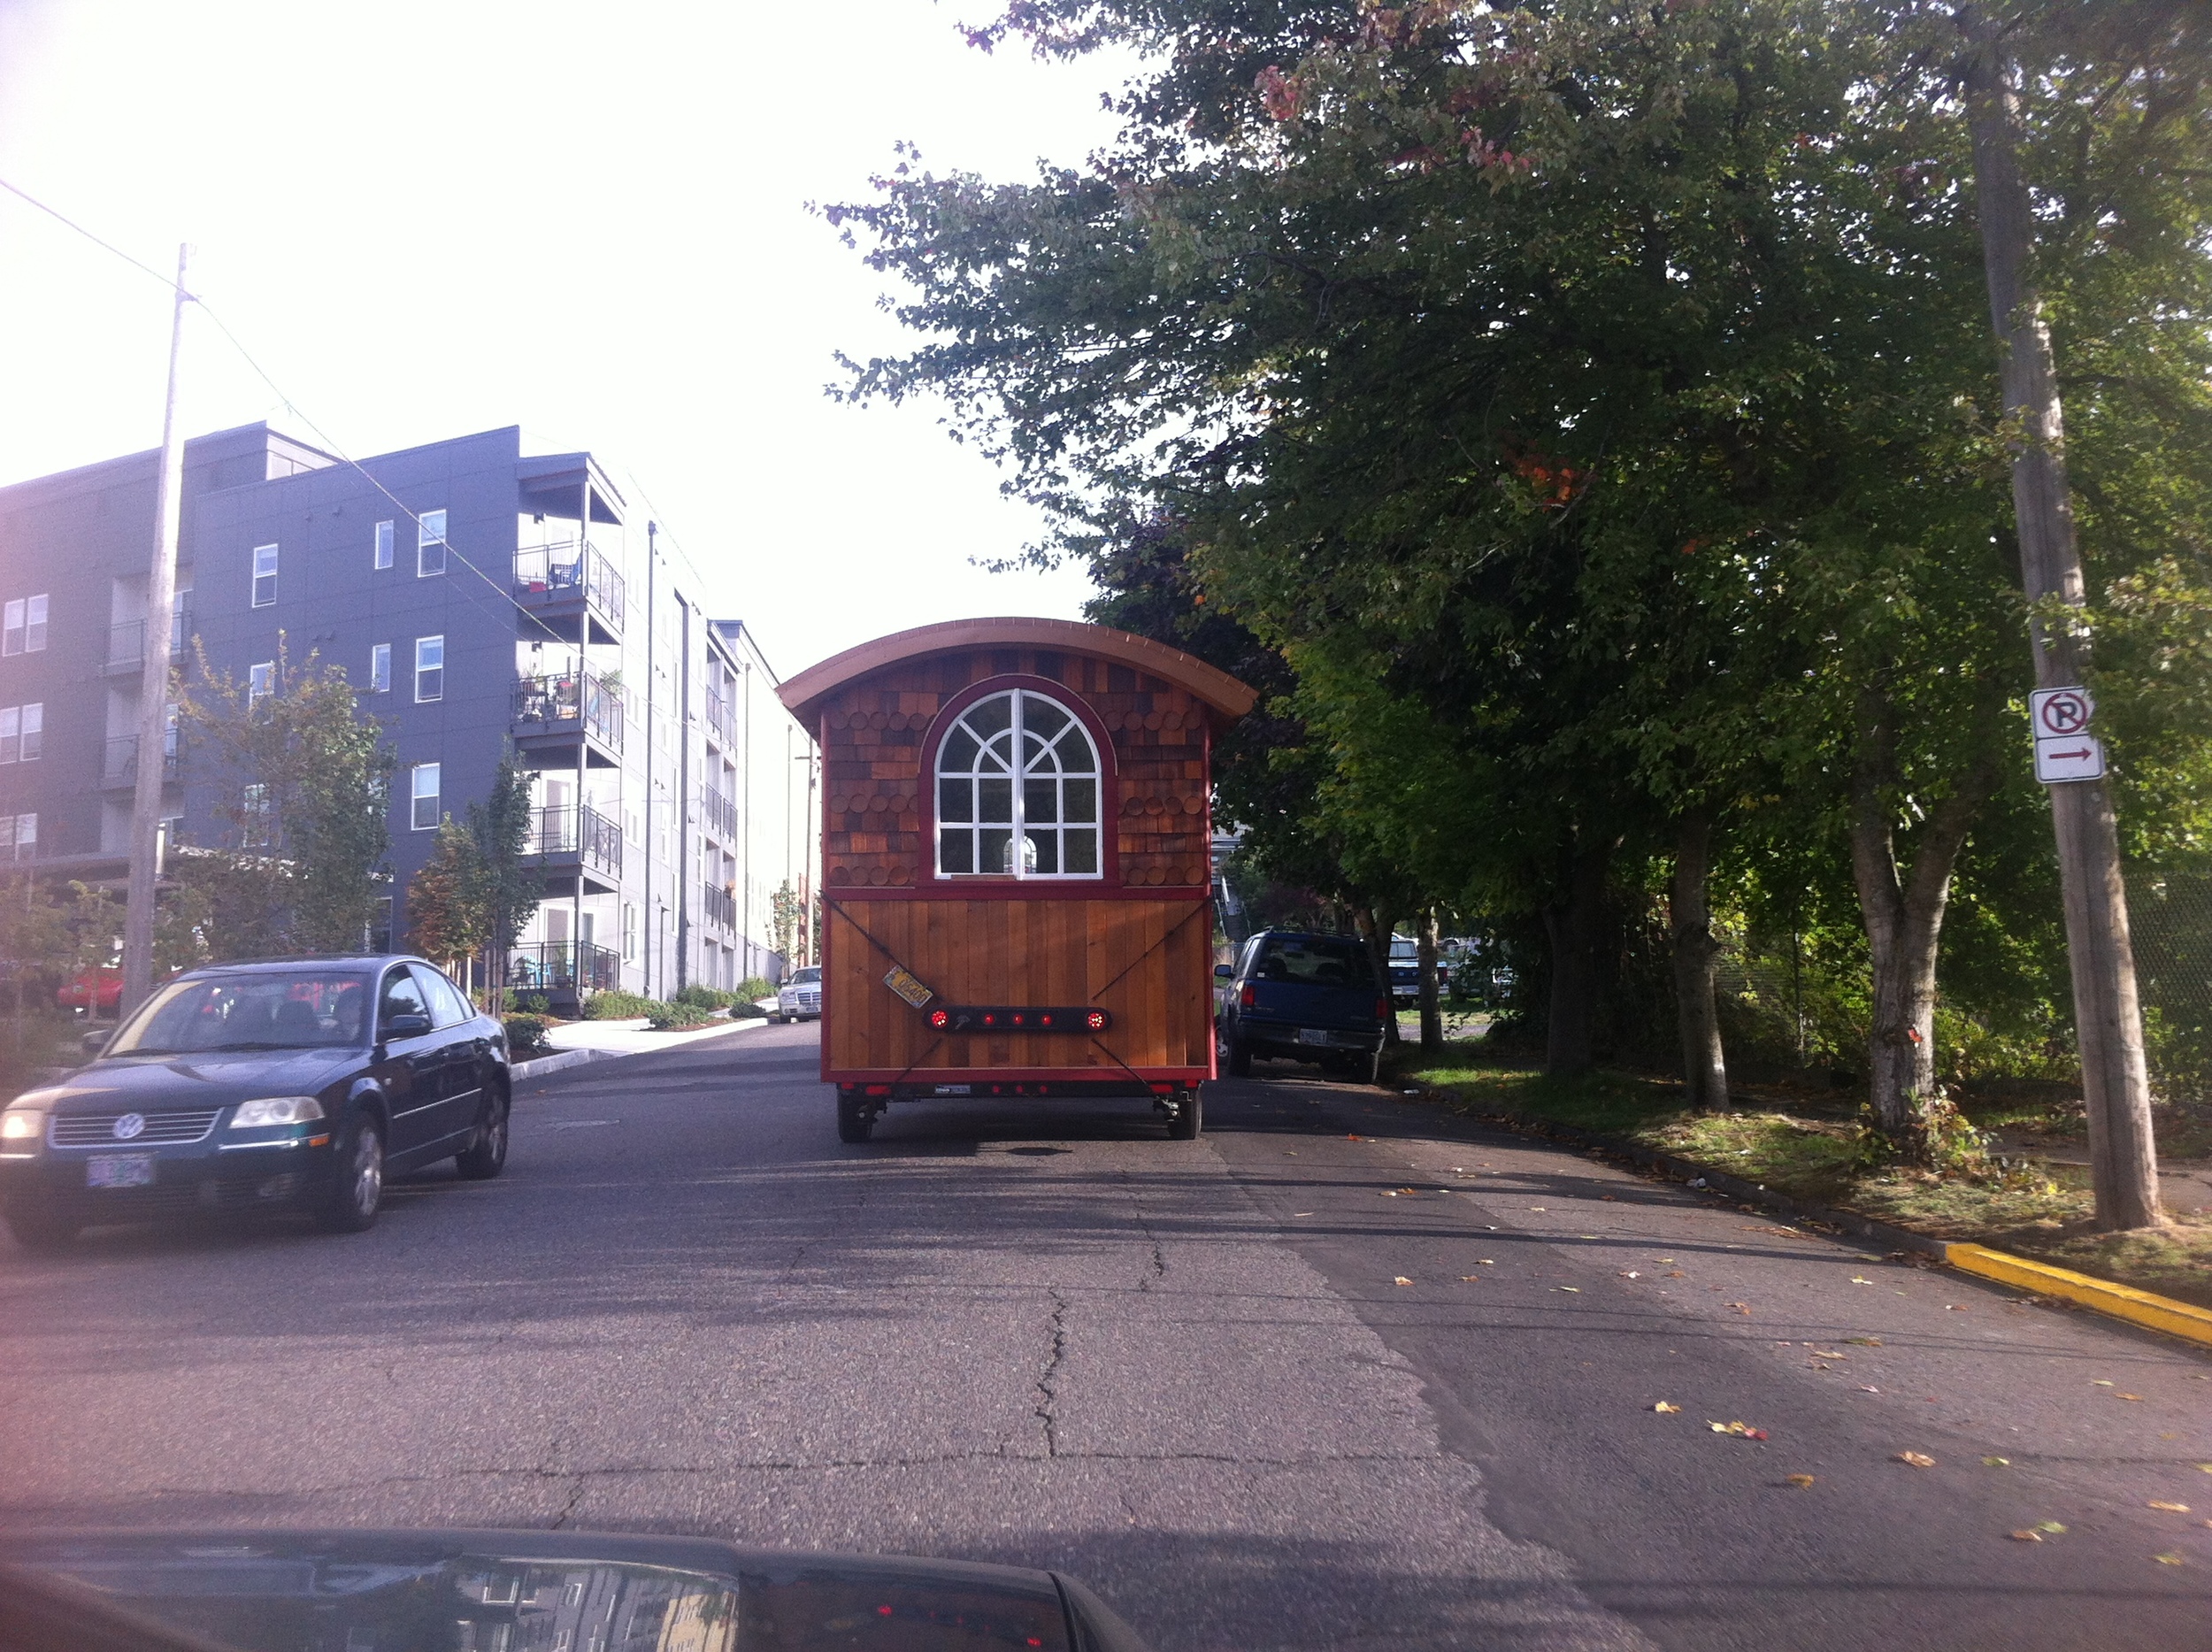
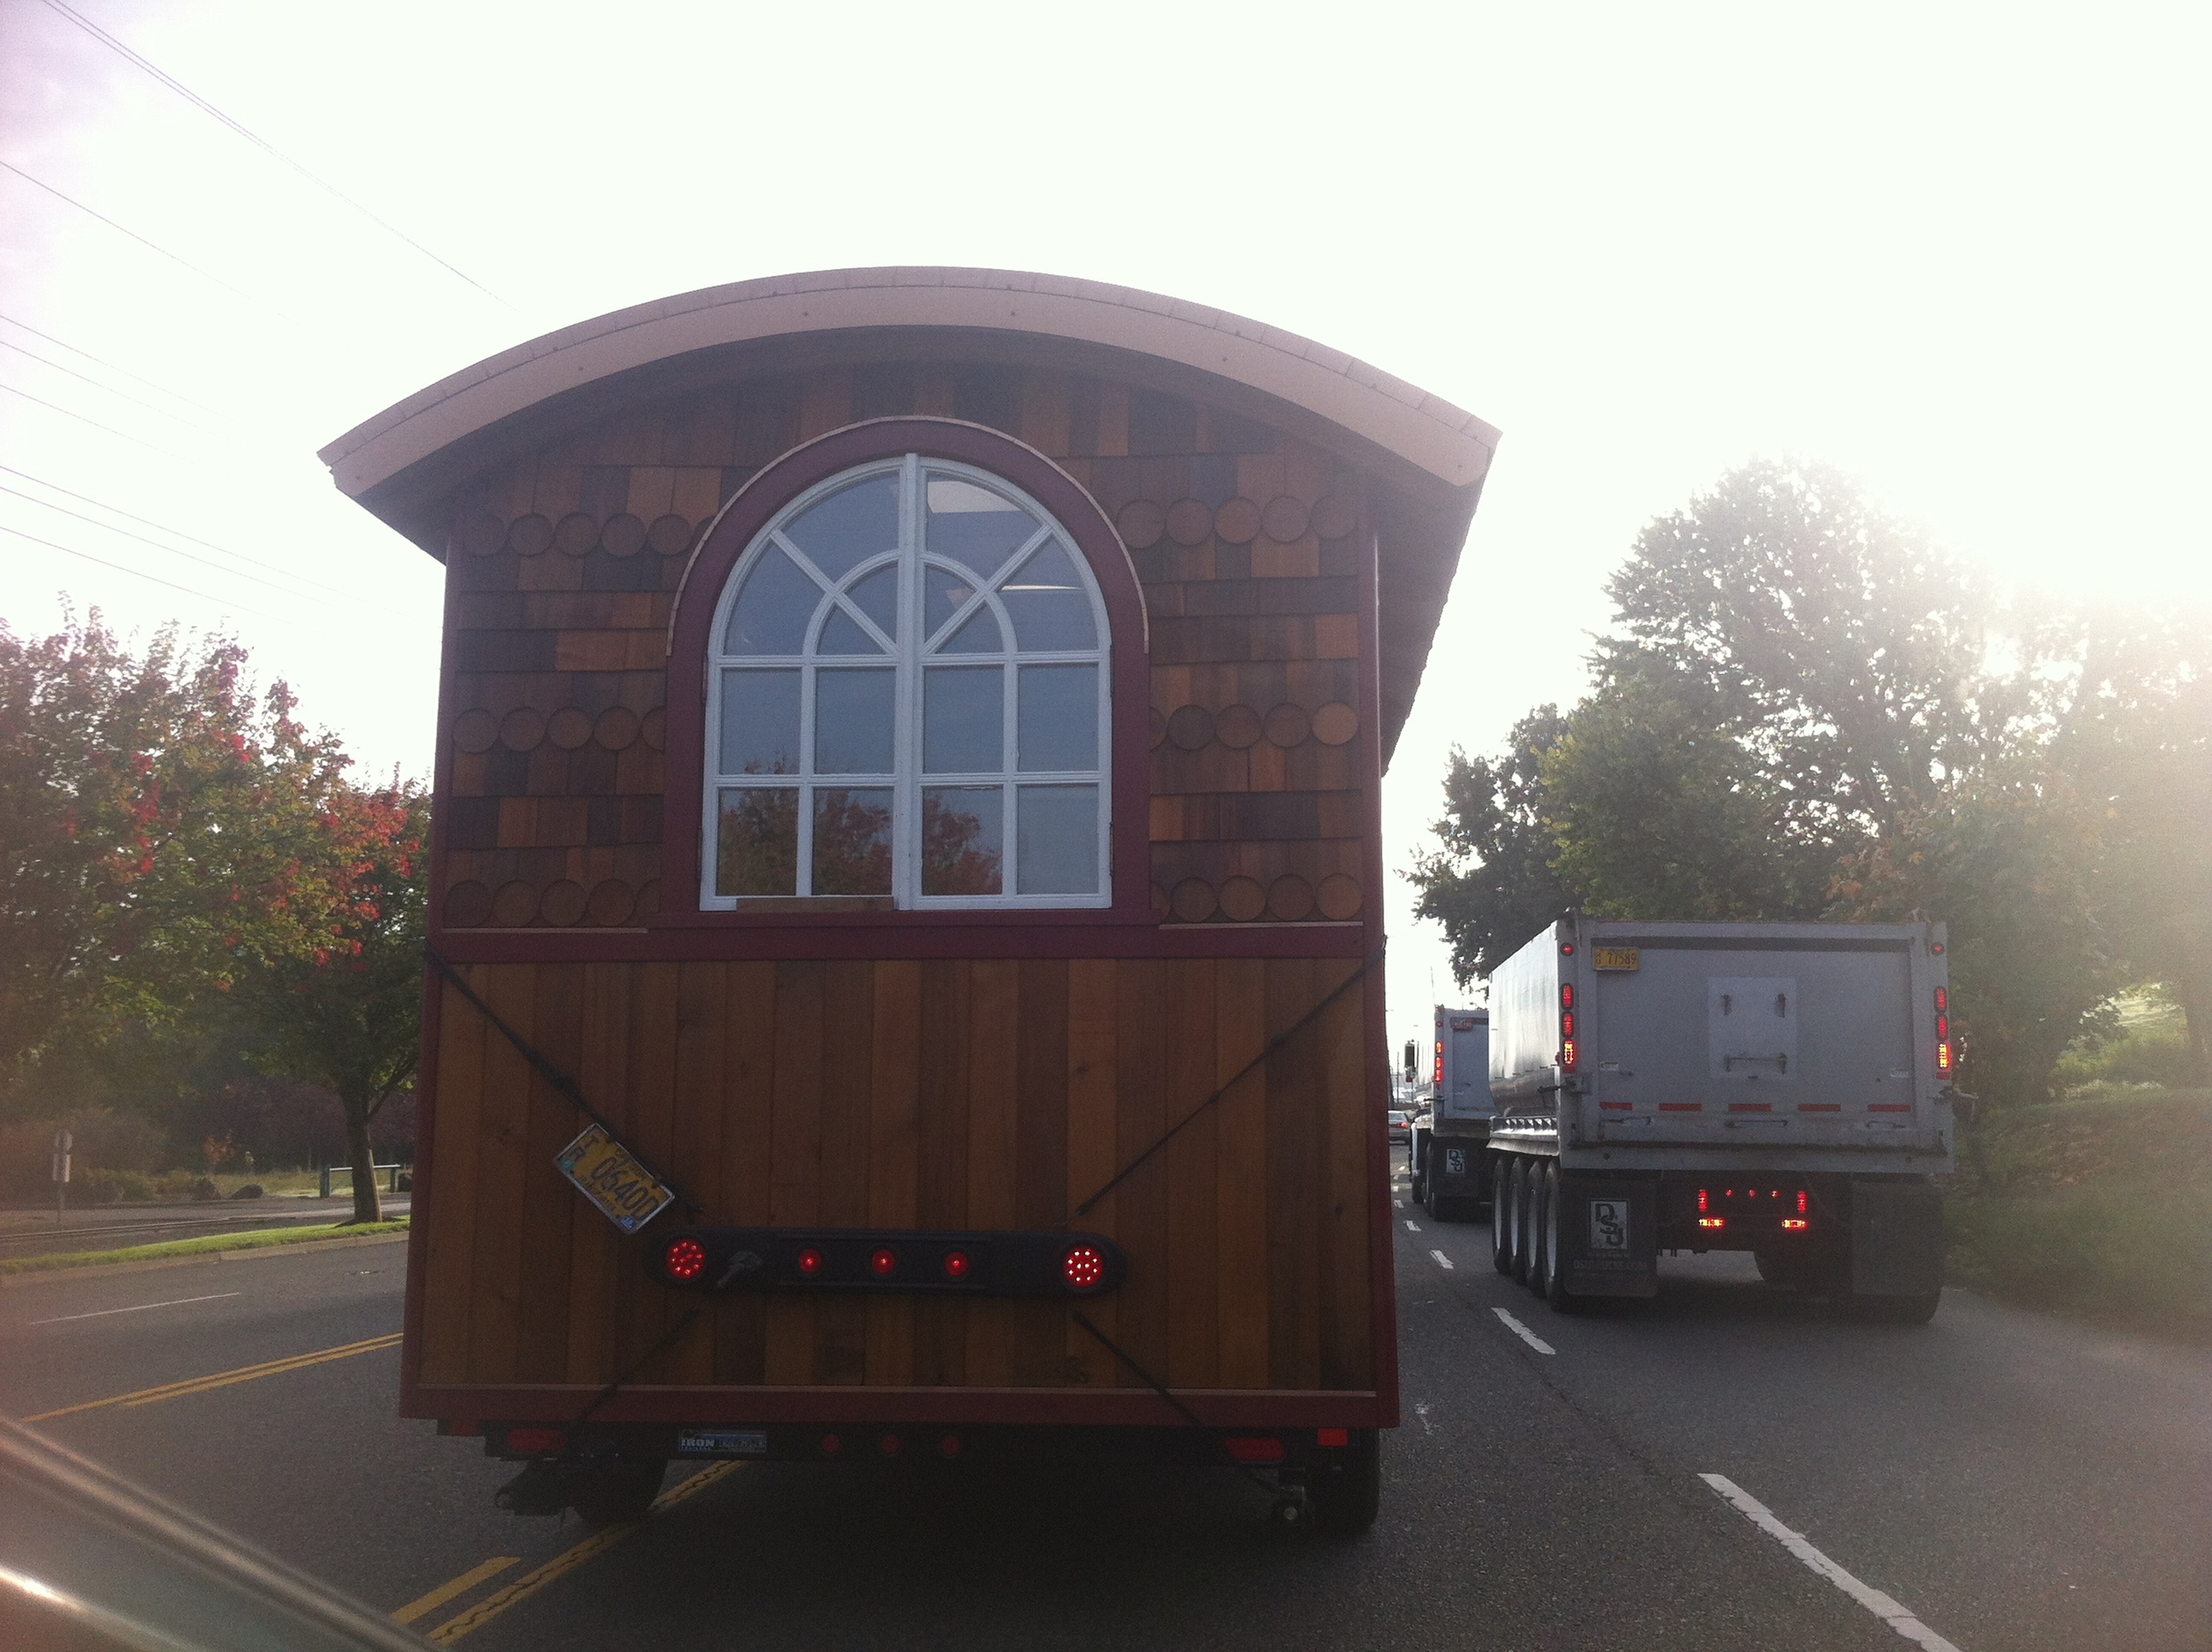
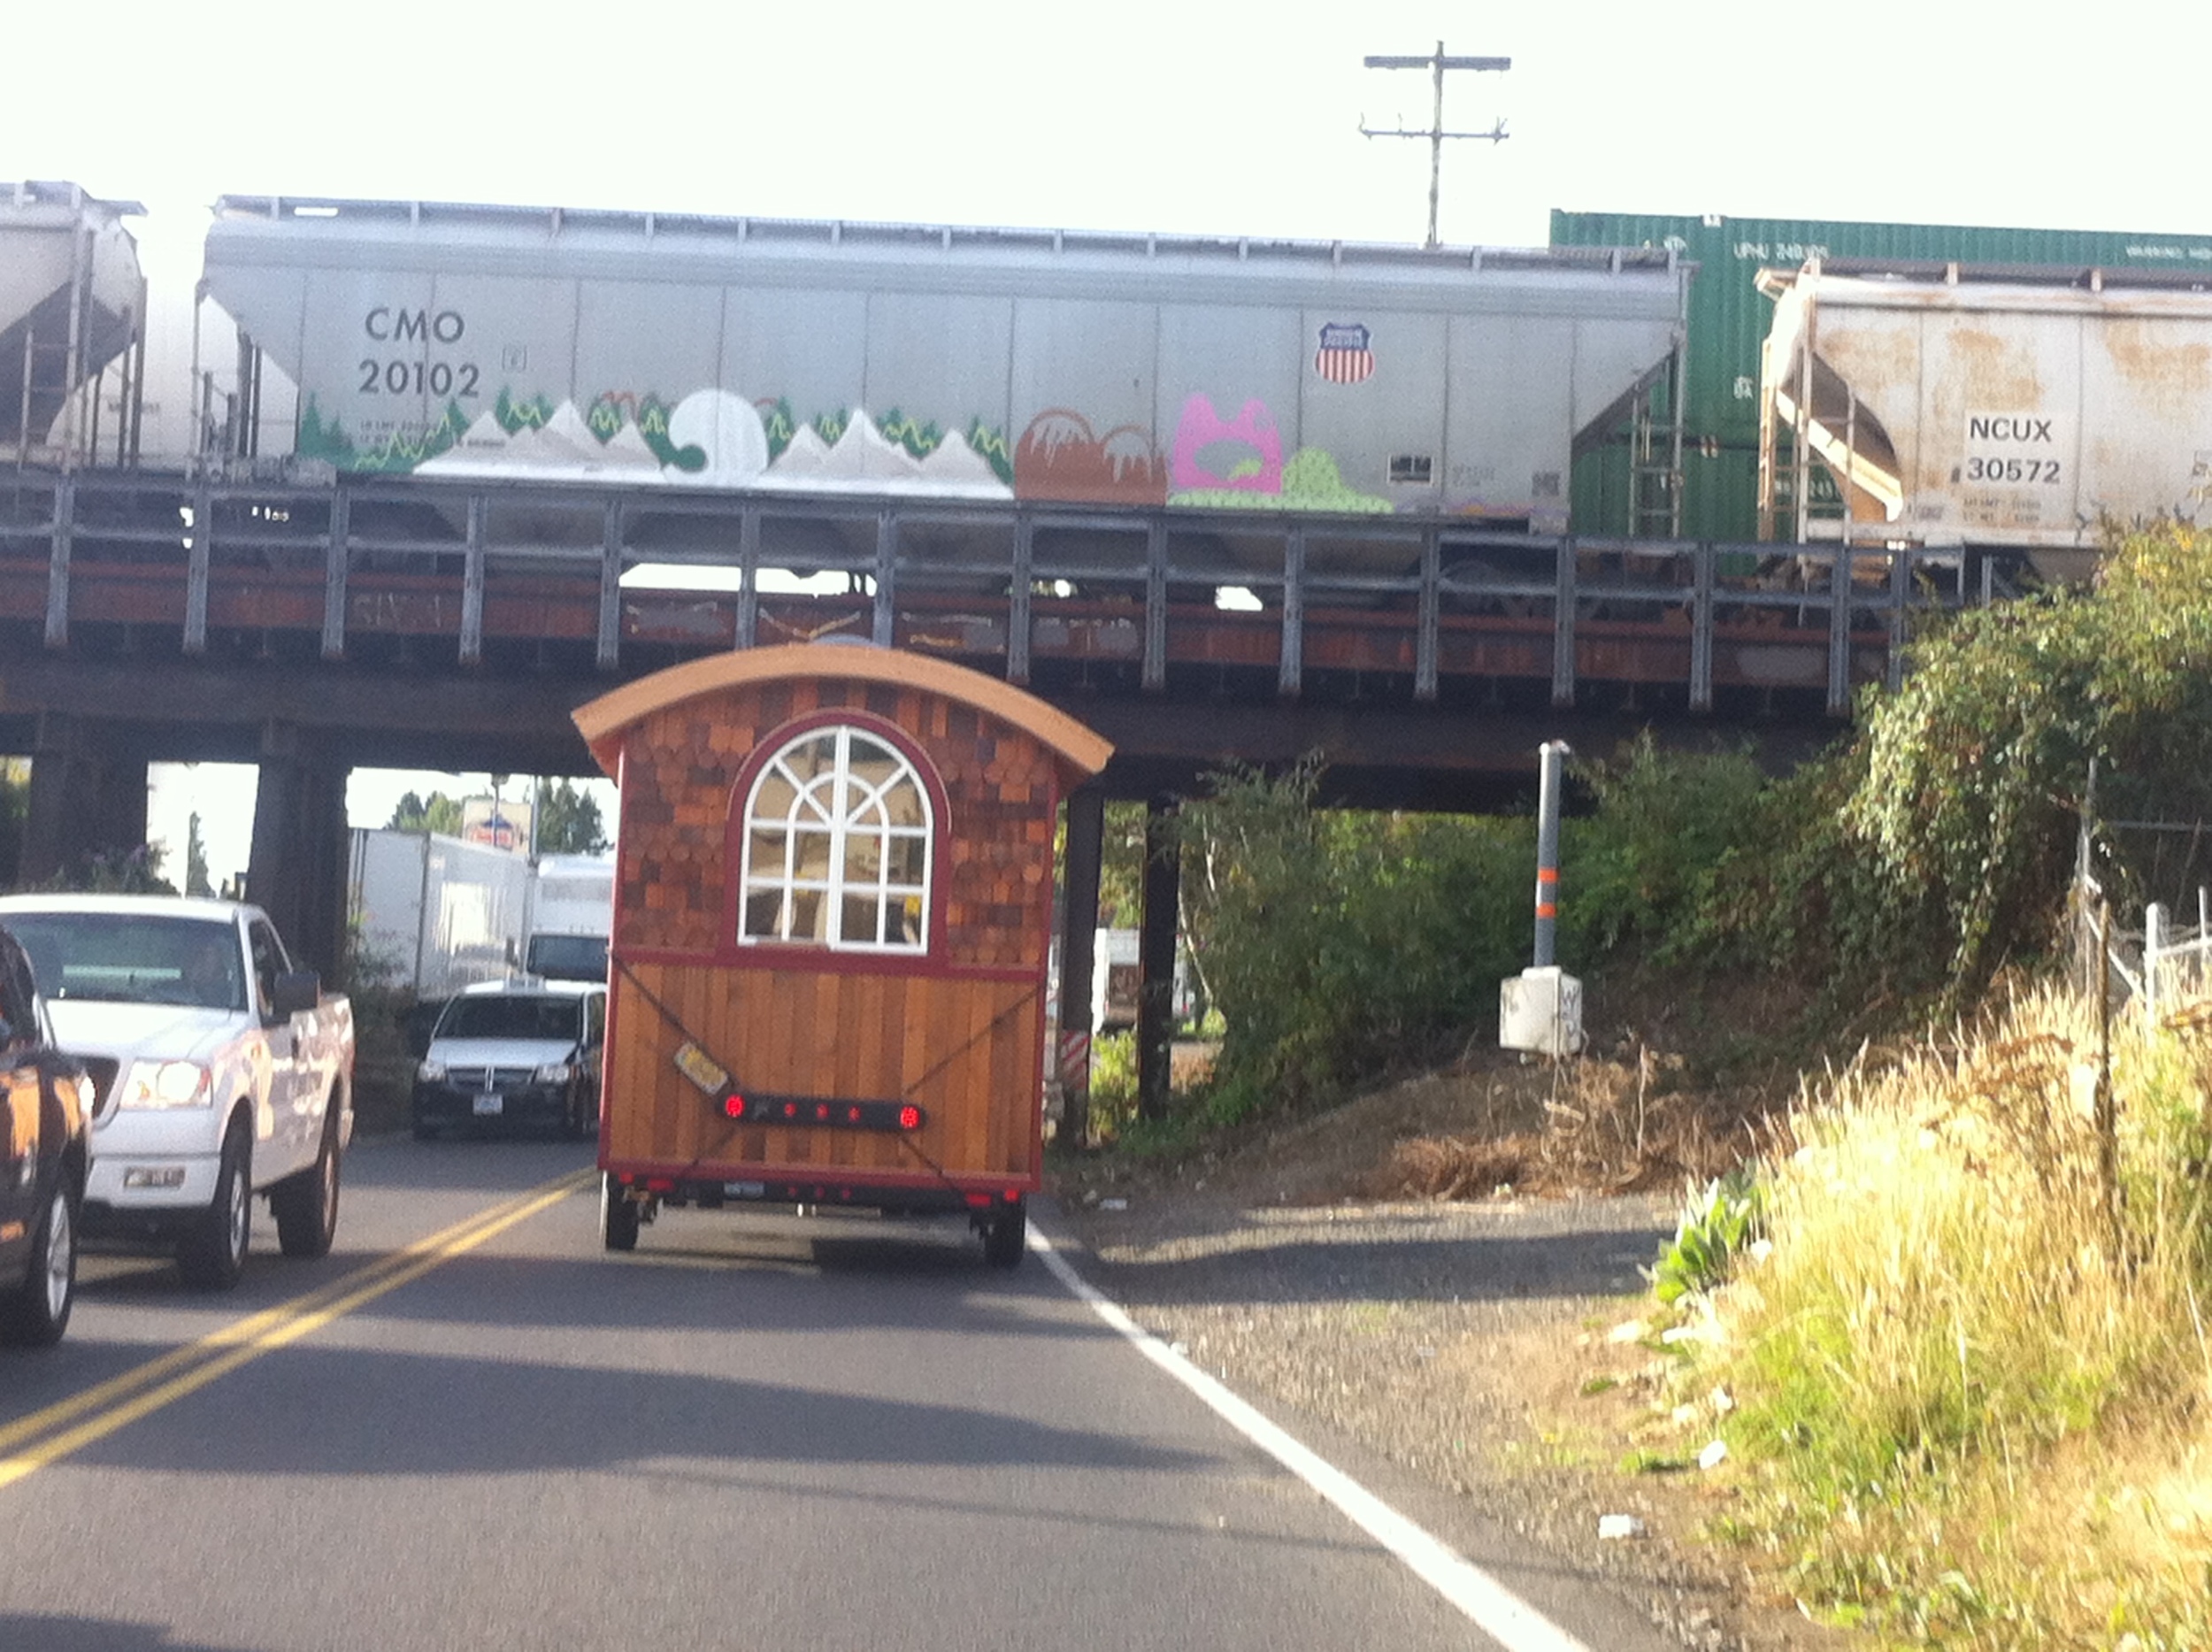
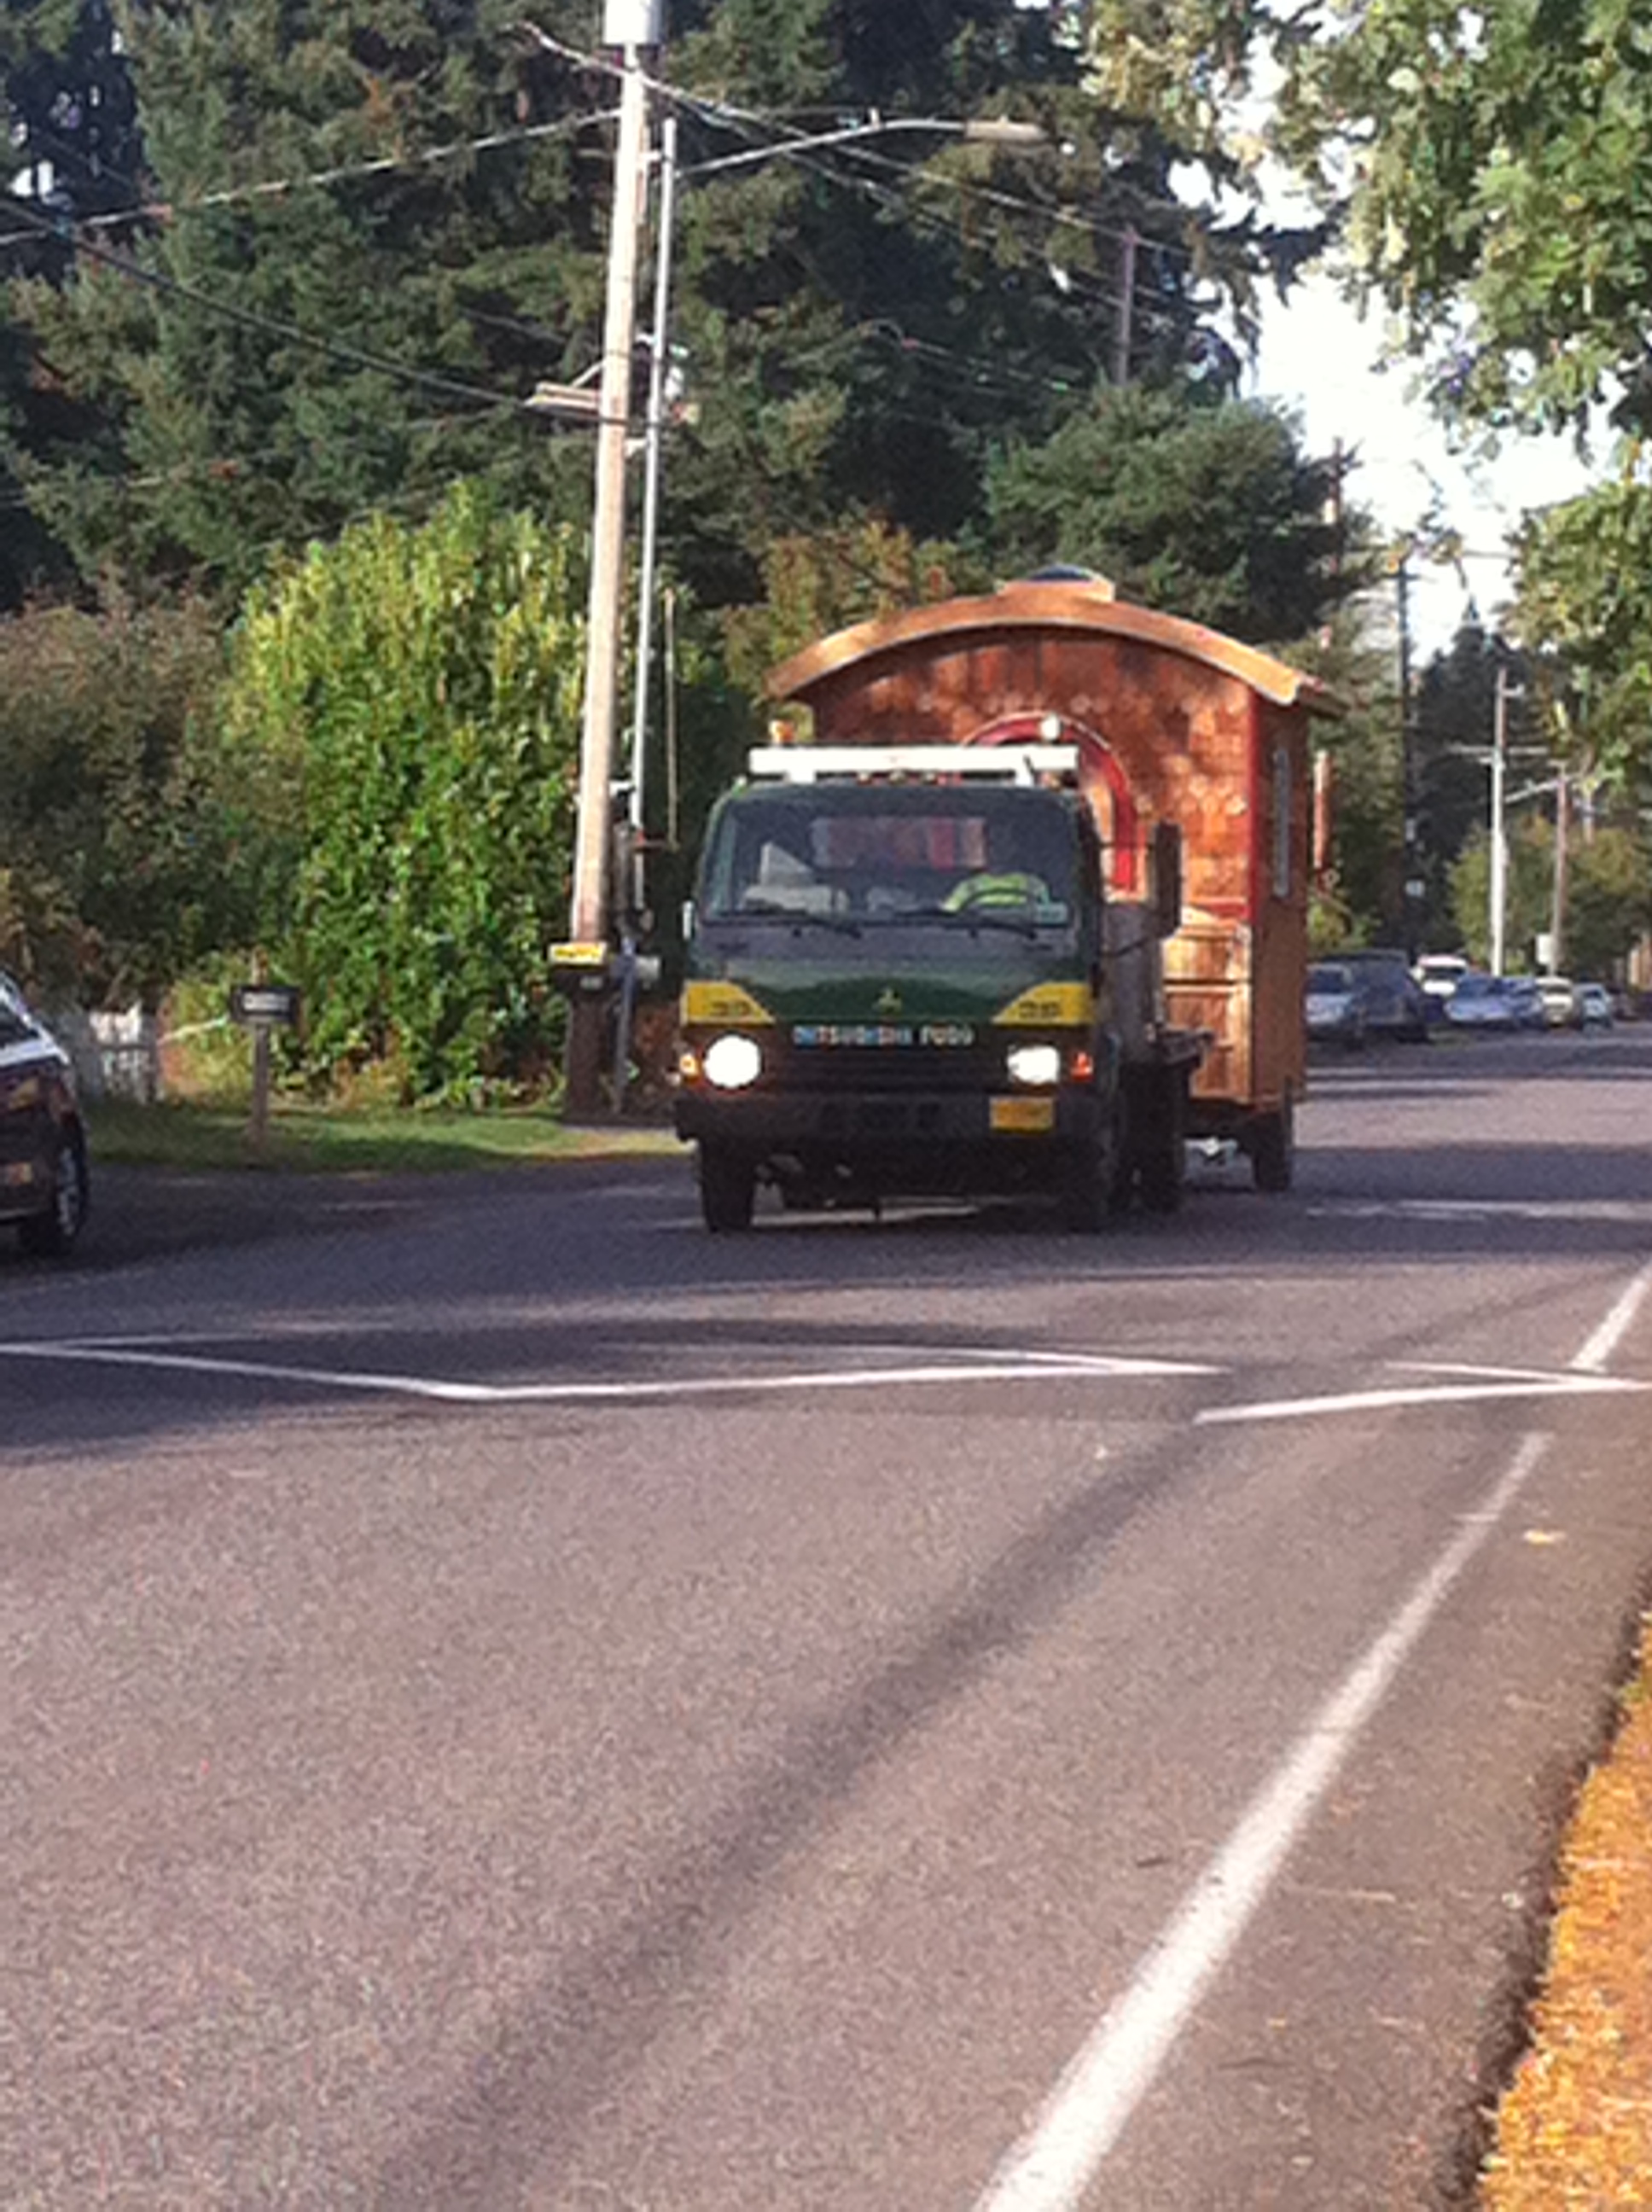
The move itself went quite smoothly. We went the long way to avoid hauling the tiny house up Baltimore Street but it was just fine on the more gradual slope. After that, it was nearly a straight shot from Green Anchors to Simply Home Community. Laura and I followed behind in her car and we got a kick out of watching people’s reactions. There were definitely a few double takes but it was amazing how few people actually noticed. It made me realize I should be paying more attention when I’m out walking. Otherwise you may never know when a tiny house is cruising down the road past you! Of course, it may be that tiny houses are becoming so ubiquitous in Portland, Oregon – tiny house capital of the universe – that people don’t bat an eye anymore!

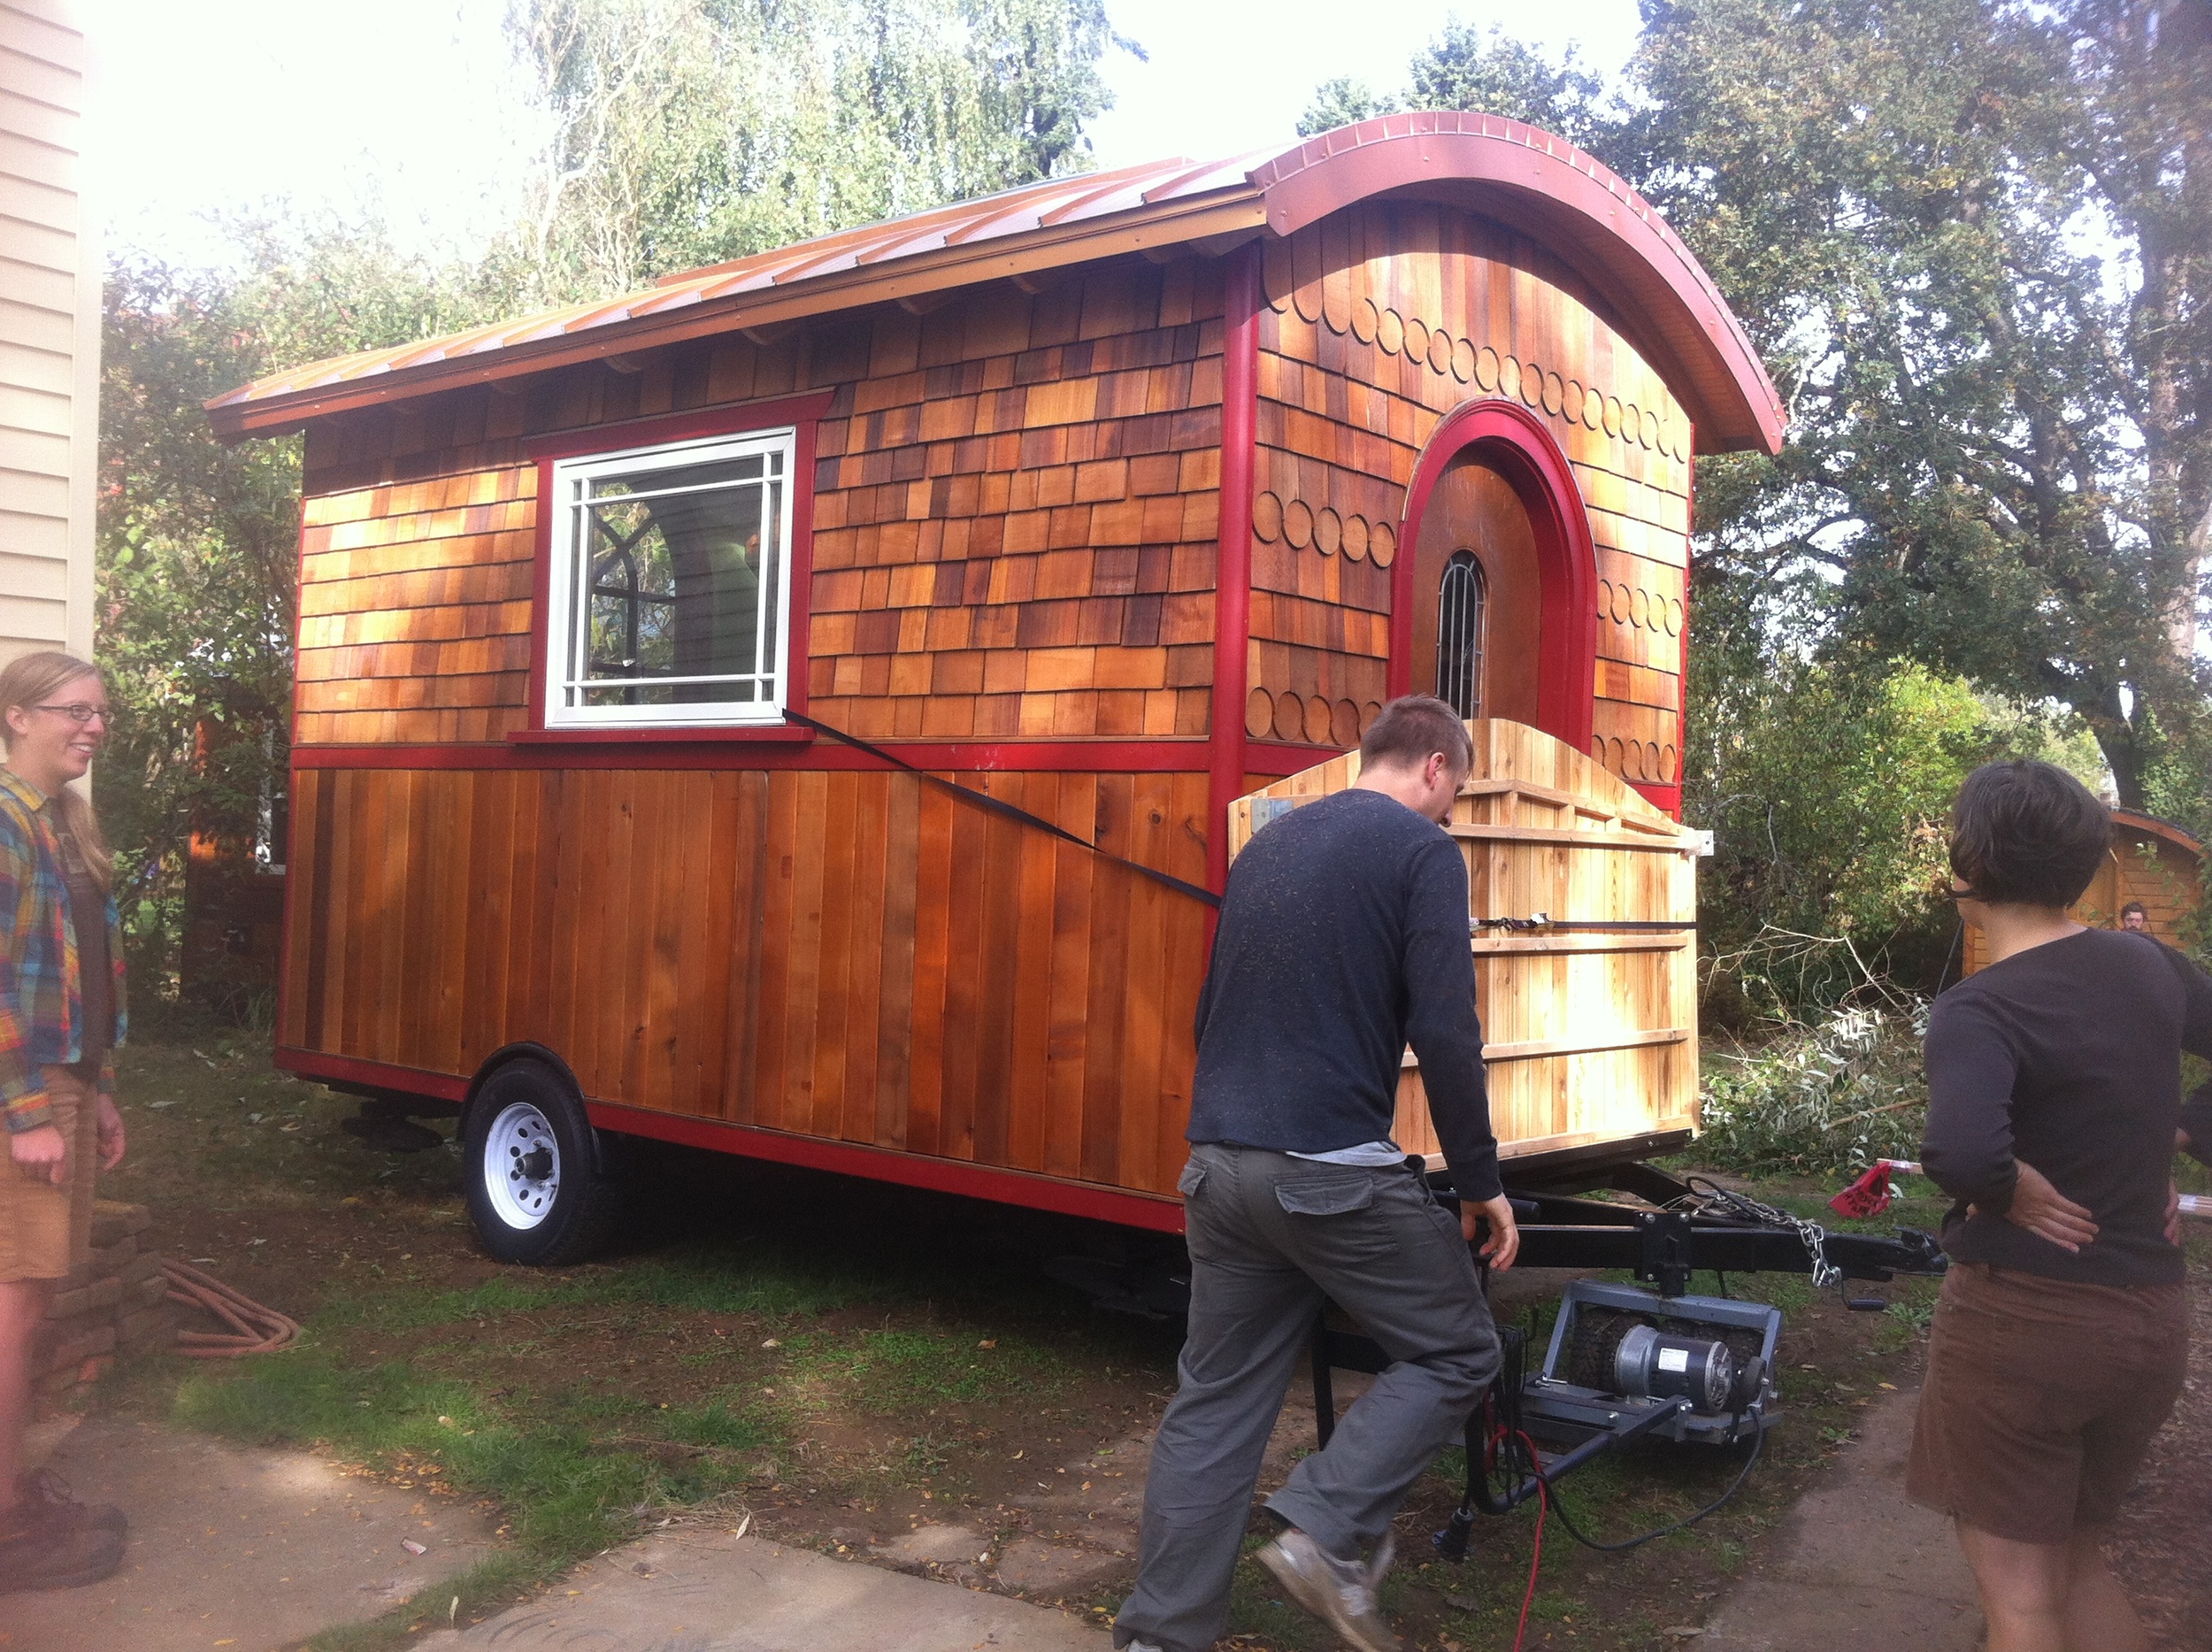
In either case, Morgan helped get The Lucky Penny off the street and backed into the spot between the house and the garage before he headed out again. Then we hauled the tiny house mover out of the back of Laura’s car and Tony navigated the Lucky Penny into her spot with the help of spotters all around. I was lucky my landies were having a work party and stopped to help my little house get tucked between the big house and the greenery that separates my house from The Rustic, the next tiny house over. Hooray for community (and people who are already familiar with tiny houses and their quirks!)

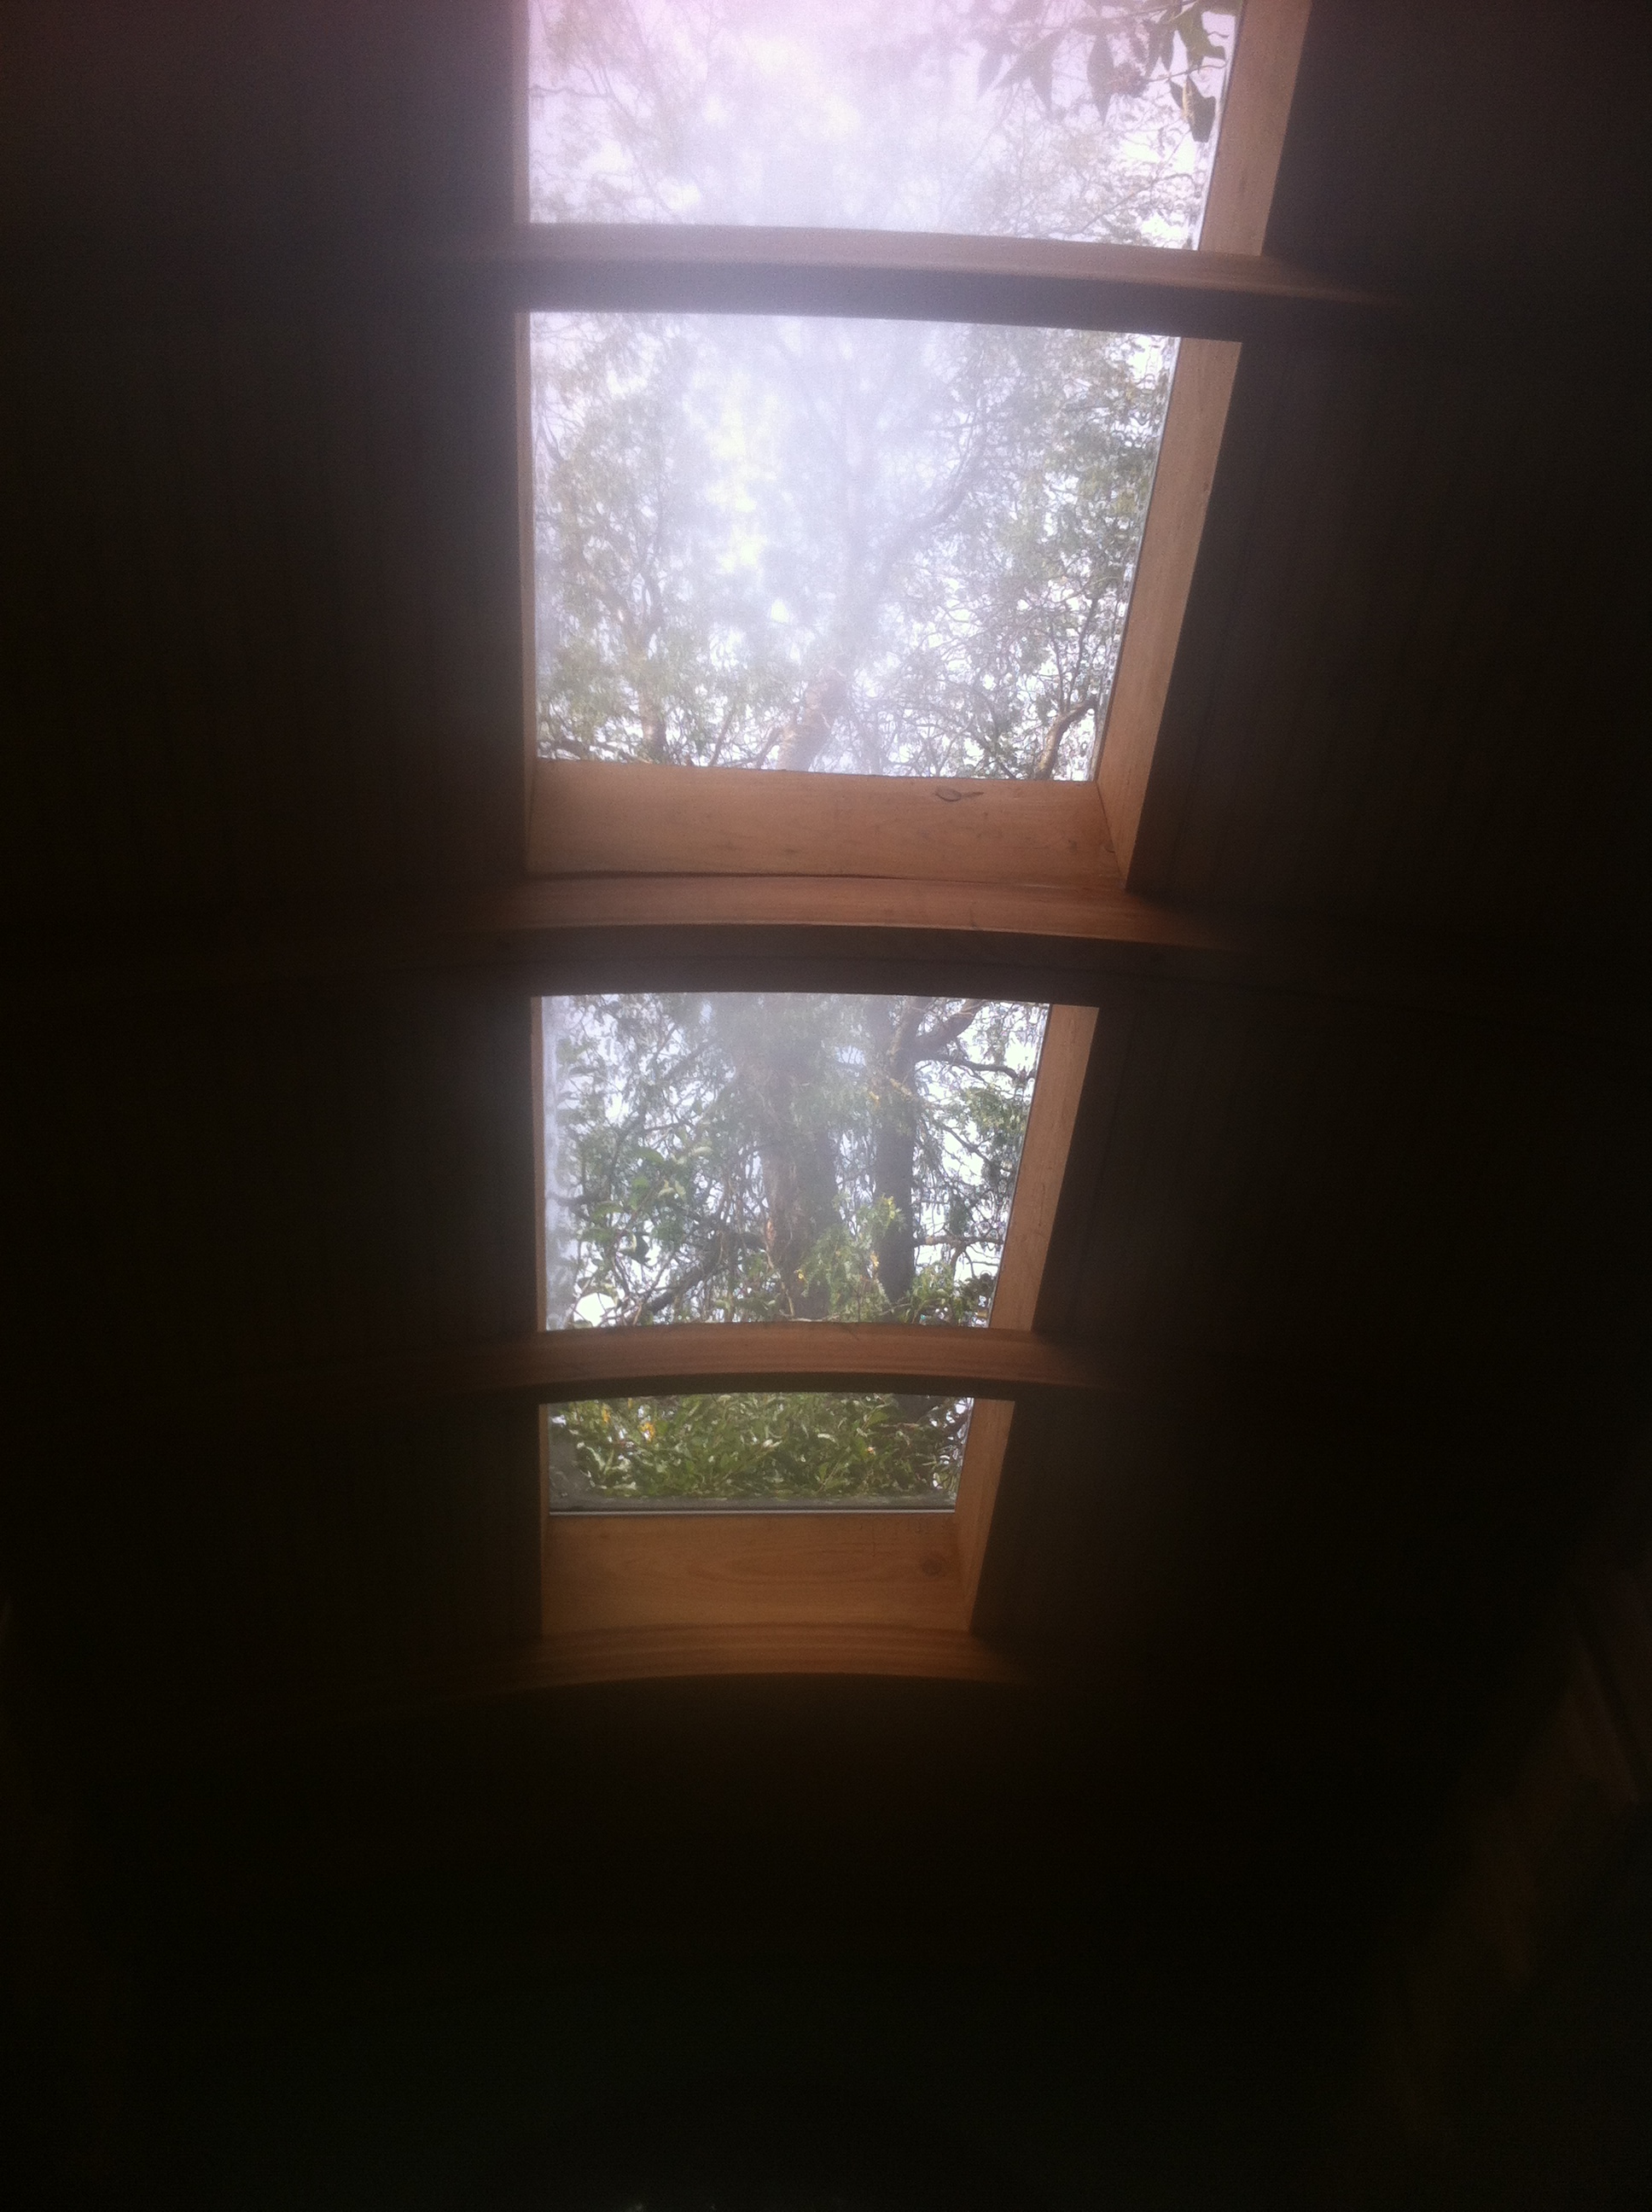
There’s a lot of work left to do before I’m ready to shift my belongings from my room in The Big House to The Lucky Penny. But I’m already enthralled by the way being tucked in the garden has made for awesome views. I think we’ll really like it here!

Coming (Simply) Home

friends gather for the Lucky Penny Open House It’s no use trying to get back to sleep. I’m wide awake before dawn, just as I was three years ago when My Tiny House Adventure Began. Only this time the tiny house I’m moving is my own. In just a few short hours we’ll secure My Flip-Up Front Porch into transportation mode, hitch it up to one of Gerlock Towing’s big rigs, and The Lucky Penny will hit the road for the first time on her Maiden Voyage. My tiny house is not yet finished, but the time has come to move The Lucky Penny to Simply Home Community. Simply Home is a tiny house community in Portland, Oregon where I’m living with a handful of fabulous people, all dedicated to intentional living. It’s actually very much like My Vision for Tiny Cohousing. There is a big house with bedrooms, a huge living room, a dining room, bathrooms, a kitchen, and a basement for laundry and storage. And in the yard there are (soon-to-be) four little houses, which serve as detached bedrooms. We all share the big house but a few of us have our own space via the tiny houses.

I moved into the big house at Simply Home Community in August, just after I finished teaching the two-week Tiny House Design-Build class at Yestermorrow. It was bittersweet to say goodbye to my Home Sweet Pea at Pod 49. It’s a great little house and I love the neighborhood and the neighbors there. But it was also exciting to be making a move towards a long-time dream of Tiny House Community.

Before moving to Simply Home Community I’d lived alone for more than three years. First in my big house (832 square feet). Then in a 15 foot long travel trailer. Then in Brittany Yunker’s tiny house Bayside Bungalow. Then an ADU (accessory dwelling unit) called Granny's Garden Cottage. Then in a 12-foot diameter yurt. And then in Sweet Pea, another tiny house on wheels. I’ve loved having a wee house all to myself. So I’ll admit I was a little nervous about living with other people again.

But it’s been wonderful! It’s nice to have other people to come home to. It’s nice getting to know their friends and family. It’s nice having that sense of being in on something together. I’ve enjoyed participating in community workdays, movie nights, and potlucks. Even our weekly house meetings are fun – which is no surprise considering the group of people! And nothing beats getting a text message right before hopping on my bike to head home after work that says “I hope you’re hungry because I just made a ton of soup!” I look forward to this winter when we are settled in and we can start up our supper club.

I do wish the Lucky Penny was completely ready for me to move into it. But as those who joined me on Friday for my Lucky Penny Open House can attest, I’m now on the home stretch.

(A quick thank you to everyone who came out for the Lucky Penny Open House. I can’t tell you how much it meant to me to be surrounded by people I love – many of whom are tiny housers themselves – as I prepared my house and myself for the imminent move! I had fun staging the house with candles, my spice rack, and the copper canisters I found on my Tiny House Treasure Hunt. But the highlight for sure was when I flipped up the porch and we dedicated my little house. I couldn’t bring myself to smash a bottle of champagne on any part of my house so instead we poured sweet wine over the tongue of the trailer. I started out by officially naming the house and then one-by-one my friends stepped forward to say a few words about what they hope for me and my house. It was a perfect send-off!)

My goal is to make The Lucky Penny functional by the end of October so that Raffi and I can shift our belongings there and switch into Phase 3: Make it Beautiful. (Fortunately, plumbing isn’t going to be a pre-requisite of livability since I can use the big house for cooking and bathing. I do plan to install plumbing because I want that flexibility for the future, but I don’t have the hurry I would have if I were moving the Lucky Penny somewhere that I need to be self-sufficient. In fact, none of the little houses have bathing facilities right now because we all shower in the big house or at the gym!)

I’m going to miss building at Green Anchors. It was the perfect place for my build buddy Laura Klement and I to build our little houses. I’ll miss the views of the St. John’s Bridge. I’ll miss those precious evenings we rewarded ourselves with a beer or a milkshake down at the river. I’ll miss my neighbors (like Rory who helped me build My Flip-Up Front Porch. And, of course, I’ll miss the ability to spread out and stain a bazillion shingles or make a racket as late (or as early) as I’d like. But as the days get shorter, it will be really nice to just pop outside to work on my house. (Besides, I have plans to build other little houses at Green Anchors. Stay tuned for more on that! I look forward to hatching my schemes…)

I’m horribly backlogged on blogging, but I do have more to share about my process. Those stories will unfold in good time. For now, I’m staying focused on the next steps: electrical, built-ins, and trim.

Wish us luck with the big move today!

Lucky Penny Open House

2014-09-13 19.39.39This summer, with the help of lots of friends, I've been building myself a tiny house on wheels called The Lucky Penny. It's time for my little house to make her public debut so we can show off our handiwork before she moves to her new parking spot in a tiny house community. (The house isn't done yet, so I'll continue working on it afterwards, but you'll get the big idea anyhow!) If you're in the Portland area on Friday, October 10th from 3-8pm, please swing on by the Lucky Penny Open House at Green Anchors (8940 N Bradford Street*) to see the house and wish us well before her maiden voyage to Simply Home Community.

And, of course, if you feel like lending a hand this weekend as one of my Tiny House Helpers, please let me know which day and time you can join us. I'll be hosting my last big work parties for The Lucky Penny at Green Anchors on Saturday, Oct 4 and Sunday, Oct 5 from 8AM to 6PM.


* The location is a little tricky to get to the first time. The site is called Green Anchors (8940 N Bradford Street) and it's located almost right under the St. John's bridge. Here's how to get there: from St. John's, take Baltimore down the hill towards Cathedral Park. When you get to the bottom of the hill the entrance to Cathedral Park will be directly in front of you. Turn right and there will be an orange and blue building on your right. Stay left and go along the railroad tracks. Just when you think you've done something very wrong you'll see the gate to the left that says Vintage Boats. Turn in there and drive (or bike or walk) until you see the purple tiny house on the left. That's the tiny house cluster and my trailer is right there.

My Copper Penny Roof

Lucky Penny roof with old skylights Portland greeted the arrival of autumn with the return of the rain. So as I’ve fallen asleep and woken up to the rain the past couple days, I’ve been feeling especially grateful The Lucky Penny has her roof.

Back in June a wonderful crew of Tiny House Helpers assisted with Sheathing My Vardo Roof. We coated the sheathing with two layers of R-Guard Cat 5. Two weeks later I left town for several weeks to travel and teach the Tiny House Design-Build class at Yestermorrow. My goal had been to get dried-in before I took a break from my tiny house build and fortunately, I succeeded. My time away gave me plenty of chances for Musings on My Vardo Roof Box.

But, of course, my roof wasn’t really finished yet. So at the end of August Fred Nordgren from Taylor Metal Products delivered my custom metal roof panels – in copper penny color, of course. He managed to do the snaplock panels for me, which I prefer to the batten and T-panel system, but he said it was a stretch. So I’ll plan to do the next curved roof at a slightly shallower curve. It will still be plenty dramatic!

Over Labor Day Weekend, Tim Bancke and his crew, Jeremy and Shaine, installed my metal roof. I was out of town for the weekend so it was really exciting to receive the photos from Tim and return to see my beautiful roof in place. My roof is, shall we say, complicated –which at one point resulted in me resorting to Plan F: Take 2 – so there were a couple little flashing details we still had to work out.

Fortunately, it was great working with Fred and Tim who came out to take a look at my house in early August and then worked up quotes for me and kept me posted about the fabrication and installation schedules. They’ve tag-teamed other curved tiny house roofs for Katy Anderson (who built Dee Williams’ vardo) and Anita’s tiny house Lilypad (which turned out be-a-u-ti-fully – and you can read more about the Finishing Touches!)

Lucky Penny curved snaplock roof

If you’re in the market for a metal tiny house roof, please get in touch with Fred – and tell him Lina sent you! (If you’re not doing curved roof, Taylor Metal is still a great option. Laura got her roof panels from Taylor and, badass that she is, installed the panels herself, which you can read about in her post The Hat.) And, if you can get onto his busy schedule, I definitely encourage you to have Tim do your installation. (If your roof is complicated, it's worth the wait to have the pros do it right!) Tim and his crew say they enjoy doing tiny house roofs because they're interesting little projects.

So this past Saturday Tim and his crew returned to finalize the details. They cut curved flashing from copper penny sheet metal to cover up the curved rafters at the front and back of the house. They tucked a bit more flashing under the eave flashing to cover the Eave Caps for My Vardo Roof. And they installed a flashing extender around my skylight box before installing My Custom Skylight from Mark at Natural Light Skylight Co. It’s lovely and I can’t wait to get my hammock hung up to admire the rain, stars, and clouds!

The point of a roof is to protect the house from the rain, but it certainly doesn’t hurt that mine is beautiful, too!

A Splash of Color for the Lucky Penny

Note bene: This post has lingered in draft mode for a long time, like many others that chronicle Lucky Penny Finishes. (This is one of the side effects of Finishing an Owner-Built House!) The Lucky Penny has been livable since Nov 2014, when I had my Move In Day & Housewarming. I’m finally getting this post out there now because I have the motivation of the T42 Build Timeline approaching!

Lucky Penny Before Paint

Can you guess what color we painted the walls of my tiny house and what we matched to get it? Read on for the answers!

Since my tiny house, The Lucky Penny, was built with SIPs, the interior wall surface was there by the time we finished My SIPs Wall Raising. There are, of course, some folks biuild with SIPs who choose to install drywall inside the house to create that smooth textured look that's ubiquitous throughout homes in America today. I've installed drywall before and I really enjoy doing it (hooray for playing in - er, I mean "working with" - mud!) And, of course, many tiny houses have wood paneling on the interior. This is so darn common I've had people ask me if it's required in a tiny house! (It's not!) But I decided not to install any kind of additional interior paneling in The Lucky Penny for three main reasons.

A layer of primer

First, I didn't want to add the weight of additional paneling. Even if I went with an interior that's super lightweight like cedar tongue and groove or Alupanel, it's still additional weight and I'd rather not add it. Second, some folks have concerns about the drywall seams cracking when a little house is moved. (I haven't actually seen this happen yet, but I'm curious about whether anyone has. Feel free to leave comments below either way!) Finally, I kinda like the texture of the OSB being available. It's almost like the "truth window" in a straw bale house. It lets people know that my walls are really and truly SIPs!

So I knew I wasn't going to add an additional interior finish, but I did consider using a plaster paint because I love the look and feel of it. It seems almost magical to me how it captures the light. (Oh, and did I mention getting to play in the mud?!) But the lead time was really long and I had some concerns about it cracking in transport. And finally, none of the colors seemed quite right. Plasters tend to come in really lovely and sometimes quite complex hues, but I decided I wanted something more vibrant!

First layer of paint

So I decided I was just going to paint my walls with a no VOC paint. Picking my trim color was really easy. When my friend Matthew and I went to the paint shop to pick a trim color for my arched door, the burgundy called California Claret just seemed to jump out at us. I knew it would great against the copper of My Refinished Arch Door, so it was the obvious choice. I felt the same way about the paint color for my interior walls. It just had to be the color of patinaed copper. So I took a piece of copper with a nice patina on it down to Green Depot where we matched it with the Yolo Paints color ways. The color is called Thrive 04 (which happens to be my lucky number!) I'll take it. Oh, and this is when I learned that another benefit of building a teeny tiny house is that you can paint your interior with just one gallon of paint!

This past weekend a couple Tiny House Helpers assisted me in putting a layer of primer and then two layers of this lovely patinaed copper paint on my walls. We also did a few little tweaks to my interior walls and pocket door. (Thanks, Benn Kovco!) Meanwhile, I worked on a few fussy bits like closing up the top of the walls and sealing seams.

I didn't think I'd end up with quite such a bold color, but I do truly love it. And much of it will end up being covered up since we'll be Installing My Cabinets next!

Curved Trim & Interior Walls

Note bene: This post has lingered in draft mode for a long time, like many others that chronicle Lucky Penny Finishes. (This is one of the side effects of Finishing an Owner-Built House!) The Lucky Penny has been livable since Nov 2014, when I had my Move In Day & Housewarming. I'm finally getting this post out there now because I have the motivation of the T42 Build Timeline approaching!

The pocket door is too big for the frame so we'll rework it!

The past two Fridays, I've worked with a right hand man to accomplish two projects. Last weekend Eric McClelland helped me create the curved trim for my arched window and door and this past Friday my buddy Kenny Bovoso helped me rework a used pocket door frame and install the interior walls.

Eric and I started out the curved trim day by tracing the shape of my window and door onto scrap pieces of plywood. I'm lucky that the arched door came with it's jamb so we don't have to do any fancy business there. I just had it dip-stripped by Timby's Dip Strip since it tested positive for lead paint.

We then went to Parr Lumber to pick up a few pieces of exterior trim for the exterior of the curved window and Emerson Hardwood to pick up a big sheet of medium density fiberboard (MDF) for the interior trim for both the window and the door.

Eric is a talented cabinet maker so back at his shop he showed me how to piece the exterior trim together with biscuit joints to create an angular version of the curve we wanted to create. I got to make some fun cuts on the table saw and it was nice to have Eric's expert supervision and guidance since I'm still extra nervous around the table saw. We also cut the curved trim for the interior of the window and door out of the MDF using the band saw. Then we sanded the edges of all three curves to smooth them out. It's not perfect, but as I keep reminding myself and my Tiny House Helpers, my house needs a little wabi-sabi. It's certainly not bad for my first curved trim project and I'm pleased with the results and extremely grateful for Eric's guidance. I look forward to seeing how the trim looks with the trim paint I've picked! I think it's going to be beautiful! The interior walls project started with a trip to Building Material Resources where I found a pocket door frame that was 36" wide, six inches wider than I needed it. But I figured it could be reworked, and, indeed, it was, though I'm not sure it was worth it financially in the end. It certainly wouldn't have been if I'd been paying Kenny in cash instead of beer and hugs! On the other hand, we appreciated the quality time together to catch up and the project was pretty fun.

We removed the side braces, cut them back, and then reinstalled them at the right width. We then installed the pocket door frame and built the other interior wall to line up with it. It will need a little more finessing, but I've gotta say, it's pretty exciting to have this interior wall because it's the first big move on the interior. This wall divides my Quintuple-Duty Mud Room from the rest of the house and my little house is starting to feel more like I'd envisioned it! For the rest of the weekend I continued on with Siding & Shingling, which was a good project to be working on during the Green Anchors Open House because it was easy to take breaks and show people the little house.

Mistakes Manifesto

Window Oops As I continue work on my tiny house, The Lucky Penny, I think a lot about the mistakes I'm making and what I can learn from them.

When I taught the Tiny House Design-Build class at Yestermorrow this summer, my co-instructor Lizabeth Moniz encouraged us to share mistakes and solutions with each other in our evening and morning construction reviews so that we could all benefit from the lessons learned. Ever since, I've been thinking a lot about mistakes.

Over the past sixteen years I've assisted with the construction of 23 houses, including 12 tiny houses on wheels. In the process I've learned an enormous amount about building. I've also learned a great deal about myself.

And one of the things I've learned about myself is that I wish I were already a better designer and builder. I wish I didn't make so many mistakes. I want to be better at this already, thank you very much. But mastery takes time. And a willingness to make mistakes and learn from them. (My host family in Italy could vouch for this philosophy. I said all sorts of preposterous things in my efforts to communicate in Italian. But I got better at it in leaps and bounds because I was willing to be wrong - over and over again!)

I worked with some builders once who refused to talk about the mistakes they made. They didn't want anyone to believe they ever made mistakes. And I can understand that feeling. It's about pride. And it's about reputation. But wouldn't it be nice if addressing our mistakes and lessons learned was better for our reputation than trying to hide our imperfections?

I'd rather all of us could fess up and say "Oops! Look at that. I messed that up big time!"

Because the great thing is that a mistake that's confessed and addressed has a fix along with it. Occasionally the fixes are just redos. And it's obnoxious to tear out a hard day's work to redo it. But often the fixes are innovations. The solution we come up with after we've made a blunder is often better than the original idea. (Plan F: Take 2, for instance, was better than Plan A!)

Maybe it's working as a woman in the male-predominate construction industry that makes me both hesitant to admit my mistakes and also too quick to downplay my expertise. On the other hand, perhaps it's precisely that same gender conditioning that compels me to share these challenges for the greater good. I know several other female tiny house builders and bloggers - like Kate from NajHaus and Laura from Laura's Blog who have been brave enough to share their struggles and successes.

So when I wrap up construction of The Lucky Penny this fall, I plan to share ALL The Mistakes, because maybe you can learn from mine. I figure if I can save you some time you can make plenty of your own mistakes. Just be sure to tell me about them so I can learn from your mistakes, too.

Hurry up! Make some mistakes. Than confess and address them. Let's learn from each other!

Doing Life

I’ve been doing life. And I haven’t been making the time to post about it.

This summer, Life involved a five-week break from building The Lucky Penny. First I took a long weekend to make My Annual Pilgrimage to the Oregon Country Fair. Next I headed to Vermont to teach a 2-week Tiny House Design-Build class at Yestermorrow. Then I headed to Seattle, my hometown, to catch up with one of my sisters, my best friend from high school, and several other old friends.

This is the little life.

And it’s a good one. So I won’t apologize for a moment for living my life instead of talking about it. But considering how many of you have asked me for an update in the past week, I suppose I probably should have said something.

The quick version is this:

  • I’ve moved into The Big House in tiny house community where I’ll be bringing The Lucky Penny once it’s complete

  • I’ve helped my friend Ben who is finishing up his tiny house (and will also be moving it to this great little tiny house community!)
  • I’ve built My Front Porch (which is already much better than a Shrinky-Dink Porch and solves the problem of Tiny Houses Turn Their Backs on the Street)
  • I’ve been working on Fancy Shingles
  • I’m planning Tiny House Work Parties all through September to get as much done on the Lucky Penny as I can before the rains return
  • I’ll be hosting a Tiny Open House in early October to thank My Tiny House Helpers and show off The Lucky Penny (in whatever state of completeness she is at that point!)

In retrospect, I realize it probably would have been a good idea to officially take the month of August off from blogging. After all, I knew that things would get busy once I resumed construction of The Lucky Penny while simultaneously ramping up to full-time work as the Living Building Coordinator for the Breathe Building. I might have imagined that blogging would be a good thing to set aside for a few weeks. But, alas, hindsight is 20-20.

Chances are, you were out there having fun and didn’t miss me anyhow. You were Doing Life, too, right? (If not, get out there and have some fun in the sun!)

On the other hand, those of you who have been following along for a while probably know that me not posting doesn’t necessarily mean I’m not writing. After all, writing is one of the best ways I know to process my experiences. So stay tuned for some backlogged blog posts to appear in the coming weeks! Meanwhile, Happy Summer!

Tiny House Shingles

Front Shingles It was another gorgeous August weekend in Portland. Perfect for working on my tiny house. I spent it running errands, helping with a work party at Simply Home Community, and playing with siding and shingles for The Lucky Penny.

On Saturday Ashley Lane was my right hand woman. In the morning she helped me pick up my tansu, a beautiful Japanese storage cabinet that I'll use in my little house. And in the afternoon we hung shingles on the front of my house. I met Ashley Lane in a PAD Tiny House Basics workshop and then got to know much better when she took the Tiny House Design-Build class at Yestermorrow this summer. Next summer she and her partner plan to build their own little house (inspired by the Minim House at Boneyard Studios). On Sunday Hanah came to lend me a hand. She and her sister are both interested in building their own tiny houses, so it was fun to hear about her tiny house dreams.

It's been fun to work alongside so many Tiny House Helpers this summer who have either built their own wee homes or plan to. It was also nice to work solo for part of the weekend. I've hosted so many work parties that it was nice to have a few hours all to myself to figure out next steps and savor the sensations of building at Green Anchors on a beautiful summer day.

door over the tongue, before porch

When I worked on my Tiny House Trim & Siding back in June I put up my first row of half rounds and arrows to make circles with my shingles. I was thinking about doing this the whole way up, but I decided it would be overkill. So instead I decided to make the rounds an accent by alternating them with rows of raked shingles. I think the effect is quite lovely!

Now that My Flip-Up Front Porch is done, we were able to position the ladders right on it for shingle hanging. How convenient! Hanging shingles (especially when you're jigging out for A Beautiful Arched Door and My Arched Rafters) takes some puzzling. And I do enjoy puzzle piecing it together. I like the way I can feel that part of my brain working hard. But it's sure nice to be on the straights and just slip into the meditative practice of staining and hanging shingles!  (By the way, we're staining all six sides of each shingles before installing them because they will be less likely to cup and warp and they should hold up much longer this way. It takes forever, but hopefully they'll last forever, too!)

We didn't quite finish the shingles on the front of the house and, of course, there are three more sides of the house to shingle. But let me assure you, it's really rewarding to see my house begin to look like I've envisioned it!

My Flip-Up Front Porch

ta da! my front porch! After taking a break from The Lucky Penny for a few weeks because I was Doing Life, it felt good to get back to building this weekend. On Friday I helped Ben who has been building his tiny house at ADX. You can see his progress at Ben Builds a Tiny House. Ben is on the home stretch so he rallied a bunch of people – including Dee Williams, Angela Ramseyer, and Derin Williams – to help him out this weekend. I got to help with siding on the front of his house and finishing out his wheel well boxes. It’s coming along nicely and I’m so excited that Ben and I will be neighbors soon at our Tiny Cohousing Community, Simply Home!

On Saturday I worked on my front porch. As many of you know from my post Tiny Houses Turn Their Backs on the Street, I have been planning for years to build my little house so that the porch is over the tongue of the trailer. This way whenever I back my tiny house into a new driveway (and just about any other parking spot) my front door will greet the street. I also didn’t want a Shrinky-Dink Porch. It has to be substantial enough that I could actually use it.

It’s been awkward climbing into and out of my little house without a porch for the past couple months because I’ve had to clamber up over the tongue. It seemed high time to get my front porch built. Now that I have, I wish I’d done it sooner. But, as usual, there is an order of operations. I wanted to have My Arched Door in and my Siding on so I could arrange the details of attaching my porch since it will flip-up for transport.

I used a Getaround truck to pick up my supplies and got to work. My build buddy Laura was around this morning and she’s at a pause point on her own tiny house build so she helped me construct the frame for my porch with 2x2s. Then I laid out 1x4s and 1x6s over it, alternating them to create a little visual interest. I attached the decking to the frame with star drive decking screws. I added additional framing as necessary to strengthen the frame. It’s certainly not as beefy as it could be, but then again, I don’t really need it to be. I plan to sit on my porch plenty and I plan to put My Chiller: A Natural Refrigerator out there in the cool months, but I’ll probably host my dance parties just a few steps away in the great outdoors.

When I was done attaching the planks I had scraggle-toothed edge to my porch. And since this is The Lucky Penny and I’m obsessed with curves, I wasn’t done yet. So Laura helped me hold a piece of lath against the edge of the porch in a lovely arc. We marked this on the boards and I used a jigsaw to cut the ends of the boards. Then I added supports in both corners so that my porch is ready for the hoards of people who have registered for PAD’s Tiny House Mixer at Green Anchors on Thursday.

The porch isn’t quite done yet. I plan to add a fascia board around the edge to hide the hitch. I still need to stain the wood. And, of course, I need to add my hinges so that it will flip up for transport. But all-in-all, it was a good day’s work and it was fun to sit on my porch this evening to celebrate!