Revisiting Homeownership

2014-05-31 17.06.06 
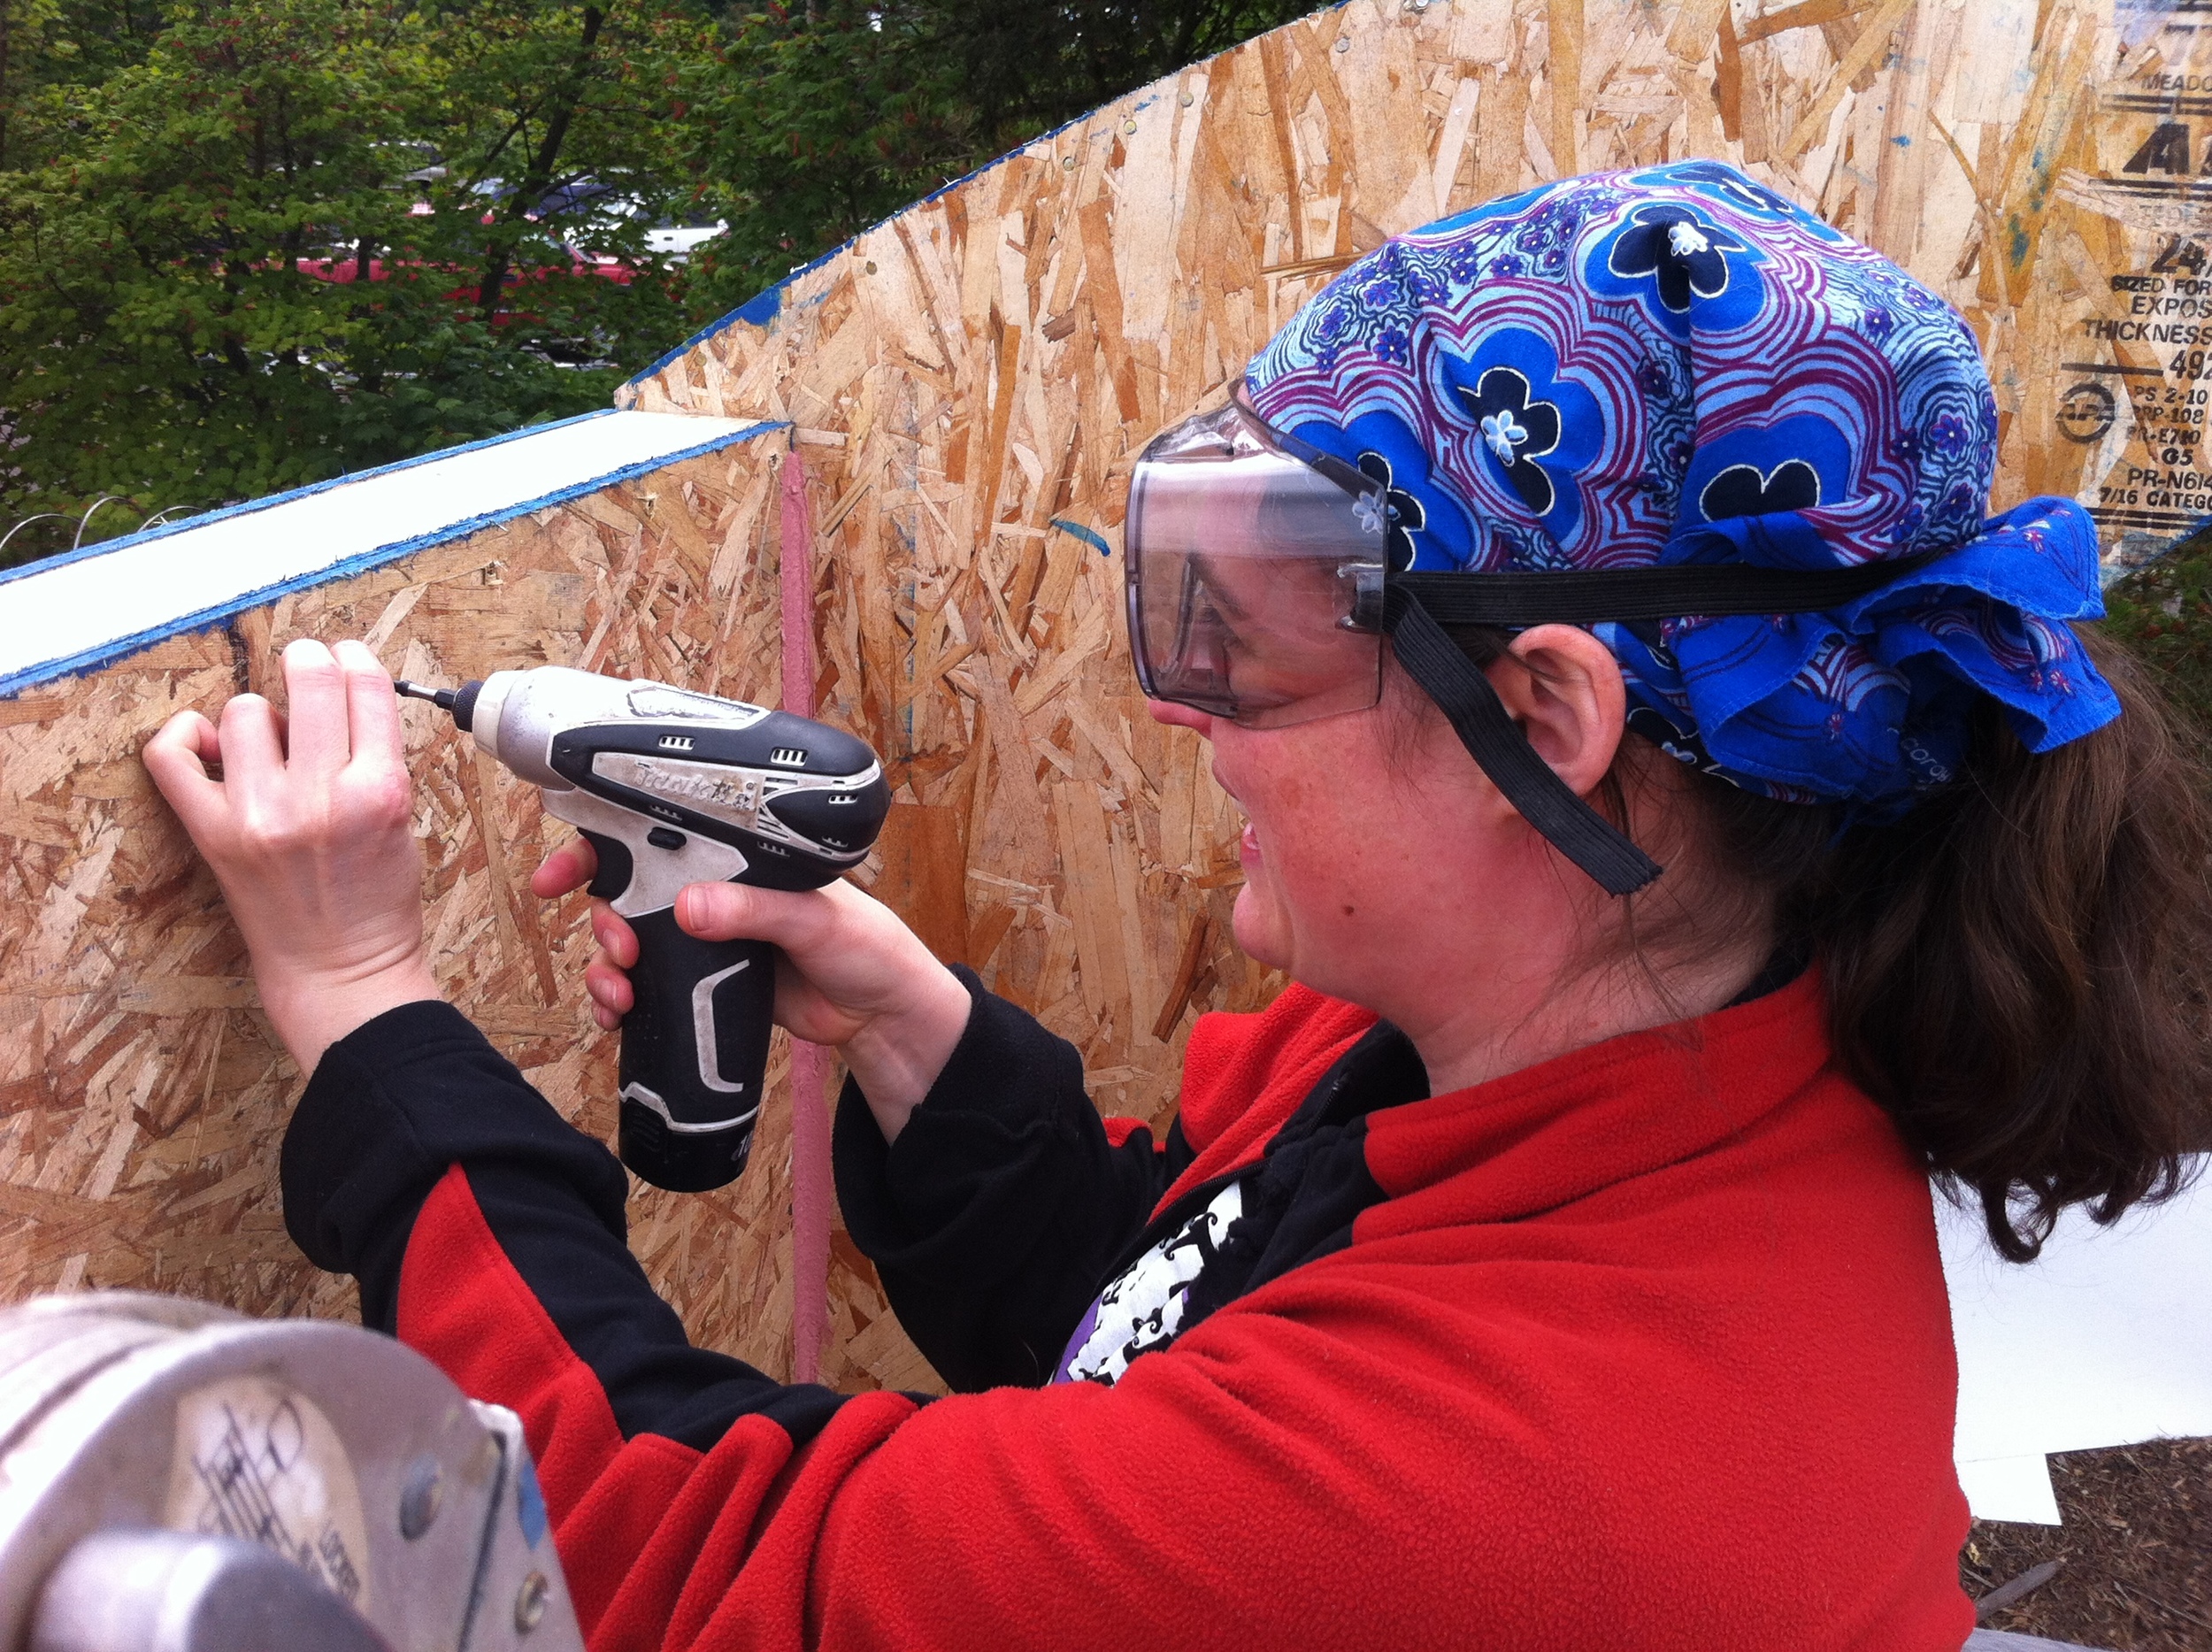
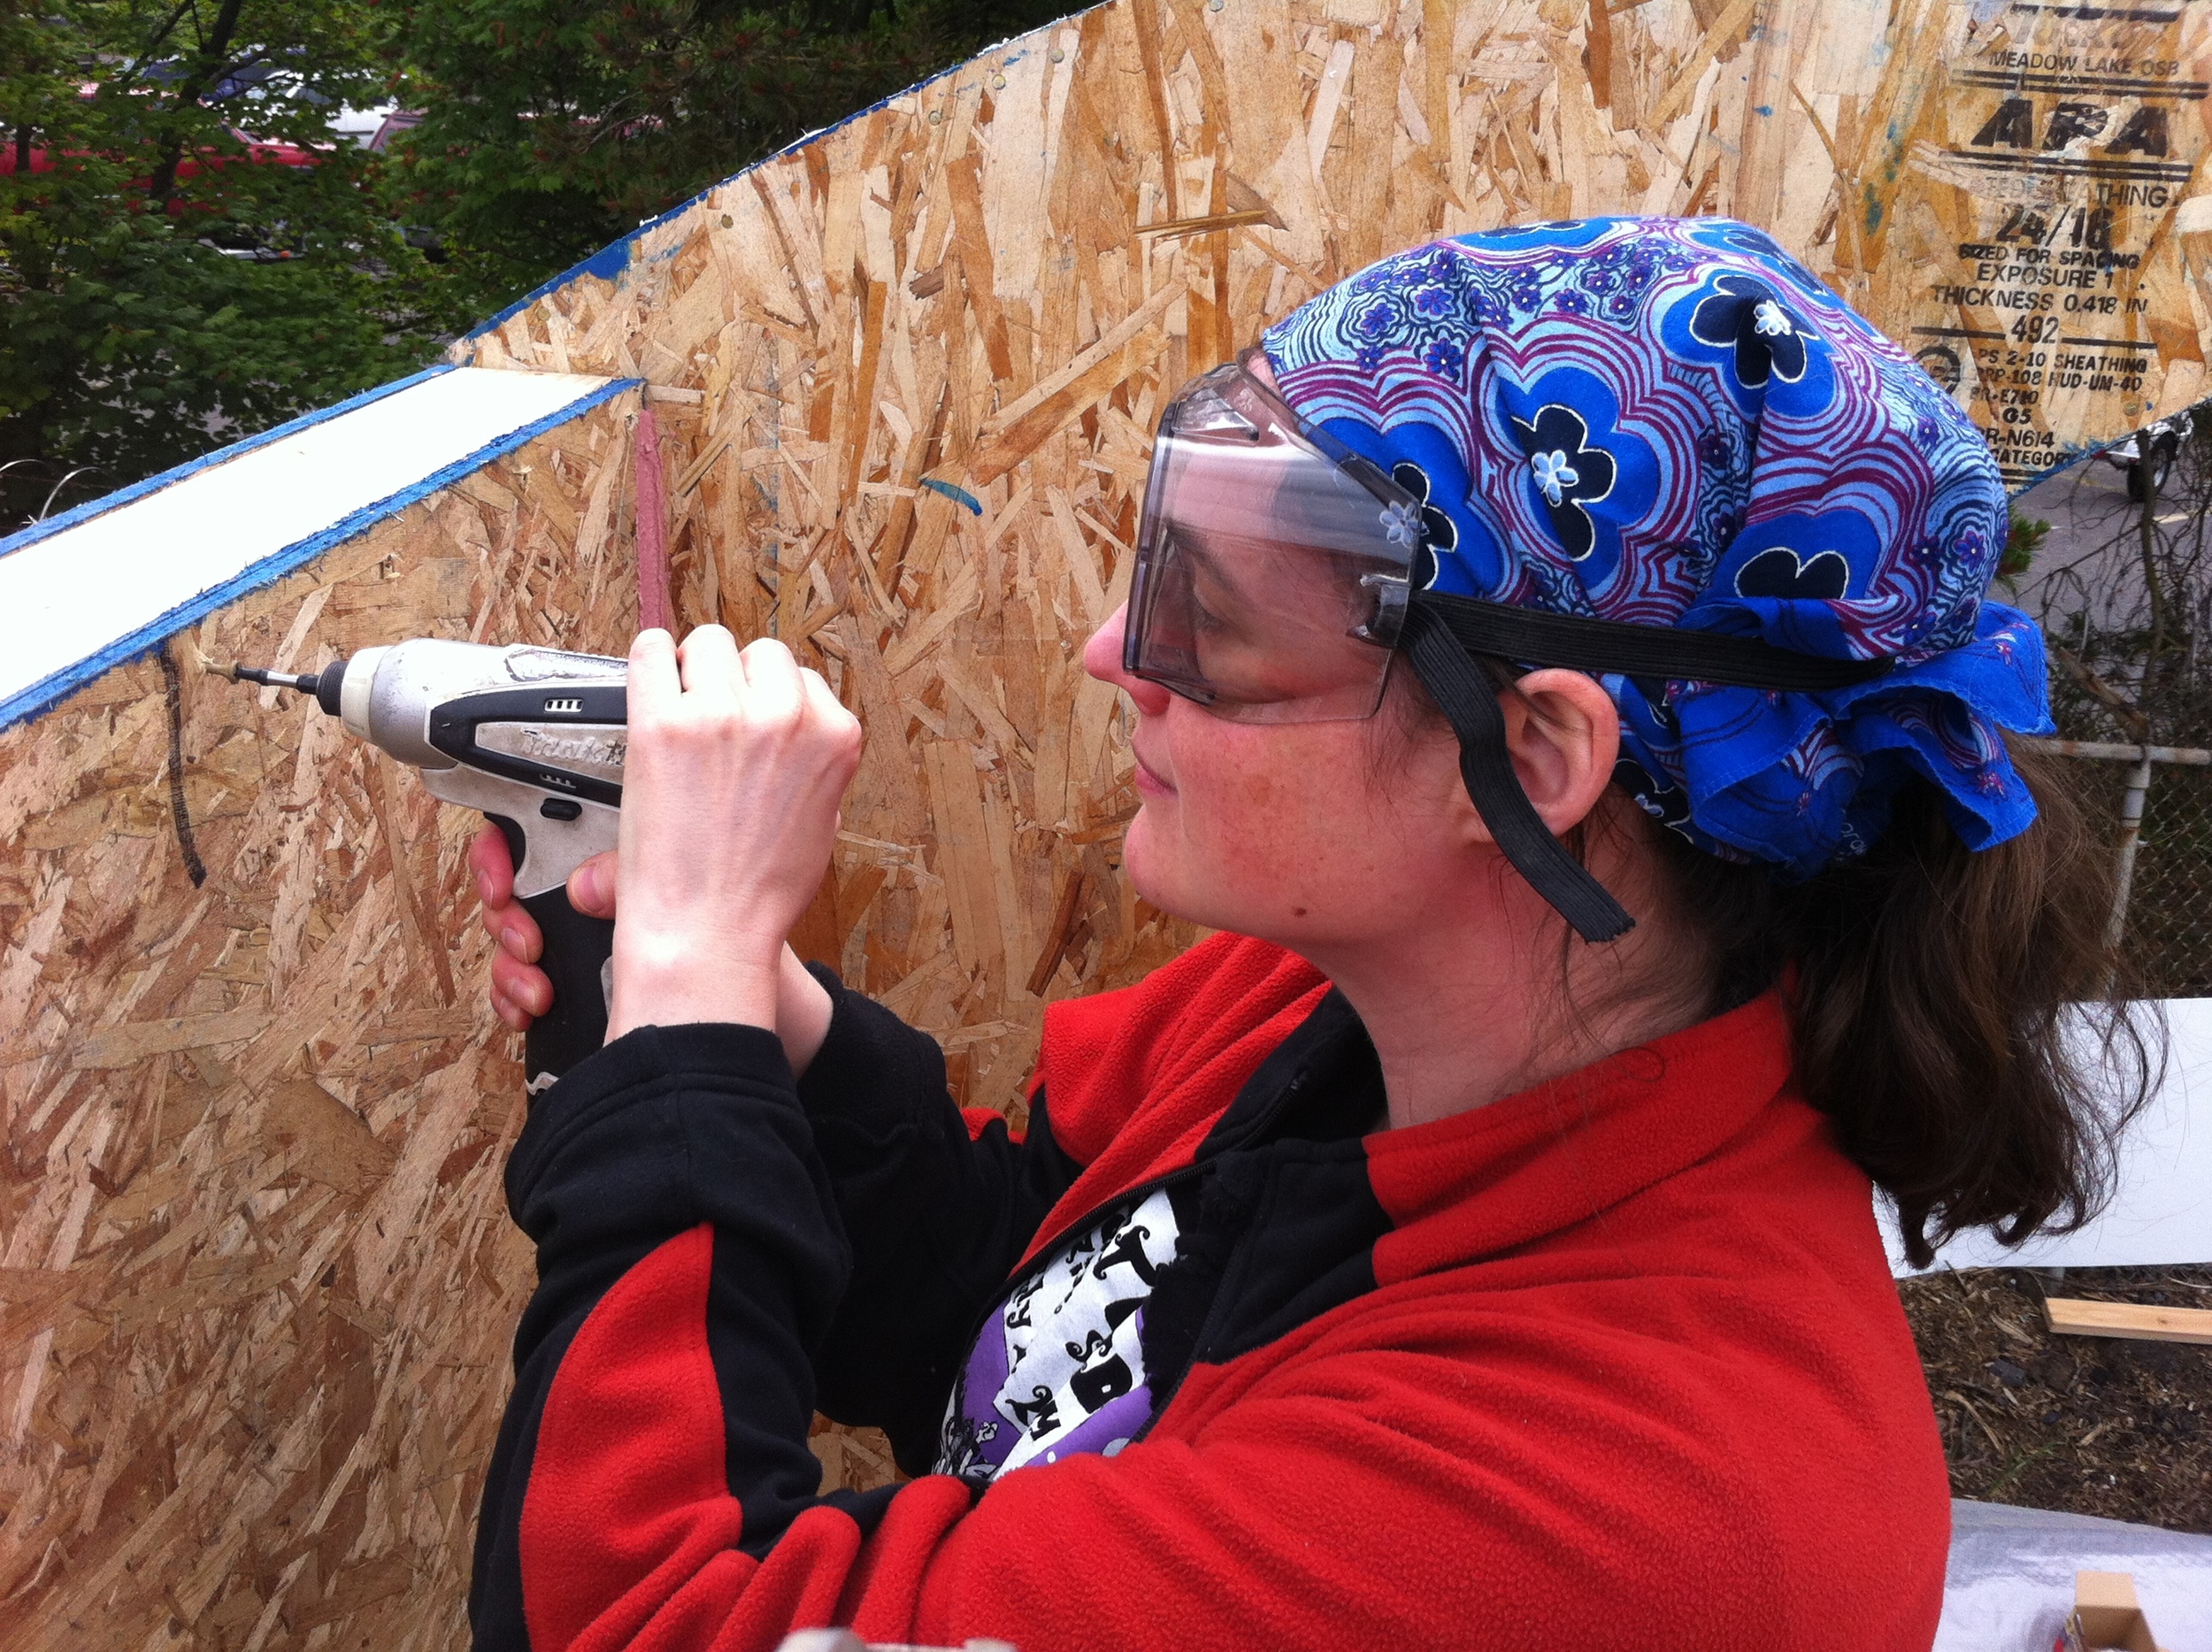
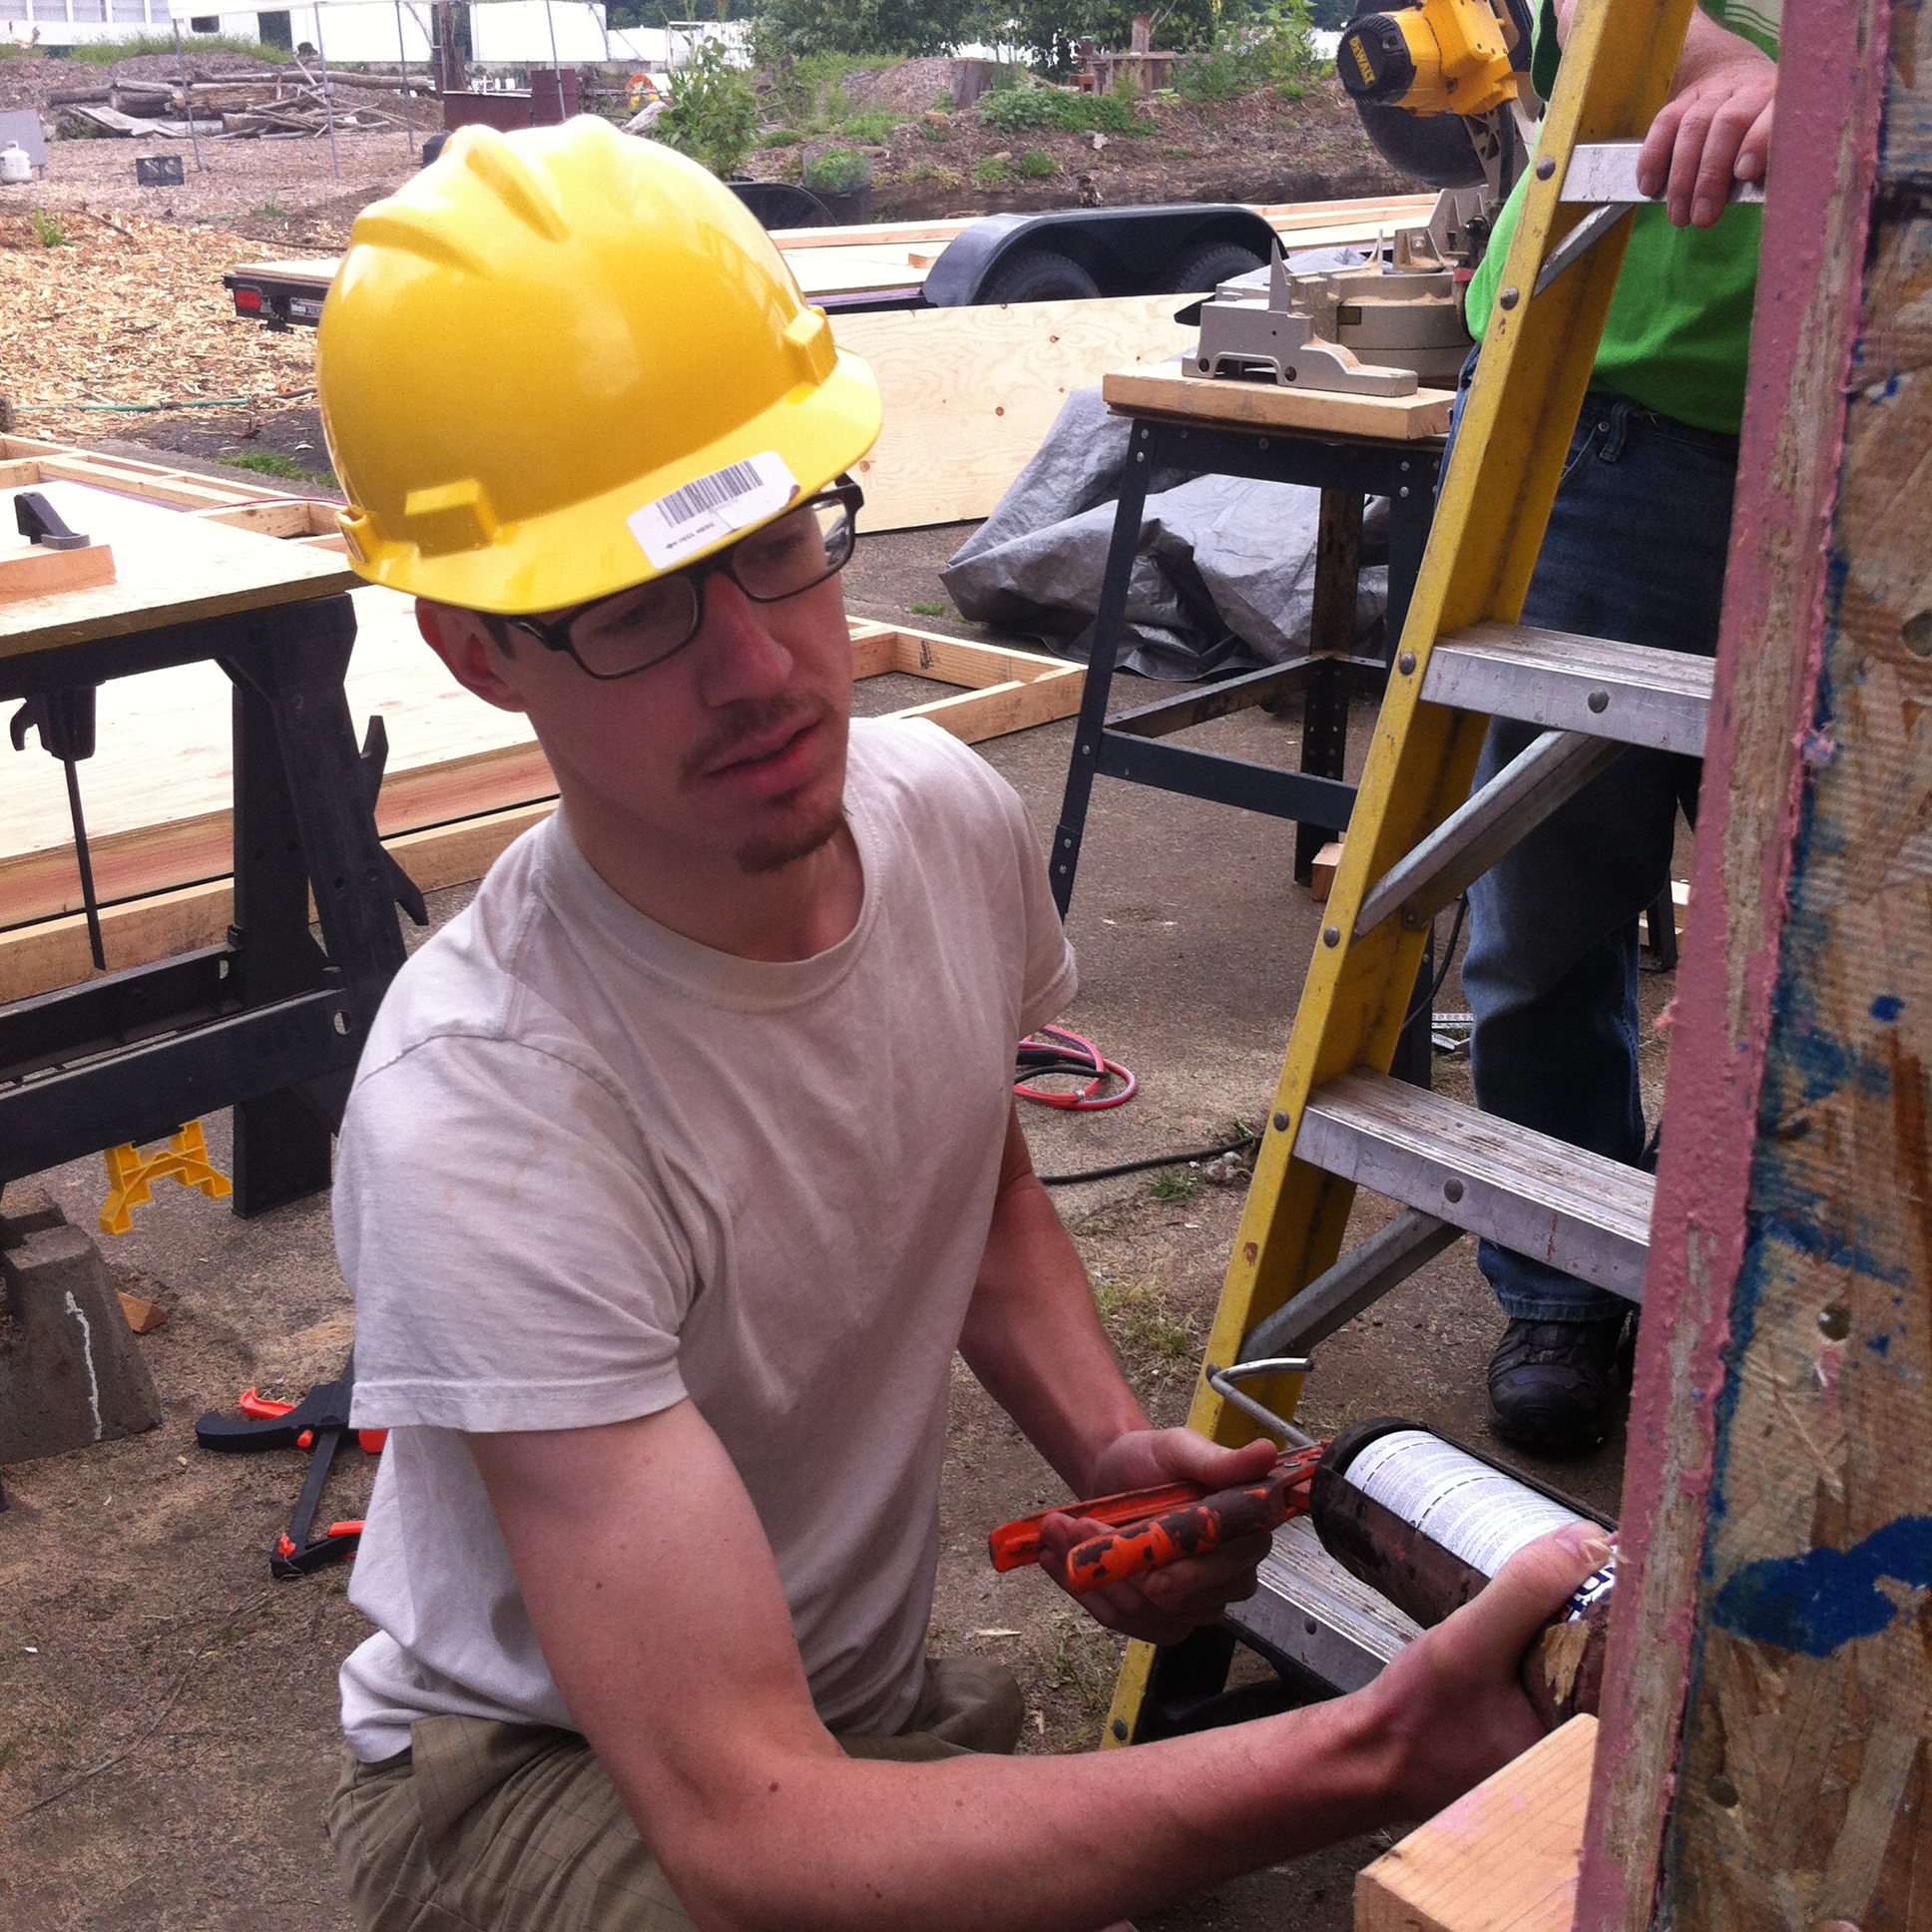
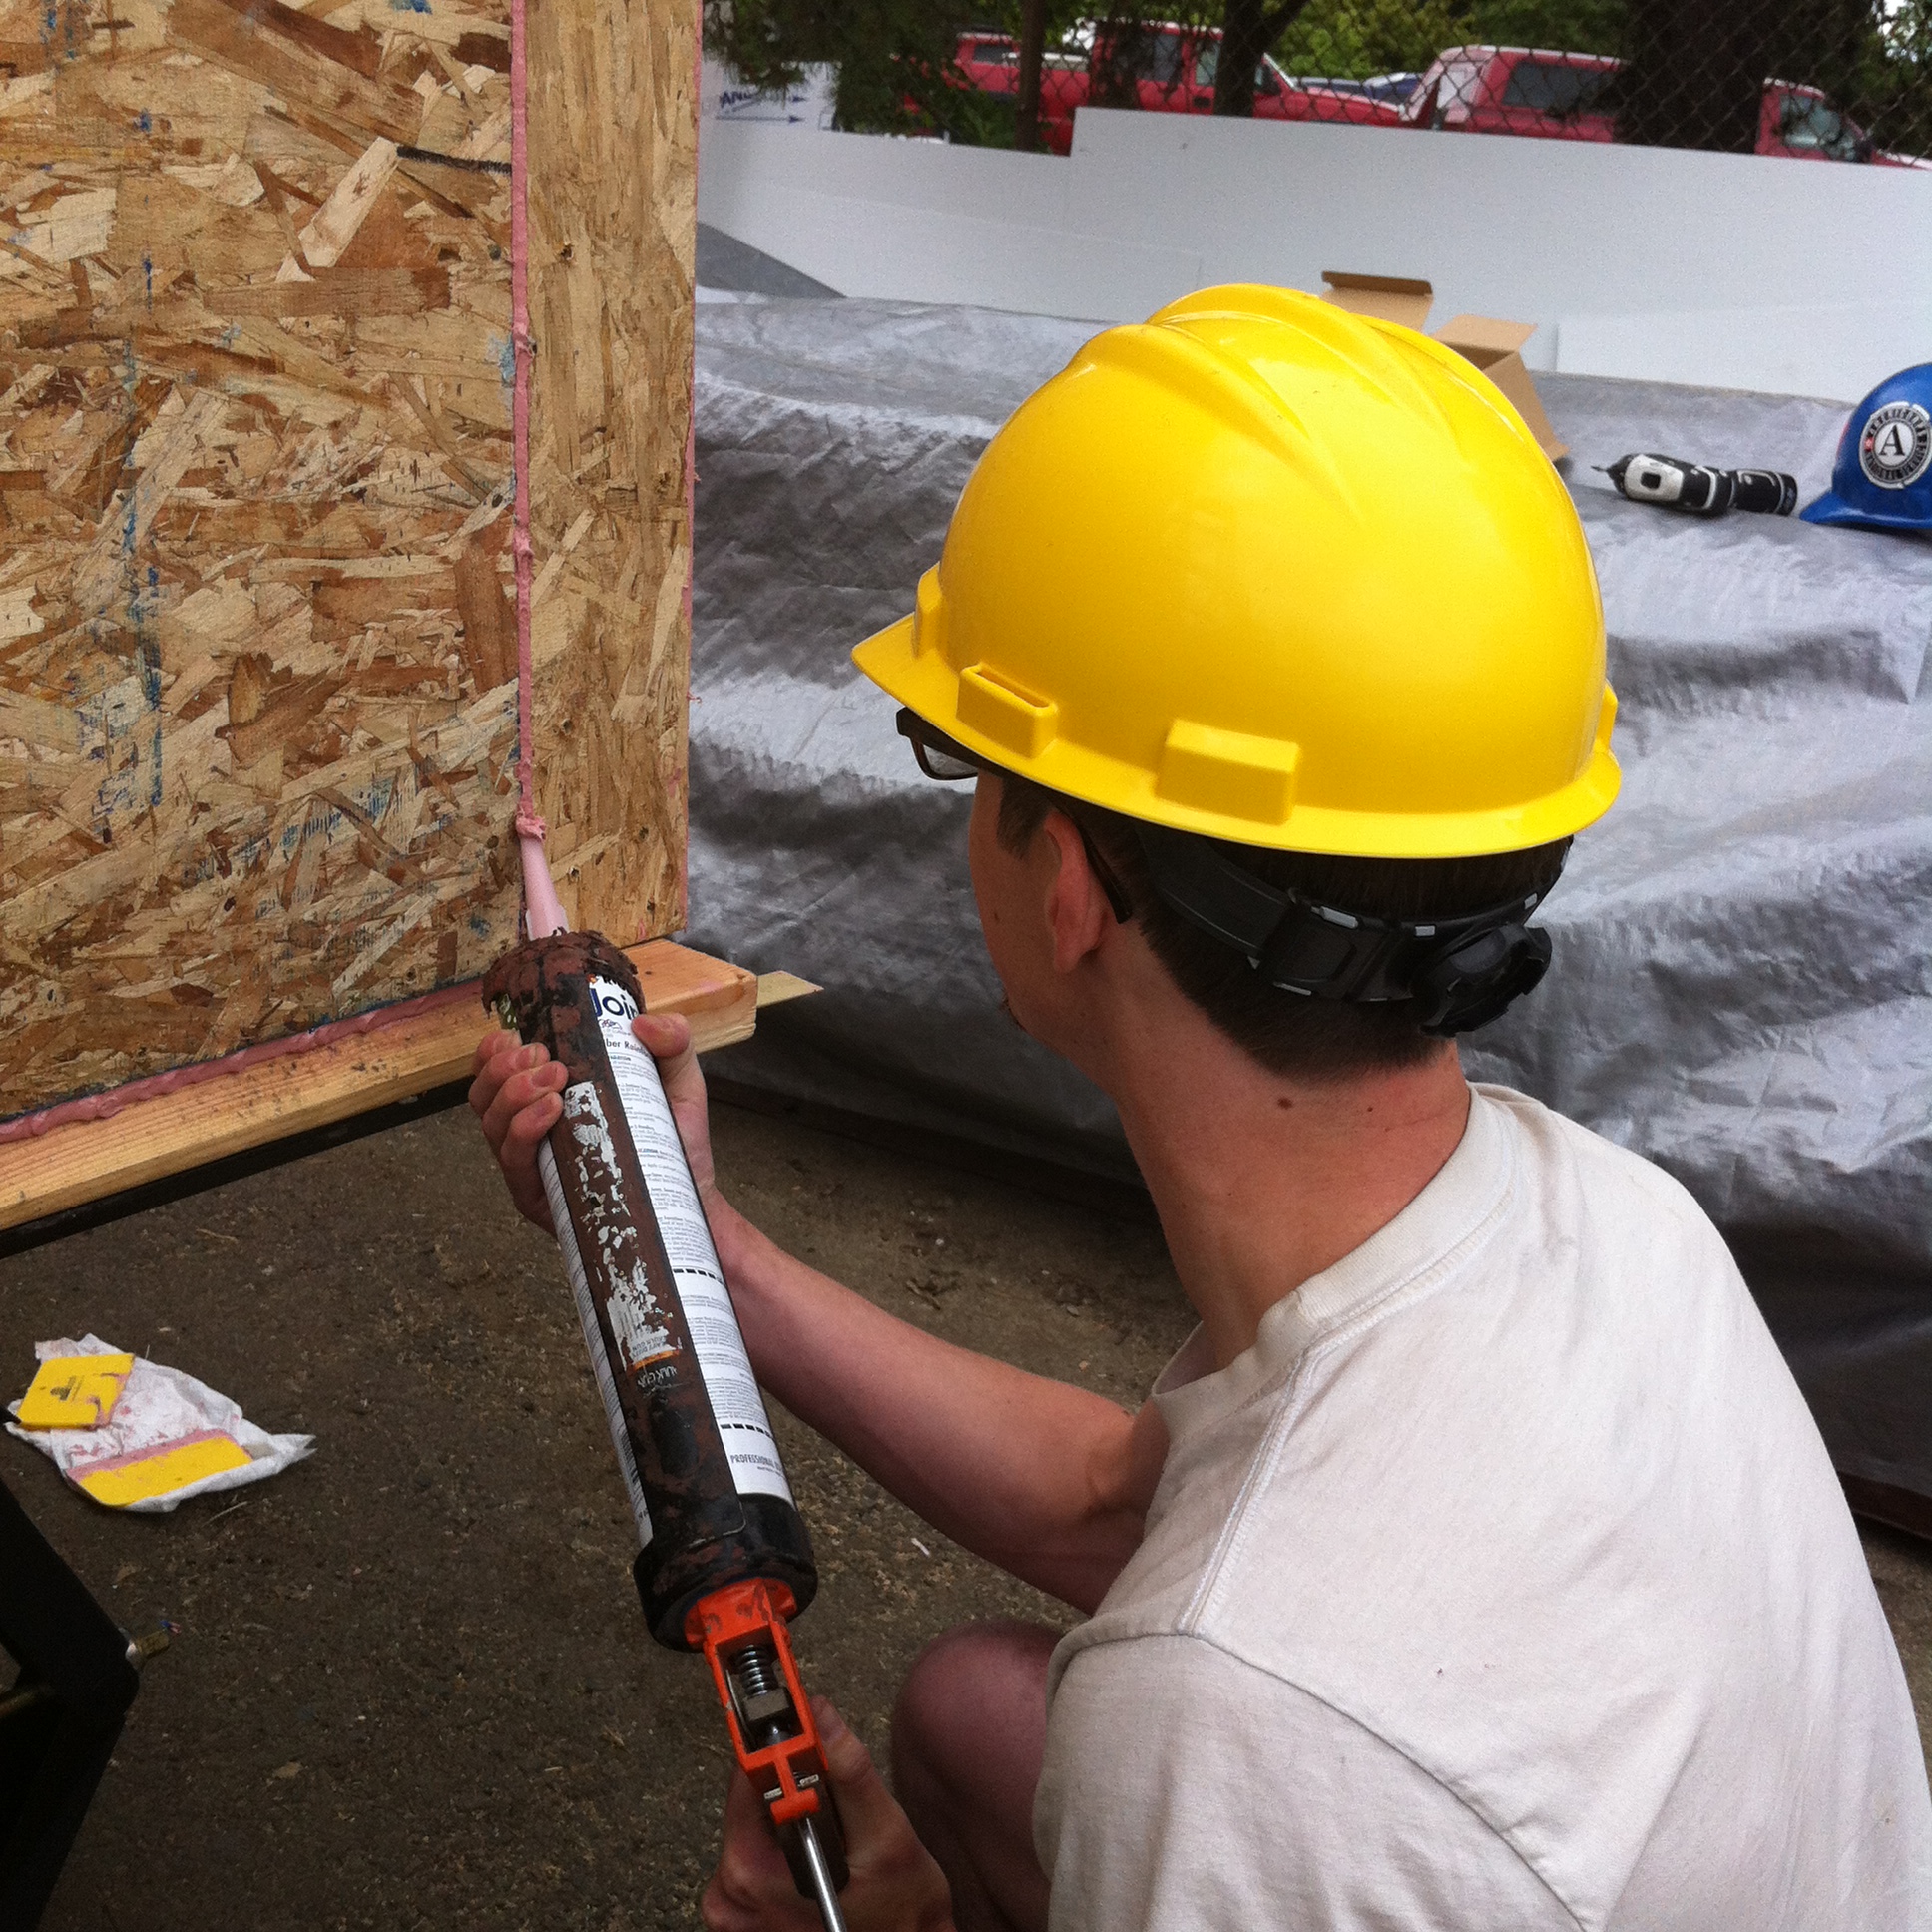
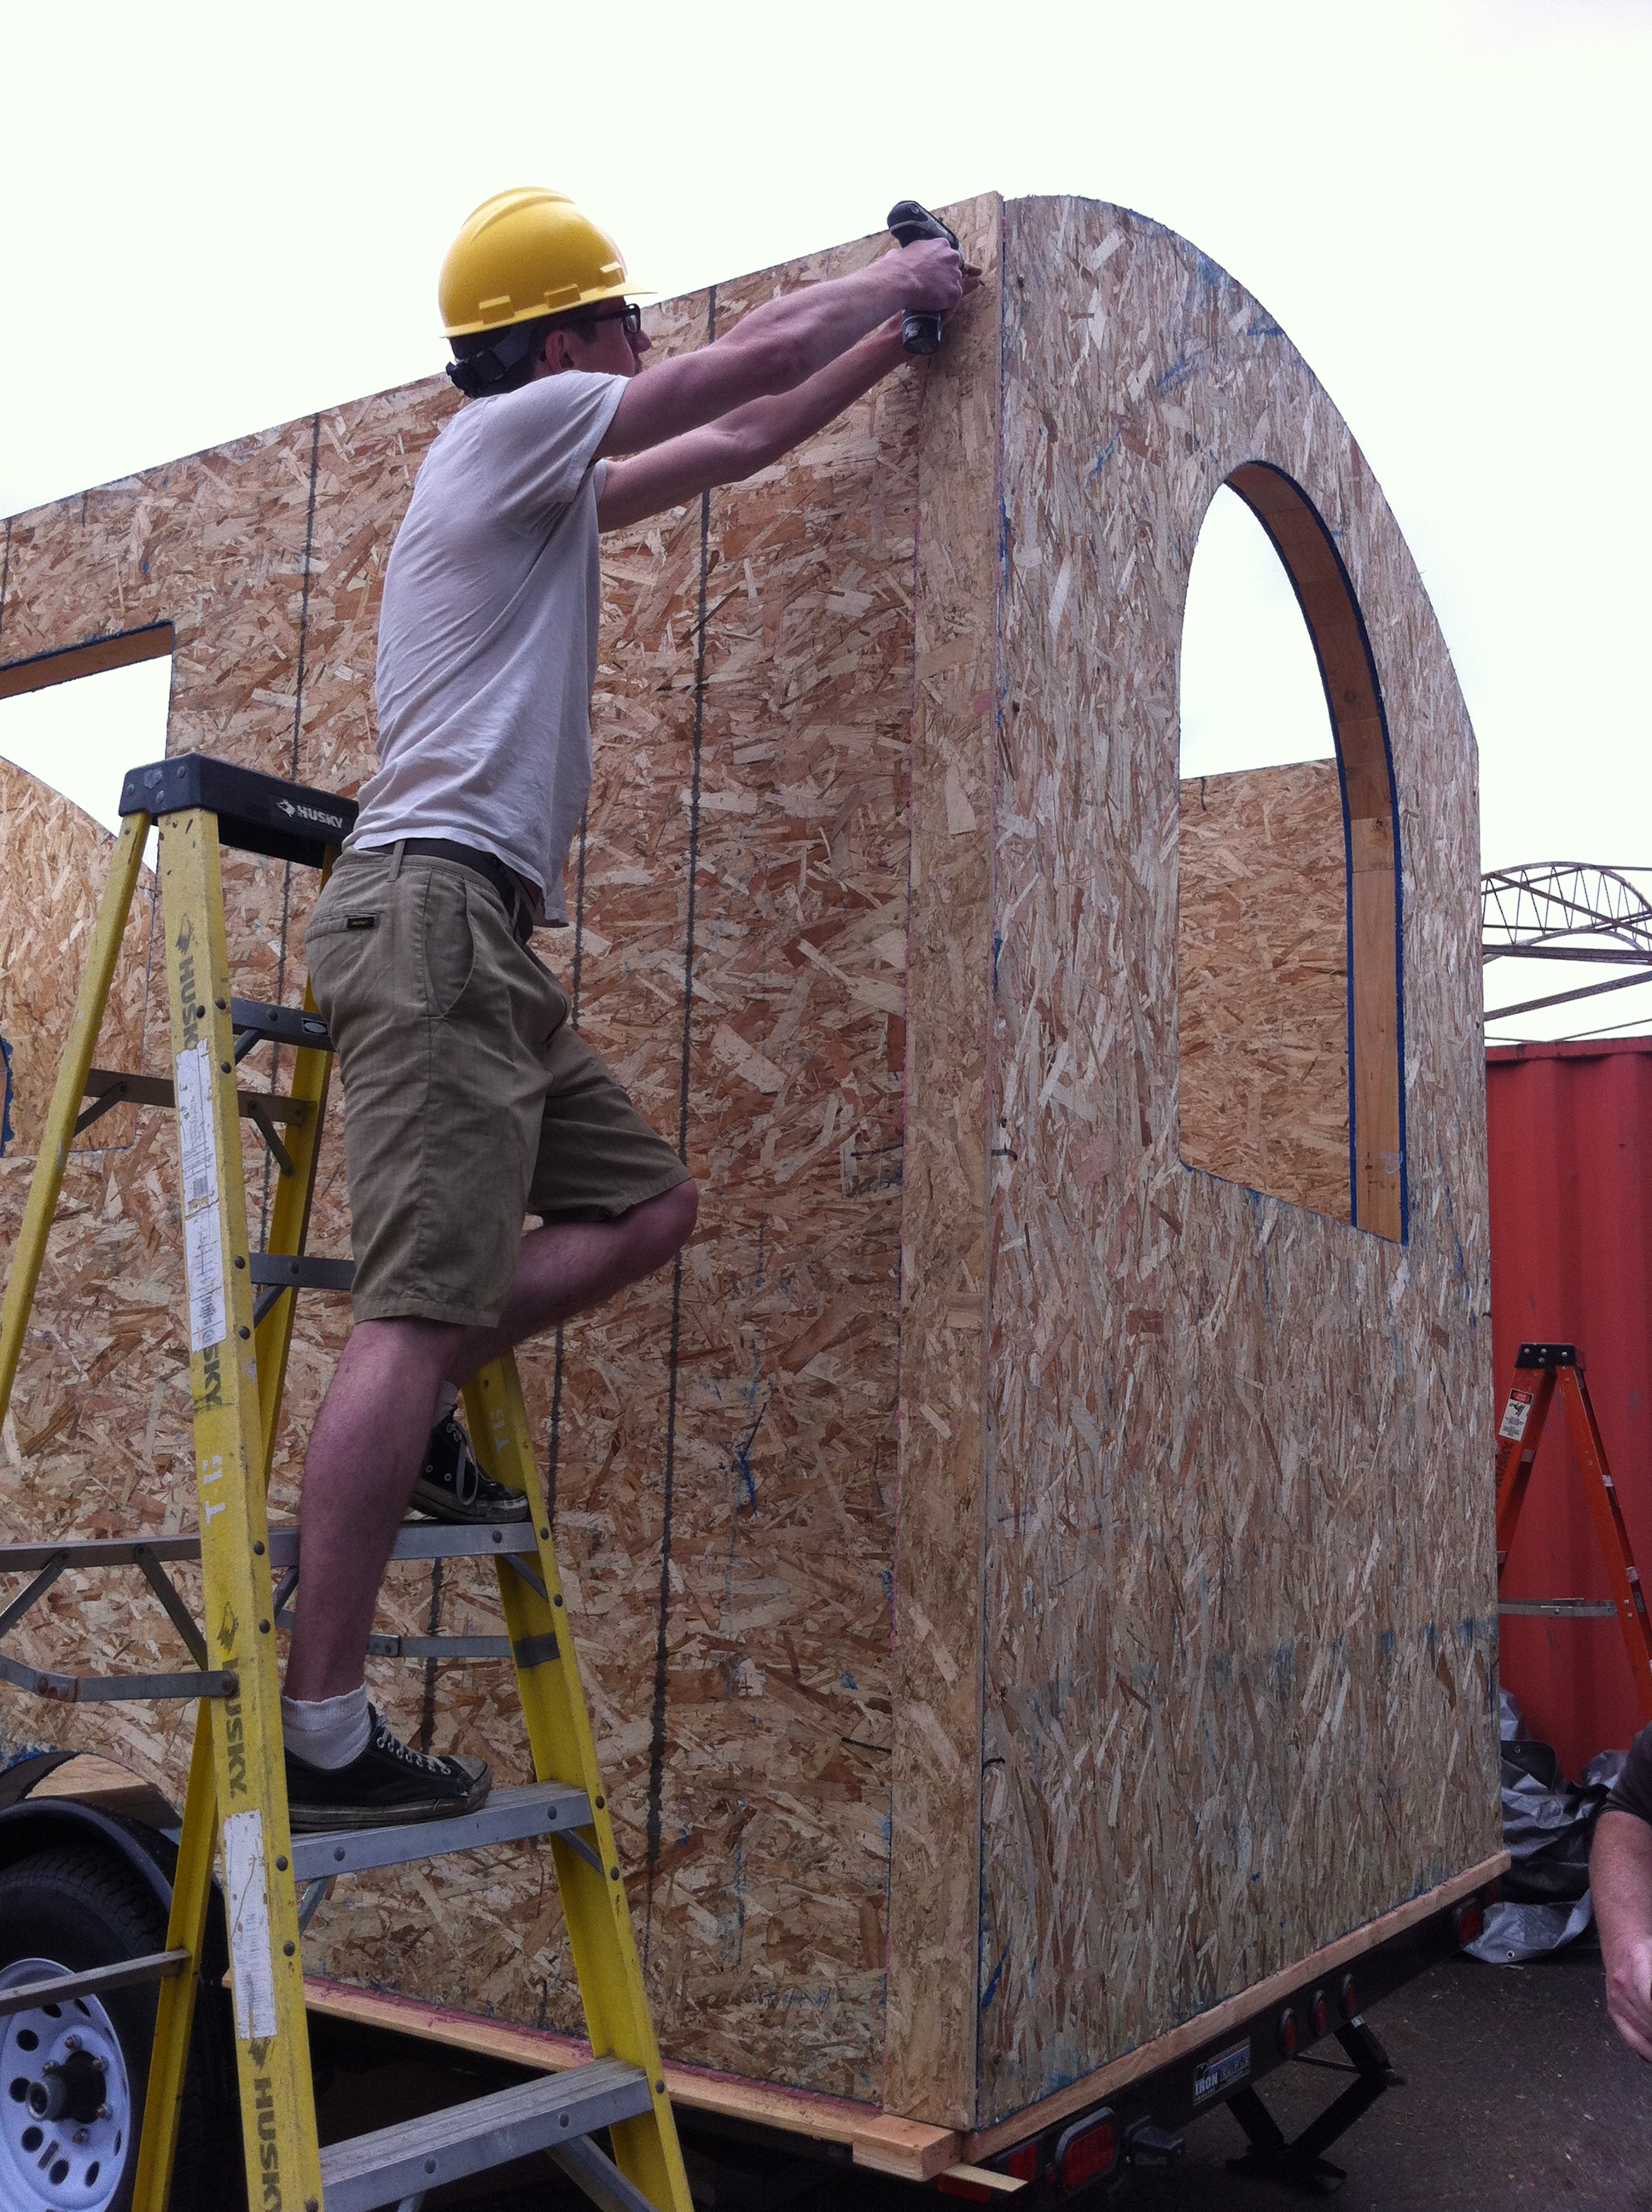
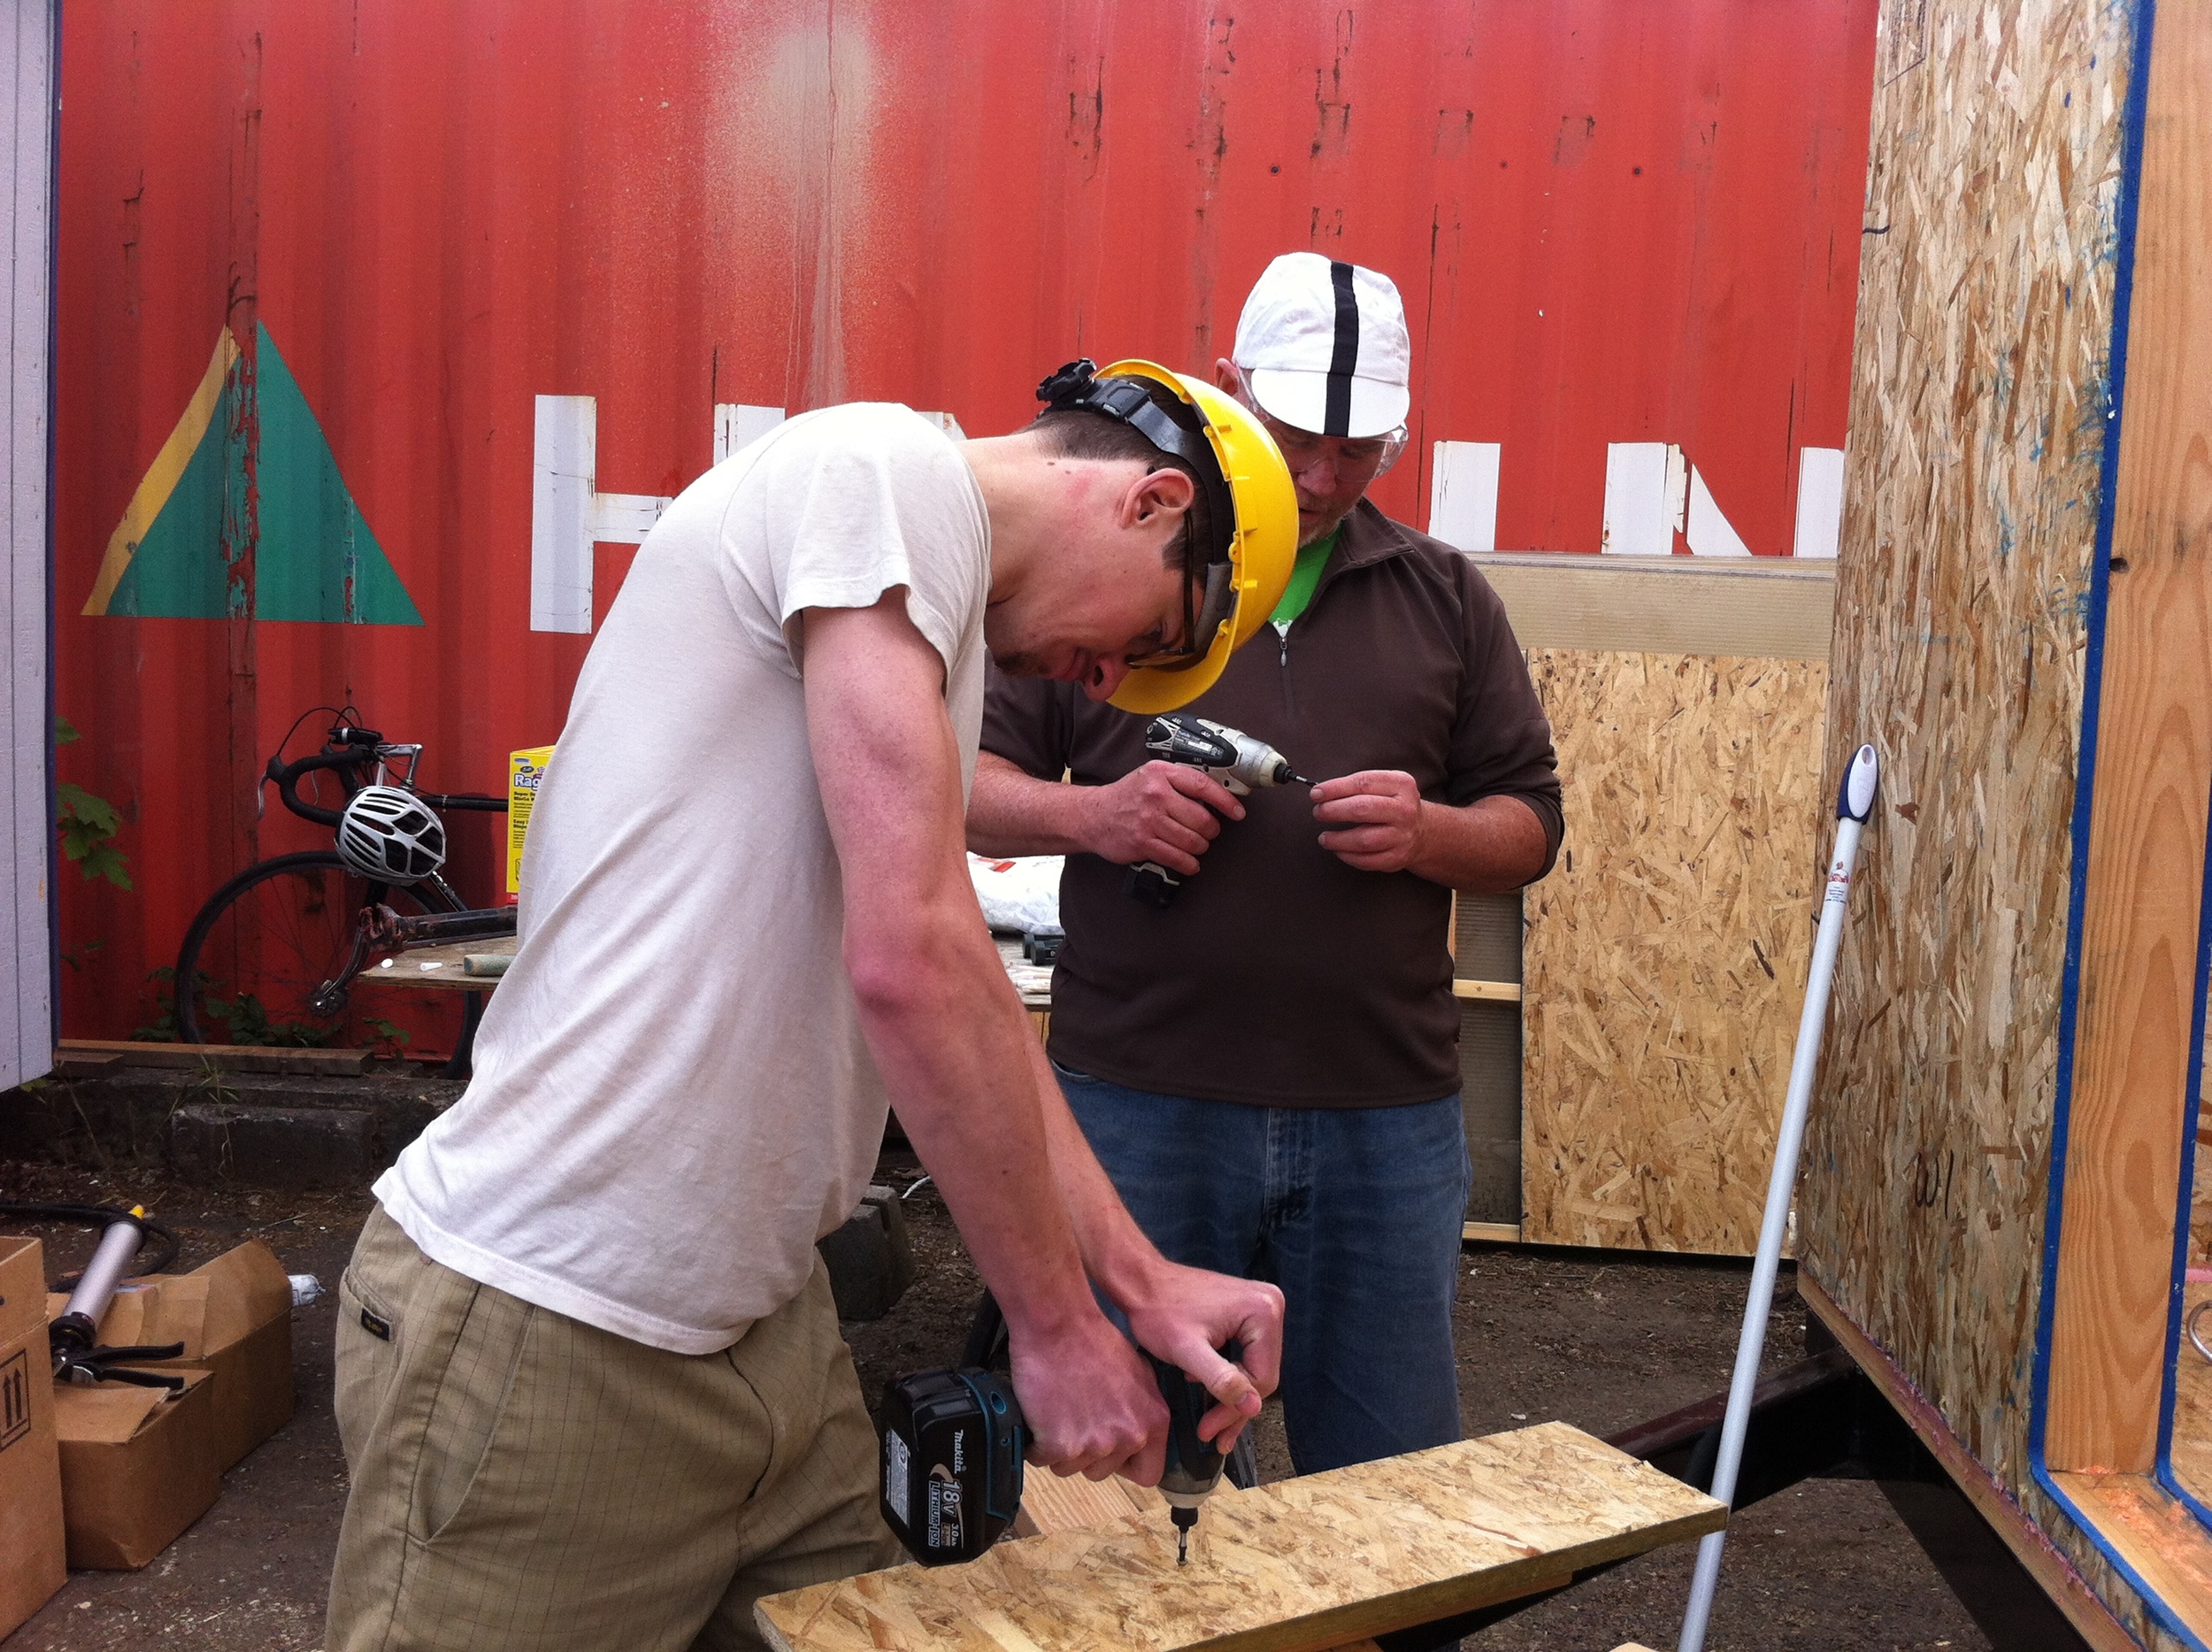
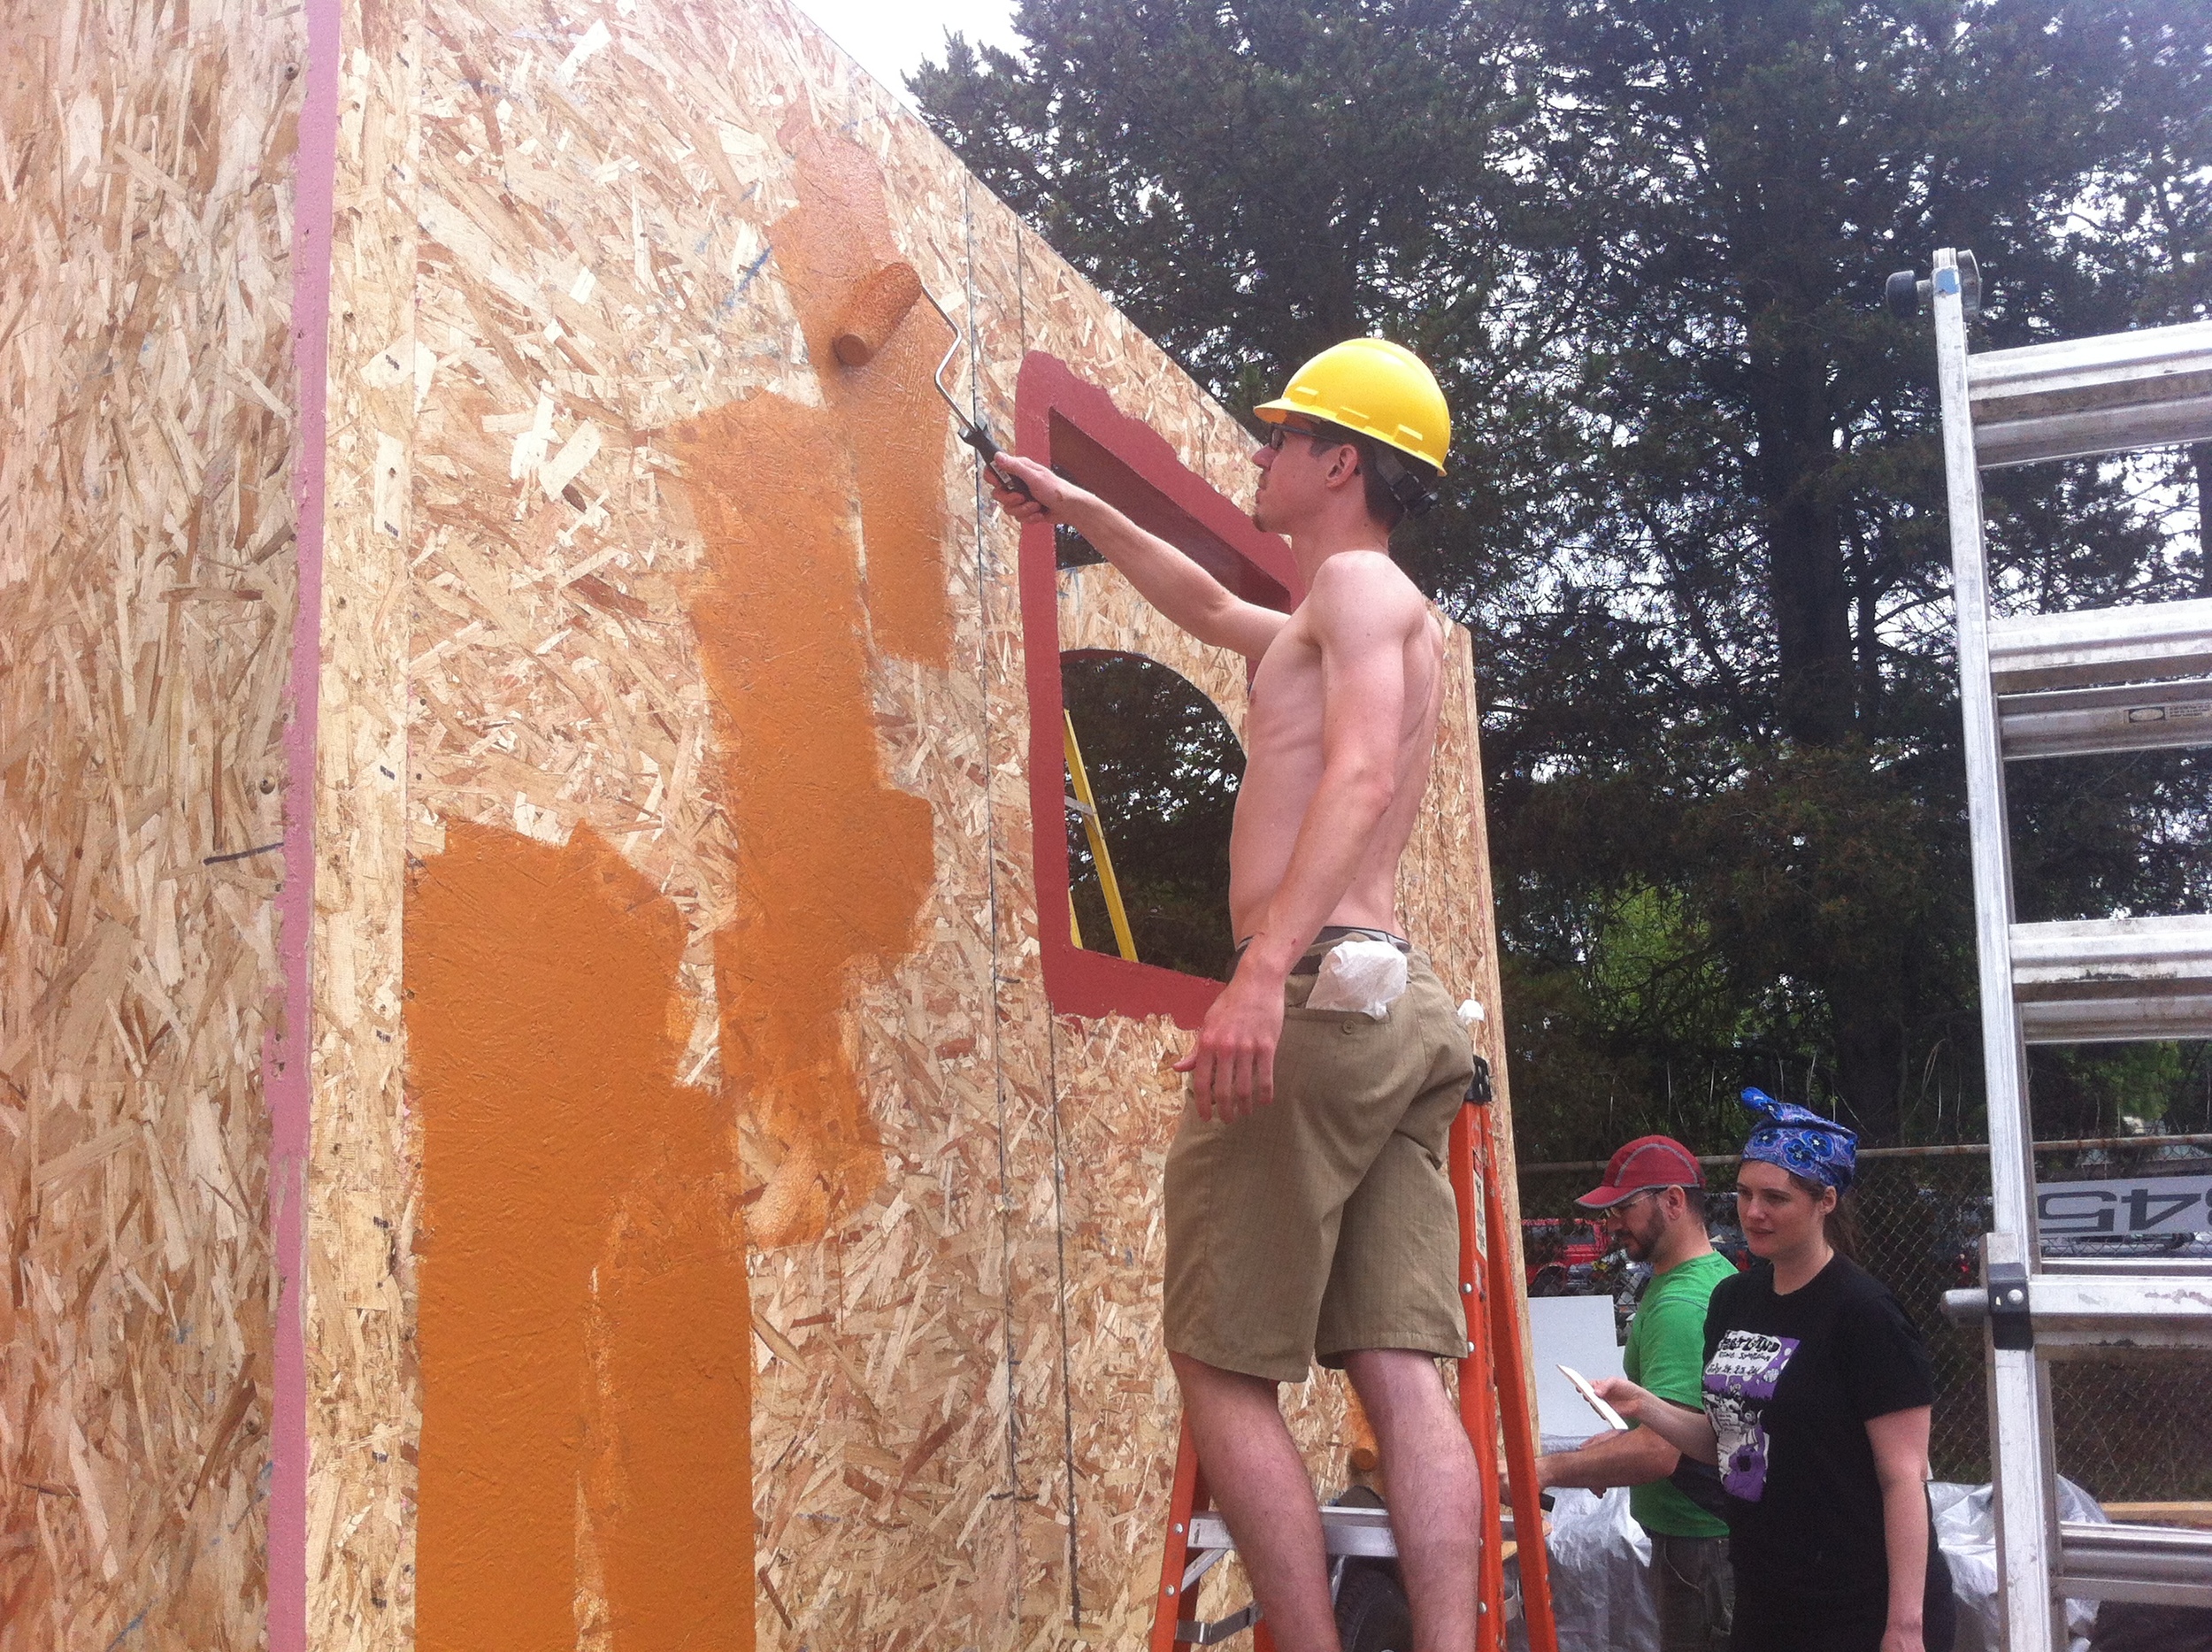
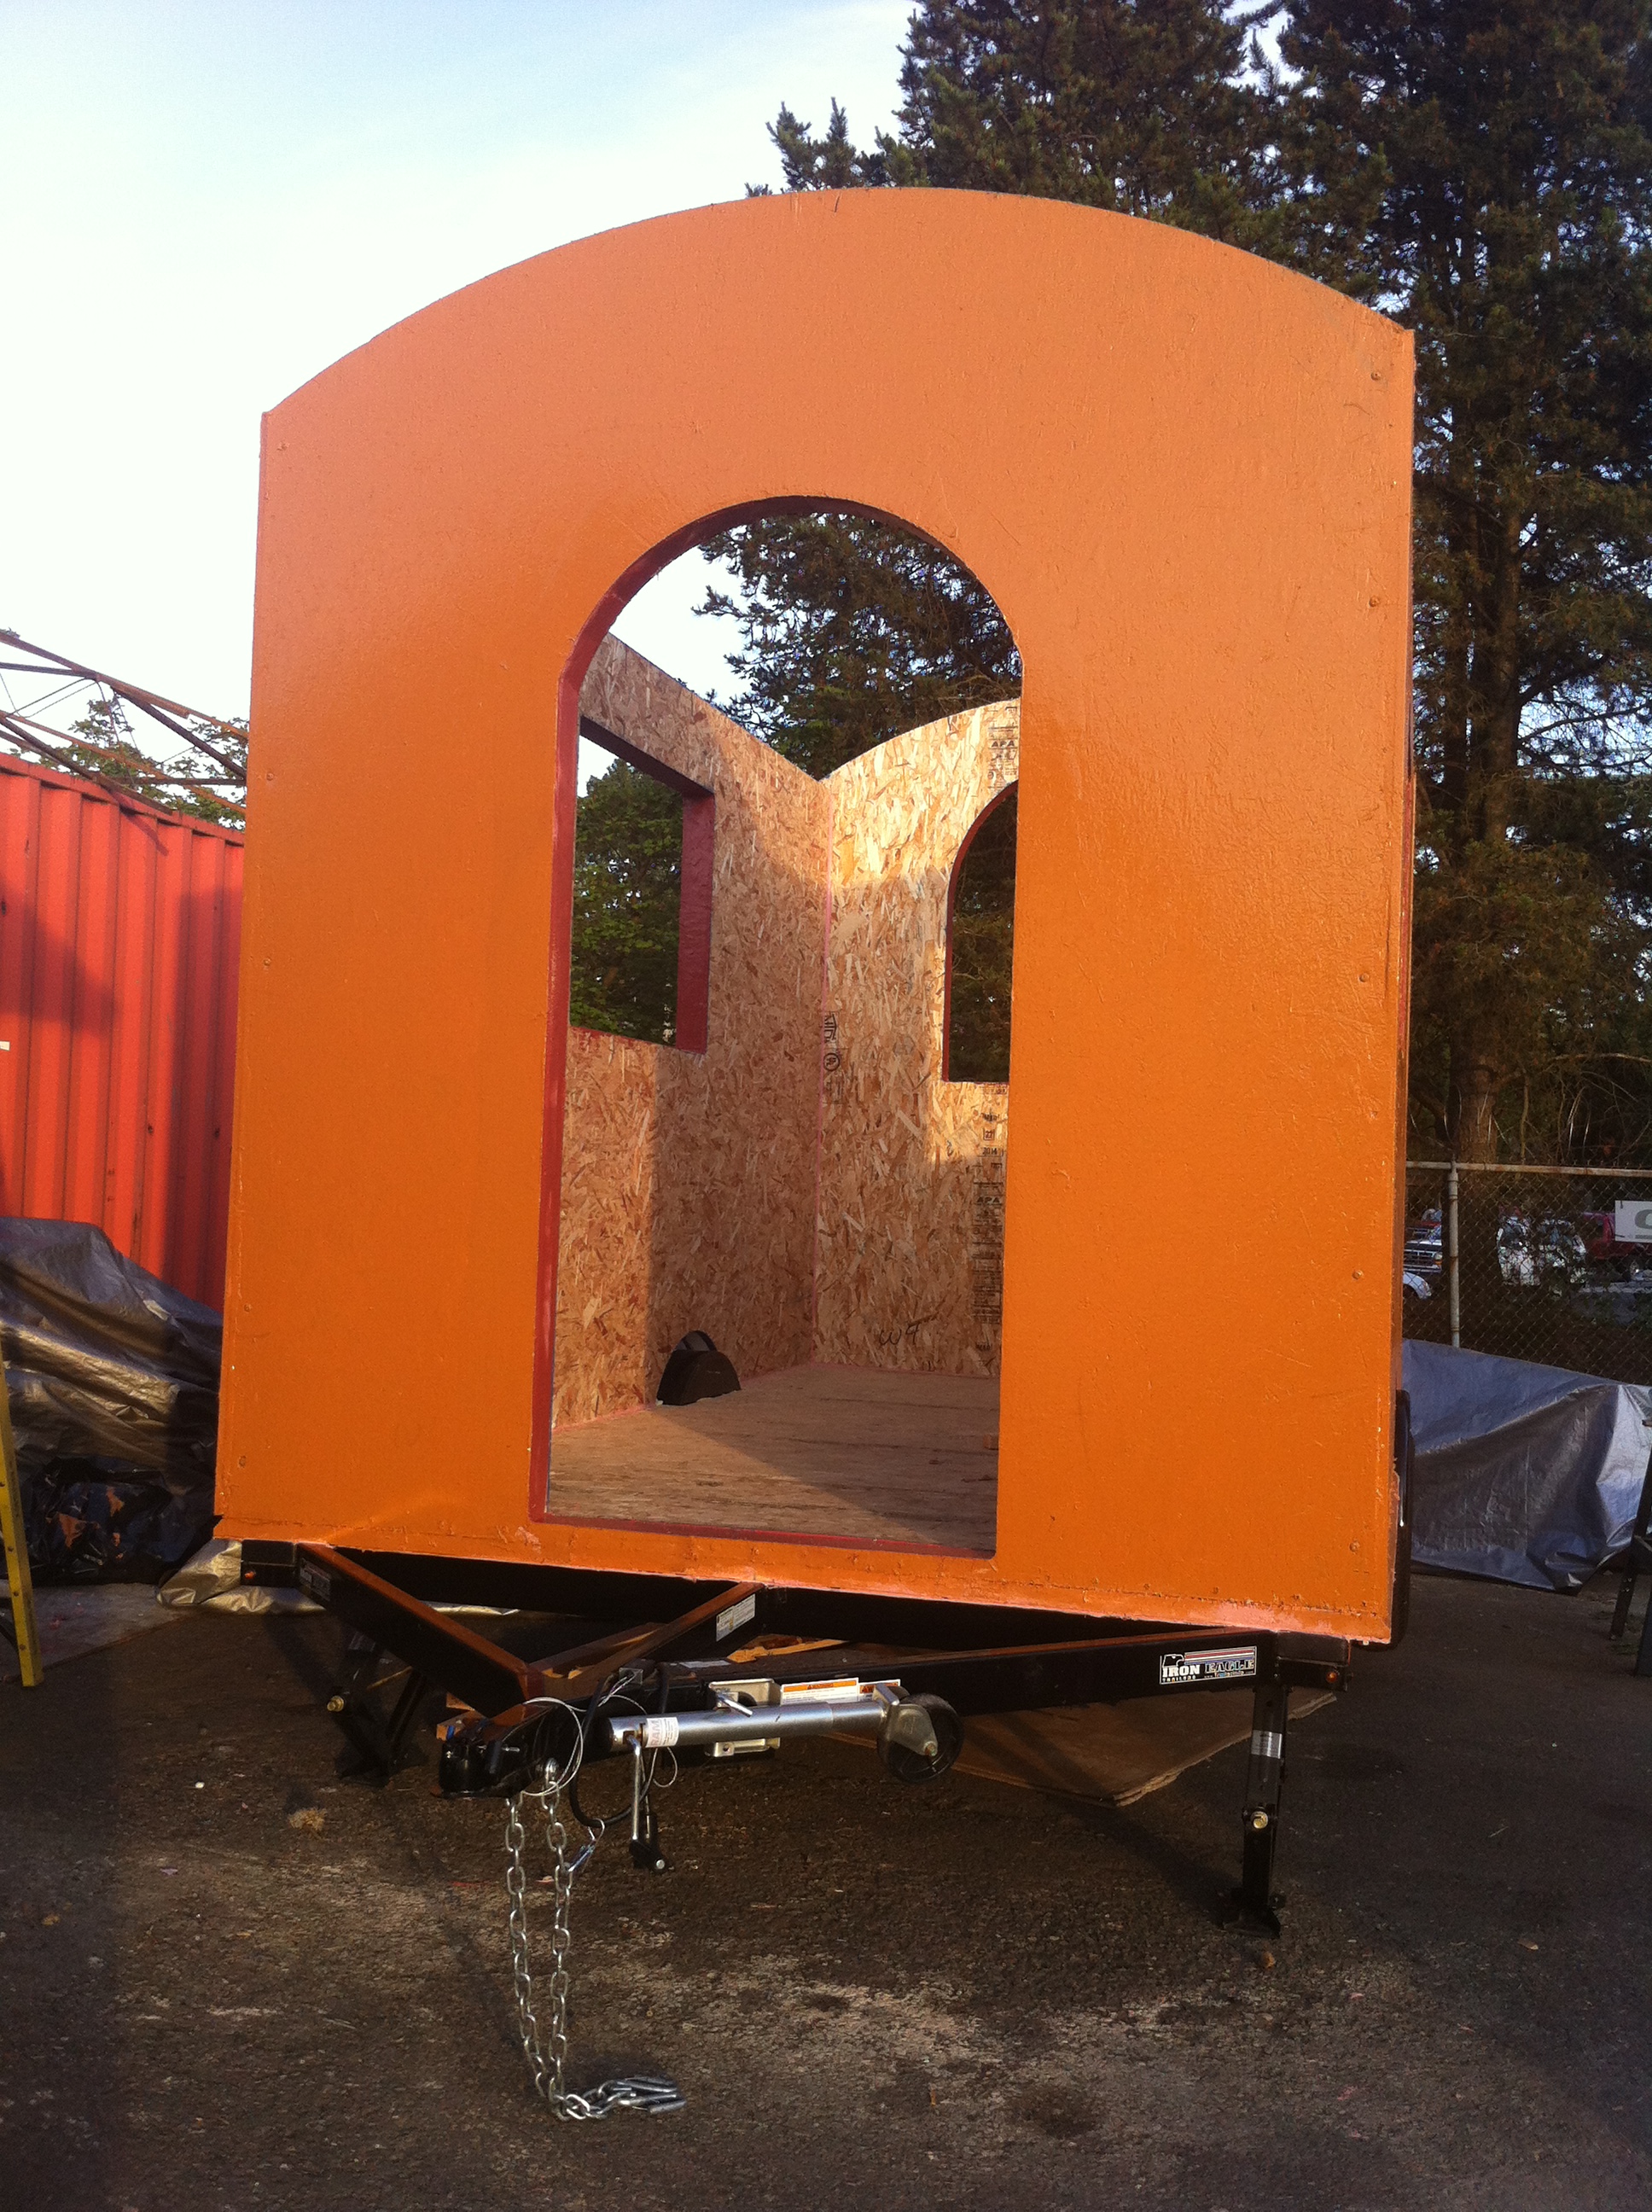
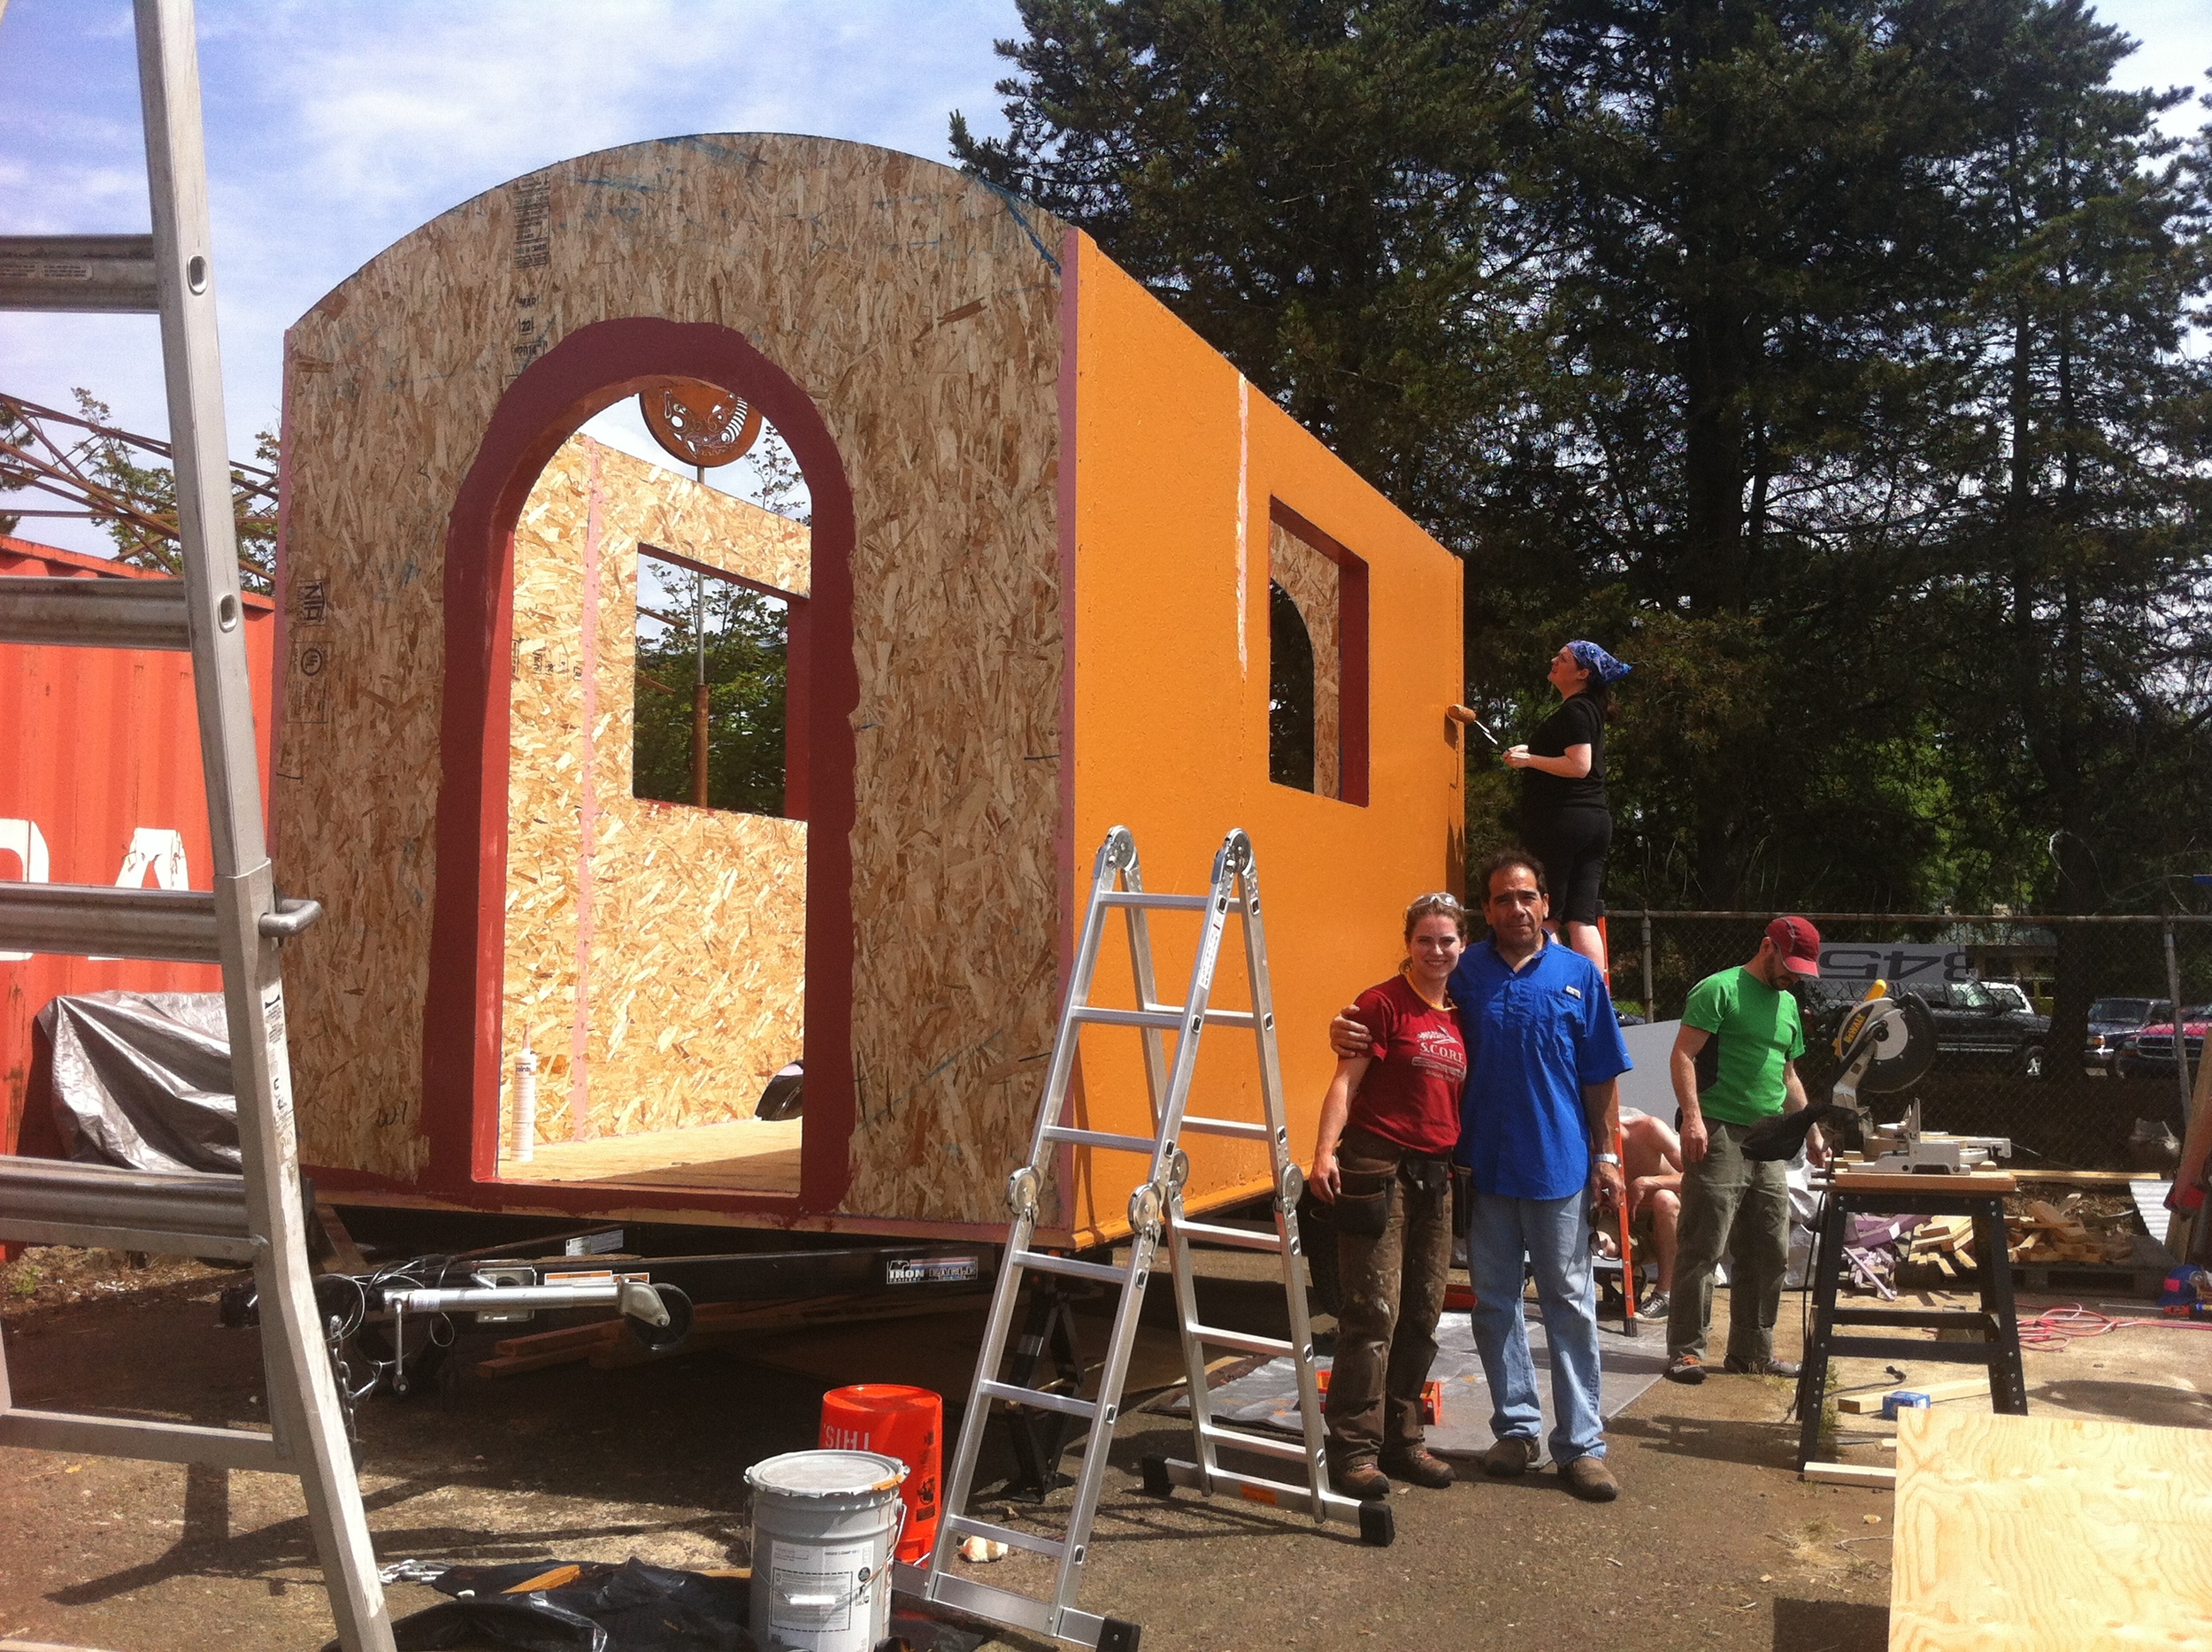
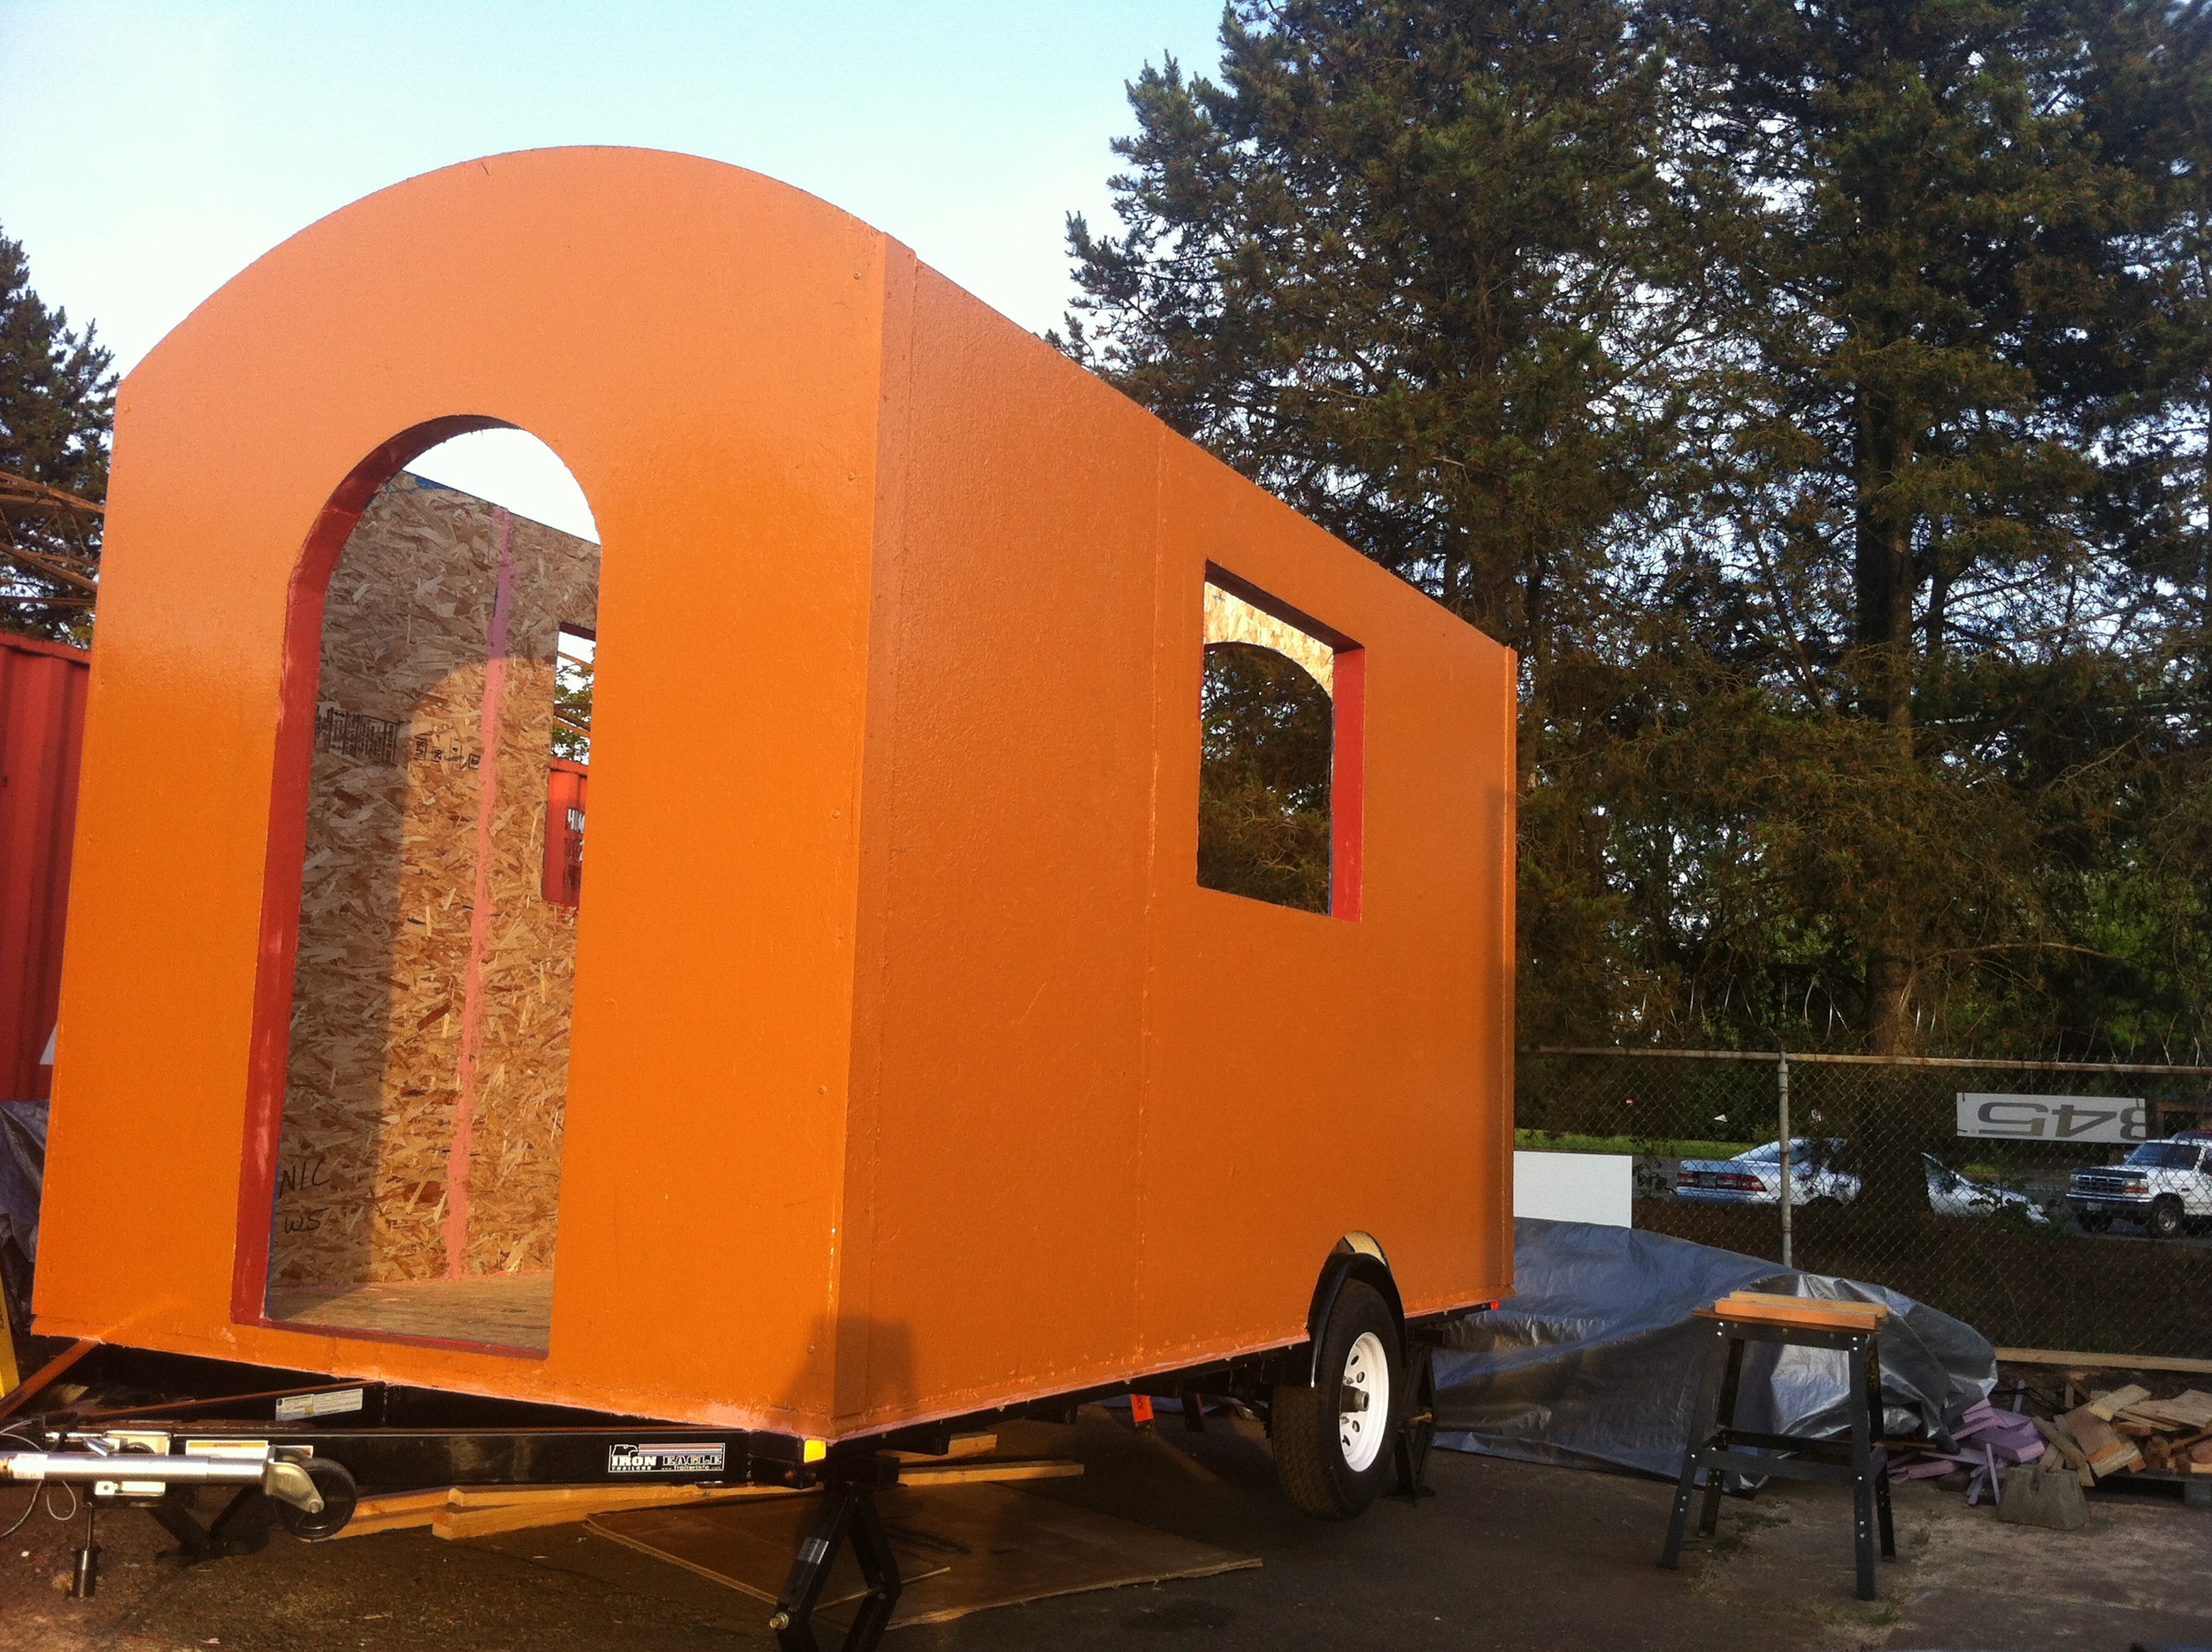
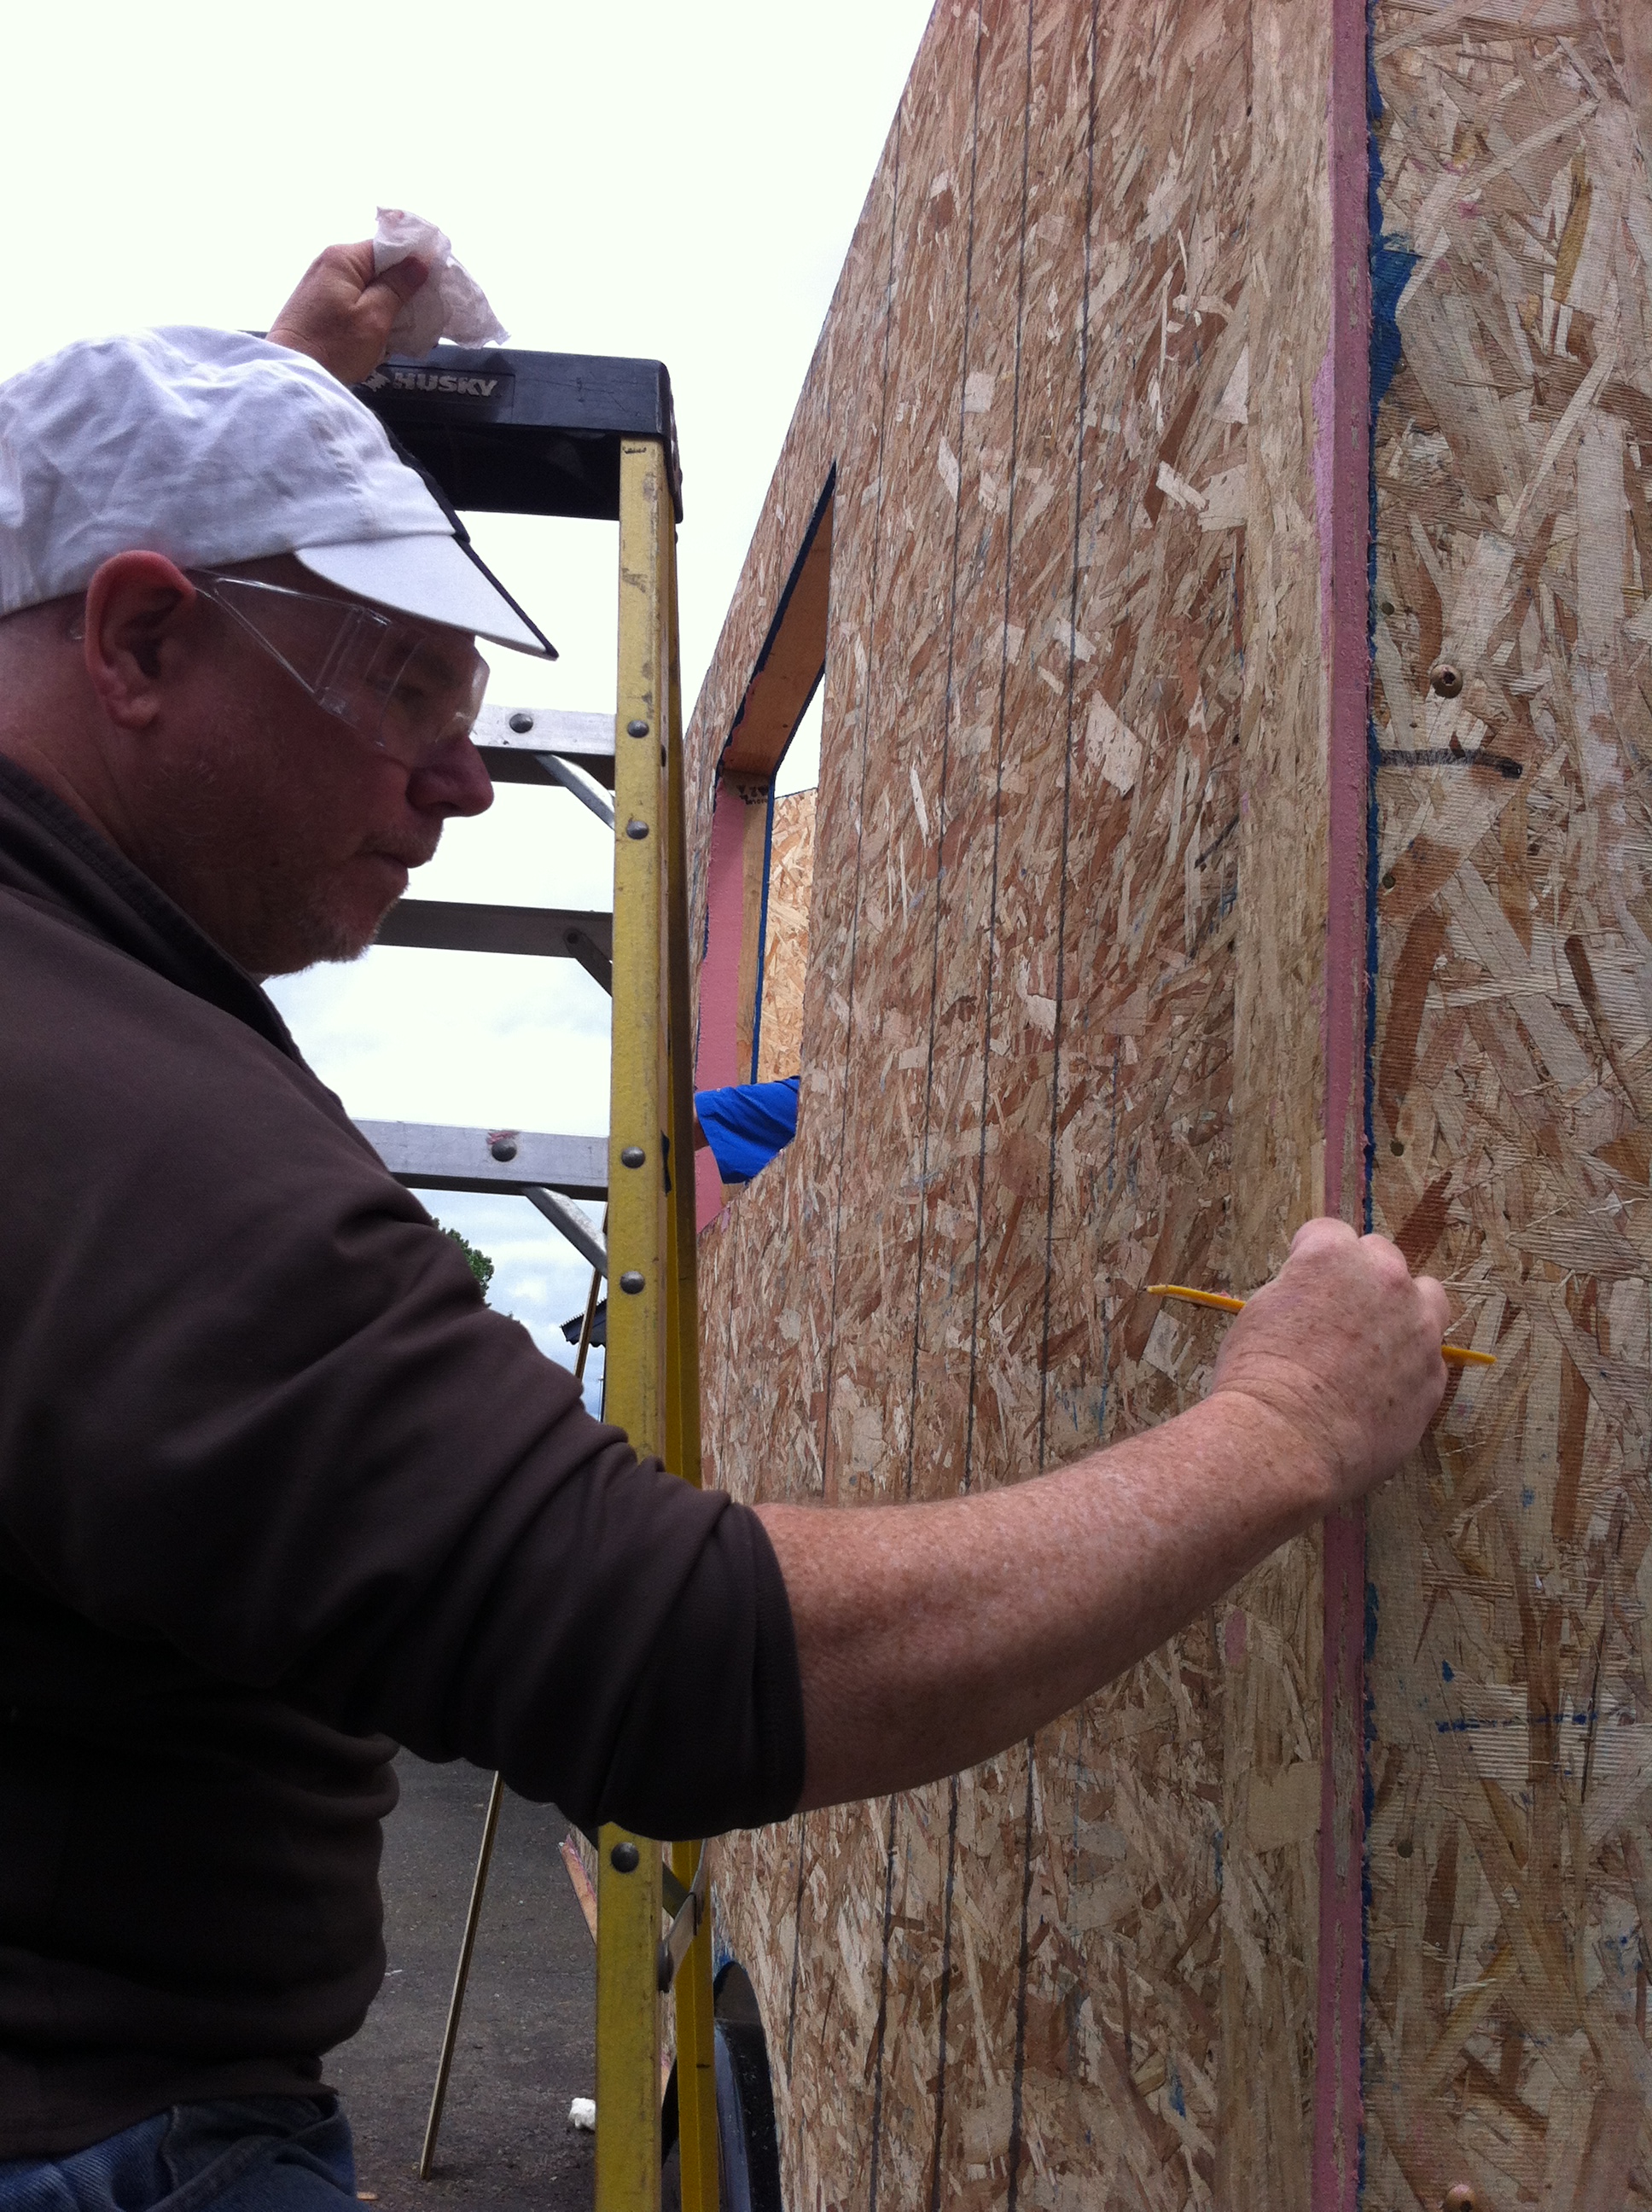
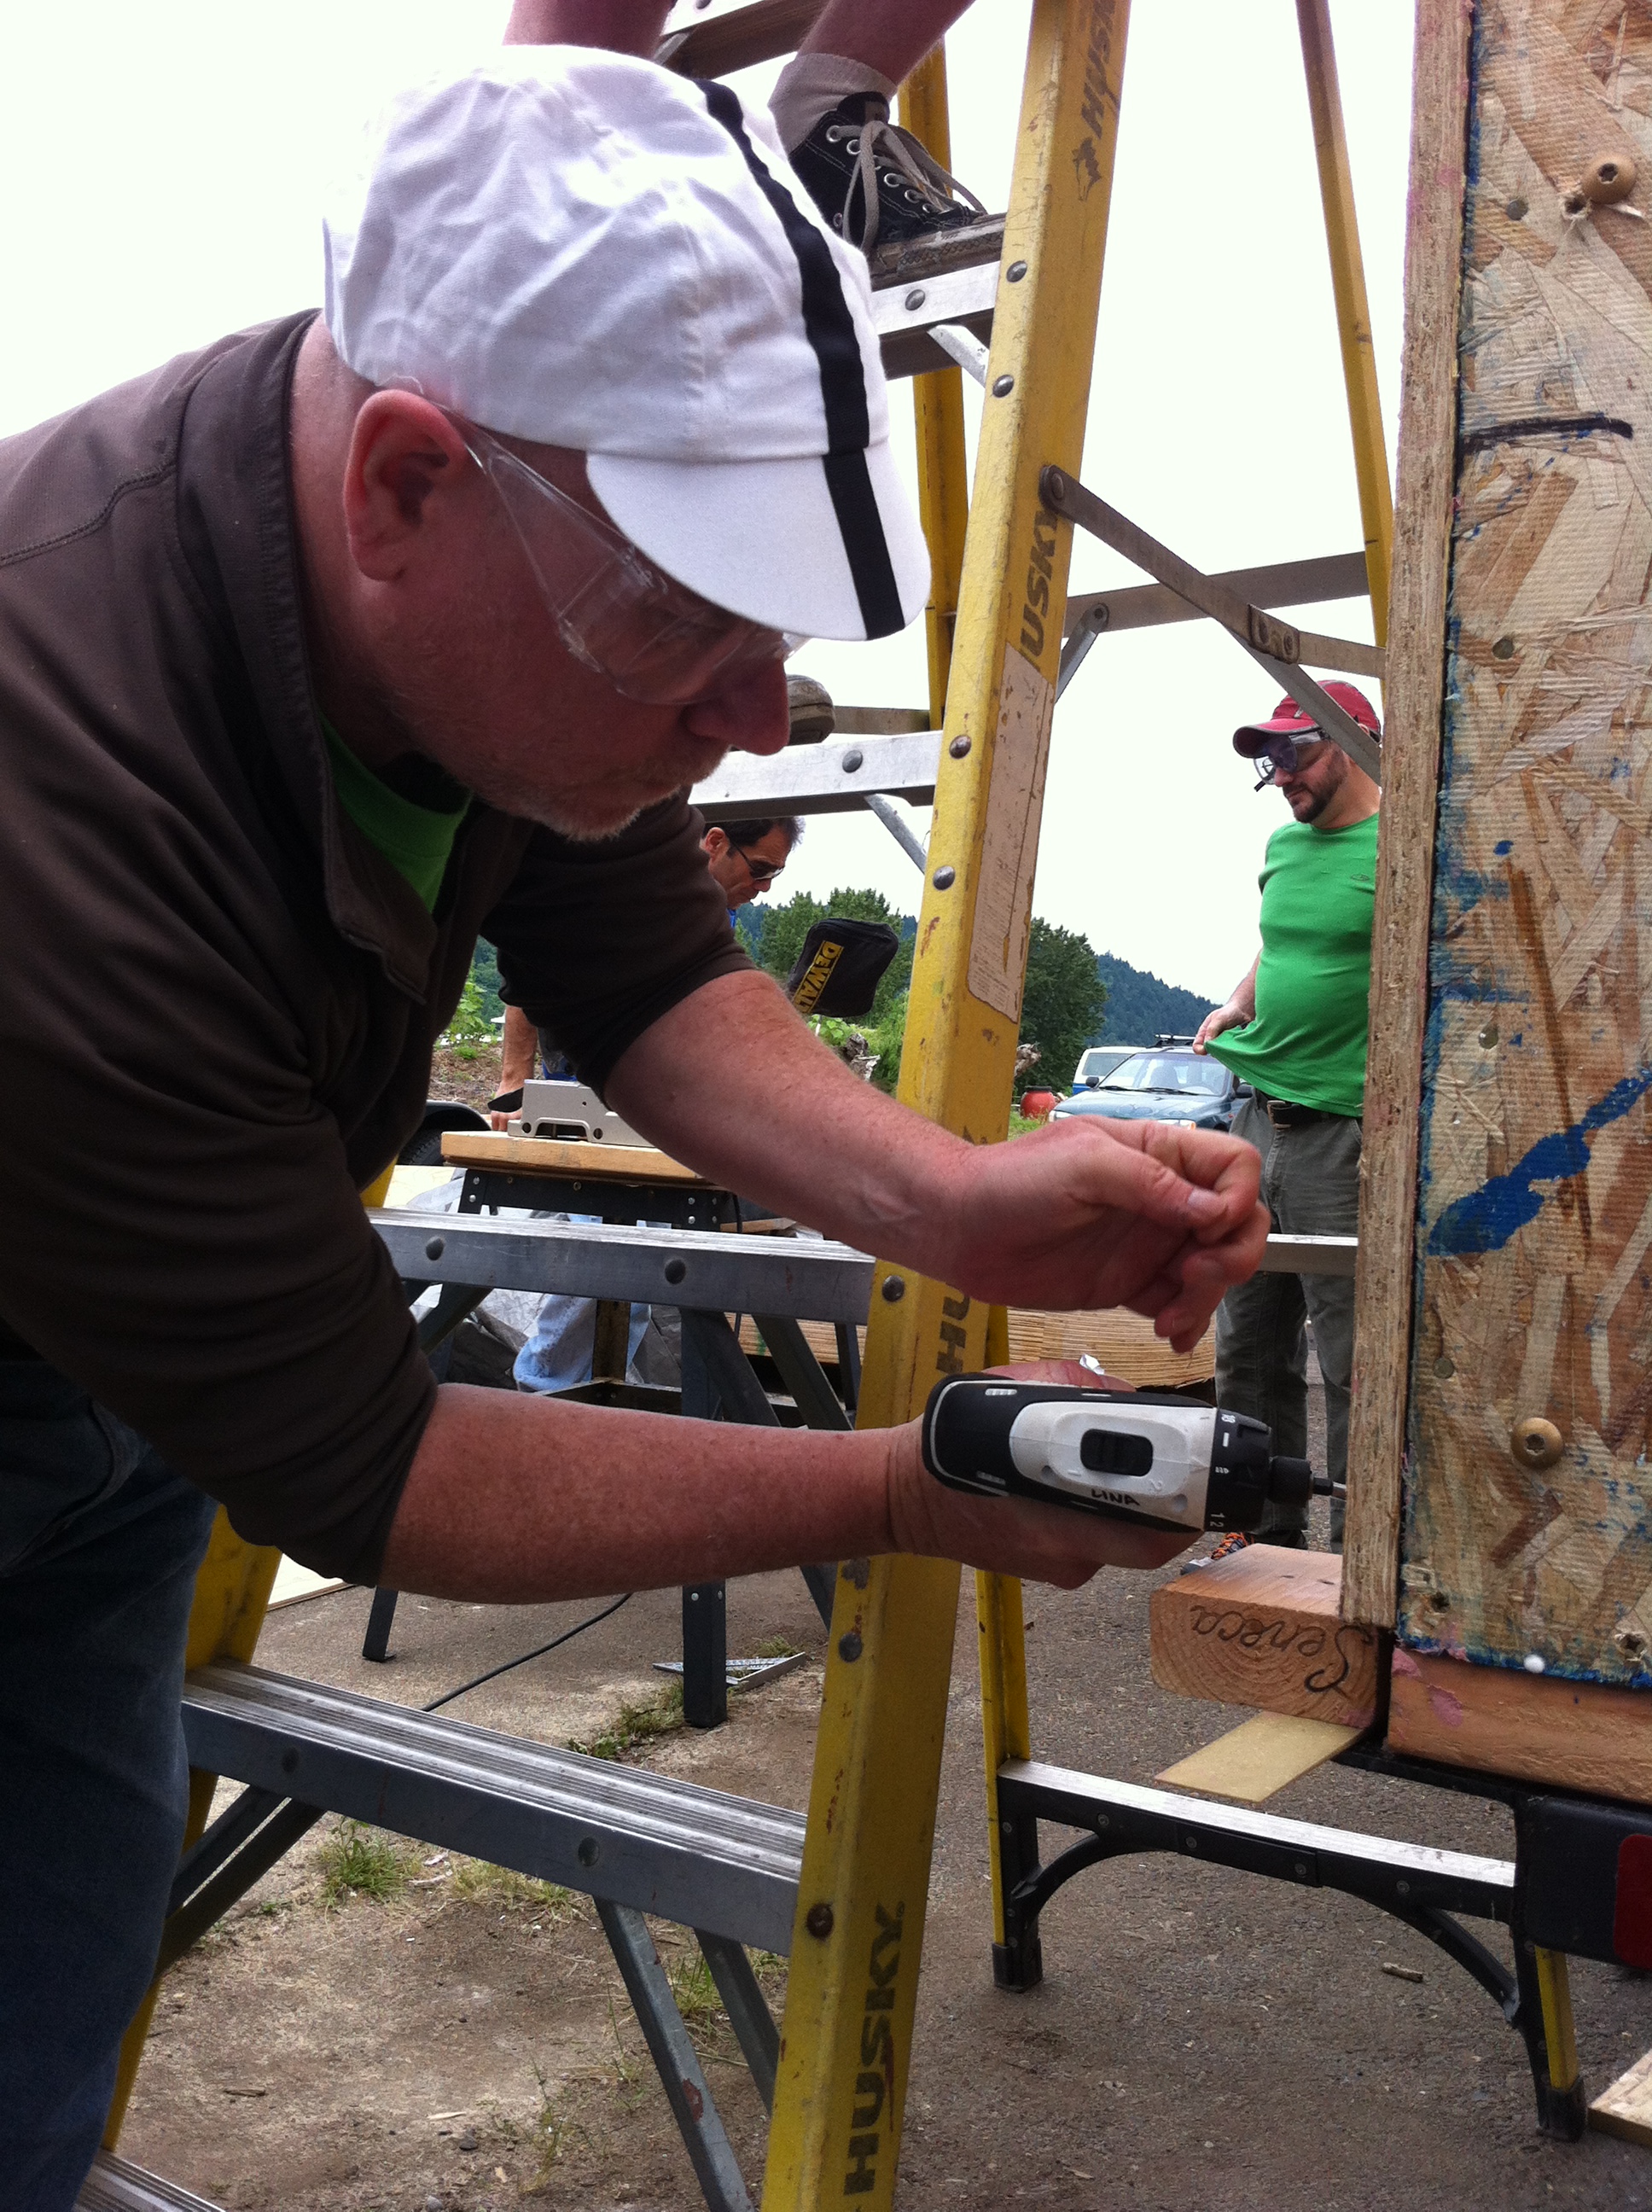
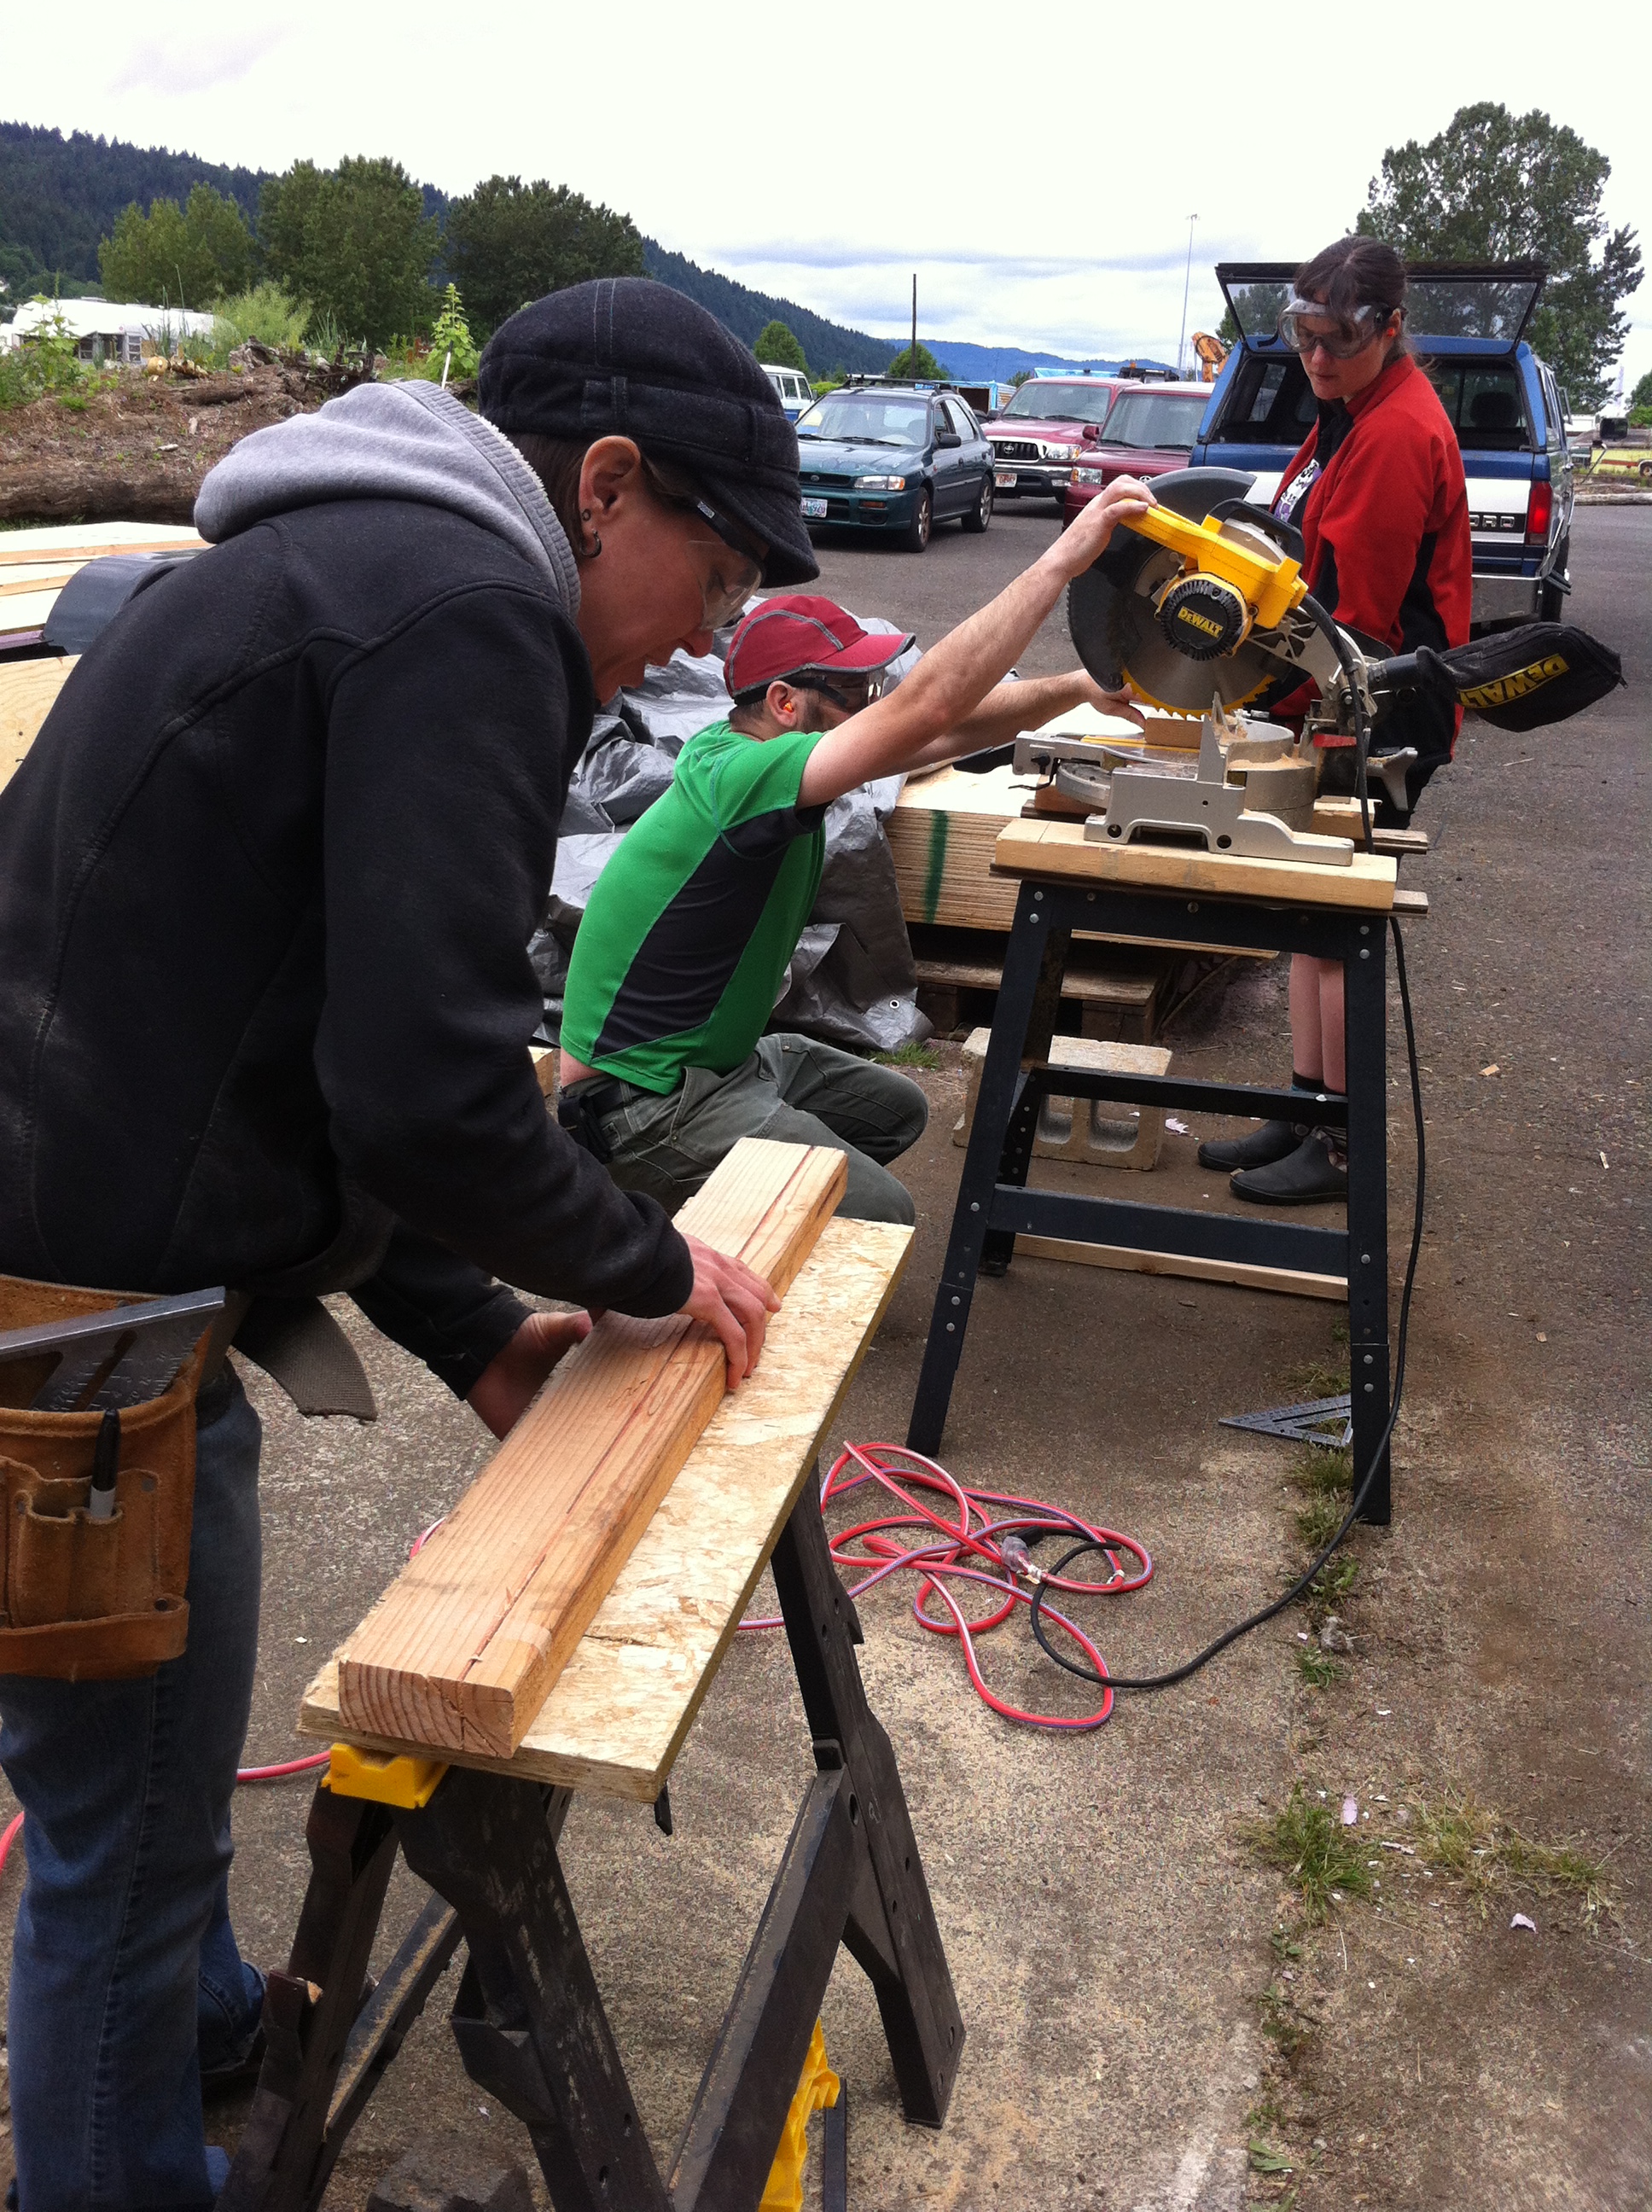
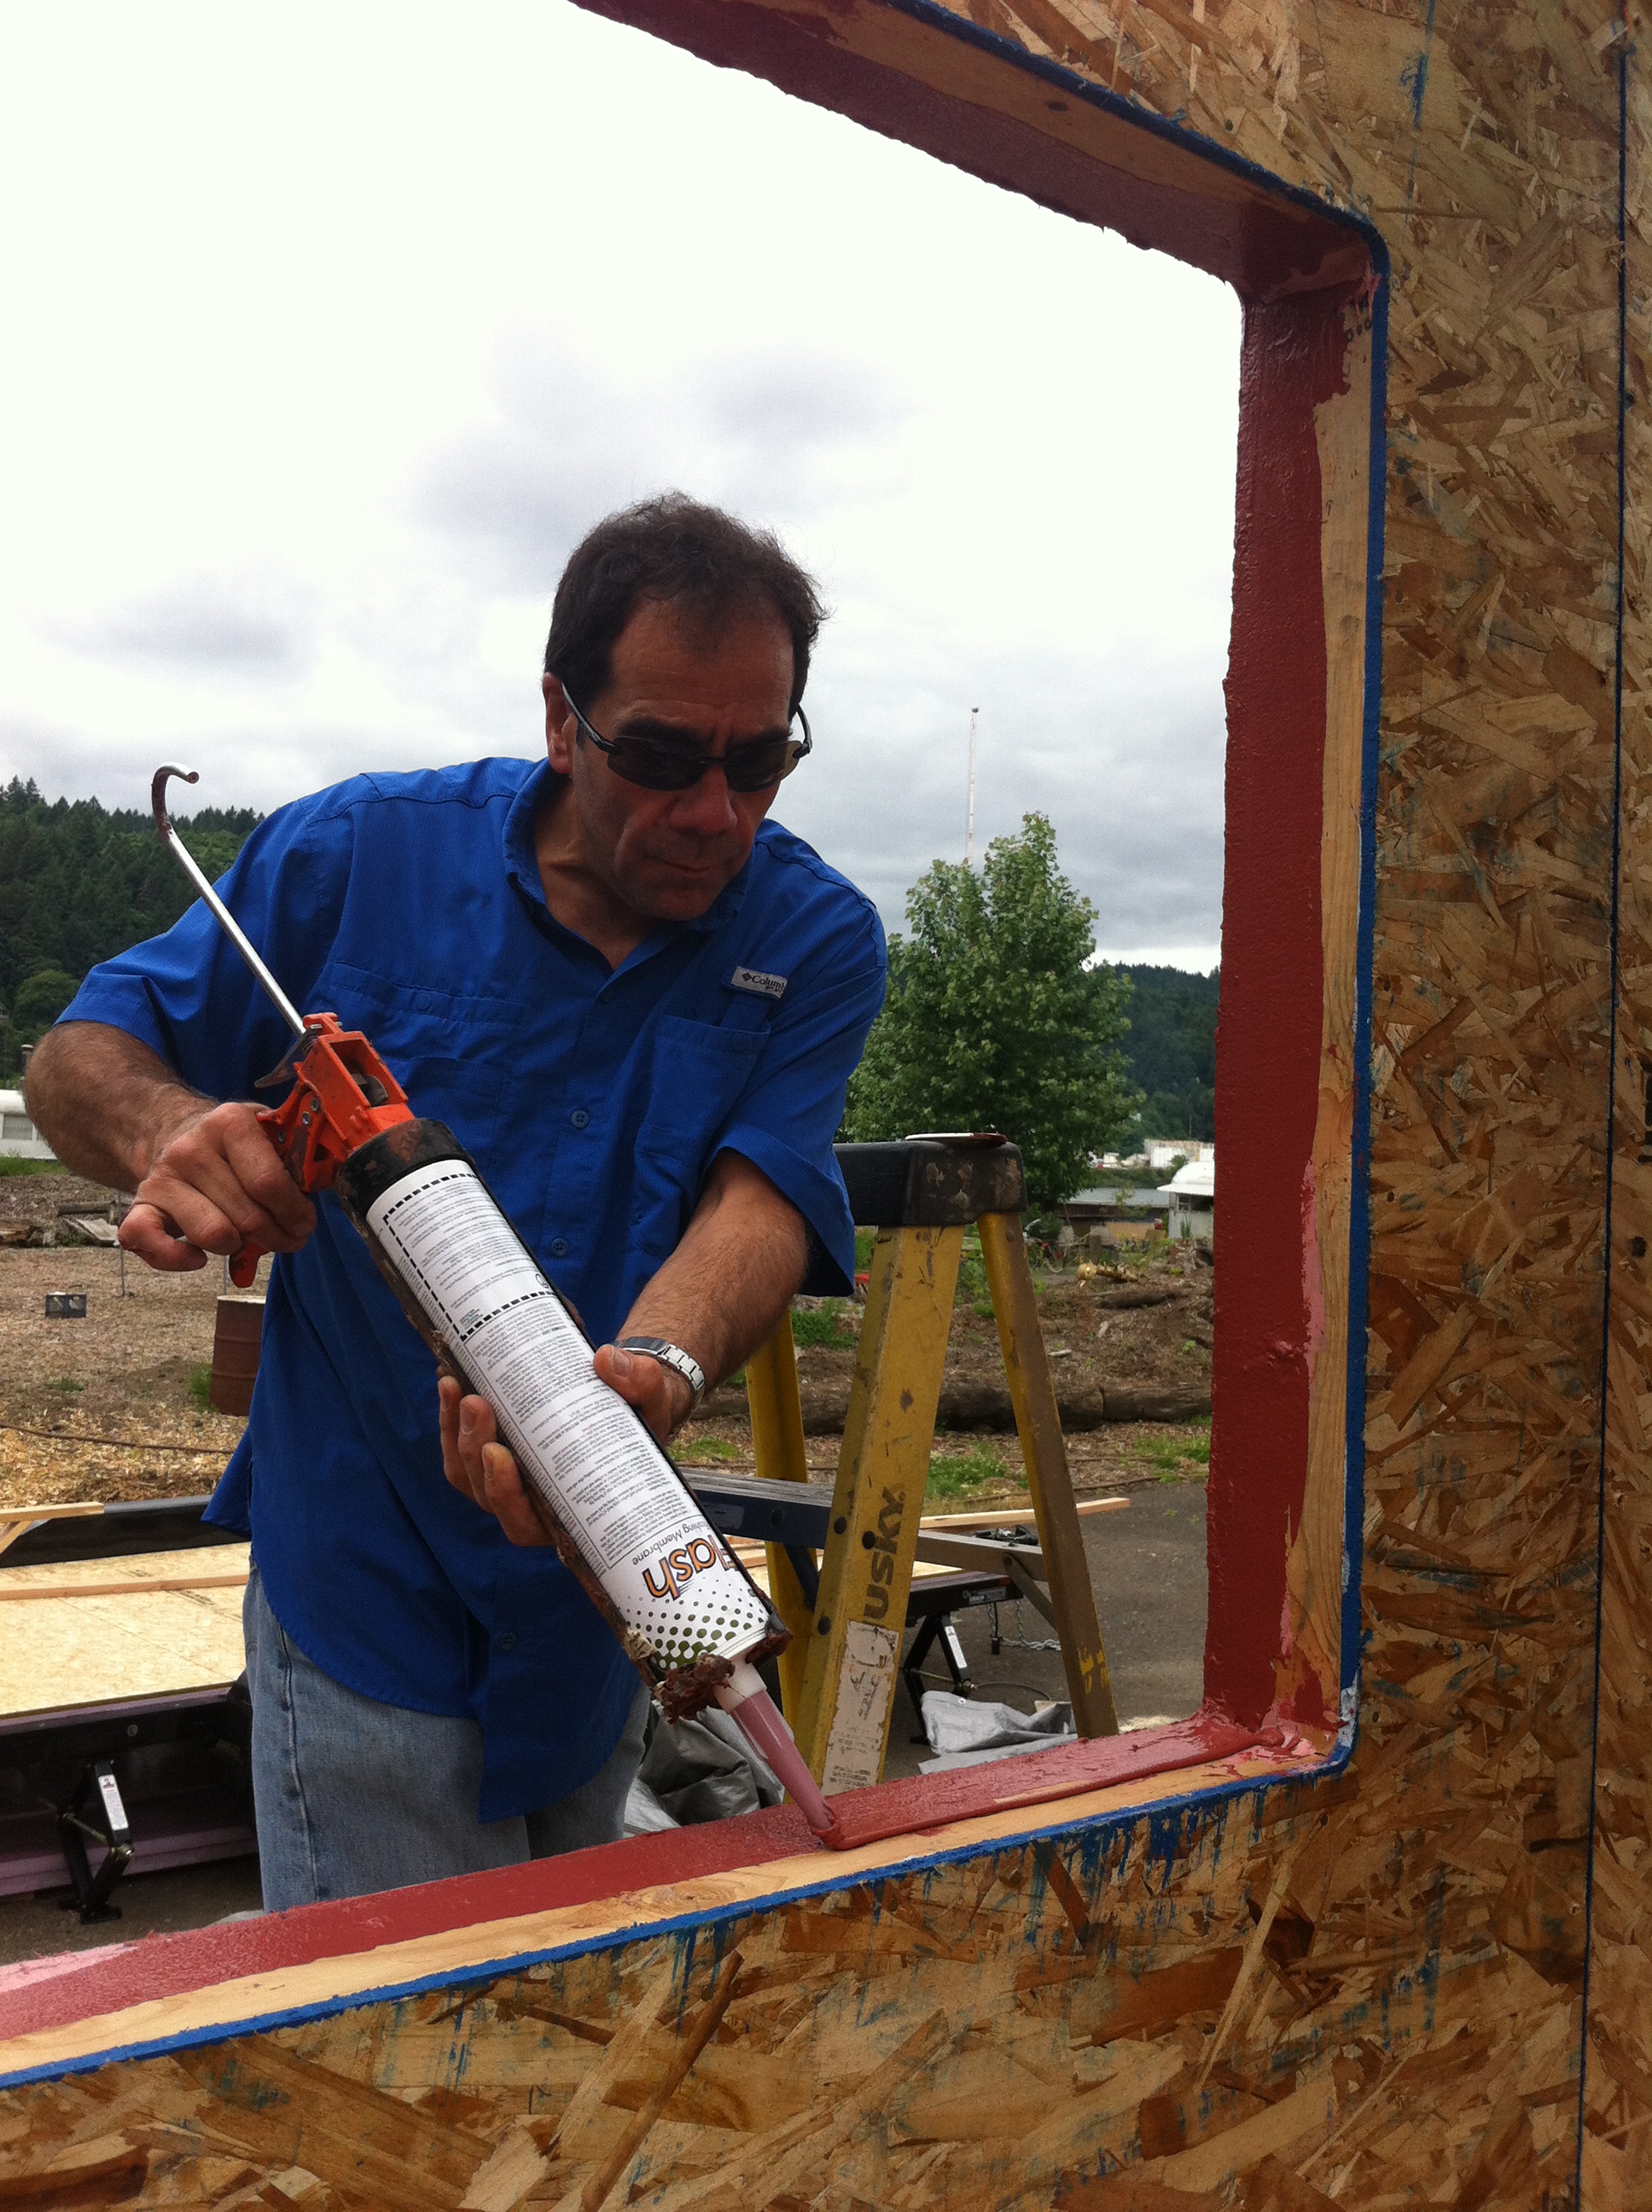
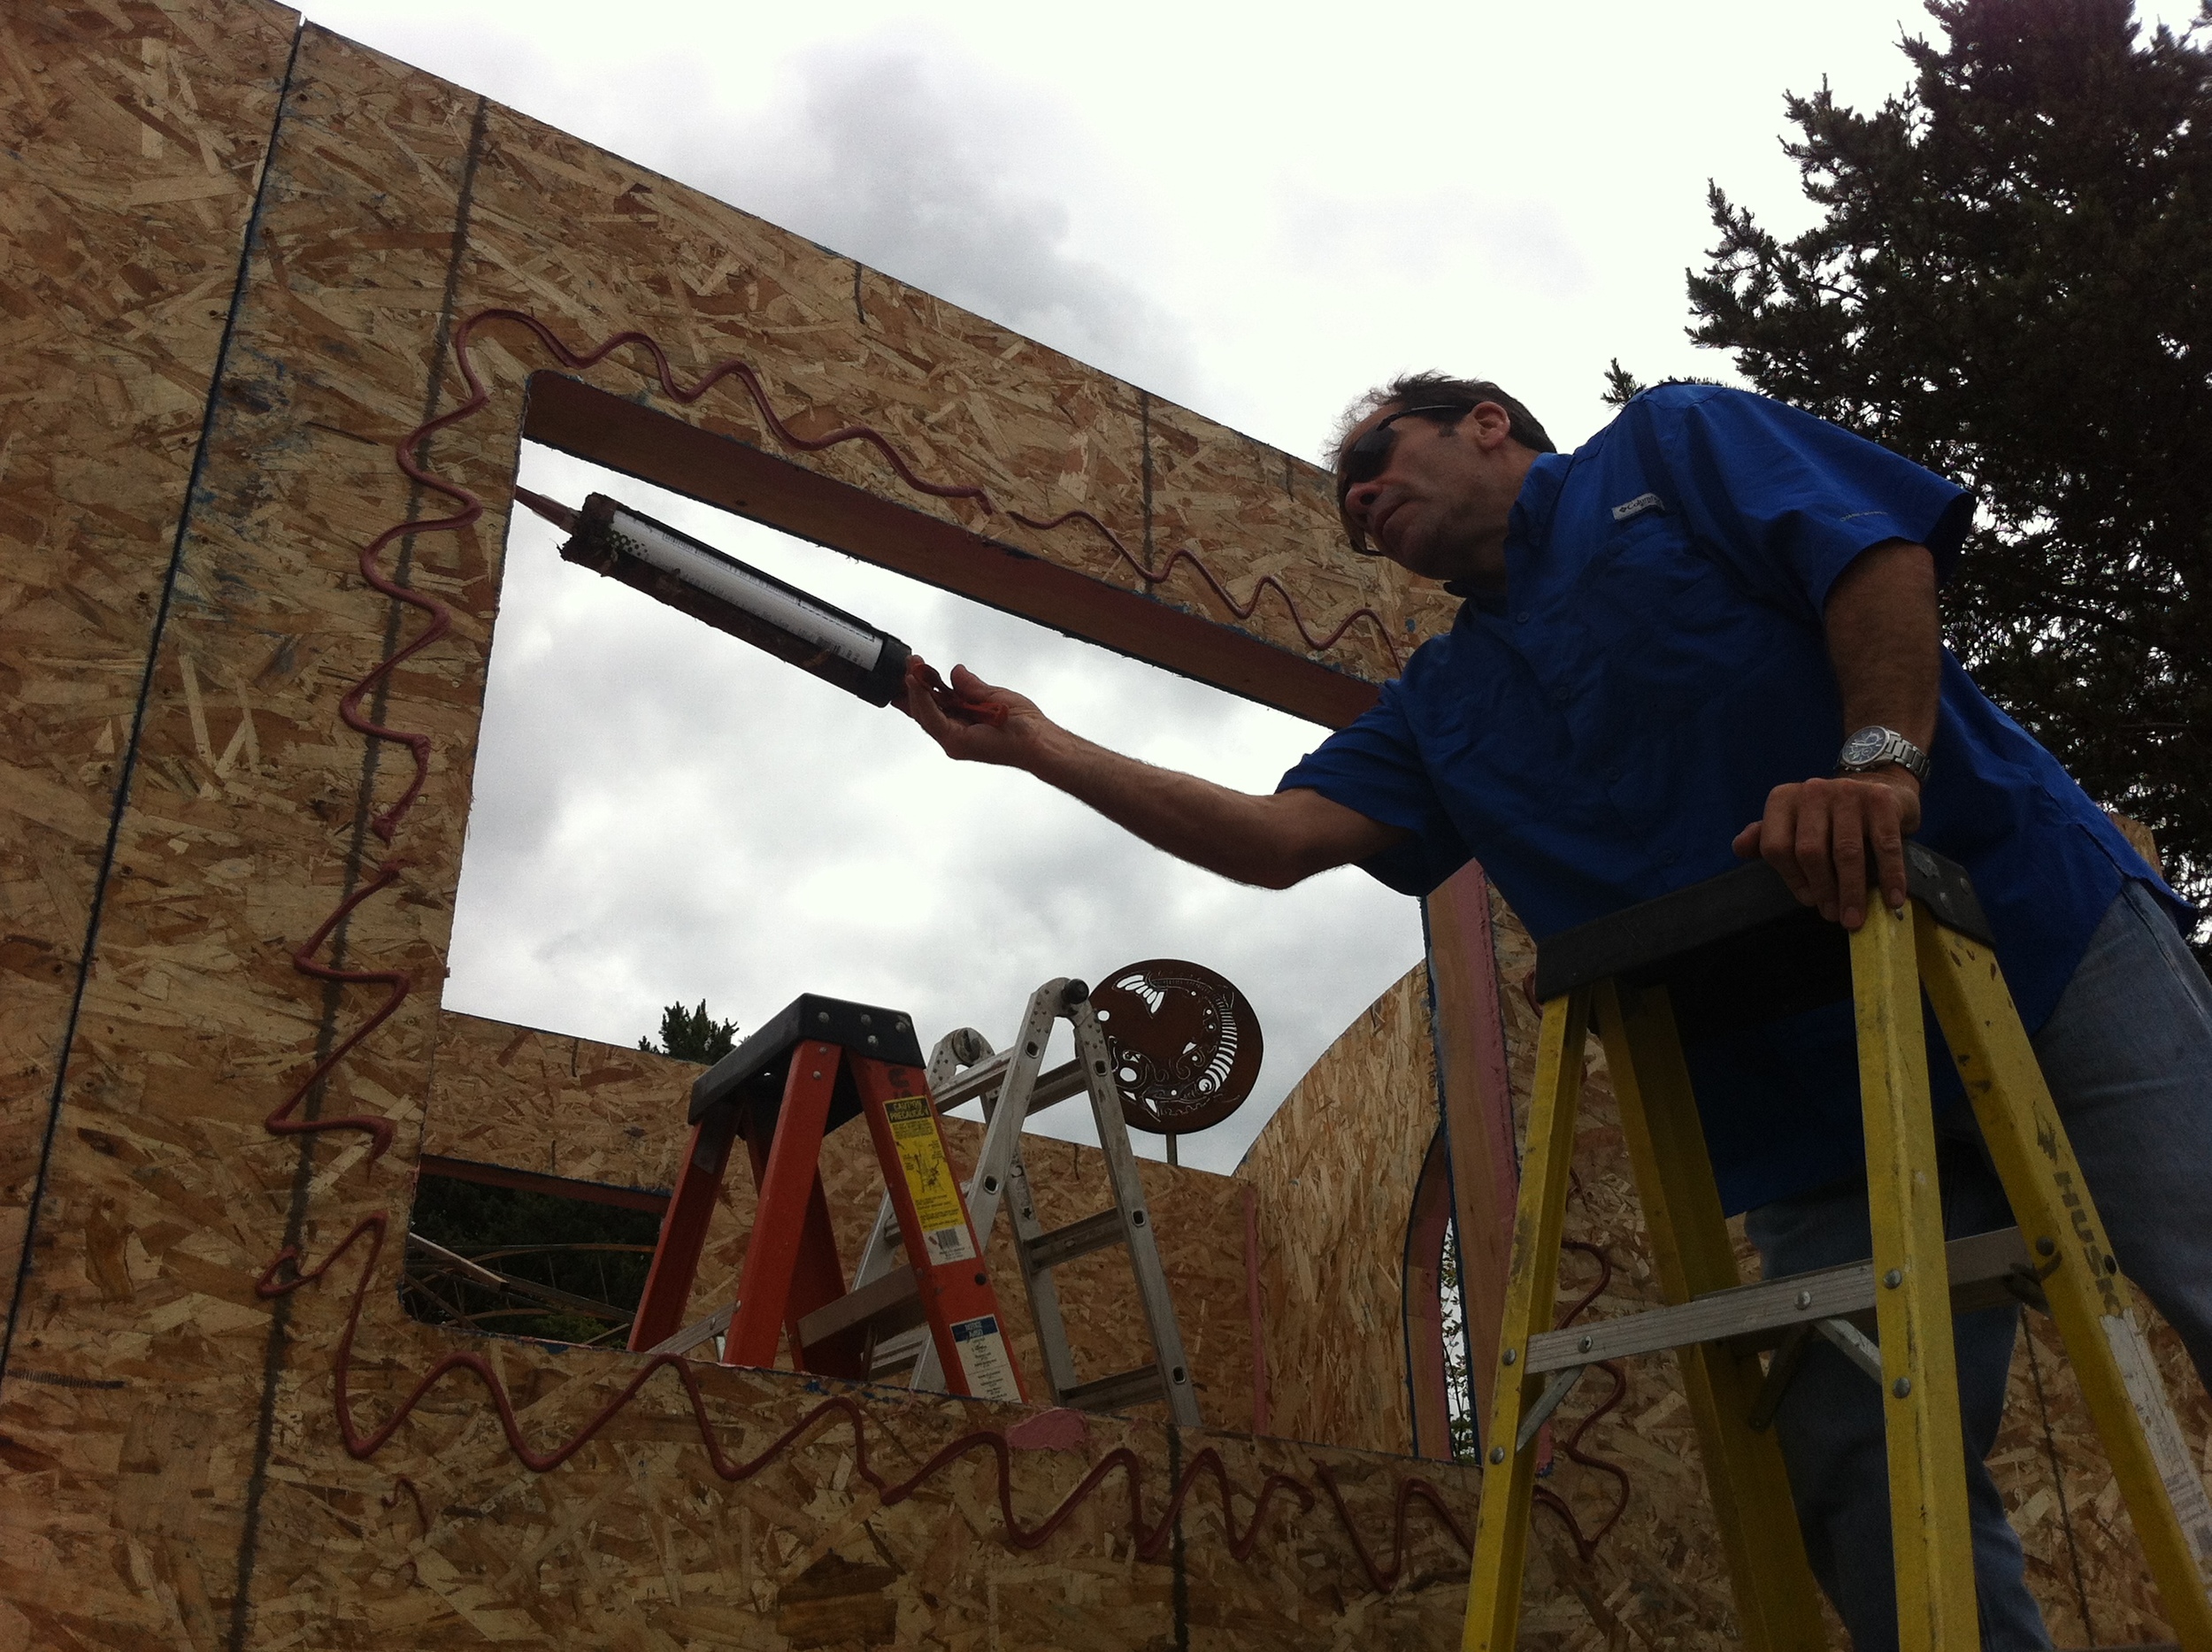
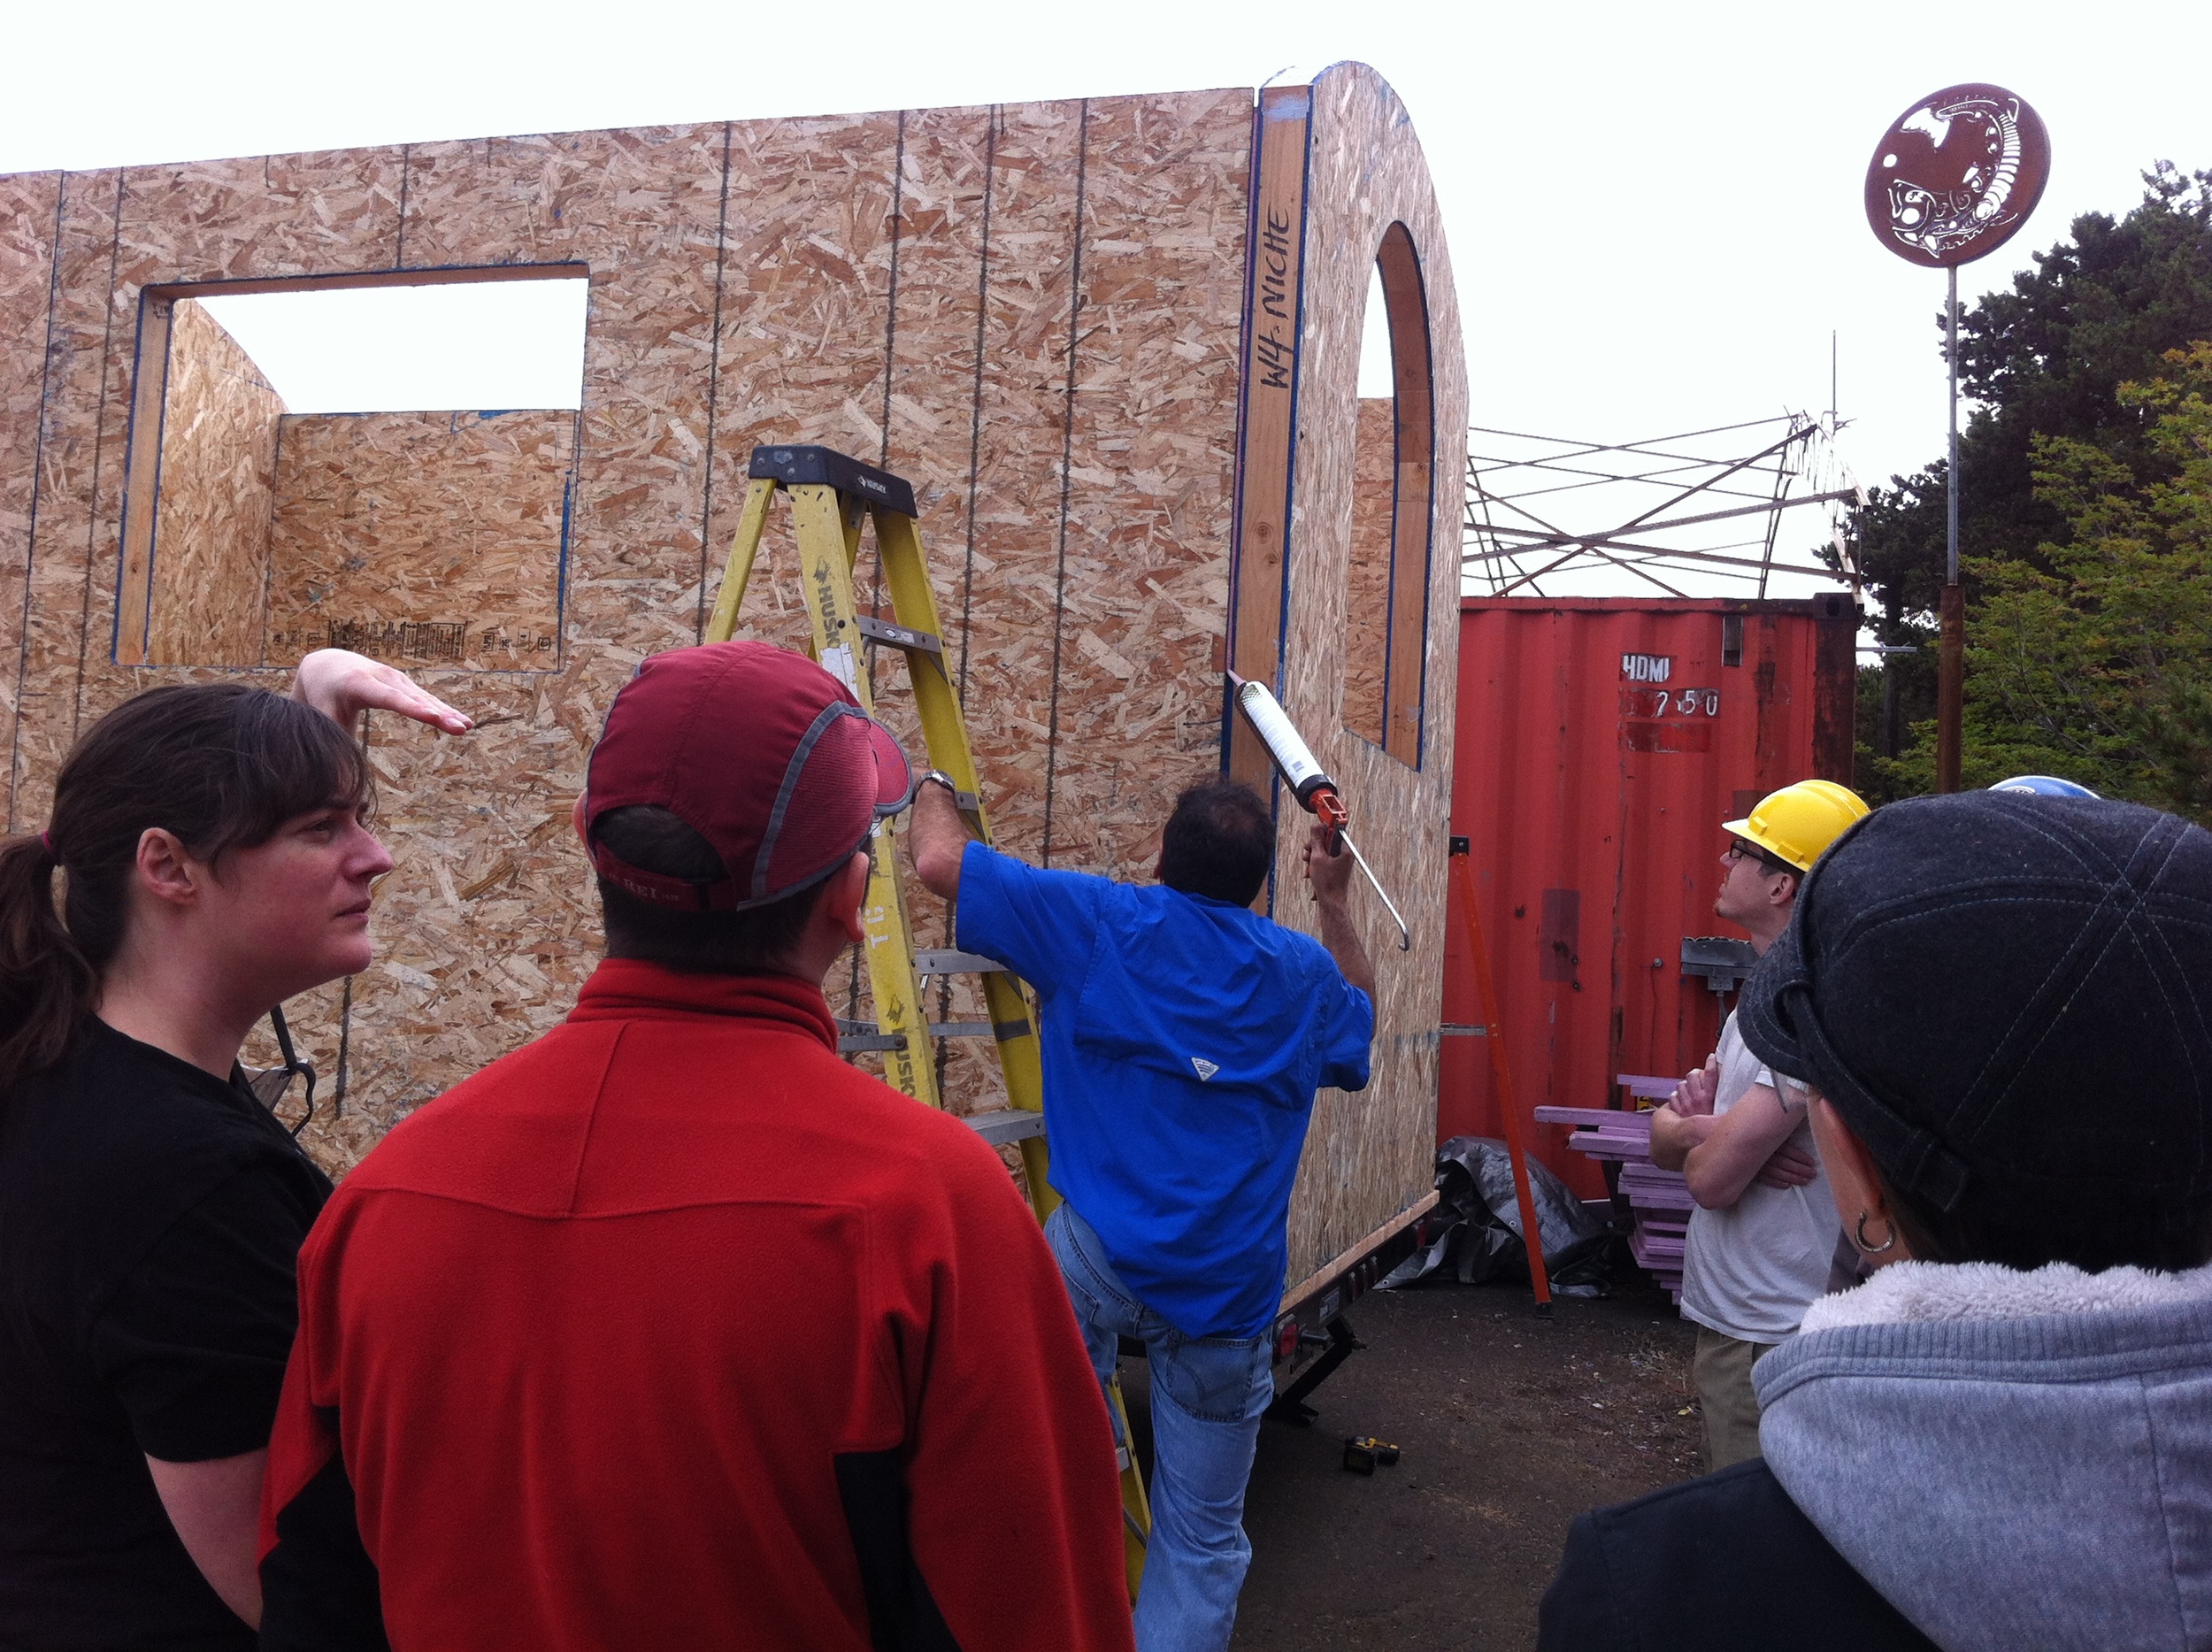
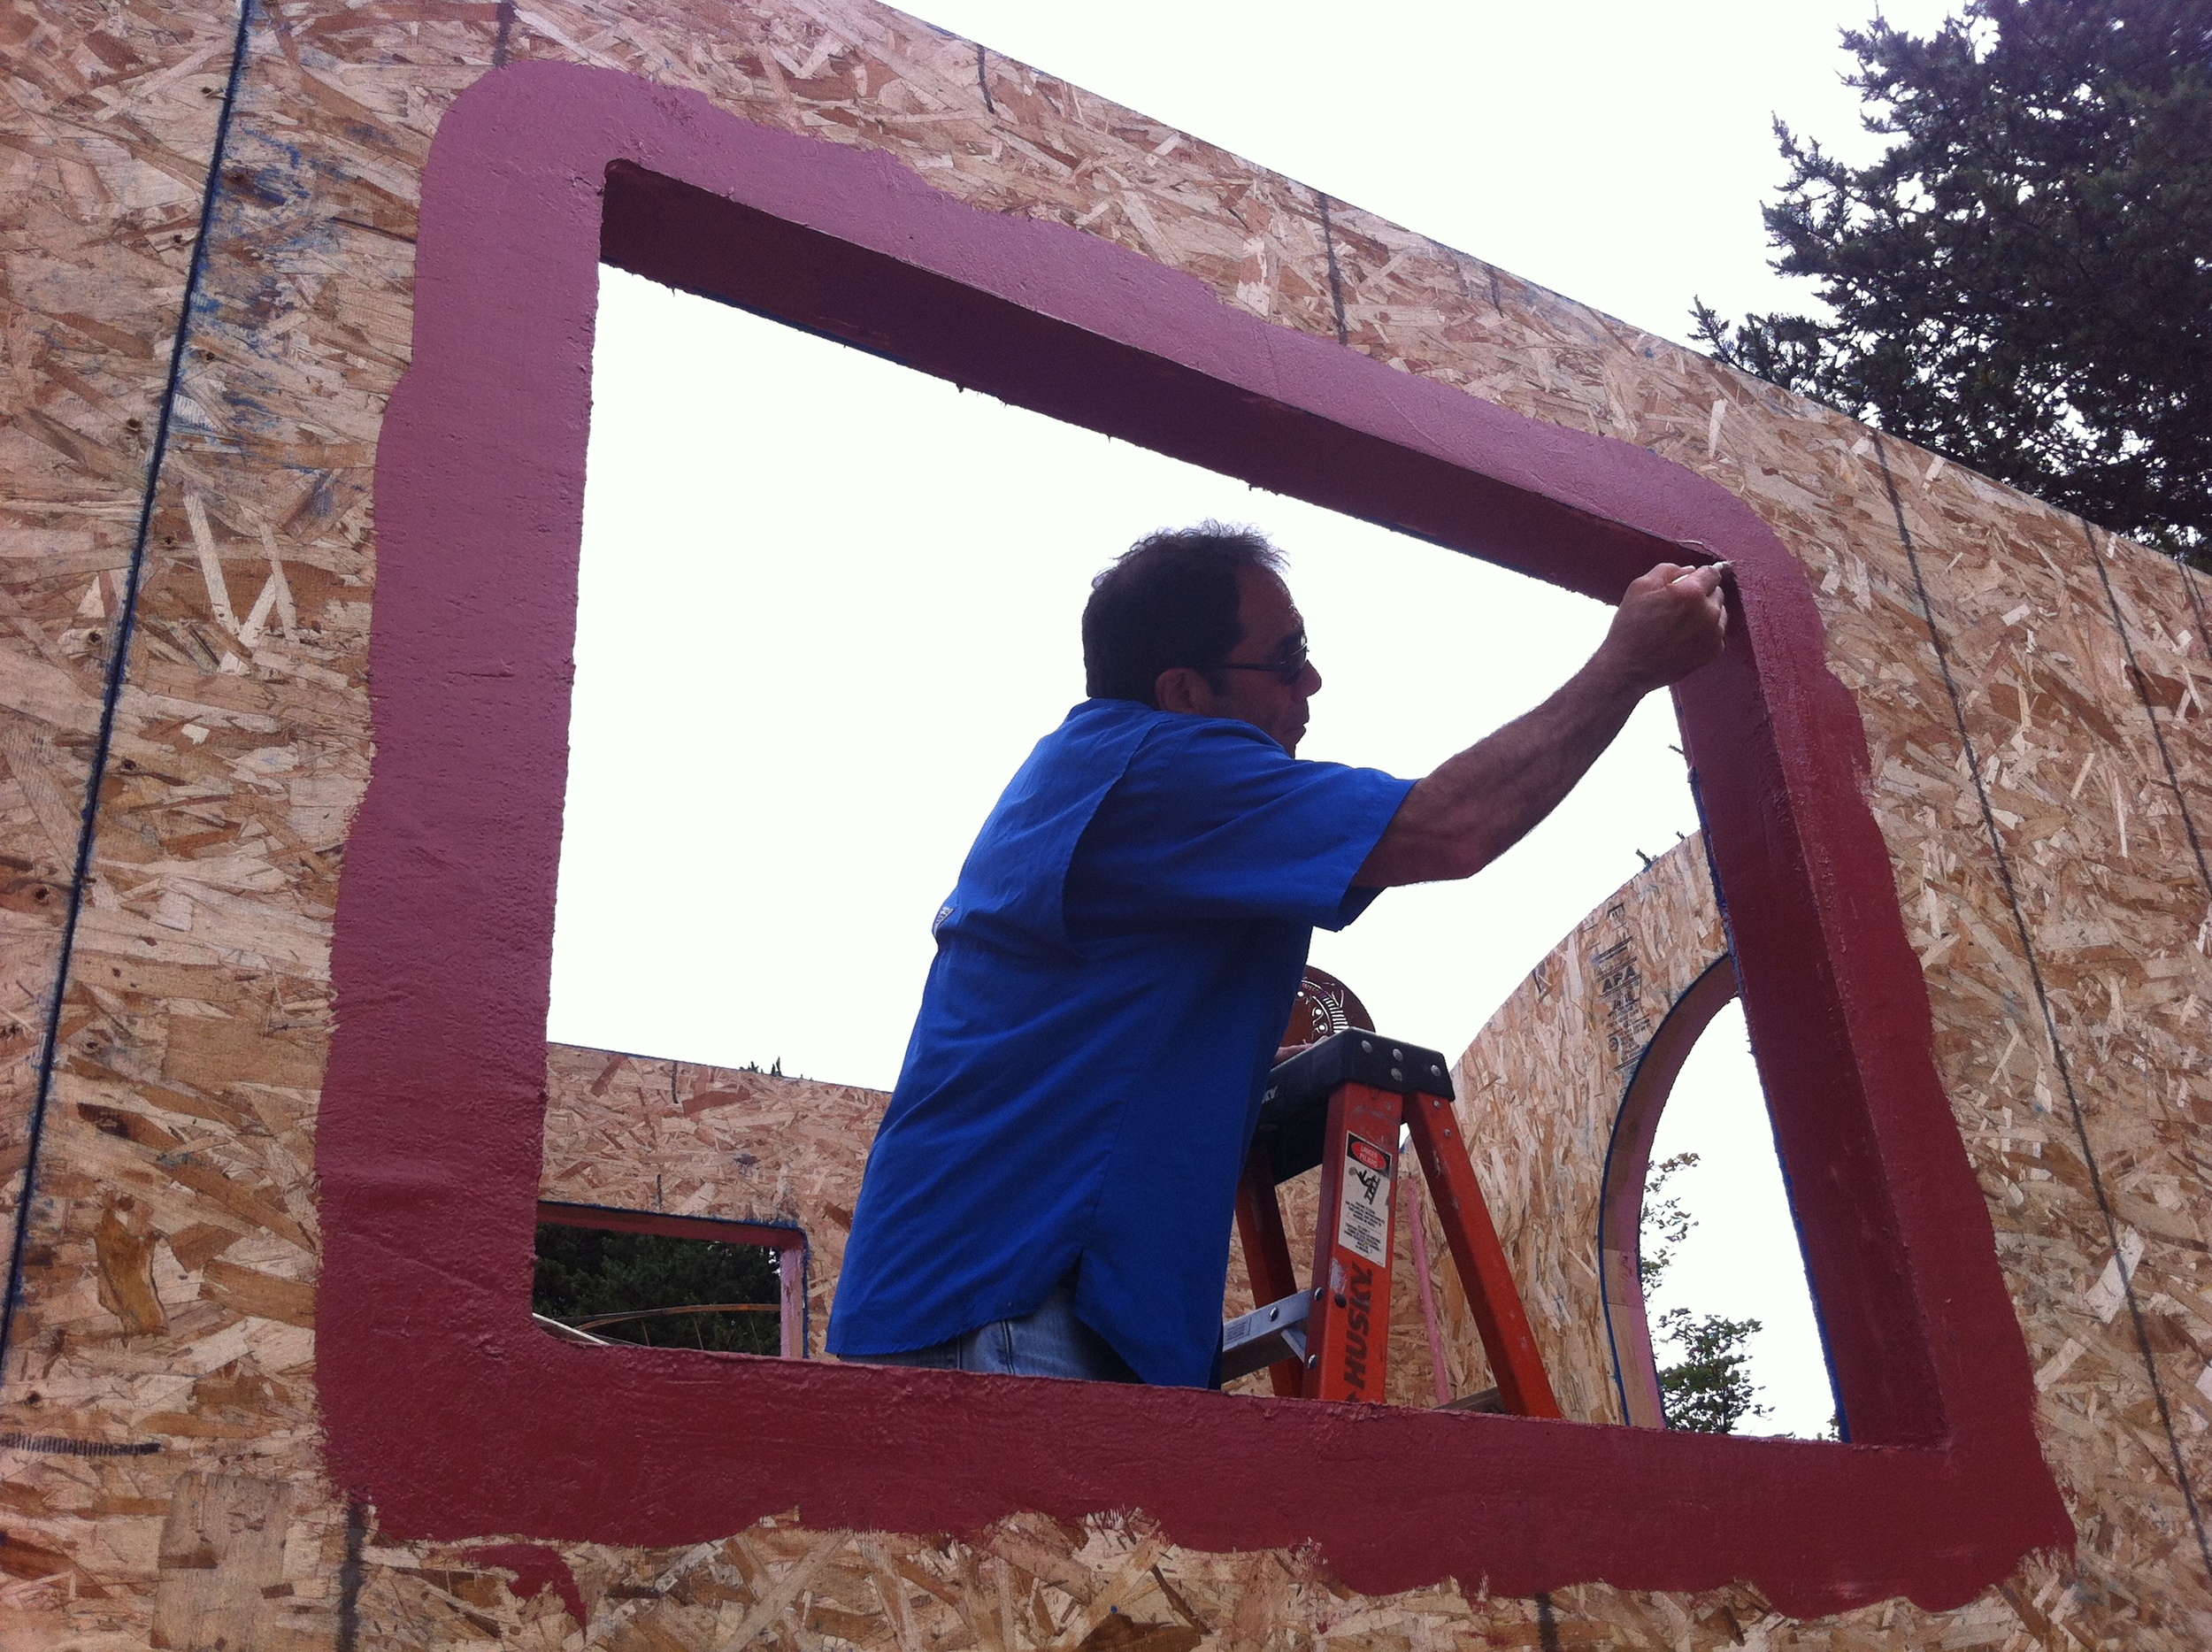
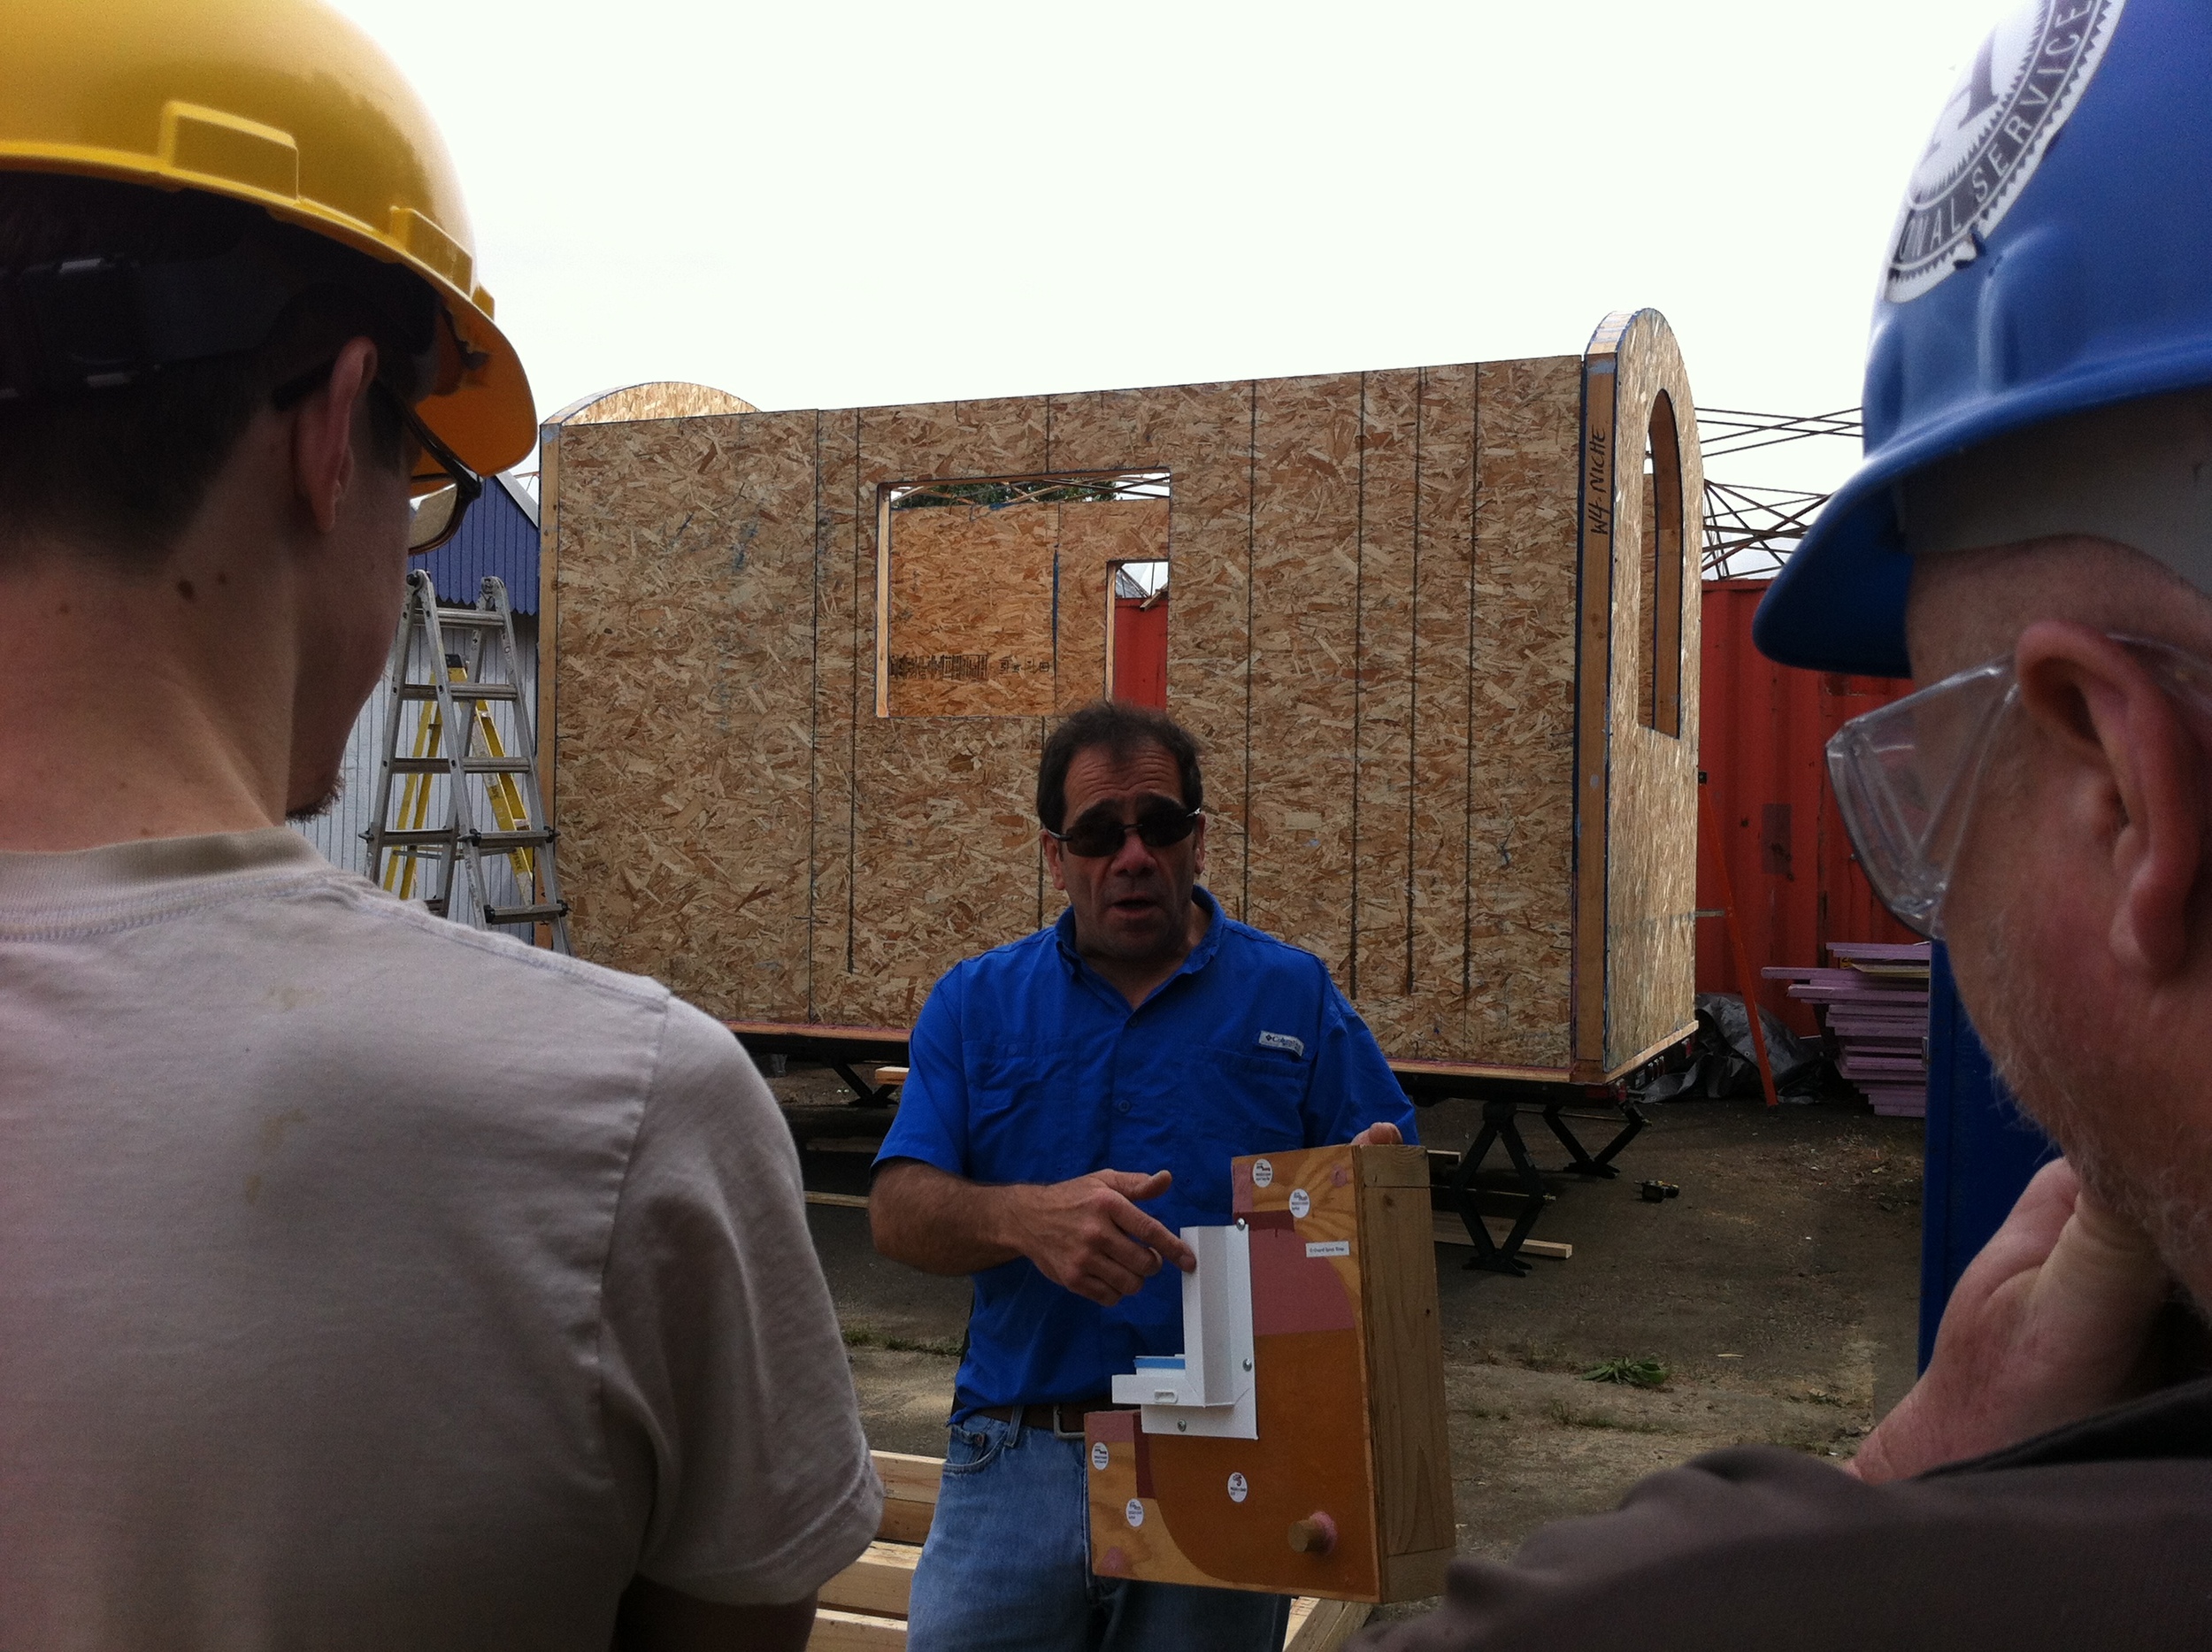
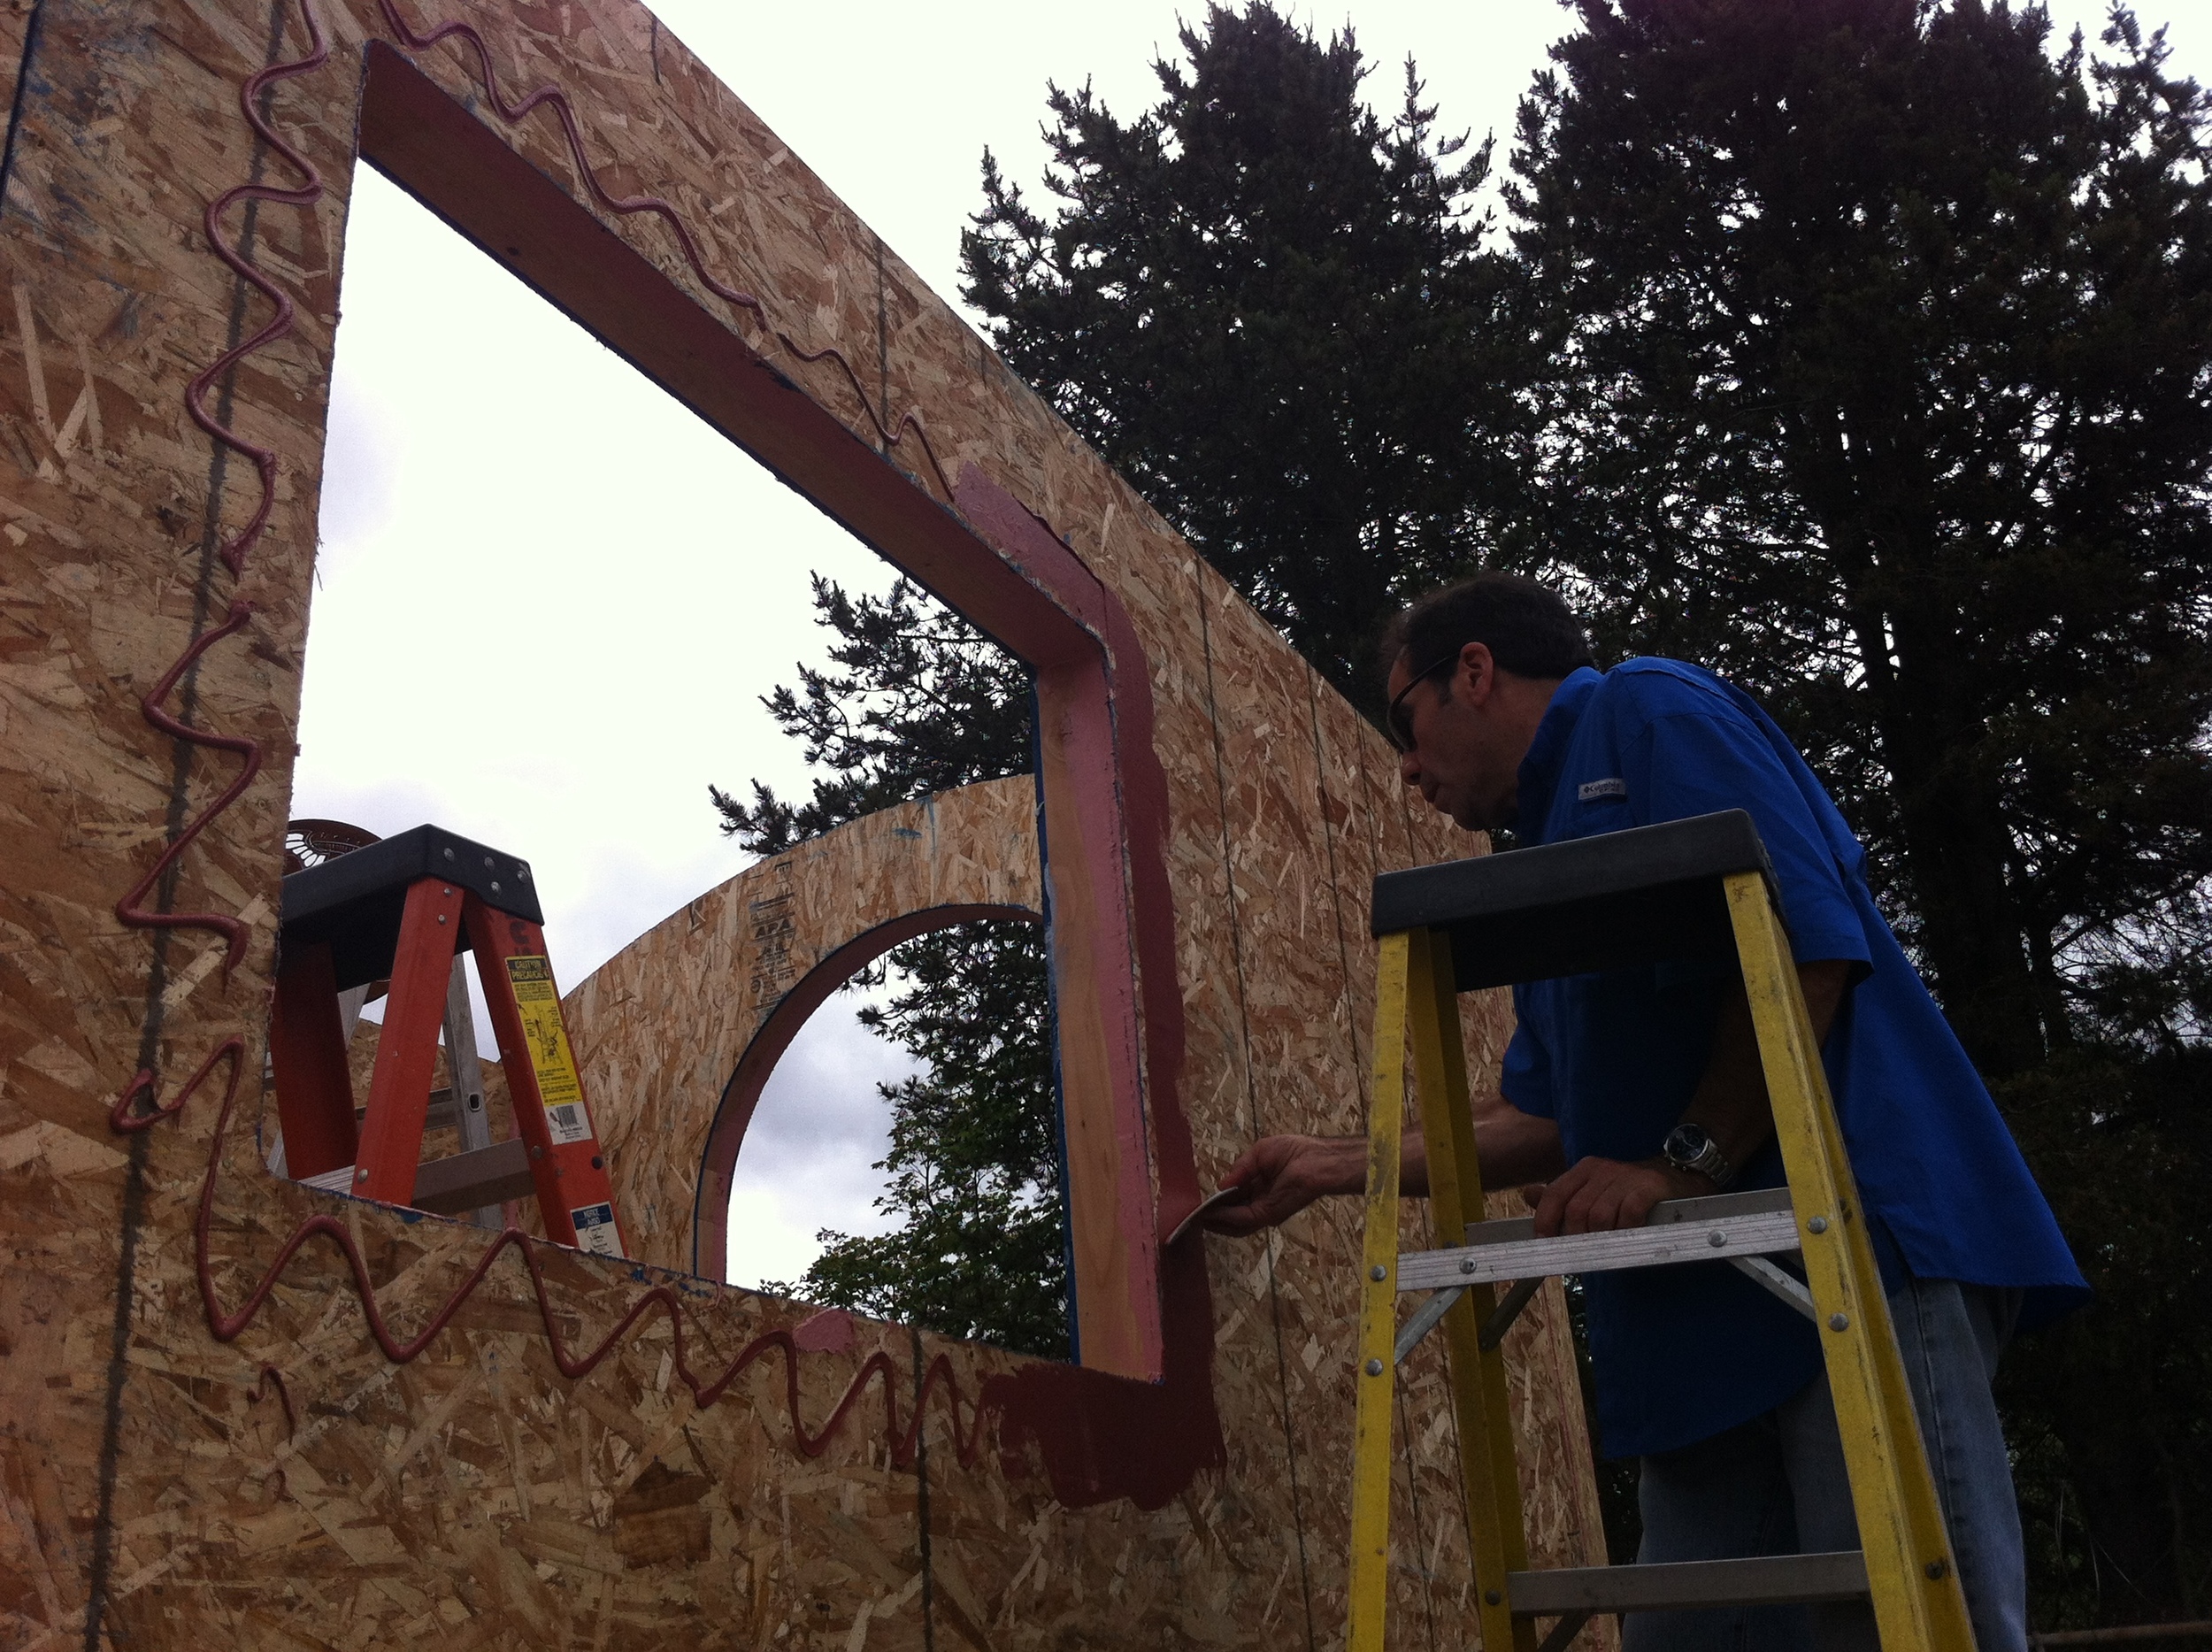
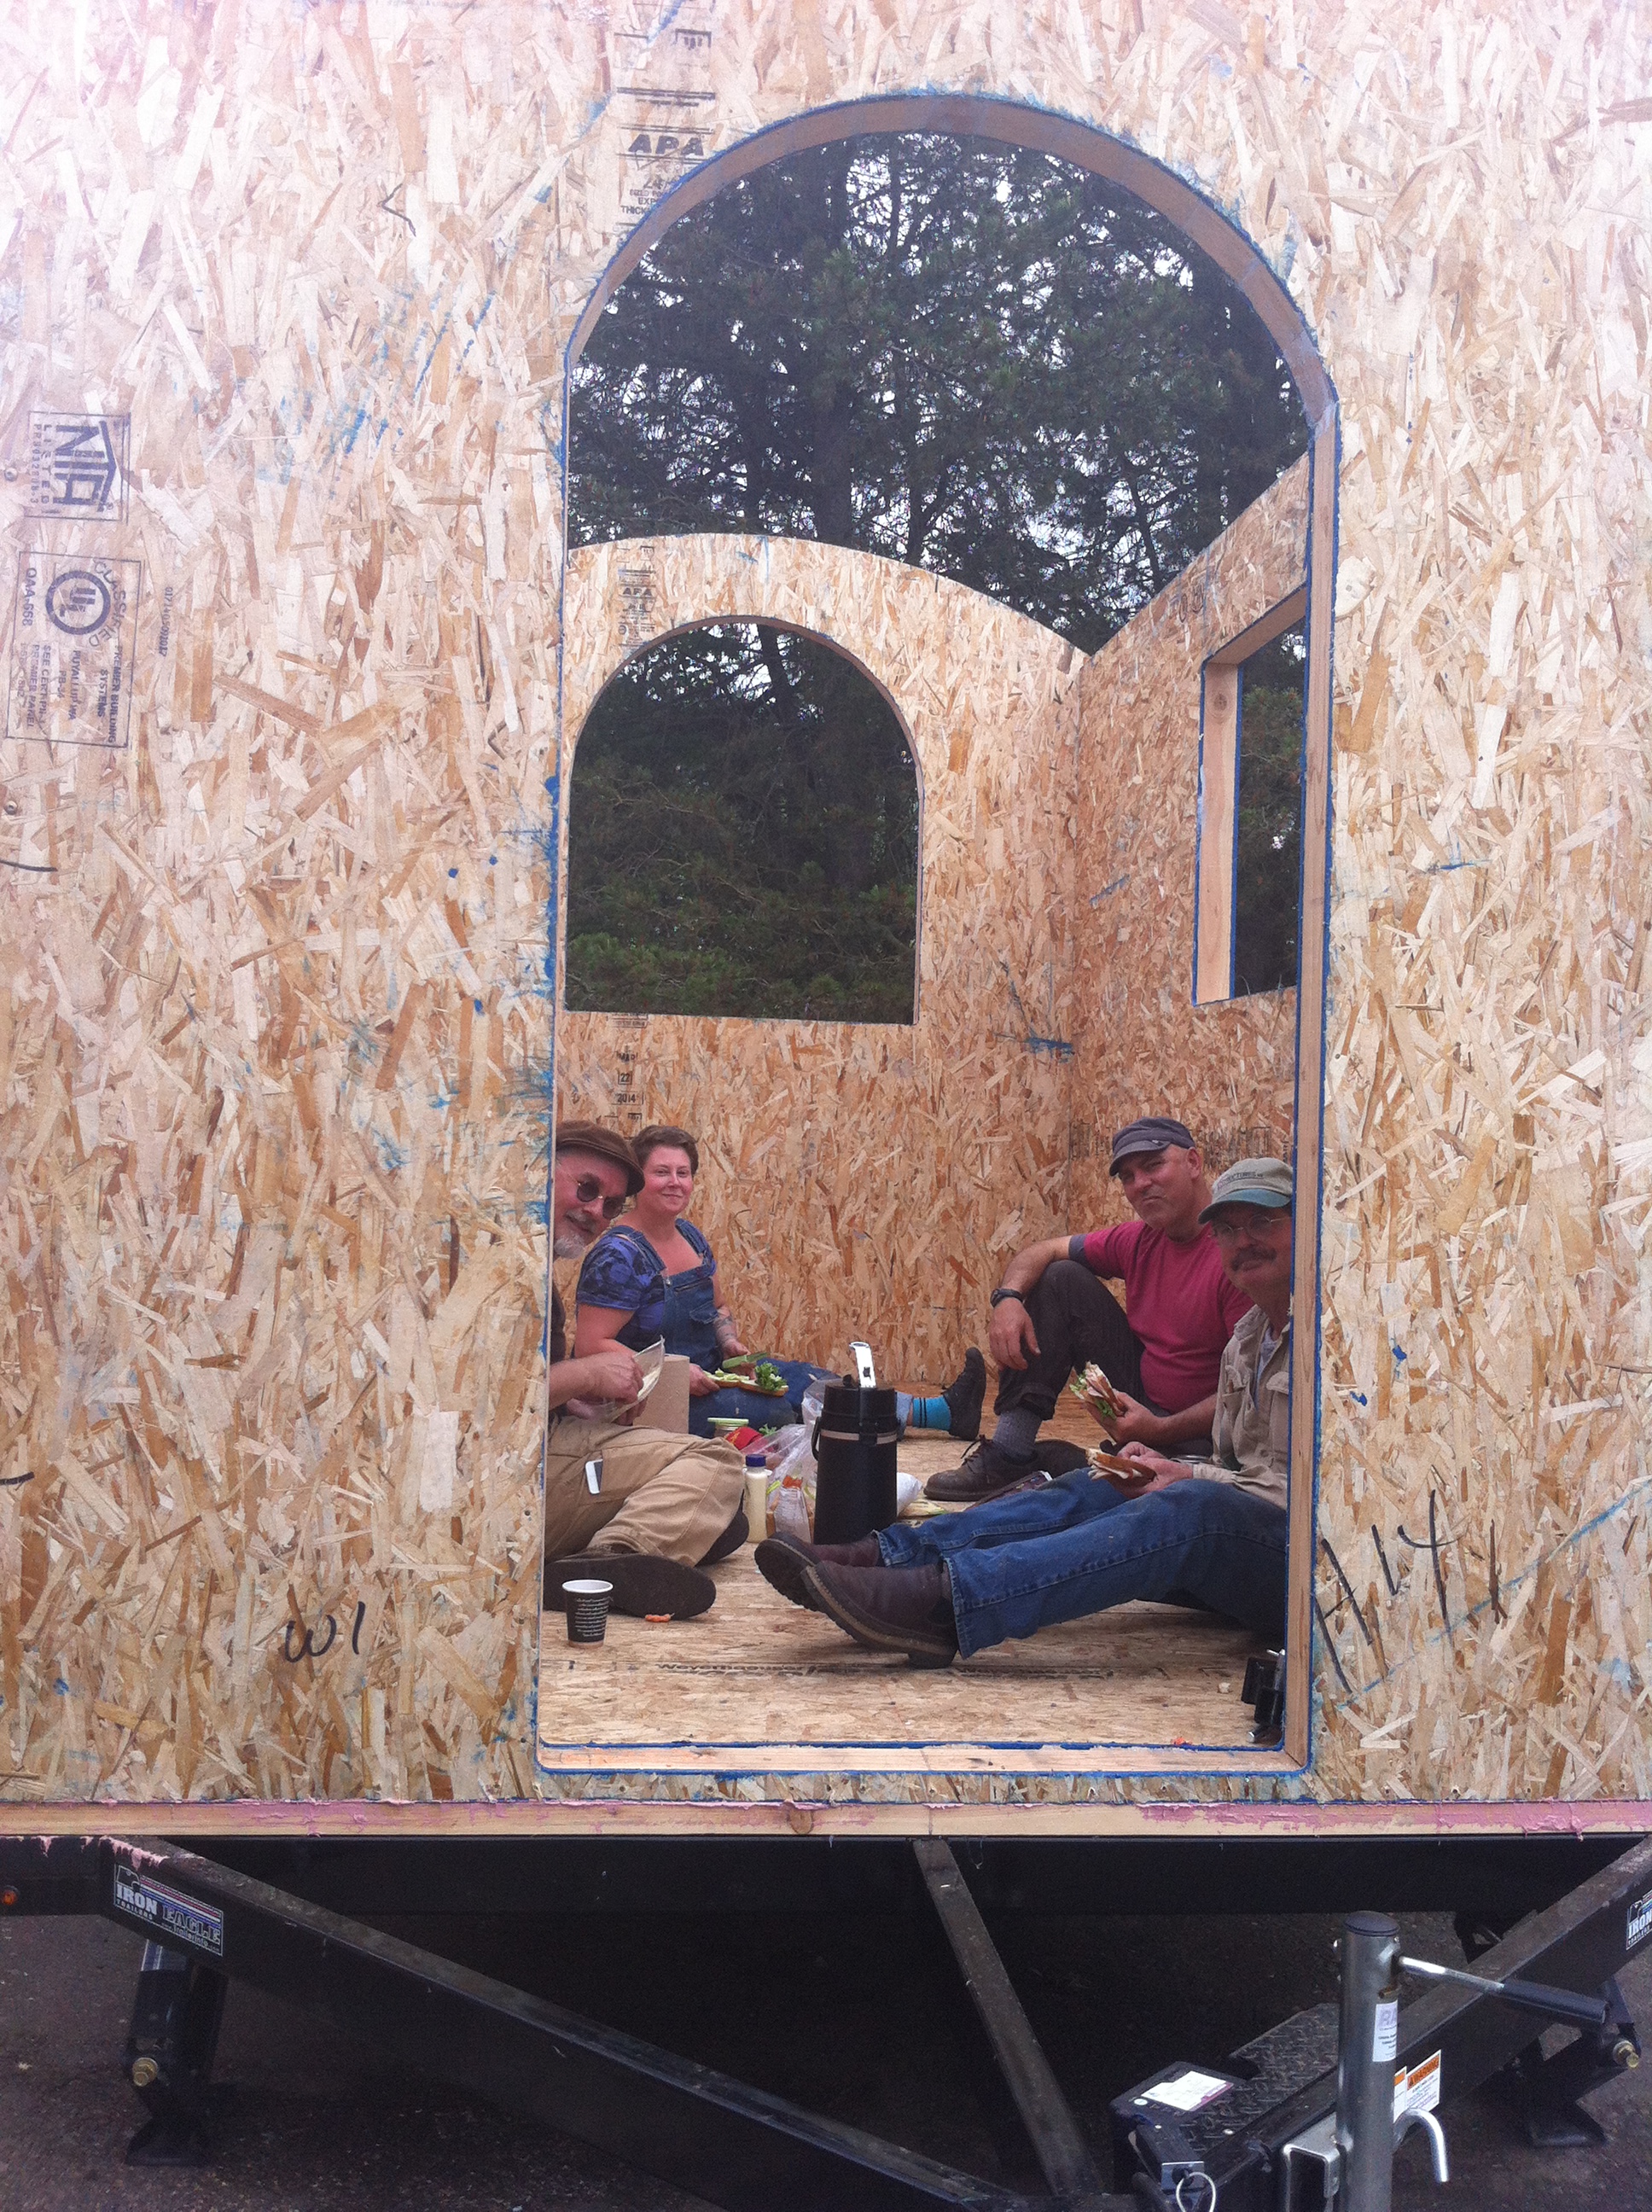
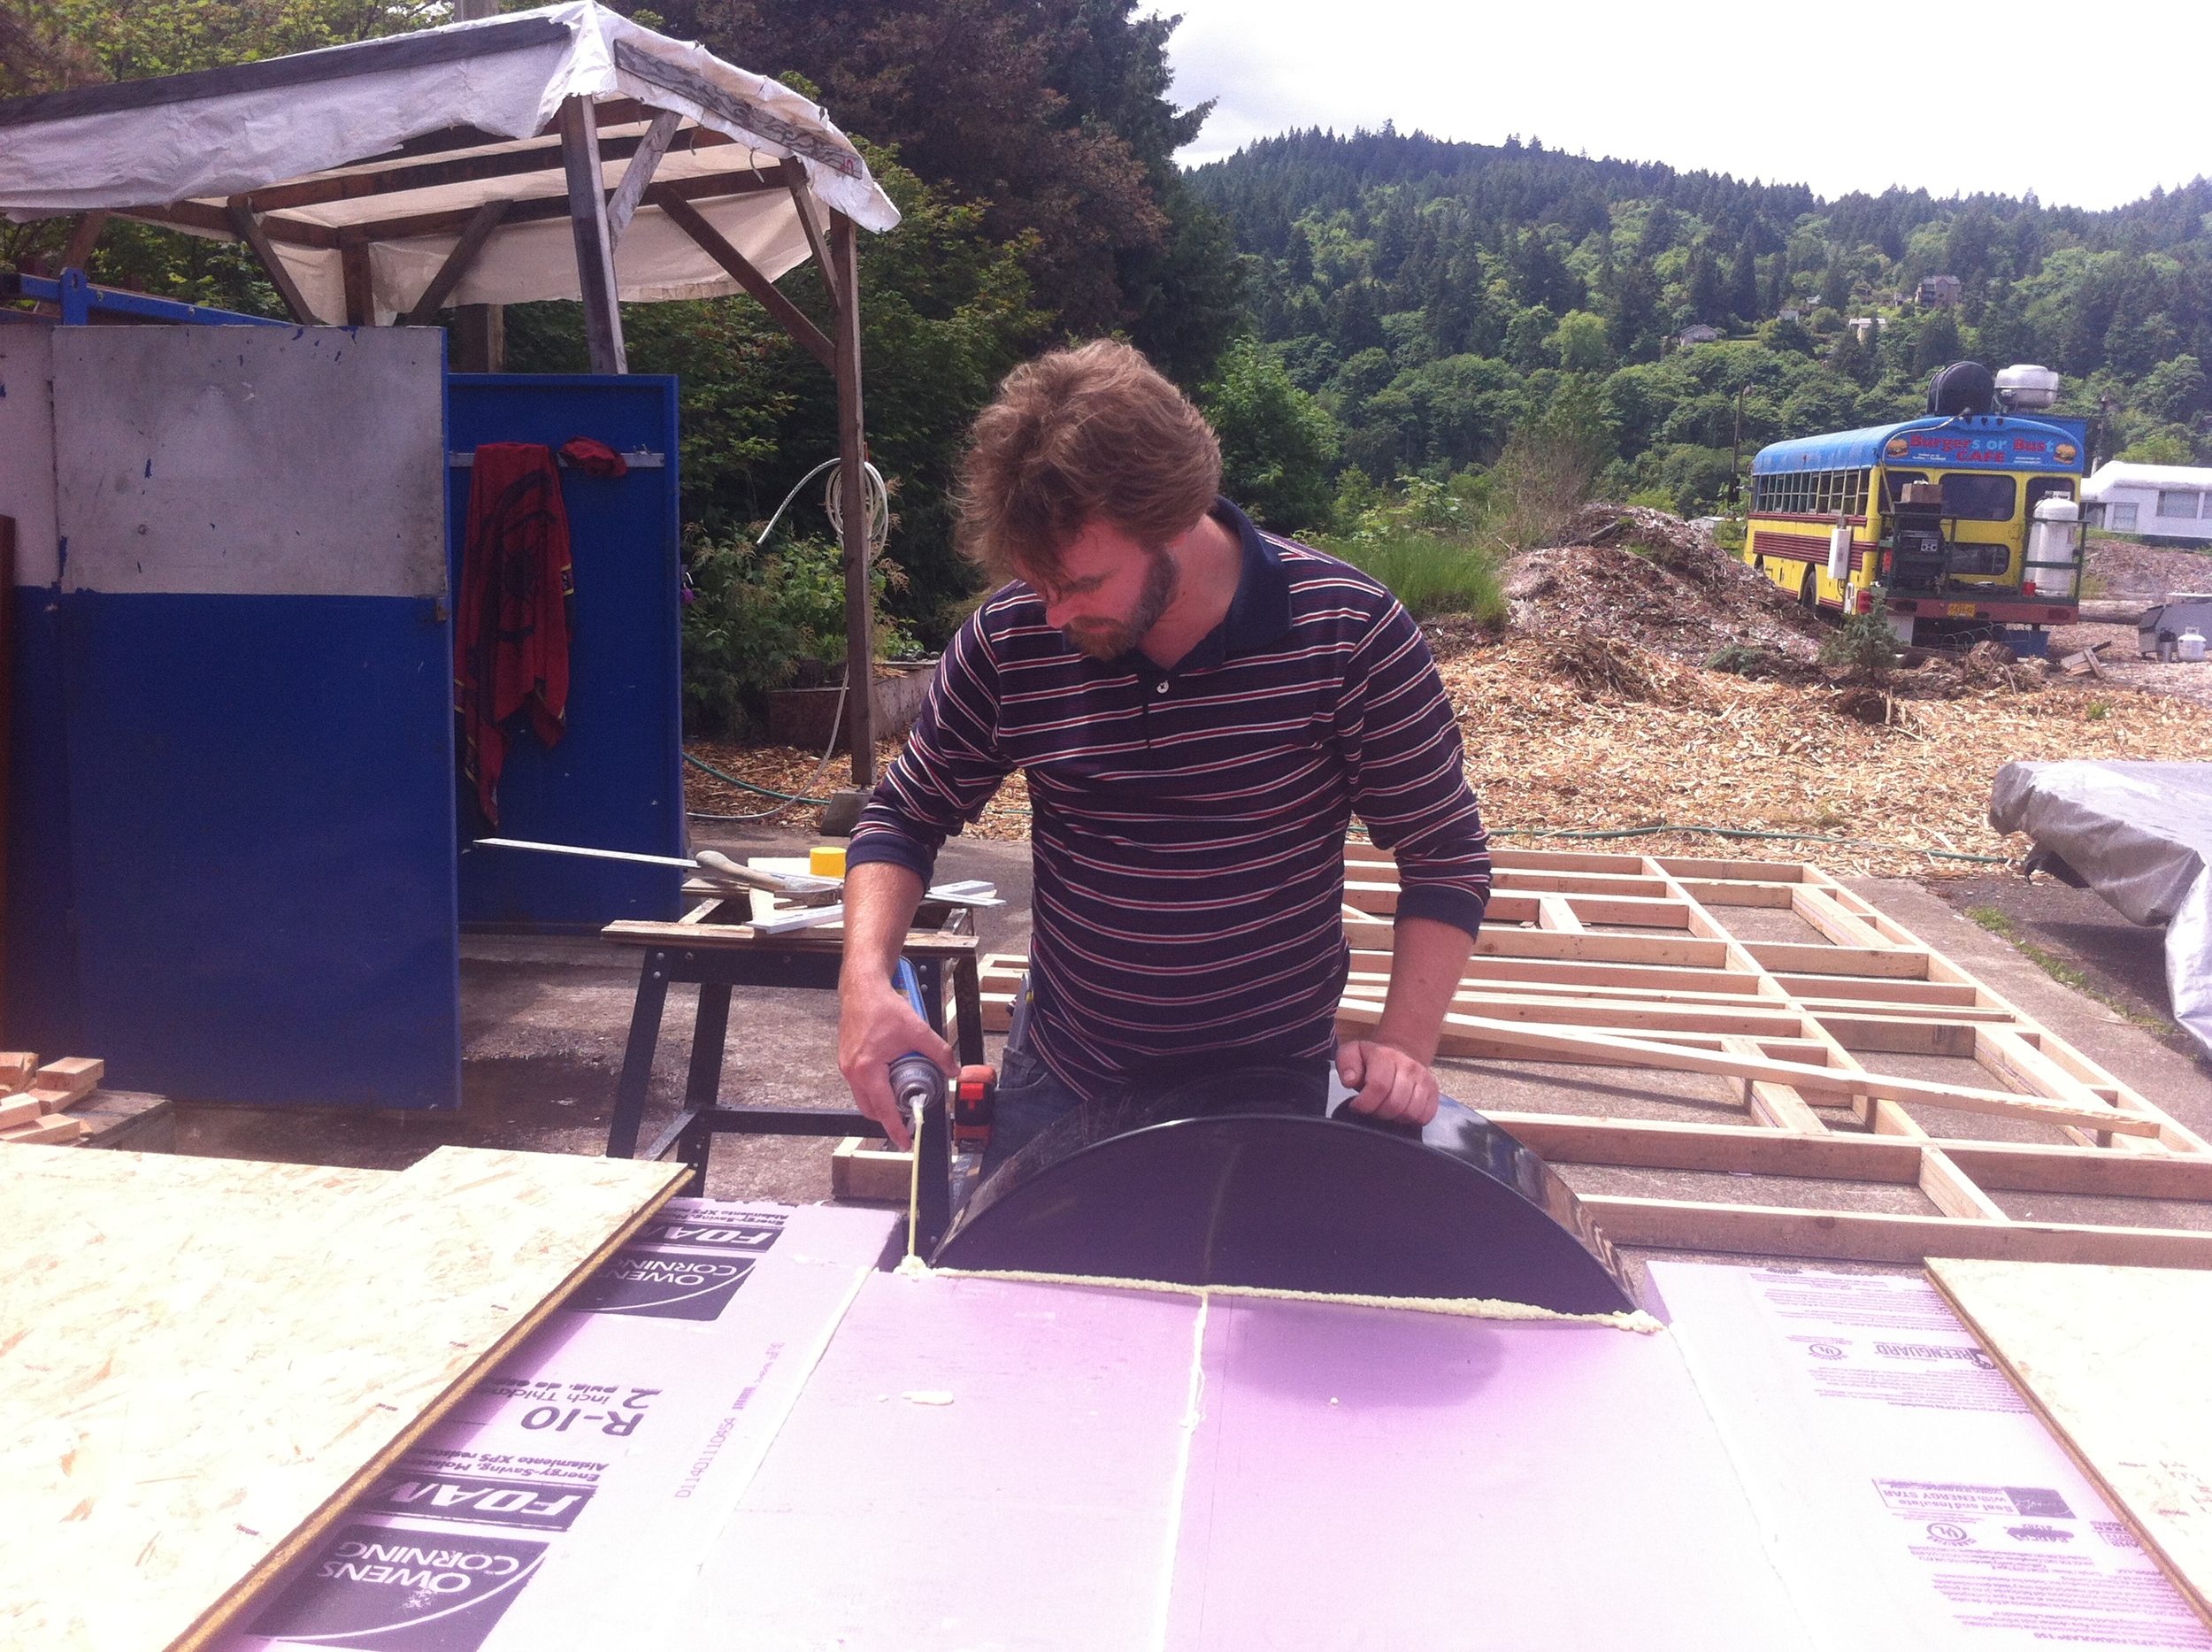
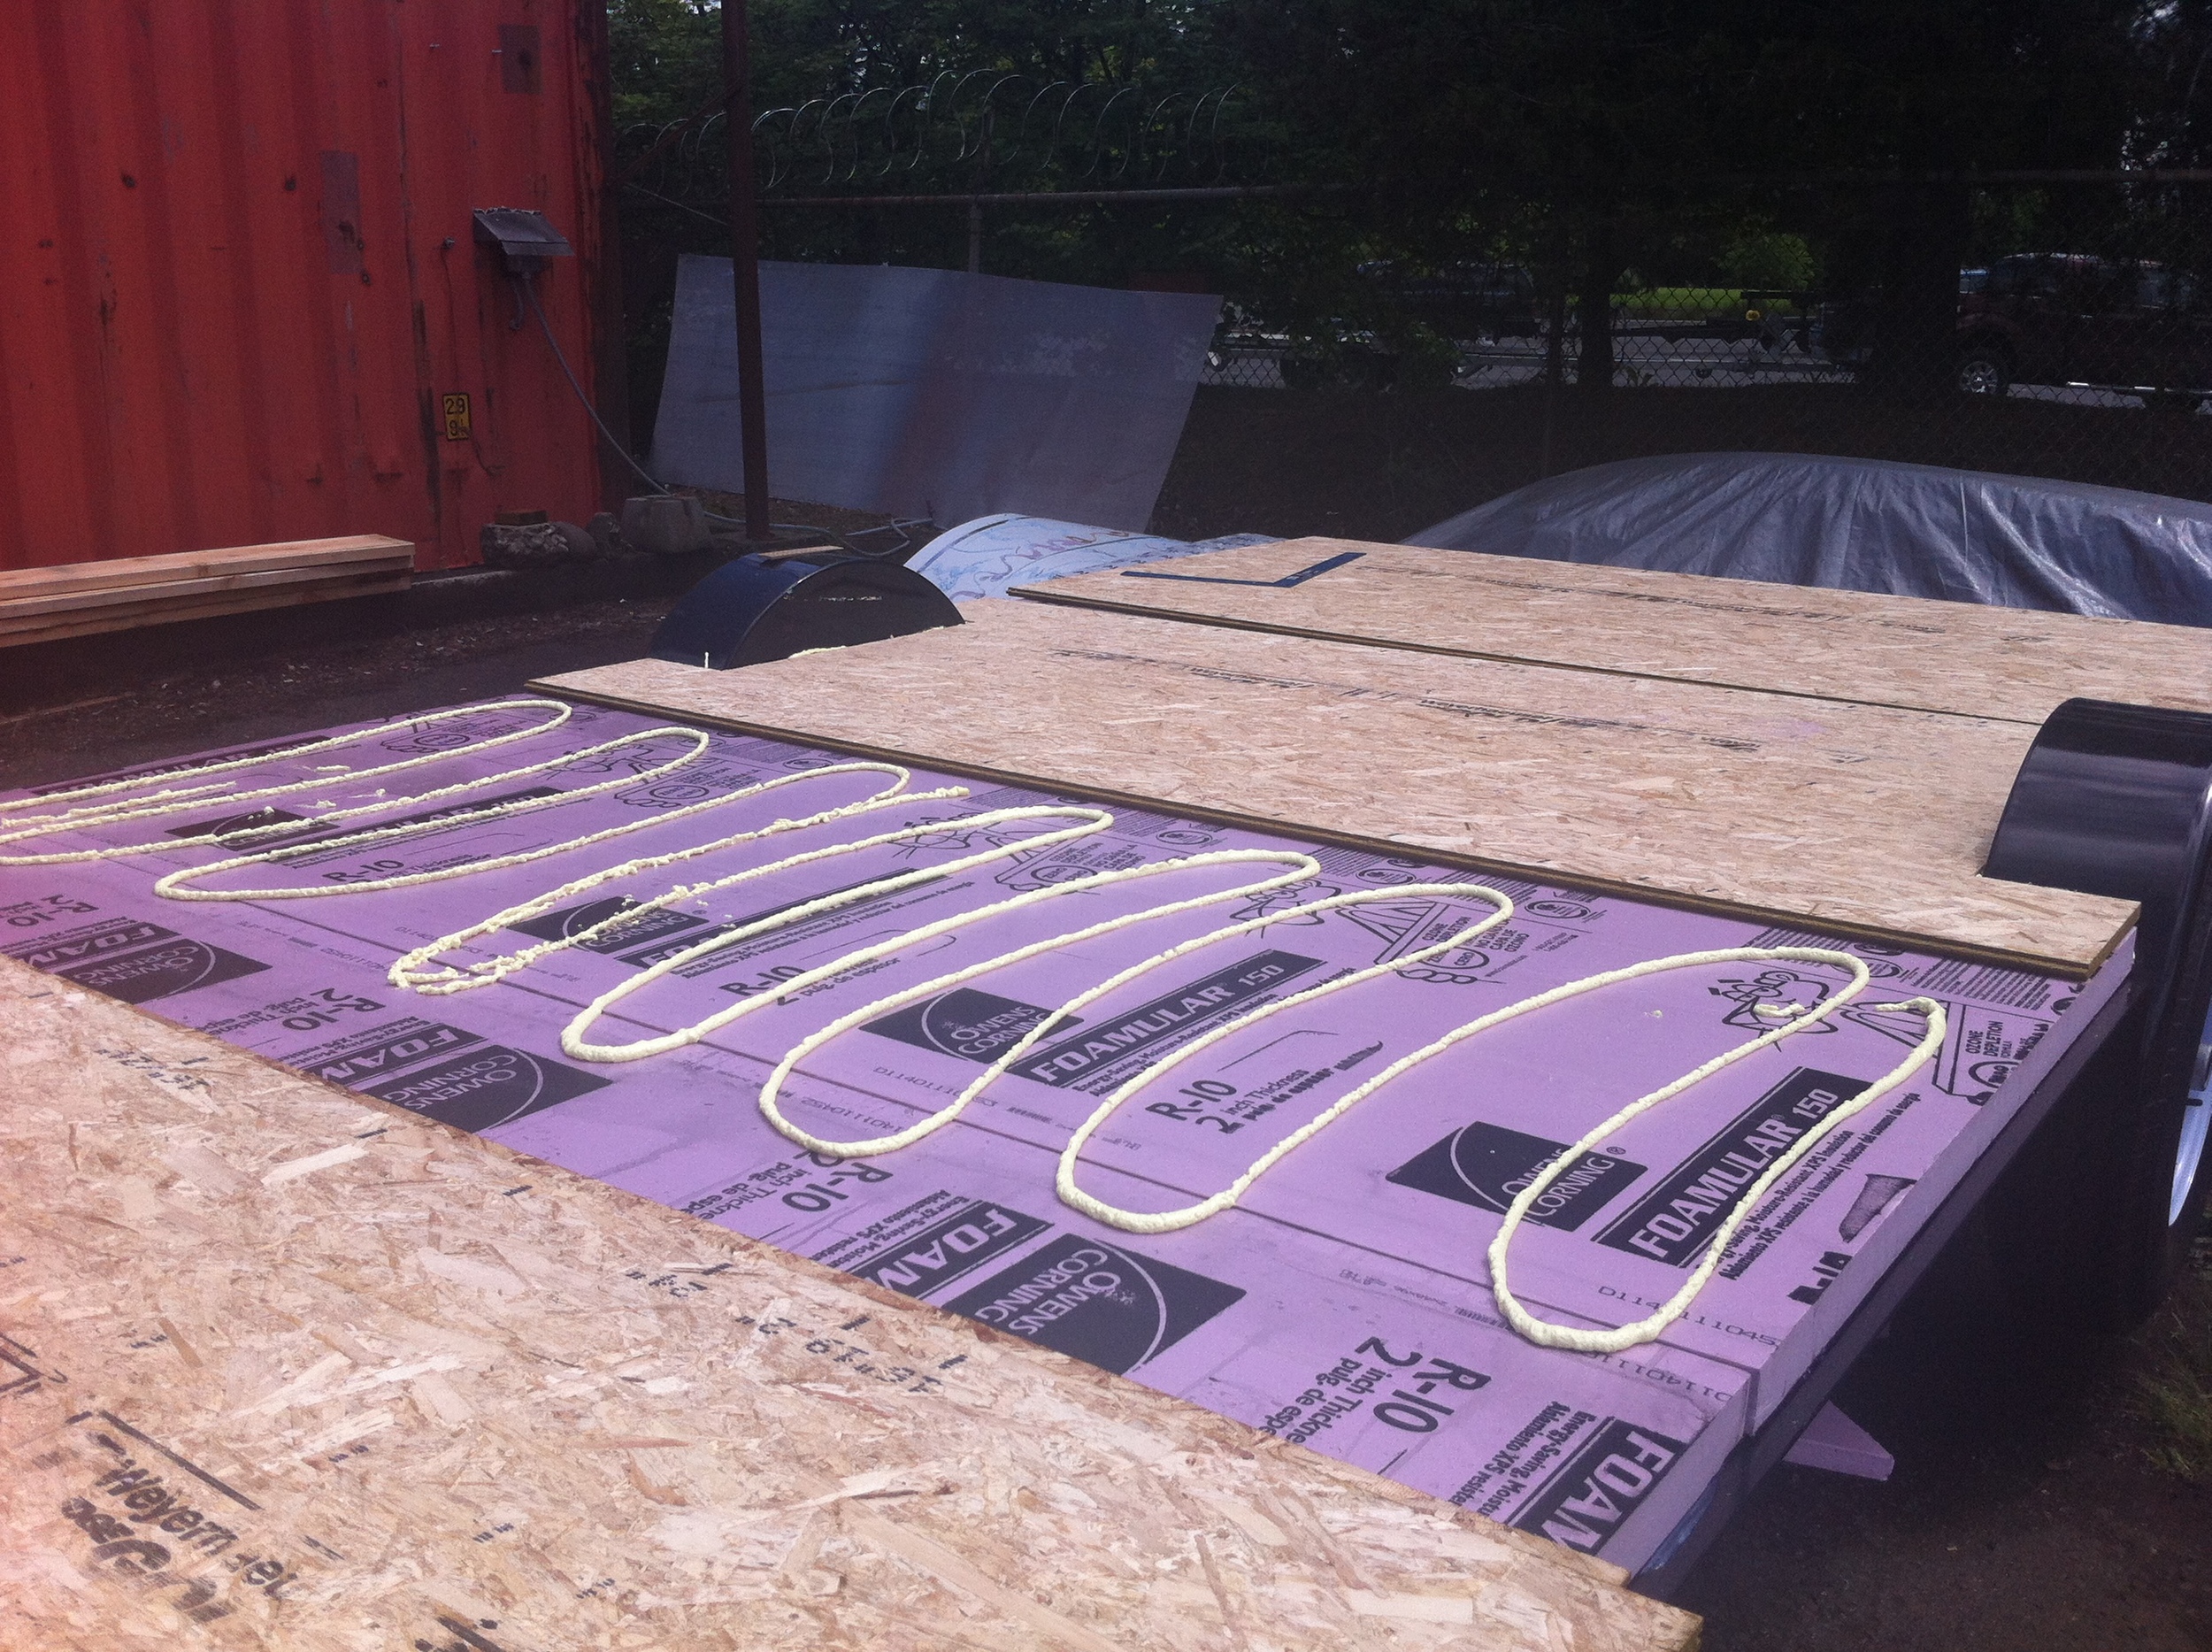
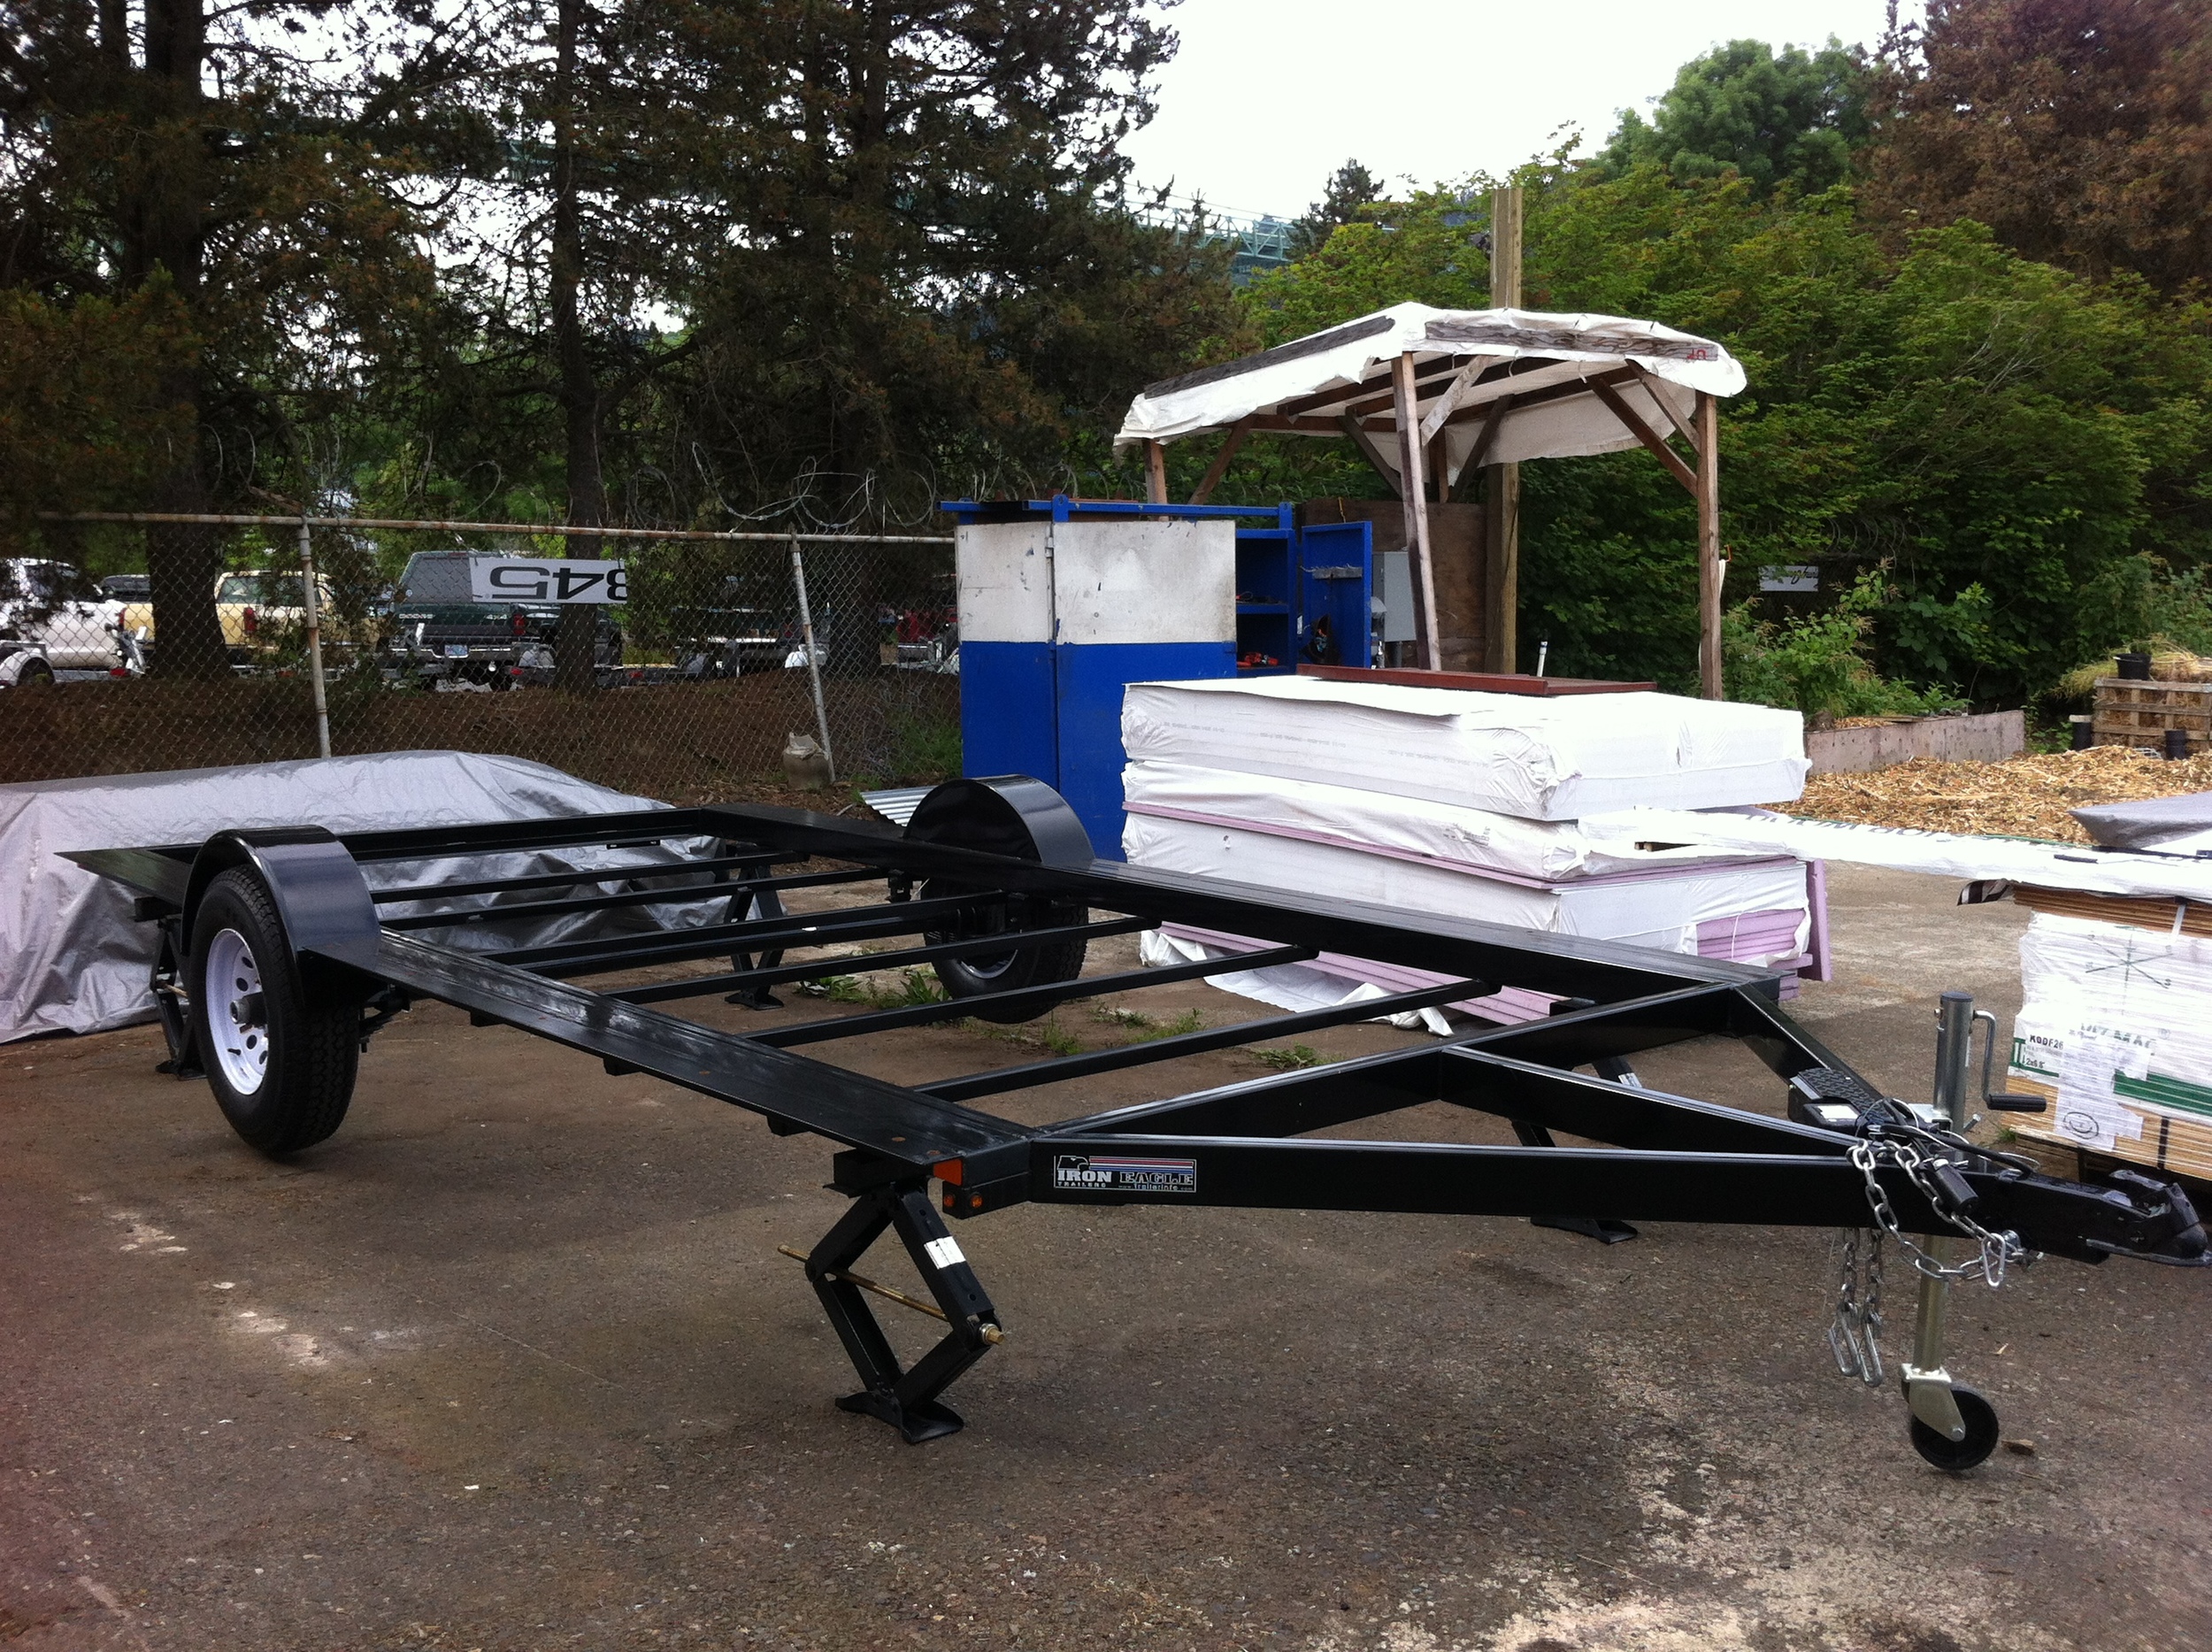
Last weekend was Memorial Day weekend and we cracked open The Lucky Penny, starting with My SIPs Wall Raising. This weekend I’m taking a break from tiny house building to focus on other small homes. Friday and Saturday I turned over my 800 square foot bungalow in Walla Walla for new renters. And today I’ll be leading The Inside Scoop bike tour as part of Portland’s Build Small, Live Large ADU Tour. Both my guided tour and the self-guided tour sold out quickly, so if you aren’t able to join us today stay tuned for the next one! It’s been amazing how much attention ADUs are getting in Portland and I’m glad the ADU Case Studies Project has played a role in that.

a quick hello with friends

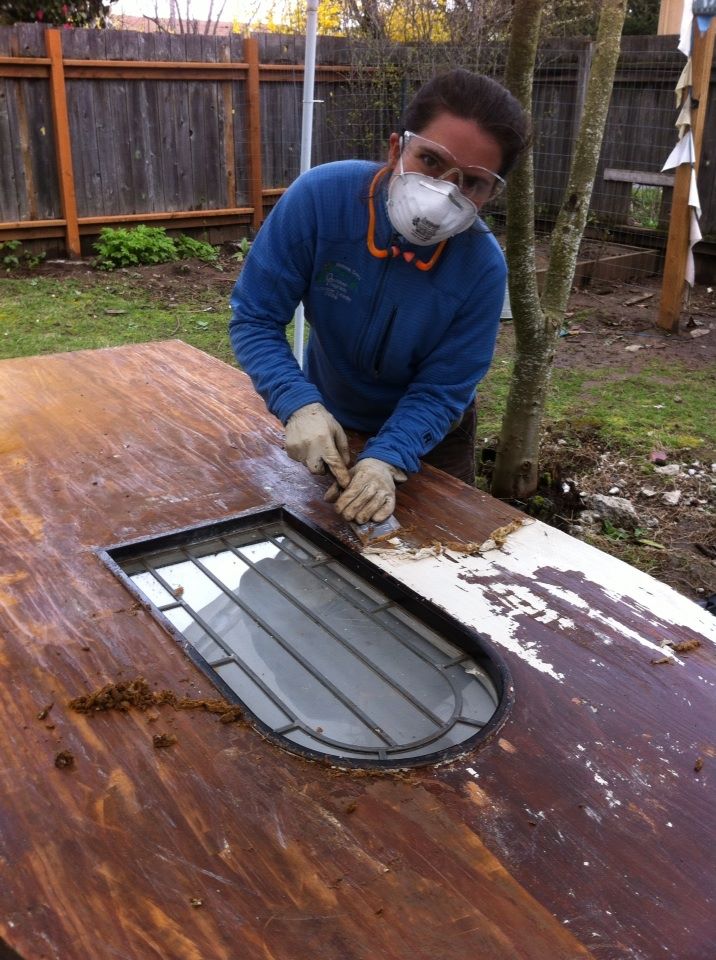
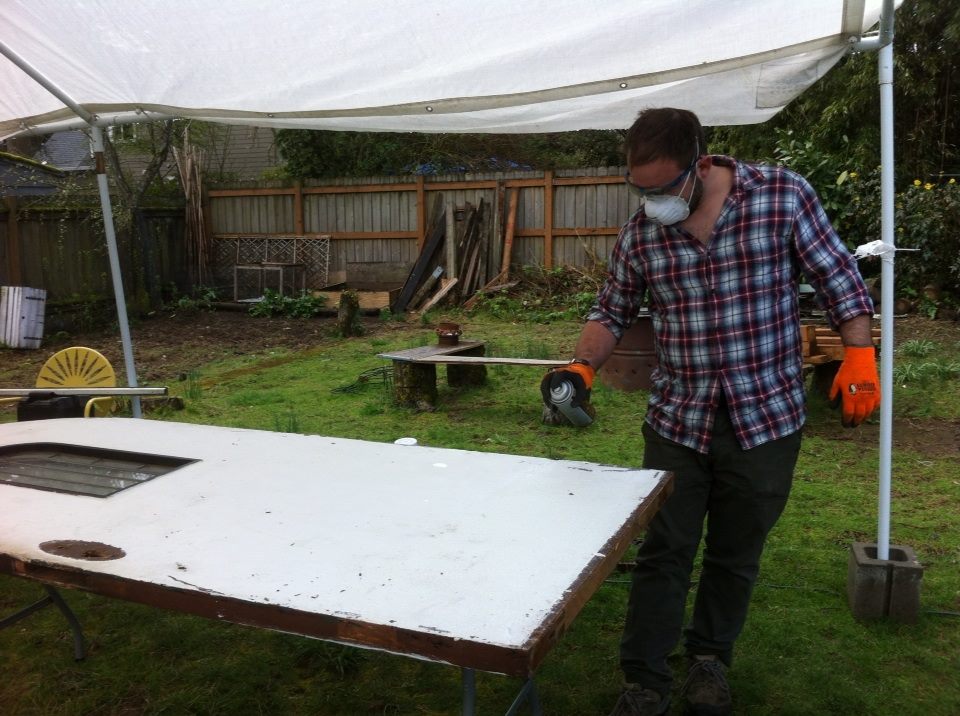
The past couple days it was interesting experiencing another dose of the Joys of Homeownership. I feel fortunate that I was able to purchase property while I was young but I’ve also been amazed by what a burden homeownership can be. During the four years I lived in my little house I spent most of my time, money, and energy on green renovations and creating an edible landscape with bird, bee, butterfly, and bat habitat. I anticipated I’d be moving back to my beloved house as soon as I finished my graduate program in Urban Planning, so it was hard to leave. However, I was excited about trying on tiny house living, so I entrusted my place to a visiting Whitman professor when I headed to Portland. Considering she and her husband added a puppy and a baby to their family in the year they lived there, they left it in decent condition. But it took me three days to get the house back into shipshape for the next set of renters and it got me thinking about how much a year of living little had changed me. I wrote all about this in Oh, the Joys of Homeownership.

so much summer produce potential!

Fortunately, the students who lived in my house the past two years took very good care of the place. And this time I had great help turning the house over for new renters. Marty Cook, who has helped me with a handful of home improvement projects in the past, was my right-hand-man for the weekend. Not only was it great having a second set of hands and another noggin for figuring out the best game plan, I also got to hear Marty’s stories. I rarely meet someone so integrious, so positive, so proud of his son, and so utterly smitten with his wife. (If you live in Walla Walla and are looking for a trustworthy builder and landscaper, let me know and I’ll put you in touch with Marty!)

As you might imagine, working on my property again the past couple days – taking a toothbrush to the cracks and coaxing the cheat grass away from the raised veggie beds (again!) – got me thinking about homeownership anew. Like how I was scrubbing and weeding instead of visiting with my friends in town. (If I didn't get to see you, please know I plan to come visit as soon as I can on a trip that's about fun instead of work!)

I have learned so very much from owning my home – about home improvement, about my decision making process, about Murphy’s Law. Most importantly, my garden cottage taught me how to make home. What’s interesting is realizing that now that I know how to make home I don’t necessarily need to live in this home. I have made home everywhere I’ve lived since.

adarondak chairs on the patio

As I sat in an adarondak chair on my front patio after the house was cleaned up, sipping a coconut water and watching the ducks in the pond across the street, I realized I still like the idea of moving back into my house someday. But for now living tiny is the right fit for me. And it seems my little Walla Walla house will be a good fit for my new tenants.

I’m not sure whether my house will ever pencil out as a wise financial investment. But it was definitely a good investment in my education and my wellbeing. I suppose it’s all in how you count. For now I’m glad I can rent my house out to others so that they can enjoy a charming home and I have housing flexibility for the future.

And I’m really glad I can clean my tiny house top to bottom in an hour instead of a full day! (Check out my Tiny House Cleaning Checklist for my how-to!)

Vardo Rafter Raising

I am grateful to all the Tiny House Helpers who spent their Memorial Day weekend giving shape to the Lucky Penny. Special thanks to Angela Ramseyer of Mighty Micro Built who made the trip down from Whidbey Island to be my right-hand-woman for the weekend, Chris Robison who spent three whole days helping, and to Randy, Tony, Audrey and Tomas who committed two days of their holiday weekend. My tiny house on wheels is well on its way!

My SIPs Wall Raising was on Friday. On Saturday we applied My Tiny House Air Barrier and put up one of the walls of my build buddy Laura’s tiny house. Yesterday we raised the rafters for the Lucky Penny and raised another of Laura’s walls. Today we put the skylight box into place and prepped the beadboard sheets for installation.

I knew that Sunday would require some noodling as we figured out the spot for the birdsmouths, the scribing for the skylight box, and the spacing of the rafters (since they couldn’t be quite even). My roof is fairly complex because I have both curved rafters and skylights. Fortunately, I had lots of help and plenty of sounding boards. Everyone played a role in getting my roof overhead.

On Sunday Aline finished up the spot sanding on the rafters to remove scuffmarks and Randy and Anita sealed the rafters with a clear sealer. (I’d already sanded and sealed the rafters, but they were jostled around enough between then and now that they needed a little more TLC.) Angela scribed the rafter curve onto the skylight box and made the cuts with a jigsaw. Tony and I worked together to figure out the placement of the birdsmouths and to map out the rafter layout on the top plate. Tony and Angela, who have both built themselves tiny houses on wheels, were a great help as I figured out how to take the ideas that were in my head and my sketch book and manifest them in three dimensions in the real world.

We had just put the rafters up when the wind and rain kicked up and we realized we would be rained out. So we threw the tarp over the top of the Lucky Penny and secured it down all around. Aline and Tony buzzed up to the Ace Hardware in St. John’s to pick up four more tarps to cover my door and windows. Once we’d battened down the hatches we headed to Proper Eats where a few other tiny housers joined us for dinner. It was a very celebratory atmosphere, especially because amongst us there are three tiny houses in the works and several of the other tiny houses have recently found great parking spots!

Today Tony, Chris, and I secured My Arched Rafters into place with Timbertite screws. This involved drilling a pilot hole followed by a larger hole to countersink the screw head. Supposedly we didn't need to predrill but enough of us had put time into the rafters by this point we wanted to be careful with them! We ratcheted the Timbertite into place with an impact driver fitted with a 5/16" hex head. Once the rafters were secure, Miles, Matthew, and Rebecca helped hoist the skylight box into place. Fortunately, Angela did a great job with her scribing and cutting so the skylight box lined up nicely with the rafters that were placed to support it. We secured the skylight box into the rafters with more Timbertites.

Meanwhile, Matthew and Rebecca worked on reversing the swing of My Arched Door and Audrey and Tomas put a layer of sealer on the beadboard sheets. I’d considered using true beadboard the way Katy Anderson does for her vardos, but the sheet good seemed like it would be quick and lightweight. We had started to put the beadboard in place when I realized that the staples weren’t holding well enough. I wanted to keep working, but I decided it would be best to tarp everything up well and call it a day. Or rather, call it a couple weeks. I’m going to have to let the Lucky Penny sit for a couple weekends because I’ll be out of town and leading a Guided Tour for Portland’s ADU Tour.

Fortunately, I already have some Tiny House Helpers lined up for the weekend of June 14-15 and a couple more for the weekend of June 20-21. If you’d like to join in on the fun, please contact me. If you can’t make it out to help, but you’d like to Support the Lucky Penny, you can contribute via The Lucky Penny Wish List or send me notes of encouragement on Facebook. Thanks everyone!

P.S. Lots more photos to come!


My Tiny House Air Barrier

Tom Demoing R Guard On Friday we had My SIPs Wall Raising under the expert leadership of Patrick Sughrue of Structures NW. Yesterday we applied the R-Guard air barrier system by Prosoco with the help of Tom Schneider. What a fun day and what a neat transformation for my little house!

I first learned about the R-Guard air barrier system through my work as the Living Building Challenge Coordinator for the Breathe Building. Cody Hakala at Atlas Supply told me I had to learn about Prosoco's liquid-applied air barrier, which had been used on another Living Building Challenge project, the Bullitt Center in Seattle. I invited Tom Schneider, the chemist who invented R-Guard, to come talk to Mike Vogt and me at the Breathe Building. He told us about the benefits of liquid-applied systems, the ease of using the product, and the story of how the Bullitt Center inspired him to reformulate the entire product line so that it would be Red List Free. Needless to say, we hadn't talked very long before Mike and I were convinced. Not only was this an amazing product, but it was invented by an amazing person! We're thrilled to be working with companies like this for the Breathe Building.

At the Breathe Building's Groundbreaking Celebration I mentioned my gypsy wagon to Tom and he said he wanted to hear more about it. It seemed to both of us that a liquid-applied, color-coded waterproofing system was the best bet for do-it-yourself tiny home builders like me. I asked Tom dozens of questions about the product line so I could learn how to apply it properly and Tom offered to provide the waterproofing for my wee house AND show me how to use it!

Tom Applying Fast Flash to RO

So yesterday my Tiny House Helpers and I prepped the surfaces by furring out the corners where the SIPs come together with strips of 3/4" subflooring left over from my floors. Then Tom introduced us to the R-Guard line and taught us how to apply it. We spackled all the joints with pink Joint & Seam and Tom coached me through applying the Fast Flash to my kitchen window rough opening. He was able to do the other two windows in the time it took me to do one, but I managed to get the same effect, just not with the same finesse. As Tom told us, "the slower you go, the quicker you'll finish." He says once someone has flashed 10 openings they've usually got the hang of it. I picked up on a couple tricks that helped so I believe him. Still, it reminded me of the summer I finished out Tandem and I was A Jill of All Trades - just as I was getting good at something it was time to move on to the next thing!

Air Barrier Work CrewOnce we had our seams and openings complete we rolled on the orange Cat 5 with 3/8" nap roller brushes. We had to make sure we were applying the right amount to provide a complete air seal. Fortunately, Tom made it easy. When you can't see through the R-Guard you have applied enough of it! We worked in a team with me, Audrey and Tomas working low, Chris on the ladder getting the high parts, and Randy doing detail and quality control. Meanwhile, Angela spot sanded My Curved Rafters so that they can be installed tomorrow.

By late afternoon my house was wrapped in an orange rain coat with pink and red accents and it was time for a beer at Occidental Brewing Company. I'm grateful to all my Tiny House Helpers for helping me make these transformations for my little house so quickly. A special thanks go to Tom for sharing his product, his time, and his expertise. You can Support The Lucky Penny, too, by offering physical, emotional, or financial support.

Tomorrow we will attempt to install my curved rafters and the skylight box. Wish us luck!

My SIPs Wall Raising

Wall Raising Crew Yesterday we put the SIPs walls up for my gypsy wagon! My Tiny House Build Began last Friday when we picked up My Custom Vardo Trailer and started on Floorbox Lessons Learned. Then the Floorbox Continued because I was thwarted by supply issues and rain on Sunday. I also changed my mind (again) about my wall and floor attachment systems, eventually going back to Iteration #37 with Patrick’s help.

So yesterday morning I figured it would be a piece of cake to put the sill plates down in their proper place, stand the walls up, and get them secured. And it would have been – if the sill plates were in their proper place. It took us nearly 3 hours yesterday (in the drizzle) to get the sill plates just where they needed to go. Fortunately, I had a great crew of Tiny House Helpers: Patrick Sughrue of Structures NW, John Labovitz of Polymecca, Laura Klement, Deirdre, and Eric.

The trailer was square but the flanges were not, so when we measured off of them we came up with ¾” variation from front to back. I had already ordered my trailer when I decided to have SIPs made for me instead of trying to make them myself. If I had it to do over, I absolutely would have taken Patrick’s advice to do a SIP floor, too! That way we would have a perfectly square and 8-foot-wide starting point. The trick was Patrick’s idea of marking the centerline and working off of it – no matter what. Once we did, things came together really quickly. Patrick was an excellent crew leader, showing us how to install his panels properly.

We put sill seal down underneath the bottom bottom plate (a 2 x 6) and then sealed the top bottom plate (a 2 x 4) on top of it with Prosoco’s Joint & Seam, nailing the plates together as necessary to make them easier to work with. We secured the bottom plates to the trailer flanges with 4” long ¾” bolts and added self-tapping metal screws along the front and back of the trailer since there were only two bolt holes in each of the flanges which we could screw into for these sills. We did have to drill a couple more holes in the flanges and with a good bit this wasn’t horrible to do, so in the future I’d probably not have them pre-drilled by Iron Eagle Trailers.

Picnic in My New House

Once the sill plates were down it only took us an hour and a half to get the walls up! We lifted the panels, rotated them as necessary, and set the edge down on the trailer floor. Once we were lined up, we applied spray foam to the bottom plate and scooted the panel off the edge of the floor and into its proper place. Laura held the first wall in place while we got the second and third panels up, securing them together with long screws. We connected the two panels on the long walls with a spline, which we spray foamed on both sides and the bottom. The front panel was the only one that caused us any trouble and that was because we hadn’t quite gotten the two back end panels all the way to the back panel. That 1/8” matters! We used ratchet straps to pull them as tight as we could and chipped away a little bit of the sill plate at the front and then realized we were being held up by the bolts. So cut away a bit of the stud on each side of the SIP so that the front panel could nestle into its spot.

Hooray for four walls! We celebrated with a picnic lunch in the future kitchen of my tiny house!

Support The Lucky Penny

Lina cutting curved rafter tales Tonight I’m so excited I’m afraid I won’t be able to sleep. My Tiny House Build Began last Friday and tomorrow is My SIPs Wall Raising! Eep! By this time tomorrow I should have four walls up!

I am already thoroughly impressed by the way my community has rallied around me and my little house, The Lucky Penny. You have been cheering me on, sending me encouraging notes, making trips to the ReBuilding Center to boneyard materials, assisting with tiny house prep, listening while I noodle through design conundrums, oohing and ahhing over pictures of my door and sink, and offering to pitch in when the time comes to make it happen.

The time has come.

I’m ready to ask for your support. That may be moral support or financial support or it may be literally holding up my rafters while we get them in place. Any which way, I’ll take it!

It’s Memorial Day weekend and my build buddy Laura and I will be hosting work parties all four days. I’ve got a great line-up of Tiny House Helpers for this weekend. Here’s my grand plan:

Next weekend I’ll be leading a guided tour for Portland’s ADU Tour (and the following weekend I’ll be at a family reunion), but I plan to host tiny house work parties the weekends of June 14-15, June 21-22, and June 28-29. If you’re in Portland and would like to help, please contact me so we can arrange a time for you to come on out and pitch in!

If you’d like to contribute but you can’t make it out here to assist in person, please consider supporting The Lucky Penny in one of these ways:

Thank you, everyone! I am grateful for your support!

My Floorbox Continued


ta da! floor box! (and then I changed my mind...)

My Tiny House Build Began on Friday last week when friends helped me pick up My Custom Vardo Trailer and work on my floorbox. I wasn’t able to finish the floorbox that day because I couldn’t source the ½” rigid foam I needed, but I managed to have plenty of Floorbox Lessons Learned anyhow.

Over the weekend I helped my build buddy Laura with her floorbox and wall framing. Sunday was a crazy-rainy day so Laura, Jeff, Logan, and I snuck in moments of foam layering for my floorbox during the collective 30 minutes or so when it was dry enough. We worked on Laura’s framing during the mist, the drizzles, and the showers. We hunkered down in her car during the pure downpours.

On Monday my friend Christian helped me finish up the floorbox. We layered in the rest of the foam, lapping the seams so that none of them were directly above the ones in the previous layer. Between each course and around all the edges we sealed up the gaps with a low-expansion spray foam. The top layer of foam is 2” that spans the trailer frame and is sealed to the trailer with silicone caulk.

We then cut the ¾” Edge Gold to fit, starting with the piece we had to notch out for the wheelwells. We nestled the sheets on either end into that first sheet and cut off the excess. We didn’t have to cut the sides because the sheets of Edge Gold were 8 feet long, exactly the same length as the SIPs.

I’d originally planned to isolate my floor system from my wall system because it would provide a thermal break between them, my walls would be directly connected to my trailer frame, and it would be a better use of materials since my house was going to be 8’-6” wide. However, once my house was only 8’ wide I decided to just line them up and put my walls right on top of my subfloor. So we cut the sill plates and bolted them down through the trailer frame, securing them with carriage bolts. Ta da! Floorbox complete!

But I couldn’t sleep that night. I didn’t like the way the bolts were angled. And I didn’t like the fact that I’d put all that insulation into my floorbox only to run the subfloor out to the edge where it would get cold and make my feet cold. And I didn’t like that I didn’t have a solid nailer all the way around. And I didn’t like that the foam wasn’t well protected. I just didn’t sit right. I wished I’d used my original design of having the floor system inside the wall system rather than on top of it. I decided I’d better fix it while I still had the chance.

So this evening Patrick Sughrue of Structures NW, the supplier for my SIPS (structural insulated panels), helped me with my first remodeling project. We ripped a set of 2 x 6s to 4 ½ inches. Then we cut the foam back all the way around, put down a layer of sill seal then the 2 x 6s, followed by a layer of liquid nails and then the sill plate. We bolted these down to the trailer with the carriage bolts (which involved boring a couple new holes because some of the ones I’d requested were too close to the edge once I factored in the necessary spacing for my SIPs). We worked until dark and then called it quits. I’ll finish bolting down the rest of the bottom plates on Friday morning.

I feel so much better about this system that I’m annoyed with myself for not just doing this in the first place. My floorbox took much longer than it would have if I’d known then what I know now. However, I learned a lot in the process and I really enjoyed working with Alex, Christian, Laura, Jeff, Logan, and Patrick. I built my floor box in a way I’ve never seen done before and experiments sometimes require additional tweeking.

Most importantly, thanks to Patrick, I am now ready for My SIPs Wall Raising on Friday morning! Follow along!

Floorbox Lessons Learned

dryfitting the first piece of Alupanel Yesterday was my first official day of work on my tiny house! I Kicked Off Spring with Tiny House Prep with my build buddy Laura Klement. My prep work has included Building My Arched Rafters, Painting My Skylight Frames, Planing My Curved Rafters, and Refinishing My Arched Door. Starting in on the floor yesterday was a milestone (though the really exciting day will be next Friday when I have My SIPs Wall Raising). Stay tuned for more on that!

First thing in the morning, my friend Christian helped me pick up My Custom Vardo Trailer from Iron Eagle Trailers and haul it to my build site at Green Anchors. Then my friend Alex helped me move my tools and supplies to site and pick up the Alupanel for my floorbox undercarriage.

Alupanel is a product Derin Williams of Shelter Wise suggested last week when I asked him if he had any recommendations for a material that was lightweight, rigid, thin, and durable. Robert at Denco Sales was great to work with as I explained my project and he helped me figure out what my options were. Alupanel is quite pricy, so I went with 3 mm, the thinnest material that would do the job. (It cost $85 per sheet, about what it would have cost to have a steel pan fabricated for my trailer. It also cost about twice what it would have cost to do a wooden floor box a la Dee Williams, but I’m doing a few experimental things with my tiny house – like constructing my floor box sans wood so that I can save weight and increase the amount of insulation in my floors.)

Patrick Sughre of Structures Northwest (the supplier for my Structural Insulated Panels – SIPs) dropped by a couple minutes after we got back and he rolled up his sleeves and pitched in, helping us with the undercarriage. We cut the Alupanels to size, caulked the panels into place around the perimeter and along each seam with silicone caulk, and then started filling the cavity with rigid foam. We didn’t manage to finish it (see #5 below), but hopefully I can get finished up on Sunday. I’ve got to get my floor ready because the SIPs walls will be ready for pick up soon!

Here’s what I learned today:

  1. The Alupanel is truly an easy material to work with. A few cuts with a circular saw fitted with a 40-tooth carbonite blade and we were good to go!
  2. Figuring out that the first sheet was cut a bit shorter than I would have liked is a good reminder that it’s always a good idea to calibrate tape measures and to cut long at first. It’s much easier to take off another blade’s width (especially when working with an expensive-but-critical material!)
  3. It would have been really great to have the ribs of my trailer welded at 24” (OC) rather than twenty-four-inches-on-center-ish. Last summer, when I ordered My Custom Vardo Trailer, I was planning to do a version of the Dee Williams floorbox so the rib spacing didn’t matter much, but with my new system it would have been really nice to have support exactly where I wanted it!
  4. Sometimes my first instinct is right on. I’d originally planned for 3 ½” worth of insulation inside my trailer (one set of 2” XPS topped with another set of 1 ½”). However, I decided that since I was going with a thinner undercarriage material I’d better plan on the full 4” of foam. Turns out, once the Alupanel was in place 3 ½” worth of insulation fit much better. So I needed to trade my 4 sheets of 1” XPS for 4 sheets of ½” XPS (expanded polystyrene).
  5. No hardware store in Portland seems to carry ½” XPS foamboard. (Though if you call ahead, one of the big box stores will assure you they DO have it and they’ll even set it aside for you so that when you arrive you have the opportunity to explain them the difference between ½” and 2.”)

So My Floorbox Continues. Here’s to getting the floorbox finished on Sunday. Meanwhile, today is Laura’s wall raising work party. Wish us luck!

My Tiny House Build Begins!

Lina- -Trailer.jpg

me and my vardo trailer Dee Williams likes to say that when building a tiny house (and most other important things in life, for that matter) "It's 1 part how to, 2 parts why not." I tend to be more of a 2-parts-how-to sort of person myself.

But one way or the other, if you've spent the past few months (or, in my case, years) contemplating your tiny dream house - designing, refining, experimenting, budgeting, and prepping - eventually it's time to start!

I start today.

Christian, one of my childhood friends, is going to help me pick up My Custom Vardo Trailer from Iron Eagle Trailers. Then Alex, a friend from Yestermorrow Design-Build School, will help me do a few more schlepping errands and get started on my floorbox.

My goal is to get my floorbox finished today so that I can focus my attention this weekend on my build buddy Laura's wall raising. My SIPs are supposed to be complete sometime mid-week so my wall raising will be next weekend. After years of eagerly anticipating this day, I'm thrilled it's finally here!

If the past couple weeks are any indication, I can't promise I'll be as good about posting for my own build as I have been for other blitz builds like the Tiny Barn Build and Yestermorrow's Tiny House Design-Build. But I assure you, dear readers, I will do my best to bring you along on this journey. I am considering a more photographic format, so stay tuned to see if that works out for us. Thank you for all your encouragement and support!

I am so delighted the moment has arrived! Here's to one part why not!

Almost Ready to Build

You know you're almost ready to begin building your tiny house when...

  • You're making lists titled "Tiny House Helpers," "Truck Errands," and "Wall Raising Day."

    Laura & Wrench

  • All the nooks and crannies of your current tiny home are filled with components for your future tiny home. (Examples may include: the sink stored in your window seat, the curved rafters on your front porch, or the power tools in your sleeping loft.)
  • Your tool belt is hanging on a hook inside the door - right next to your little black dress, of course!
  • Half the photos in your phone are either price tags or products you're considering.
  • The other half are funny pictures of you and your build buddy attempting to chronicle the experience. (You can read about our adventures Getting Ready to Build over on Laura's blog or in my post Kicking Off Spring with Tiny House Prep.)
  • You change your mind all day long, every day, about nearly everything.
  • You've been to the hardware store three times this week and anticipate at least one more trip.
  • You wake up at 3 in the morning wondering if you should reverse the swing of your door.
  • You've been writing blog posts but you've neglected get them actually posted because it's now 7AM and you can start calling the hardware stores again to see who has the materials you're looking for.

And then eventually the big day arrives and Your Tiny House Build Begins.

Refinishing My Arched Door

Lina scraping the door A few weeks ago my friend Matthew helped me begin the process of refinishing My Beautiful Arched Door. This weekend we finished it up. I’m so pleased with the results! It’s beautiful!

Since it’s an old door I found at the ReBuilding Center, I started out by testing the paint for lead, using a lead test kit. I discovered that the door itself didn’t have any lead paint. However, the doorjamb did test positive for lead paint. So last week I took the doorjamb to Timby’s to have it “dip stripped.”

Meanwhile, I decided to work on the door with Matthew. We started out by removing all the old hardware. Next we used paint stripper to remove several layers of old paint from the interior of the door. The paint stripper contains toxic and potent chemicals so we wore masks, gloves, and eye protection. We used scrapers to remove the paint and dispose of it. (Note Bene: we discovered that the spray paint stripper was much more effective than the paint-on version, so next time I have to use paint stripper I’ll plan to use the spray version.)

interior of door sealed

Once the paint was stripped off the interior we discovered that the door has lots of character in the form of nicks, holes, and scratches. I think these indicators of my door’s history make it even more beautiful, so I decided to finish the interior with a clear stain. We tackled it with 80-grit sandpaper and moved through 100 and then 150, finally finishing up with 220-grit. My ¼ sheet palm sander and Matthew’s mouse sander seemed to be the perfect duo of tools for the project. Then I applied 3 layers of clear stain to the inside of the door. It was so neat seeing it take on the richness of the stain!

exterior of door painted

Unfortunately, when we removed the veneer on the outside of the door (and all the teeny finish nails that held it in place), we found that the exterior of the door is really rough. I knew it wouldn’t be worth sanding down and staining the exterior, so I considered covering it with a veneer again. However, I’ve been on a copper kick and I’ve always loved copper doors. Besides, my house is the Lucky Penny so I like the idea of a copper door greeting me and my guests. Of course, I can’t afford to purchase sheet copper to cover it, so I ultimately decided to spray paint it with a hammered copper spray paint. I picked up a can of Rustoleum universal hammered copper spray paint. Today we sanded the door enough to remove the obvious textural issues and then applied a couple layers of spray paint. It took a little finesse to get the look right, so I’m glad I got some practice in spraypainting the frames of my skylights this morning.

I think the new look for my old arched door is lovely! I can’t wait to install my door in my SIPs walls in just a few weeks! Check out the photo gallery for more photos of each step.