Day 4: Wall Framing, Drawing to Scale, A Chat with Dee

We started out Day 4 of Yestermorrow's Tiny House Design-Build down at the Hanger where we worked on framing up the long walls of the house and preparing the trailer for the floor box system. After lunch we went right back to it and we finished out the work day with the two long walls almost finished. (See more photos in the Day 4 Slideshow.)

After supper we had a Skype chat with Dee Williams. Everyone had a chance to introduce herself or himself and tell a little about her or his project. Then Dee shared her tiny house story and some lessons learned from living in a little house for the past nine years.

Afterwards students received their drafting kits and Paul gave a drafting lesson so they could put their new tools to good use. The rest of the evening was spent getting a sense of what fits and how it feels with the help of architectural scales and massing models. How fun to see these projects evolve!

Day 3: Interiors, Another Tiny Field Trip, Site Maps & Graph Paper

We started Day 3 of Yestermorrow's Tiny House Design-Build with my presentation about tiny house interior design considerations with dozens of tiny house photos I've collected over the past couple years, including John's Tiny House Truck, Brittany's Bayside Bungalow, Chris & Malissa's Tiny Tack House, Gina's Sweet Pea, and many more. We've created a shared inspiration folder for the class so that everyone can add their favorite interior design ideas. (See more photos in the Day 3 Slideshow.)


Then we headed down the road on another tiny field trip to see a guest cabin on the bend of the Mad River. The setting for this little house is spectacular, especially during foliage season. Like most little houses, this one uses a few tricks to maximize the space, including a retrofitted attic ladder to access the loft and glass blocks to borrow light from the bedroom for the bathroom.

The afternoon was devoted to free time so that everyone could catch their breath. A group of us headed to the nearby village of Waitsfield for maple creamies and maple-bacon donuts, which we ate next to the river and covered bridge. We're loving these gorgeous October days!

After supper everyone gathered in the studio to spend a few hours working on site plans and layouts. In the Less is More class Dave Cain shared a trick for exploring scale in a little house by cutting out graph paper blocks and rearranging the spaces until it works, so I passed this tip along and several students gave it a try. Of course, others sketched, made models, or poured over inspiring books, too. It's amazing to see how the ideas have already evolved from the first day. I can't wait to see what everyone has come up with by the end of two weeks!

Day 2: Undercarriage, A Tiny Field Trip, Wall Framing

We started out Day 2 of Yestermorrow’s Tiny House Design-Build in the Hanger by painting the trailer and gluing and screwing the pressure treated plywood undercarriage to the floor boxes. The house is large enough that the floor joist system was constructed in 3 parts that will be connected together. (See more photos in the Day 2 Slideshow.)

Then we headed out on a field trip to see Chris’ little house, which is one of Dave Sellers’ sculptural creations on Prickly Mountain. I’d been to Chris’ home before, but I enjoyed seeing how my perspective of the space has shifted now that I live in a tiny house myself. The studio and perched sleeping loft are still as charming as they ever were, but I have a greater appreciation than ever before for the challenges of sealing and weatherizing a curved skylight.

After lunch we headed back to the Hanger to tackle a variety of projects, including:

  • drilling holes through the trailer to enable us to attach the floor system,
  • wrapping the pressure treated joists with a membrane to prevent a galvanic reaction with the trailer, and
  • cutting studs, plates, and headers for our wall framing

Framing always includes some head scratching, but fortunately Patti and Lizabeth have spent a great deal of time with the plans now and have determined (most of) the necessary modifications. It was, as it always is, a thrill to see the first walls framed up. And, of course, it’s a treat to see students gaining confidence so quickly as they become more familiar with impact drivers, drills, and saws. We got the two short walls framed up just as the afternoon drew to a close.

I learned a couple new framing tricks today, including kerf cutting the bottom edge of the bottom plate where the door will be so that the subfloor isn’t damaged by a sawzall when the time comes to remove that section. I also shared Dee William’s trick of building a Board Tweeker out of 2x4s to coax twisted boards into place. Thanks, Dee! Here are some of the lessons our students learned today, encapsulated in exactly 5 words, courtesy of a round of Gimme 5:

  • Plates go top and bottom
  • Sharp drill bits are nice
  • Propane gas can heat efficiently
  • Rusty trailers look better painted
  • Bookcases can also be ladders
  • Eccentric houses are structurally problematic
  • Kerf cut the door opening
  • All houses need constant maintenance

After dinner Paul presented climate and site considerations for situating a tiny house. Then I addressed the invisible structures in my presentation on code and regulations. It’s important to consider both the physical context and the invisible conditions – social, political, financial, and legal – when siting any house. But because little houses (particularly those on trailers) are alegal in many places, we want to make sure that tiny house enthusiasts consider everything from fire safety to moisture management and from space efficient storage tricks to zoning code when designing a little home. It’s certainly a lot to contemplate all at once, but the design process is iterative and context-specific – even if a little house is ready for adventure on the open road.

Day 1: Structures, Foundation, Bubble Diagrams

We started out Day 1 of Yestermorrow's Tiny House Design-Build with information about structures and the forces that all structures are subjected to (uplift, overturning, racking, sliding, etc.) See more photos in the Day 1 Slideshow. Approximately half of the class intends to design a ground-bound dwelling, but since our build project for the course is a tiny house on a trailer we also addressed the particular challenges of designing a mobile structure. I introduced several different trailer configurations and shared the trailer design Portland Alternative Dwellings has developed with Iron Eagle Trailers (which are built specifically to insure a solid and easy connection between the trailer and the house and to maximize the amount of insulation in the floor).

Then we went down to the Hanger where Patti and Lizabeth introduced the class to the trailer and the plans. Our client intends for the structure to be a part-time seasonal dwelling here in New England, so we’ll be building accordingly. The trailer is a car hauler that was purchased used, so it’s presenting some unique learning opportunities. The students who arrived on campus early to do work-trade at Yestermorrow prepped it last week by removing the decking so that we could start with the bare trailer. We began that work today by removing rust and then coating the trailer with Skyco Ospho rust treatment to prevent any additional corrosion.

Then we were on to cutting joists and rigid foam insulation for the floor system. Lizabeth introduced the circular saw and once everyone had a turn practicing with scrap lumber we switched to cutting our floor joists, which are pressure treated 2x4s. Then Patti and Lizabeth led everyone through framing the floor system in three segments, which we’ll be attaching together tomorrow.

(By the way, it’s amusing learning the little differences between building on the West Coast and building on the east coast. On the west coast Owens Corning has the corner on the rigid foam insulation market, so we all call it “pink stuff” while on the East Coast most of it appears to be made by Dow, so it’s known here as “blue board.” Similarly, I’m used to pressure treated lumber being dark brown and full of punctures while over here it’s mostly Southern Pine and identifed by the a green tint of the chemicals.)

This evening we had a presentation on tiny houses from around the world that has me fantasizing once again about building a house inspired by an elephant. The rest of the evening was devoted to design exploration, including bubble diagraming and showing off the inspiration folders students prepared as part of their program. The creative juices were flowing, the colored markers were used with wild abandon, and google images kept producing more inspirational imagery. How fun to be at the beginning of two weeks of tiny house design and building!

Hello, Tiny House Design-Build

Last night we kicked off Tiny House Design-Build with an orientation tour, a welcome dinner, and our first session in the Main Studio. A round of introductions revealed that we have students from both coasts and two other countries. My fellow instructors – Patti GarbeckLizabeth Moniz, and Paul Hanke  – bring a collective 100+ years of design-build experience. I’m pleased to be on the team as a tiny house dweller/connoisseur and a West Coast representative of the tiny house community.

Our students bring a variety of backgrounds from chicken coop construction, Habitat for Humanity, biology, visual arts, and architectural drafting. Some of them will be downsizing to a tiny house, but Julie and Laura have been traveling and living lightly so they will be upgrading from living out of a suitcase and a car, respectively. As they introduced themselves, students shared their partis for their tiny houses, which included everything from a Stanley hand plane to a hermit crab shell, from a tiny cast iron pan to a Leatherman tool, from a tape measure to a 3-way lantern.

Their tiny house dreams include:

  • Ben and Jonathan’s cabins in splendid landscapes
  • O.J.’s mobile design-build studio
  • Julien’s wee mobile house for a family of four
  • Apuyo’s boat-shaped art shop
  • Cate’s stepping stone to her future straw bale house
  • And many more…

Our first studio project was an exercise with found objects. In pairs the students spent 45 minutes modeling a structure inspired by one of the bizarre objects Paul has picked up on his wanderings over the years. It was fascinating to see what everyone came up with in such a short amount of time – and especially those precious last 10 minutes! Check out the Hello, Tiny House Design-Build Slideshow for some examples of their work.

Back Home at Yestermorrow

Tiny House Design Build 2013 begins at Yestermorrow amidst the glory of fall in Vermont. It's so good to be back home at Yestermorrow. Check out my Yestermorrow Fall Foliage Slideshow for more photos.

I arrived at Yestermorrow late last night so I would have some time to settle in before I begin teaching the two-week Tiny House Design-Build course this evening. Arriving by taxi in the middle of the night was exactly how I first arrived here for the very first time three and a half years ago to begin my Certificate in Sustainable Building and Design. Luckily, I found a classmate in the taxi line at the airport, so Sam and I caught a ride here together. When we arrived on Yestermorrow's rural campus in the middle of the night with no sense of where we were - or where we should be - we took ourselves on a self-guided tour in the dark, eventually our finding beds to crash in. We awoke to a quiet Sunday, getting our bearings before launching into the three-week core class Ecological Design in the Built Environment.

So it was deja vu last night as I bid the cab driver farewell and found my way to Elizabeth Turnbull's tiny house. Yet this time I accomplished it without any trouble and instead navigated by memory and a great sense of homecoming. (Though I will say the incredible stars were quite a distraction!) Elizabeth's story was one of my original inspirations for enrolling in courses at Yestermorrow. She had been taking a course at Yestermorrow when she found out she'd gotten into Yale's forestry school, so she decided to build herself a tiny house to serve as her home base while she was in graduate school. She and I had the chance to talk on the phone as I made plans to do the same thing myself. Elizabeth lived in her little house for 3 years and has now brought it back to Yestermorrow so it can serve as a cabin for visiting students and faculty.

I settled in right away and got a great night's sleep. This morning I understood in an instant, before I even crawled out of the loft bed, what the all the fuss is about. Autumn in the Northeast is truly spectacular! Photos don't begin to do justice to the complexity and texture of the fall foliage.

It's been a gorgeous day, perfect for reacquainting myself with the Yestermorrow campus, meeting new interns, and getting paperwork squared away. I was here in June for the Tiny House Fair, so there weren't any big surprises during my walk this afternoon, but it's a quiet Sunday so I've had a chance to really soak it in. What is it about loving a place so dearly and sincerely that gives us that sense of home? I feel like Yestermorrow makes me a better person and I can only hope that I can give back to it with my earnest devotion to creating better homes and communities.

As I walked around, snapping photos of all the structures, and admiring them against the backdrop of fall foliage, I couldn't help but think about what a long three and a half years it's been! I've completed my certificate at Yestermorrow as well as my Masters of Urban and Regional Planning. I was scheming a tiny house back then and drafted up some ideas in the Less is More class (which I'll be teaching at Yestermorrow next spring). Now I've lived in several tiny houses and I'm involved with four tiny house start-ups.

Teaching the Tiny House Design-Build class at Yestermorrow is a dream come true! I'm honored to be teaching with talented and experienced designers and builders: Paul HankePatti Garbeck, and Lizabeth Moniz. As I scan at the roster for the Tiny House Design-Build class and look over the Program Worksheets our students submitted once again, I am eager to meet everyone and learn more about their tiny house dreams.  It's bound to be a fascinating two weeks! Follow along!

Last Week for Early Bird Tickets to 2014 Tiny House Conference

Last week I talked with Ryan Mitchell of The Tiny Life last week about the Tiny House Conference that will be held in Charlotte, NC in April 2014. It sounds like a great line-up of speakers, including Dee Williams of Portland Alternative Dwellings as the keynote. My friend John Labovitz will be presenting about value-based design. (You can read about his Tiny House Truck and see video of it.) Dan Louche of Tiny Home Builders will be speaking, too. (I met Dan at the Tiny House Fair at Yestermorrow in June and we'll be using his Tiny Living plans for Yestermorrow's Tiny House Design-Build course next week.) And, of course, there are plenty of new-to-me tiny house experts I'm looking forward to meeting, too. I'm thrilled to be presenting with these fine folks!

I look forward to the opportunity to gather with so many other tiny house enthusiasts in a place that's been calling to me for a long time. (What is it about you, Carolinas?!)

I know many of you aren't even thinking about your Thanksgiving travel plans yet, but this is on track to be the tiny house networking event of the year so, if you're thinking about it already, here's some incentive to register now: Ryan sent out a message that the early bird pricing ends on September 30. Register for the Tiny House Conference today!

Tiny House Plumbing Workshop Recap

On Monday, September 16th, 2013 Shelter Wise, Portland Alternative Dwellings, and Bruner Plumbing teamed up to teach Tiny House Construction Essentials: Plumbing Systems. This micro workshop was hosted by Shelter Wise and used the Salsa Box, which was constructed for the La Casa Pequena workshop at La Casa Verde green living festival in McMinneville in April.

The workshop started out with Ian Bruner of Bruner Plumbing providing some basic information about residential plumbing. Ian showed several of the material options and tools available for tiny house plumbing and demonstrated how to use them.

Next Derin of Shelter Wise provided some tips and tricks for plumbing a tiny house based on his lessons learned from constructing the Miter Box (which is now located at Caravan - The Tiny House Hotel and has been nicknamed The Pearl), the Salsa Box, and the current custom home Shelter Wise is building.

Afterwards, I shared some considerations for tiny house plumbing based on my experience living in a travel trailer, an ADU, a yurt, and 2 tiny houses on wheels. I addressed what to look for in a supply hose, what to do if your hose freezes, and what some options are for potties. Participants had a chance to ask each of the instructors questions in a one-on-one format as they tried the various plumbing fittings and explored the Salsa Box.

In addition to learning about plumbing a tiny house, I also appreciated the opportunity to reconnect with some graduates of past PAD workshops, including Sherry, Benn, and Wade who are all currently building their own tiny houses and Jack who is just about to start. I also had the privilege of meeting some new tiny house enthusiasts and I'm excited to get to know them better through future workshops.

Tiny House Cleaning Check List

In general, I've found it's easiest to clean a tiny house from top to bottom (literally!) and from back to front. So this order may not work for you, but here’s how I usually go about cleaning a tiny house when I’m doing a deep clean. Maintenance cleaning is super quick, but a tiny house deep clean usually takes me about an hour. (NB: I have two pairs of sheets – if you only have 1 set you may want to save making the bed for last along with replenishing the towels and TP!)


Here are the steps I go through when doing a tiny house deep clean:

  1. Remove and shake rugs outside
  2. Do a quick sweep of floors to not track dirt around (and dump sweepings in compost or trash)
  3. Open windows and tie back curtains
  4. Get pillows and blankets out of the way and strip the bed(s)
  5. Grab towels from bathroom and kitchen
  6. Start laundry
  7. Tidy up and put everything that has escaped its place back where it belongs
  8. Make bed(s) with fresh sheets (see my Tips for Making a Loft Bed below)
  9. Do dishes and get them air-drying
  10. Switch laundry to dryer if it’s rainy or hang laundry if it’s sunny
  11. Dust art, books, games, etc.
  12. Wipe down all flat surfaces in kitchen with spray and rag
  13. Clean shower
  14. Clean toilet and/or empty compost toilet
  15. Sweep floors thoroughly (including the dust bunnies behind furniture)
  16. Mop floors if necessary
  17. Put dirty rag into laundry bin
  18. Tie up trash bag and replace with new one
  19. Empty trash bag in garbage, recycling in recycle, compost in compost
  20. Wash hands!
  21. Put rugs back
  22. Retrieve and fold clean laundry (this may have to happen later if you’ve hung it to dry in the sun!)
  23. Refresh bath towels, hand towels, dish towels, bath mat, and toilet paper roll
  24. Settle down for a well-deserved hot or cold drink!

Tips for Making a Loft Bed:

1)   Find the corners of the fitted sheet that correspond to the top two corners of the mattress BEFORE you bring the sheet up the ladder so you don’t have to figure it out up there.

2)   Fold the flat sheet the long way and bring the top edge up the ladder, placing it in the center of the bed. Unfold the sheet at the top and then unfold as you go, working your way down the sheet as you work your way out of the loft. Repeat for any blankets.

3)   Put everything a little closer to the head of the bed than I needs to be at first so that you can smooth out the wrinkles by tugging on it.

Everything I Need to Know about Designing Tiny Houses I Learned from Cleaning Them

Okay, that’s not really true. Most of what I know about designing tiny houses came from living in a travel trailer, a yurt, an accessory dwelling, and two tiny houses on wheels over the past two years. I certainly learned plenty about tiny home design from reading Dee Williams’ Go House Go, Lloyd Kahn's Tiny Homes, Simple Shelter, and Jay Shafer’s The Small House Book, too. And, of course, I learned a great deal from attending the Less is More class at Yestermorrow (which I’ll be teaching in March 2014!)

But during the past two weeks I’ve been site managing at Caravan – The Tiny House Hotel while Kol and Deb are on their honeymoon, and cleaning Caravan's Tiny Houses everyday has taught me an enormous amount about how material selection and interior design considerations impact the ease of maintaining a little home! (Check out my Tiny House Cleaning Checklist for the run-down of how to tidy up!)

Here are some of my lessons learned:

Making Beds: I think it’s really clever that the twin bed on the first floor of Tandem pulls out into a king size bed. I have realized, however, that since I’m quite small myself a twin size mattress is plenty bulky for me to wrestle as I put sheets on two of them. I’m considering an extendable bed in my Vardo and I think I’ll go with one that makes into a full or queen size bed so that the halves aren’t so cumbersome. Additionally, I've discovered that there is a direct correlation between the size of a loft and the ease of making a bed in it! (And that having skylights makes the space seem larger psychologically even if it doesn’t actually increase the volume of the space.) You can read my Tips for Making a Loft Bed on my Tiny House Cleaning Checklist. As you consider your tiny house design, note that it’s much easier to make a loft bed if:

  • the actual volume of the loft is bigger because of tall walls, a shallow roof pitch, dormers, or a gambrel shape,
  • there is a foot or so of space at the end of the loft past the mattress on which I can perch and some space on either side to tuck in blankets,
  • the ladder is easy to use and can be stood upon while making the bed (see more on ladders below),
  • the blankets and sheets are a good fit for the mattress – it’s tricky if one is trying to do special folding down and folding back up details,
  • there is a surface within reach (a counter, a table, a window seat, etc.) on which to store pillows, sheets, and blankets while making the bed without having to go all the way back down the ladder

Using Ladders: Speaking of ladders, I’ve found that designing a tiny house ladder is much like designing a tiny house itself: you want it to be sturdy, safe, and secure, but also portable. I find that I feel most secure on a ladder that has a solid connection with both the loft and the floor. I appreciate that the ladder Derin Williams made for Pearl has a bottom rung that rest squarely on the floor because it’s so much less likely to tilt. At the top it’s nice to either have pieces that extend up above so that you can pull yourself up into the loft or a flat surface that can be used to push yourself into the loft. The ladder in the Tiny Barn is my favorite because I have never been the slightest bit nervous on it.

Wiping Counter Tops: Each of the tiny houses at Caravan uses a different material for the countertops. Tandem has a tiled countertop, Rosebud has a cobblestone countertop, and Pearl has a galvanized steel countertop. All three of these are fairly unusual as most of the tiny houses I’ve seen have wooden countertops. As I’ve cleaned up the tiny houses at Caravan I’ve discovered that the tile countertop is the easiest to maintain. The cobblestone looks beautiful and wears well, but I’ve realized that the uneven surface isn’t ideal for chopping veggies. The galvanized looks really cool, but I've discovered that it's so shiny and reflective that when it's in direct sunlight that have to remember to close the curtains so I don't give myself light blindness. On the other hand, once it gets marked up, those spots seem to be impossible to remove. I actually think it adds an awesome patina to the surface and shows that the house is well-lived-in and well-loved, but it's not necessarily the sleek look I first imagine when I think of metal countertops.

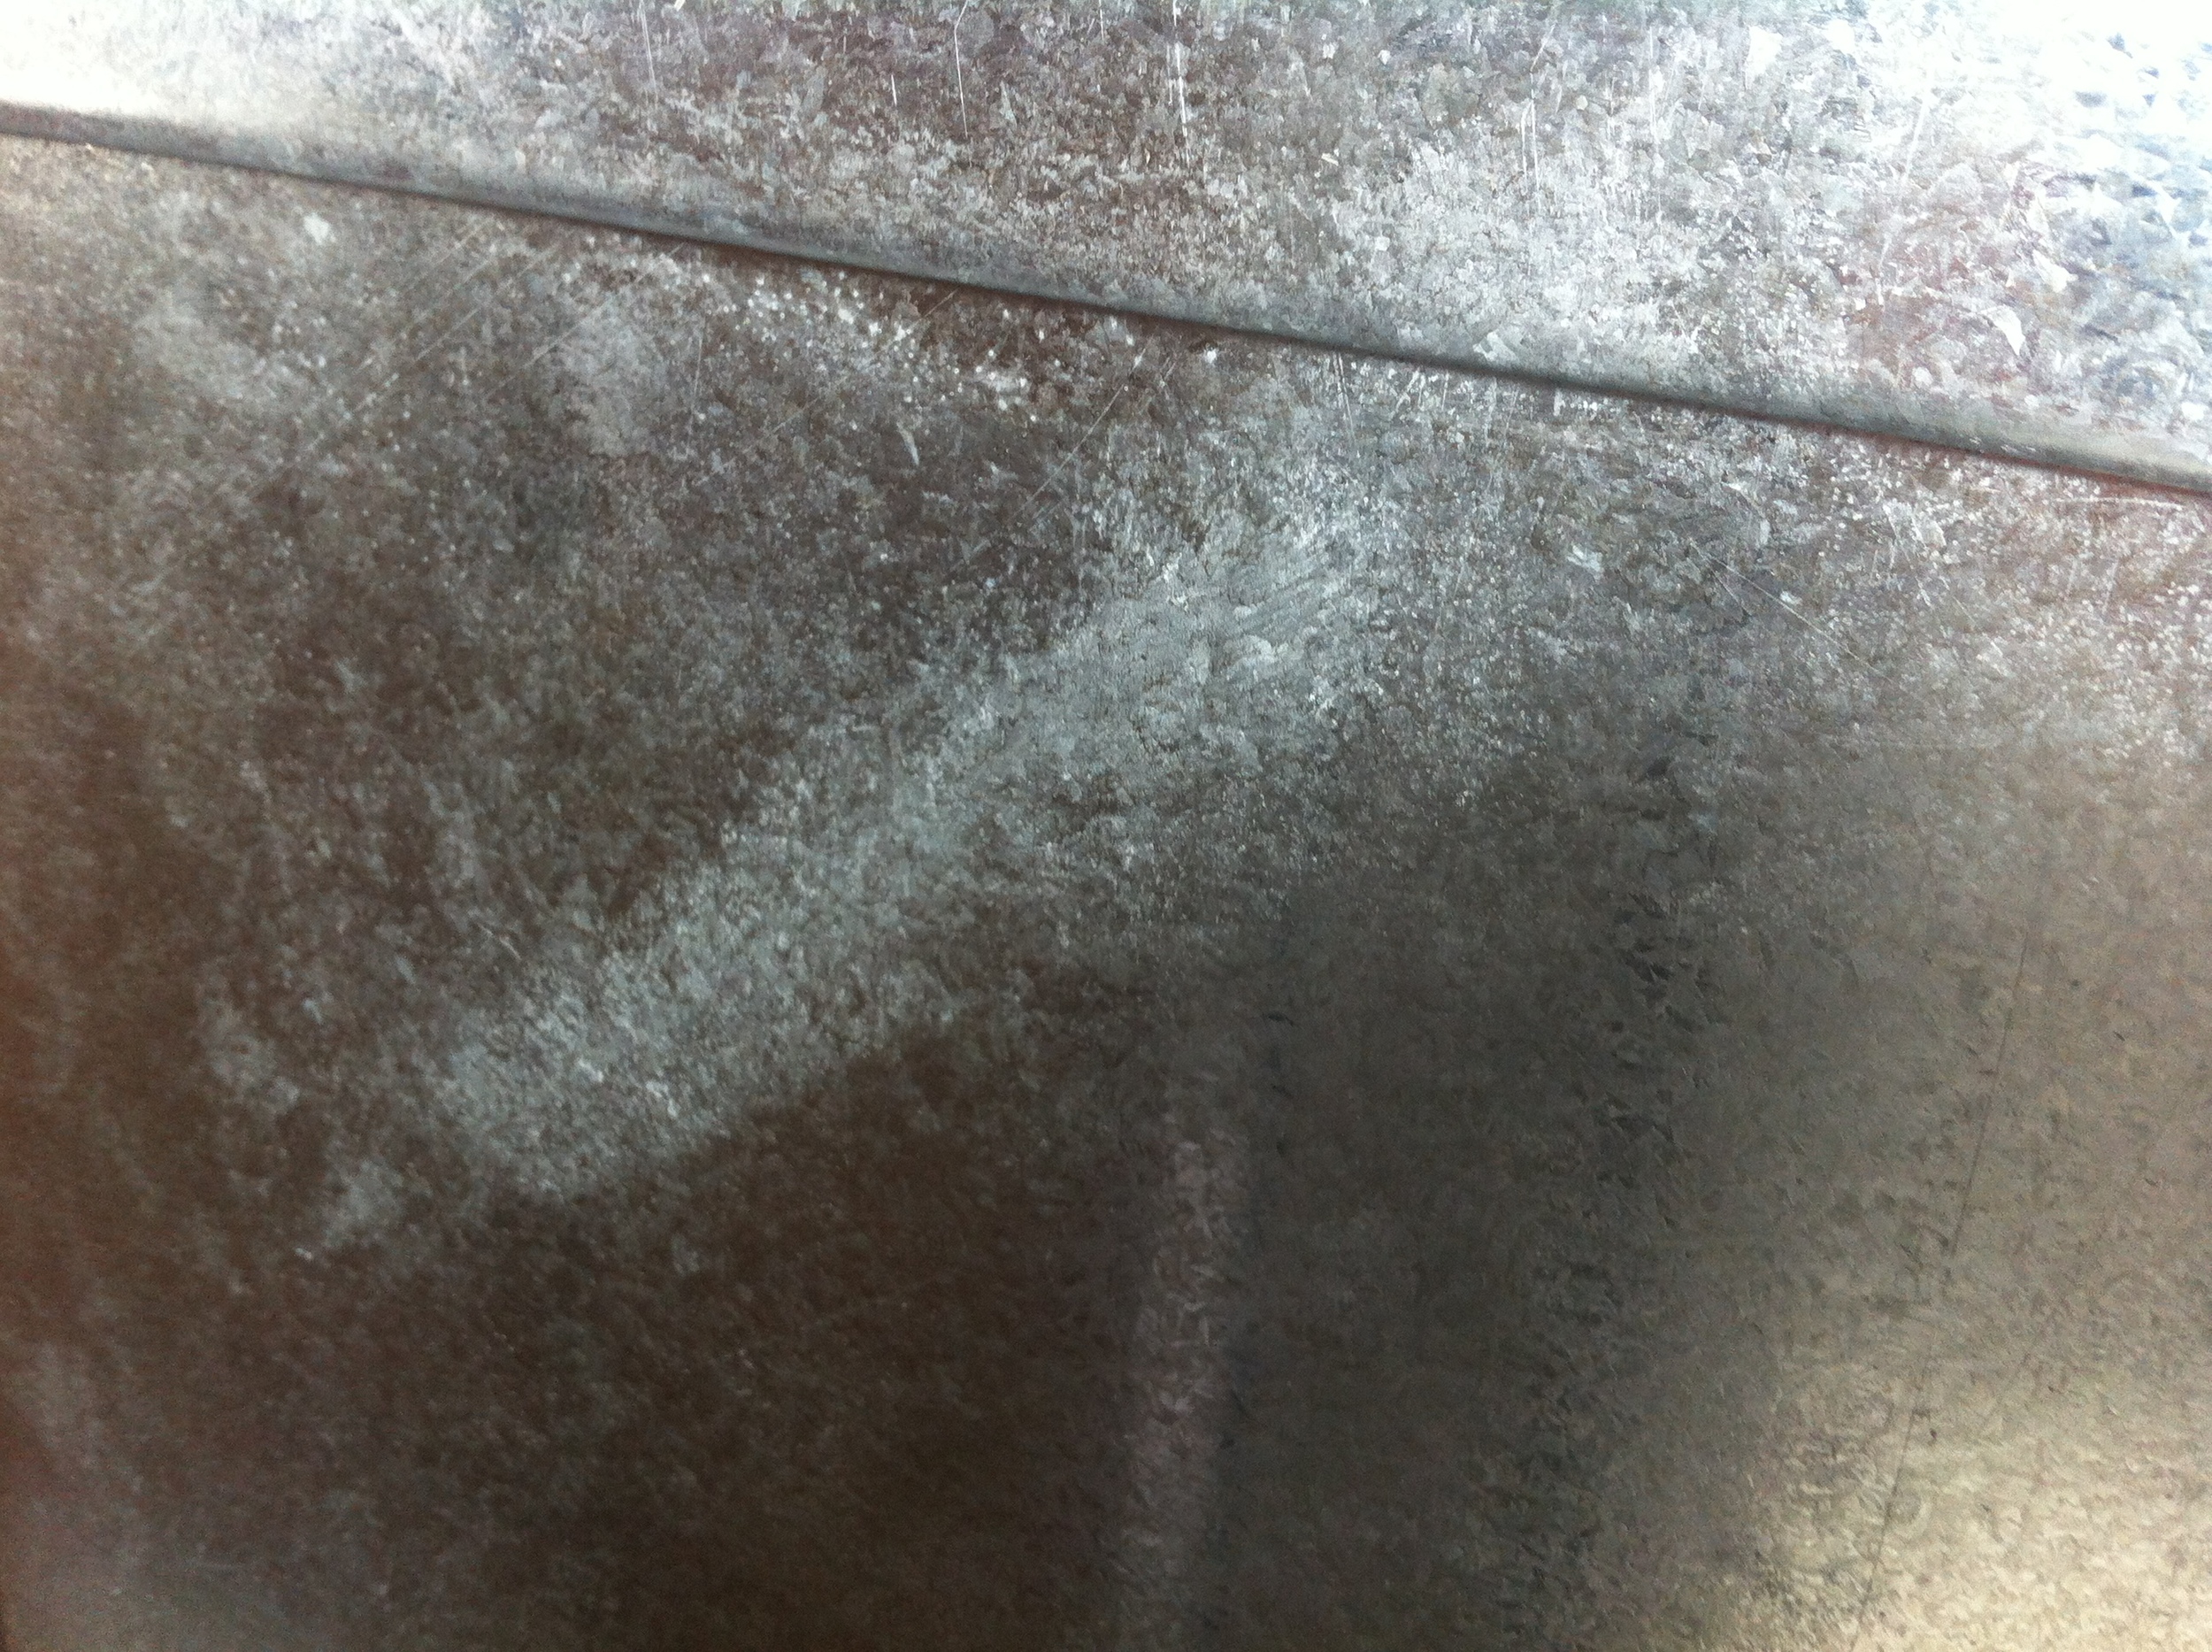
Scrubbing Showers: As I discovered while tiling the shower in Tandem, it’s way too easy to damage a fiberglass shower pan. Unfortunately, any nicks and scratches in the shower pan make it difficult to clean the shower forevermore, so it’s worthwhile to protect them as well as you can during the construction process. Similarly, the galvanized metal in the wet bath of the Pearl has a few marks that seem impossible to scrub away no matter how much elbow grease I use.

Cleaning Floors: Finally, it’s important to use appropriate flooring materials in appropriate places. The cork floors I installed in Tandem look awfully nice, if I do say so myself, but it might have been a good idea to use a different flooring material in the entryway and bathroom because they have absorbed some water and swollen along one of the seams. Of course, it’s also a good idea to select materials that don’t show dirt and scuff marks much. Additionally, I love marmoleum as a flooring material but I didn’t realize how slippery it is until I was reaching to tuck in the blankets at the back edge of Pearl’s convertible dinette/bed and found myself slipping. (This is compounded by my shortness, so I might be the only one with this problem!)

Recap: I highly recommend that anyone considering living in a tiny house take the opportunity to stay at Caravan - The Tiny House Hotel or Bayside Bungalow to try it out. But now I also think people ought to try out cleaning a tiny house. (Anyone is welcome to arrange a time to come clean mine! Tee, hee!) I'm grateful to have had this opportunity to become intimately acquainted with the nooks and crannies of each of these little houses because it's given me a whole new appreciation for material choices. While I learned a lot from My Summer Dream Job: Tiny House Design-Building, I think of these materials in a whole new way now because of maintaining them!
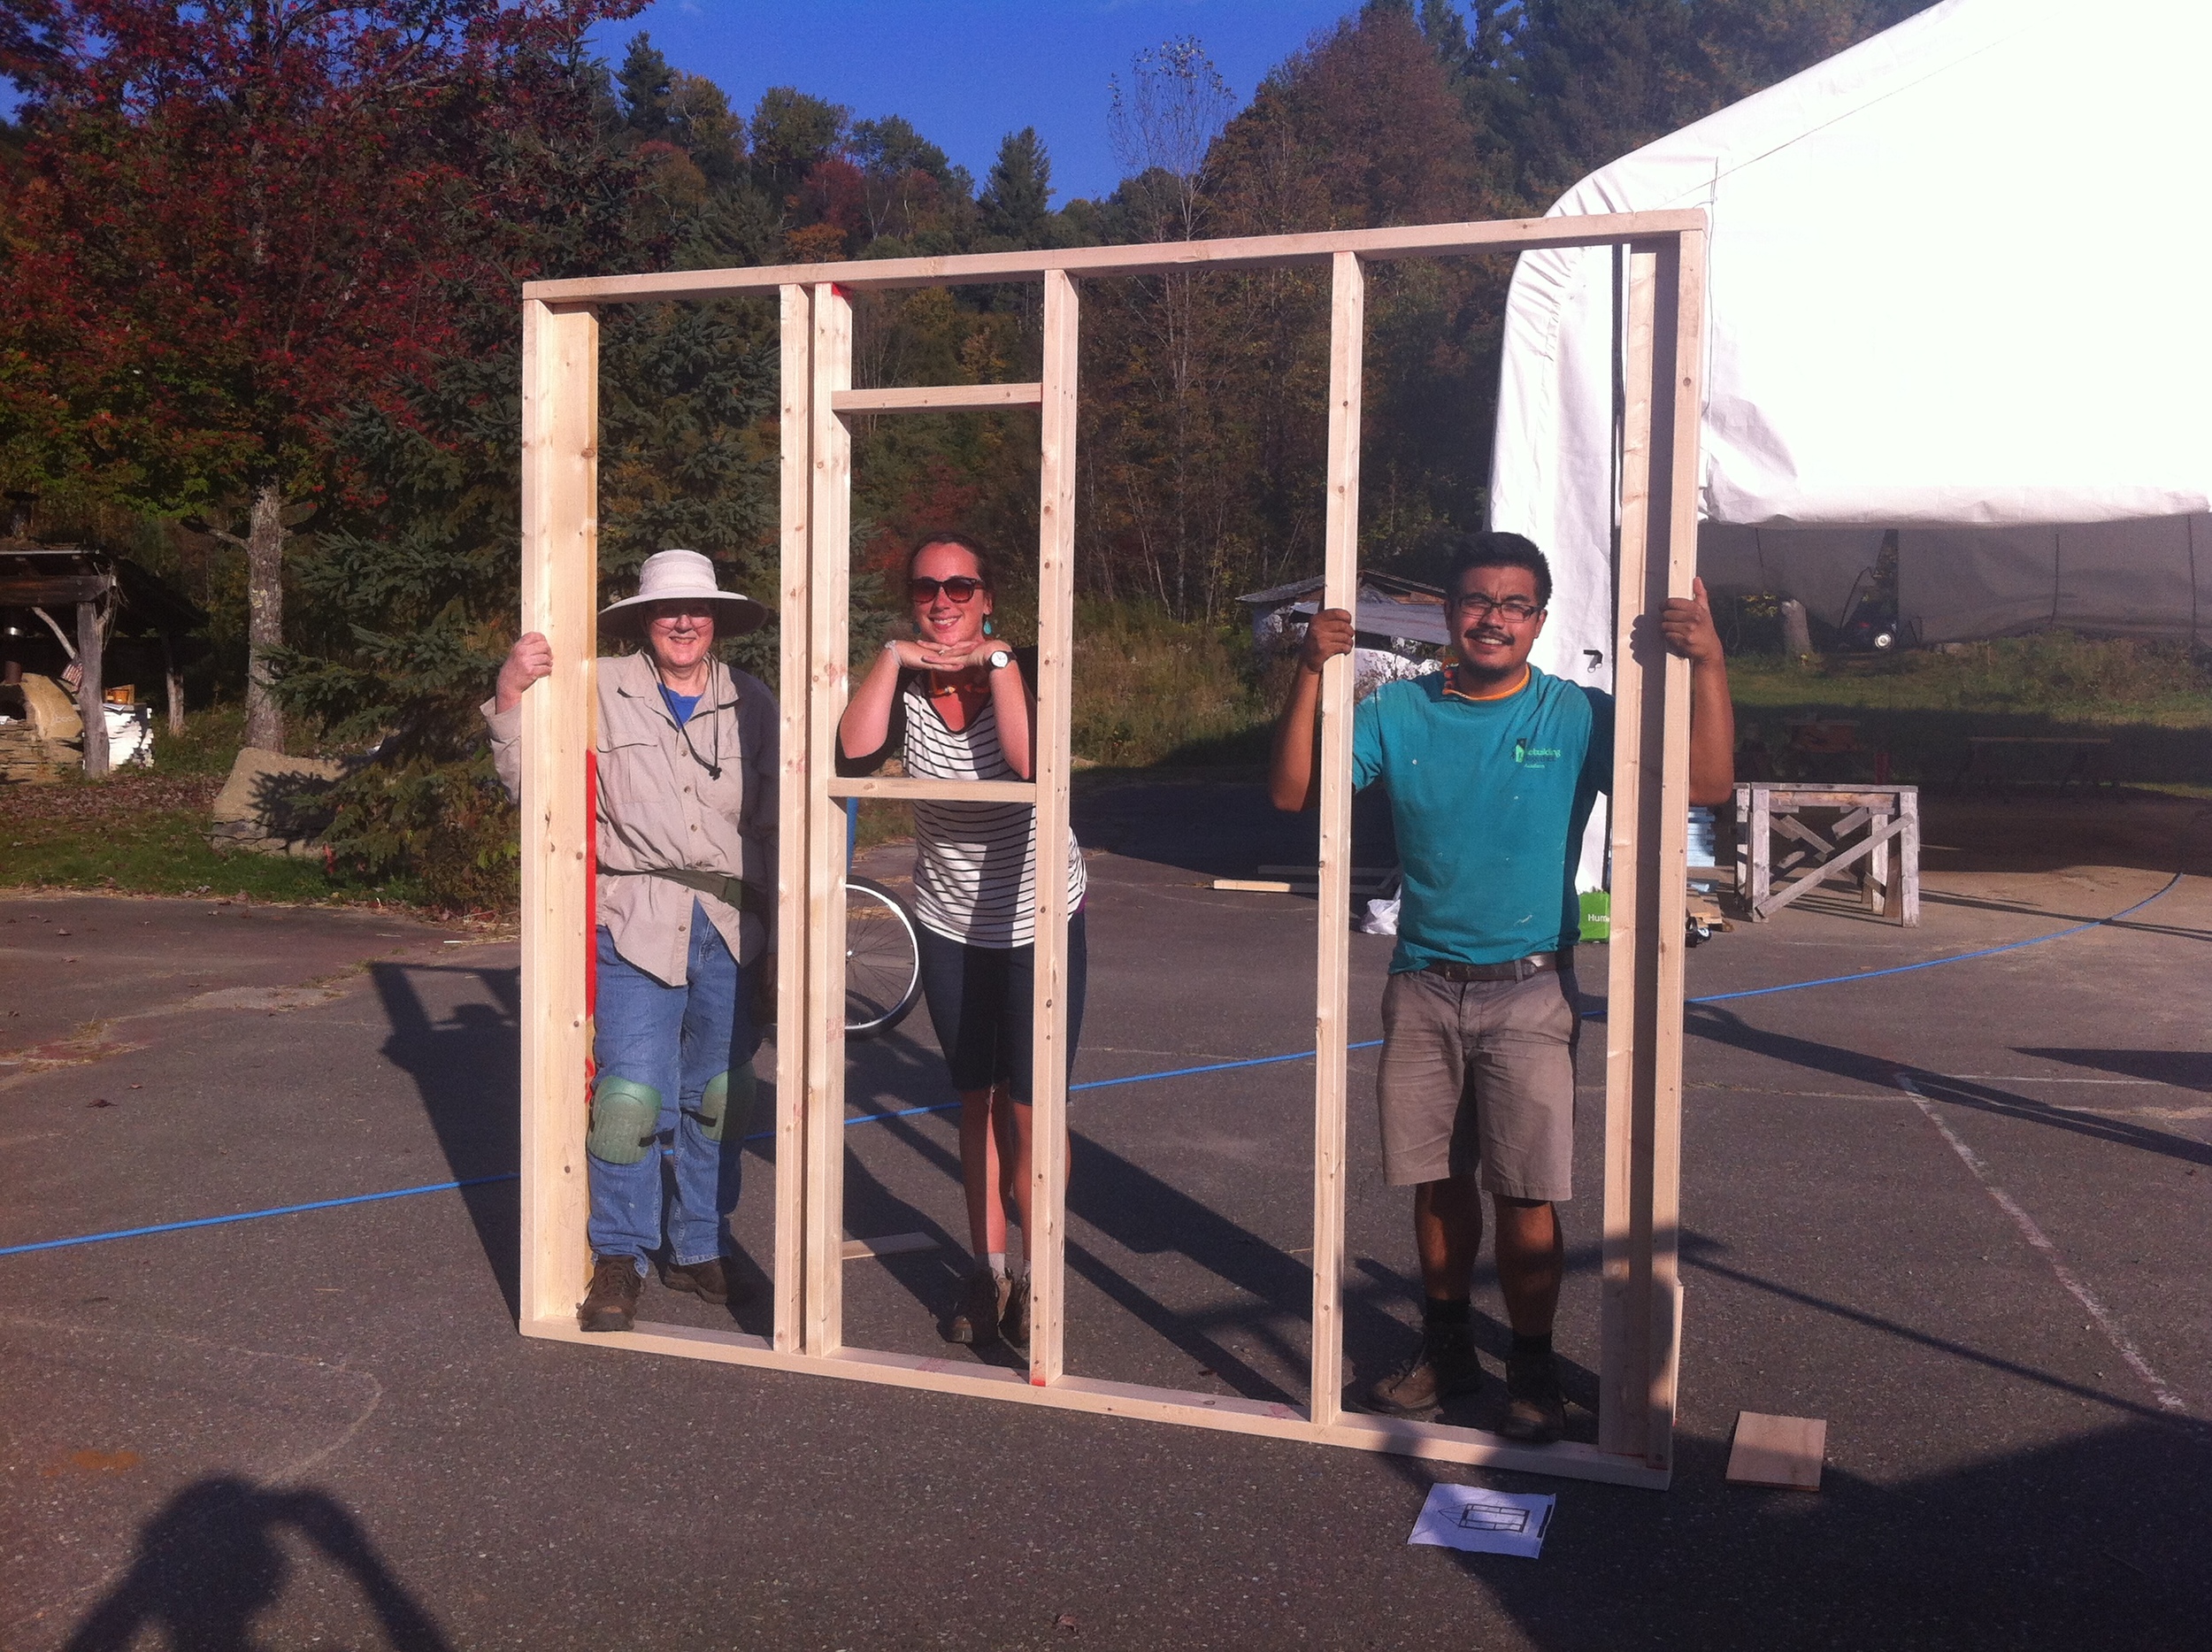
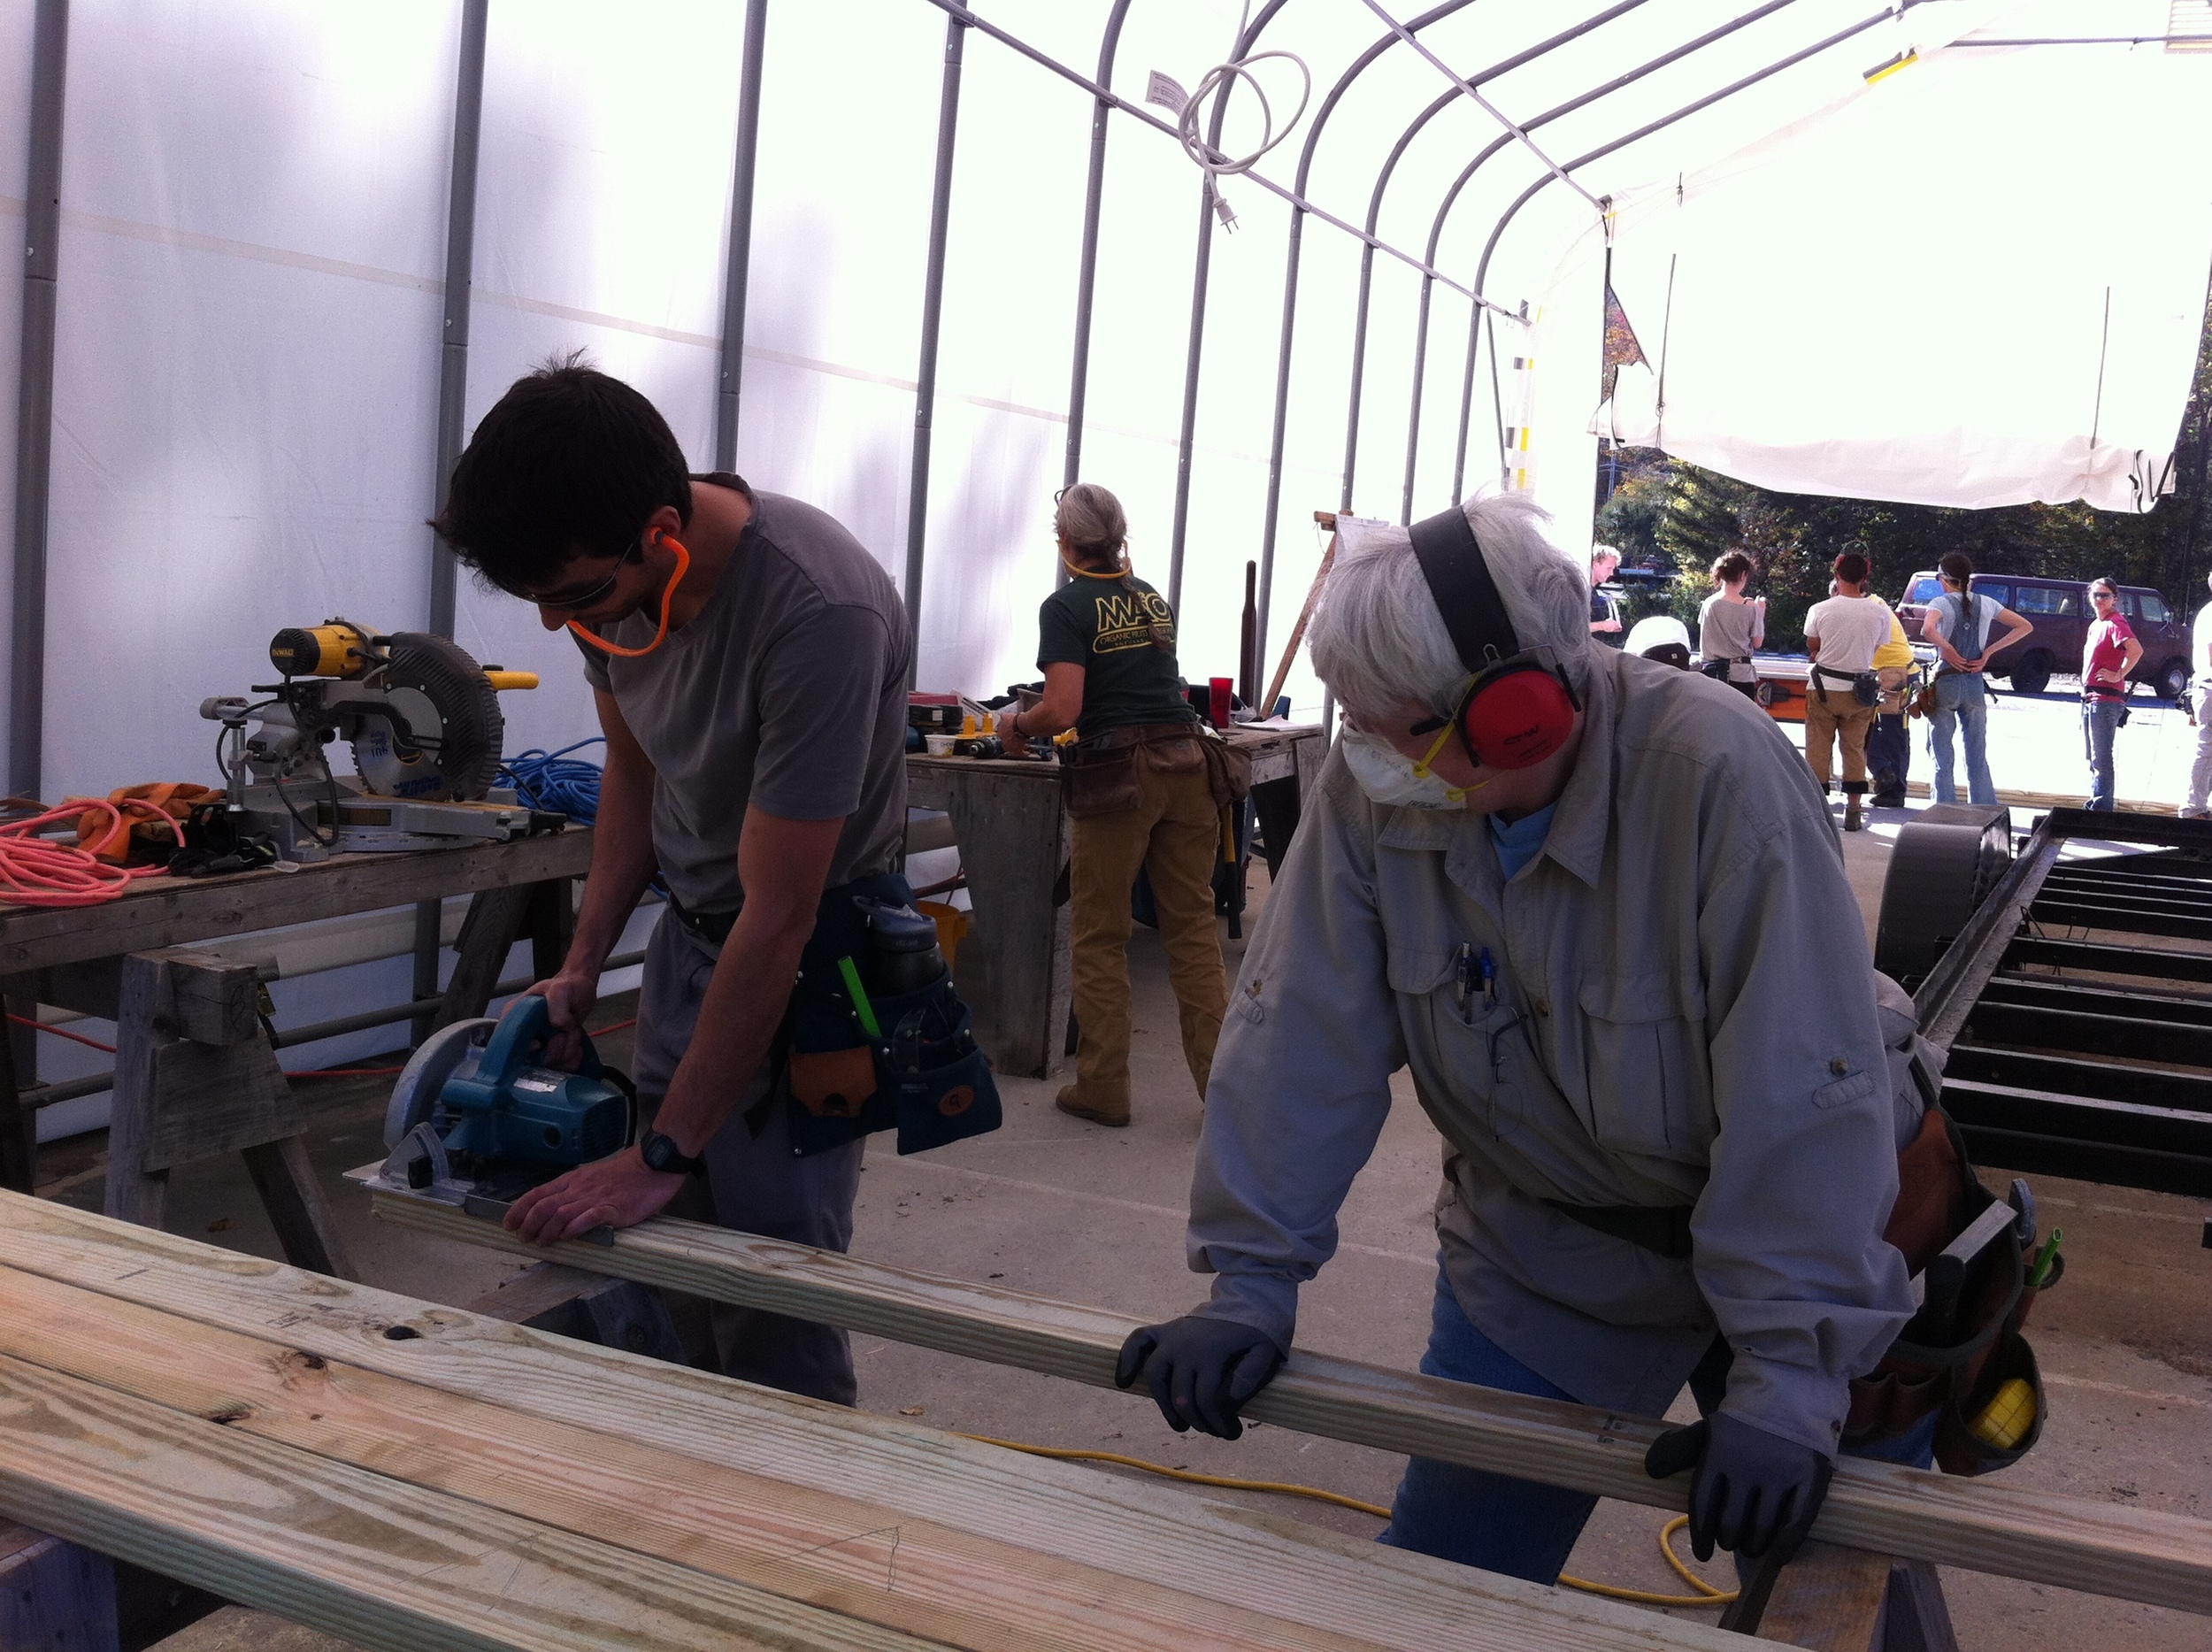