


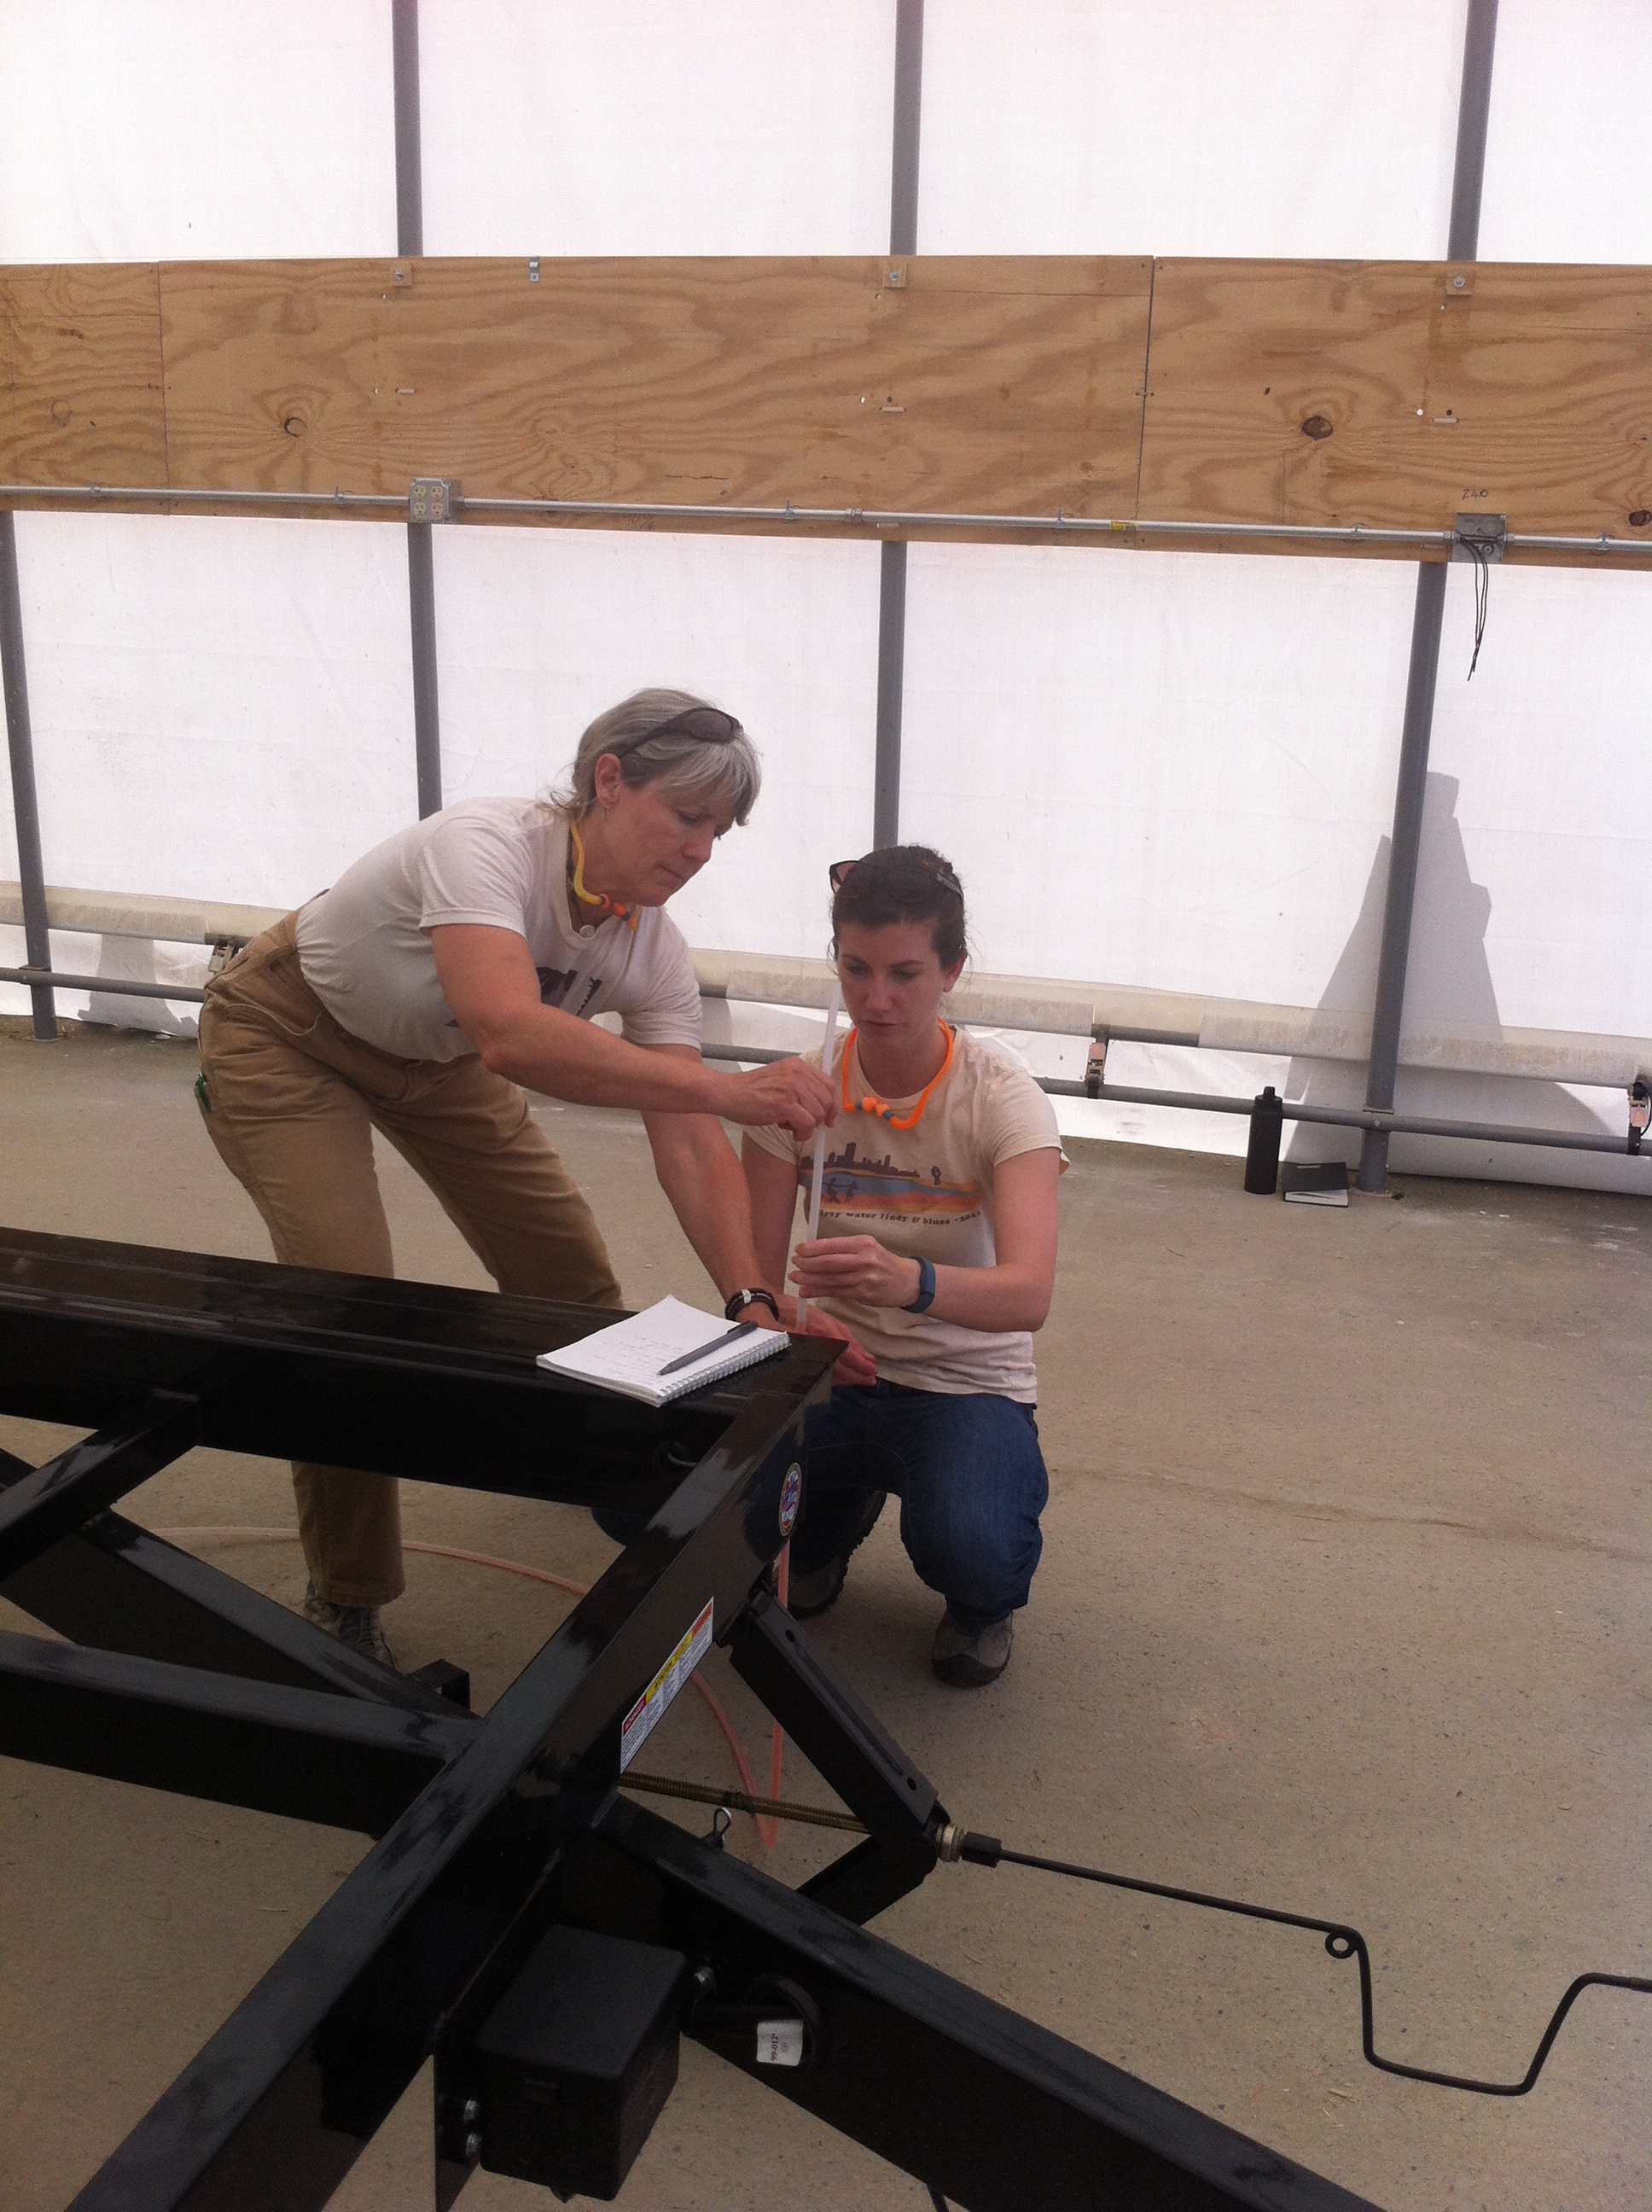
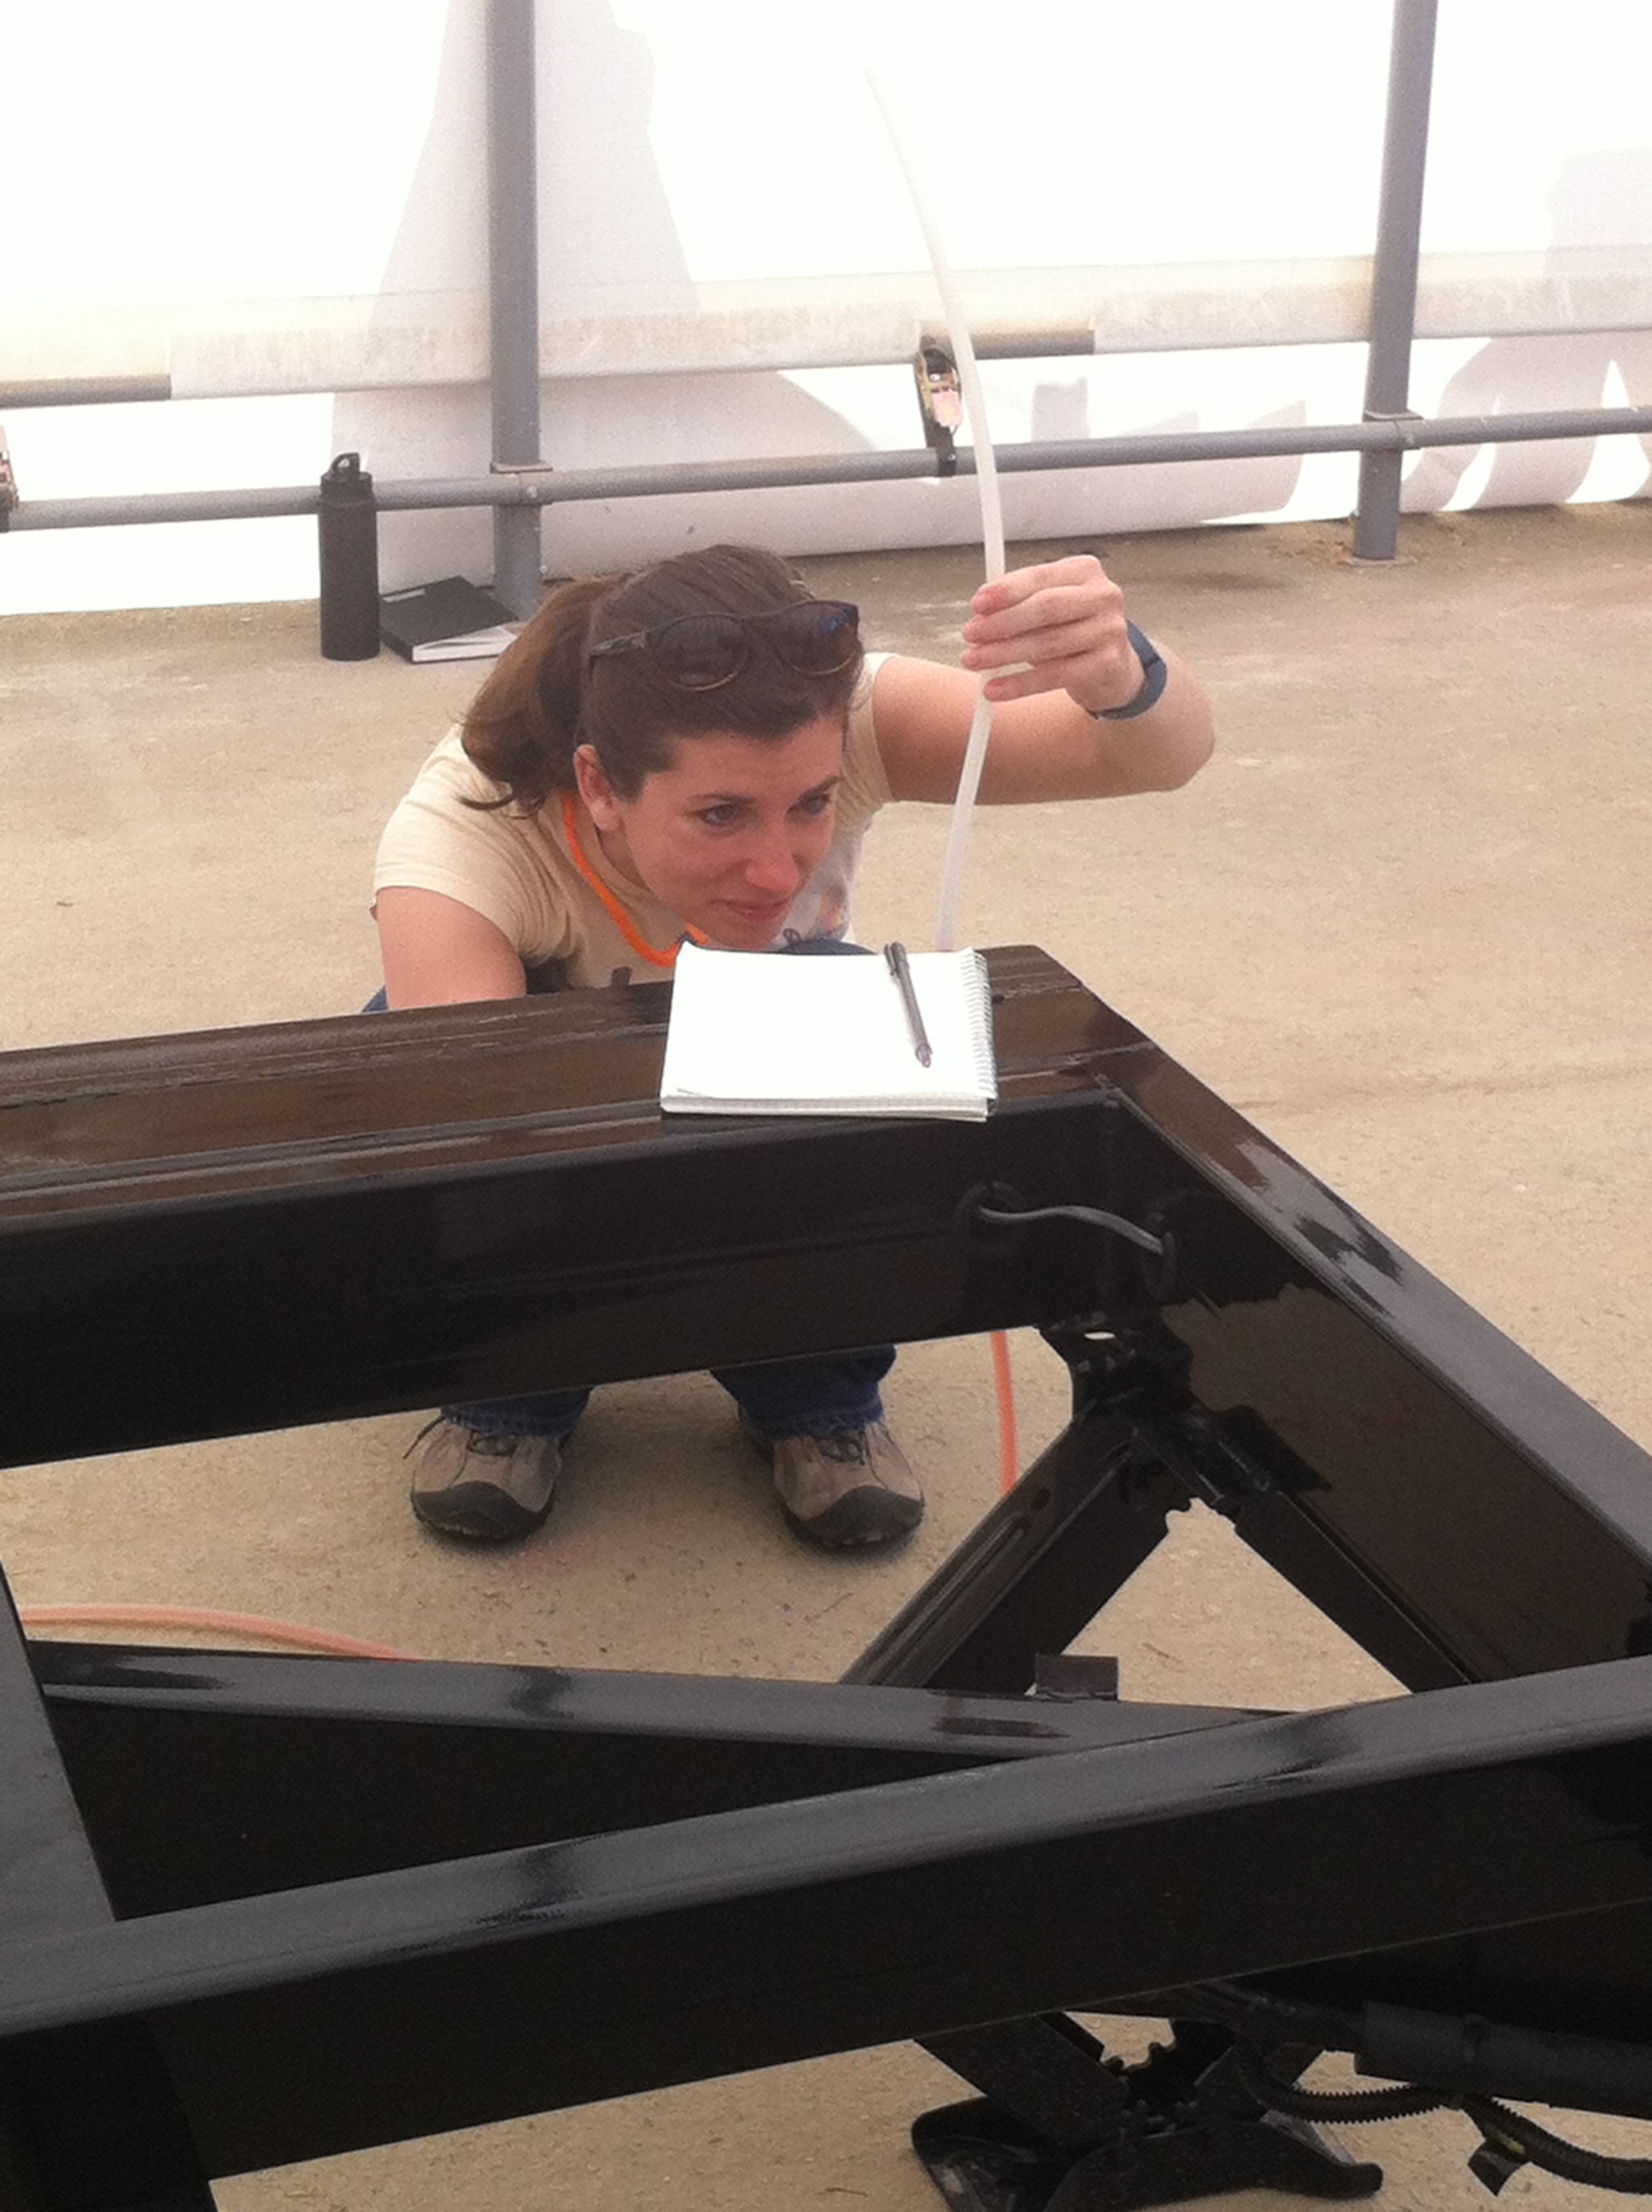
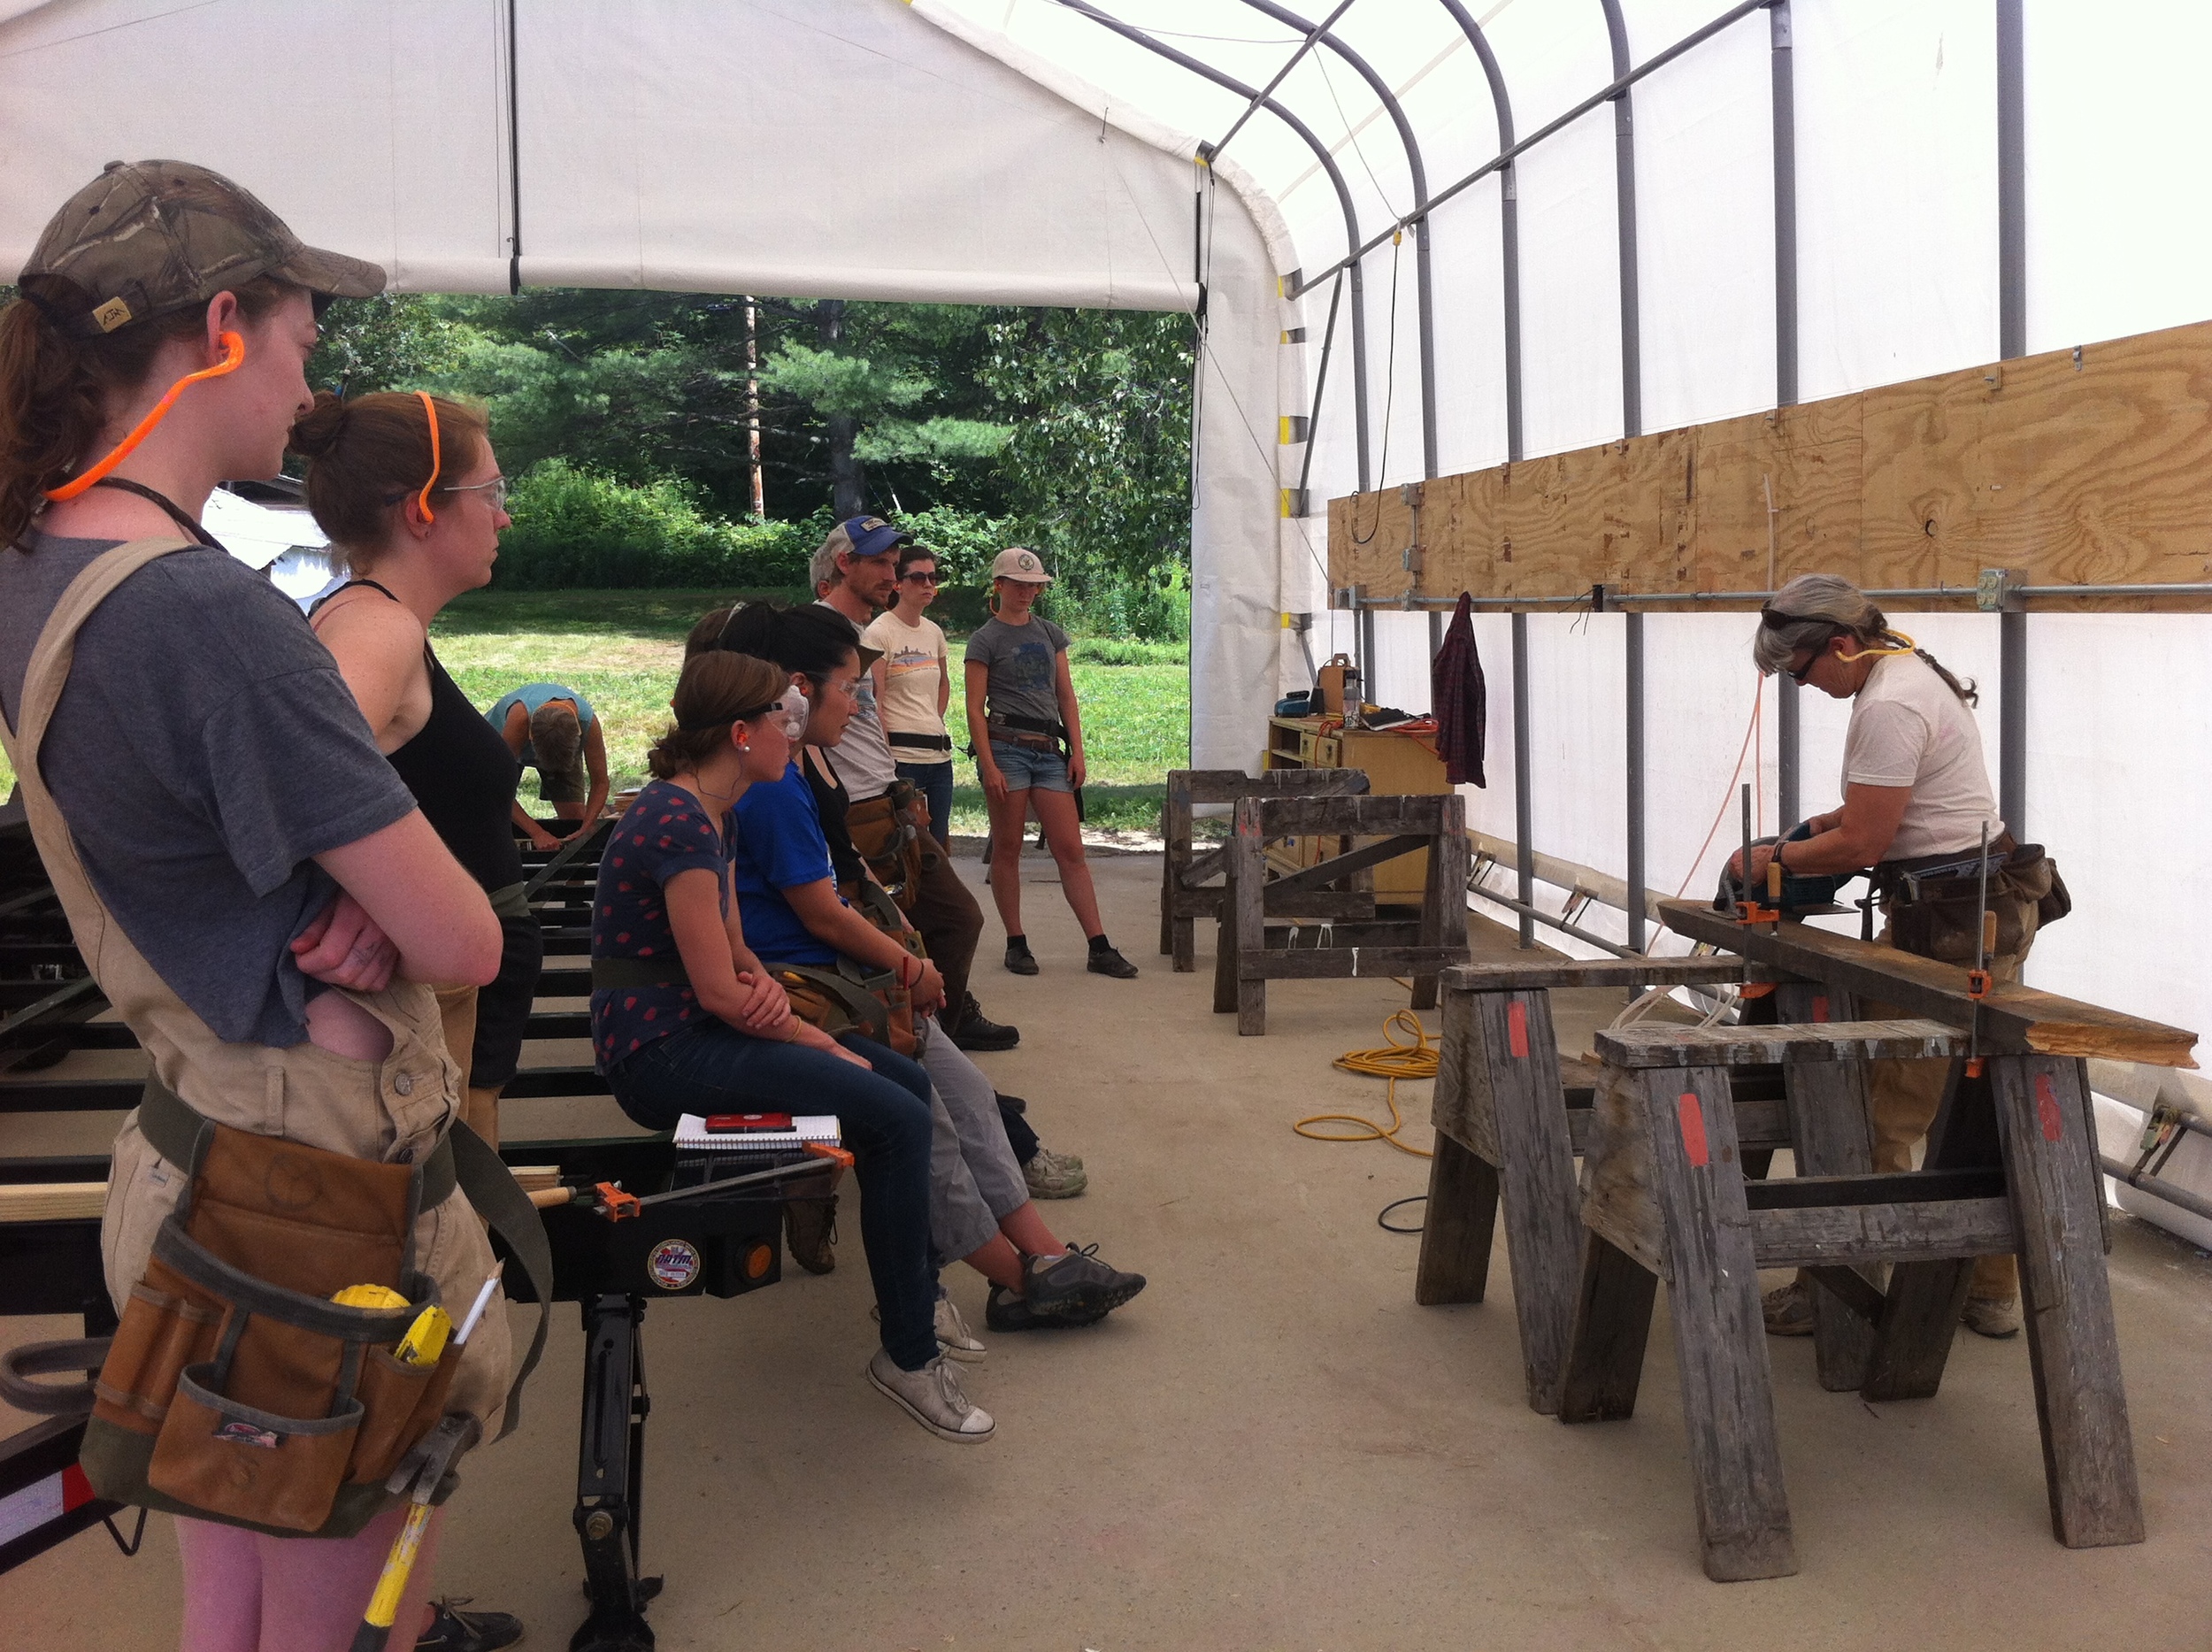
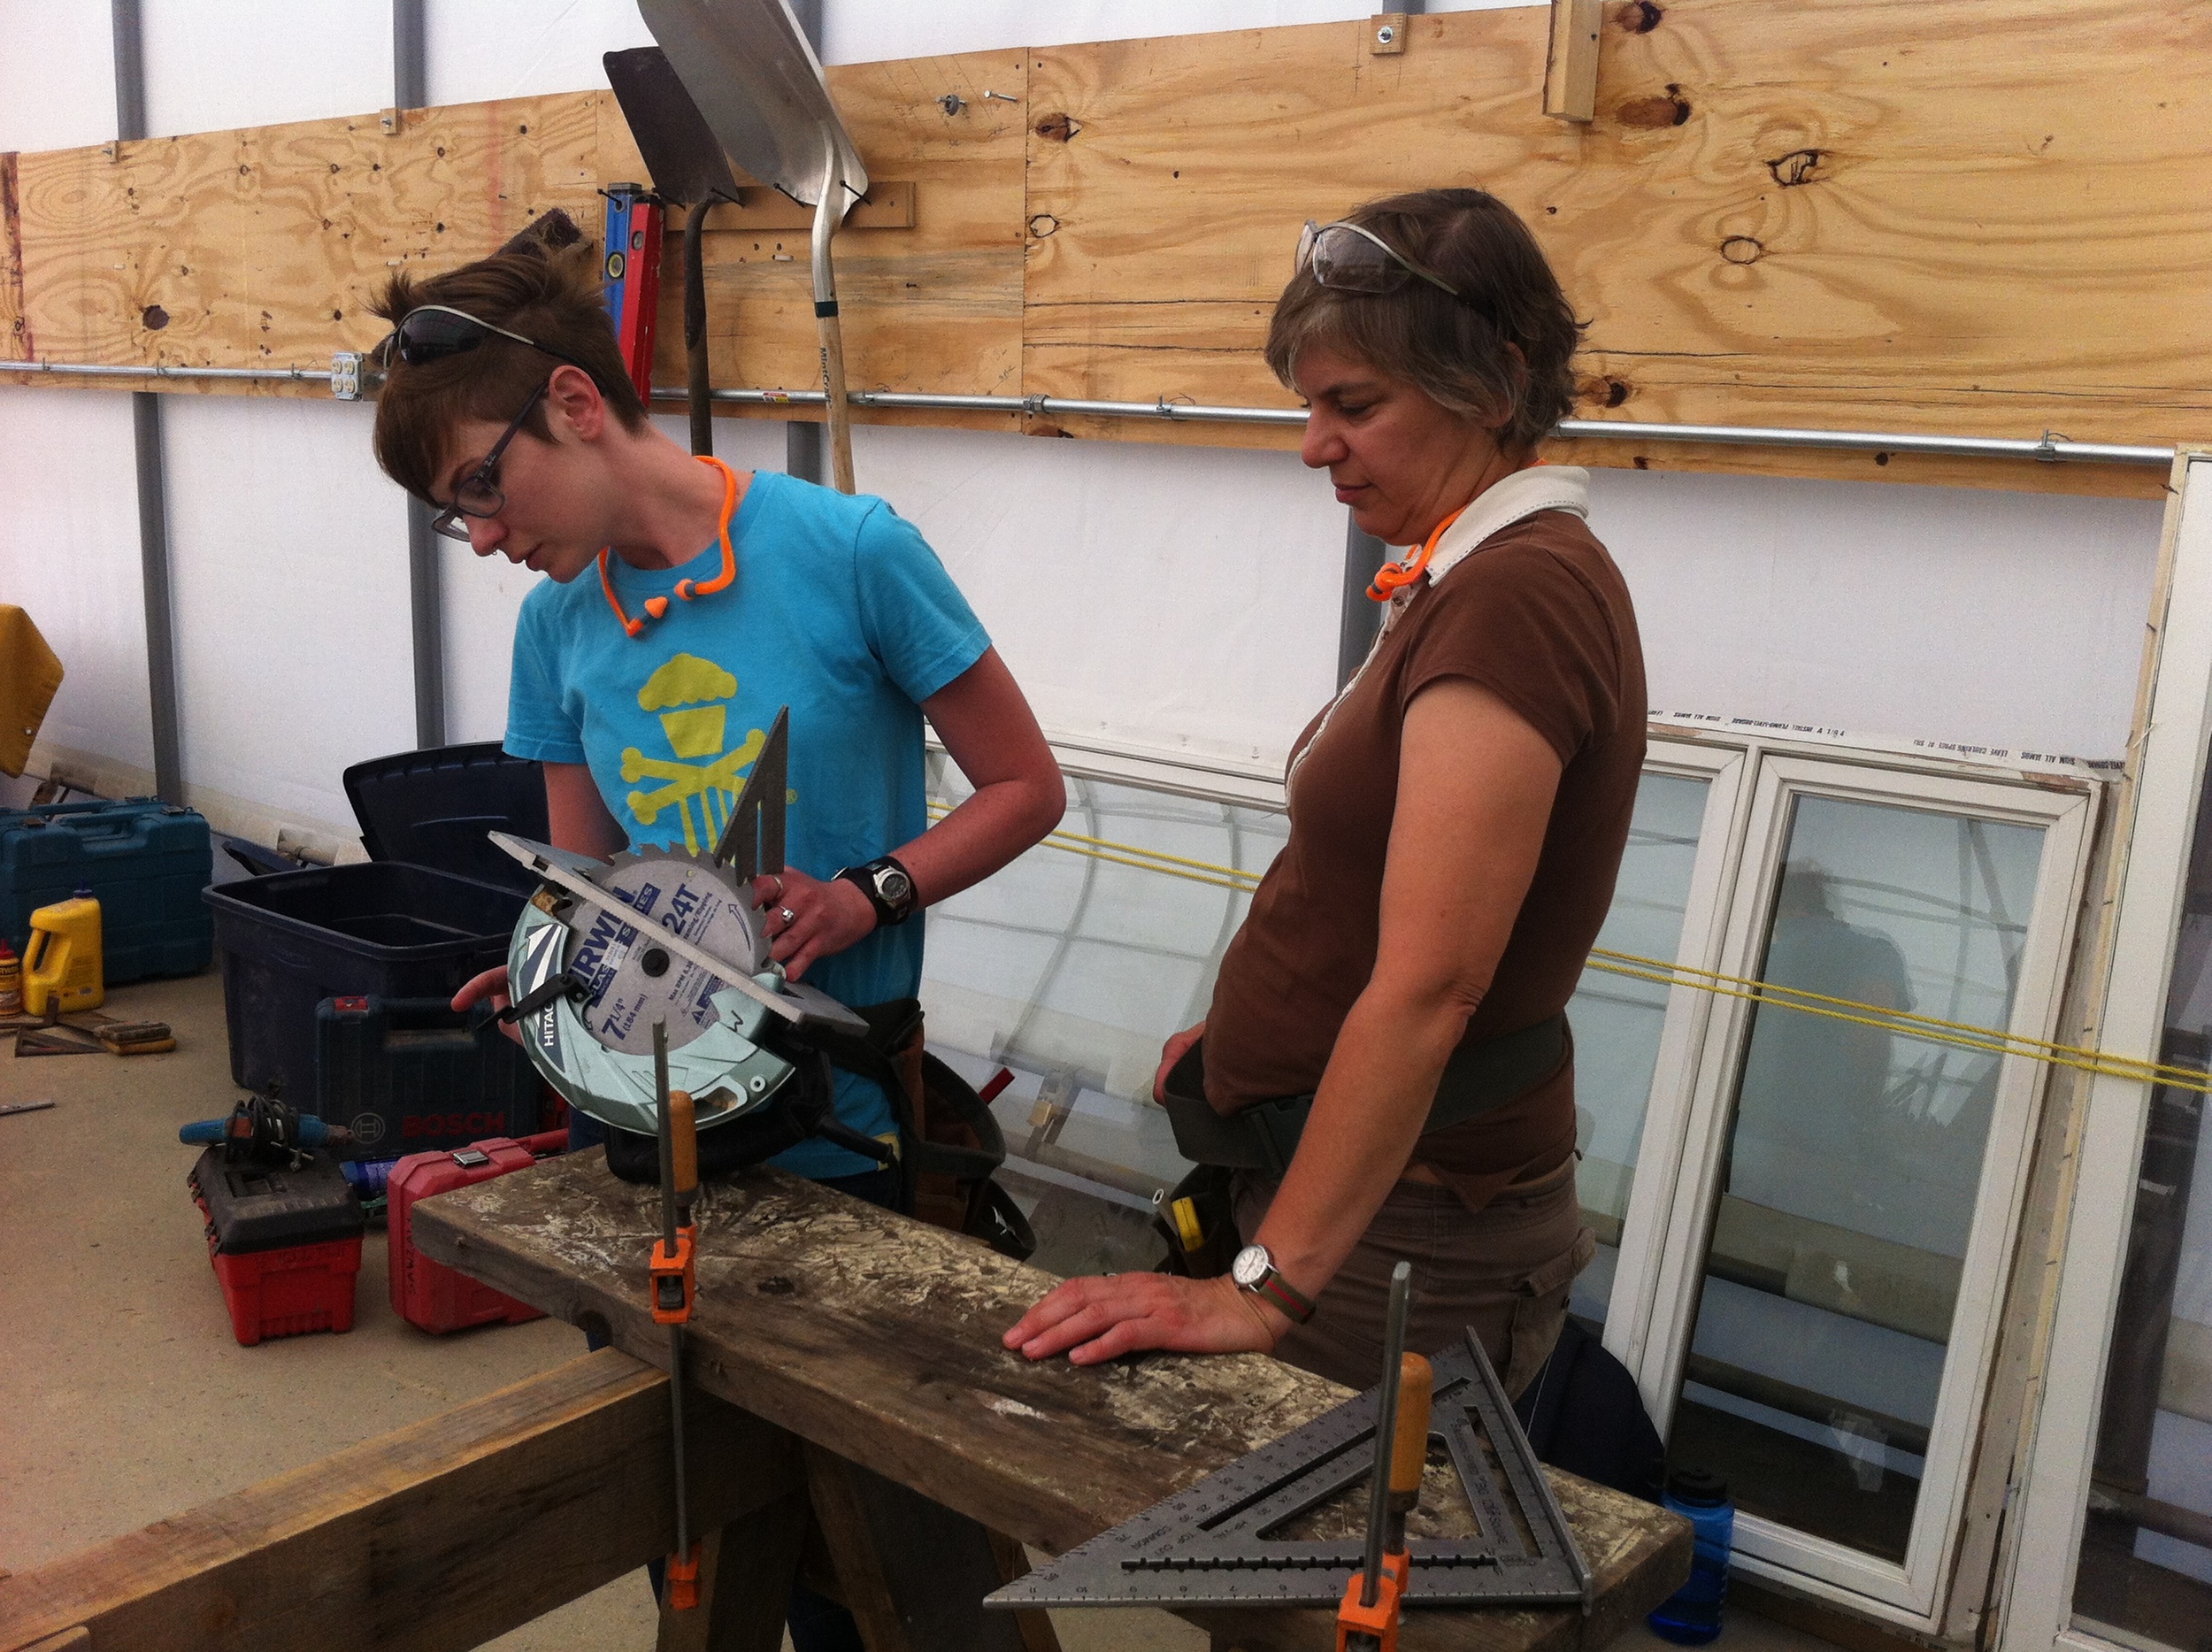
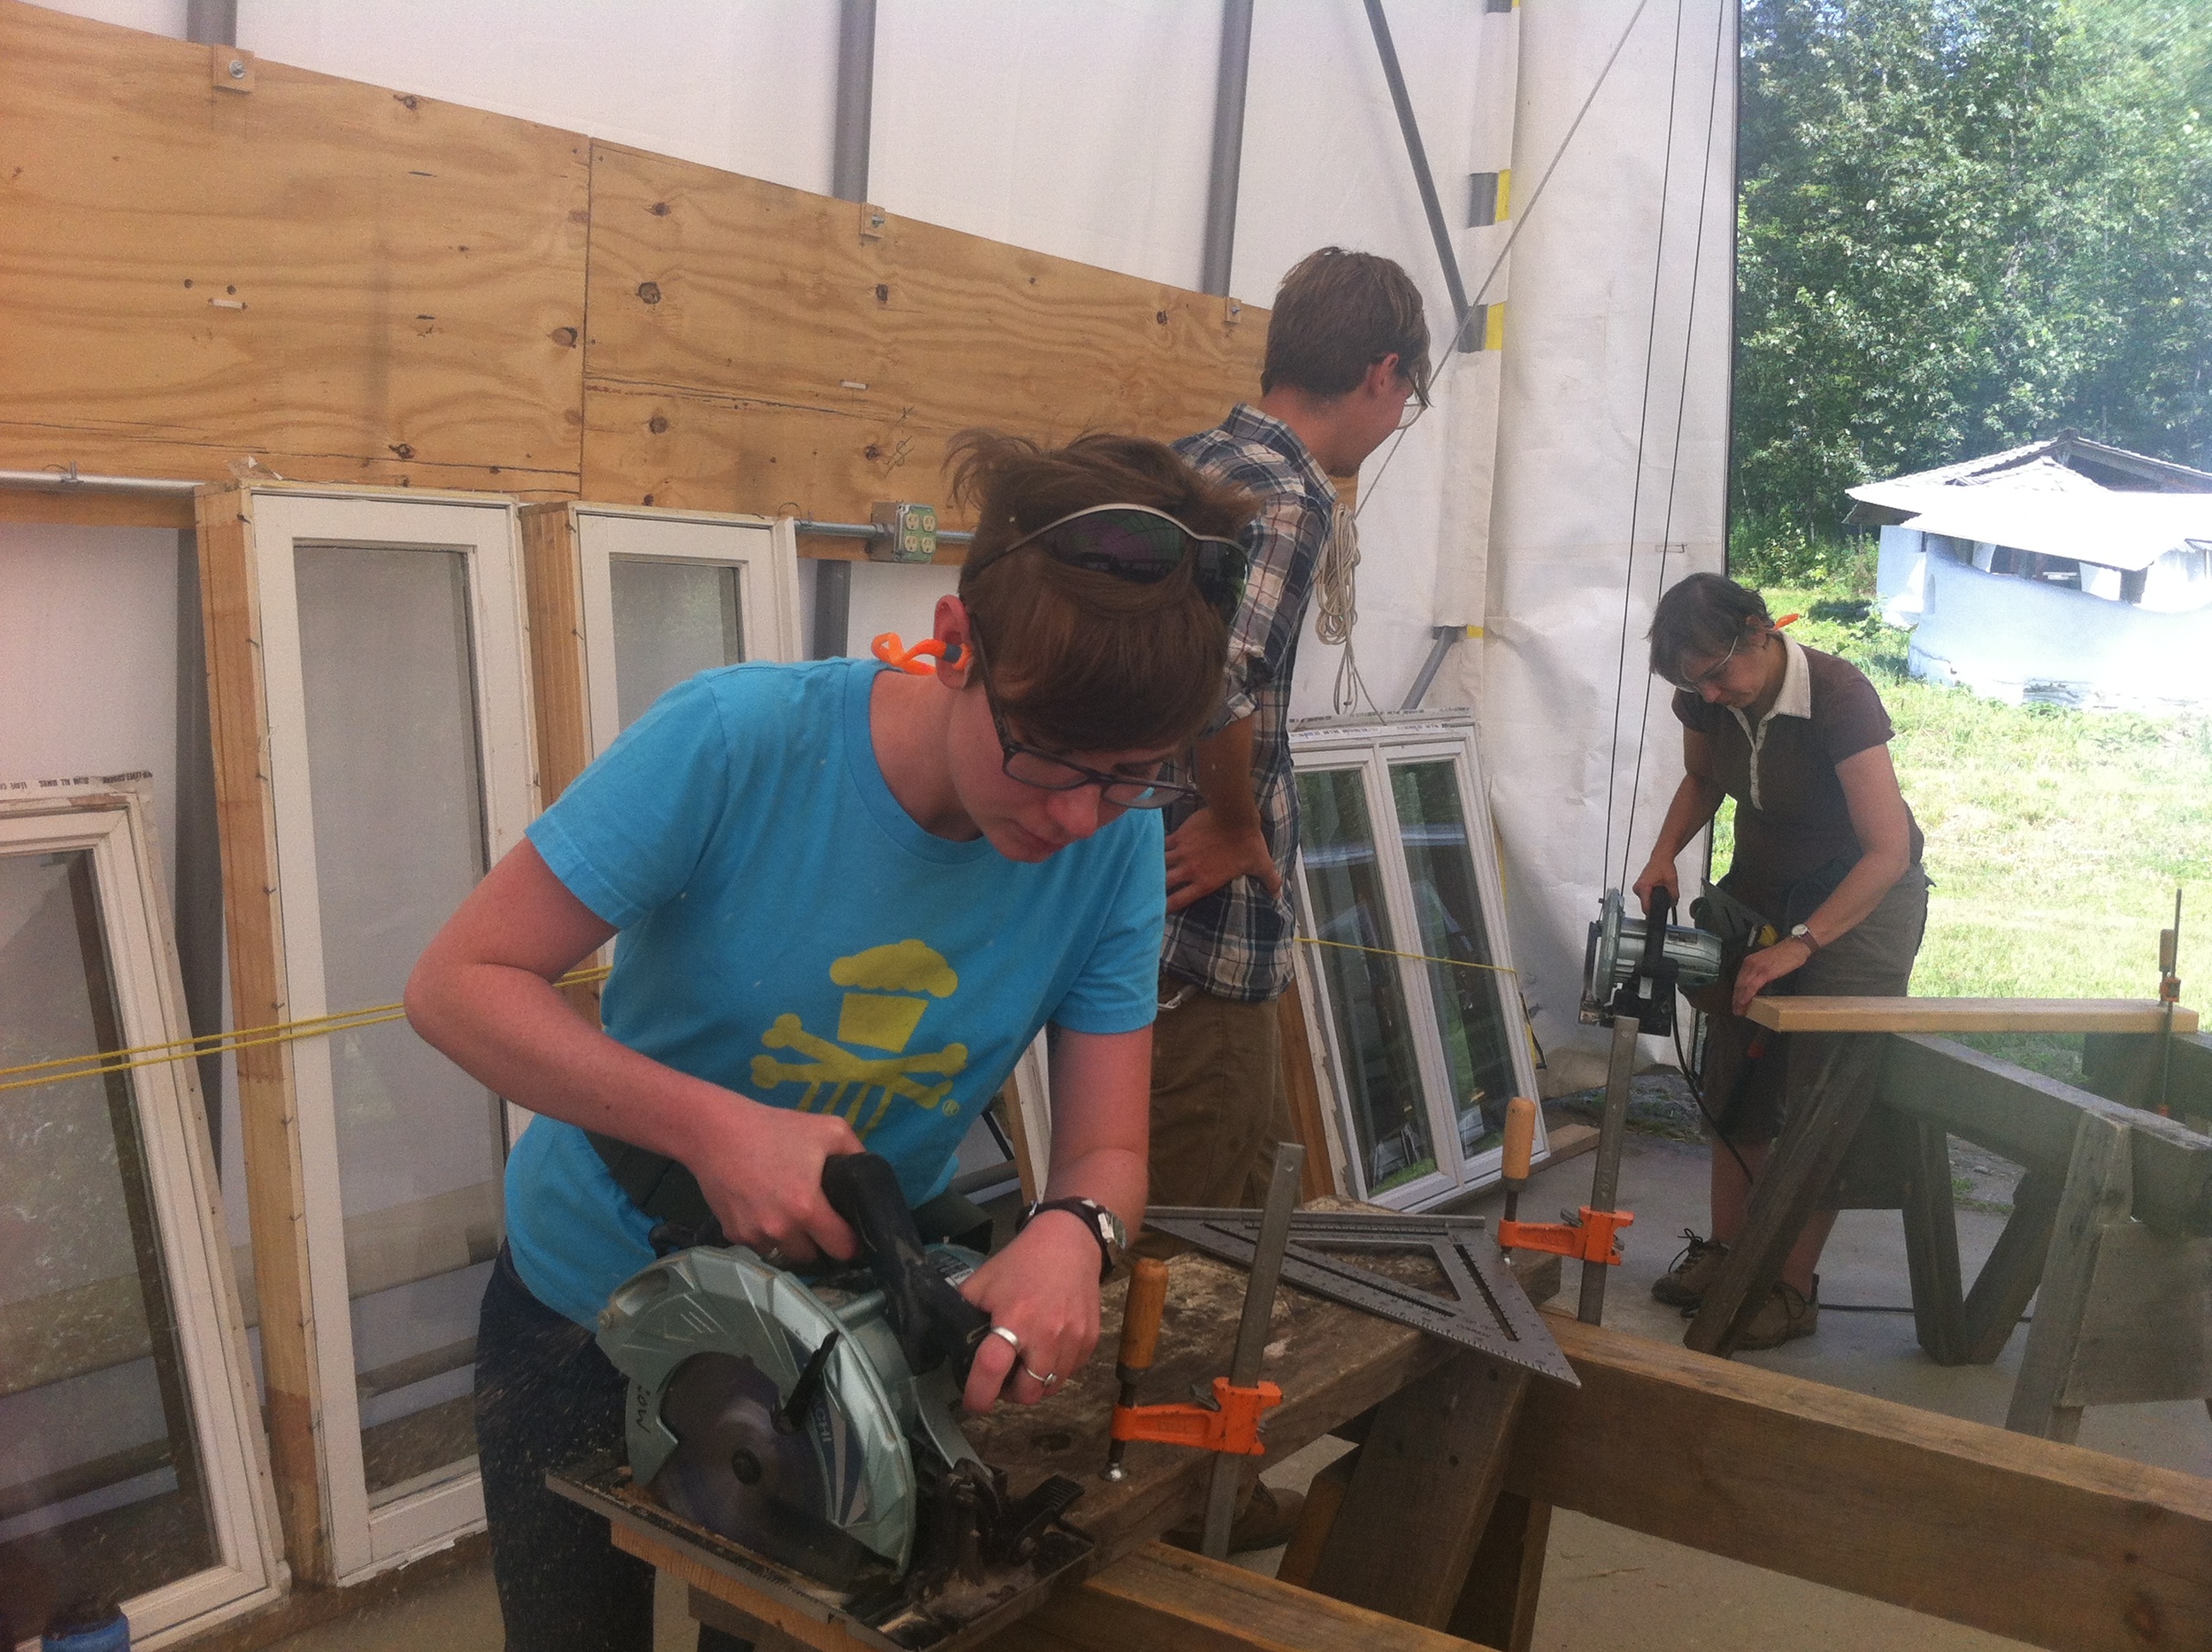
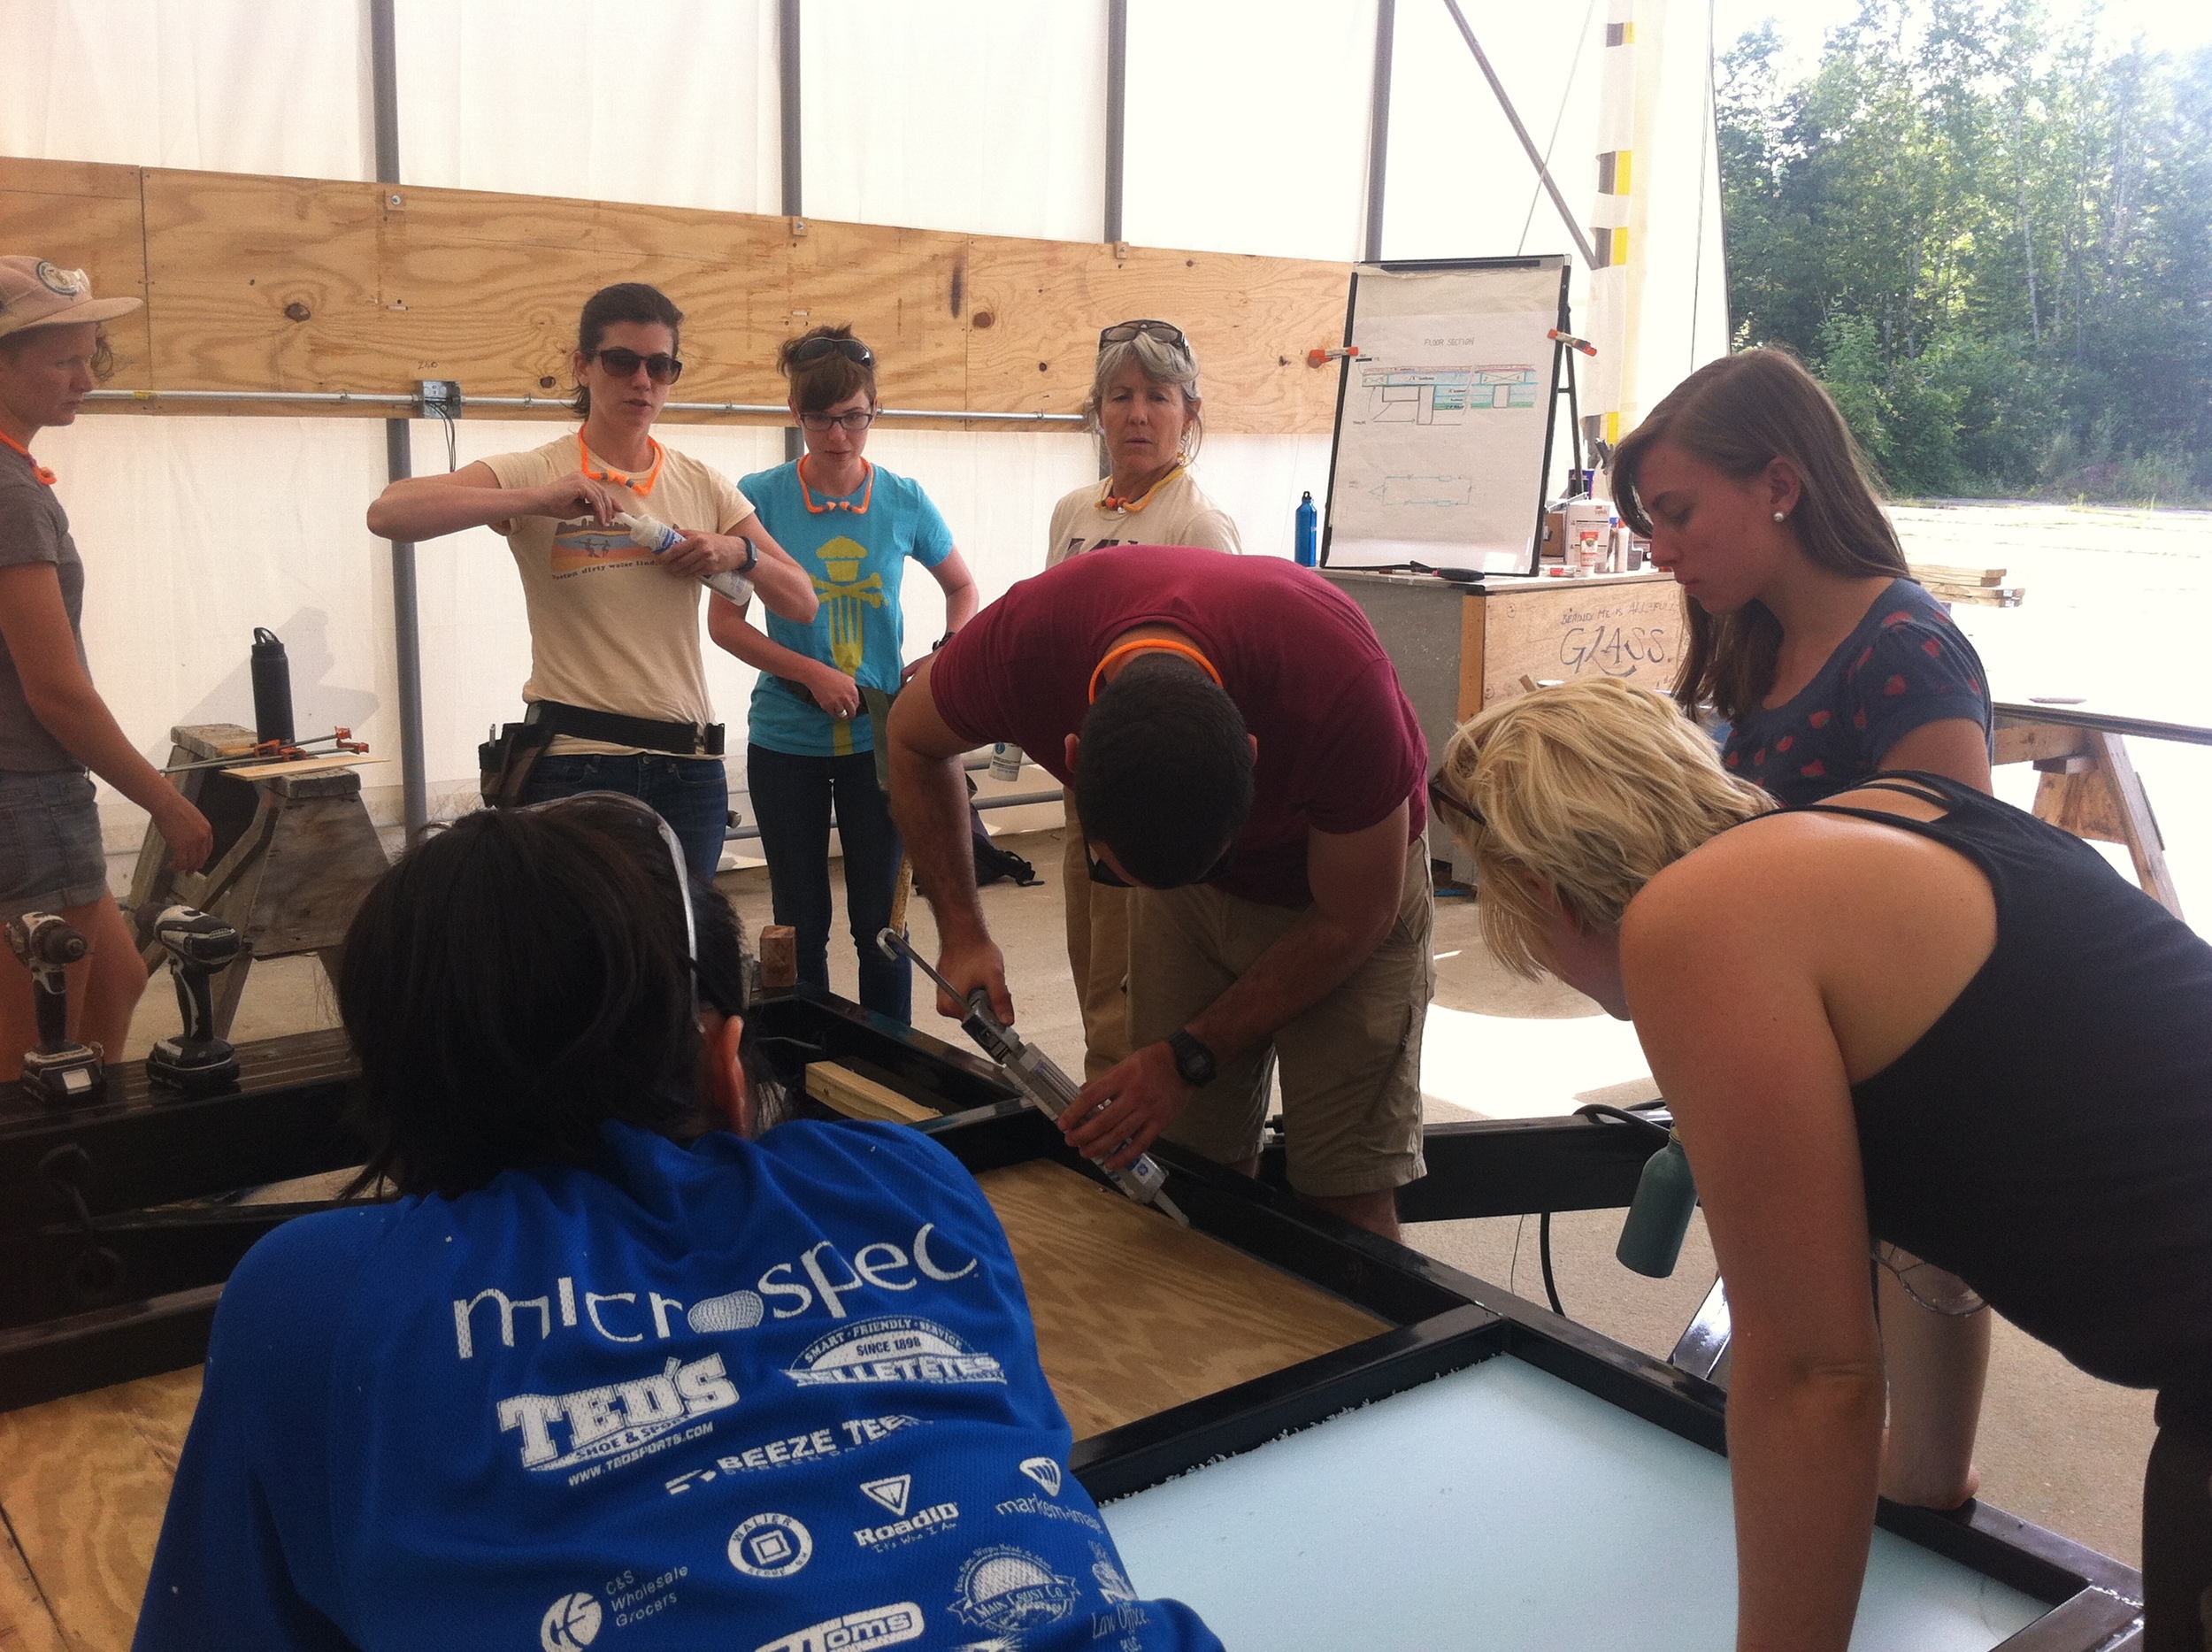
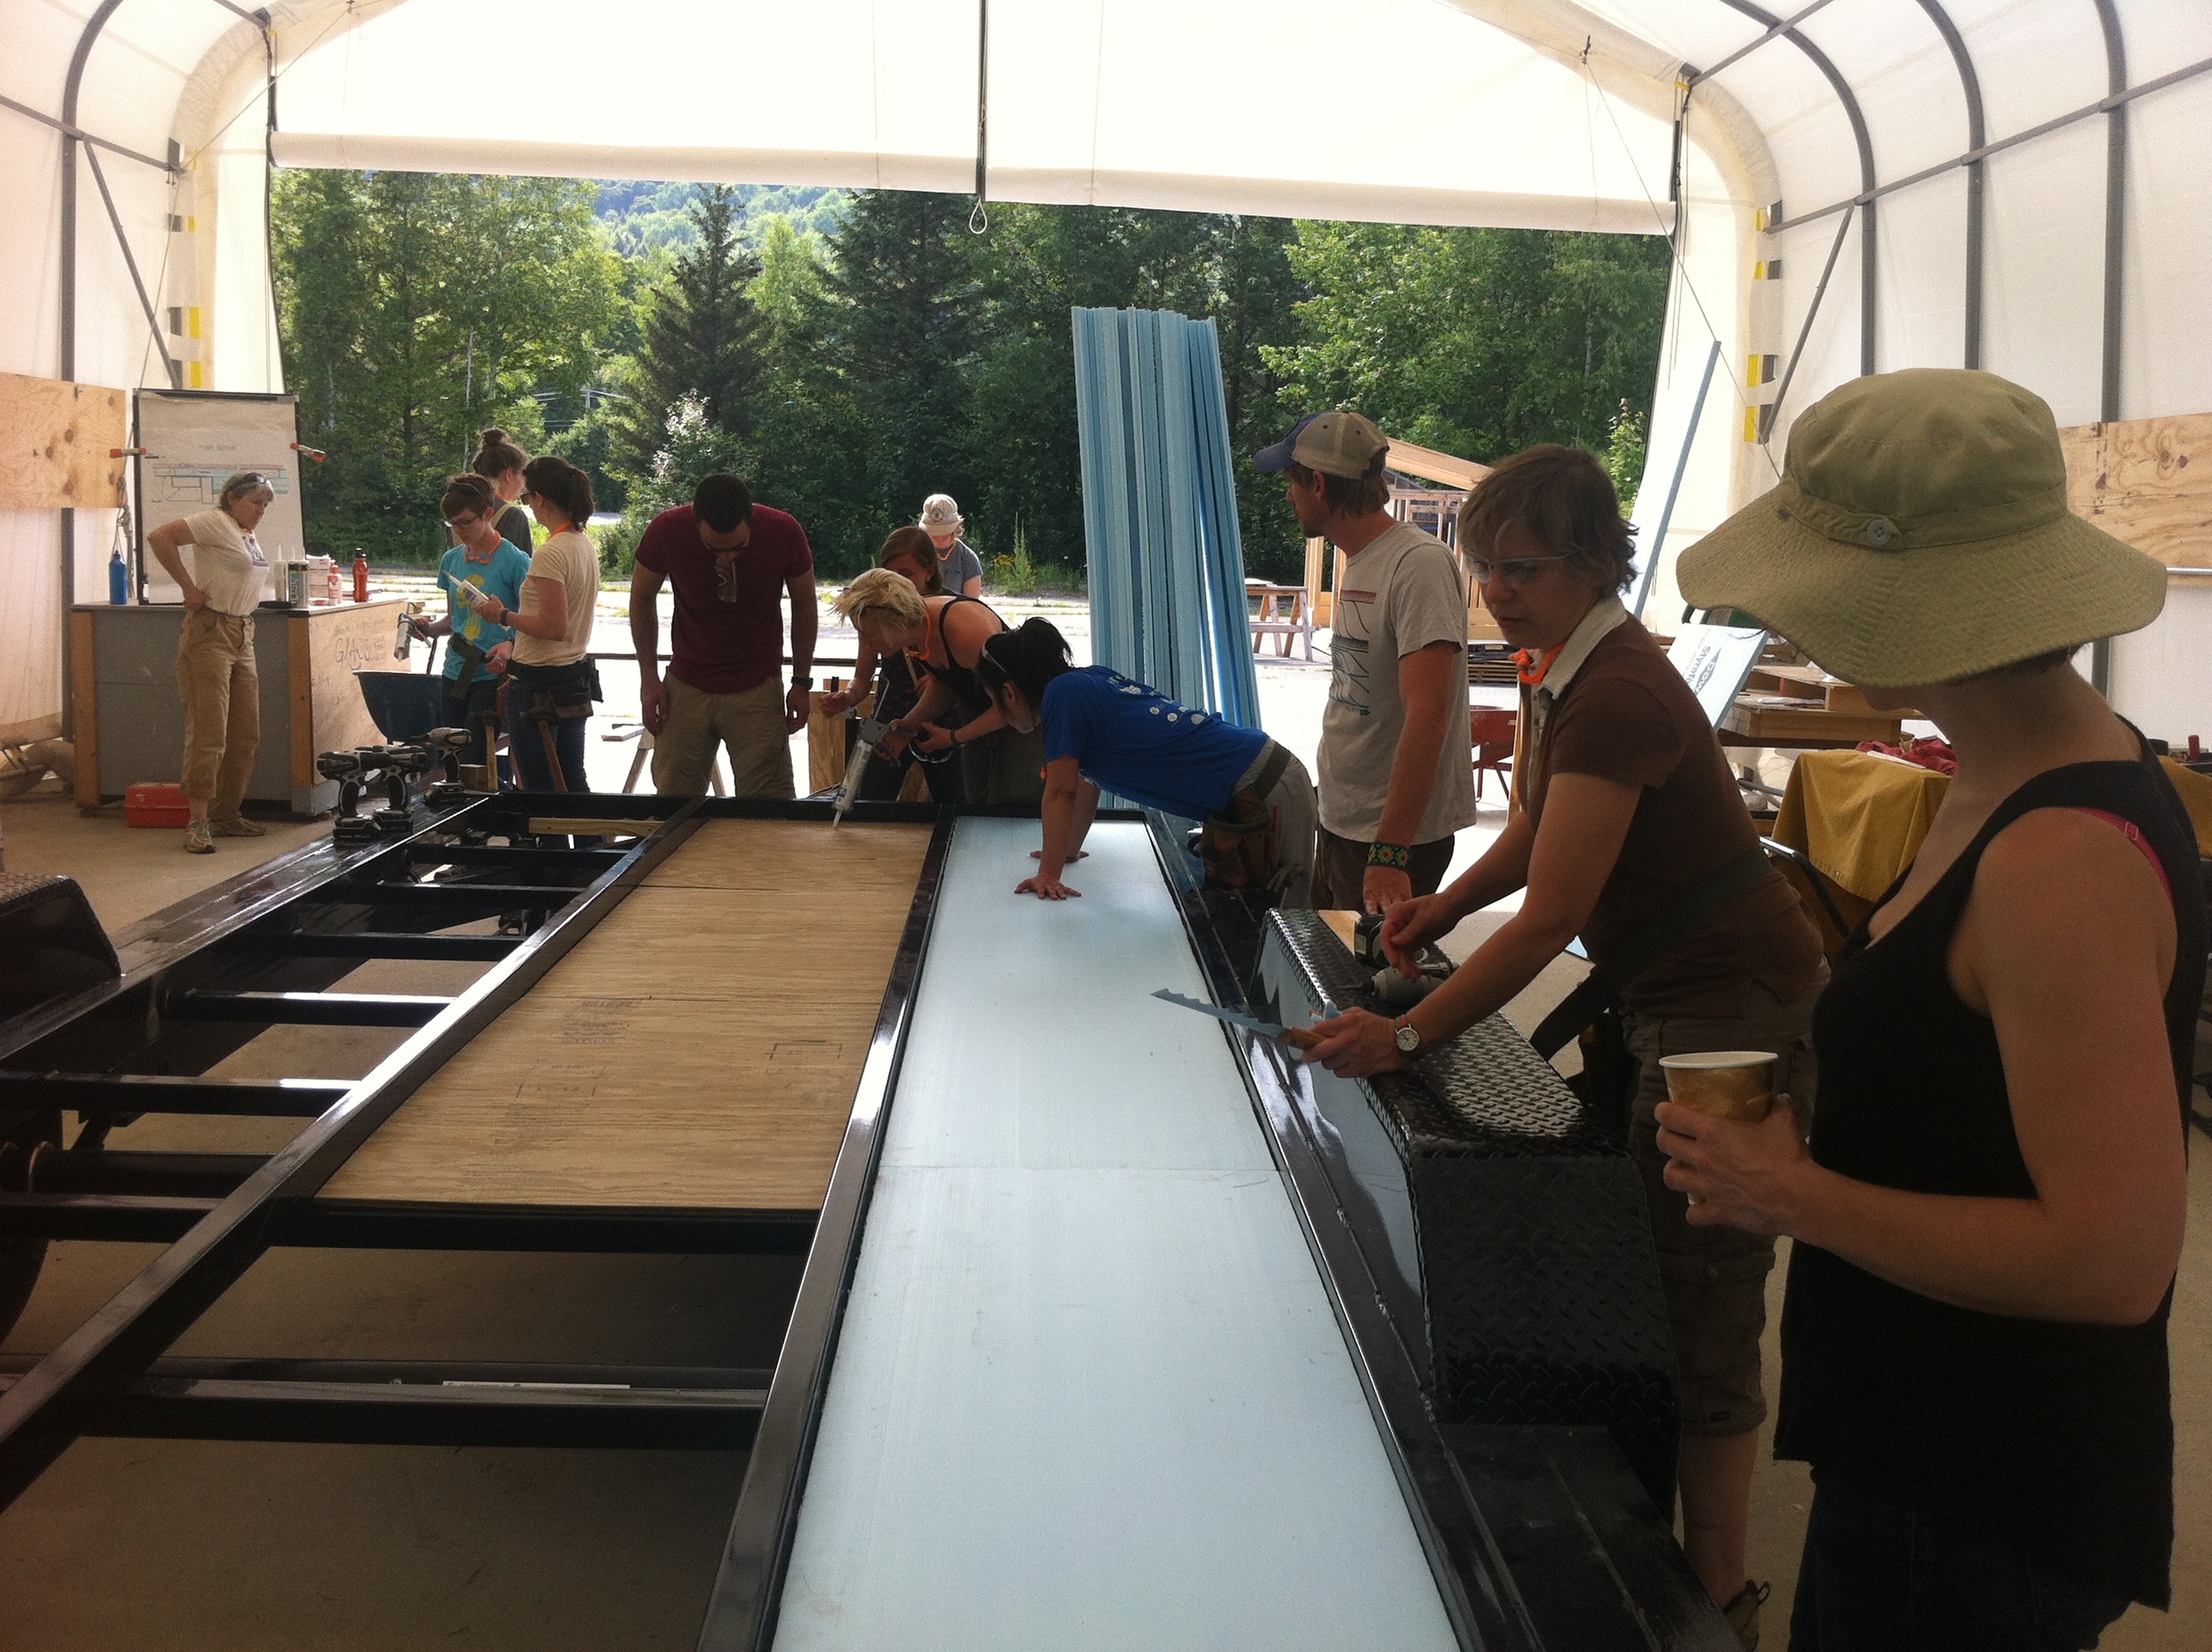
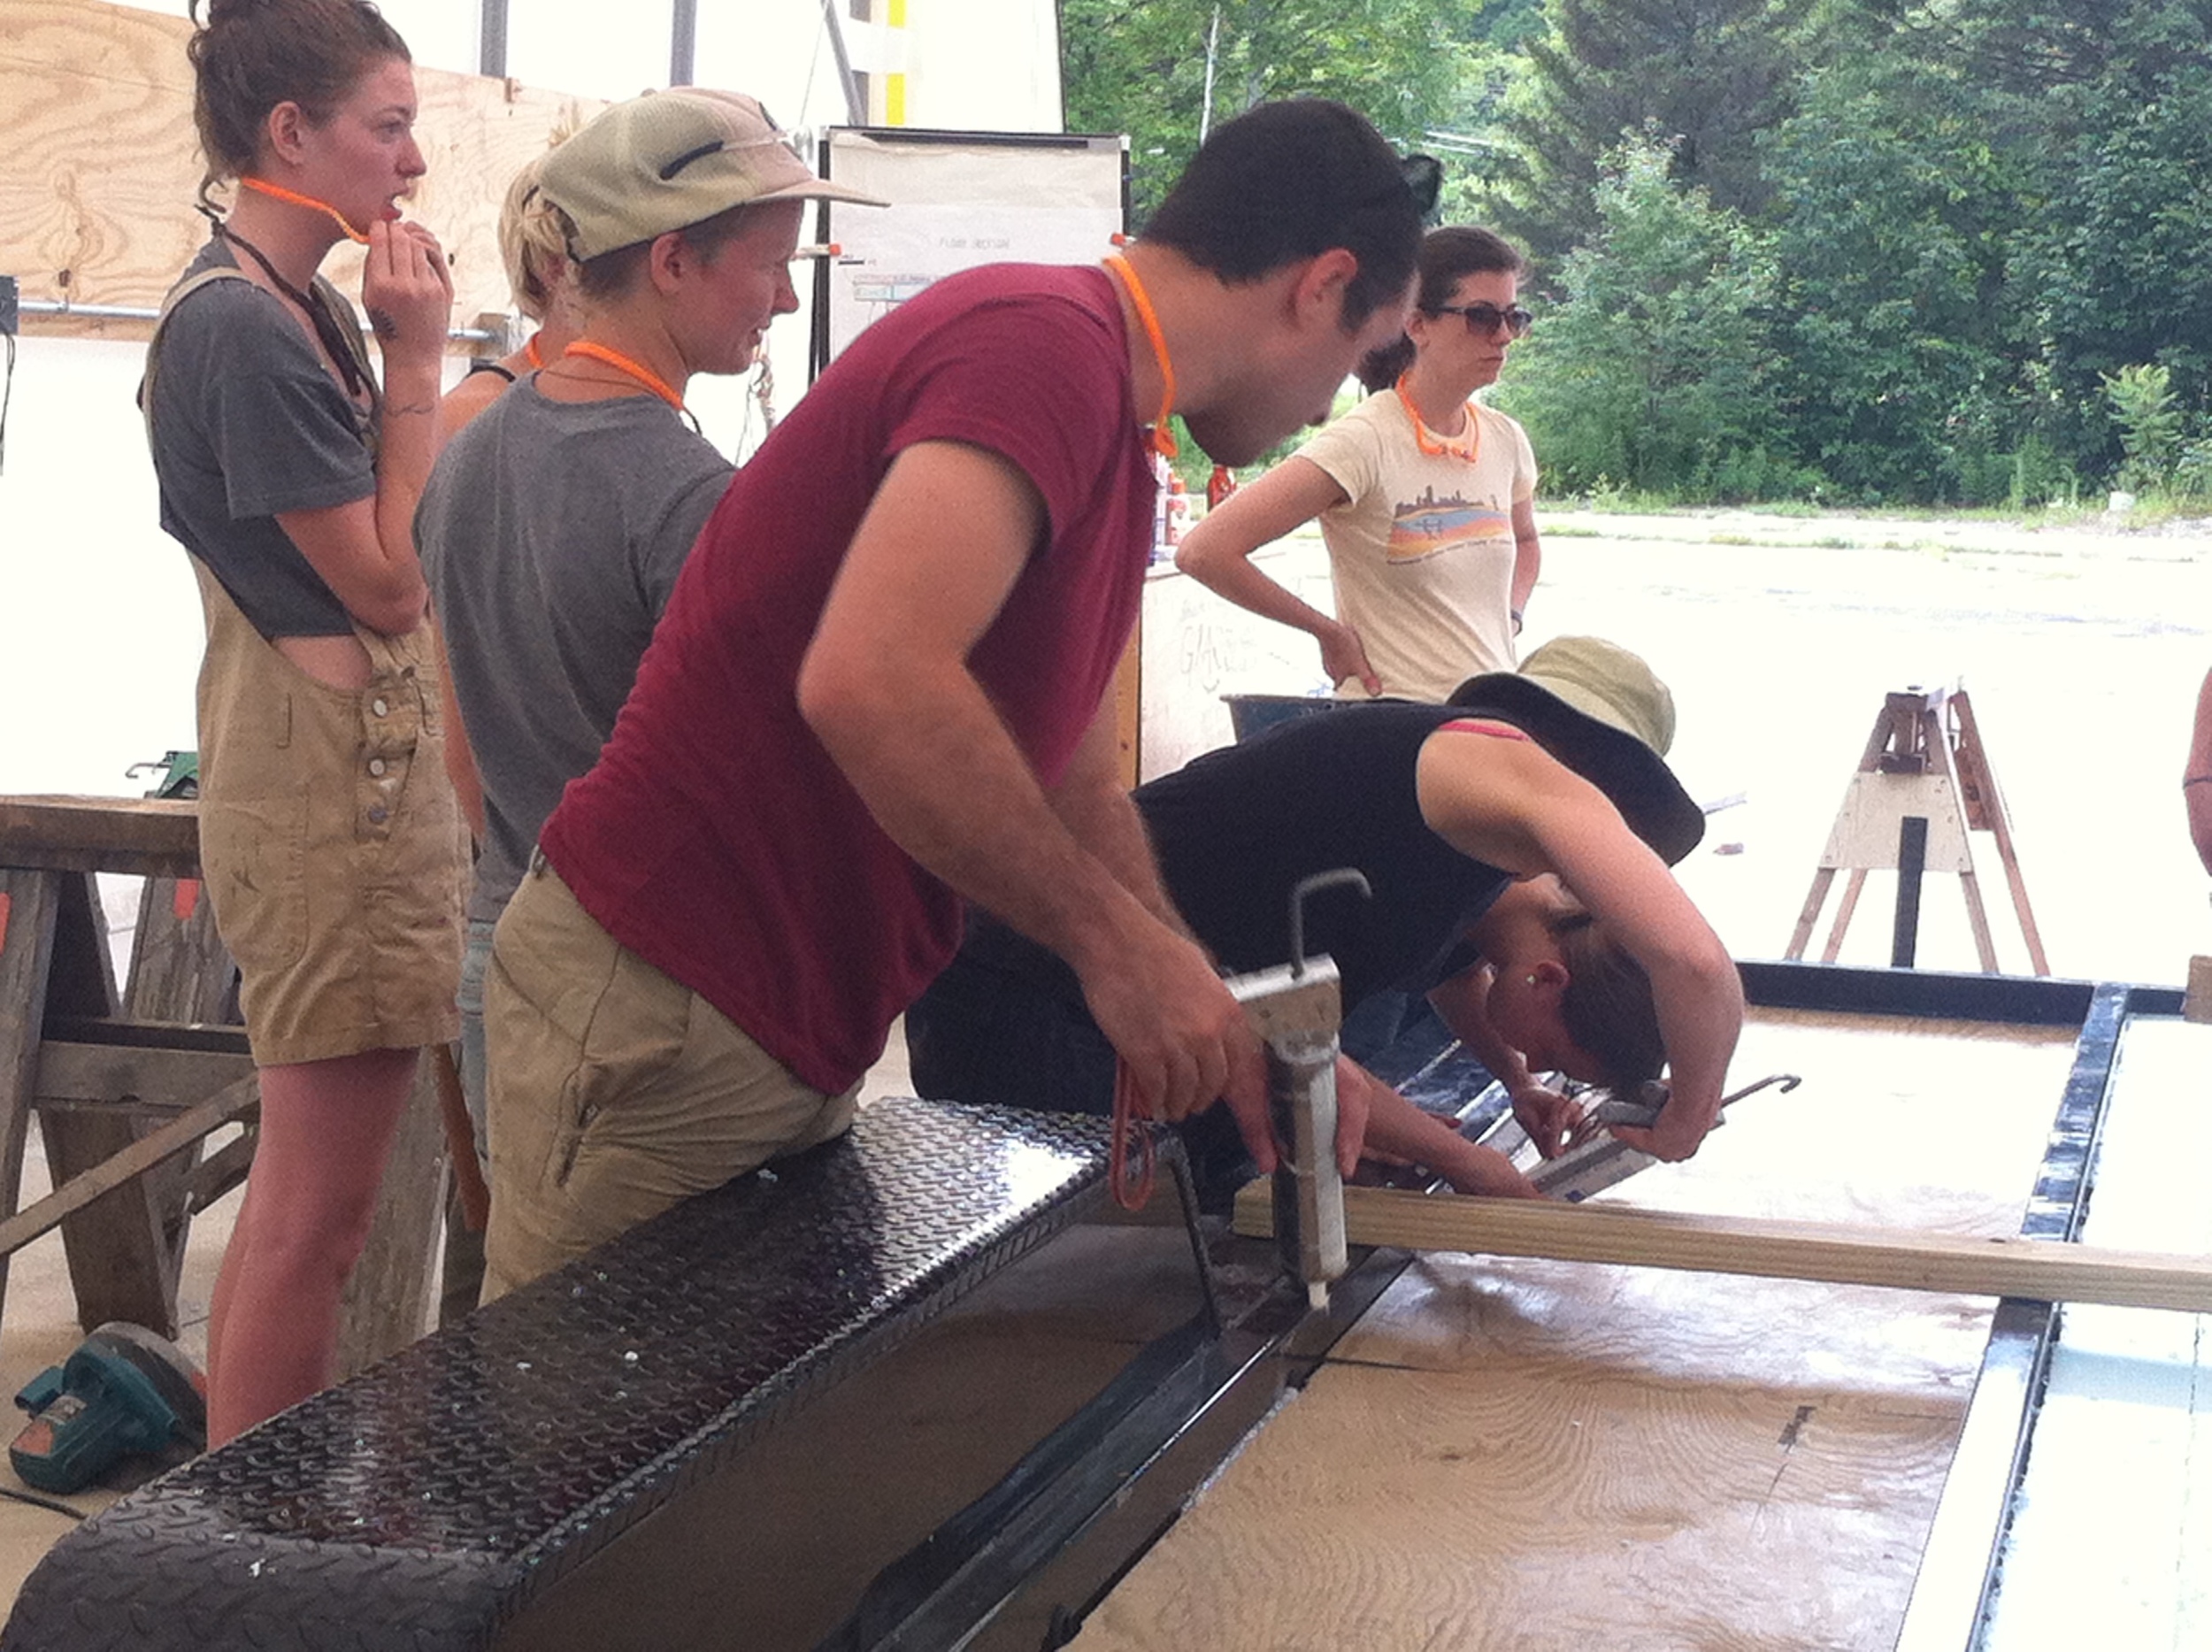
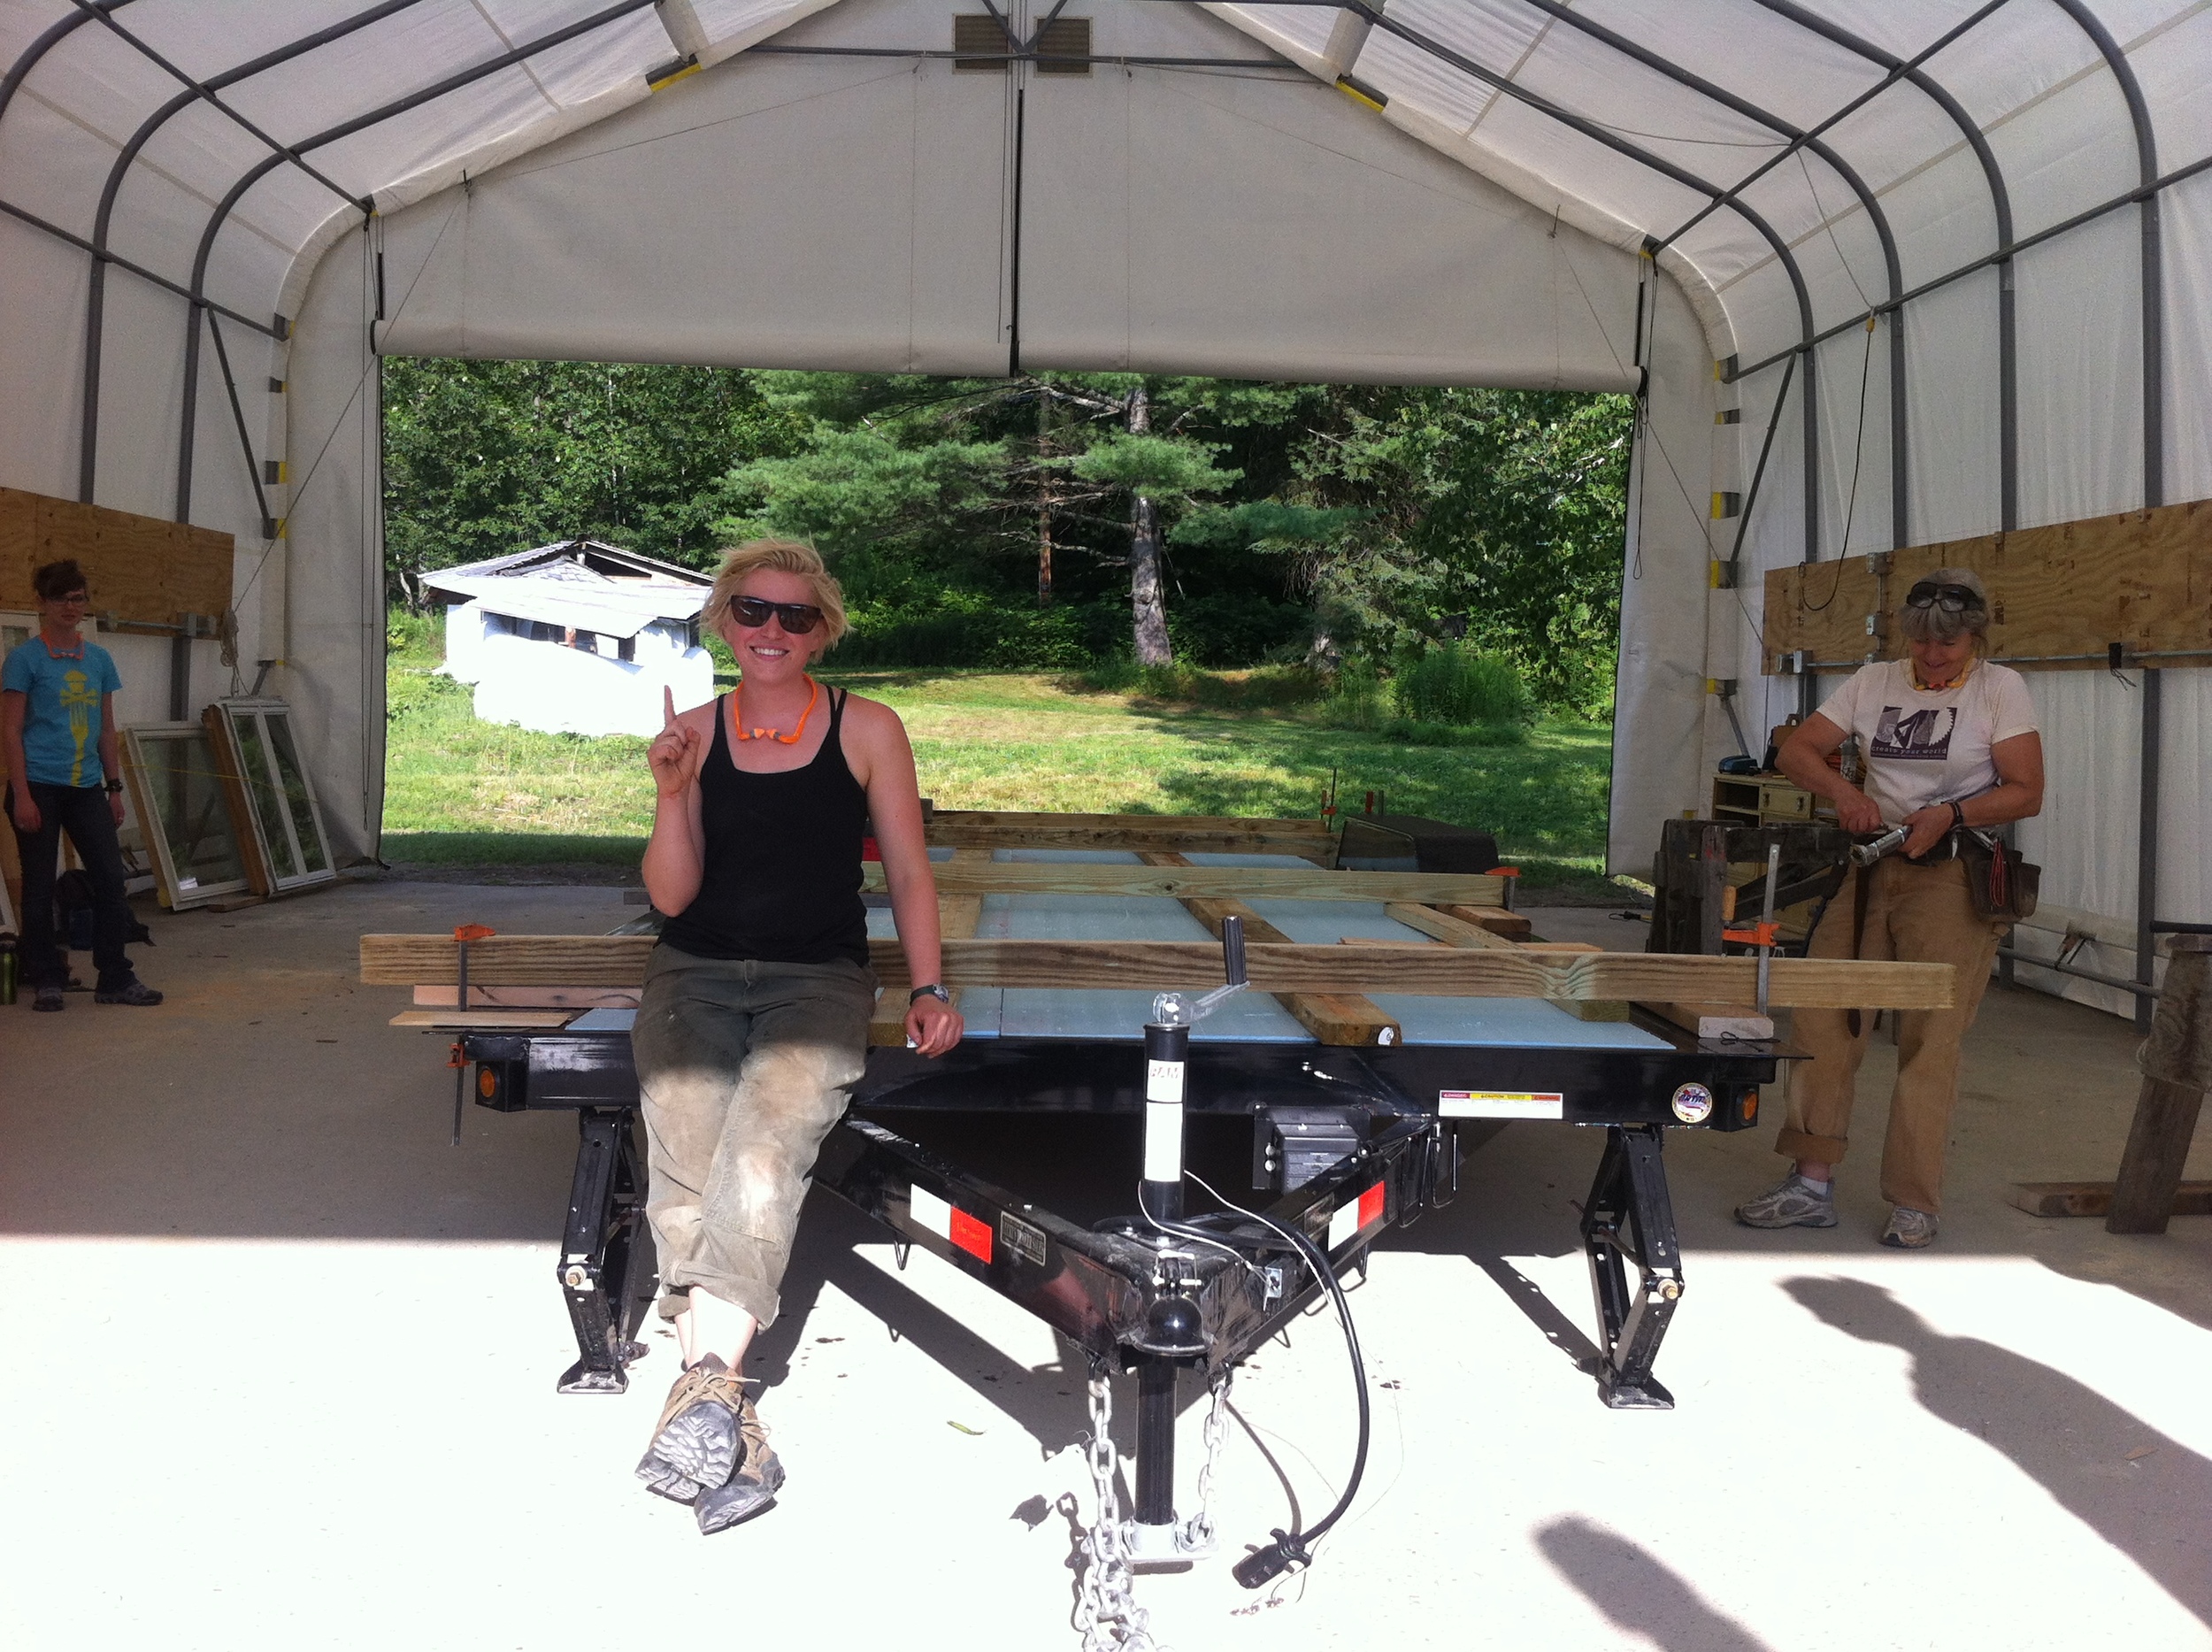
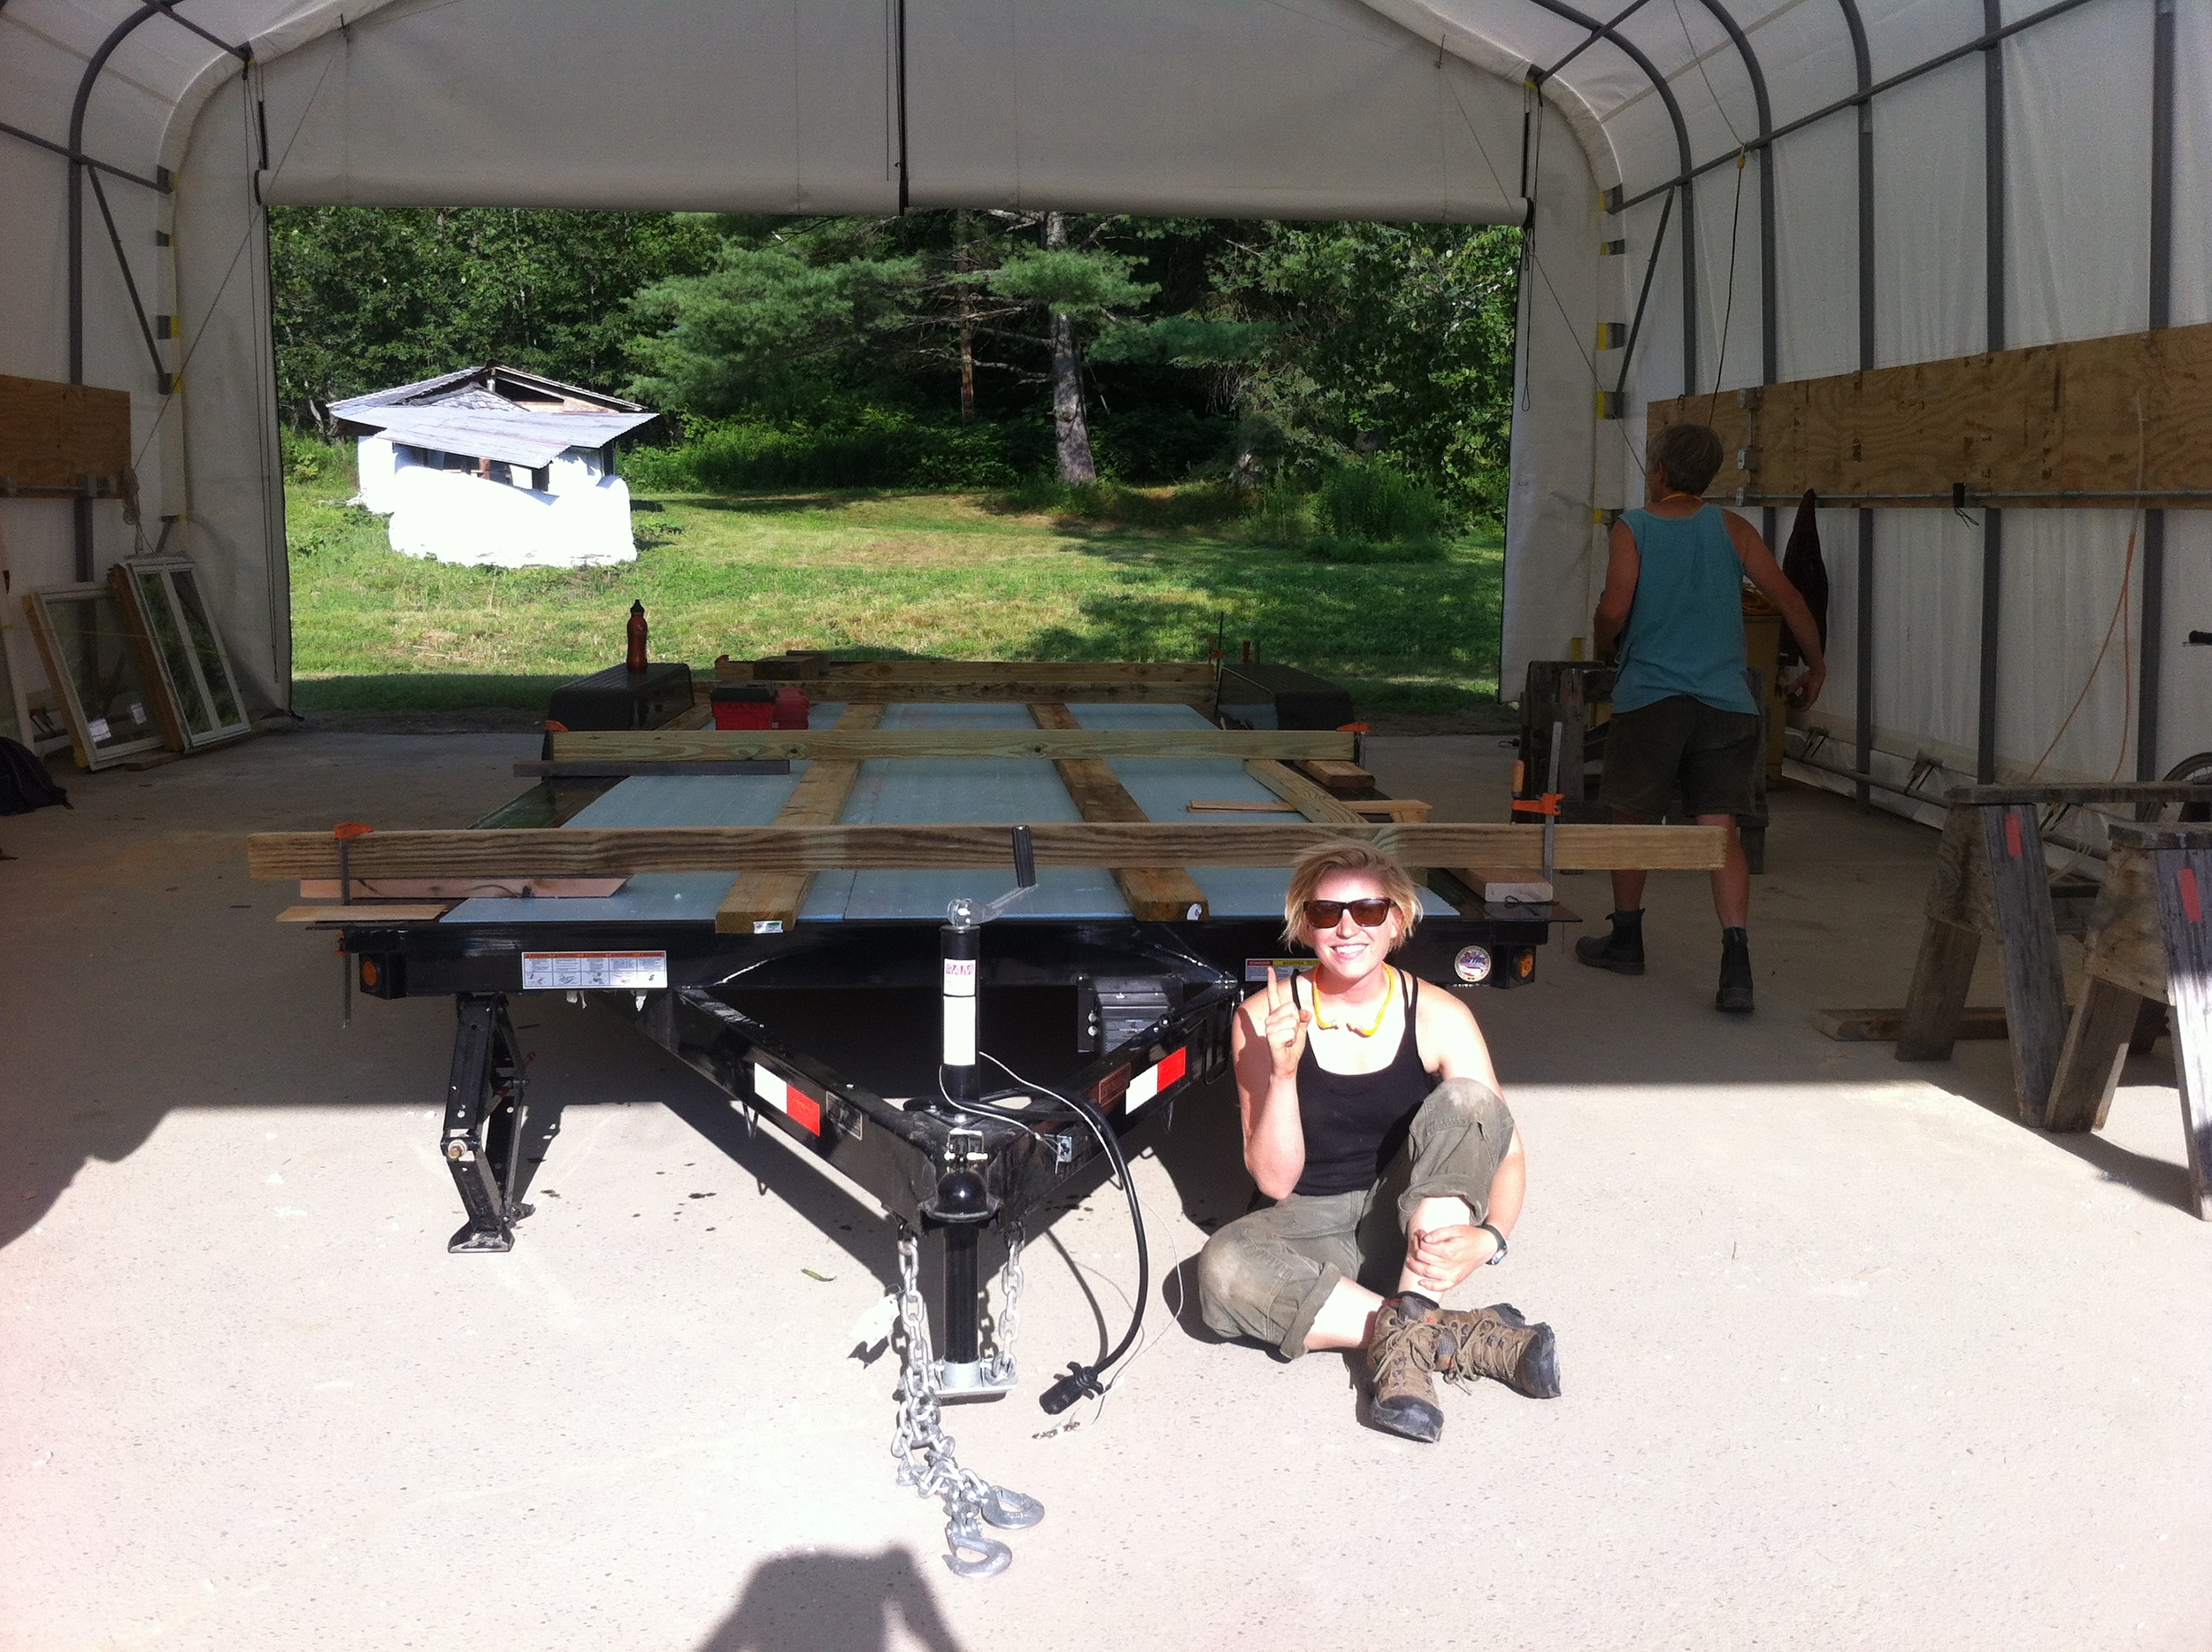
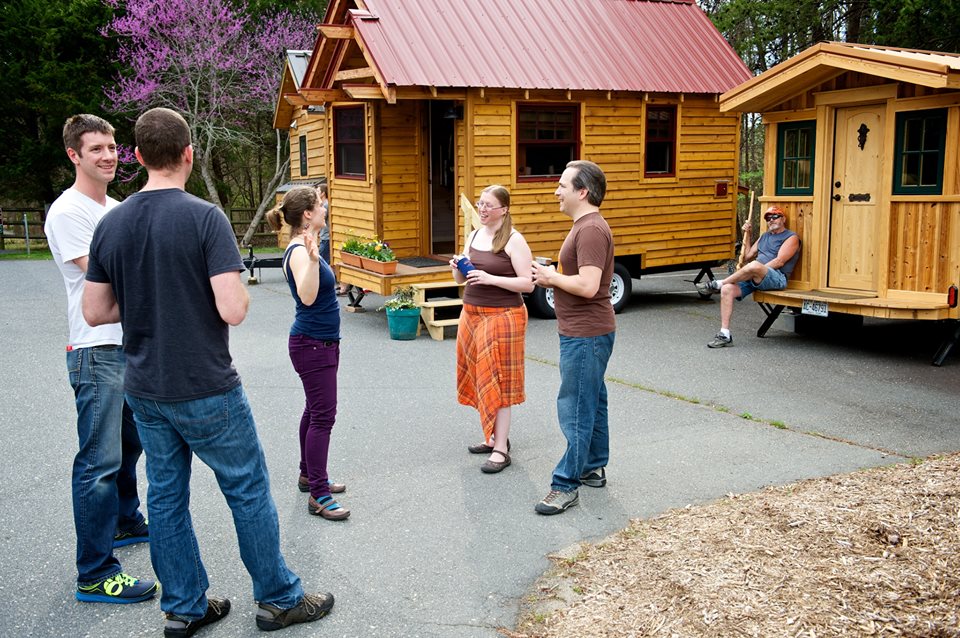
Today's guest post brought to you by Katherine Arathoon, a student in this summer's Tiny House Design-Build class at Yestermorrow. Thanks, Katherine!
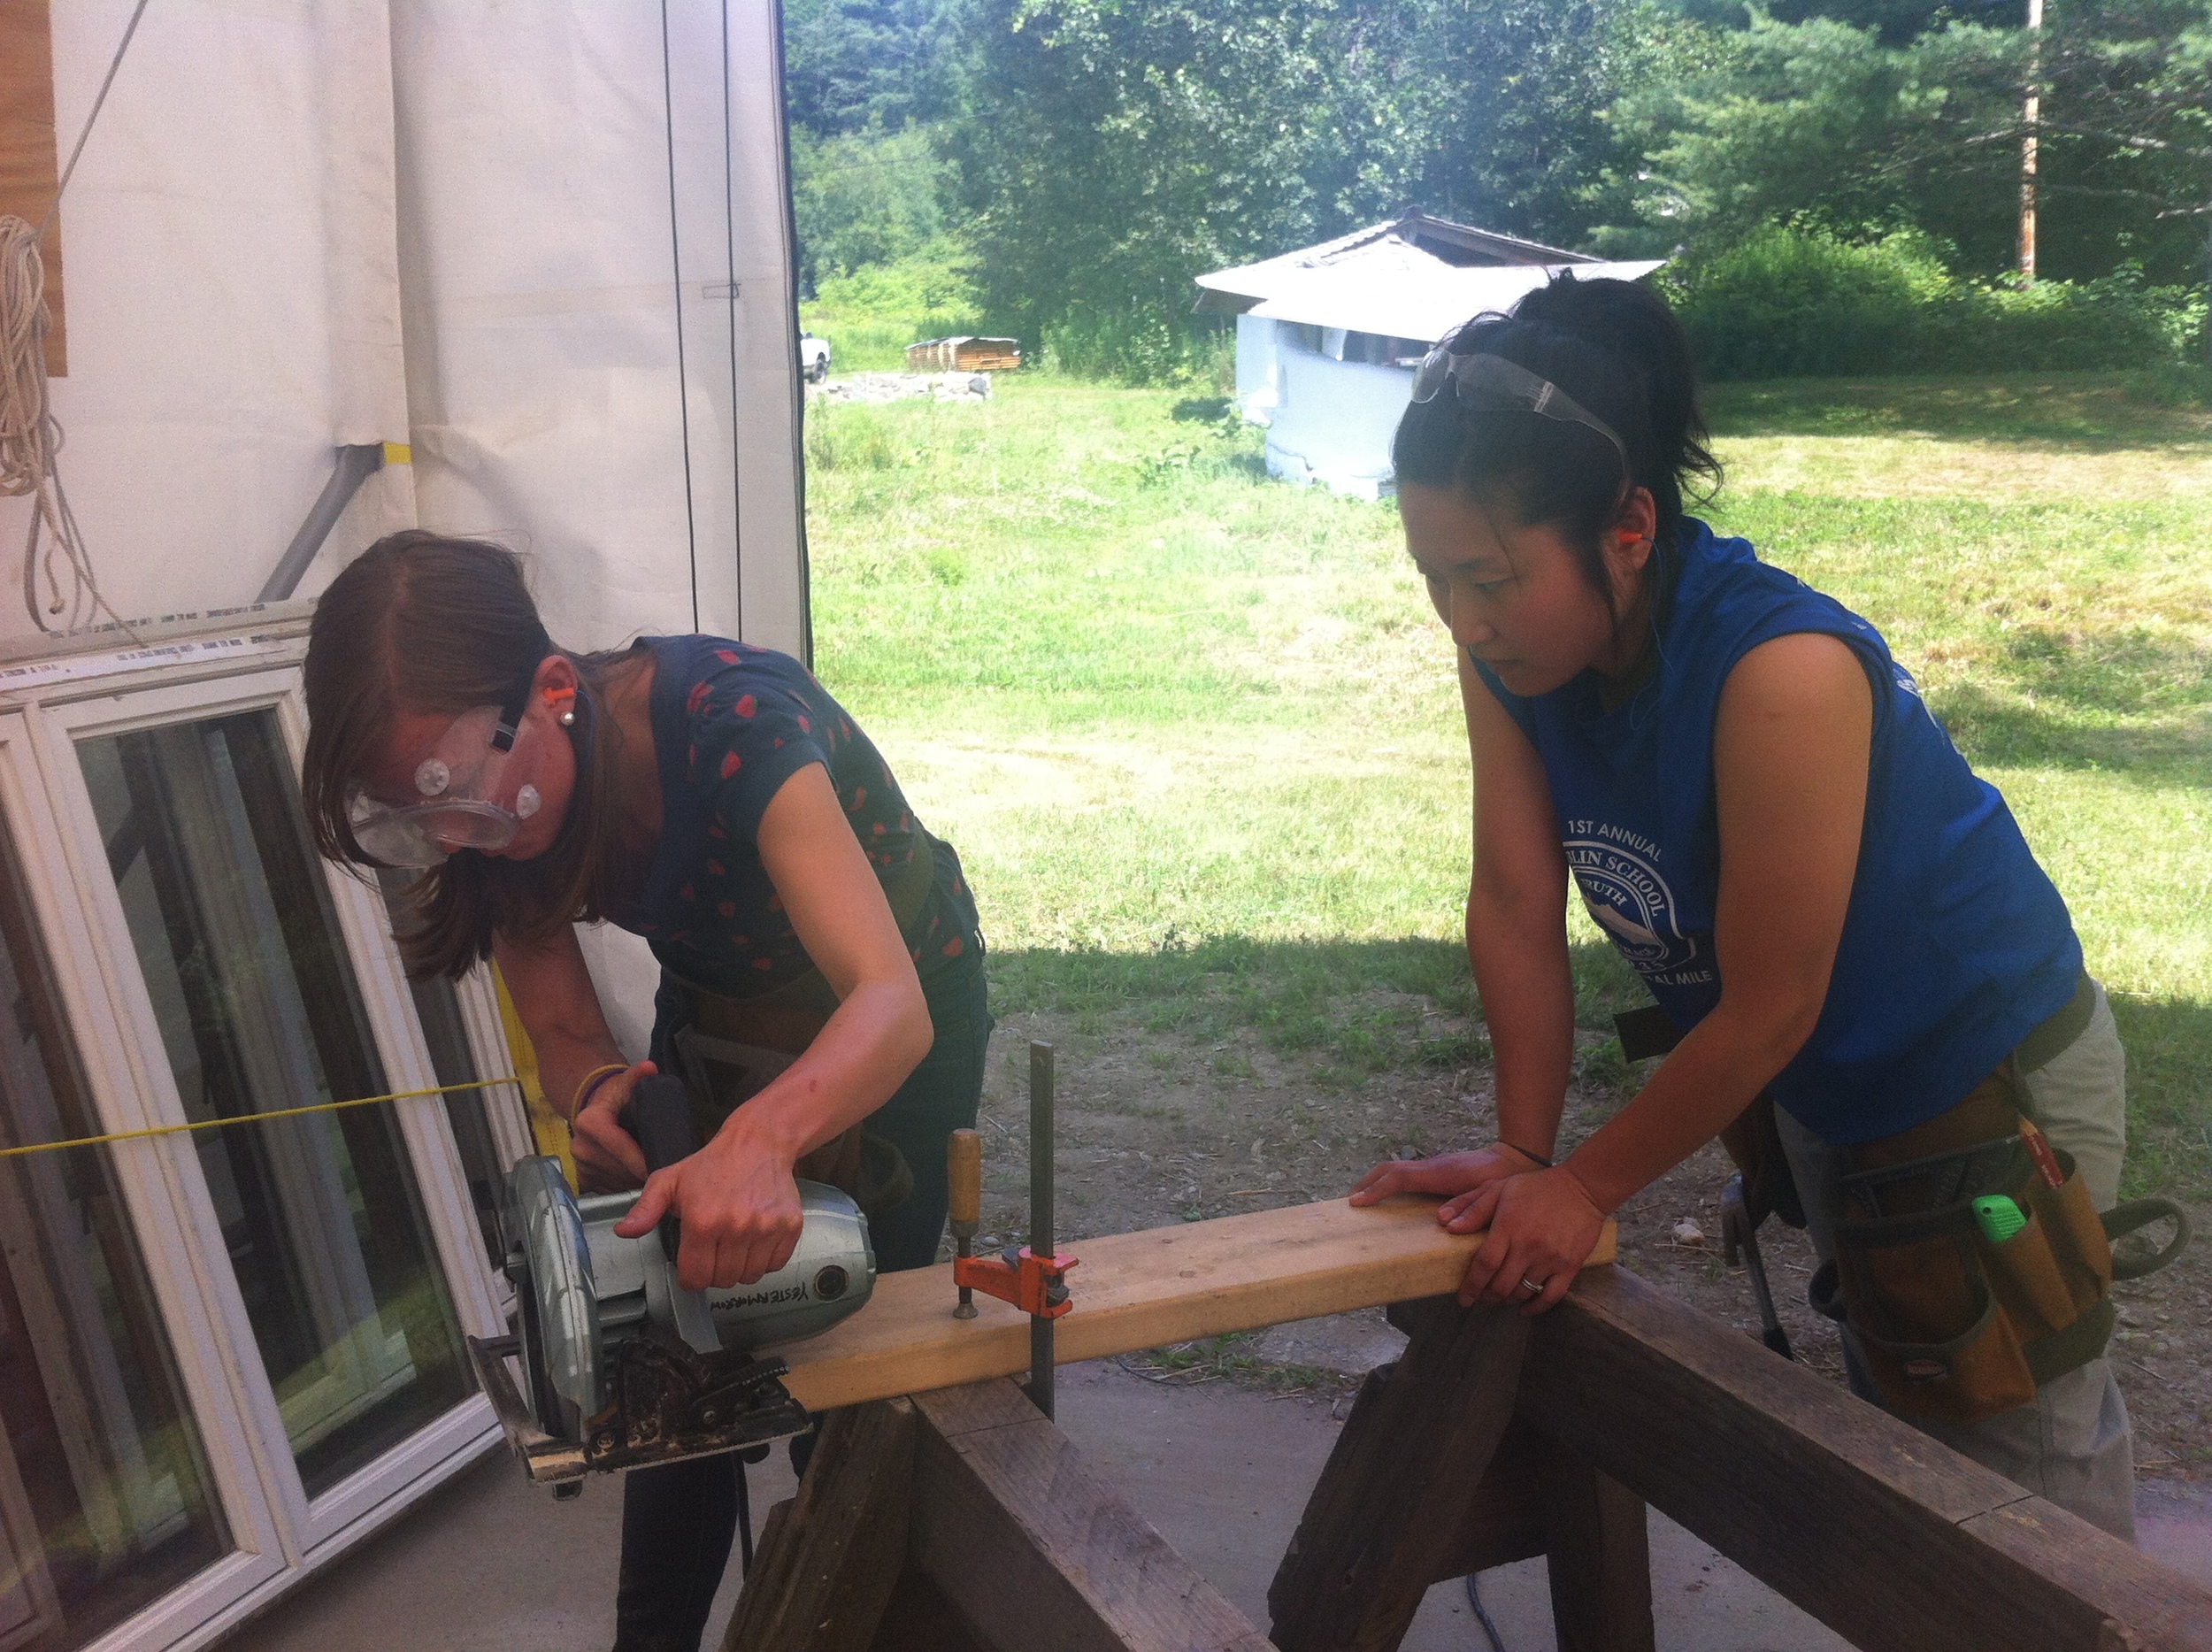
It's Day 1 of the Tiny House Design-Build, and we're off to a roaring start!

Hello Again, Tiny House Design-Build
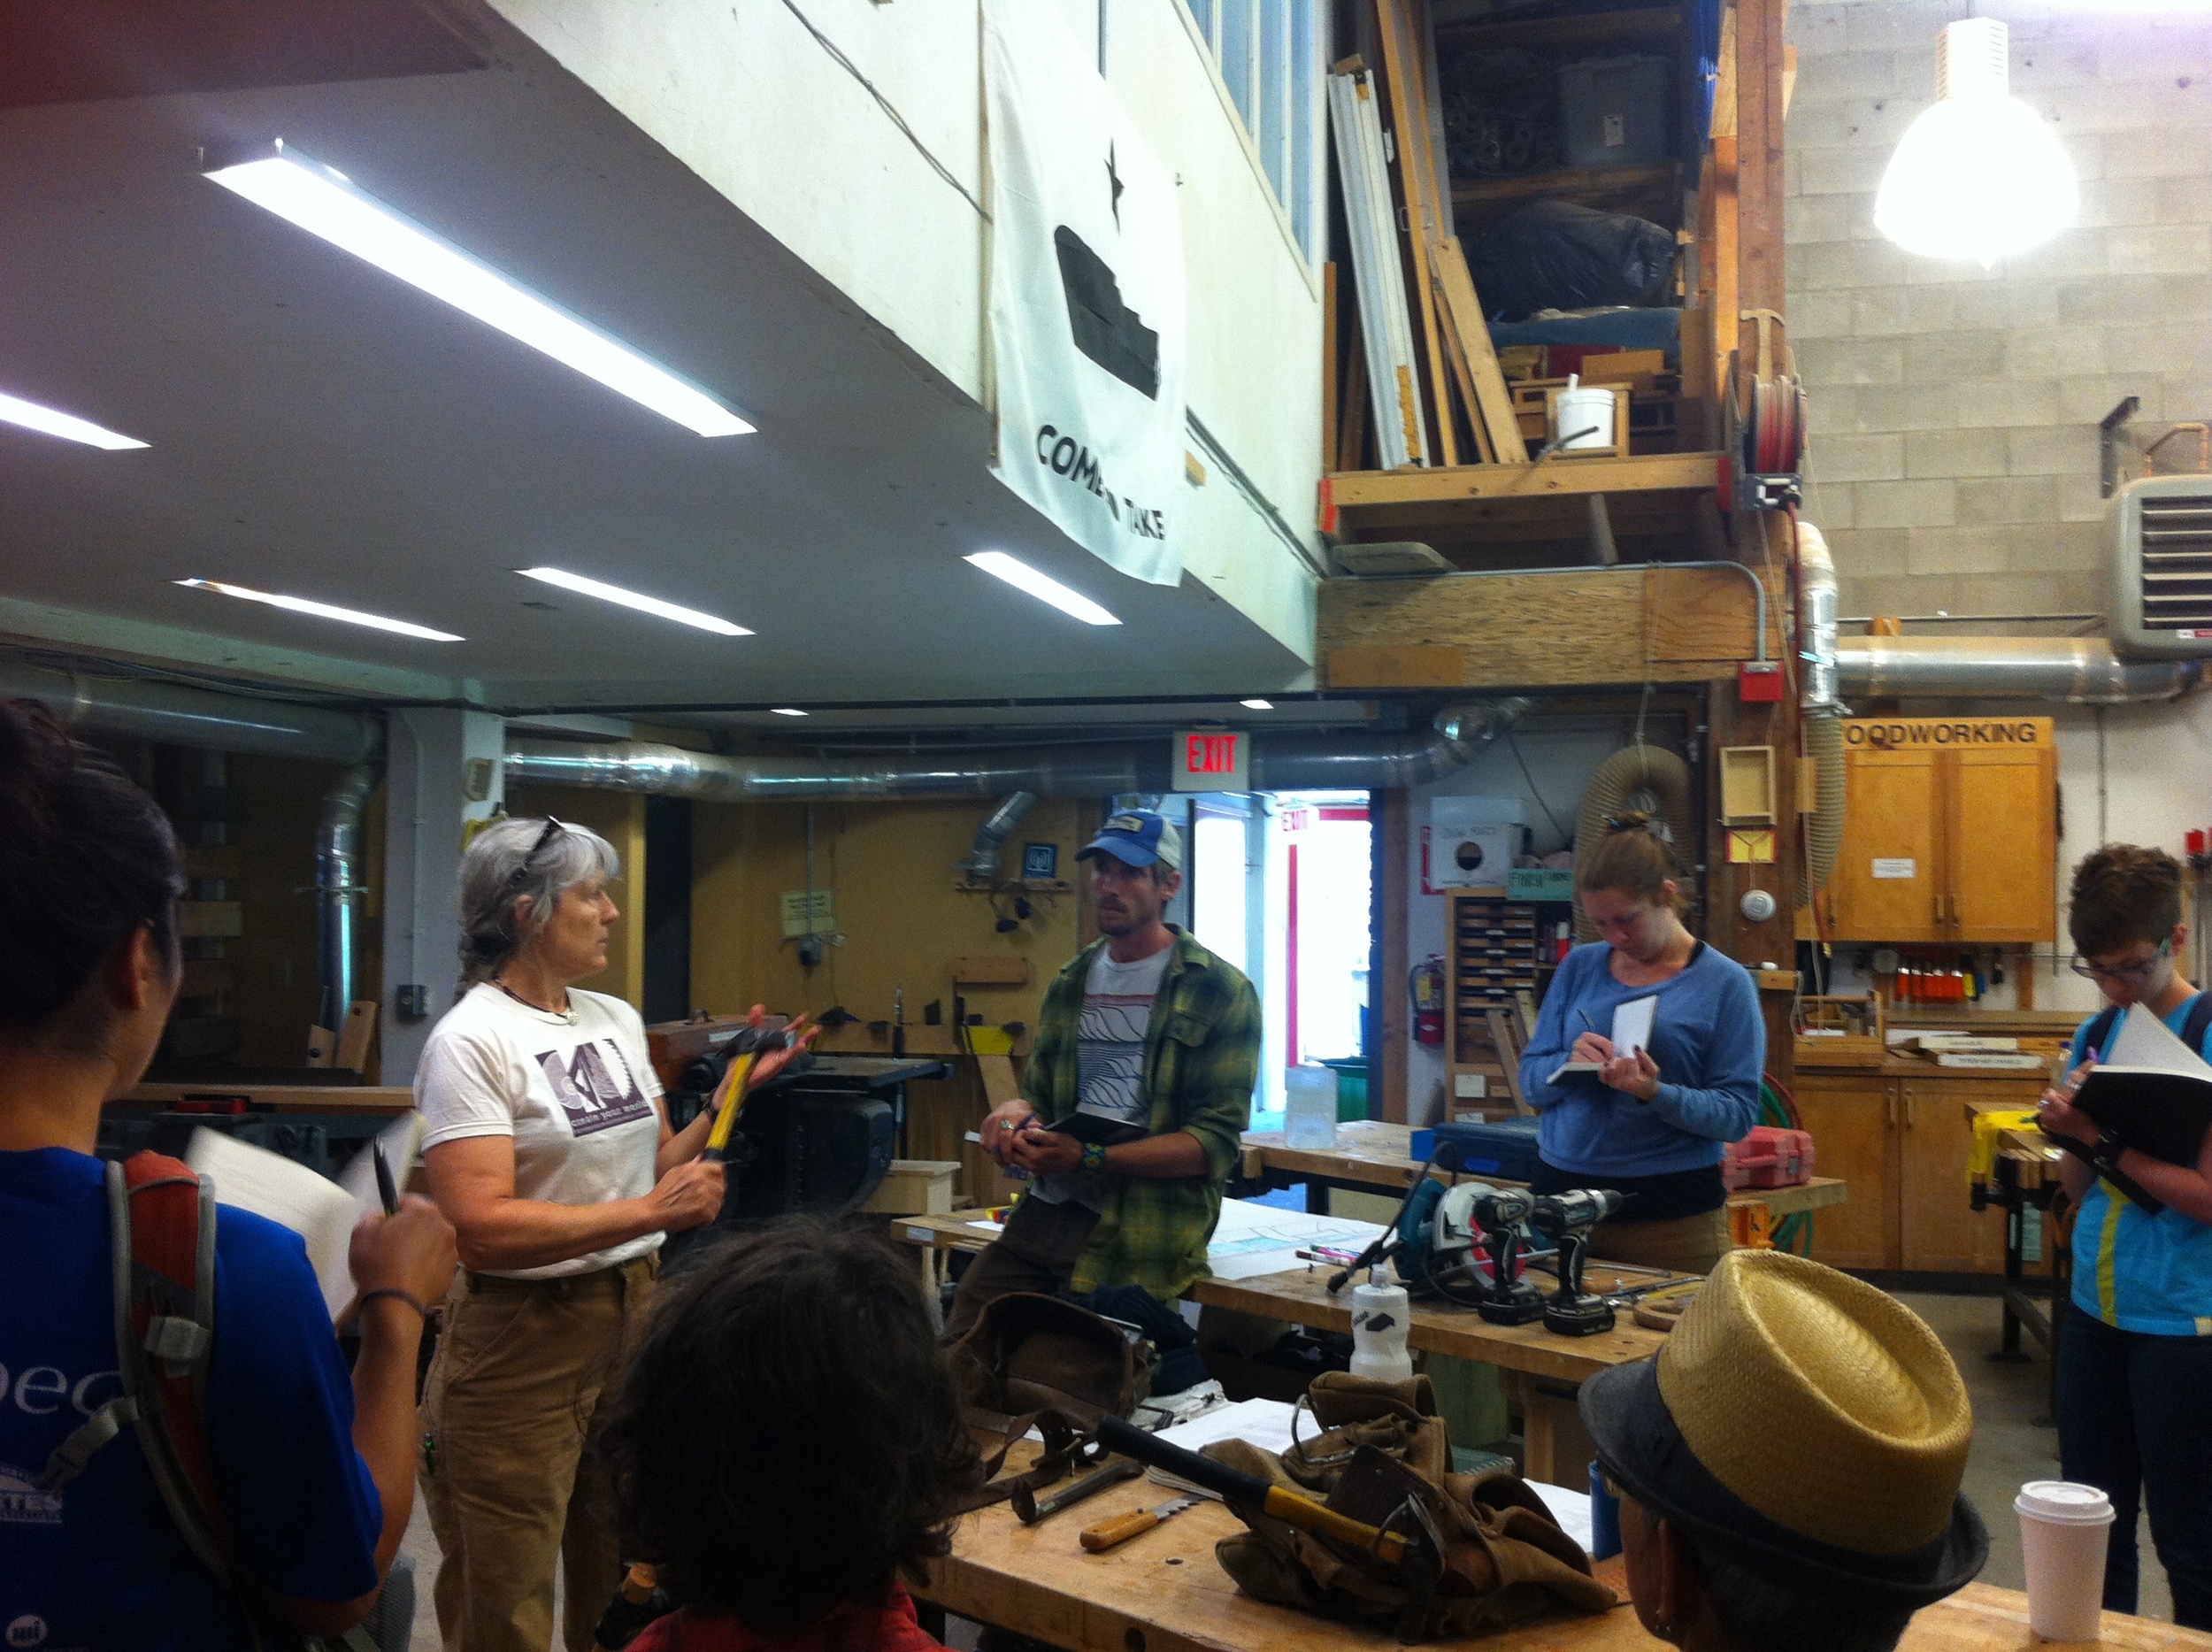
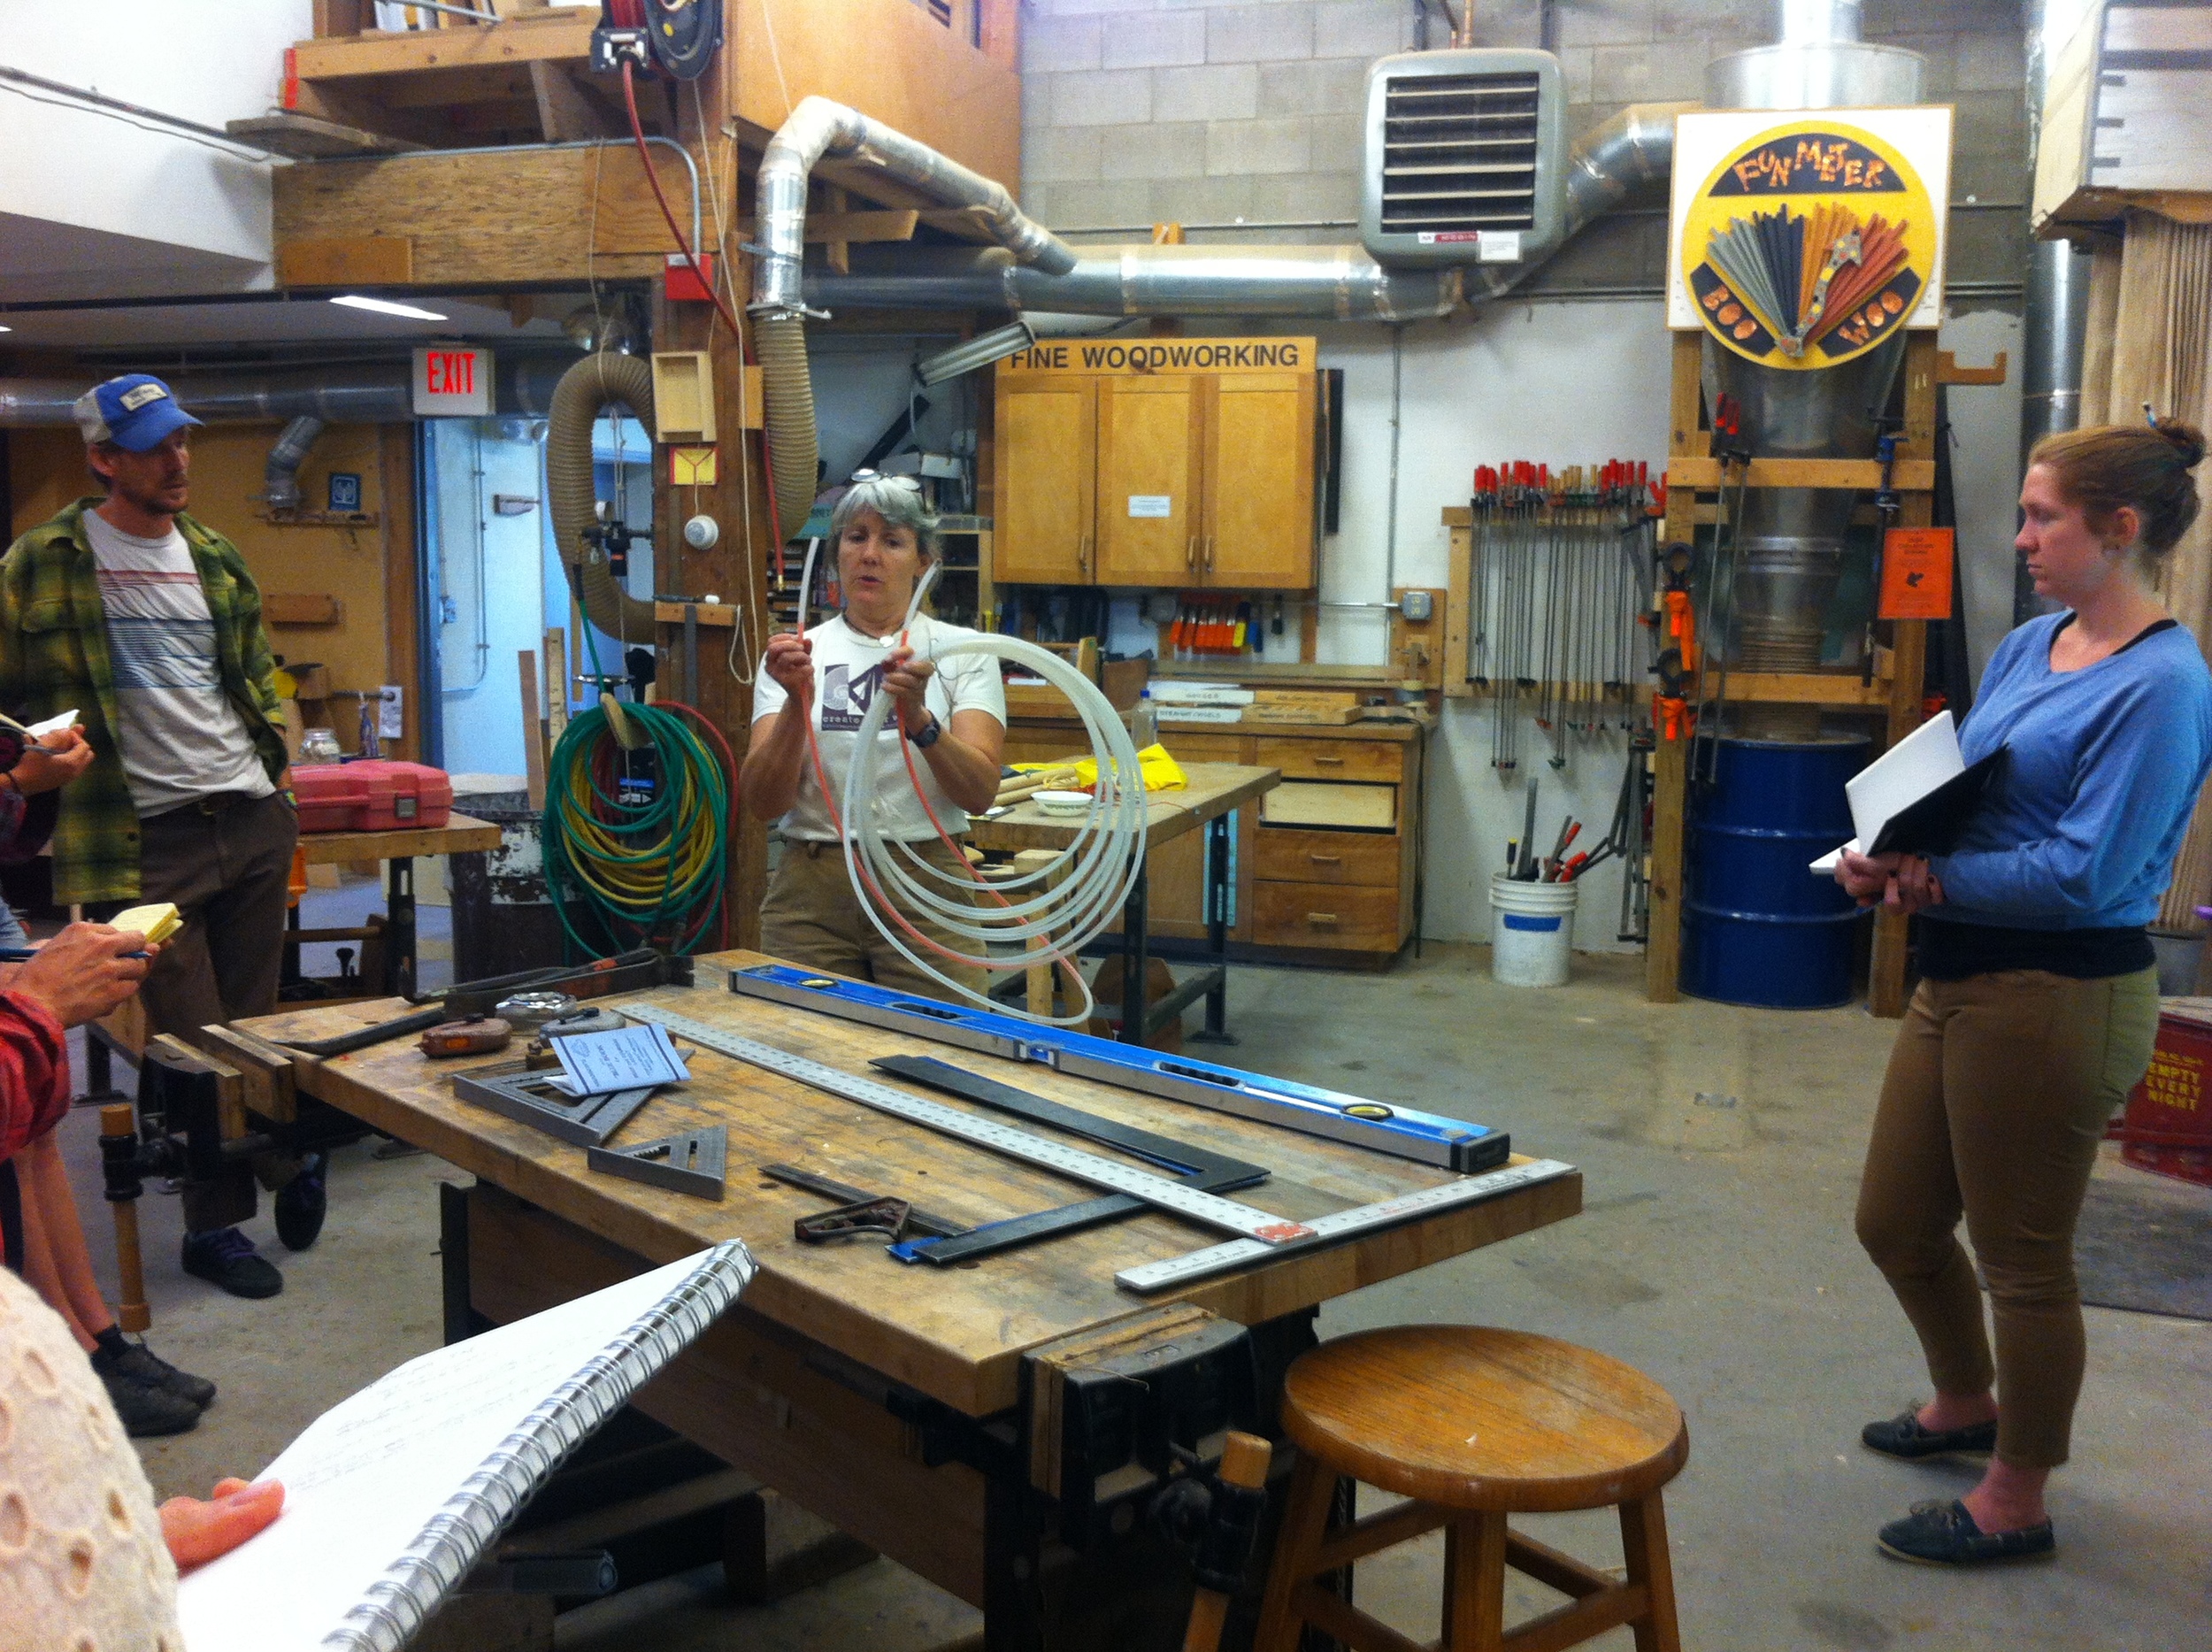
 This evening we kicked off the fourth two-week-long Tiny House Design-Build course at Yestermorrow. This is my second time co-teaching the course with Paul Hanke, Patti Garbeck, and Lizabeth Moniz. (And I blogged about last fall’s class in a set of daily posts. You can read them here: Hello, Tiny House Design Build. It was a great course, which connected me with incredible students, including Laura Klement, my build buddy.)
It’s wonderful, as always, to be Back Home at Yestermorrow. Vermont is a magical place any time of the year, but summers here are particularly splendid. It’s also nice to have a break from working on The Lucky Penny. I knew that between the Oregon Country Fair and the three weekends occupied by travel for Yestermorrow’s Tiny House Design-Build class, I’d have a whole month away from working on my tiny house. I knew I’d miss my little house but that it would also be good to take some time away. My goal was to get dried in before I left for the Oregon Country Fair, which was last weekend. I managed to do this with the help of my friends Mike and Eleanor – and a Pool Noodle! – so this break will be a good chance to recharge. When I return to my little house I’ll finish up the exterior – siding, shingles, and building a porch – and then turn my attention to the interior.
This evening we kicked off the fourth two-week-long Tiny House Design-Build course at Yestermorrow. This is my second time co-teaching the course with Paul Hanke, Patti Garbeck, and Lizabeth Moniz. (And I blogged about last fall’s class in a set of daily posts. You can read them here: Hello, Tiny House Design Build. It was a great course, which connected me with incredible students, including Laura Klement, my build buddy.)
It’s wonderful, as always, to be Back Home at Yestermorrow. Vermont is a magical place any time of the year, but summers here are particularly splendid. It’s also nice to have a break from working on The Lucky Penny. I knew that between the Oregon Country Fair and the three weekends occupied by travel for Yestermorrow’s Tiny House Design-Build class, I’d have a whole month away from working on my tiny house. I knew I’d miss my little house but that it would also be good to take some time away. My goal was to get dried in before I left for the Oregon Country Fair, which was last weekend. I managed to do this with the help of my friends Mike and Eleanor – and a Pool Noodle! – so this break will be a good chance to recharge. When I return to my little house I’ll finish up the exterior – siding, shingles, and building a porch – and then turn my attention to the interior.
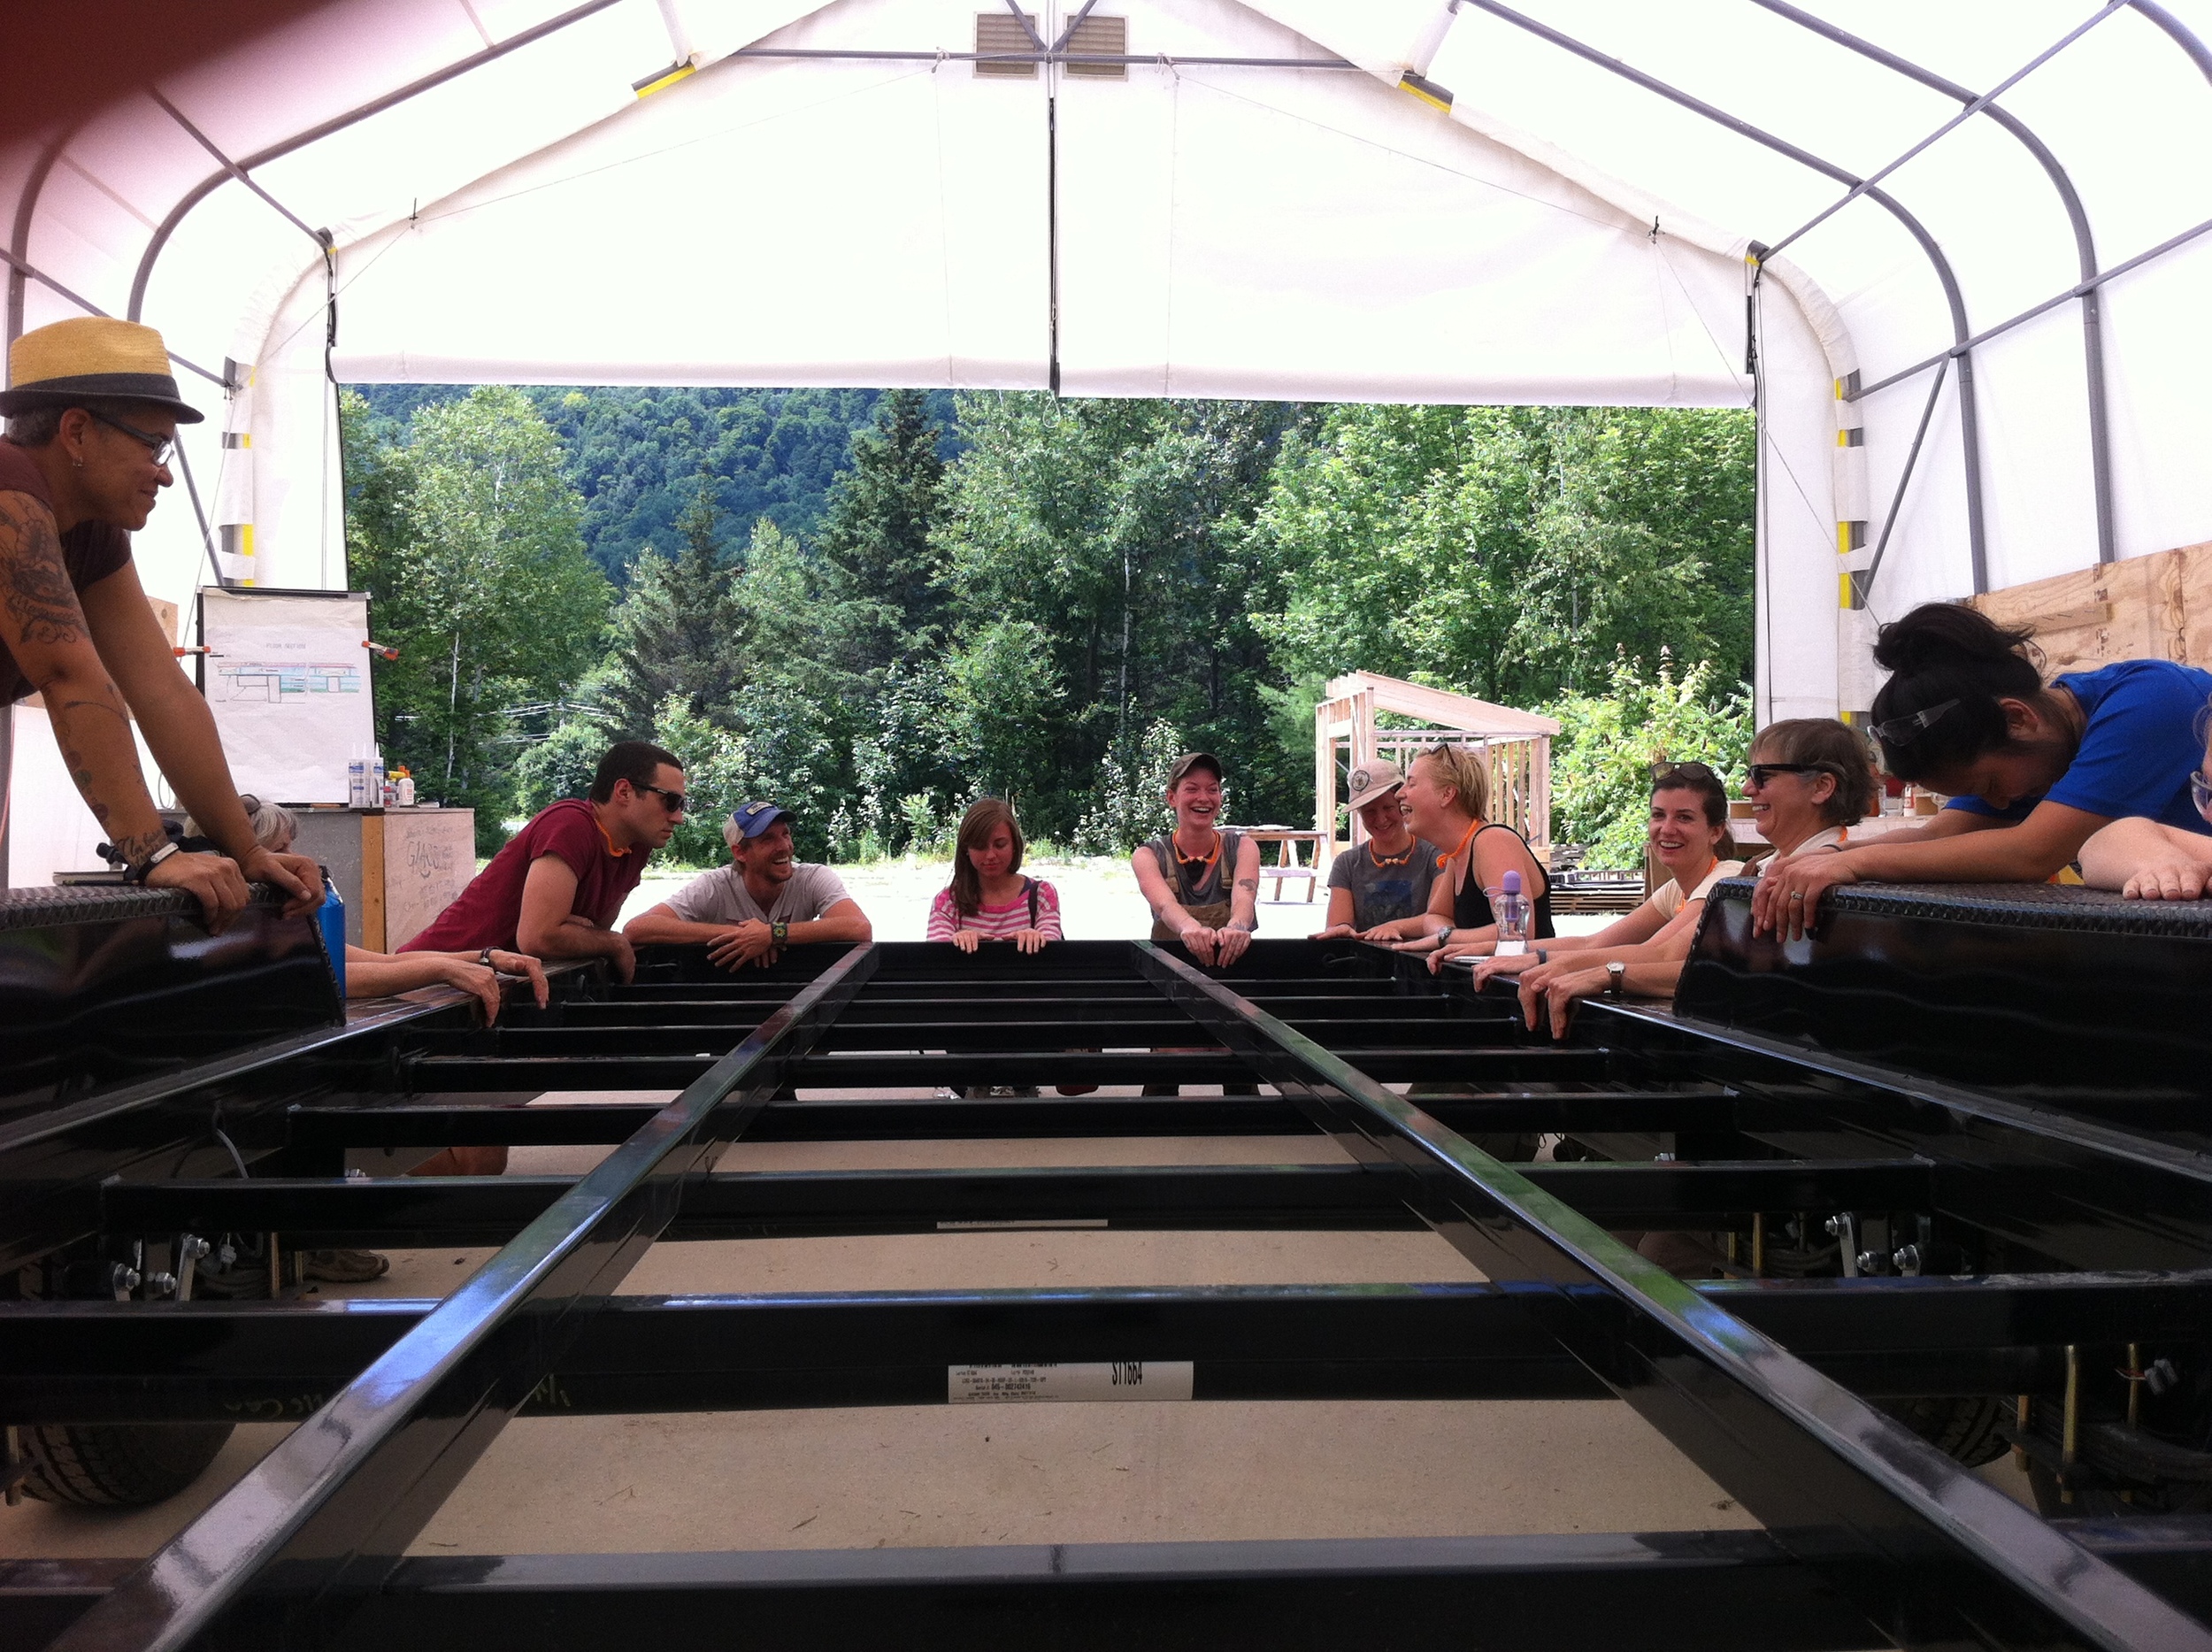
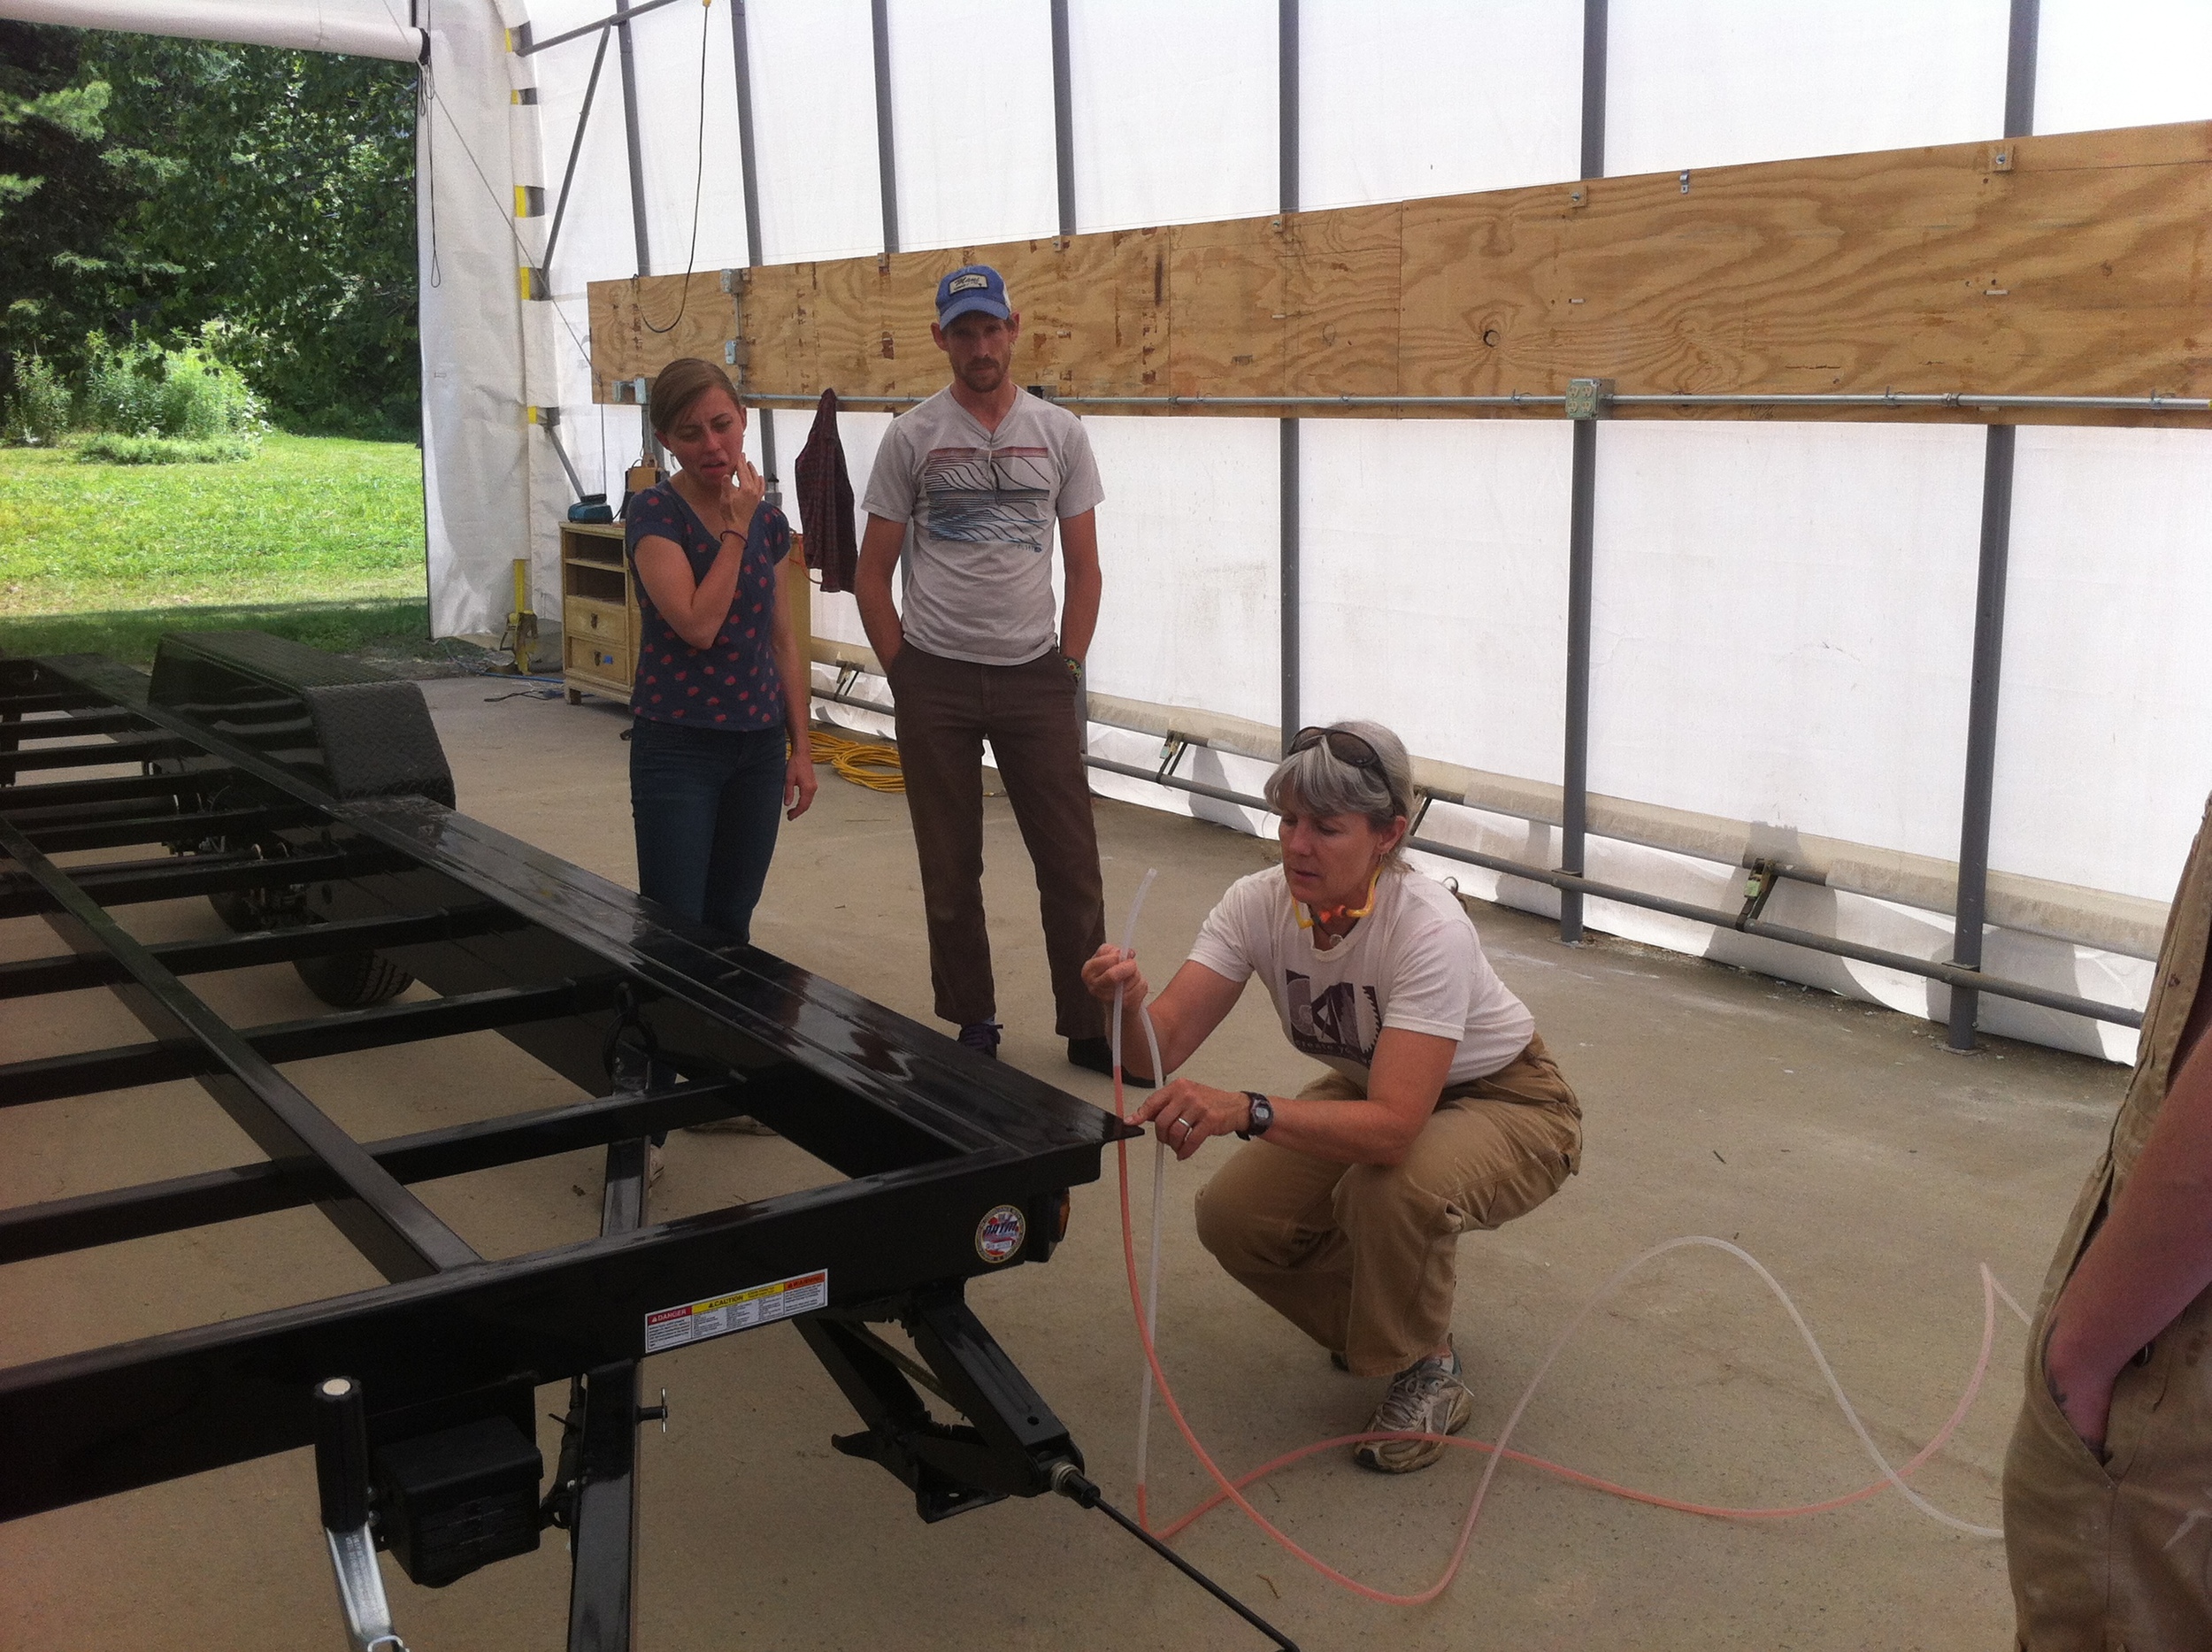
 The same talented team will be teaching this summer’s Tiny House Design-Build class and I was excited to recognize a couple of the names on the class roster even before I met our fine group of students. One of them was a student of mine in a PAD workshop I co-taught with Dee Williams. And, of course, there’s our client, Katie, with whom Paul and I worked in March to develop a concept and basic layout for her tiny house. Paul has since developed the construction drawings for Katie’s house and we’re looking forward to bringing her house to life. After introductions last night I'm convinced we have another great bunch of people to work with this summer!
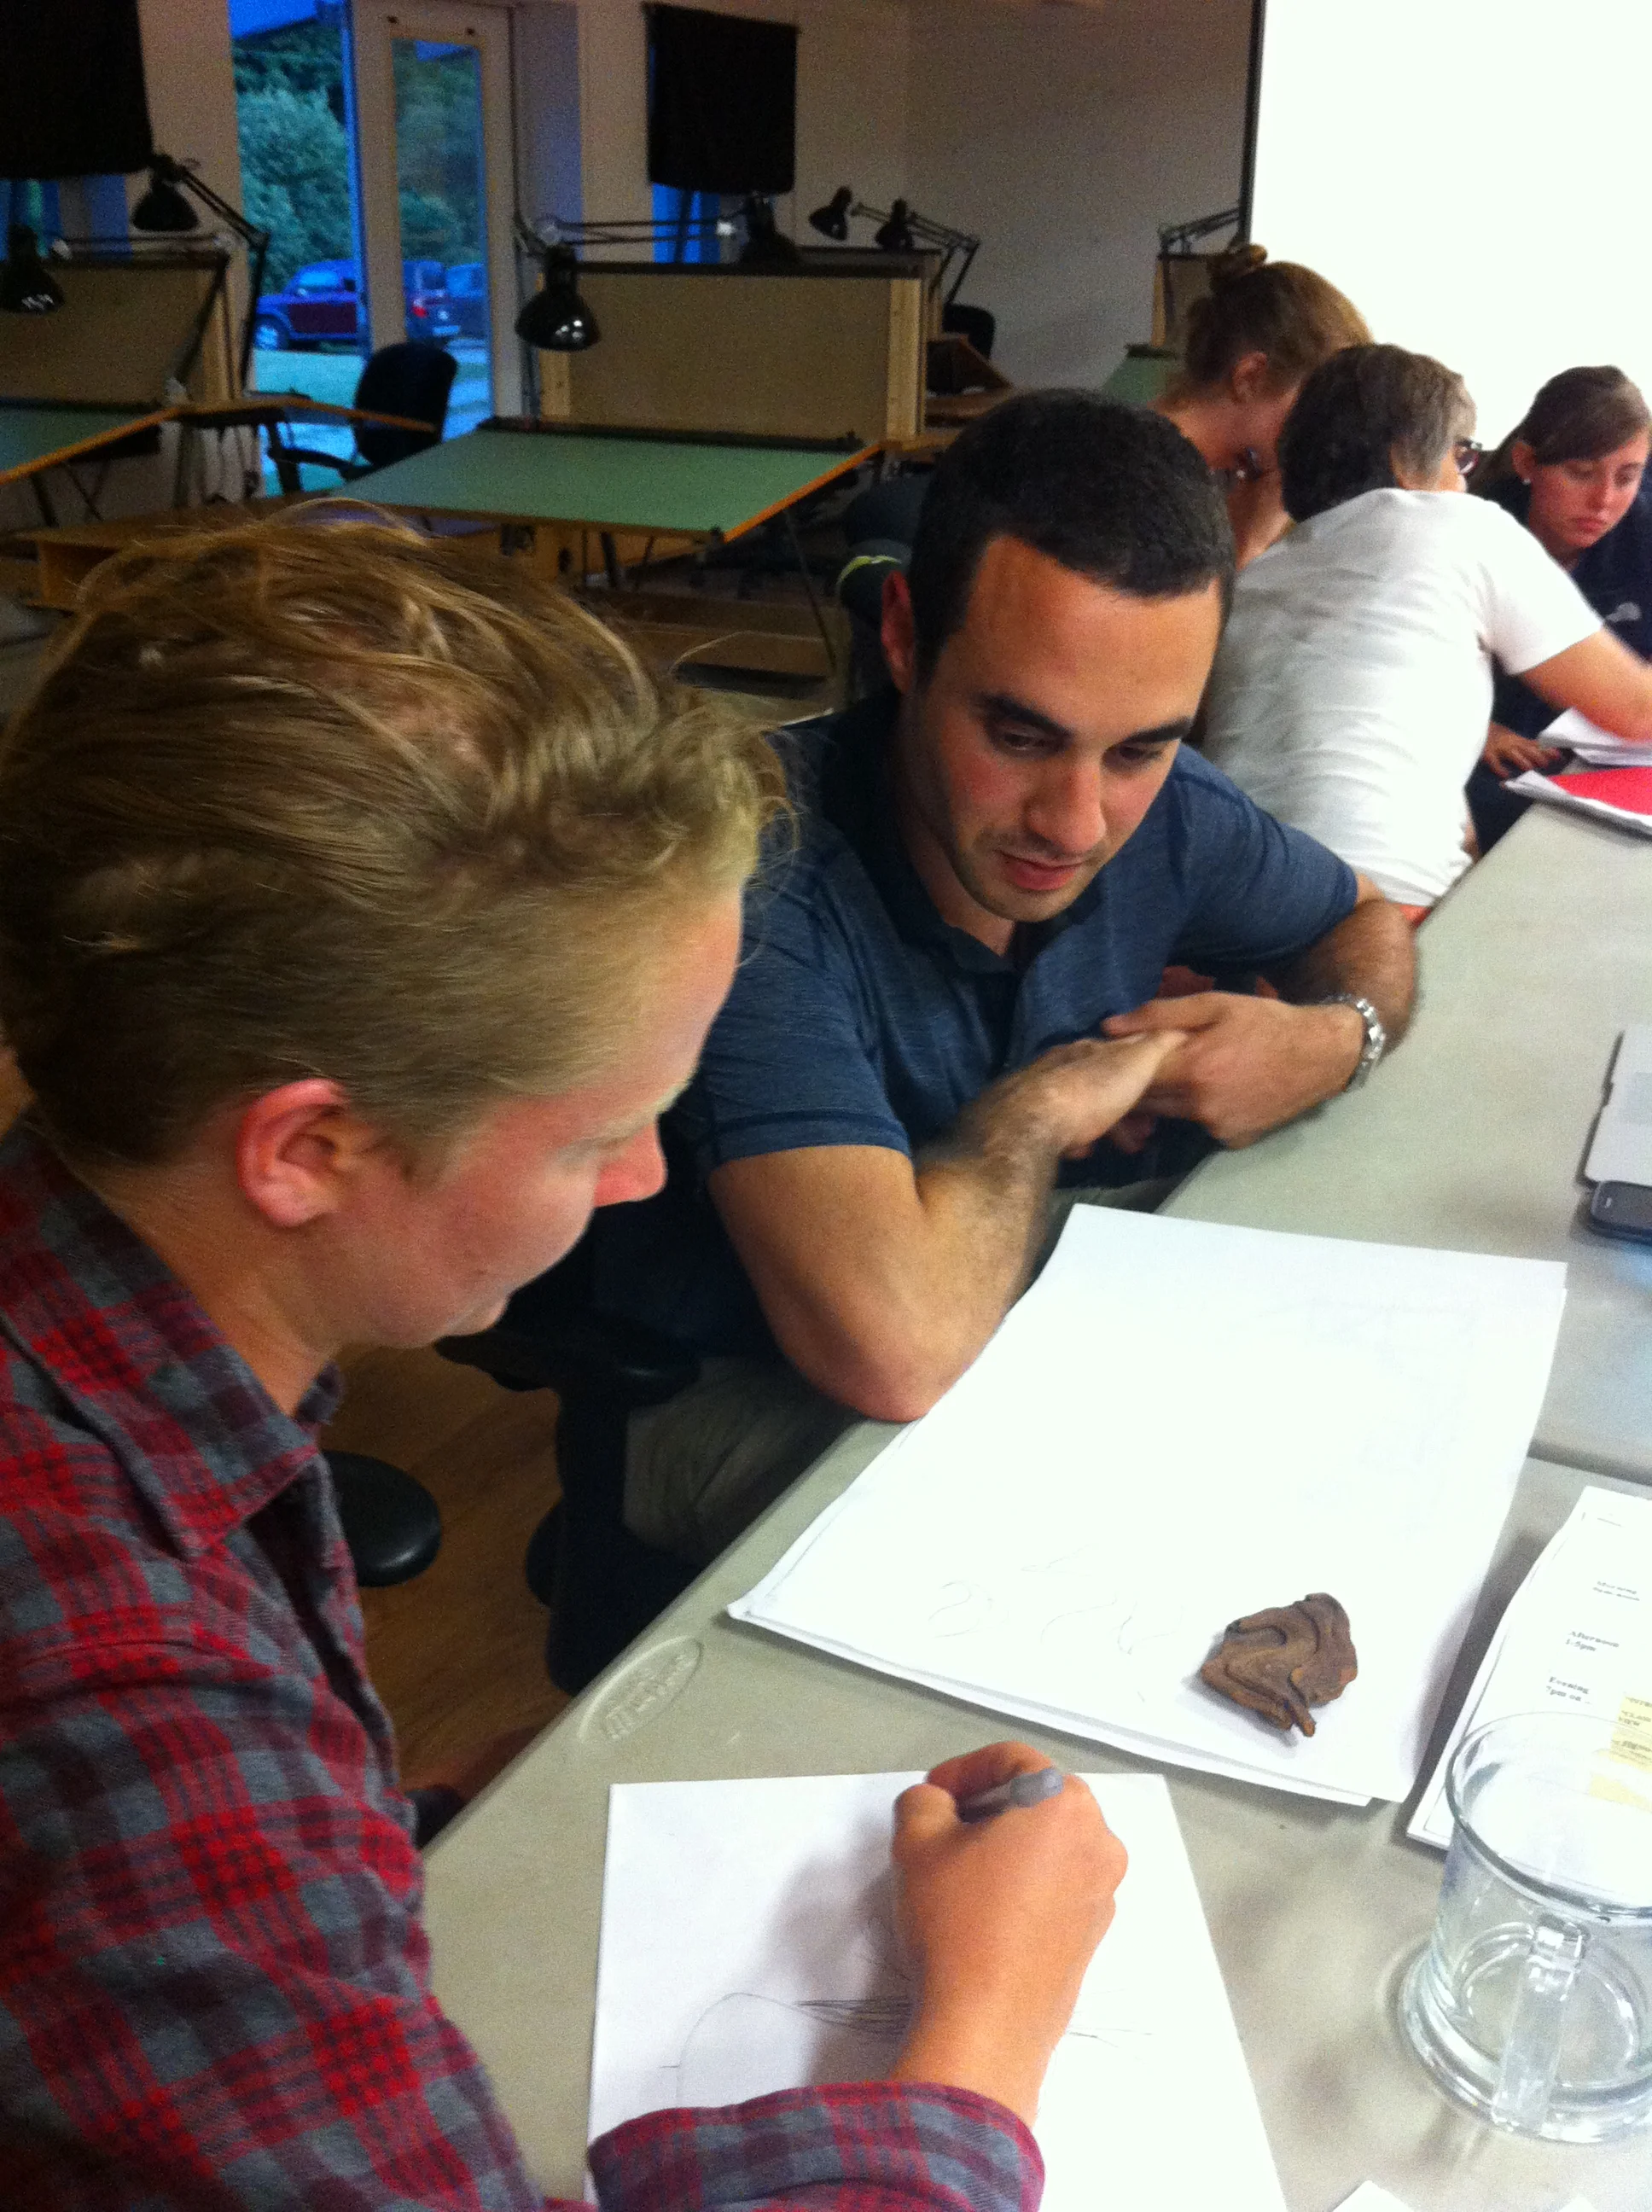
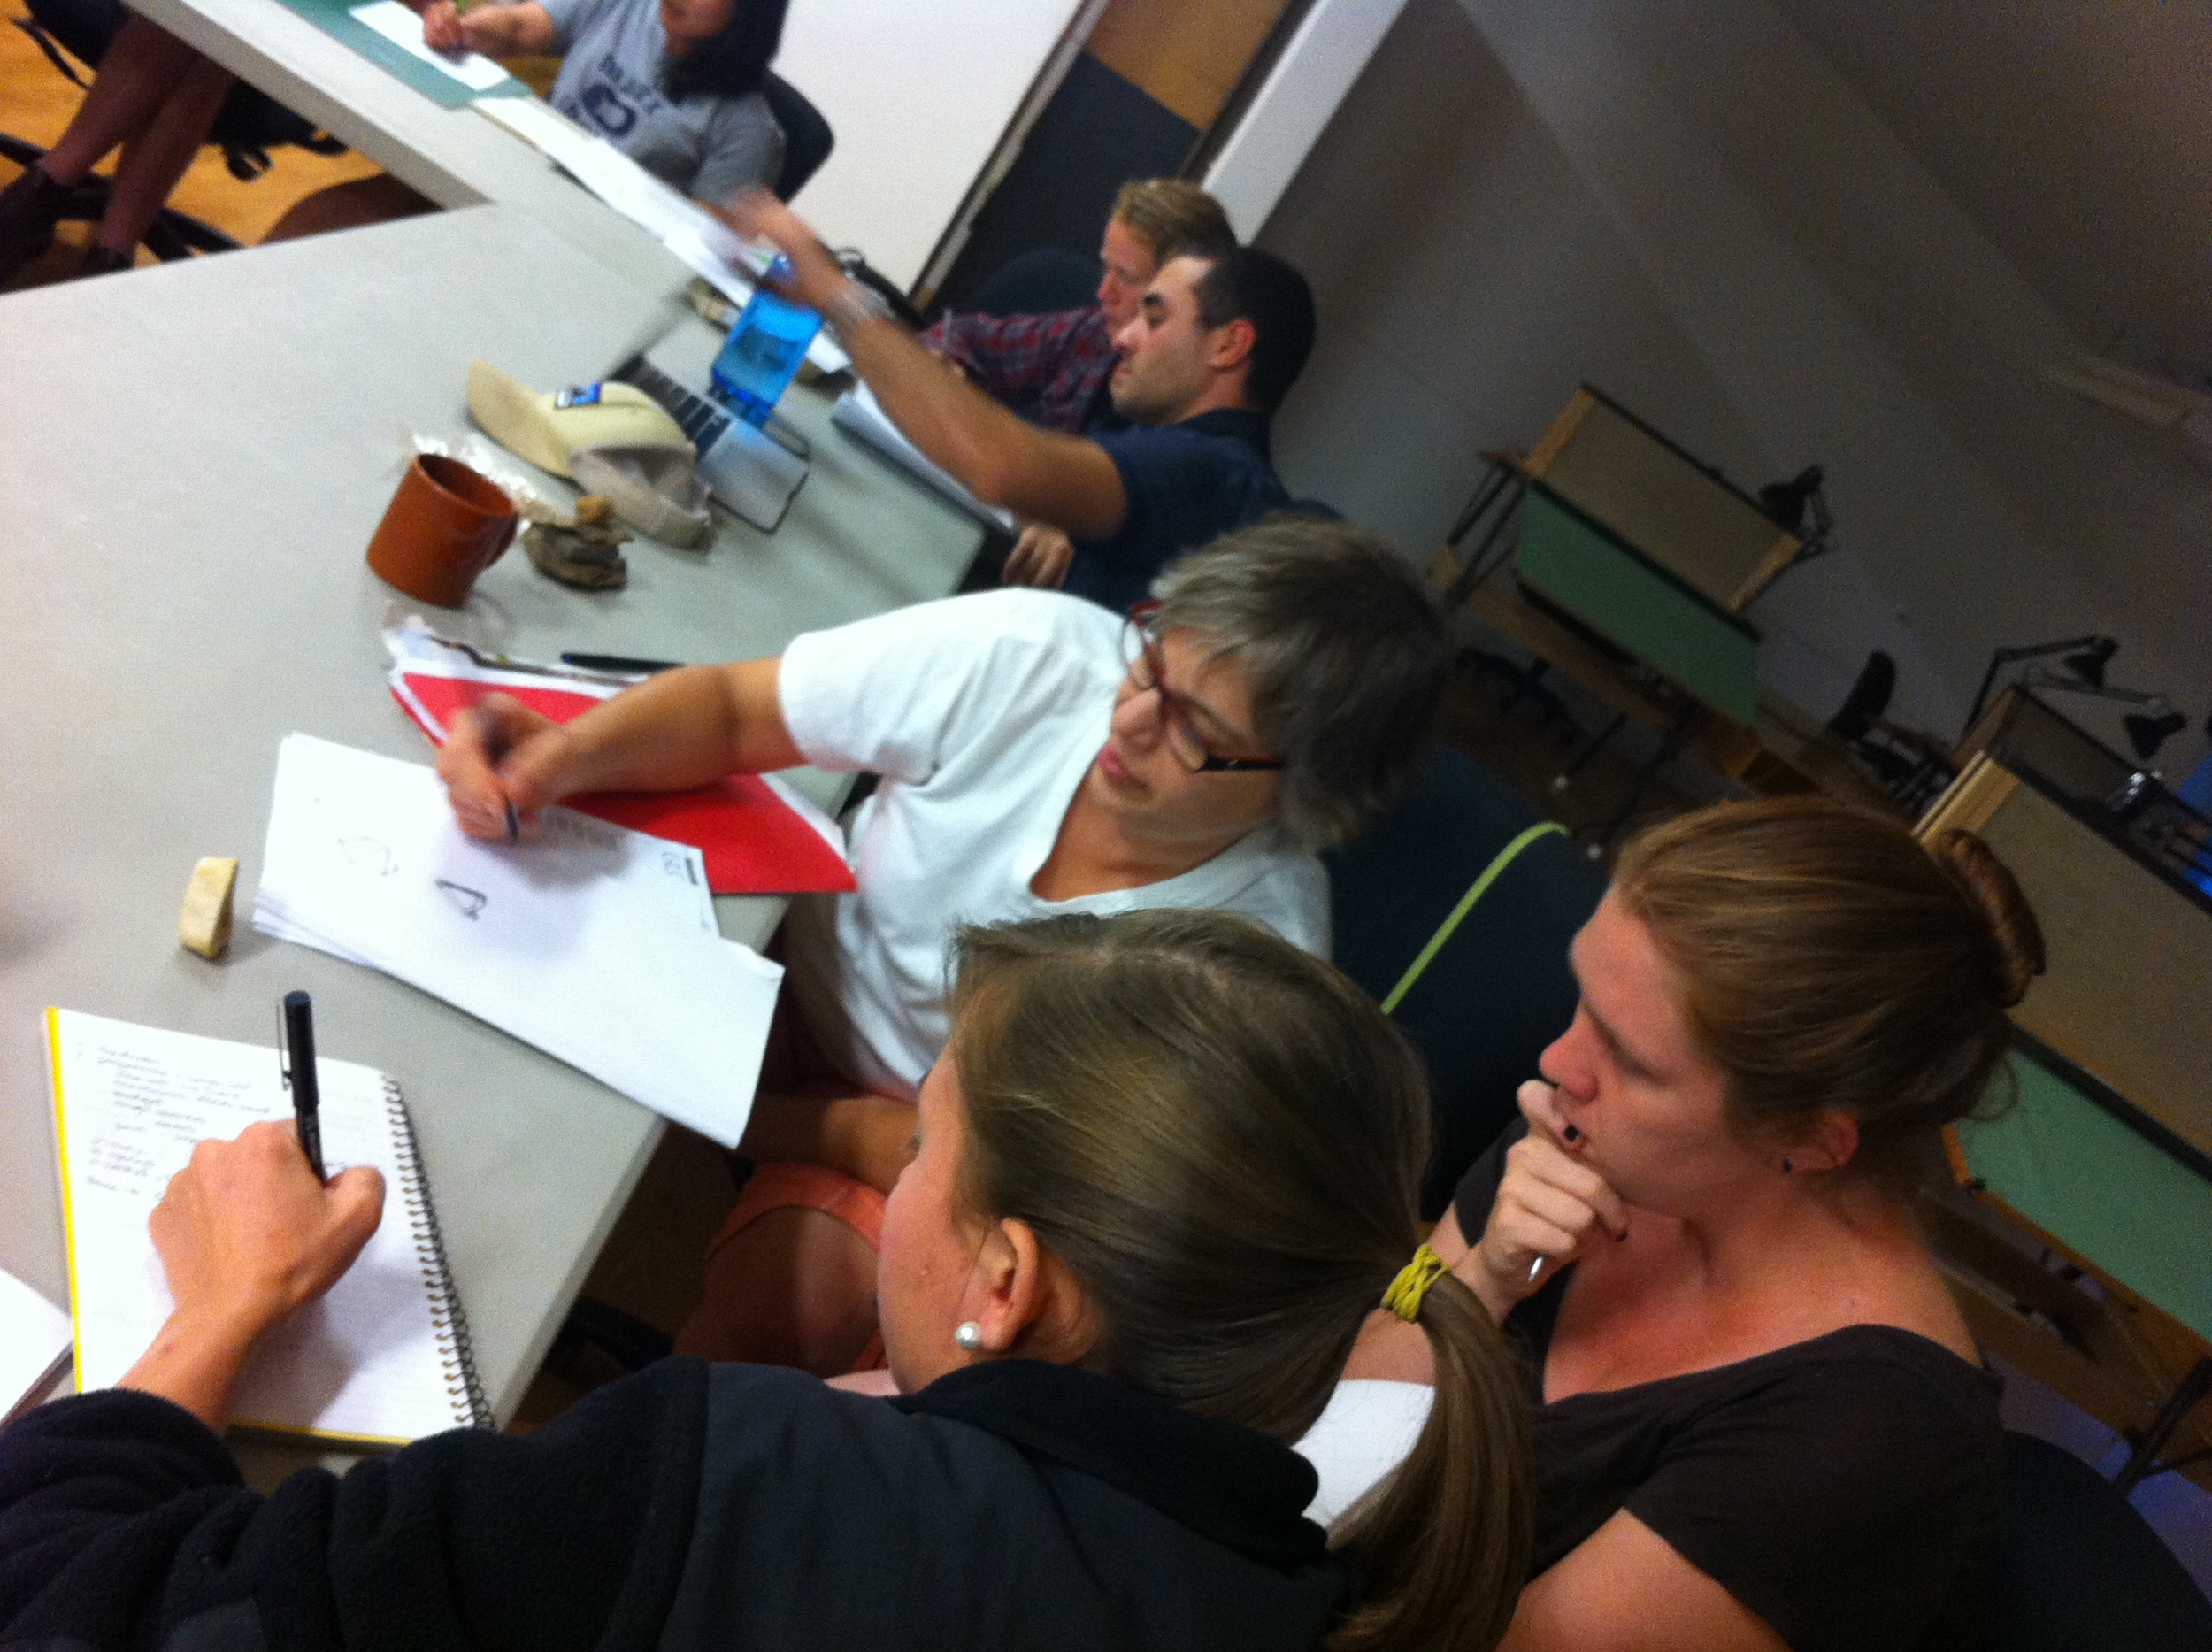
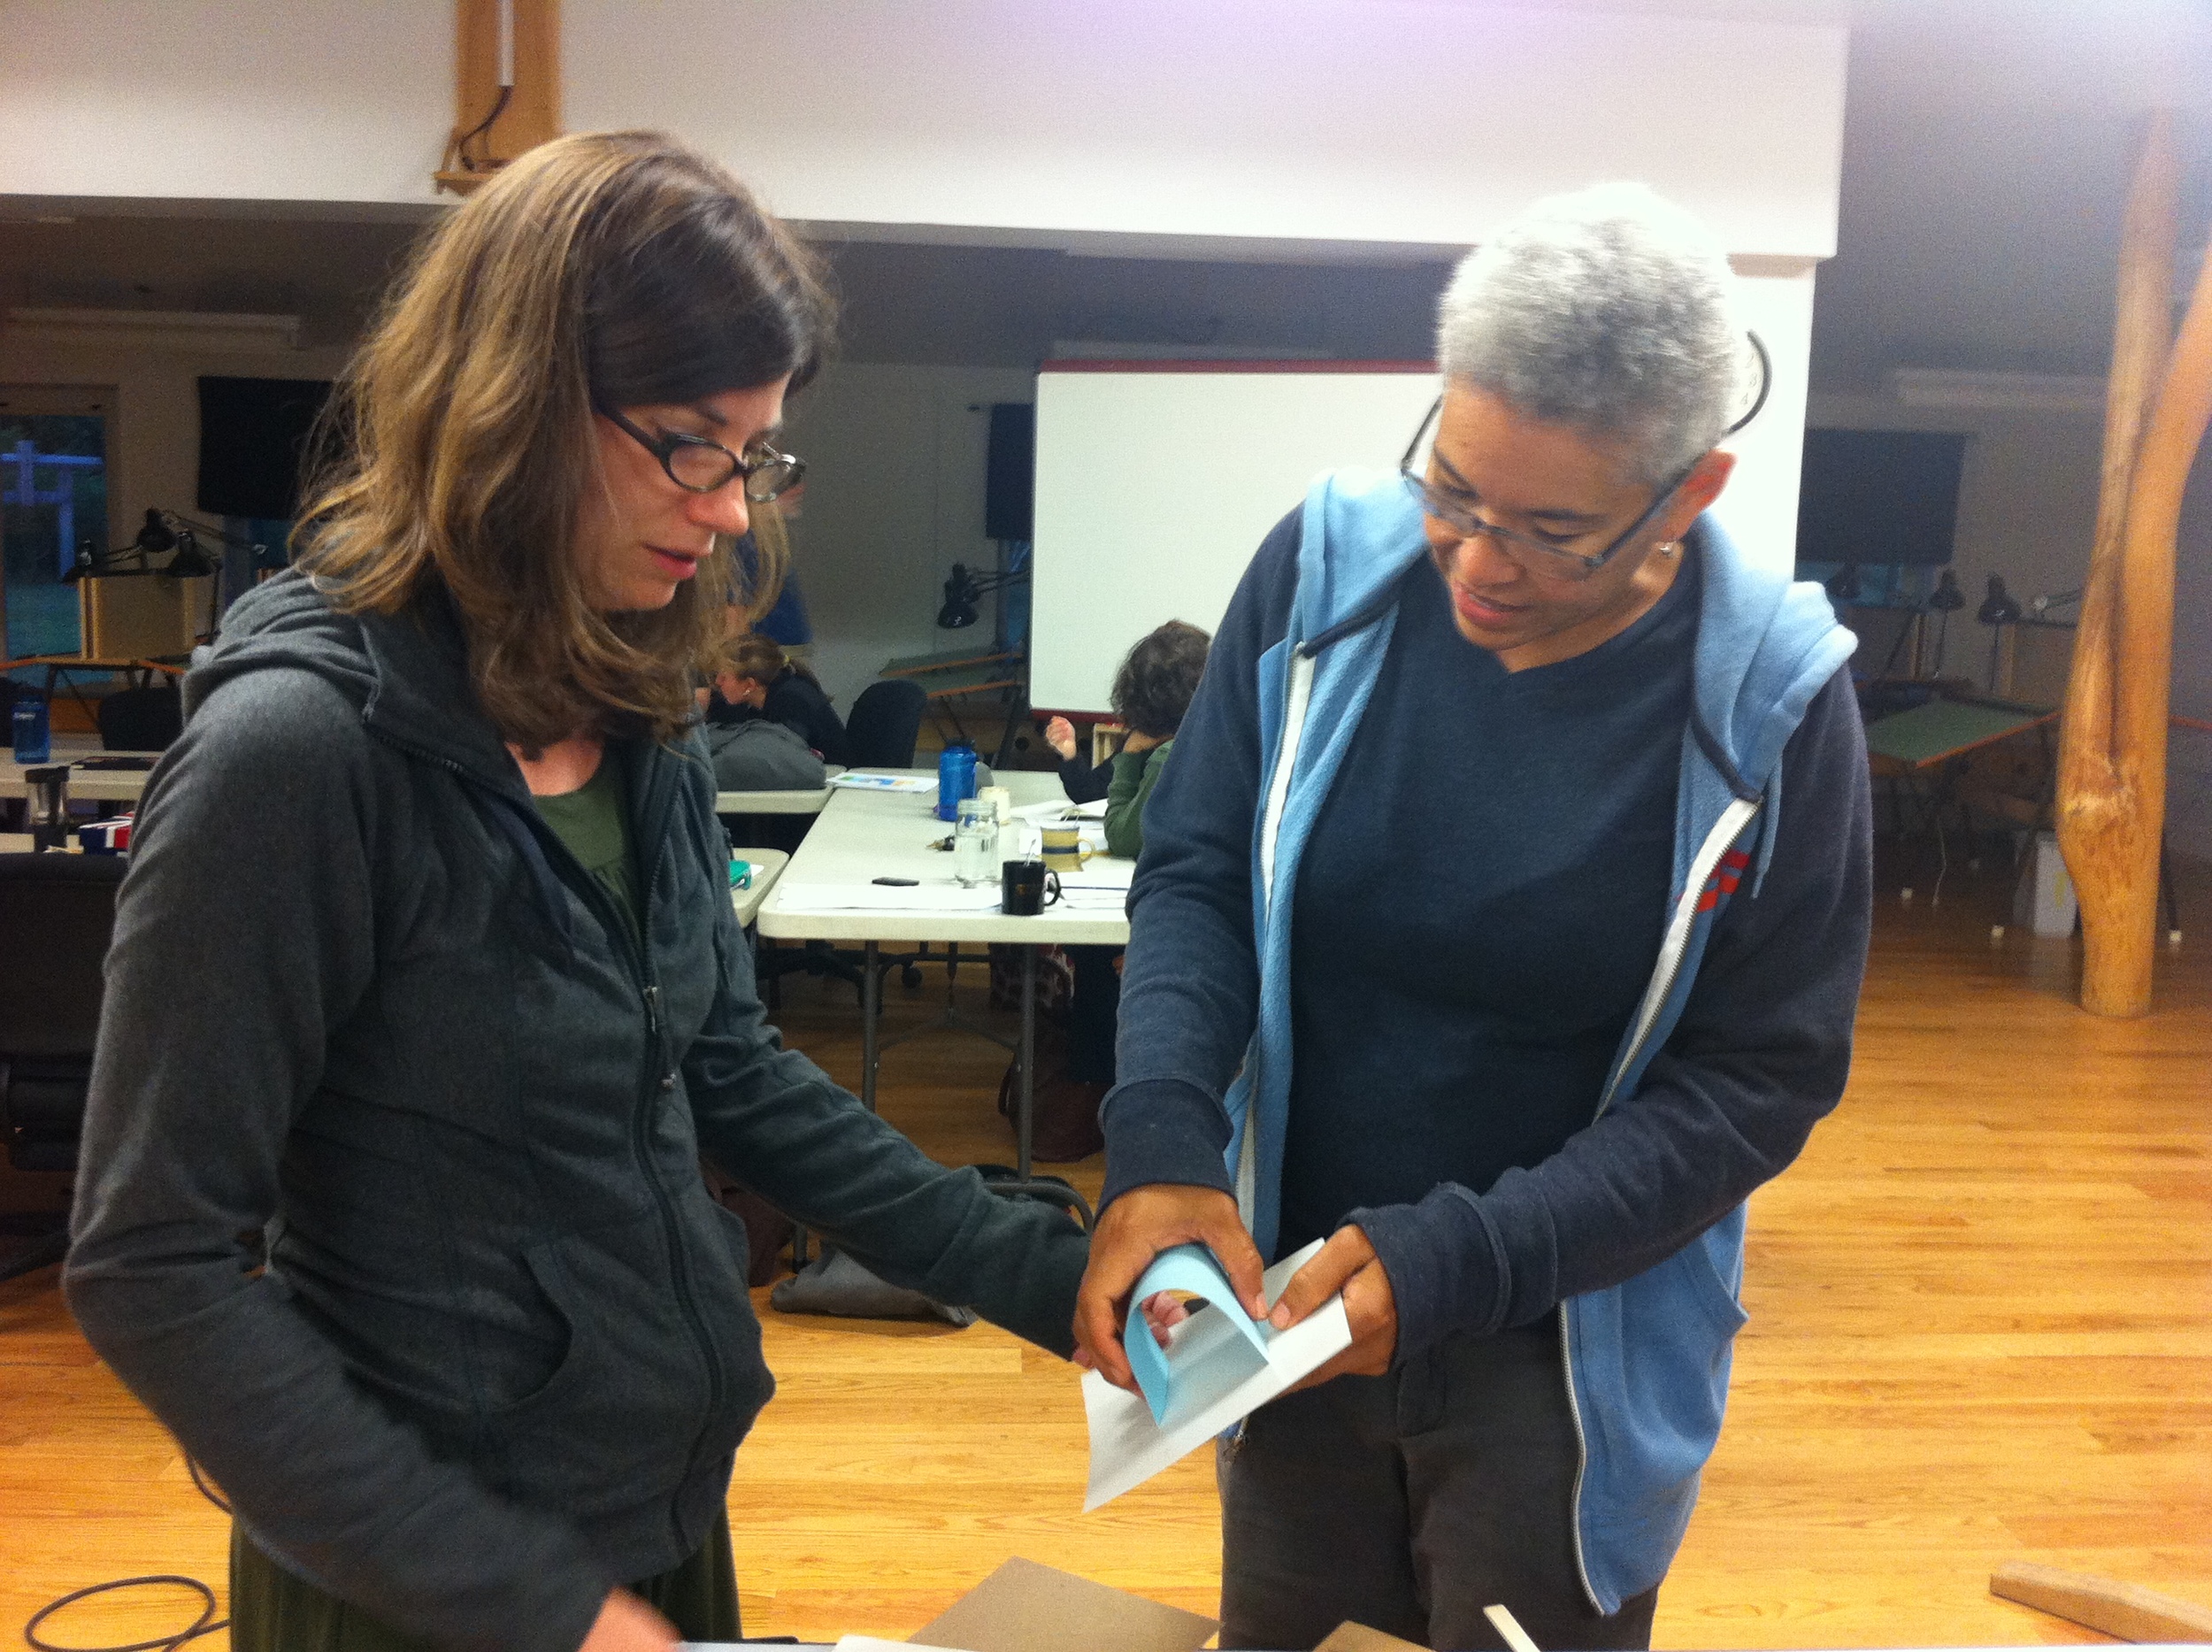
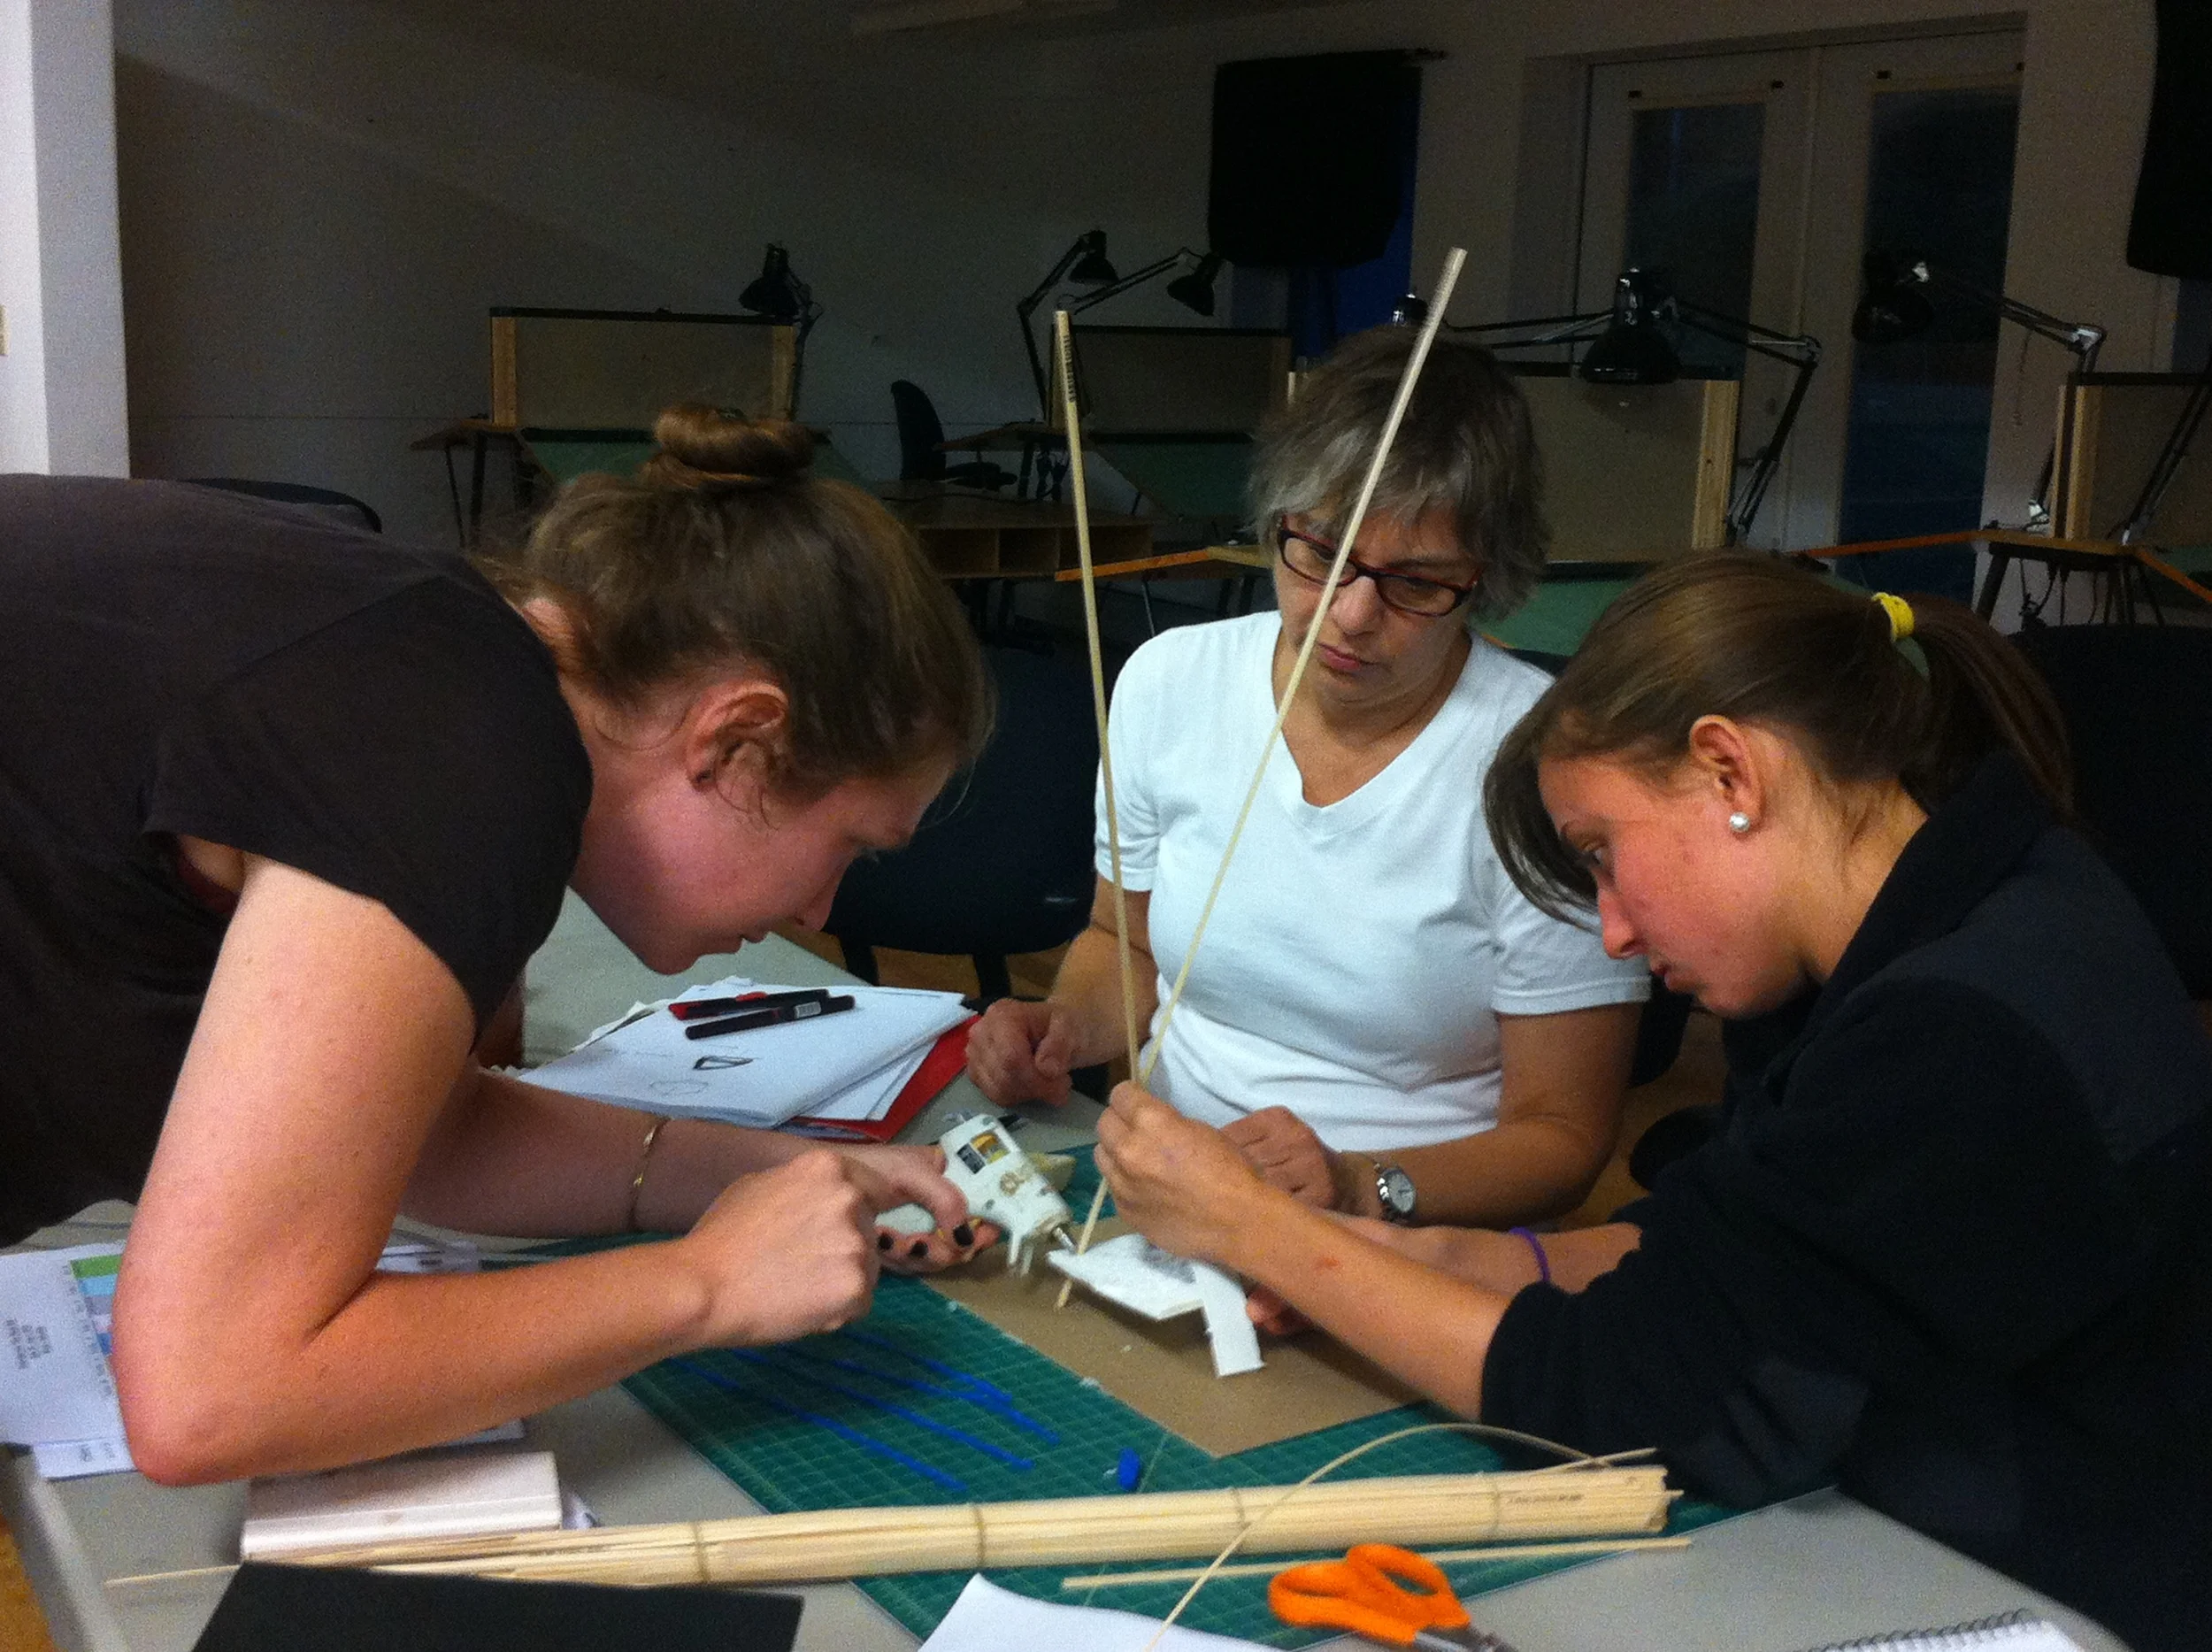
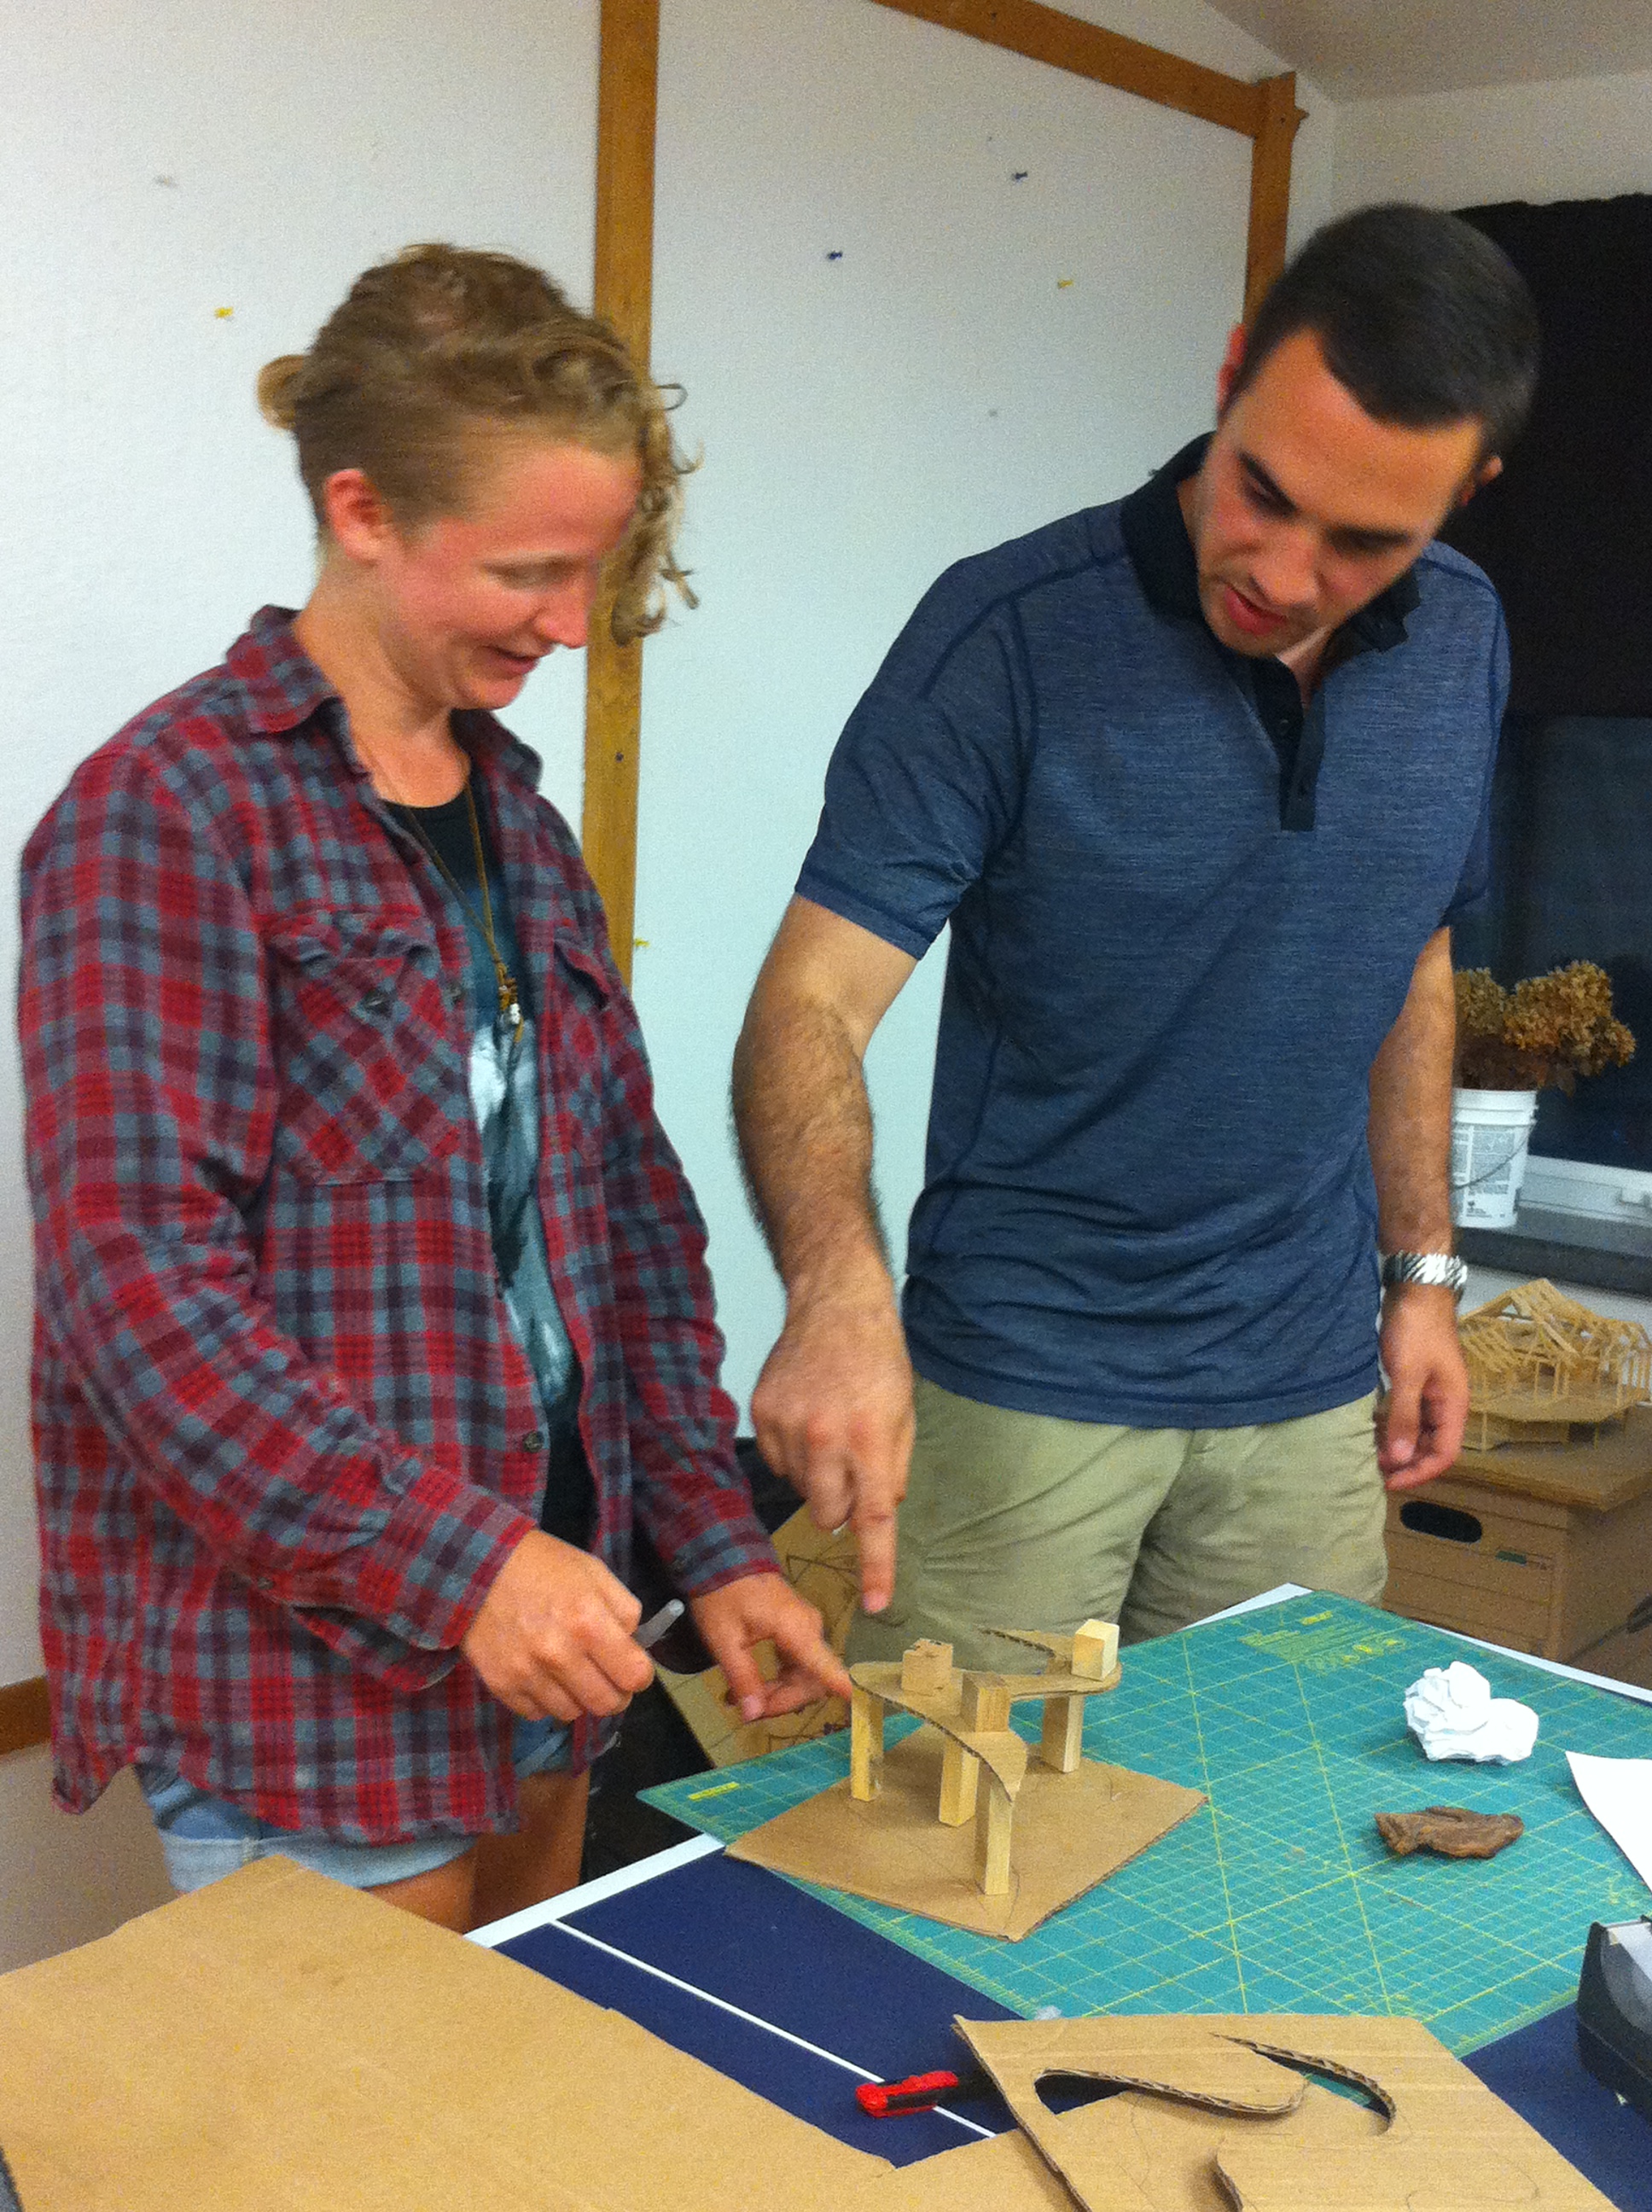
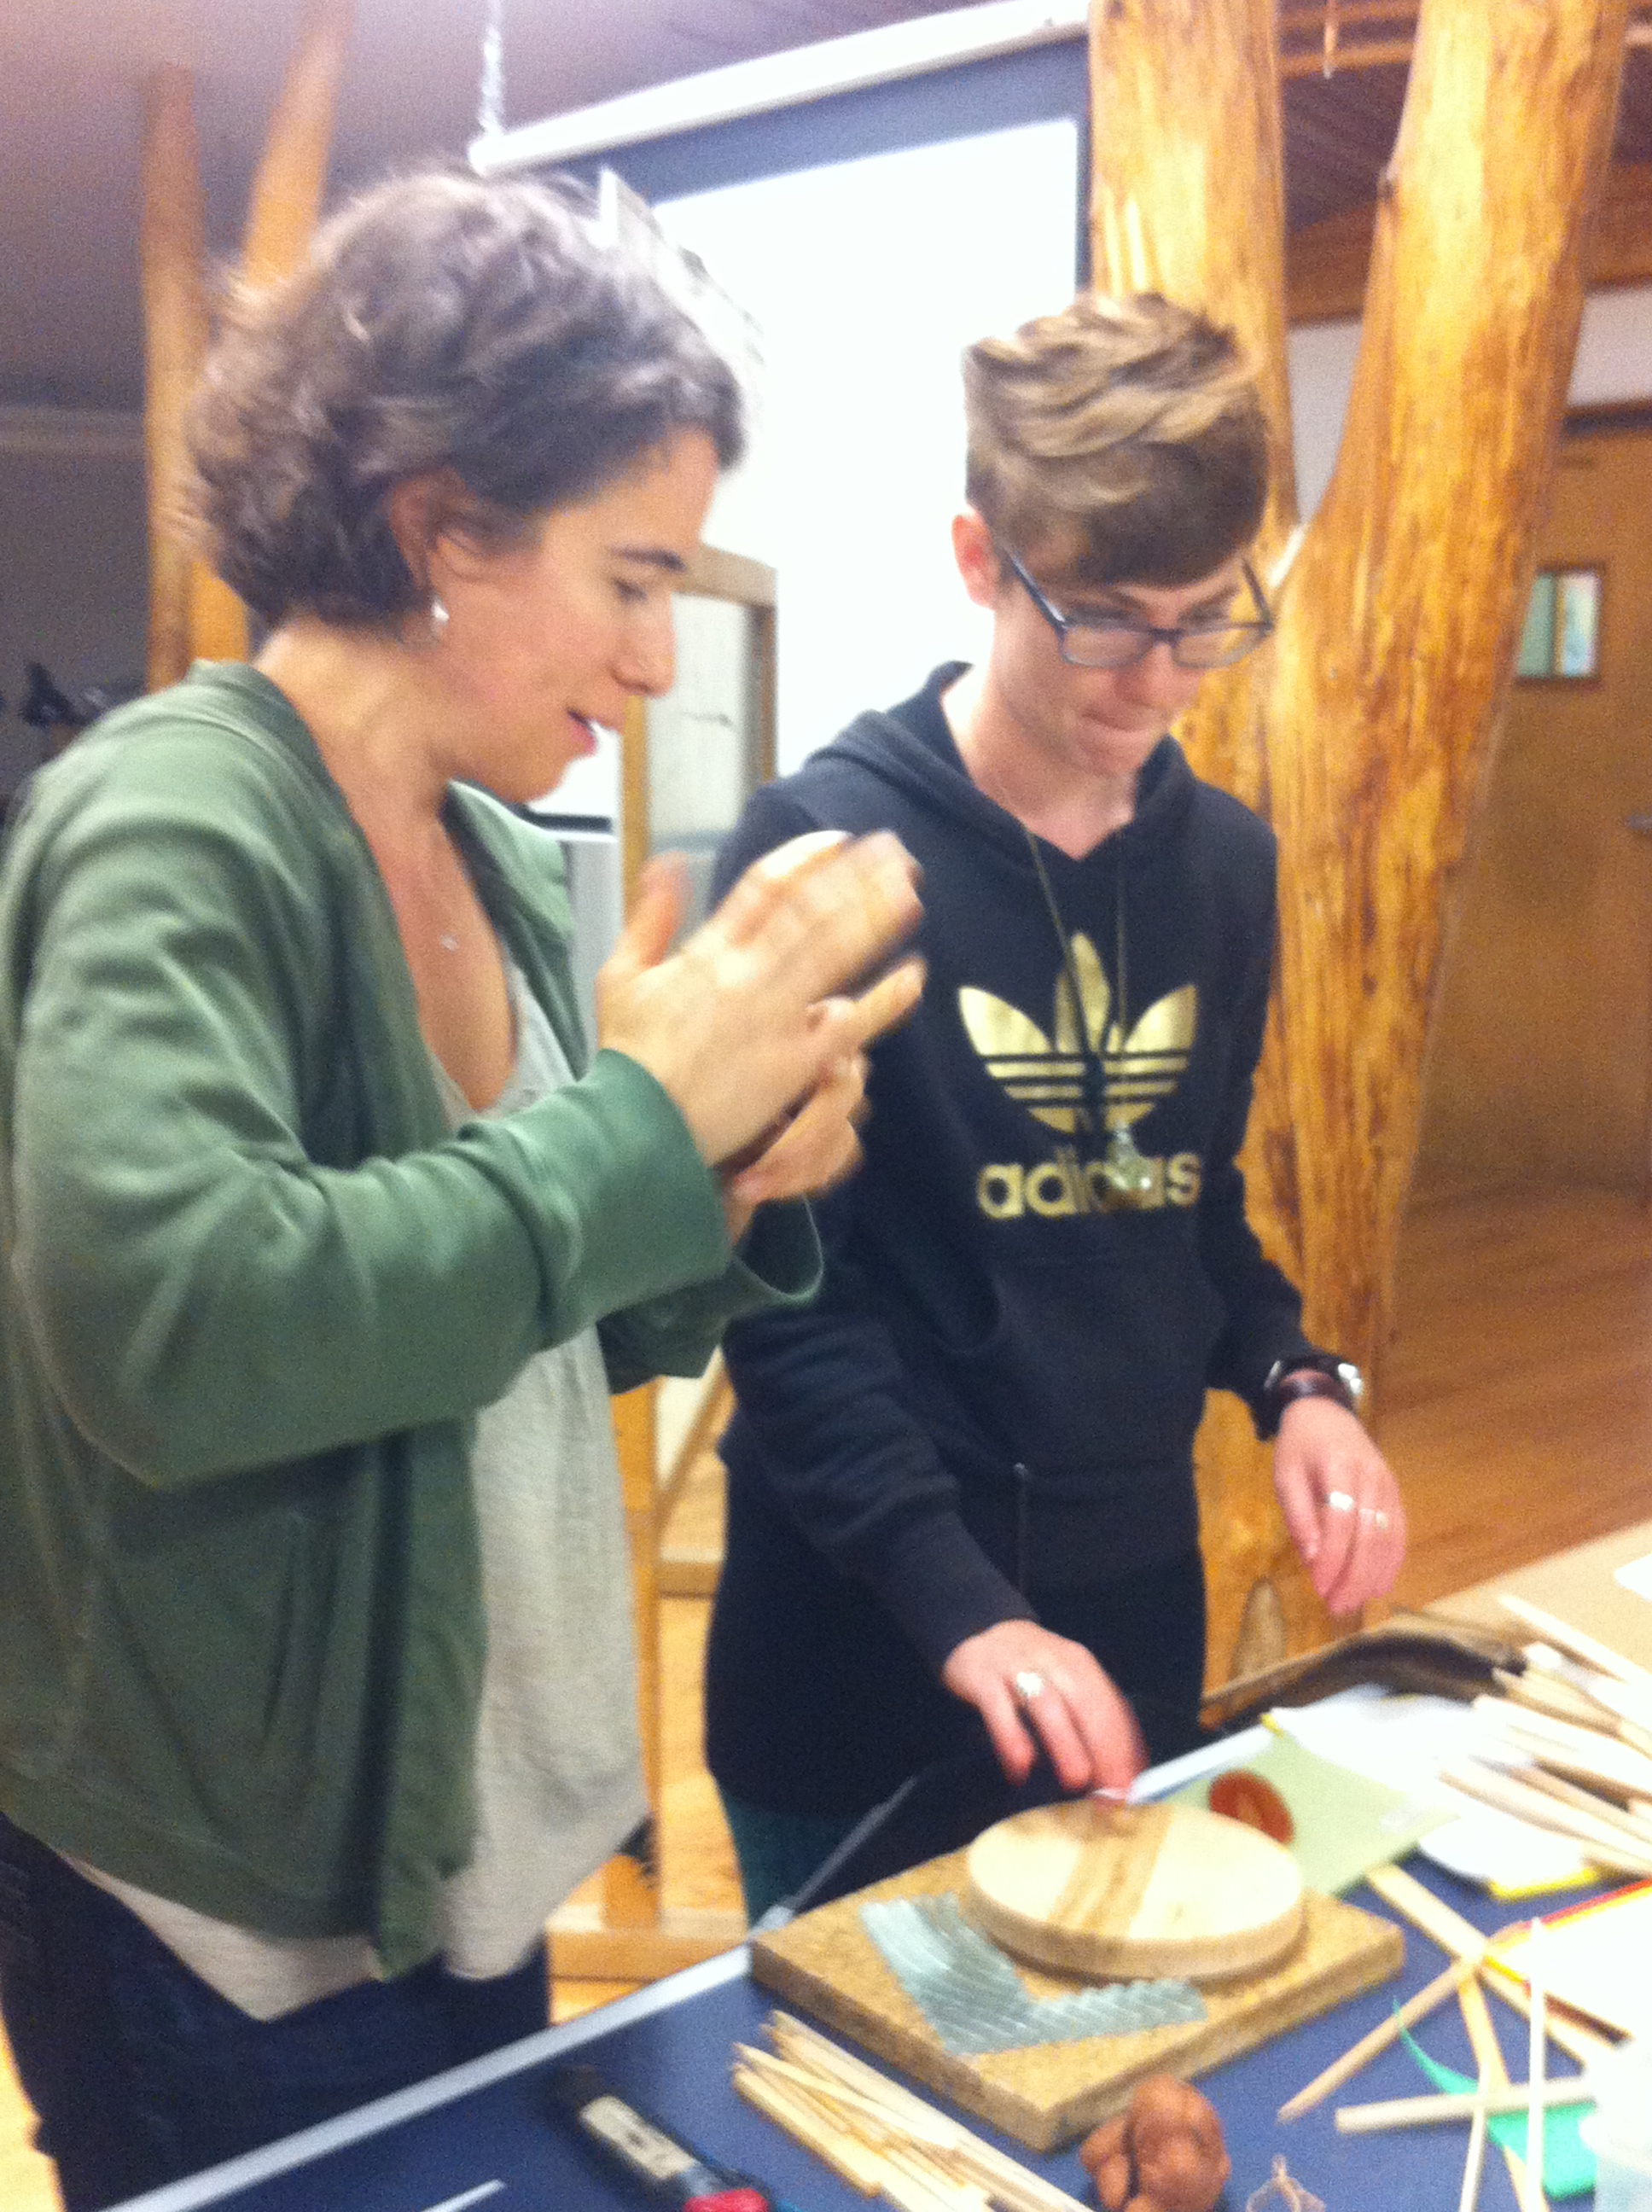
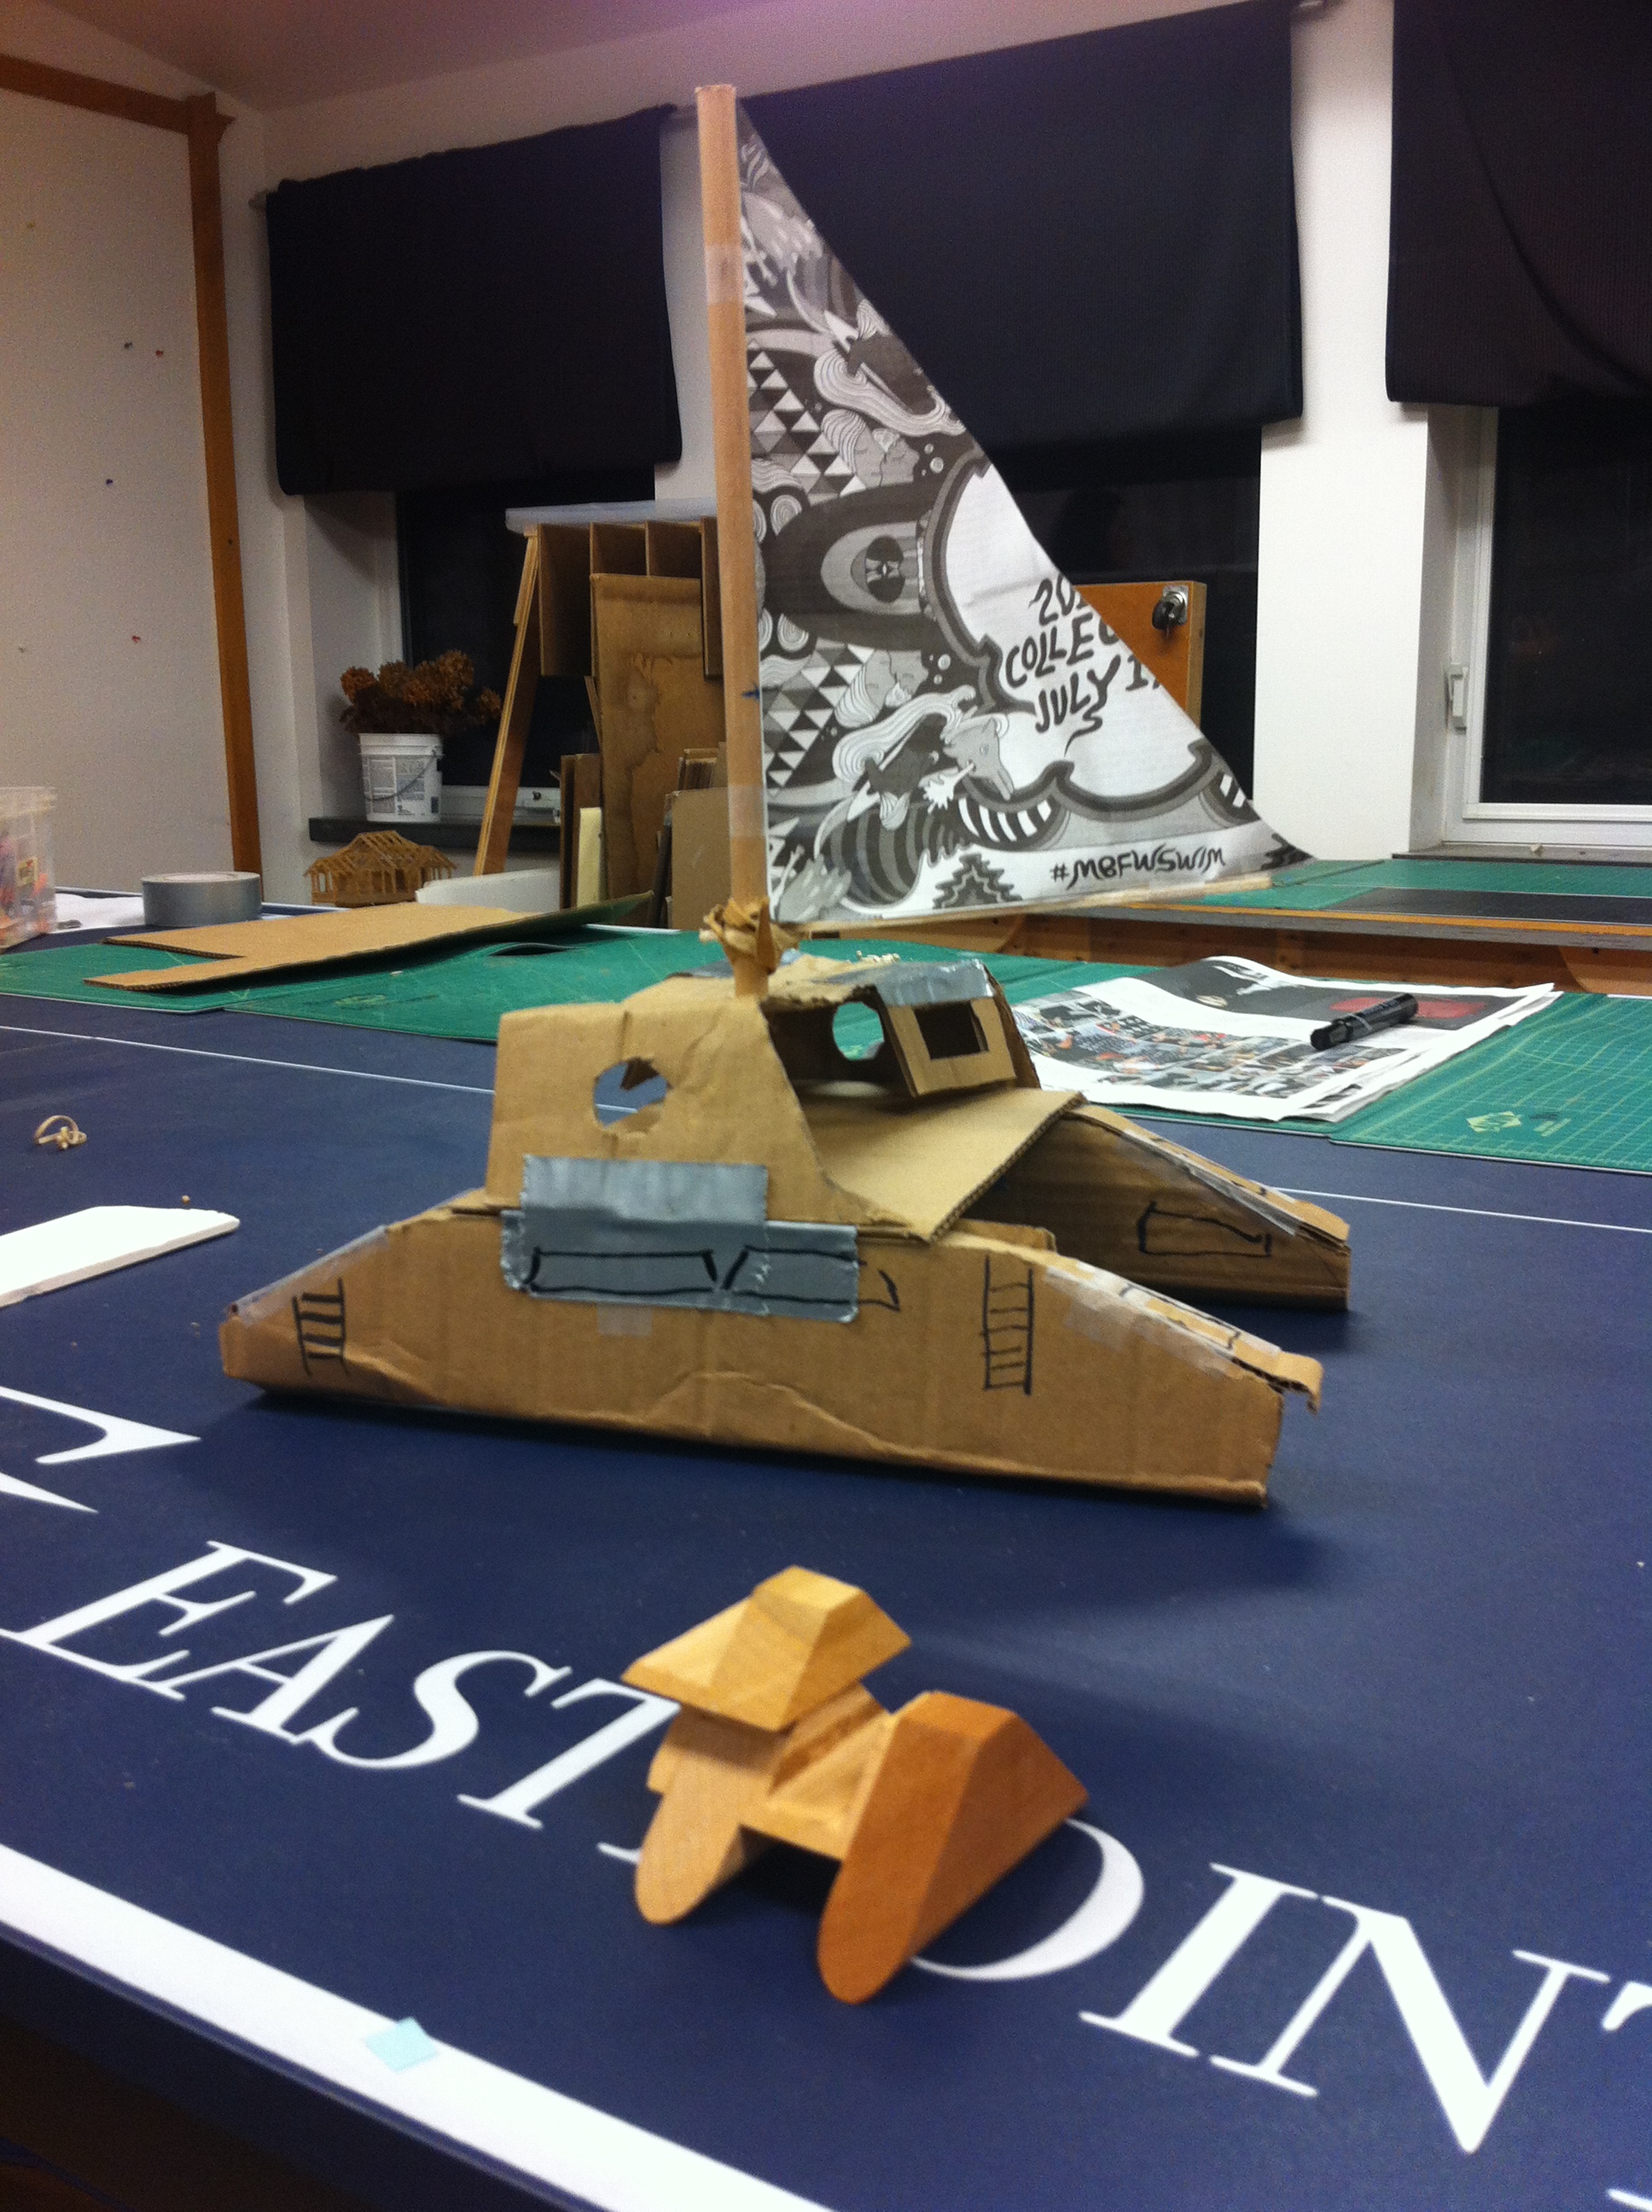
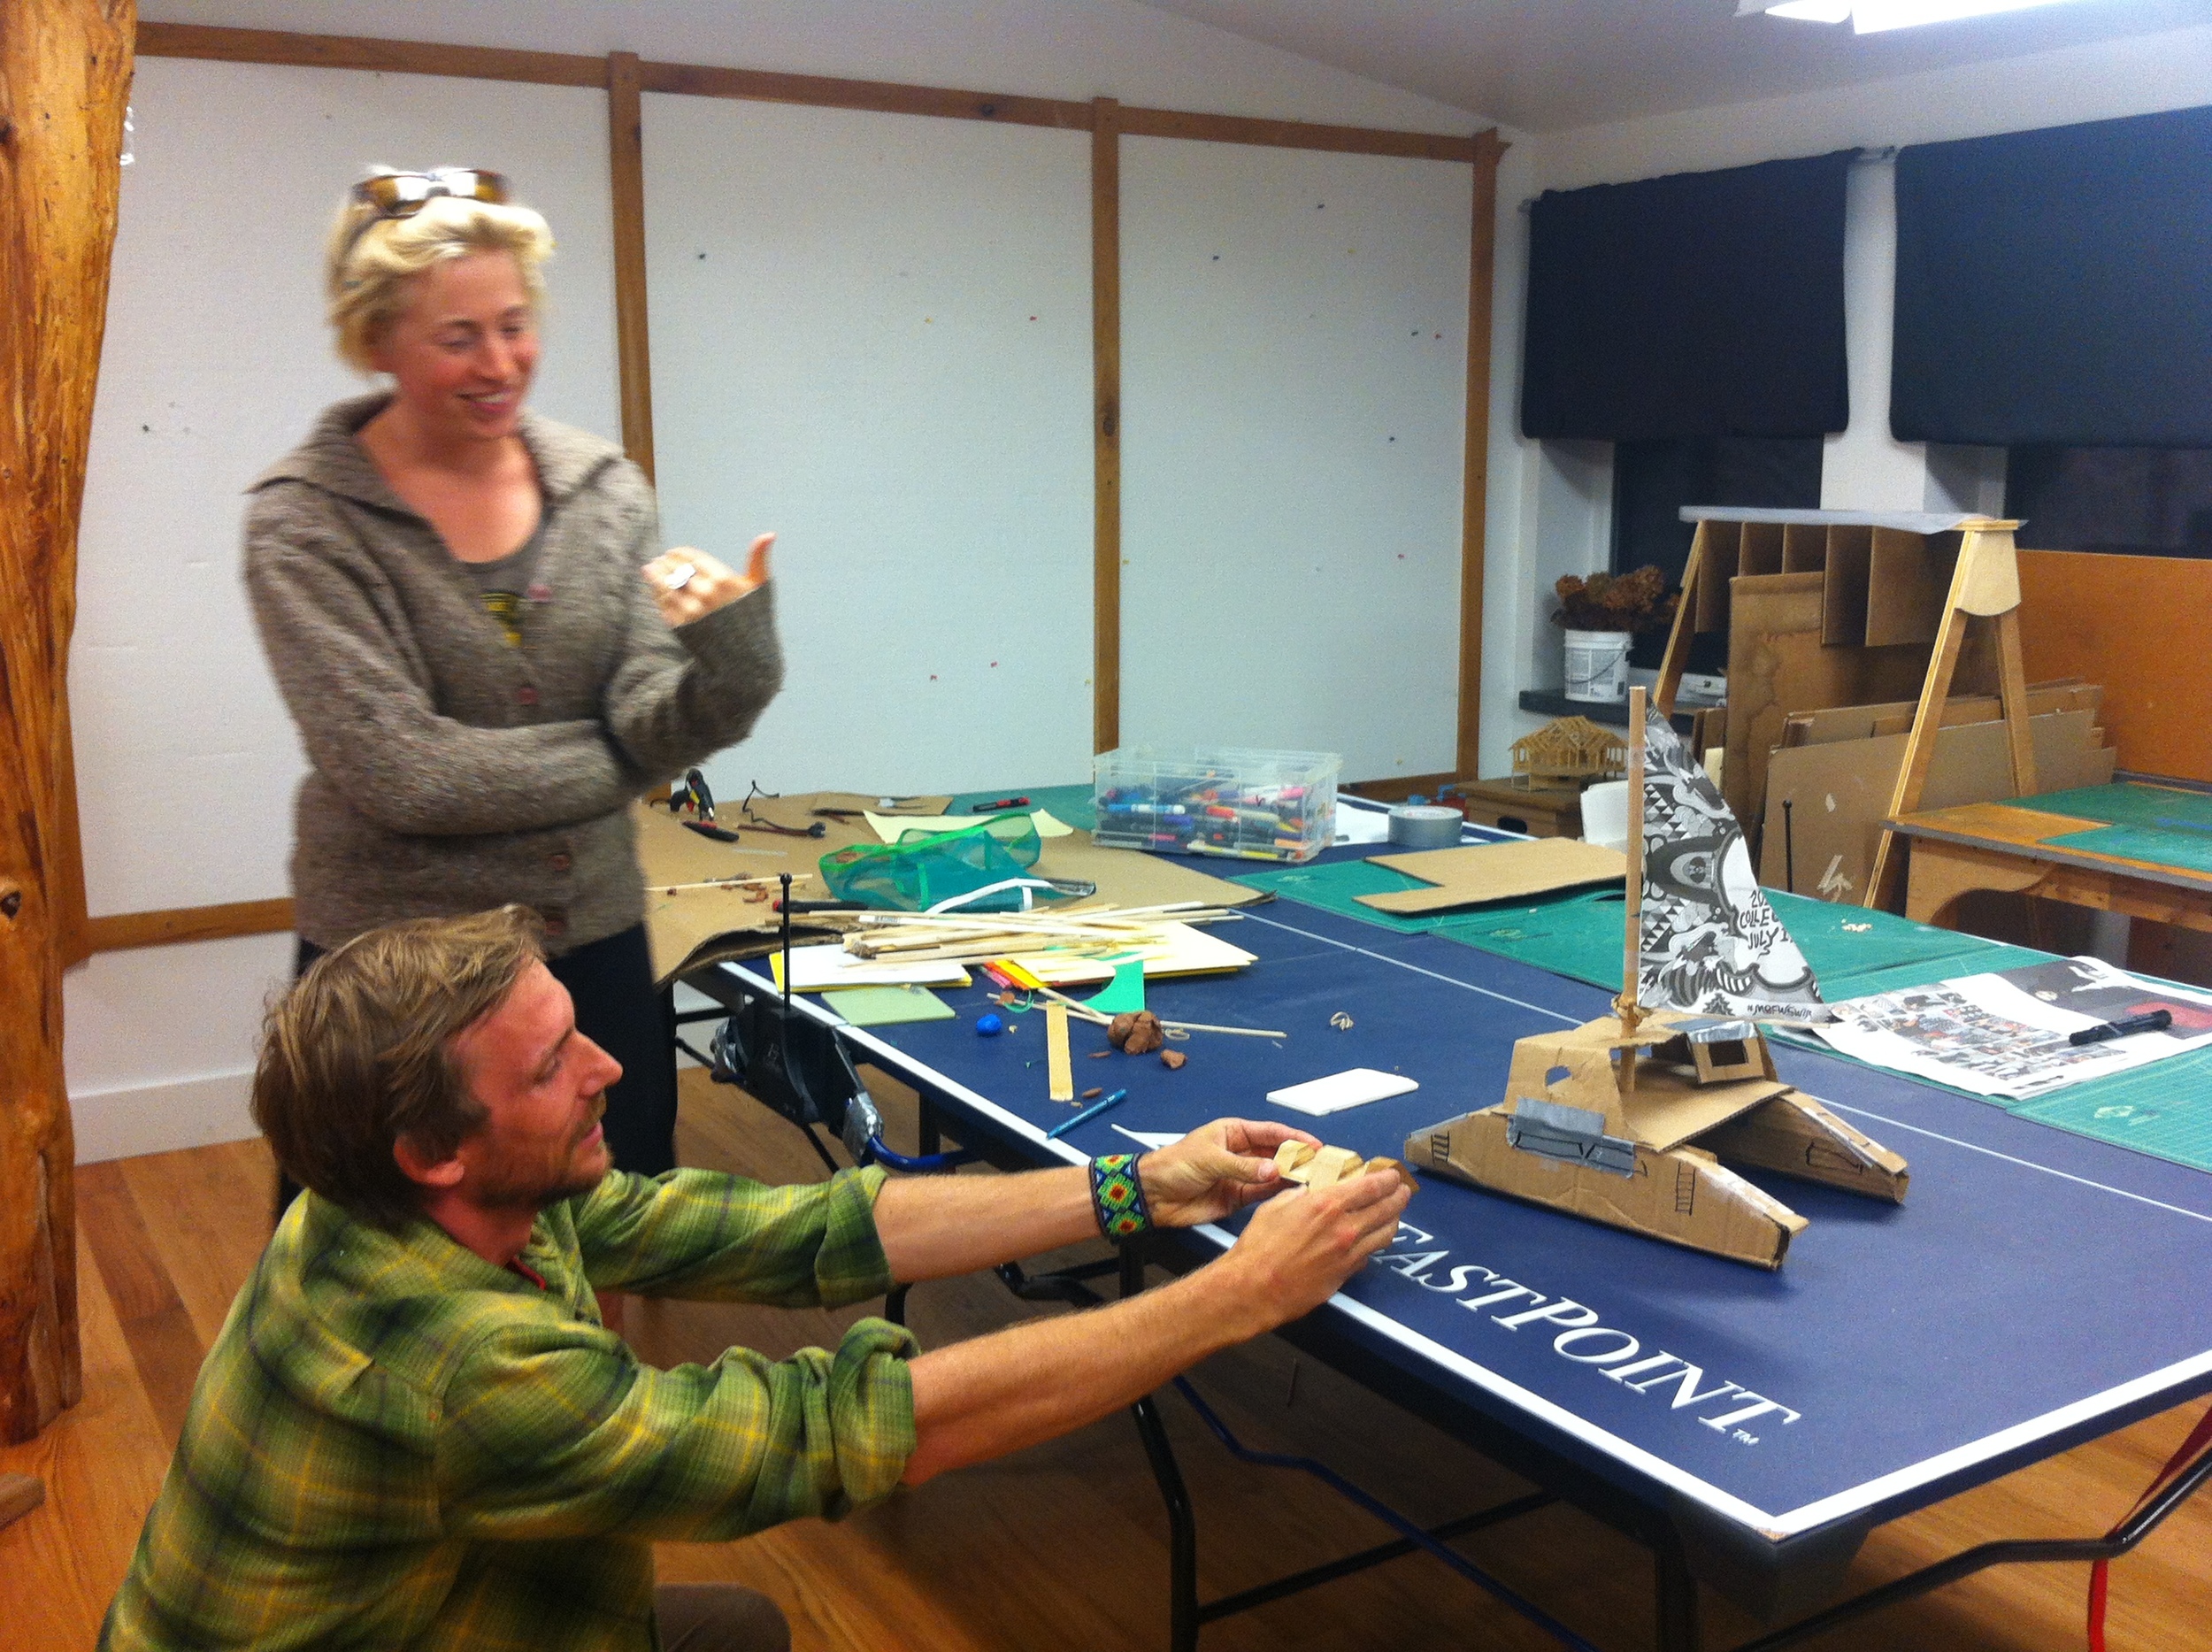
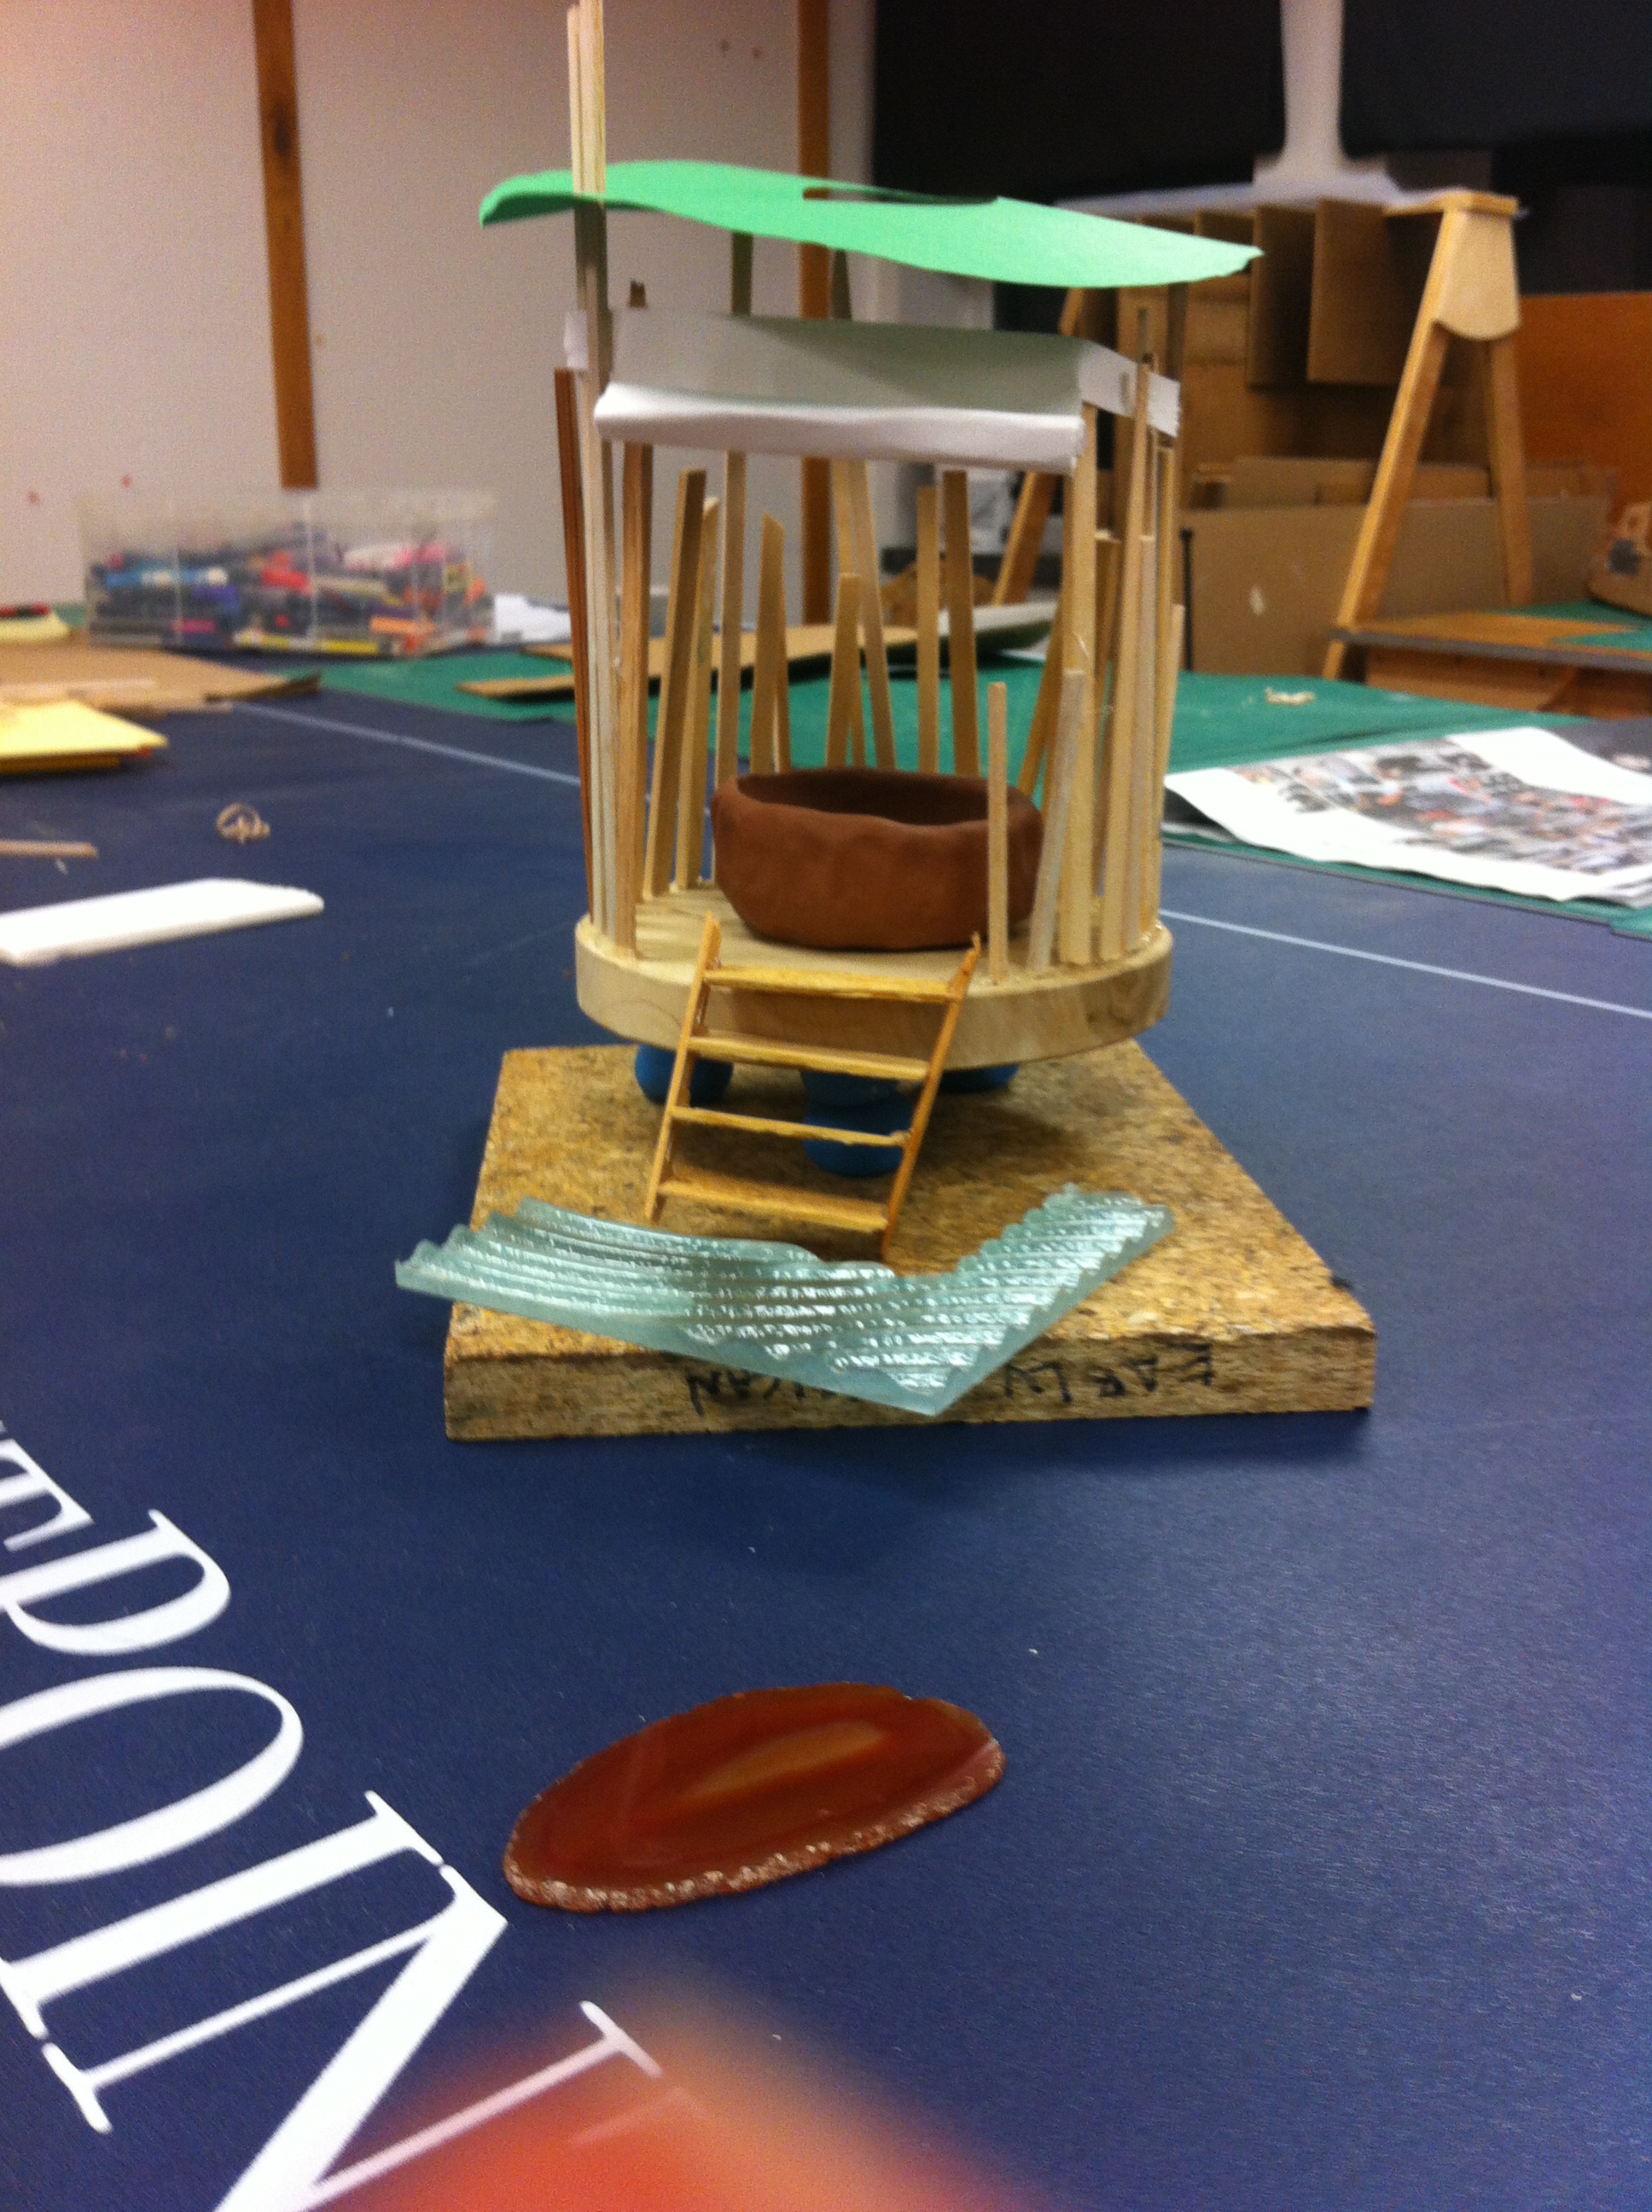
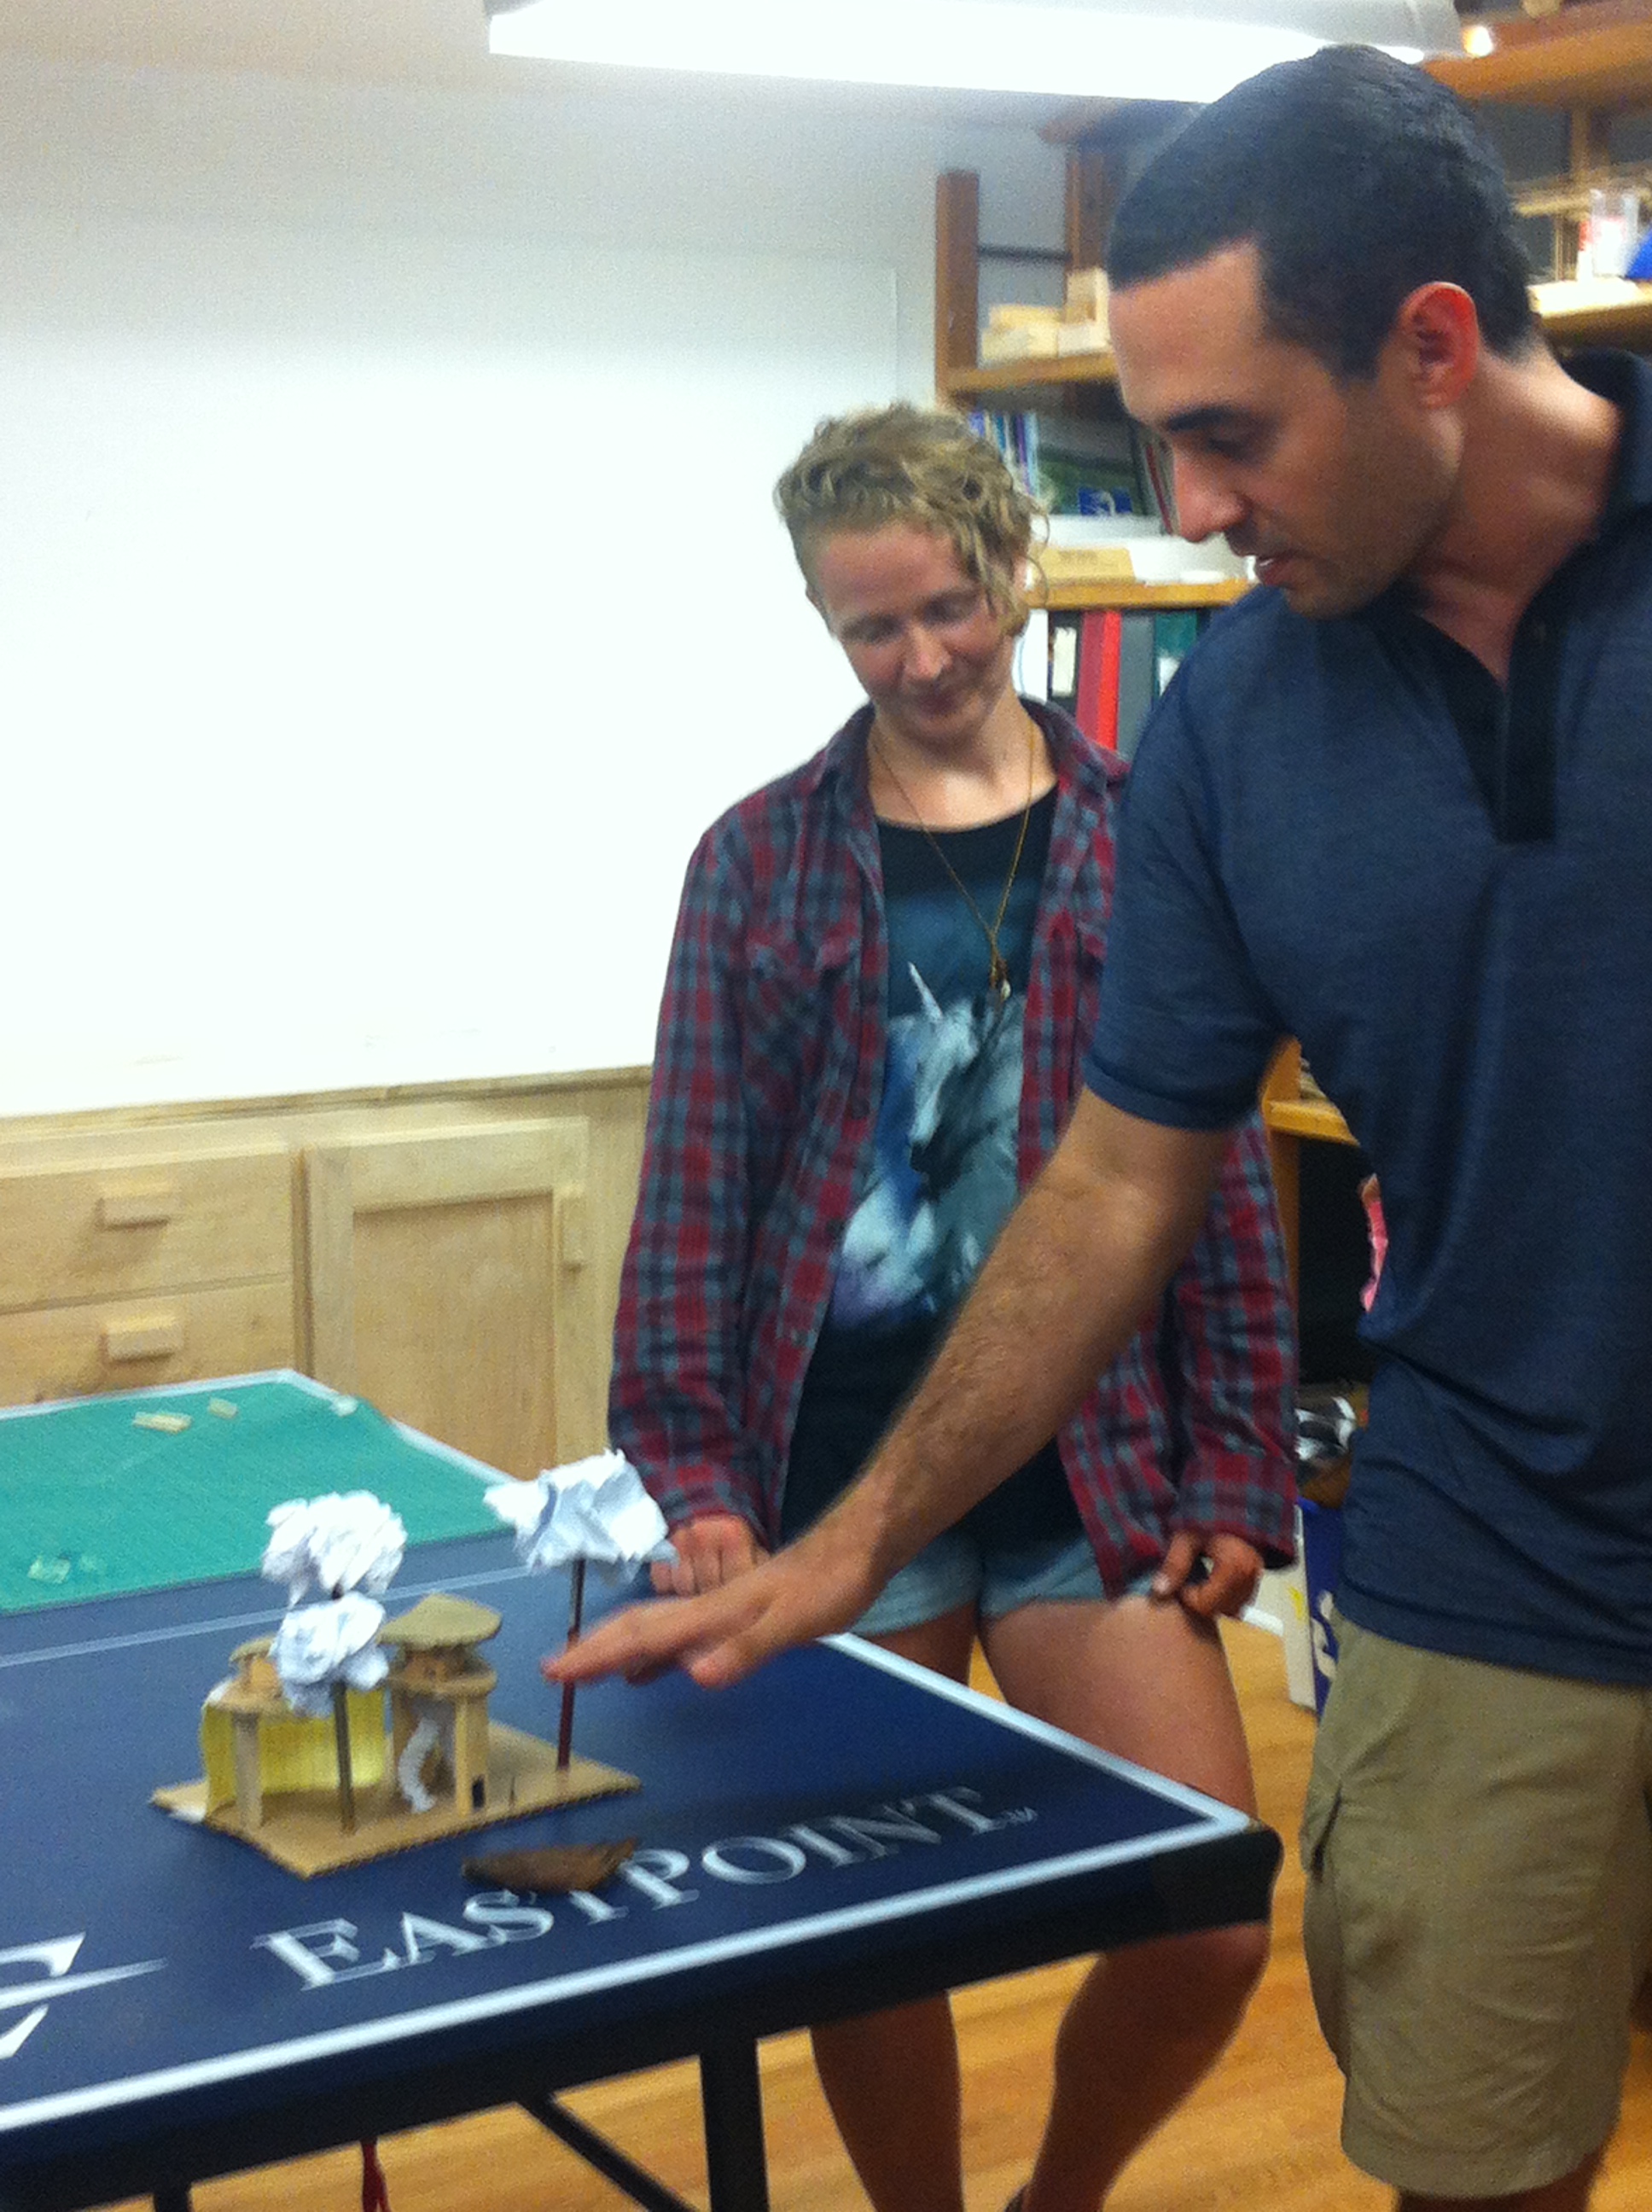
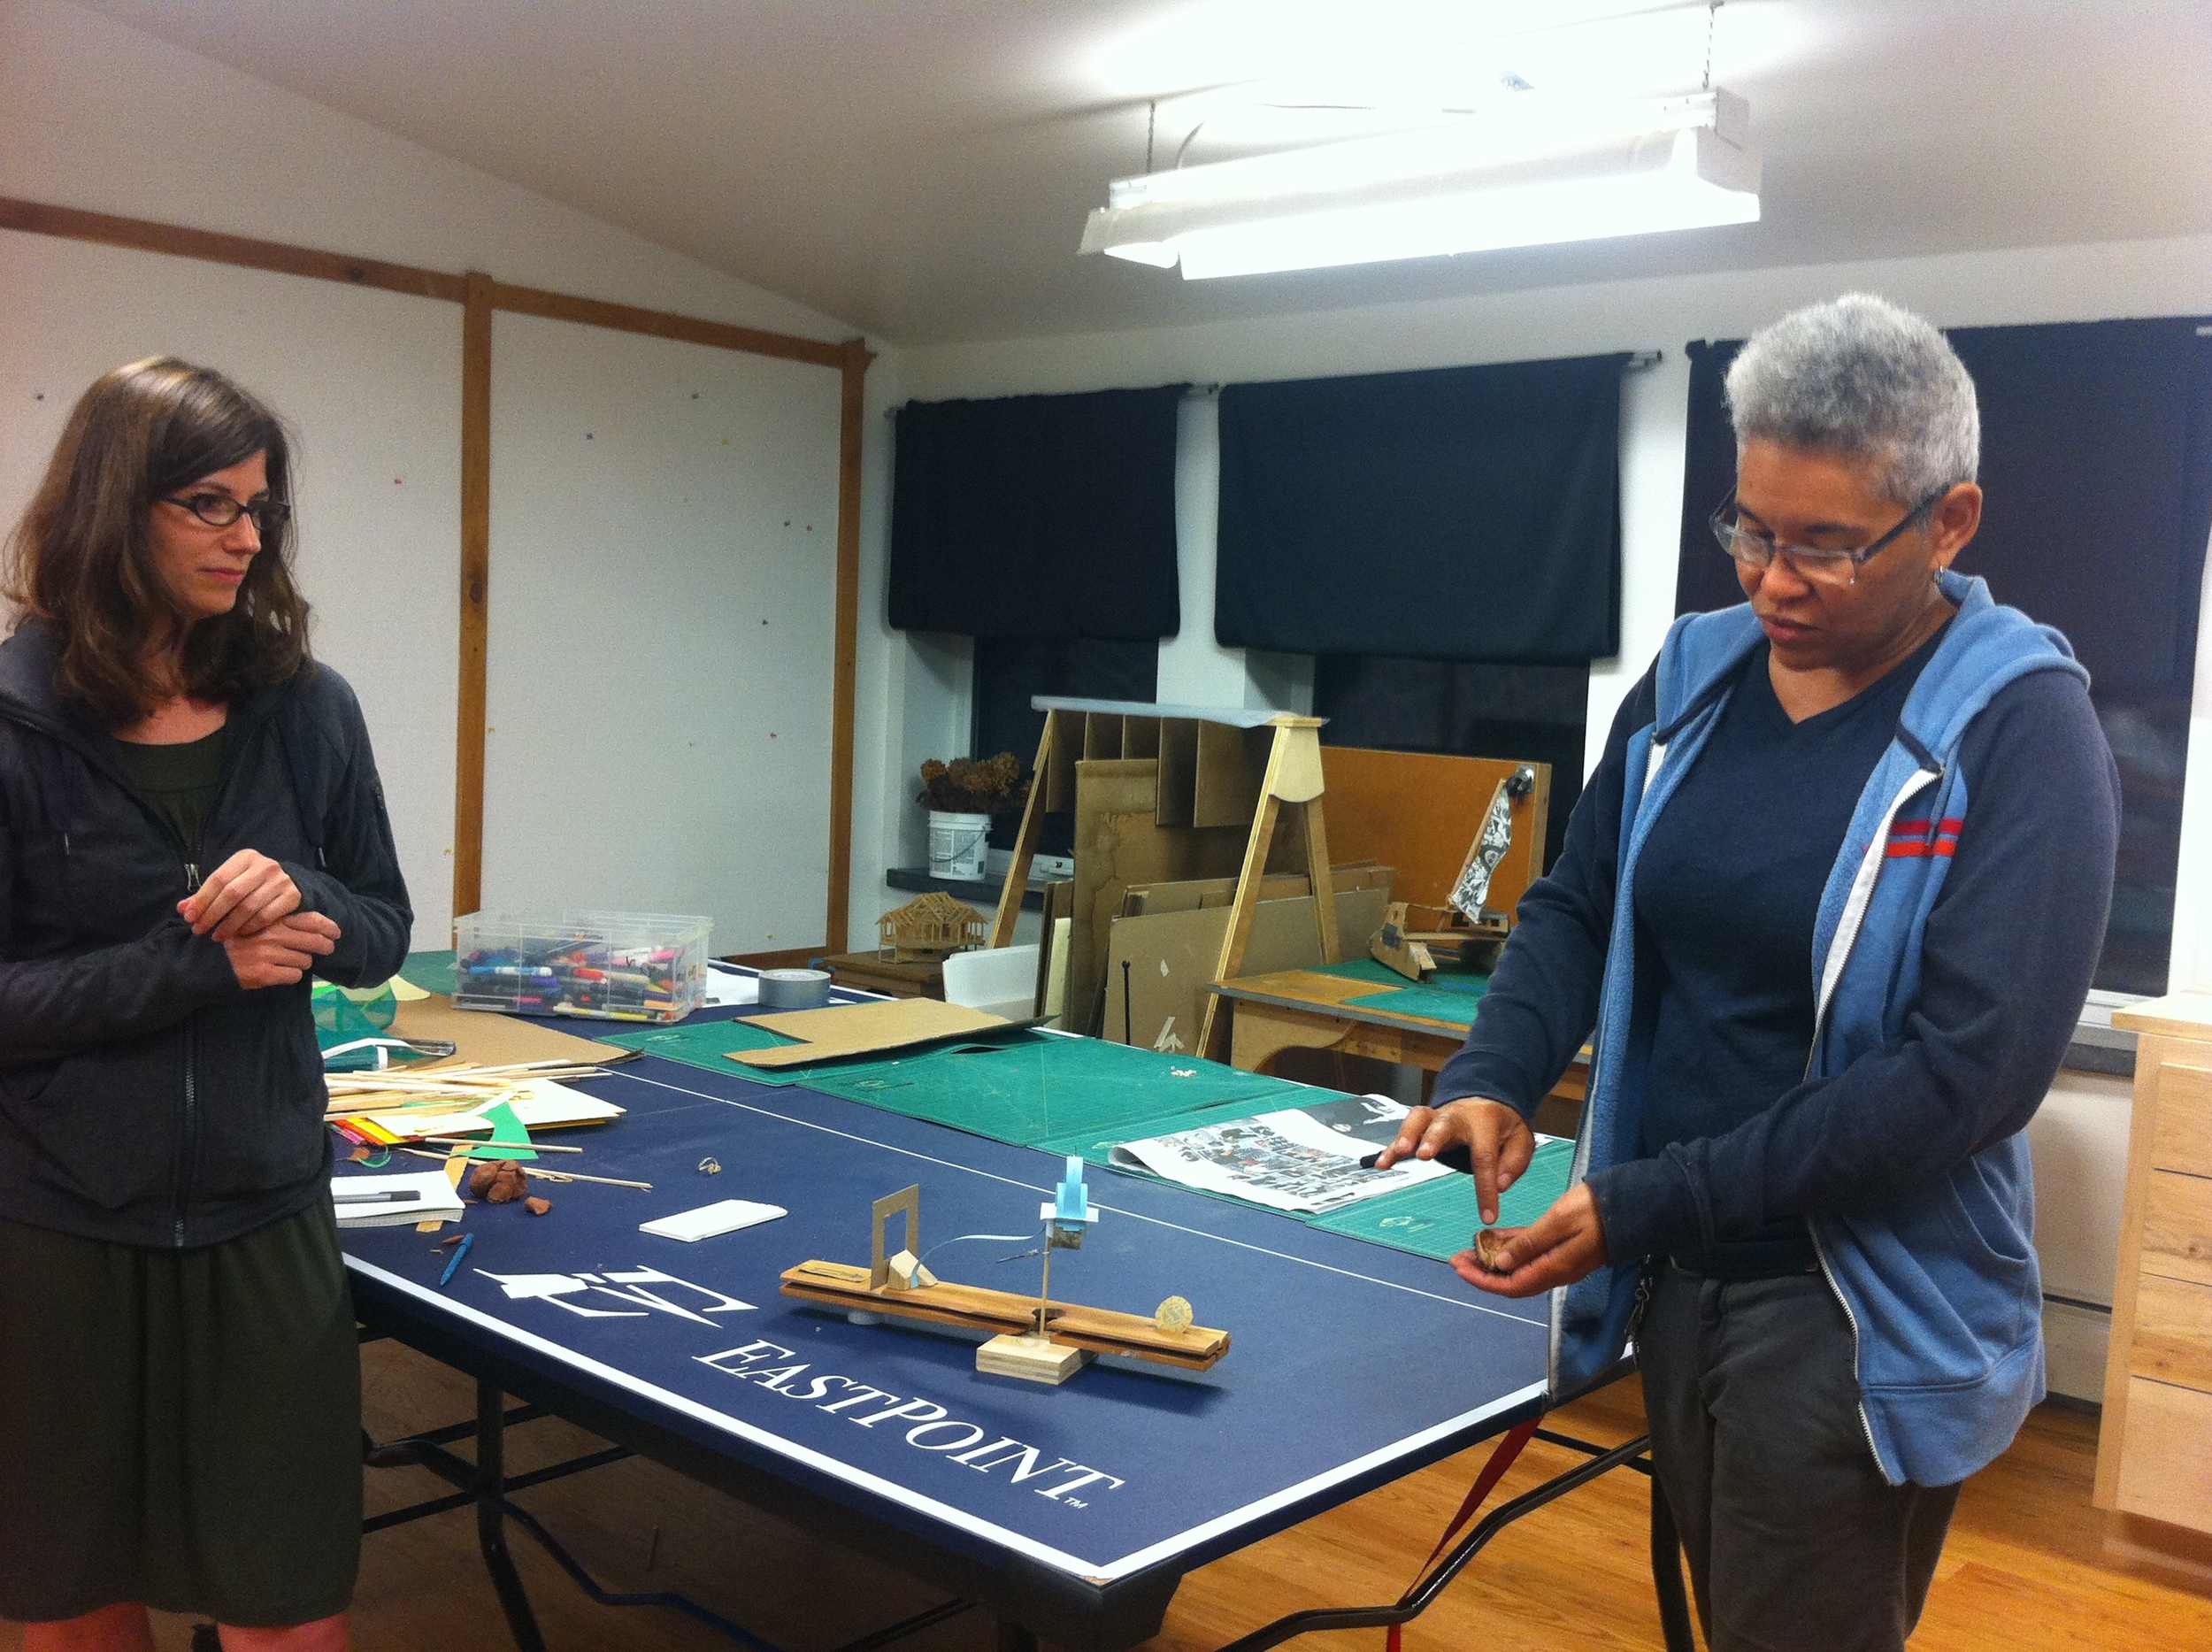
We started out with a parti exercise in which the students paired up to create a concept model for a structure based on inspiration from one of Paul's found objects. It was great fun to see the creativity flowing and the neat results of teamwork.
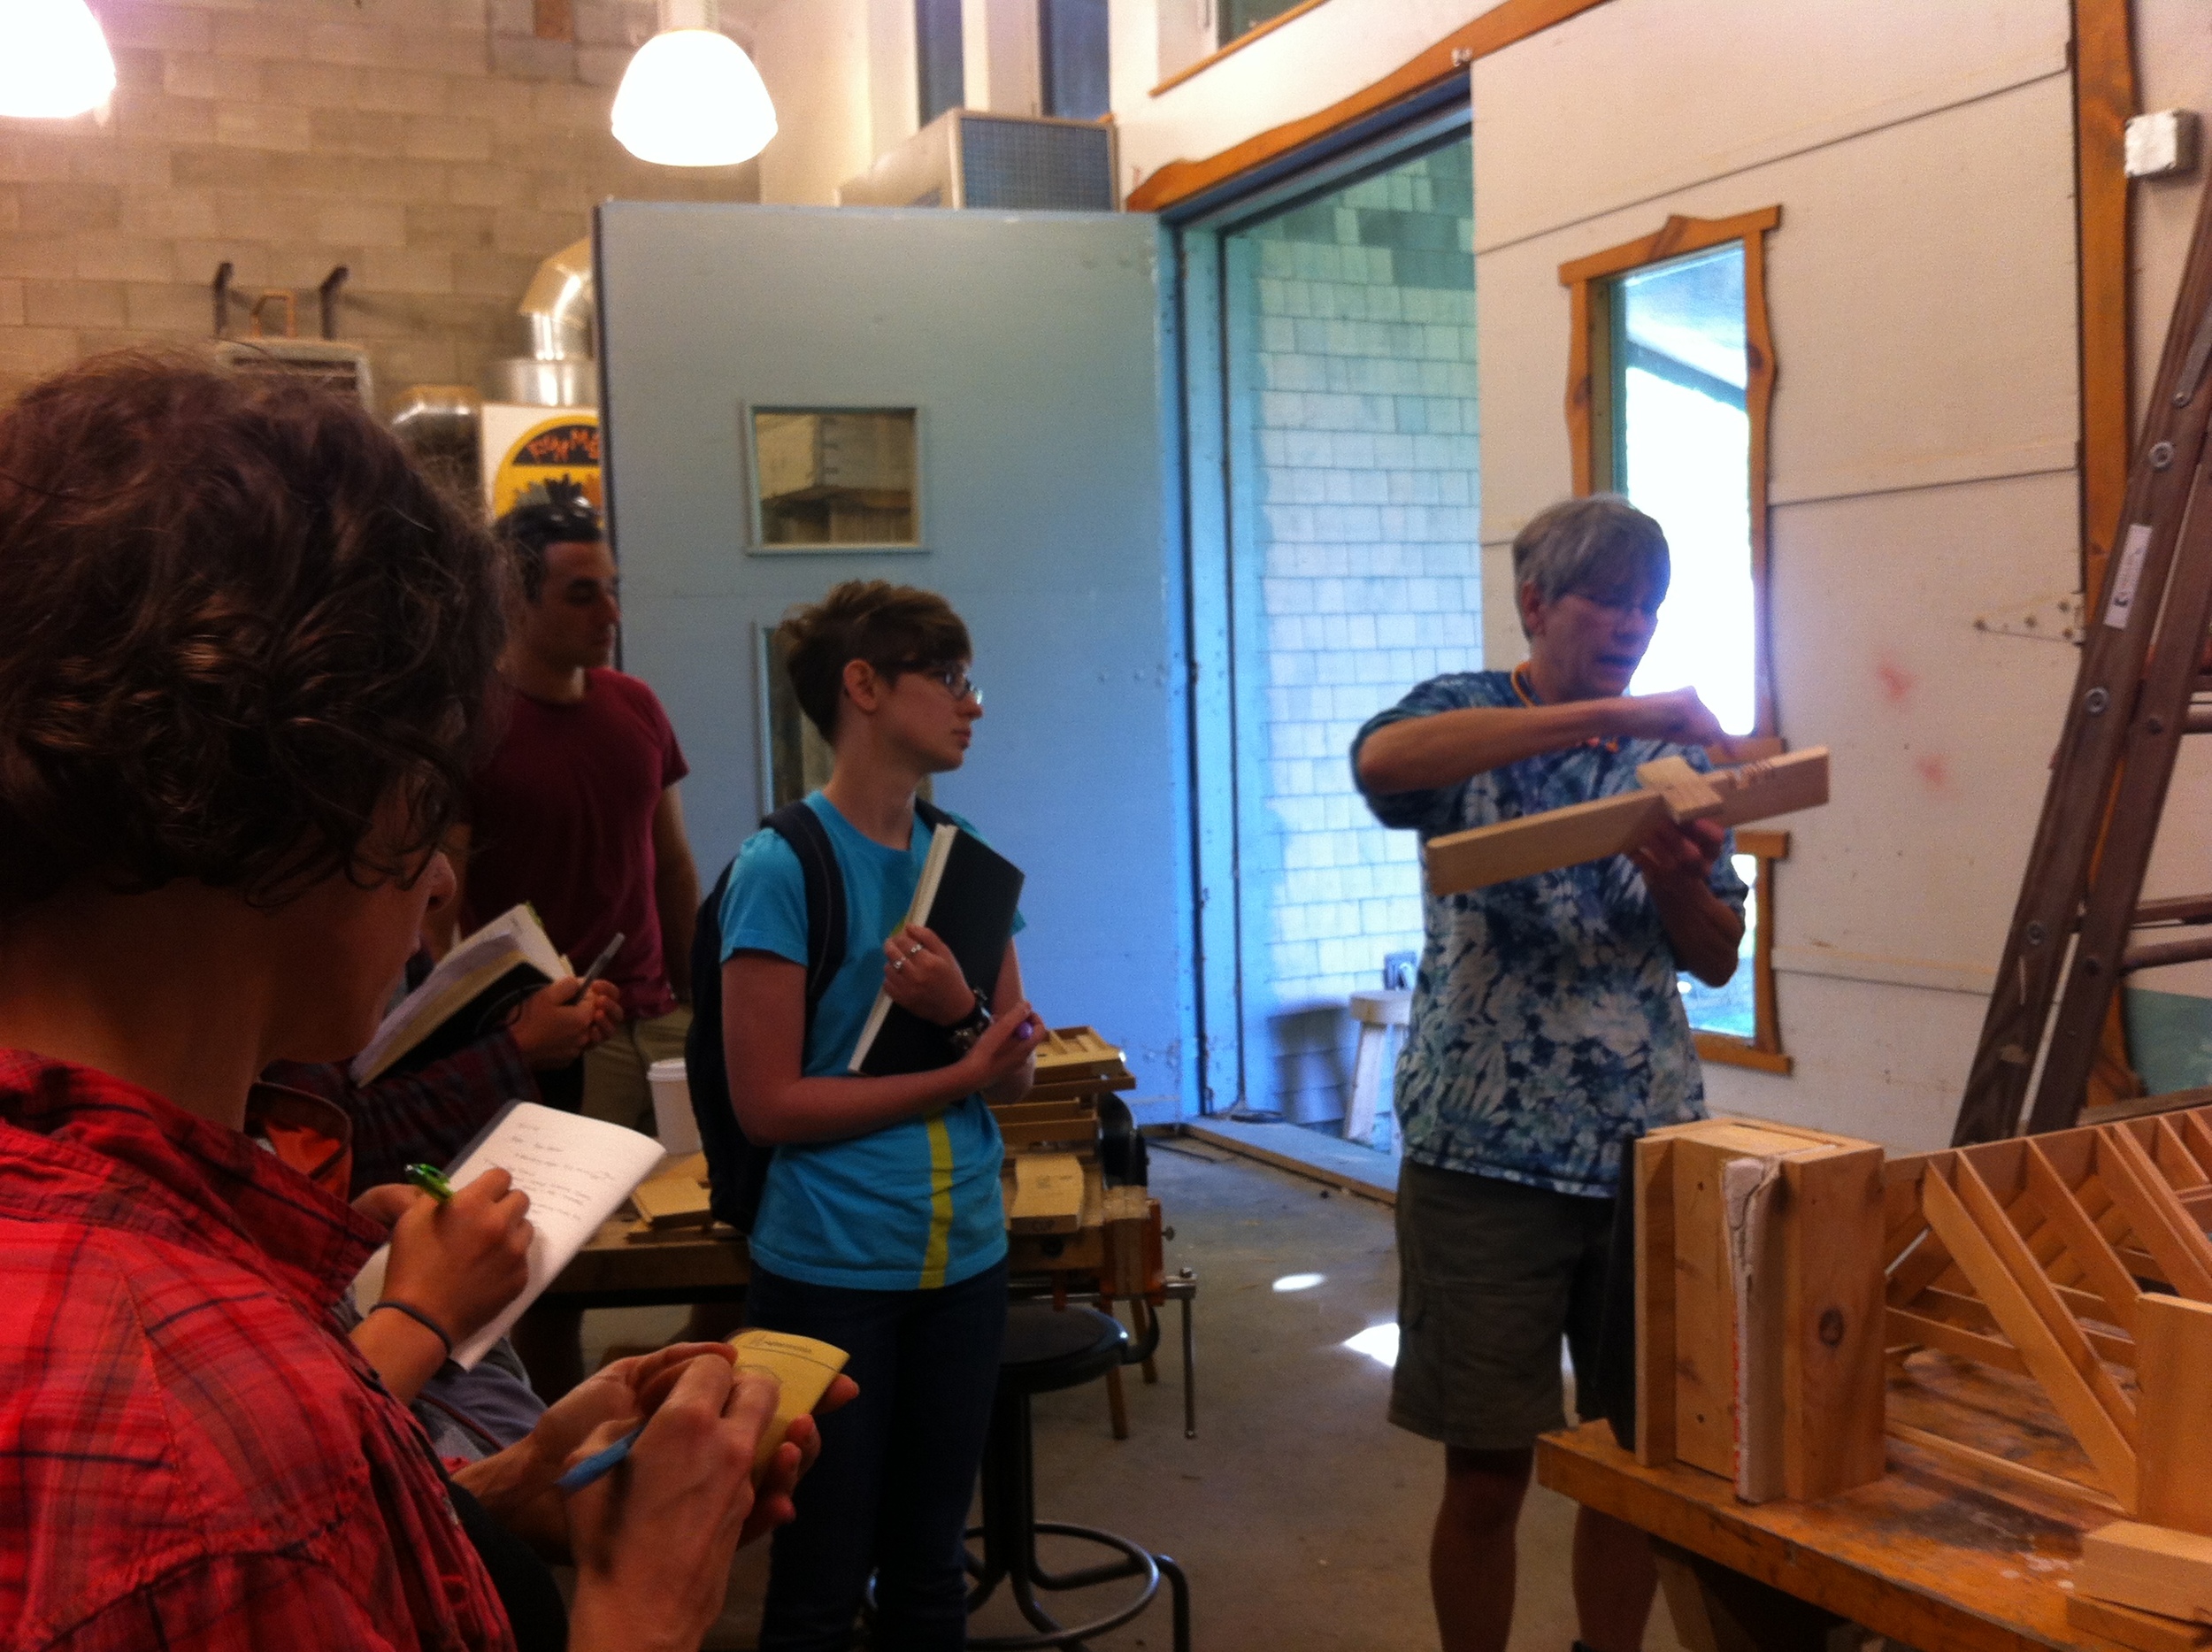
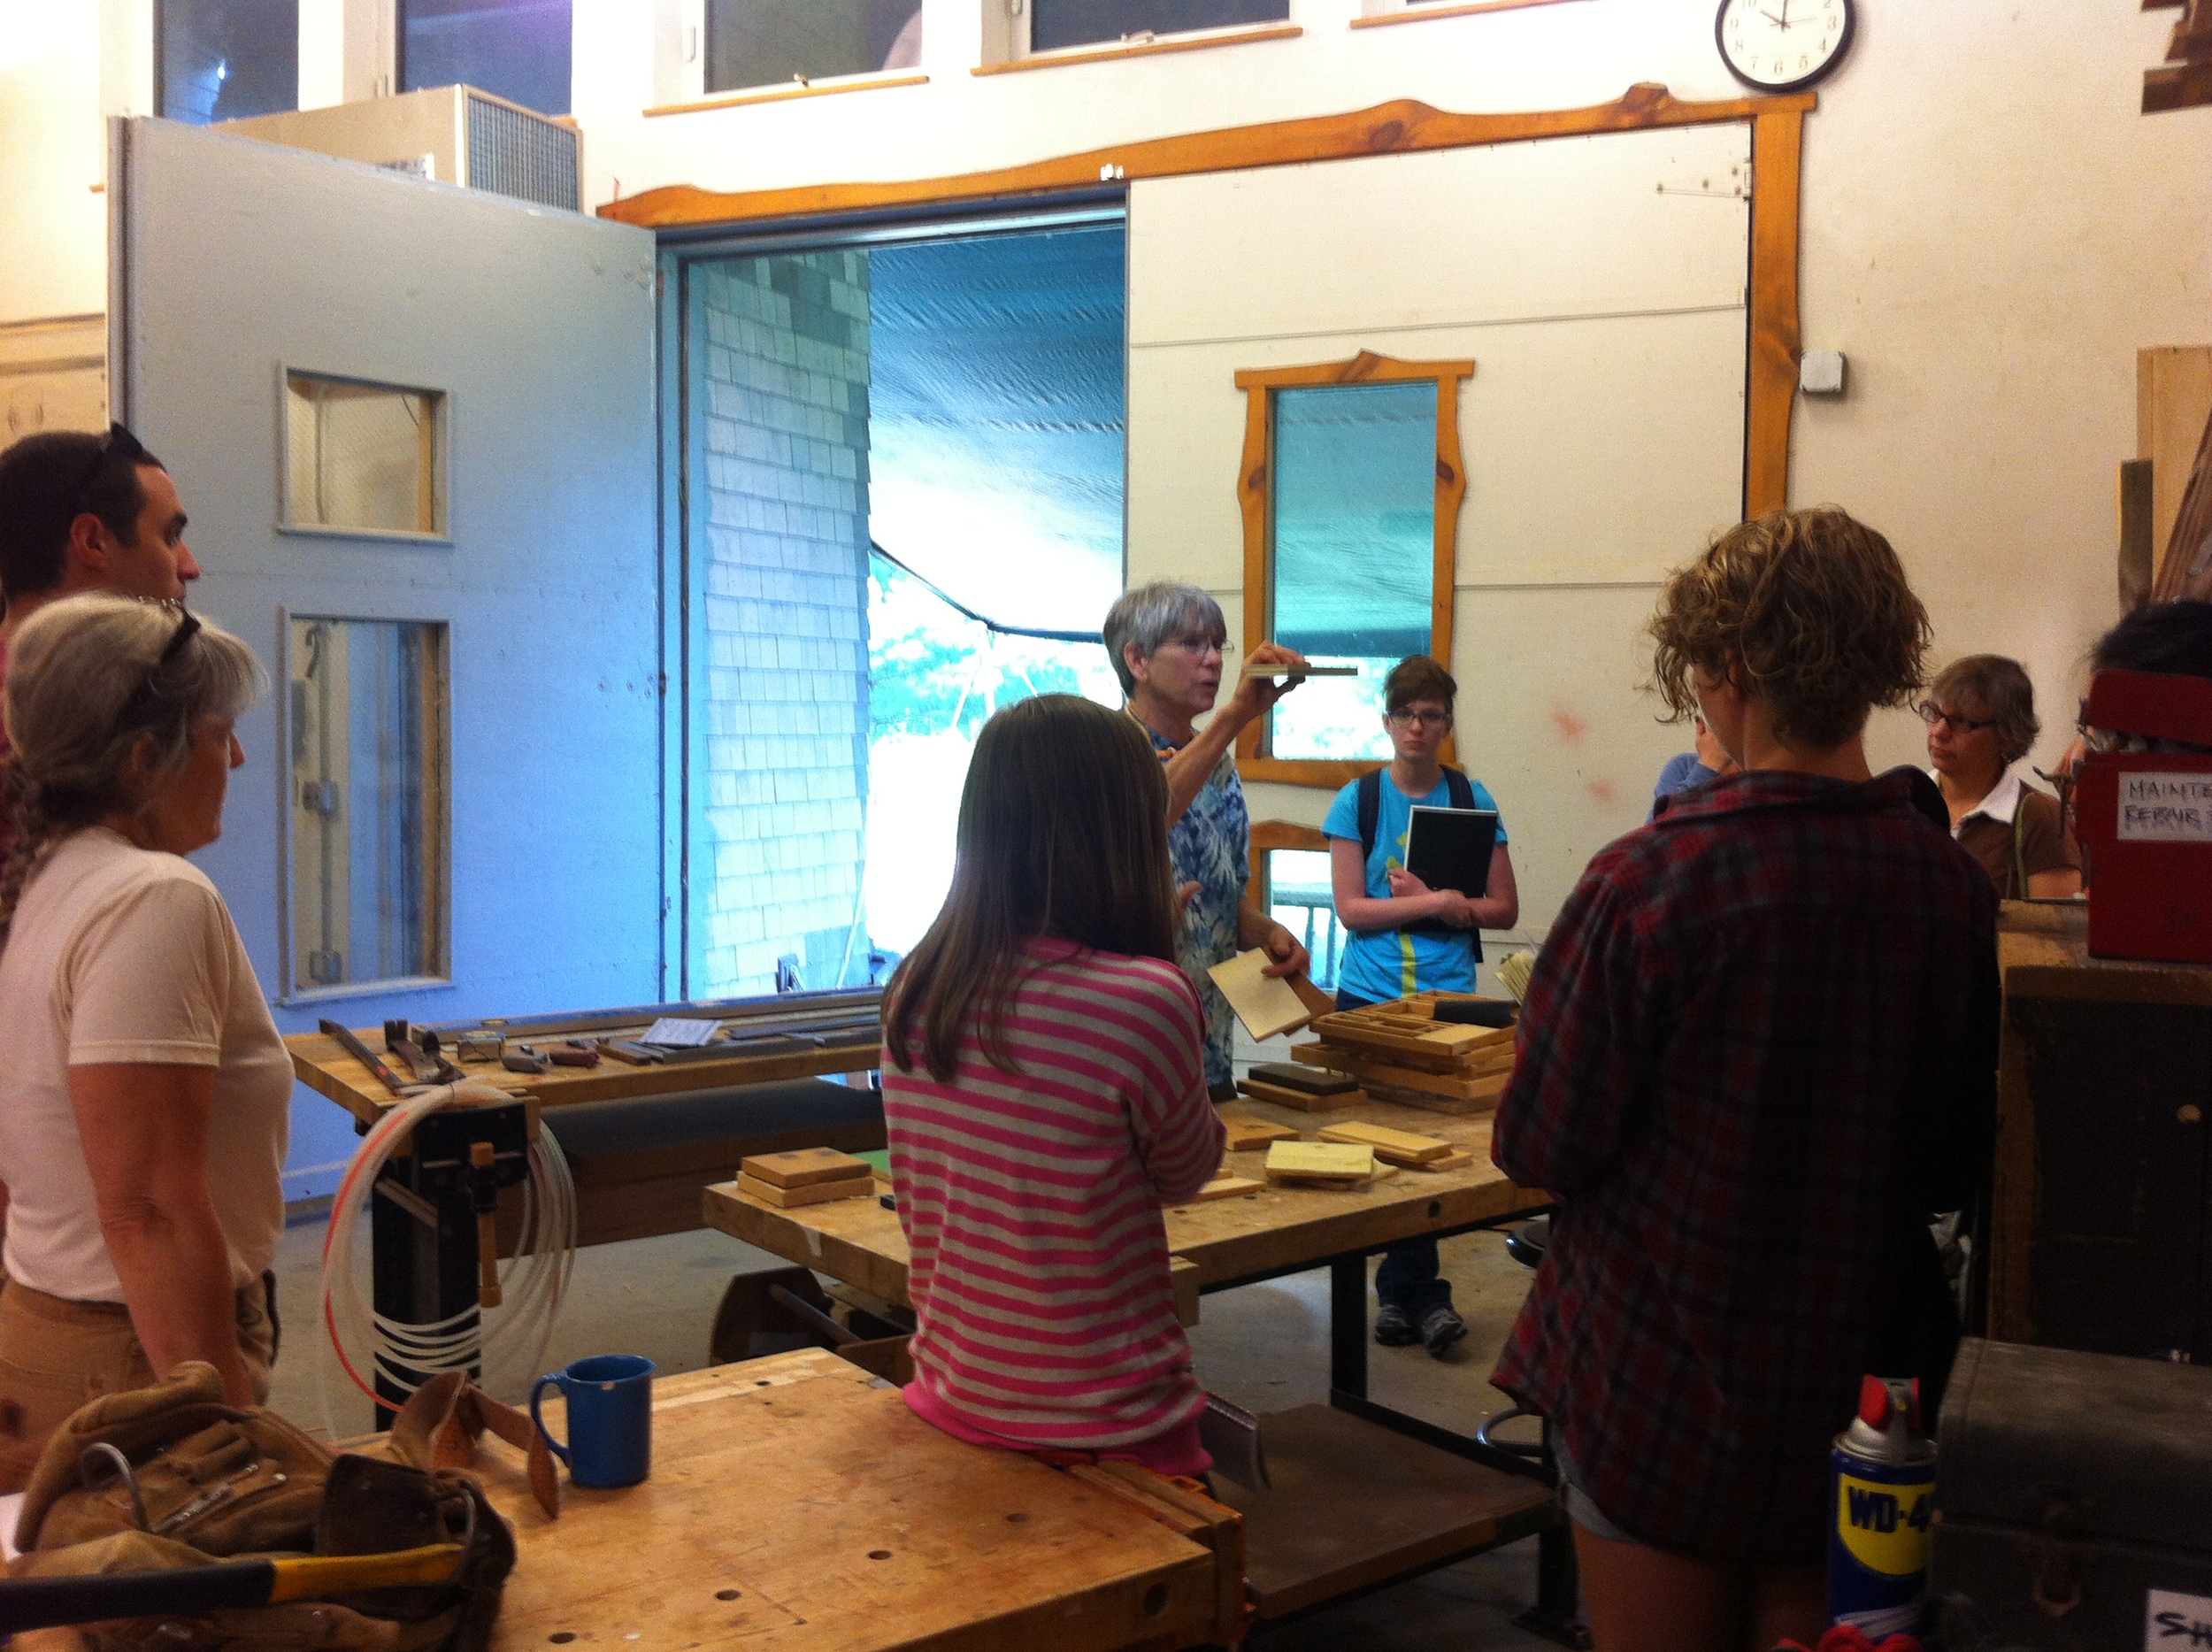
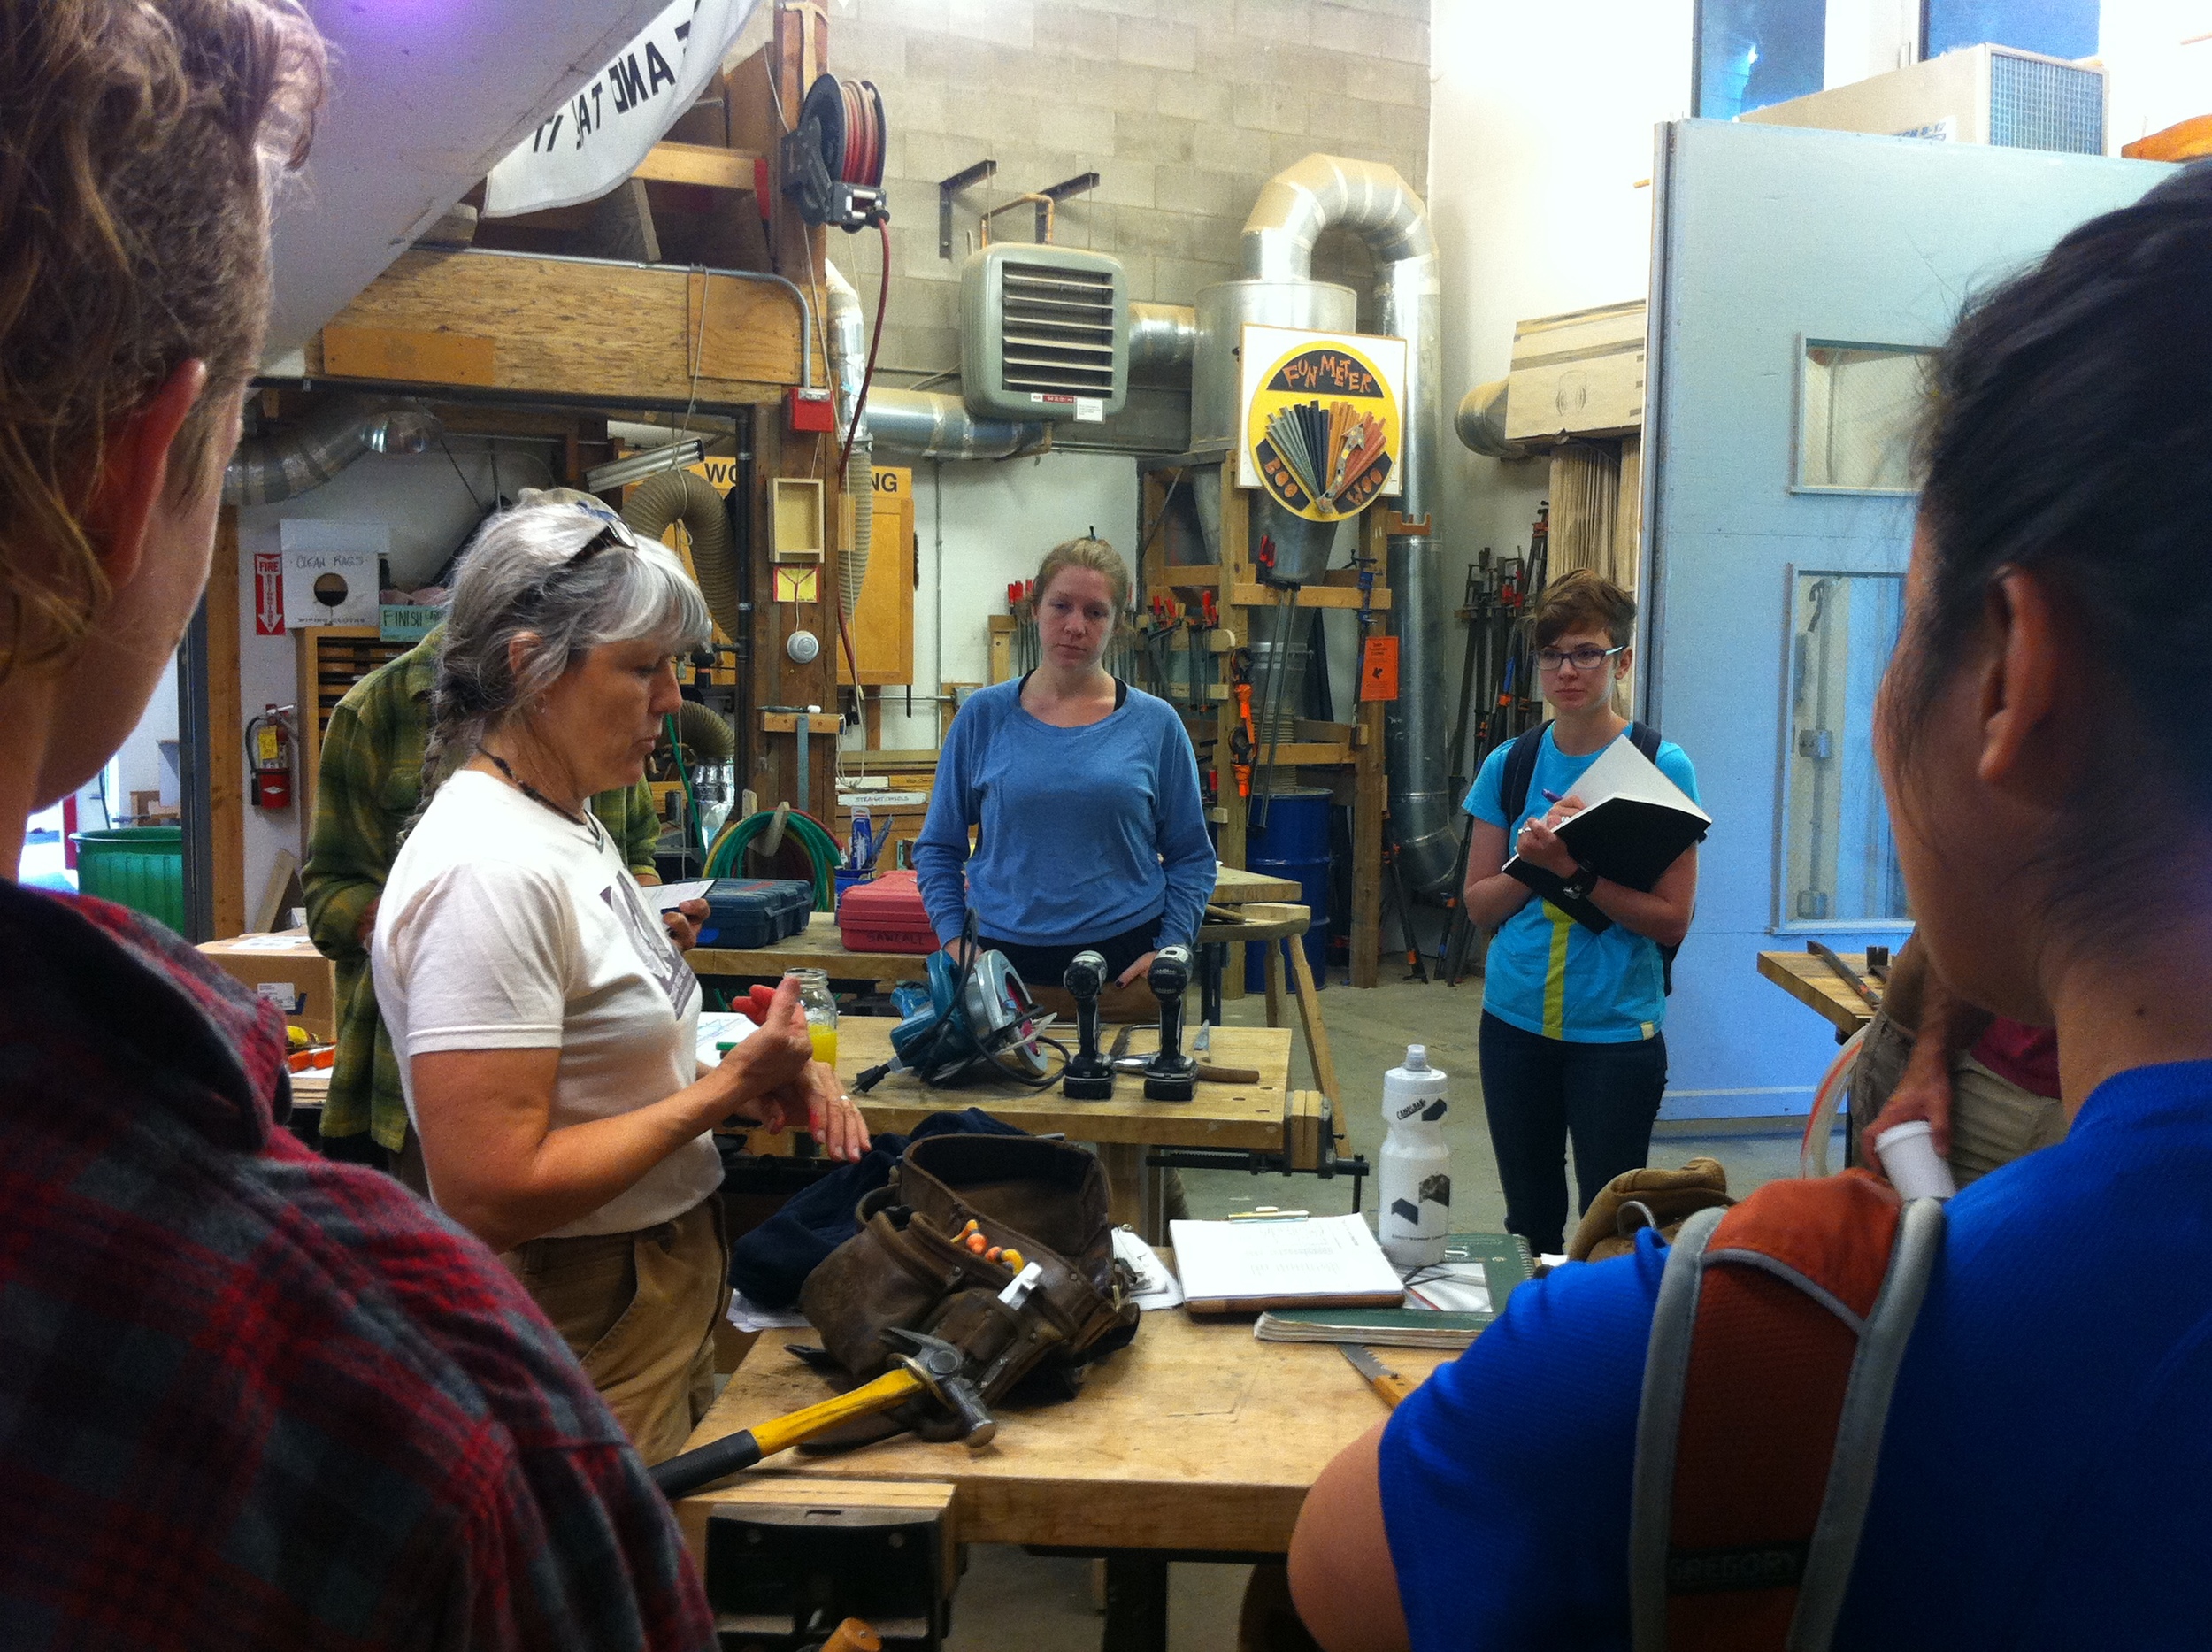
We have an action-packed schedule, which includes tiny house tours, presentations, construction, and design time in the studio. I don’t plan to blog daily this year, but I’ll be inviting our students to guest blog, so I hope some of them choose to share their experiences with you. Follow along for the fun!


Tiny House Helpers
 My tiny house is now dried-in and I'm taking a break from building for a few weeks. This past weekend I made My Annual Pilgrimage to the Oregon Country Fair. This weekend I'm headed to Yestermorrow in Vermont to teach the two-week Tiny House Design-Build class.
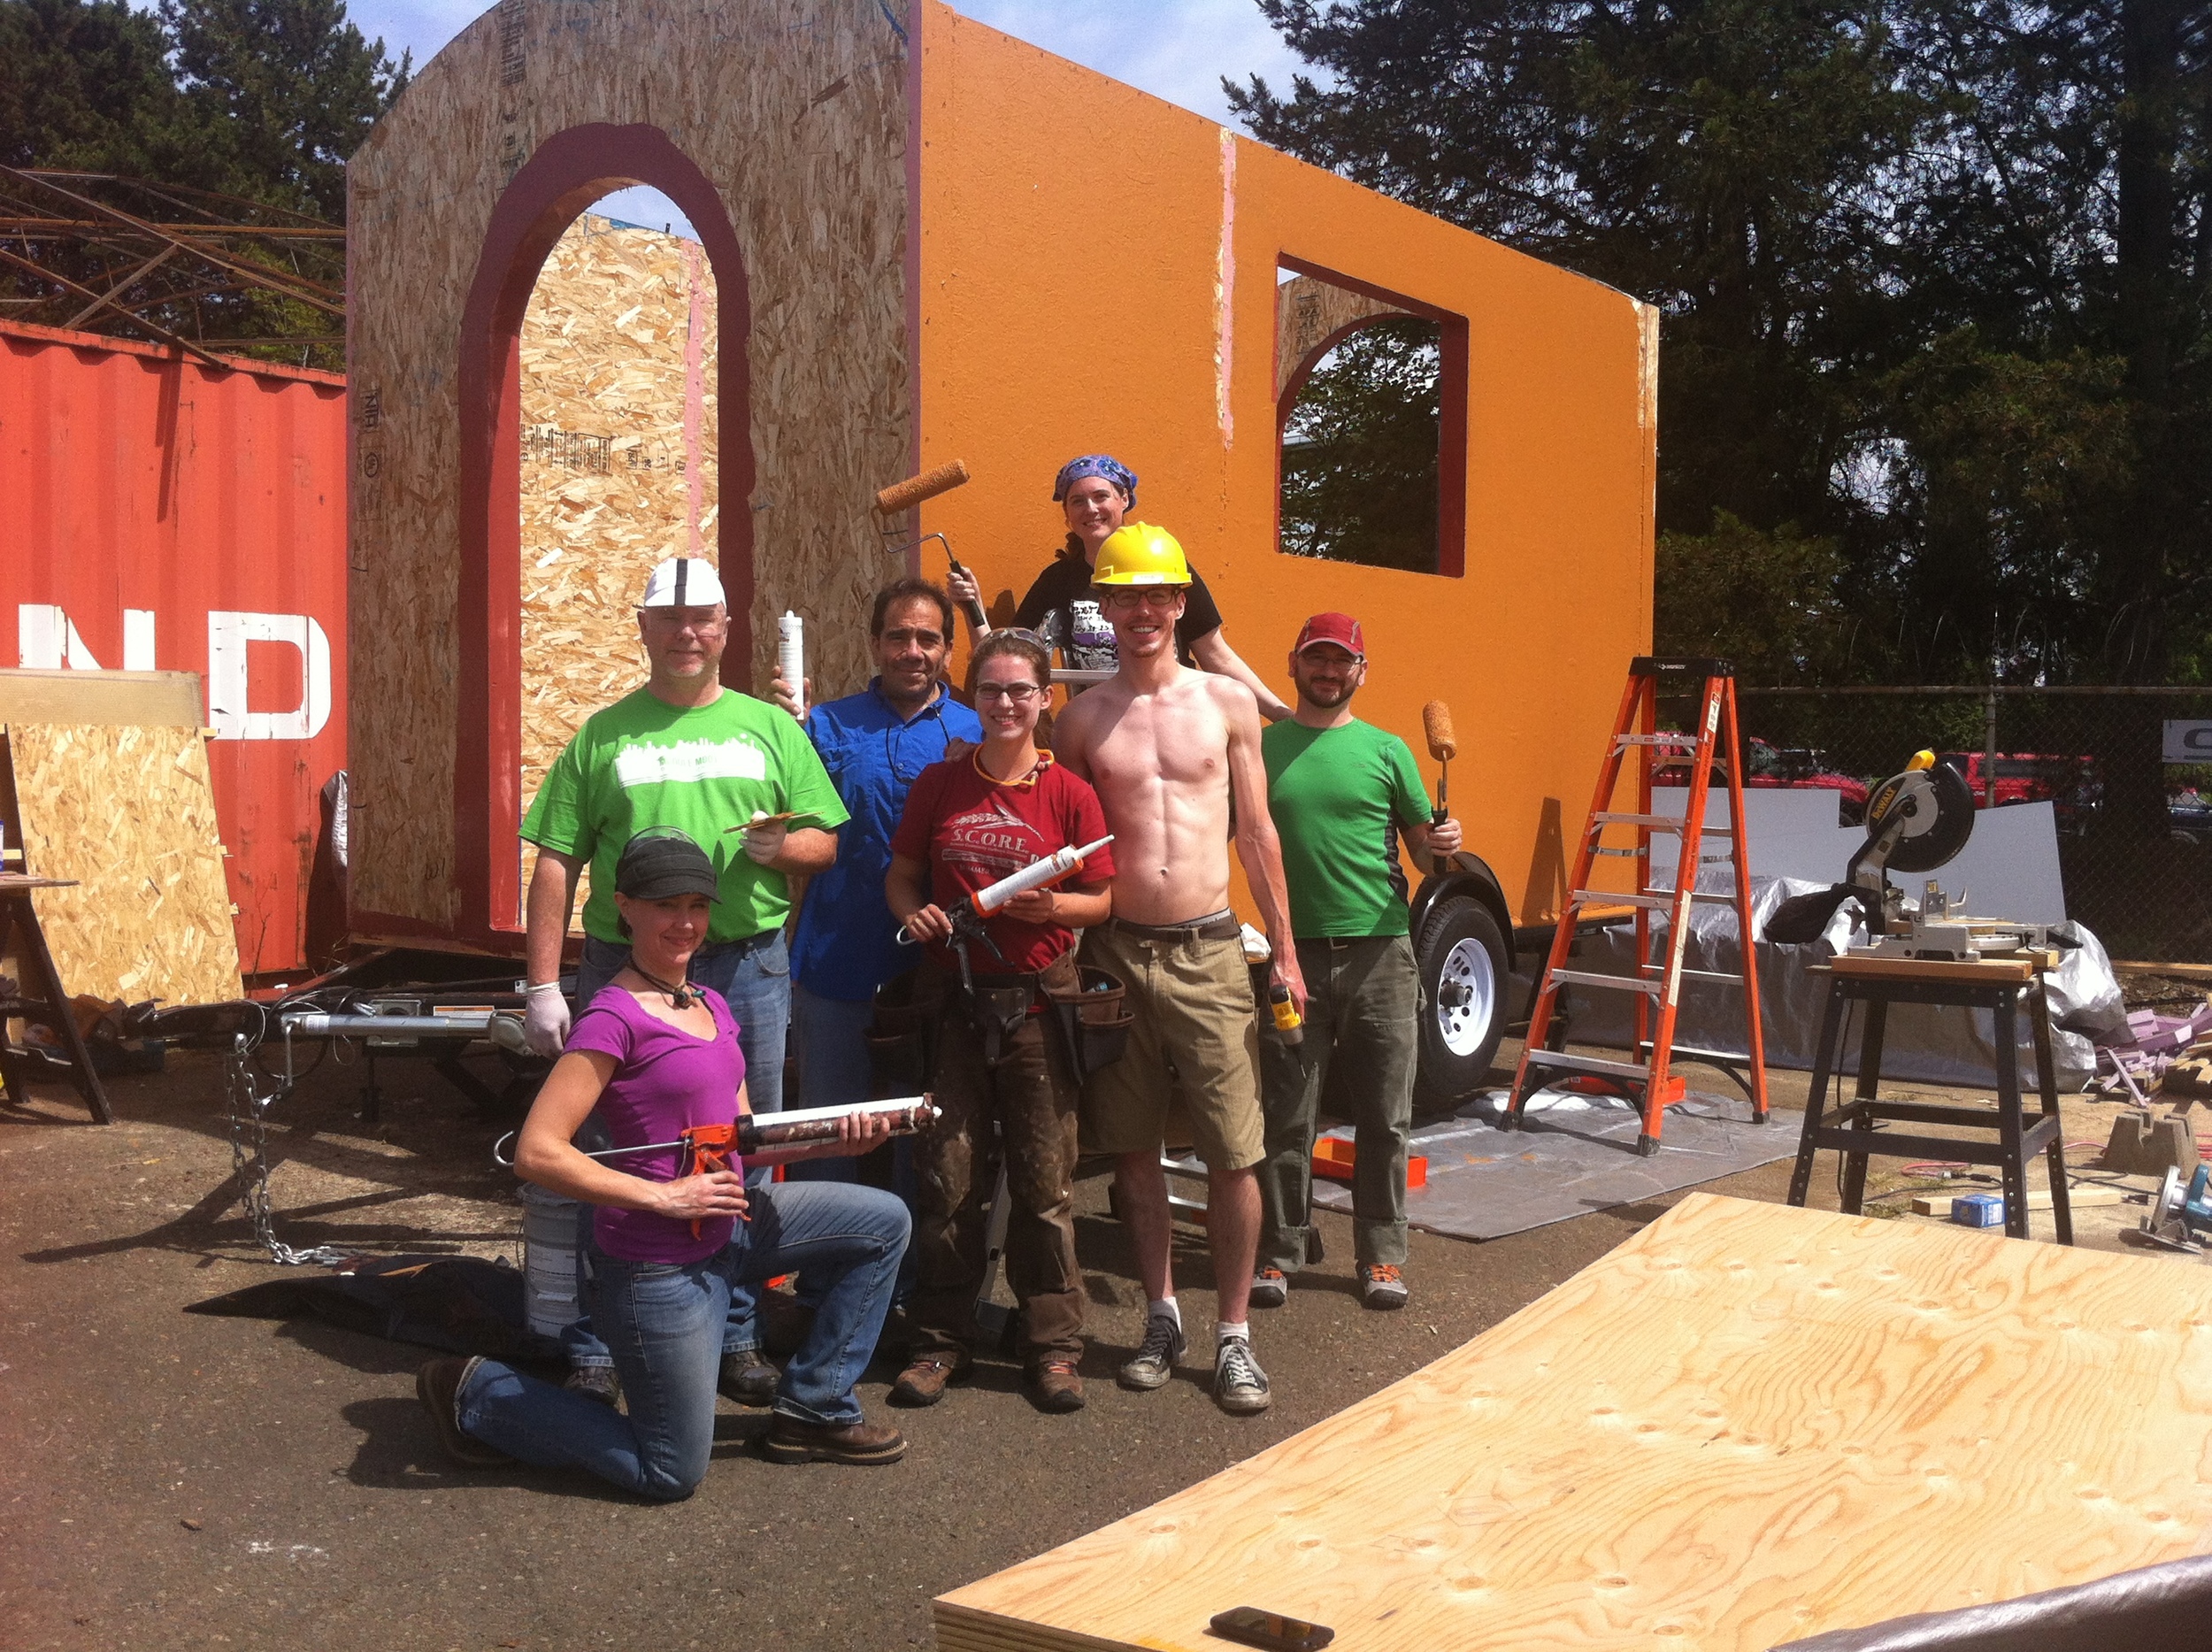
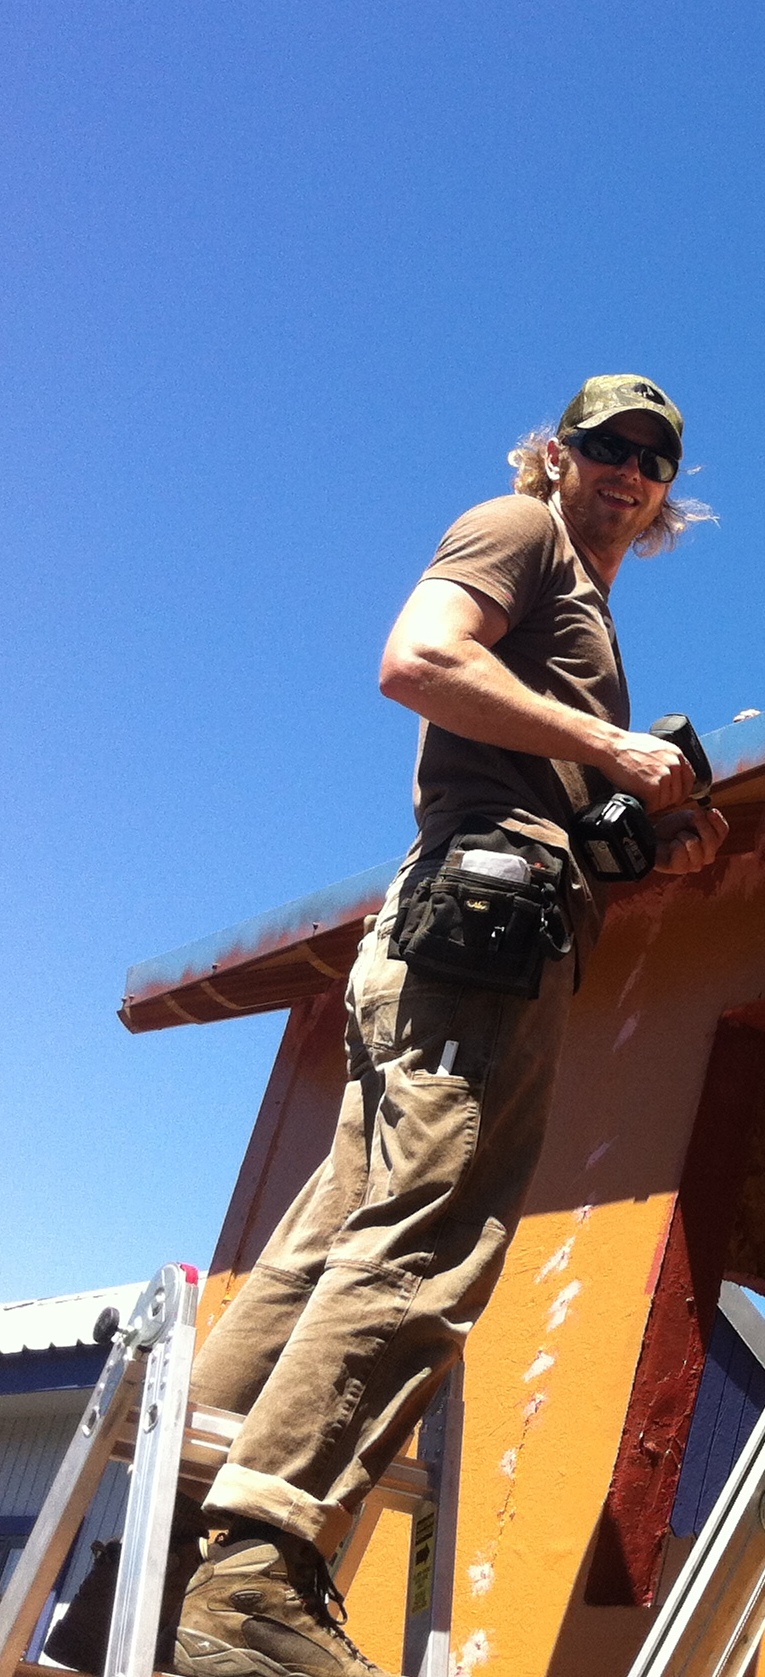
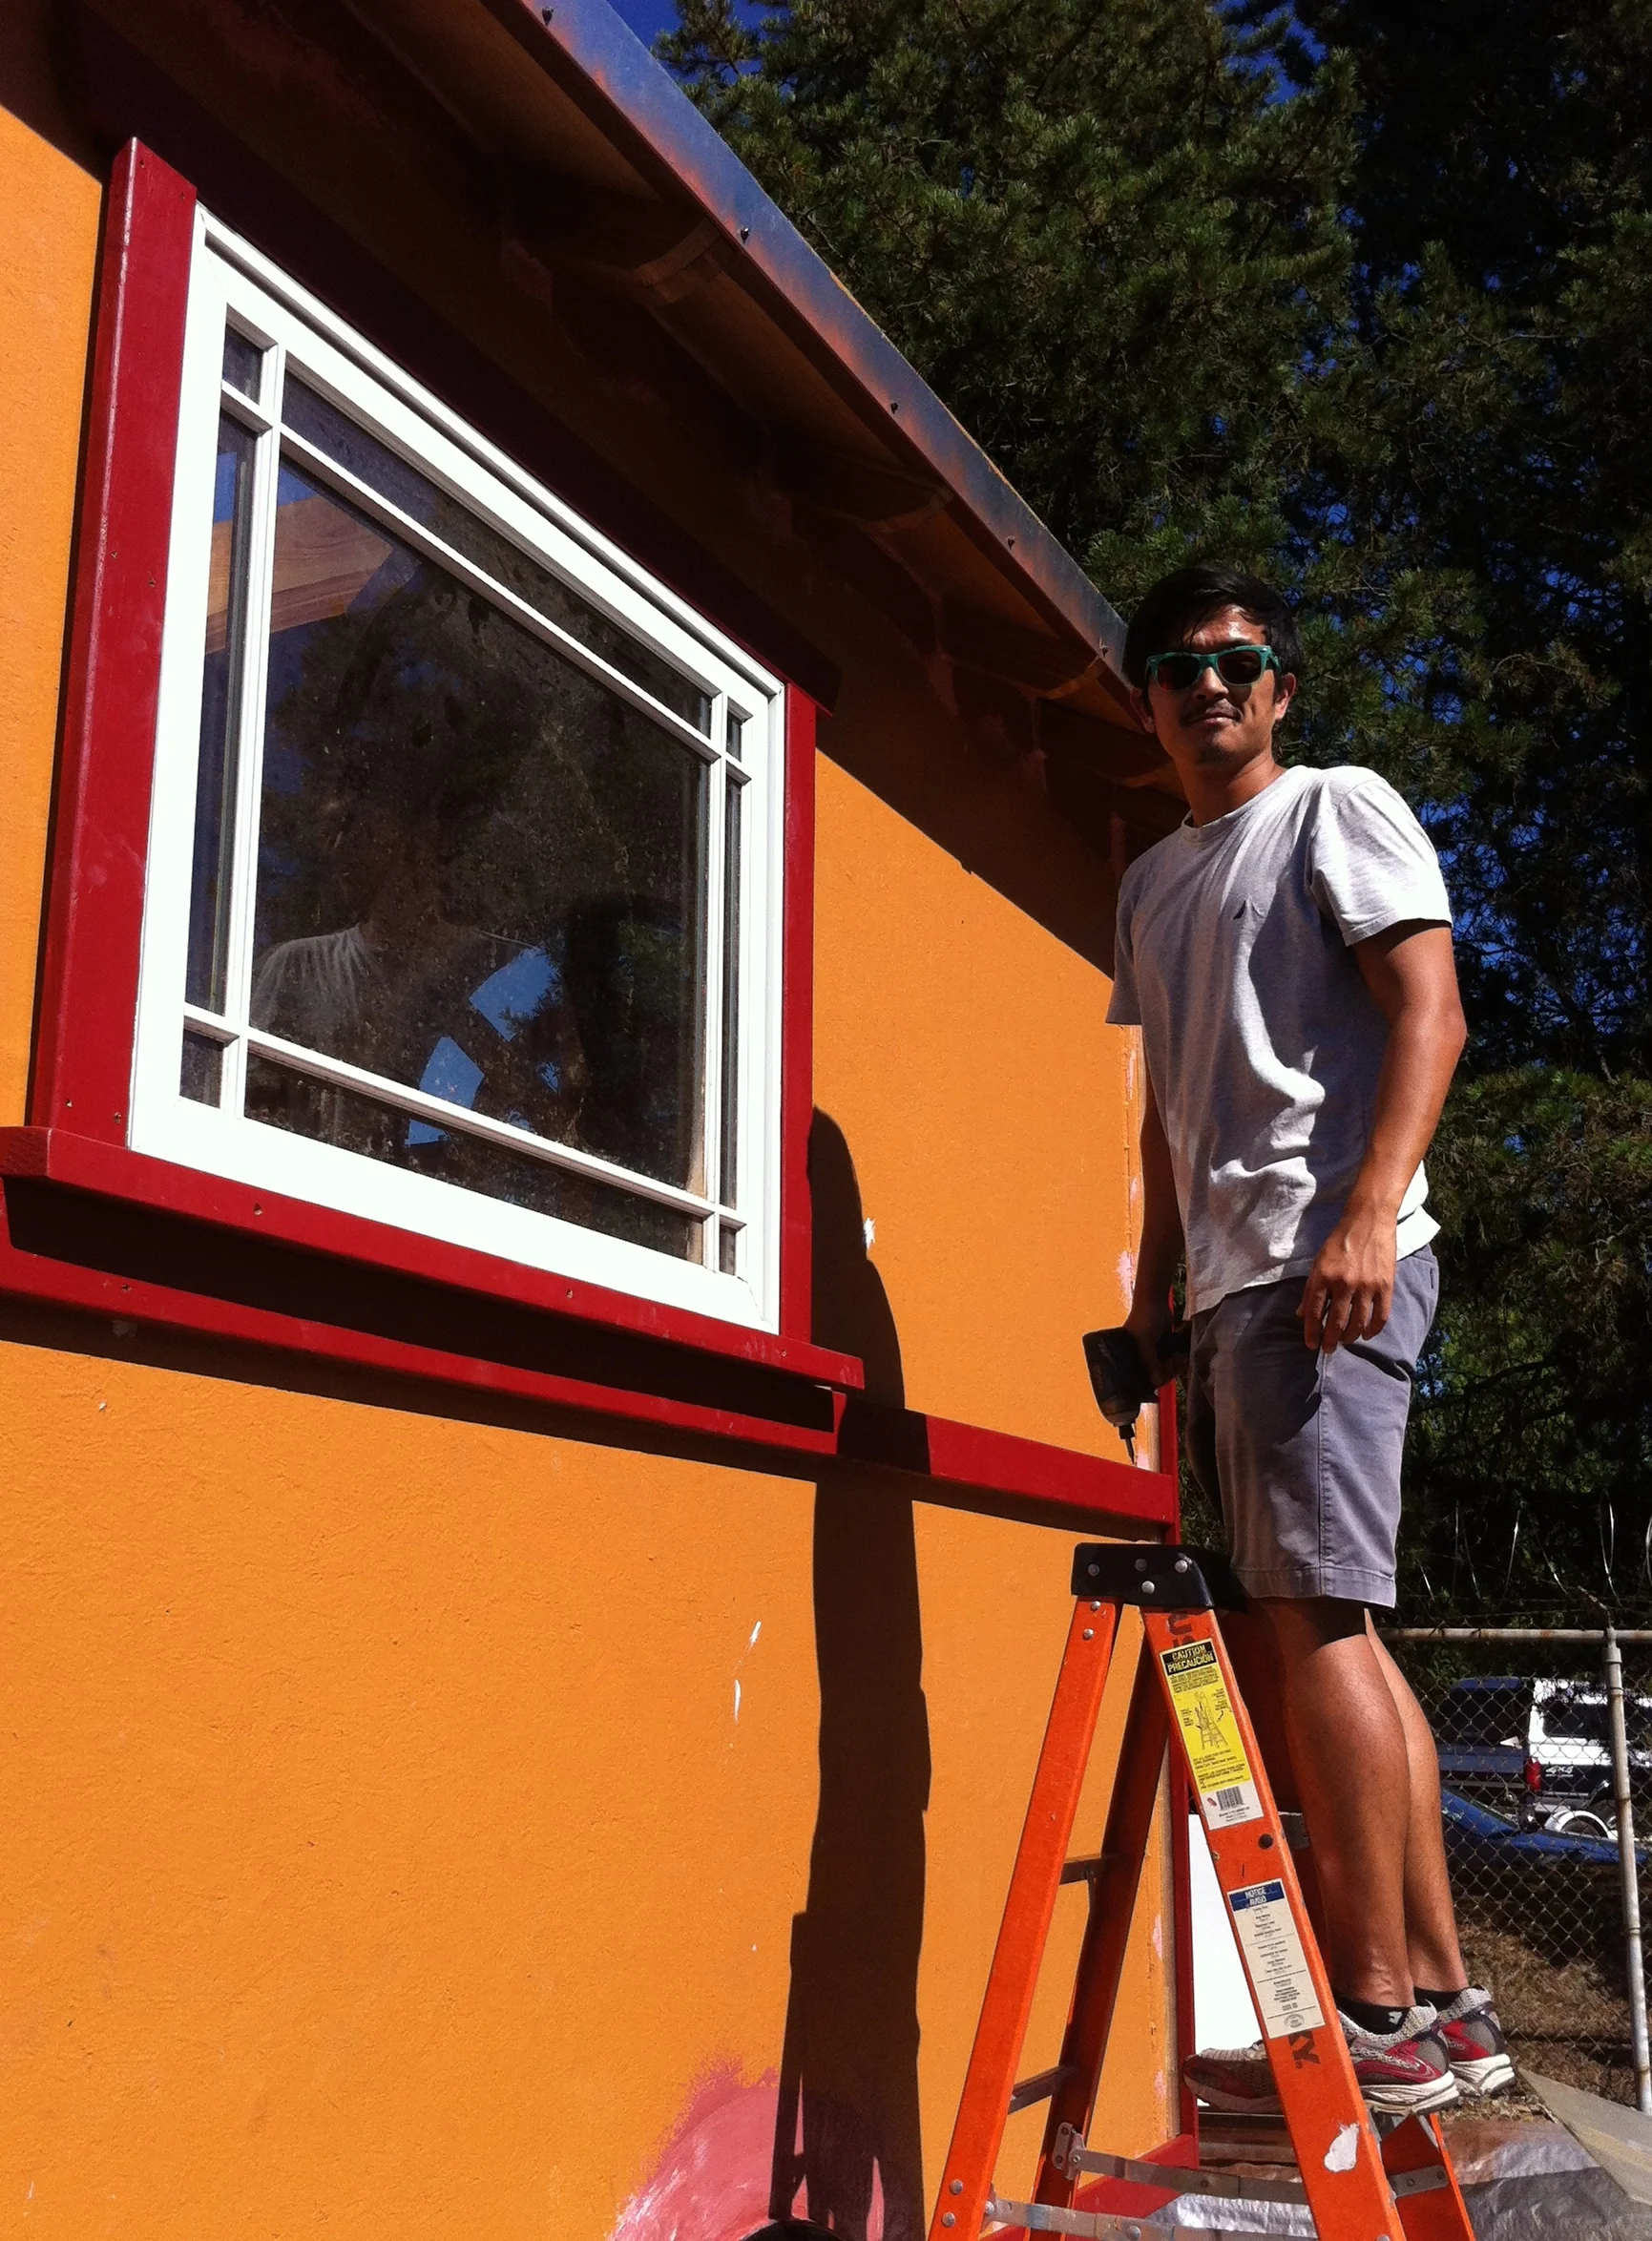
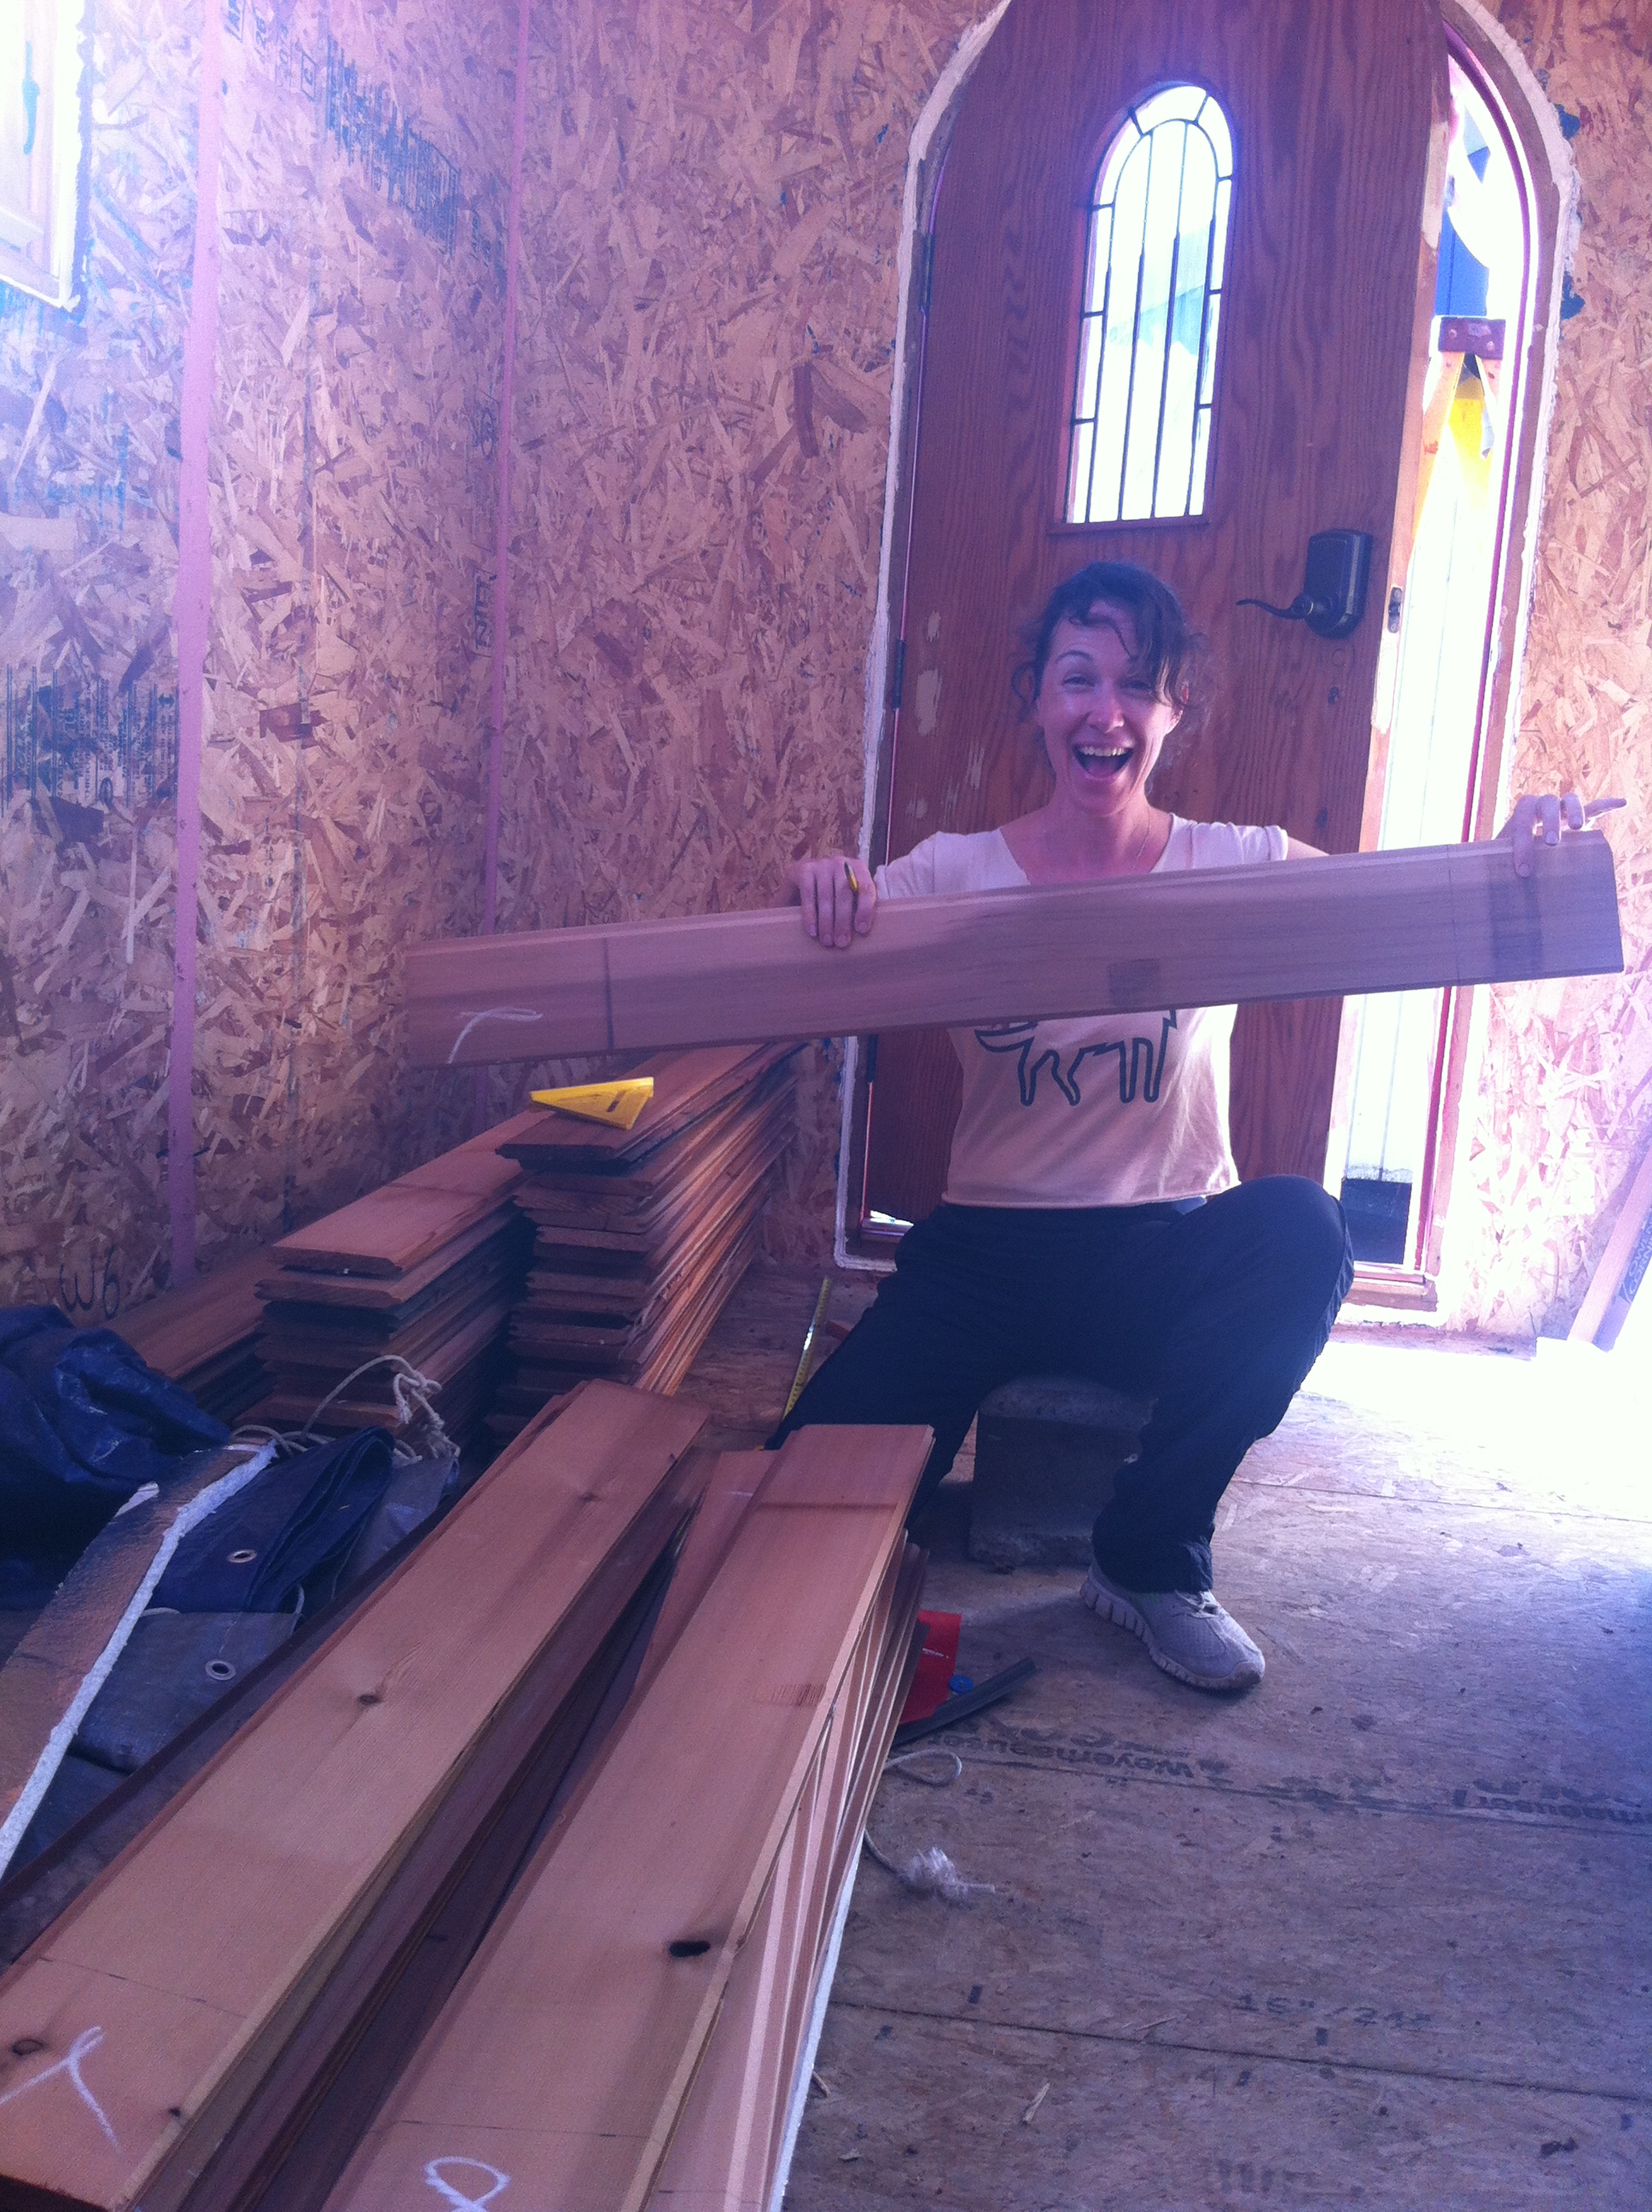
My goal was to be dried in before these adventures began and I've managed to do it, thanks to the help of many wonderful people. I now have eighteen full days of work into my tiny house on wheels and let me assure you, I am incredibly grateful for my tiny house helpers! During these work parties we’ve done the following:
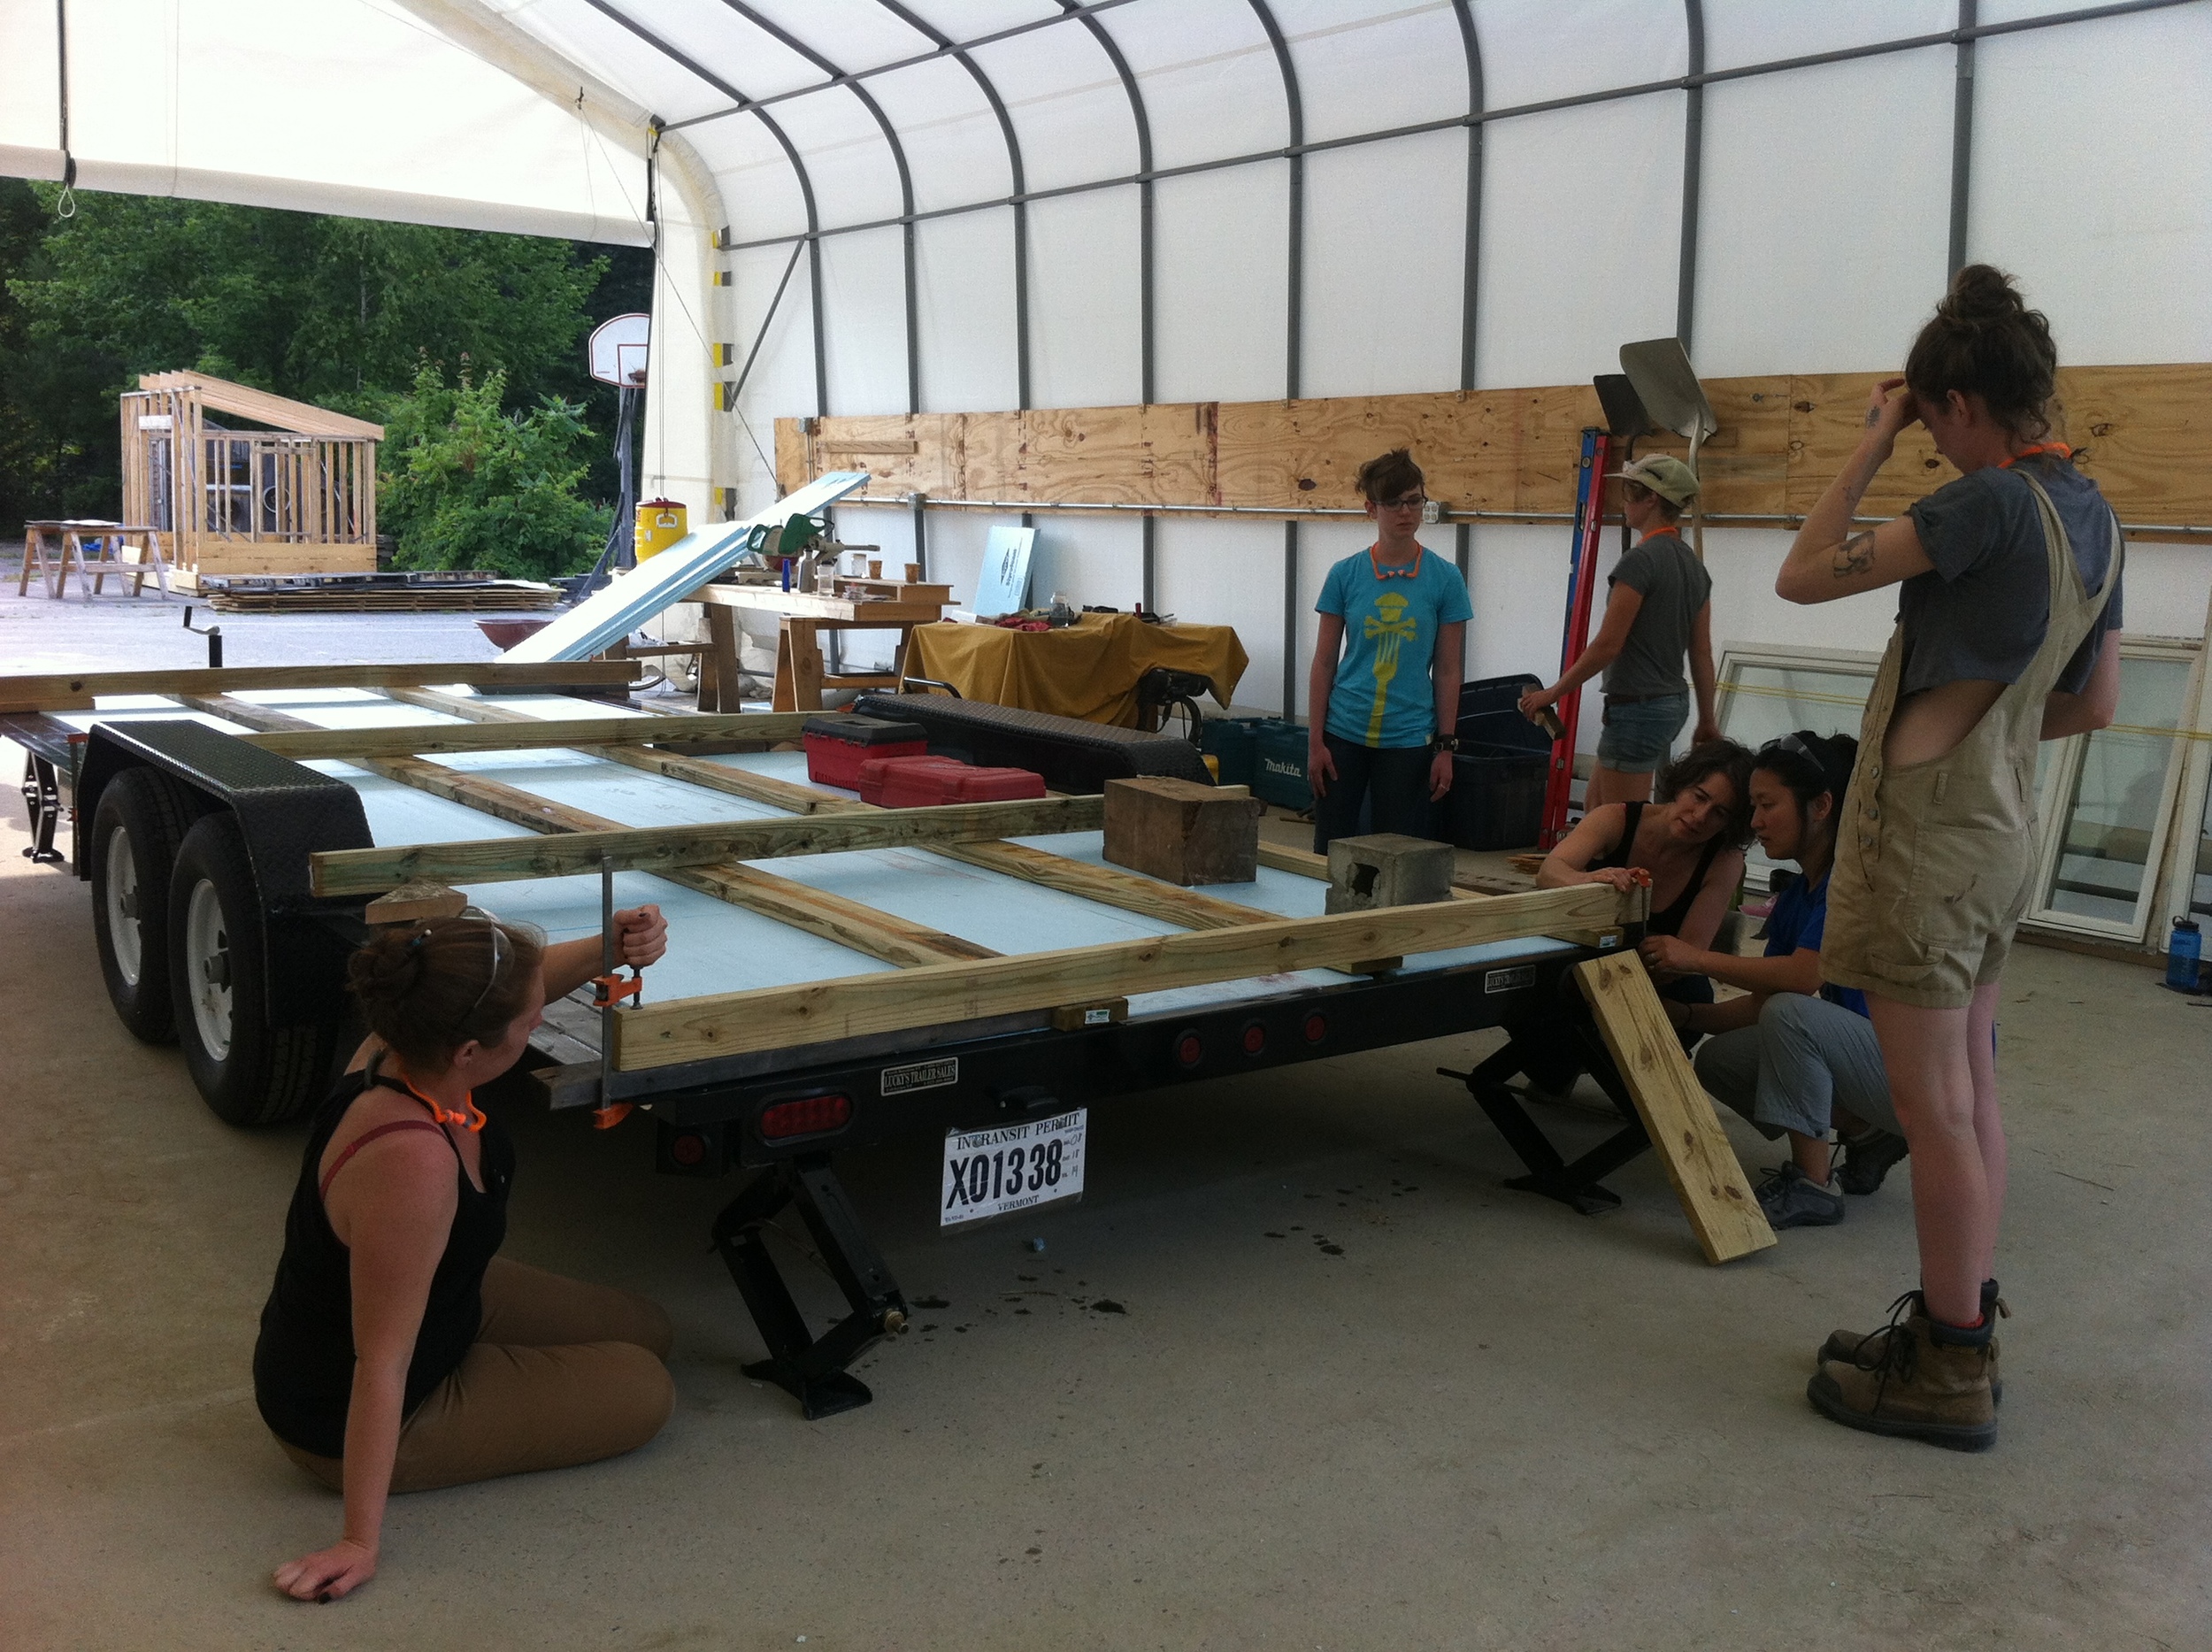
 Picked up my trailer and undercarriage materials (My Tiny House Begins!)
- Installed my undercarriage, insulated my floors, and installed my subfloor (Floorbox Lessons Learned)
- Reworked my subfloor and sill plates when I changed my mind (My Floorbox Continued)
- Raised my SIPs walls (My SIPs Wall Raising)
- Applied air barrier to my walls (My Tiny House Air Barrier)
- Raised the rafters and built and installed a skylight box (Vardo Rafter Raising)
- Installed blocking between the rafters and closed up the end walls (Making Ends Meet)
- Stapled my beadboard ceiling over the rafters (Ceiling Up My Vardo)
- Attached eave caps at the edges of my rafters to catch the insulation (Eave Caps for My Vardo Roof, Plan F, Plan F: Take 2)
- Insulated the roof box (Insulating My Vardo Roof)
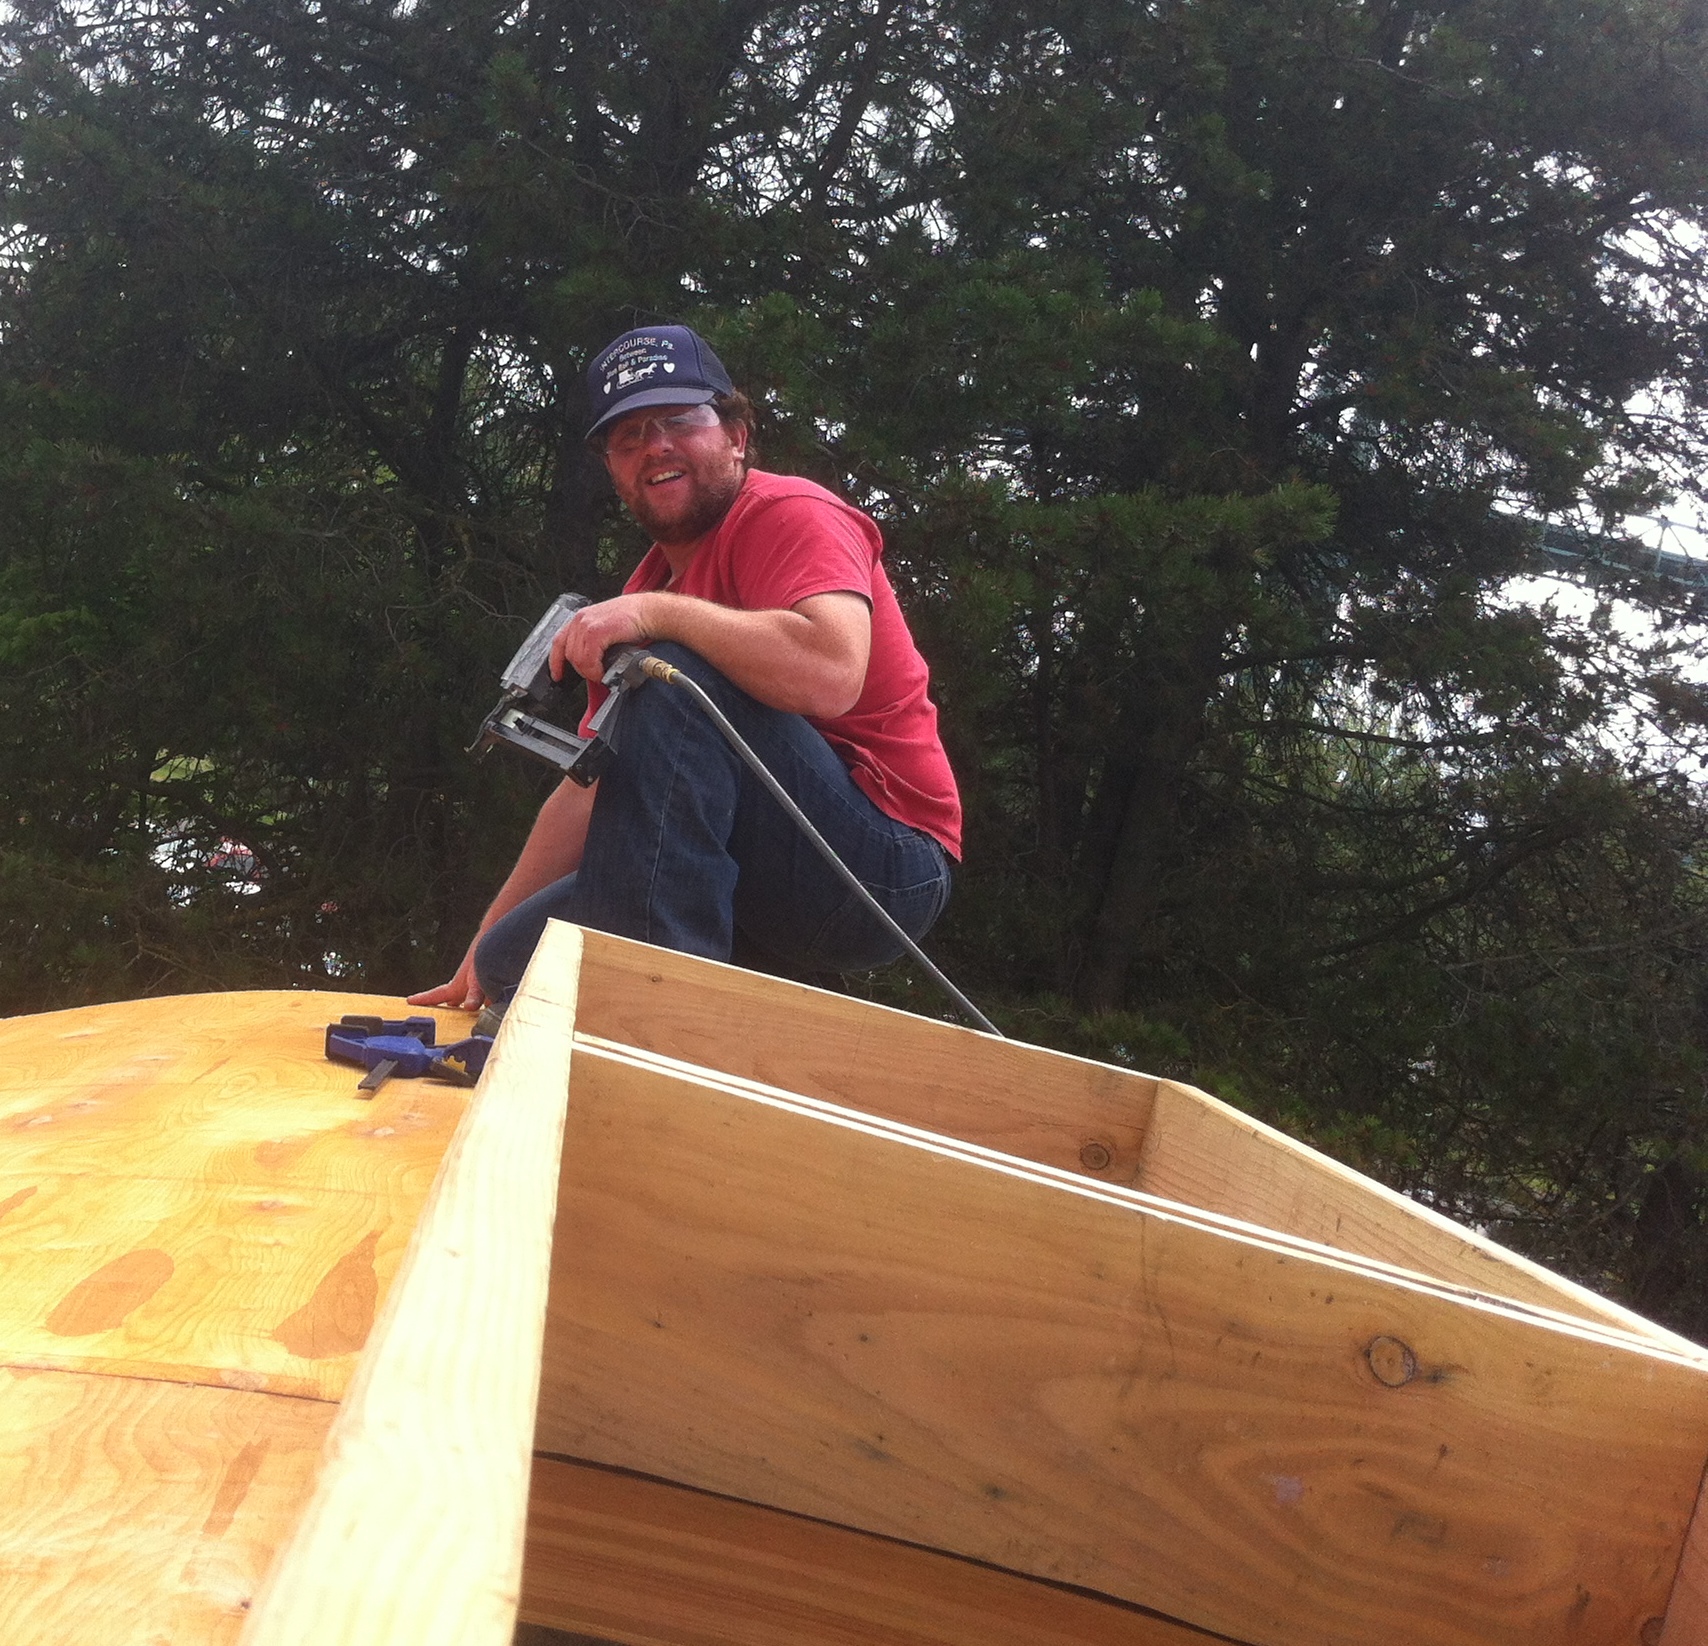
- Sheathed and waterproofed the roof (Sheathing My Vardo Roof)
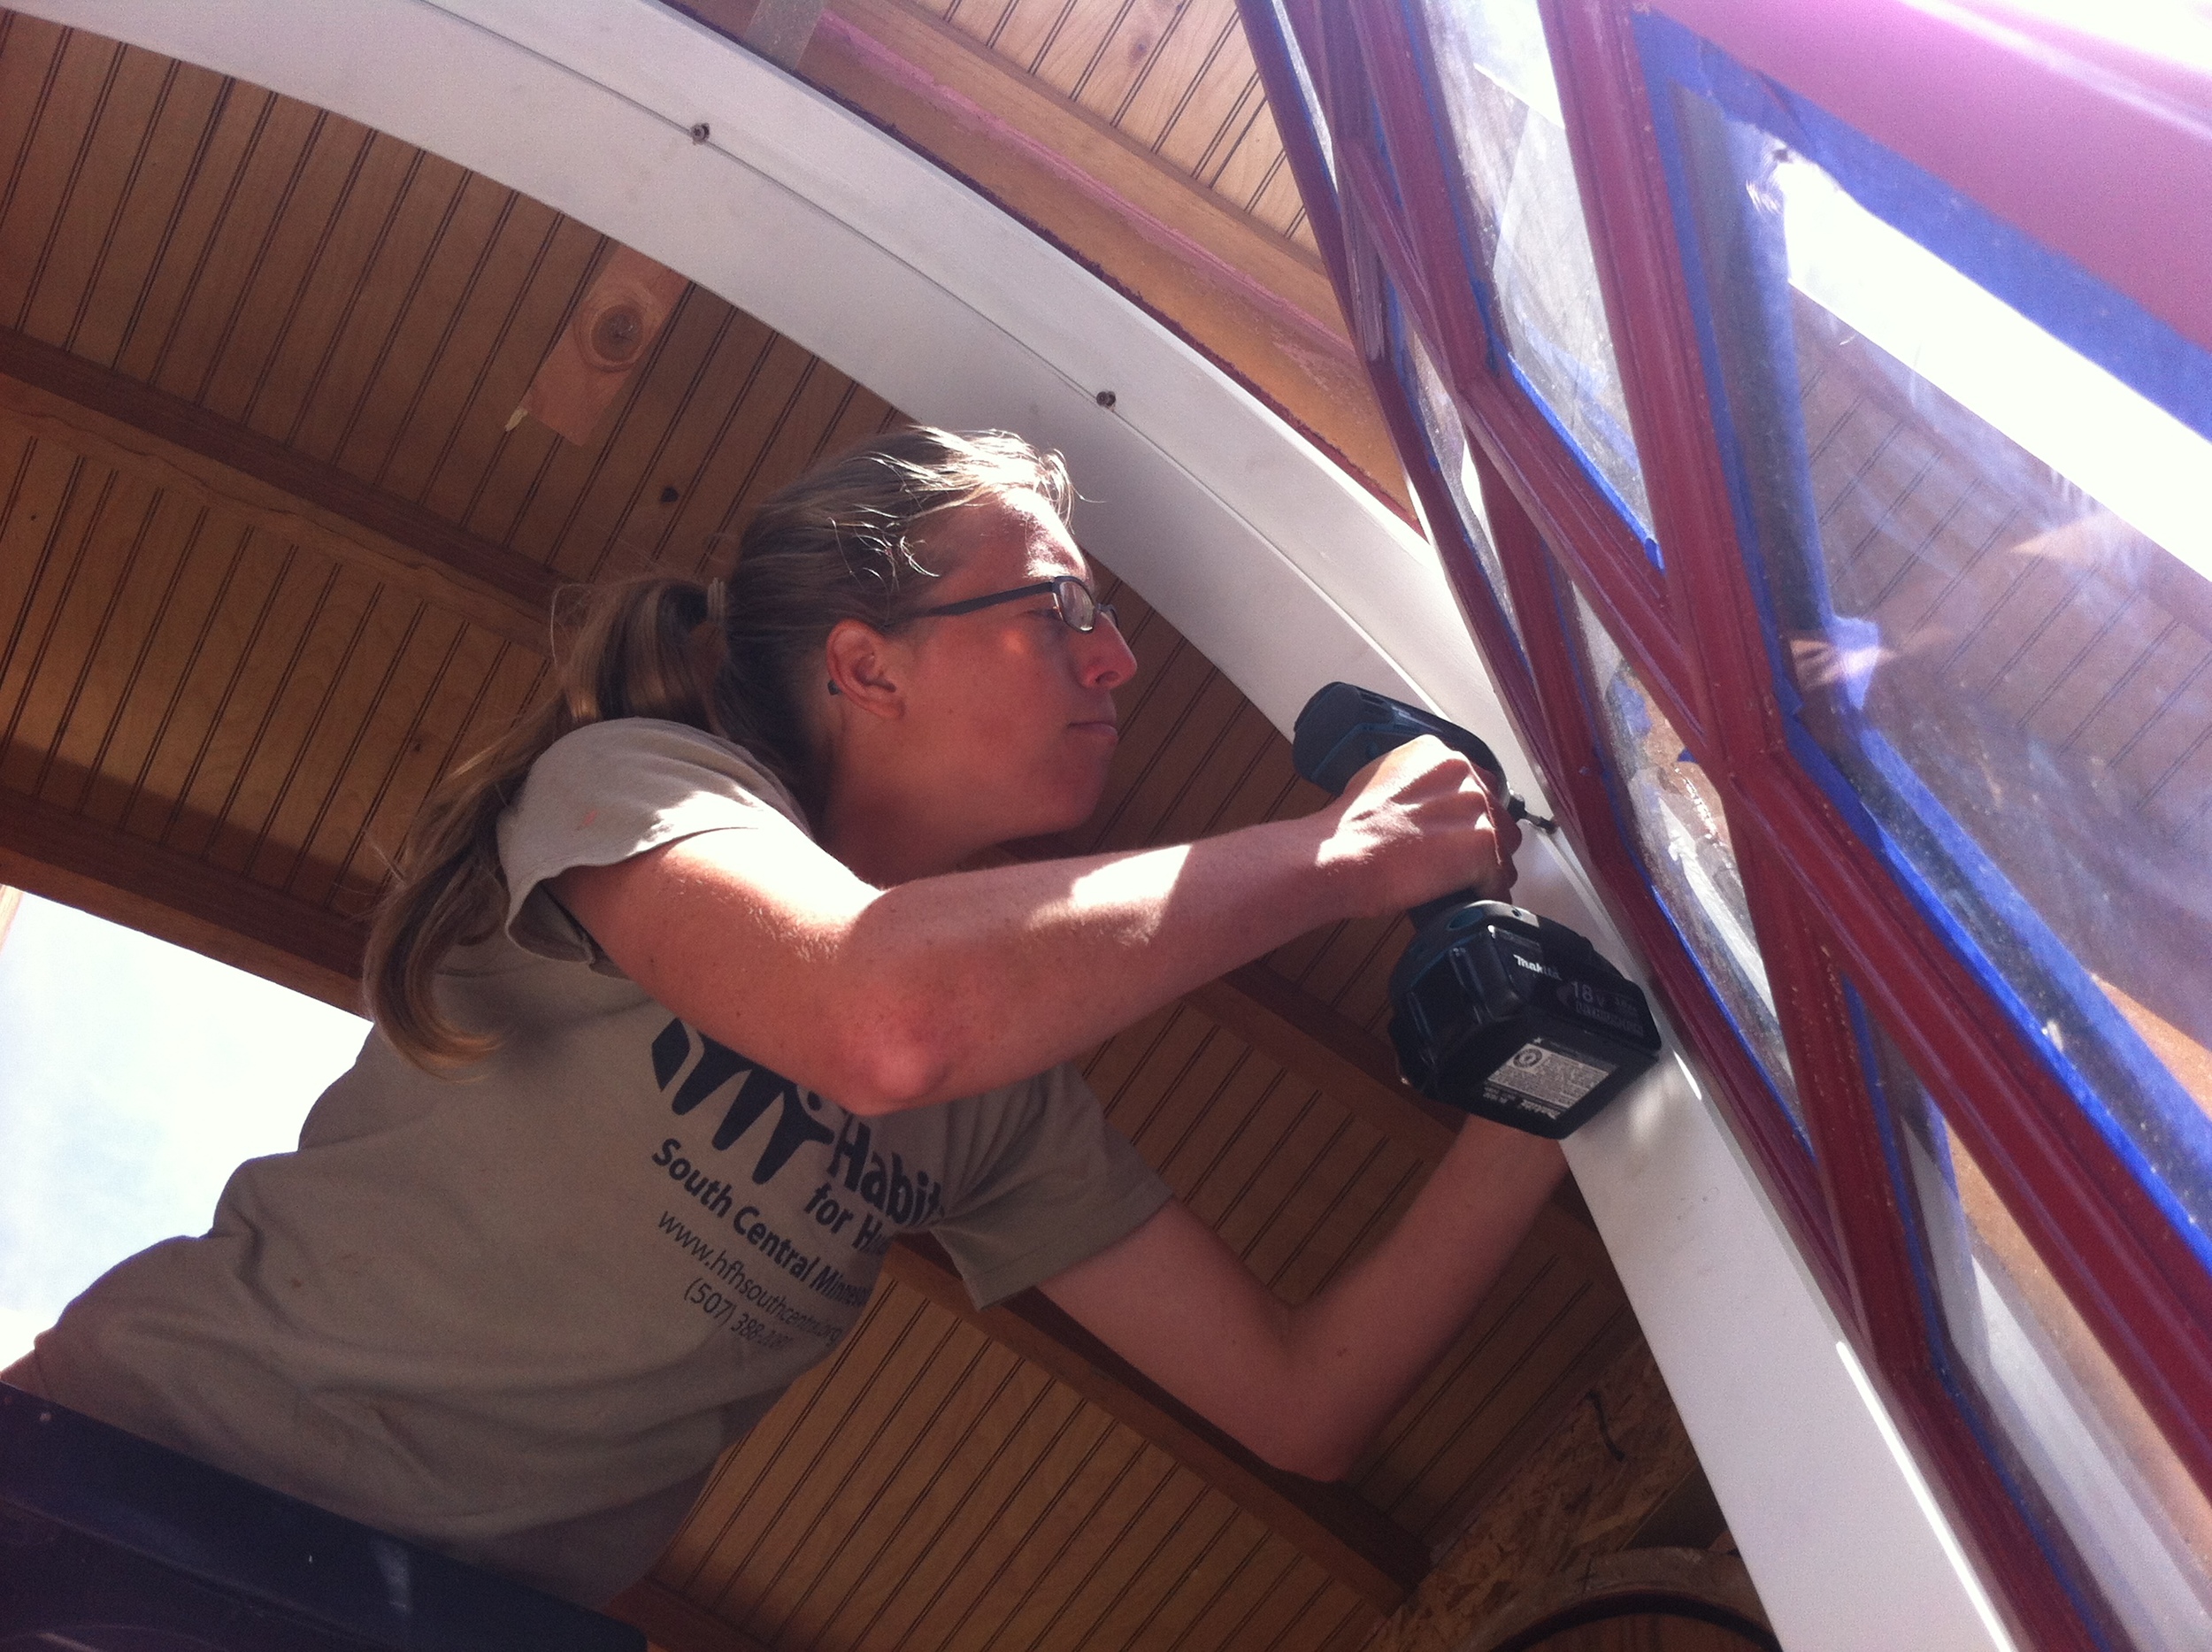
- Installed the beautiful windows (Tiny House Window Installation)
- Finished drying in the house with backerrod - and a pool noodle! (Tiny House Trim & Siding)
There are already 23 people who have contributed to my wee house in some way. I’m so grateful that my community has rallied around The Lucky Penny!
If you’d like to join in on the fun, please contact me. If you can’t make it out to help, but you’d like to Support the Lucky Penny, you can contribute via The Lucky Penny Wish List or send me notes of encouragement on Facebook. Thanks everyone!


Insulating My Vardo Roof
 Friday I picked up Eave Caps for My Vardo Roof and Saturday we worked on Plan F. Yesterday we worked on Plan F: Take 2. And today we (finally!) insulated my roof box!
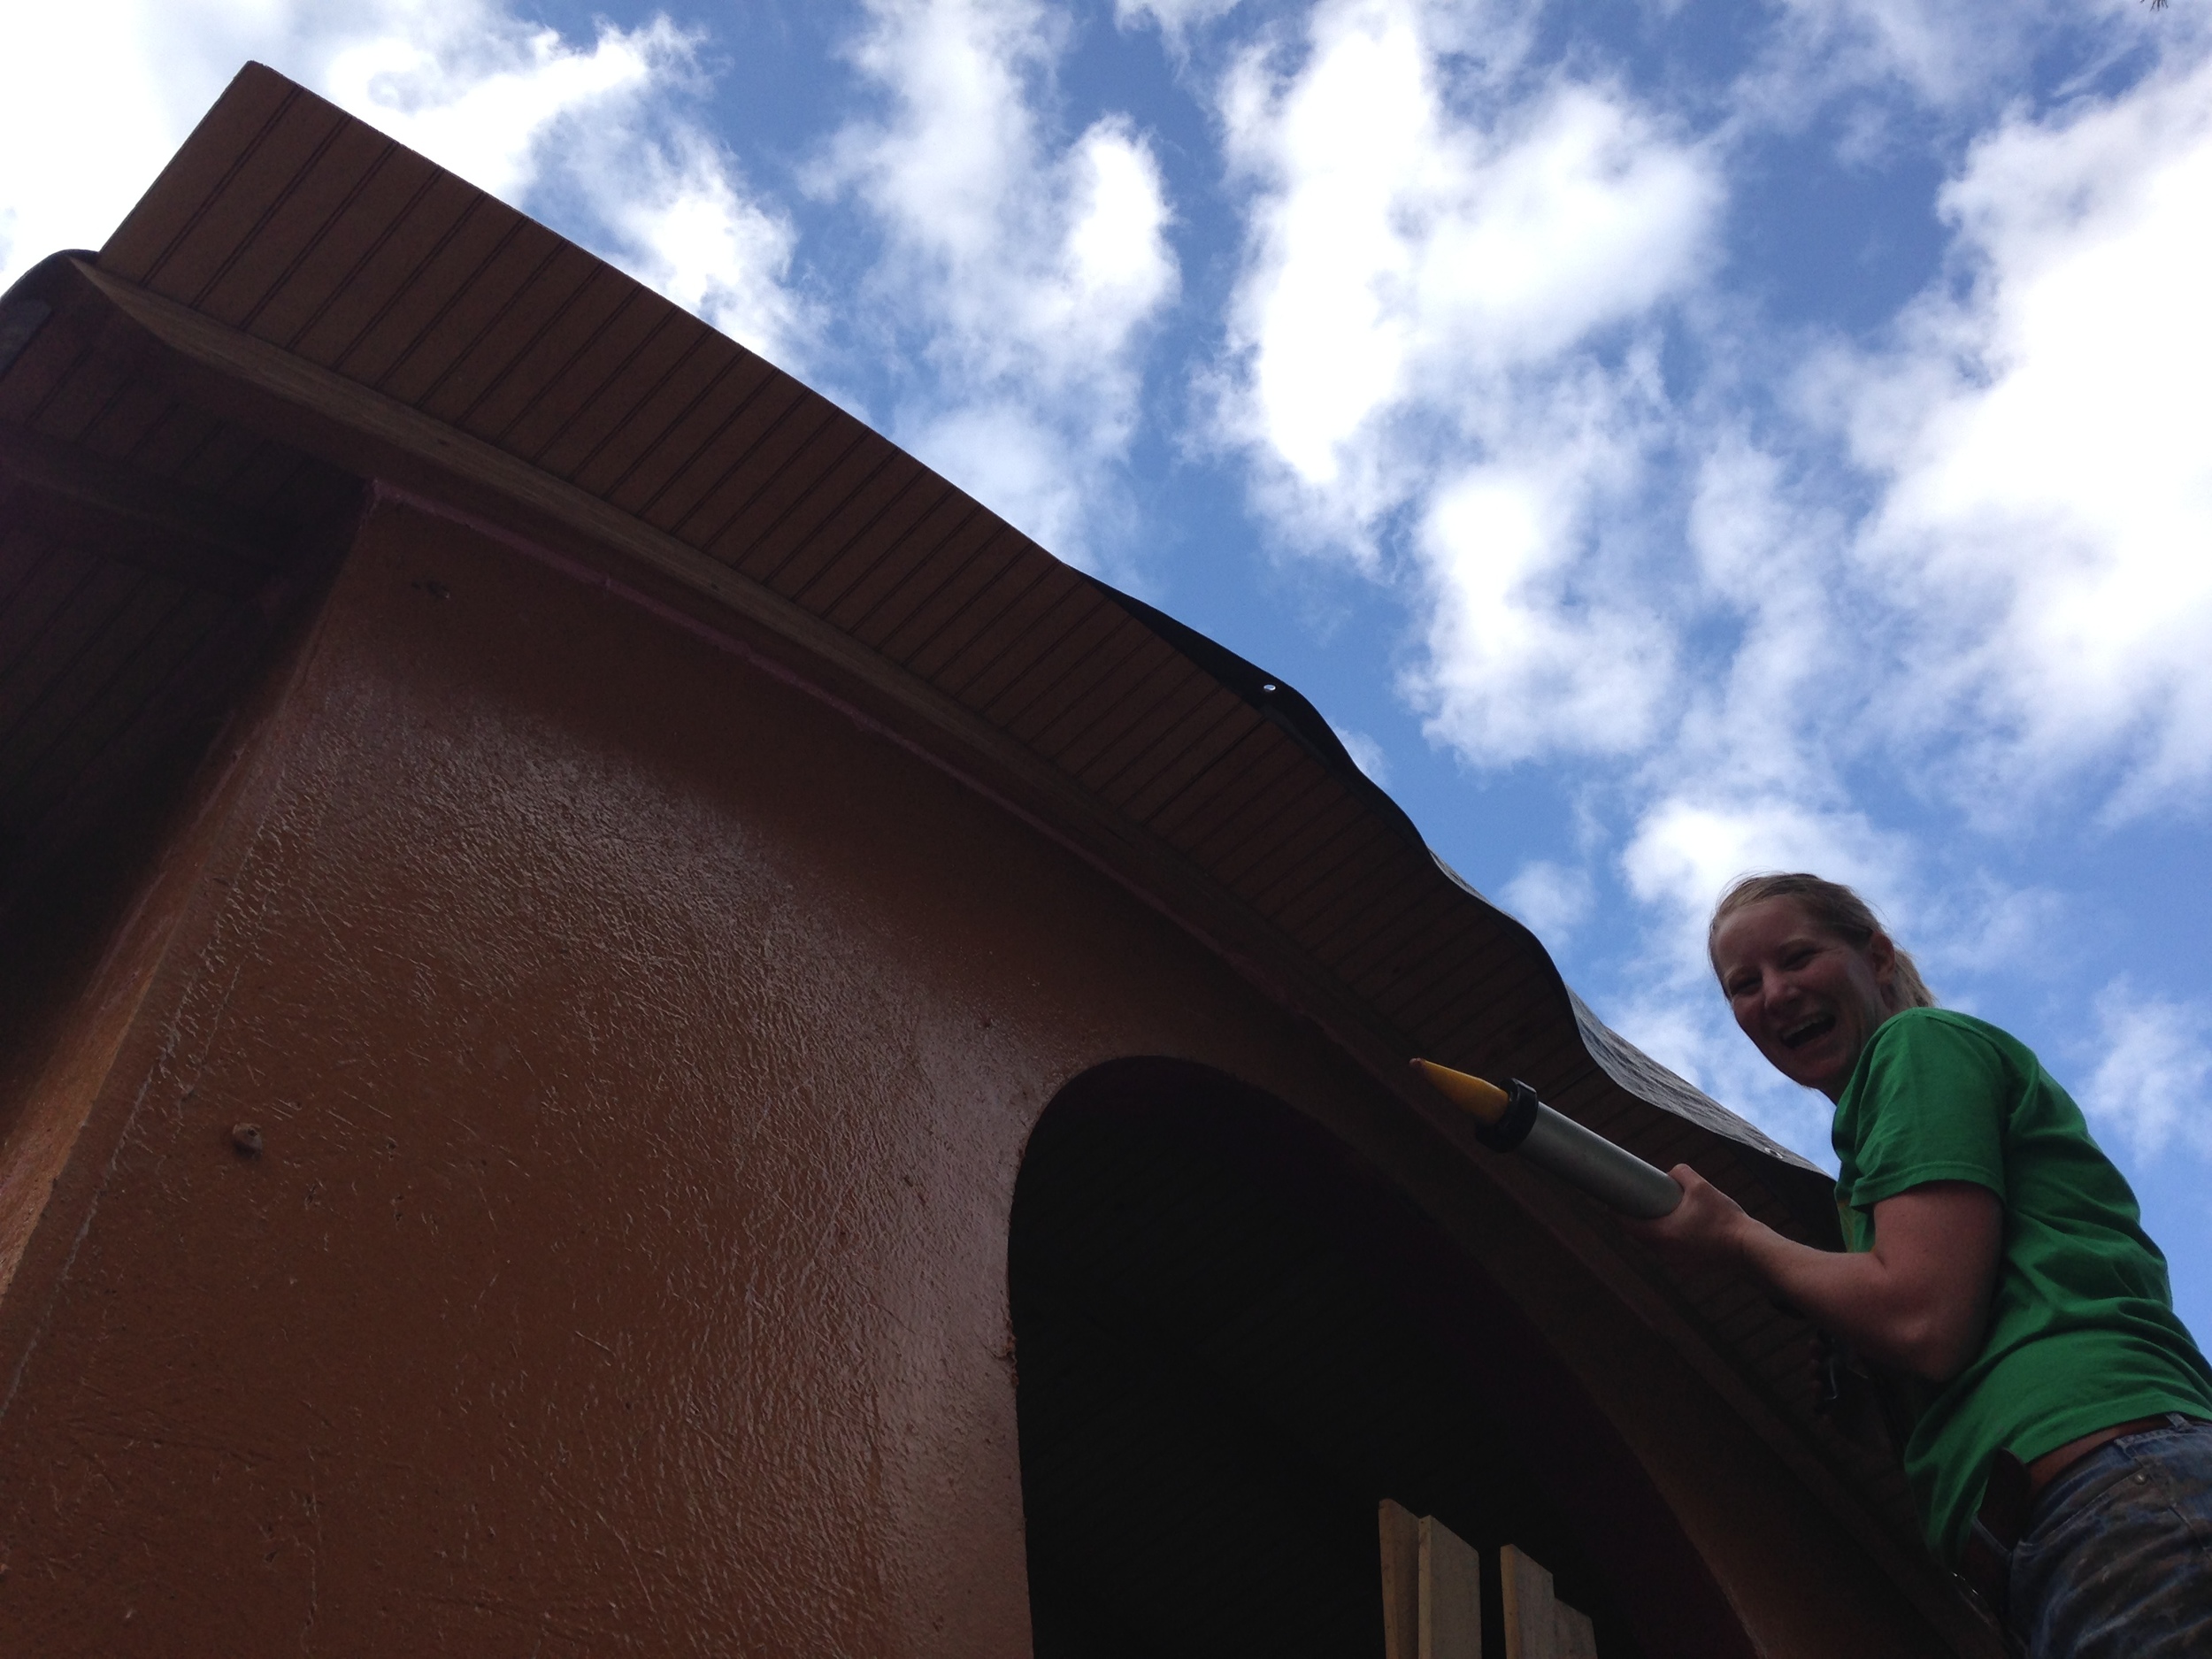
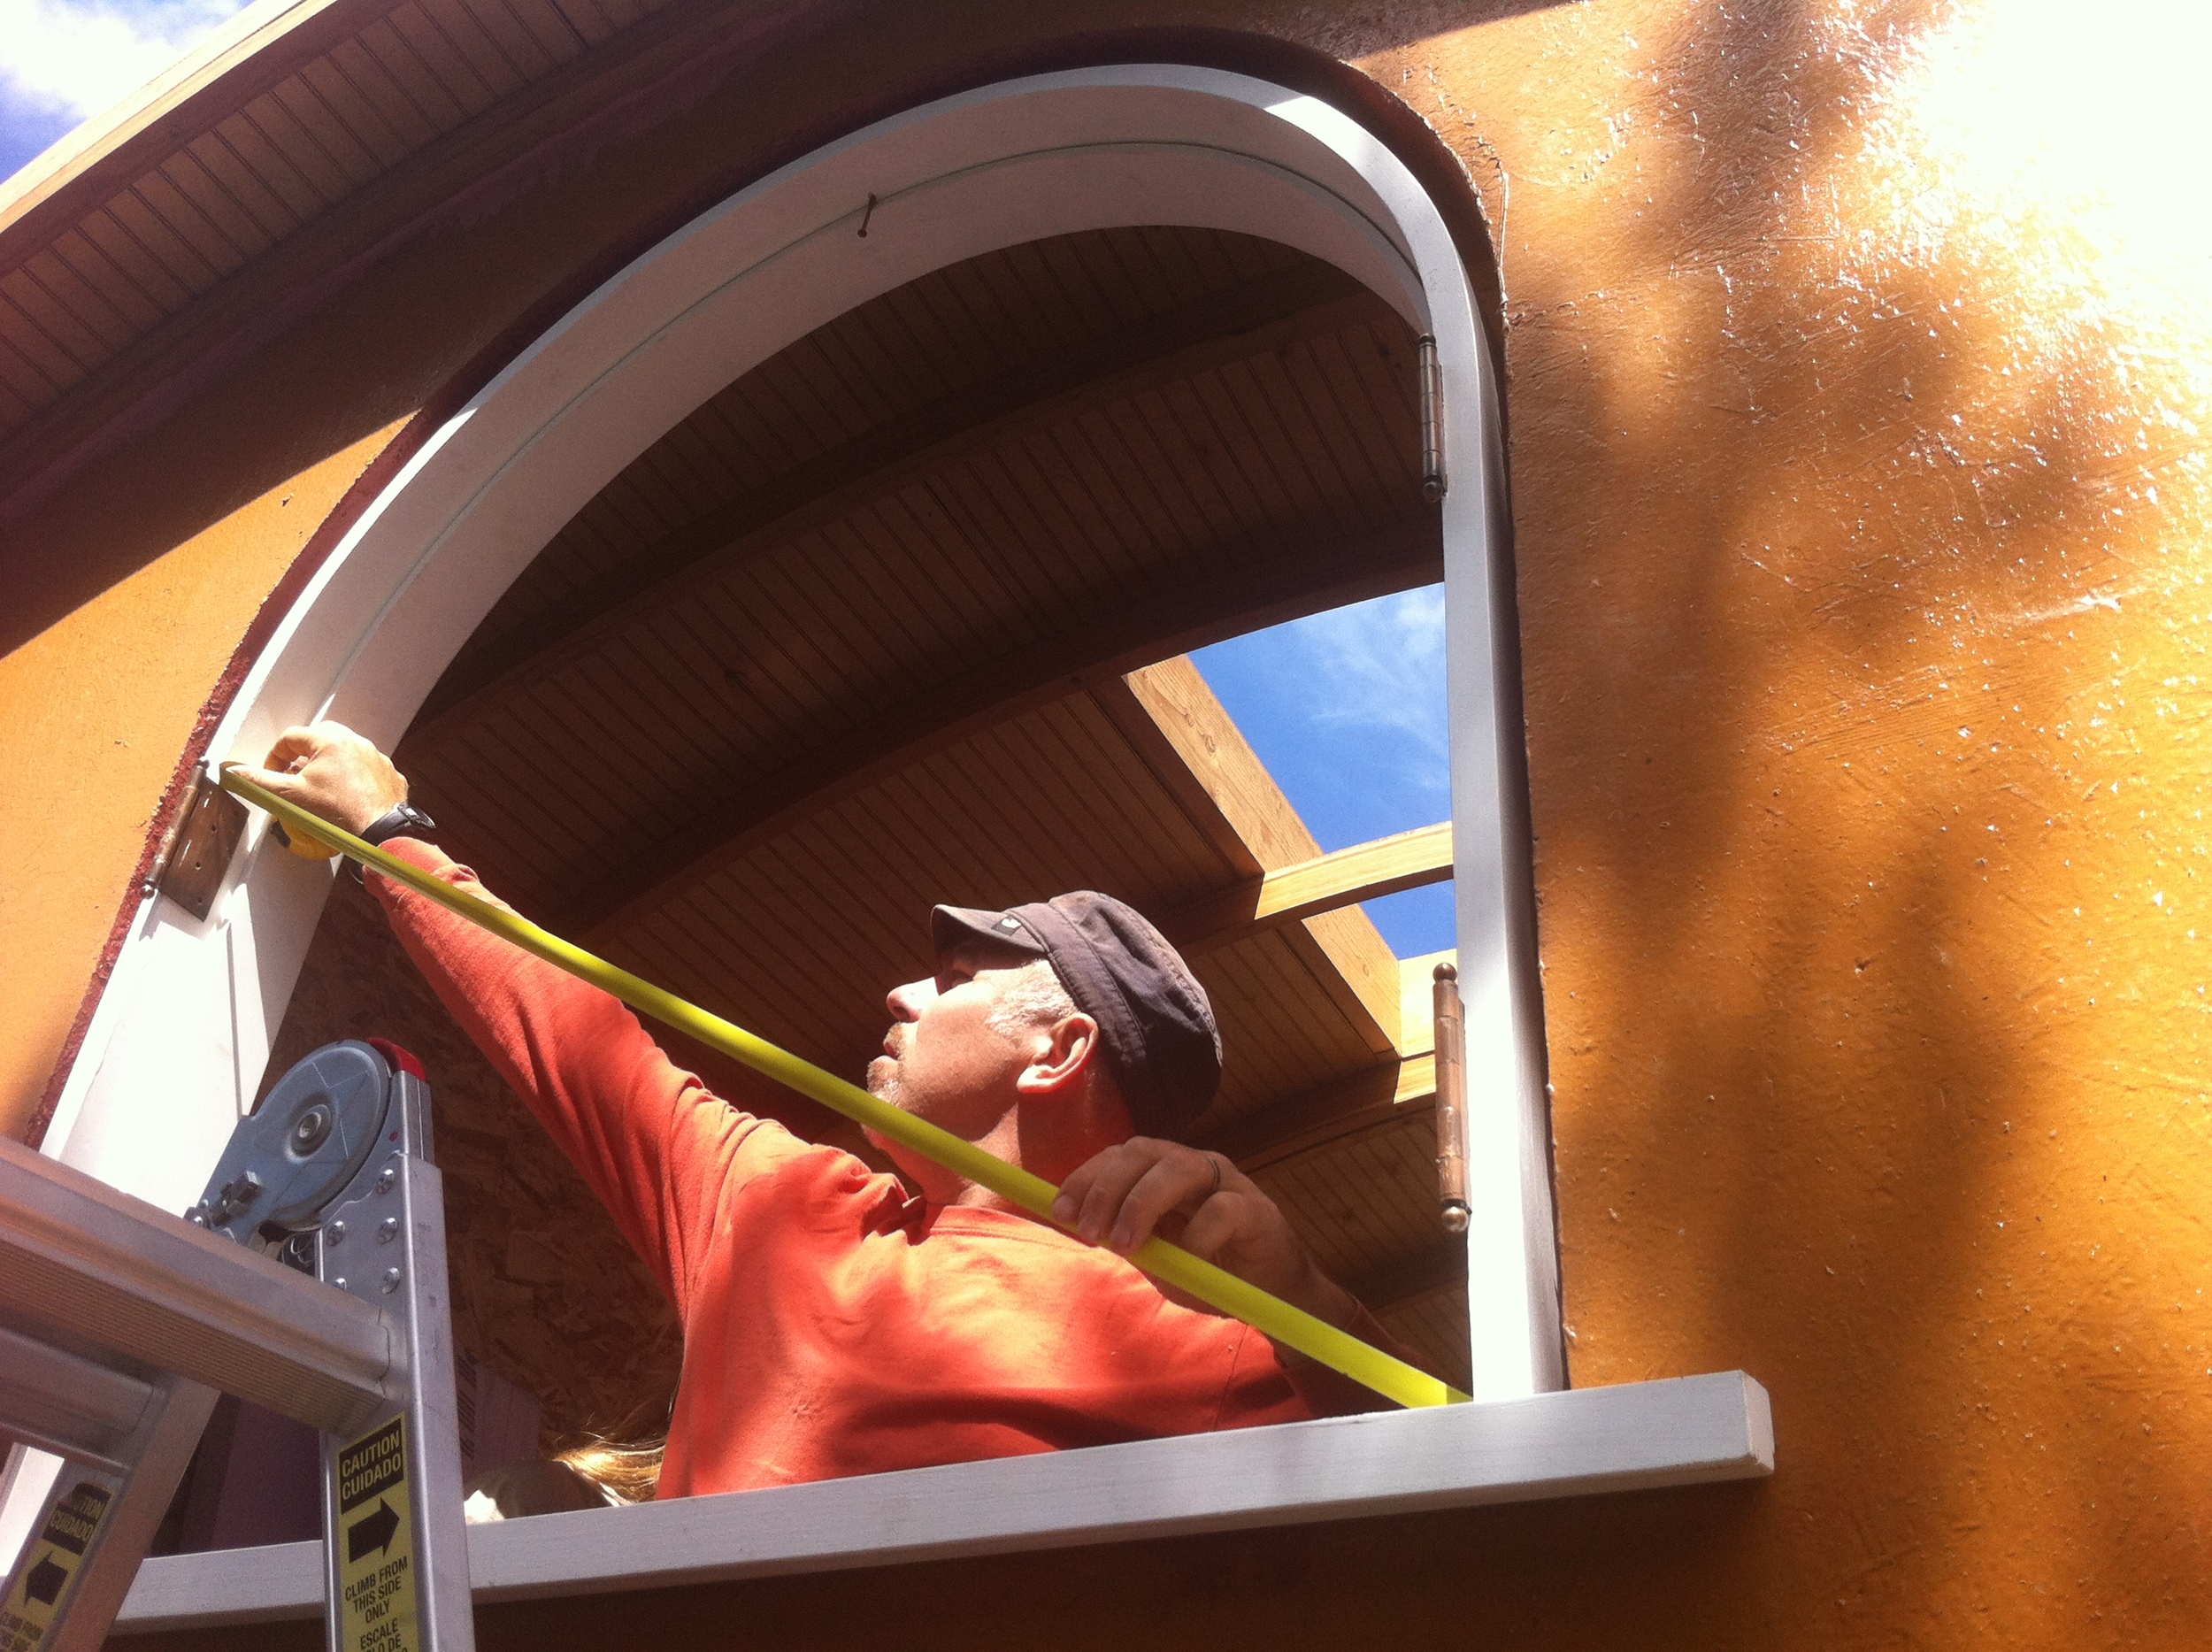
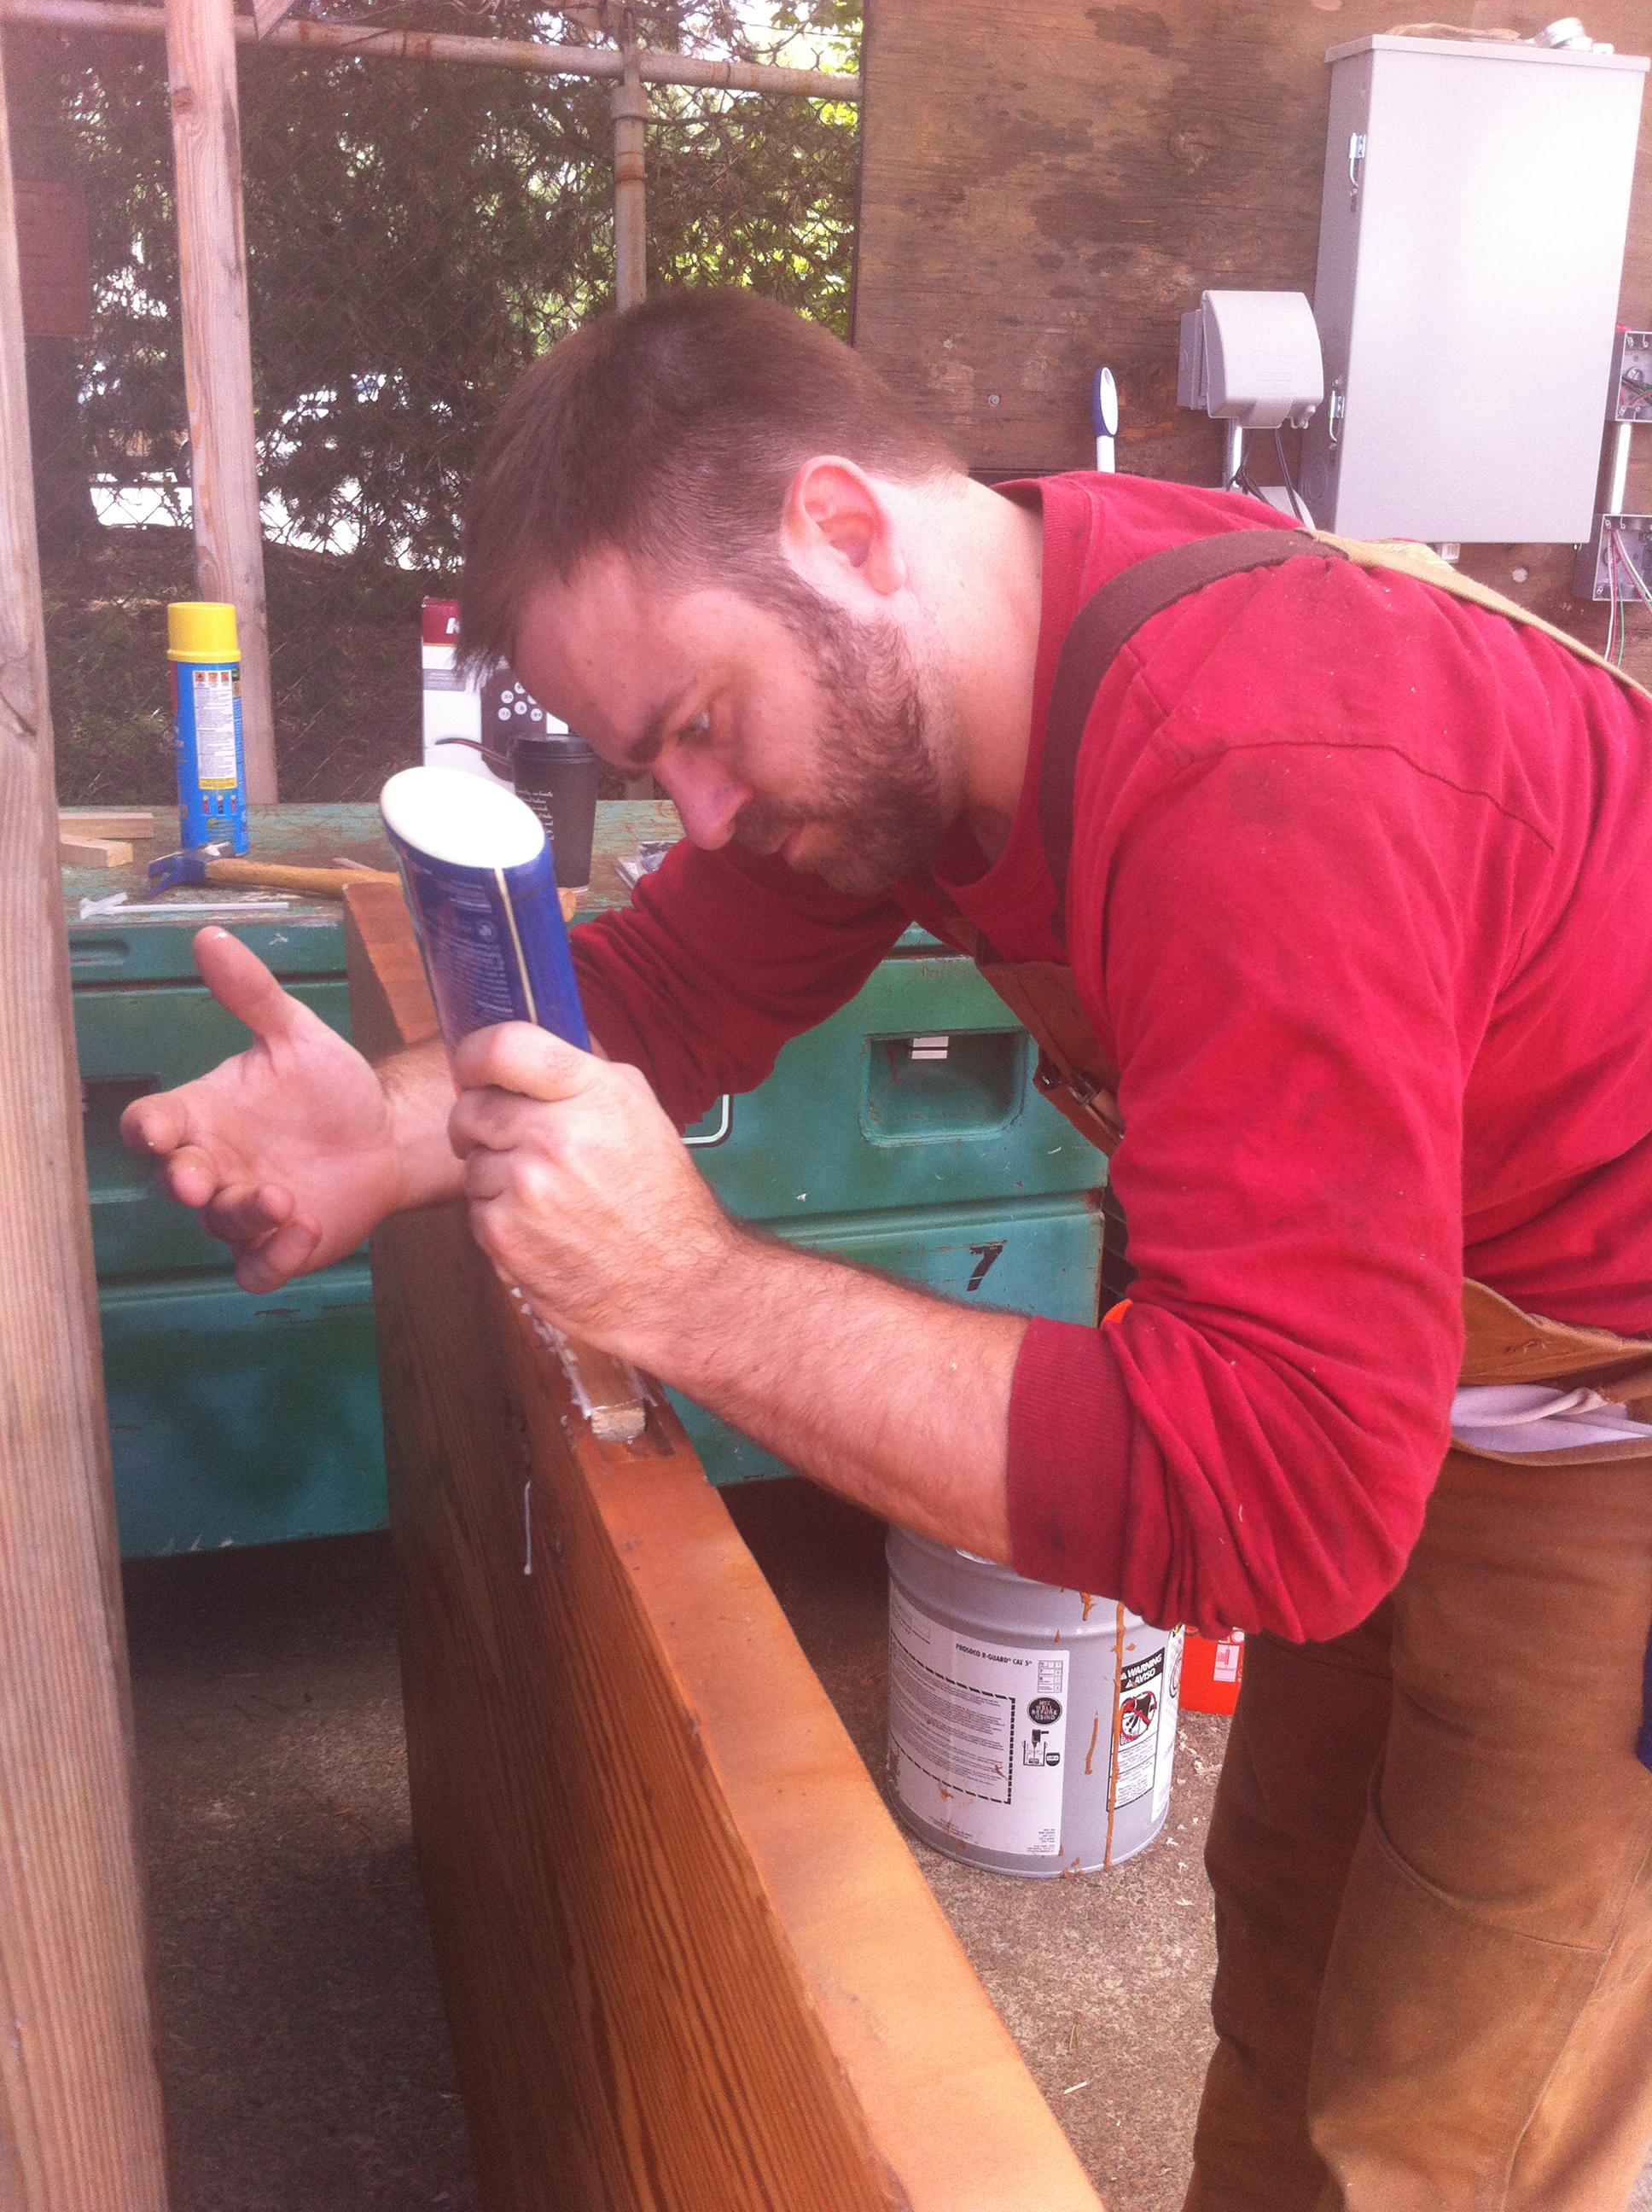
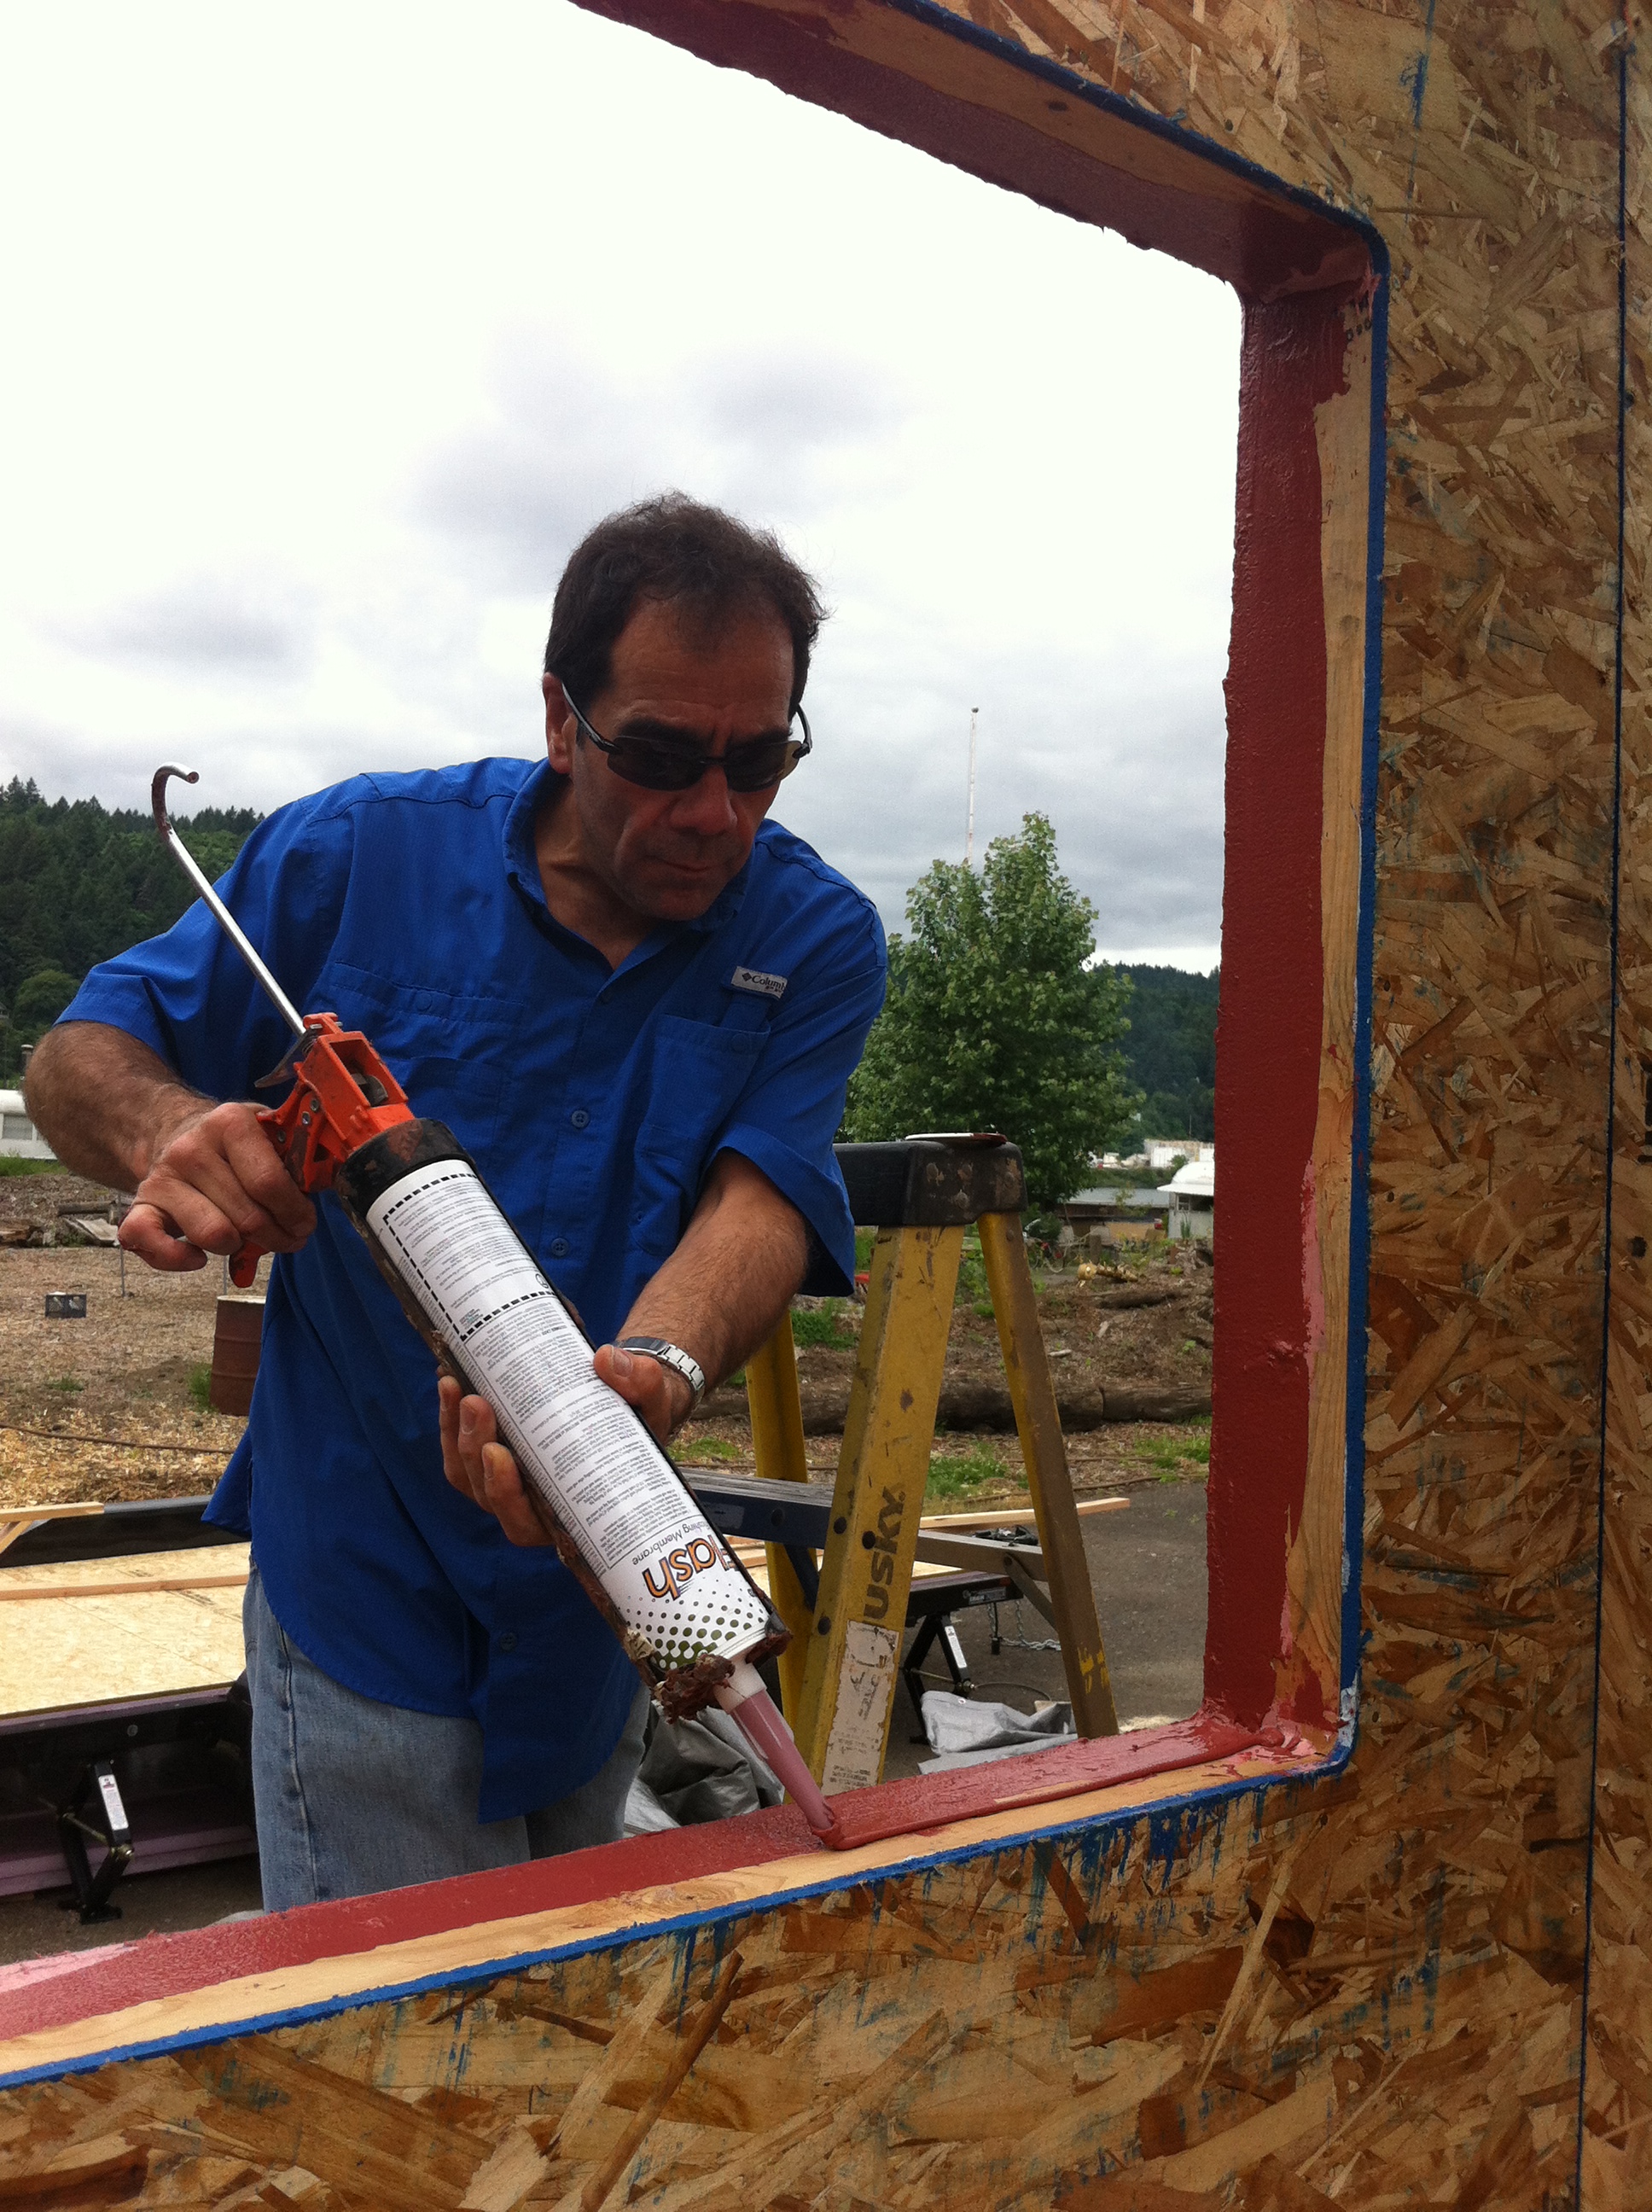
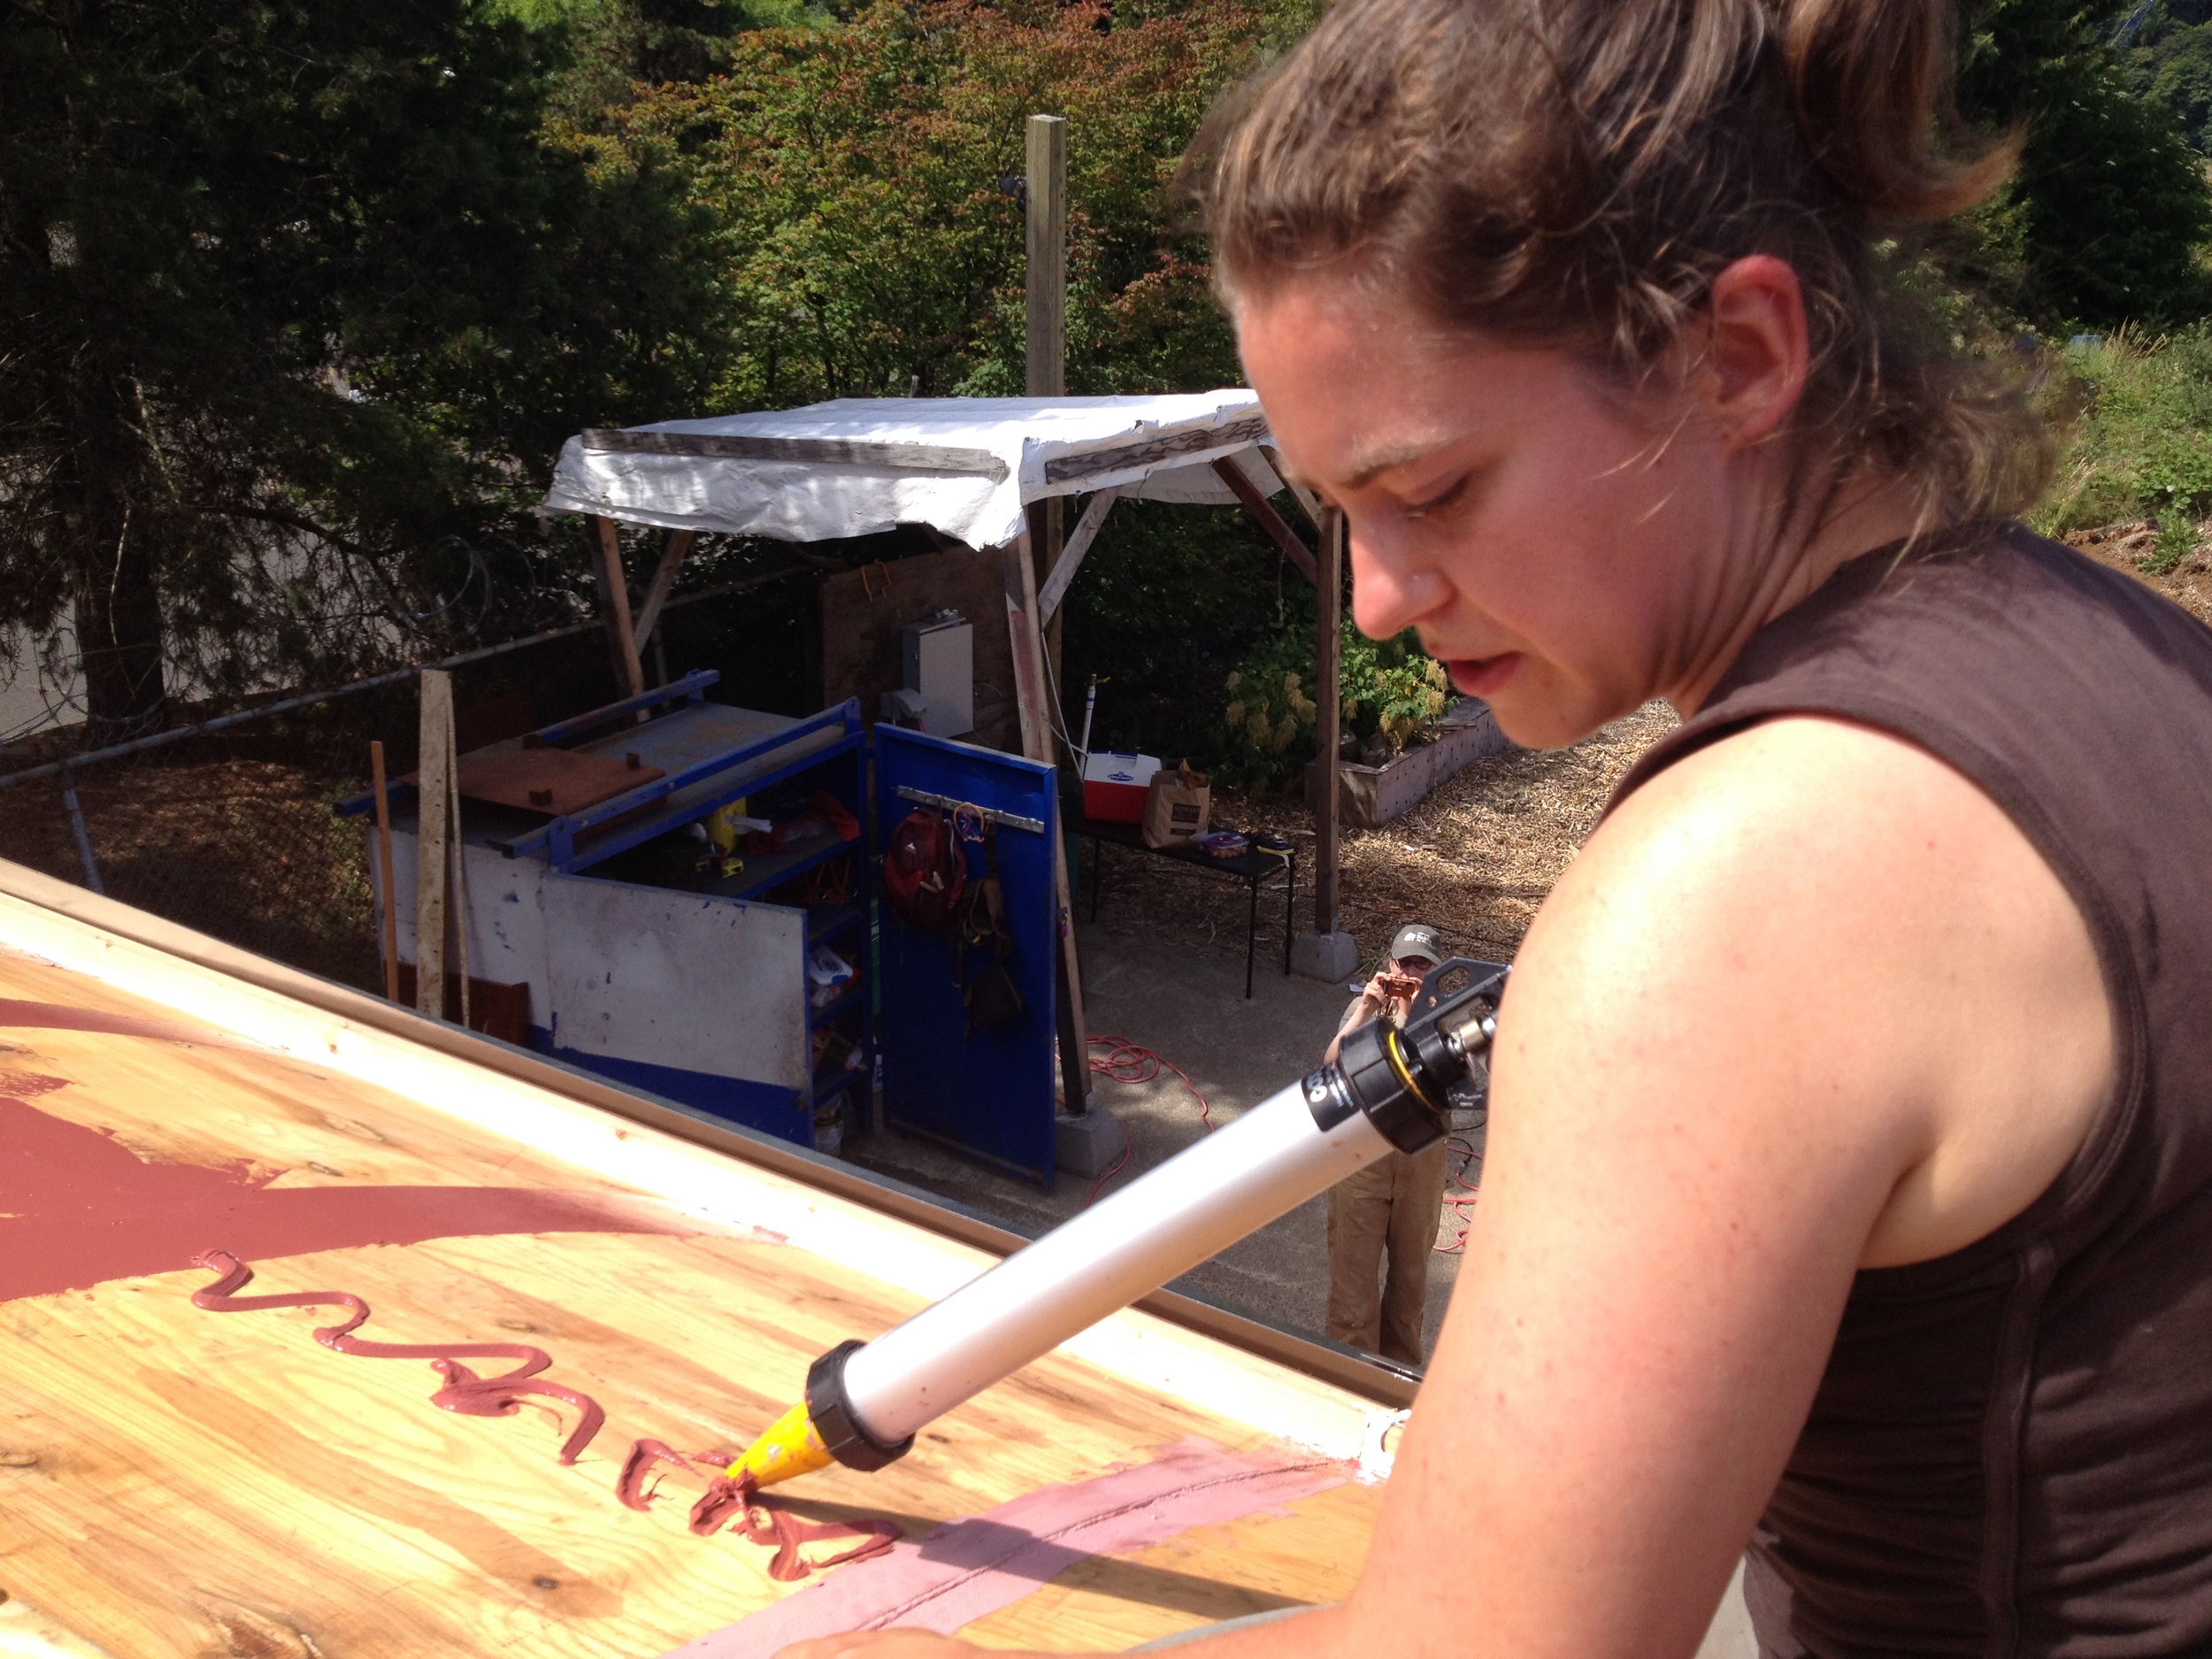
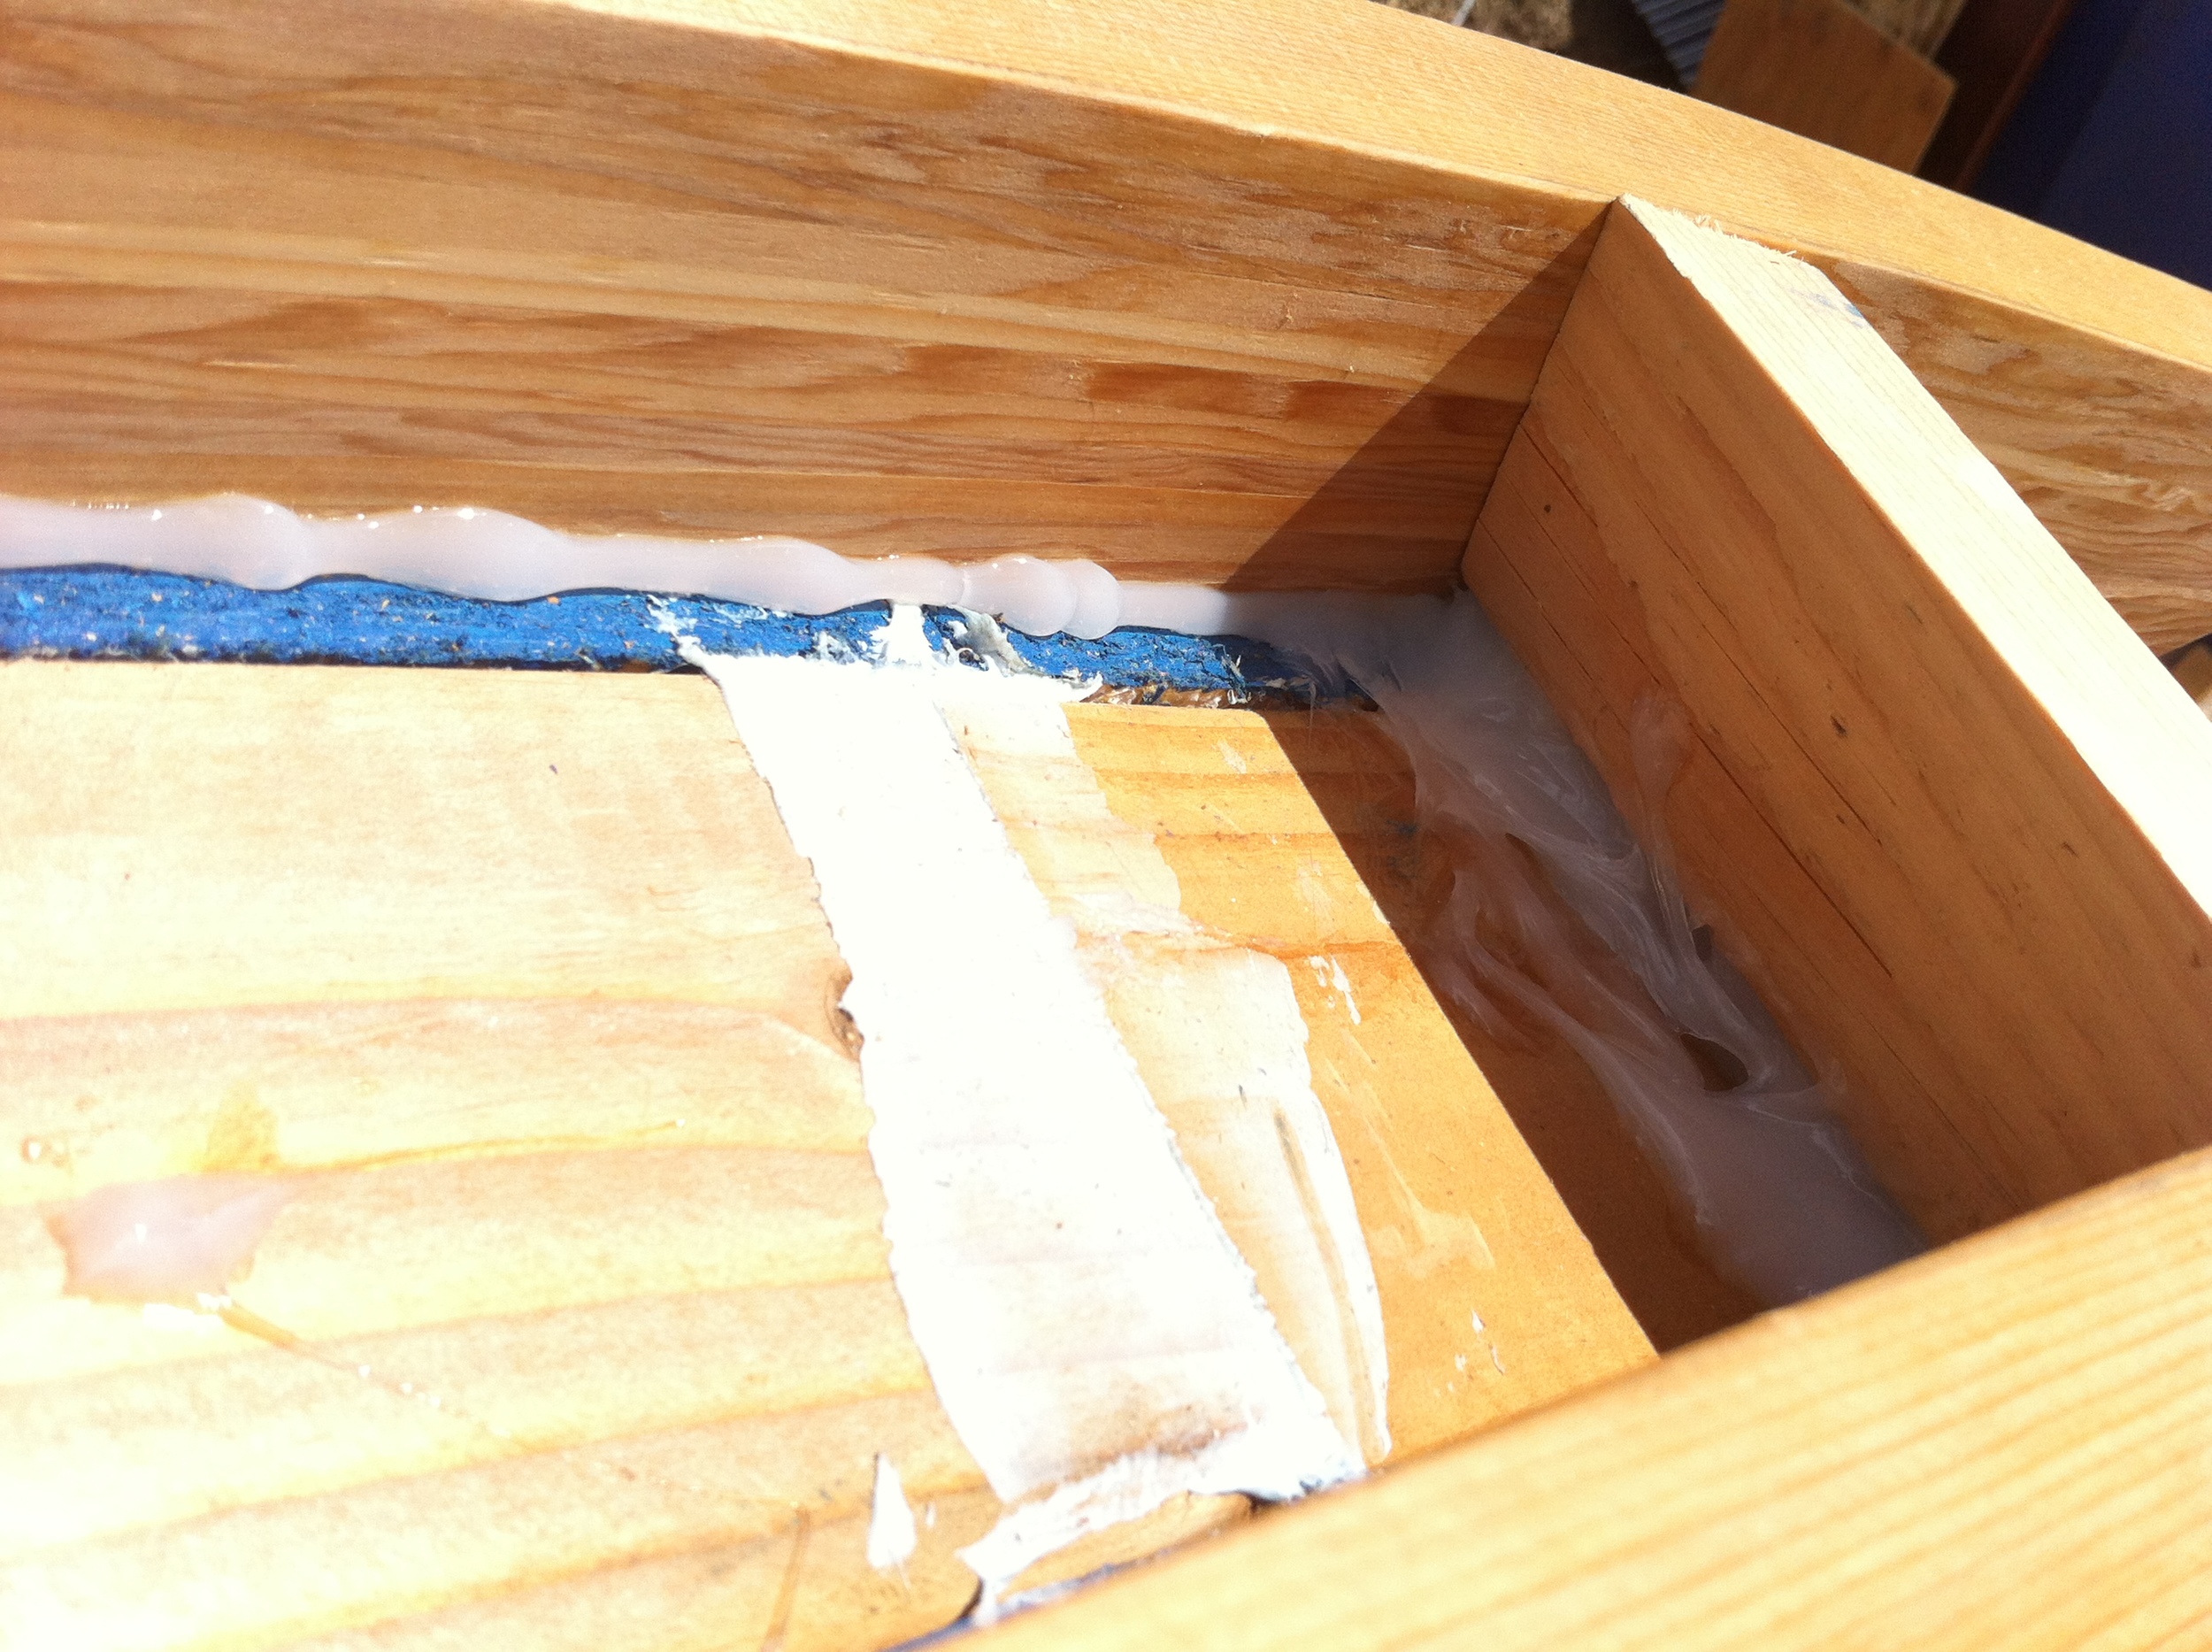
In the morning Matthew helped me air seal the ceiling. This involved running Fast Flash from the R-Guard system by Prosoco over all of the seams where we’d nailed the ceiling bead board. (You can read about my bead board ceiling in Ceiling Up My Vardo.) Matthew also helped me find the weak points in the ceiling panels by standing inside the house and looking for the spots where the ceiling was translucent. I was on the roof so I tested to see if I had the right spot by covering up the area with my hand. If I blocked the light I knew I’d found my target. (Though I had to remember to not block the area with my shadow since it was so sunny!) I covered these areas with Fast Flash, too. Once the roof was no longer see-through we were ready for the insulation.
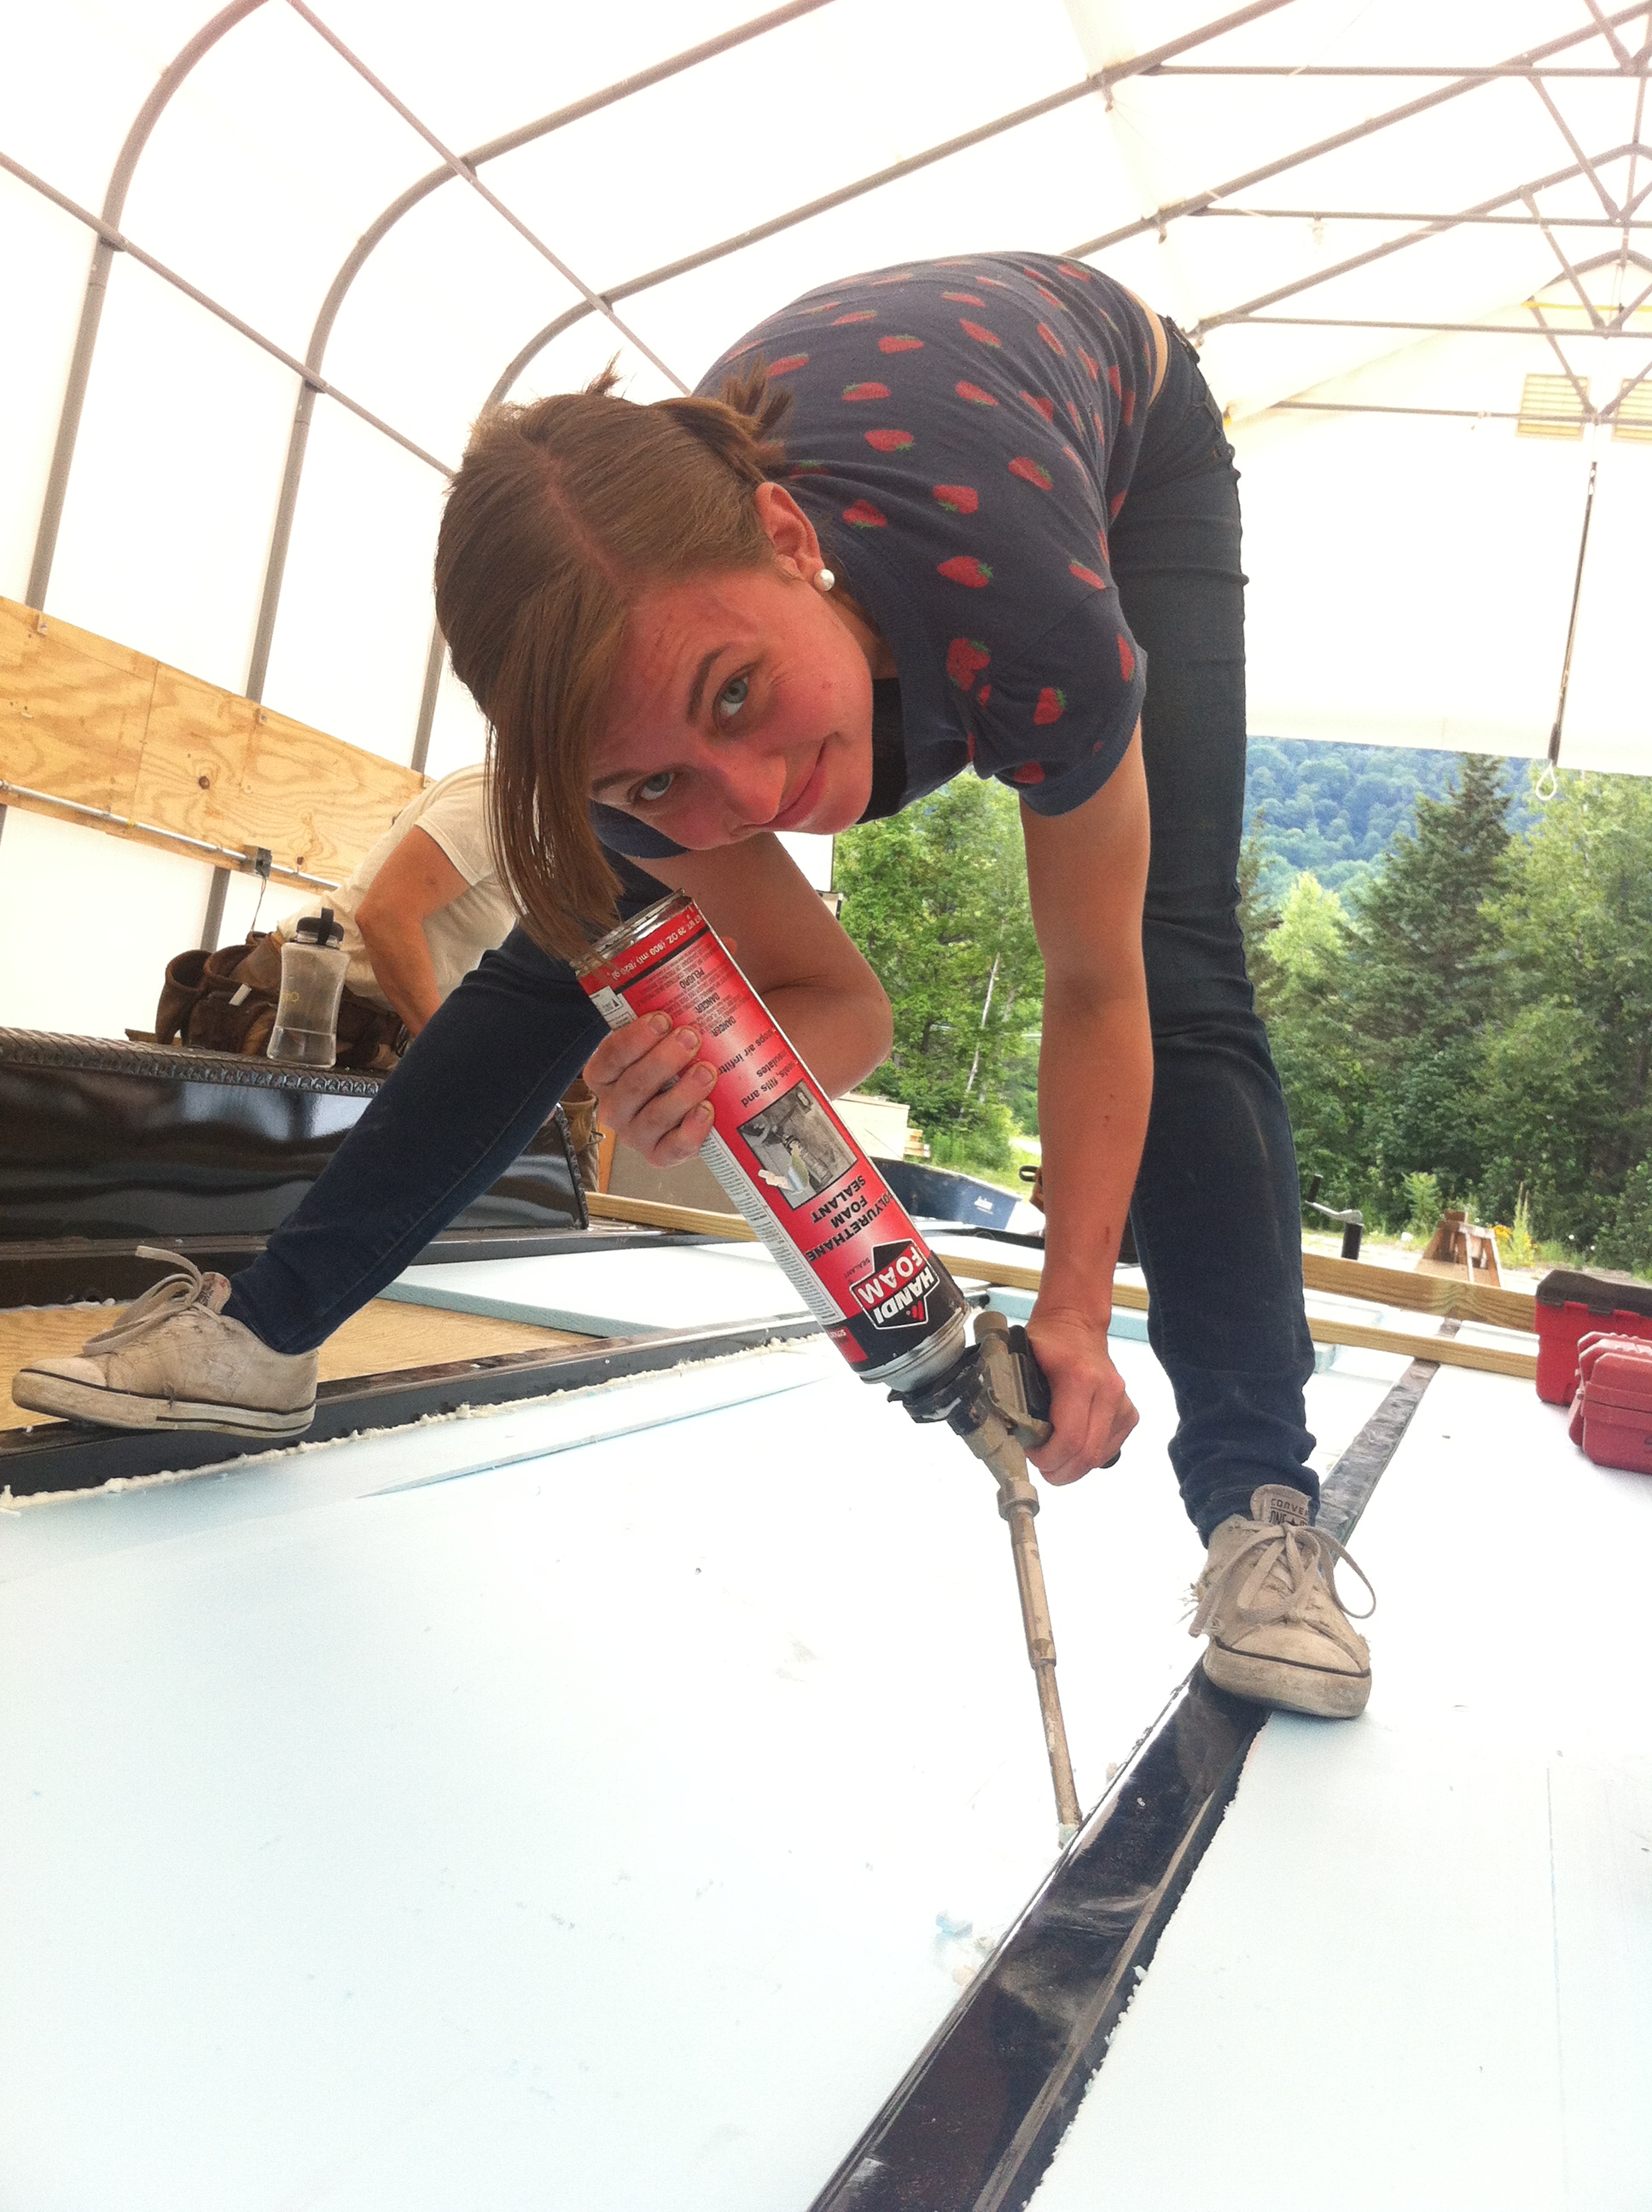
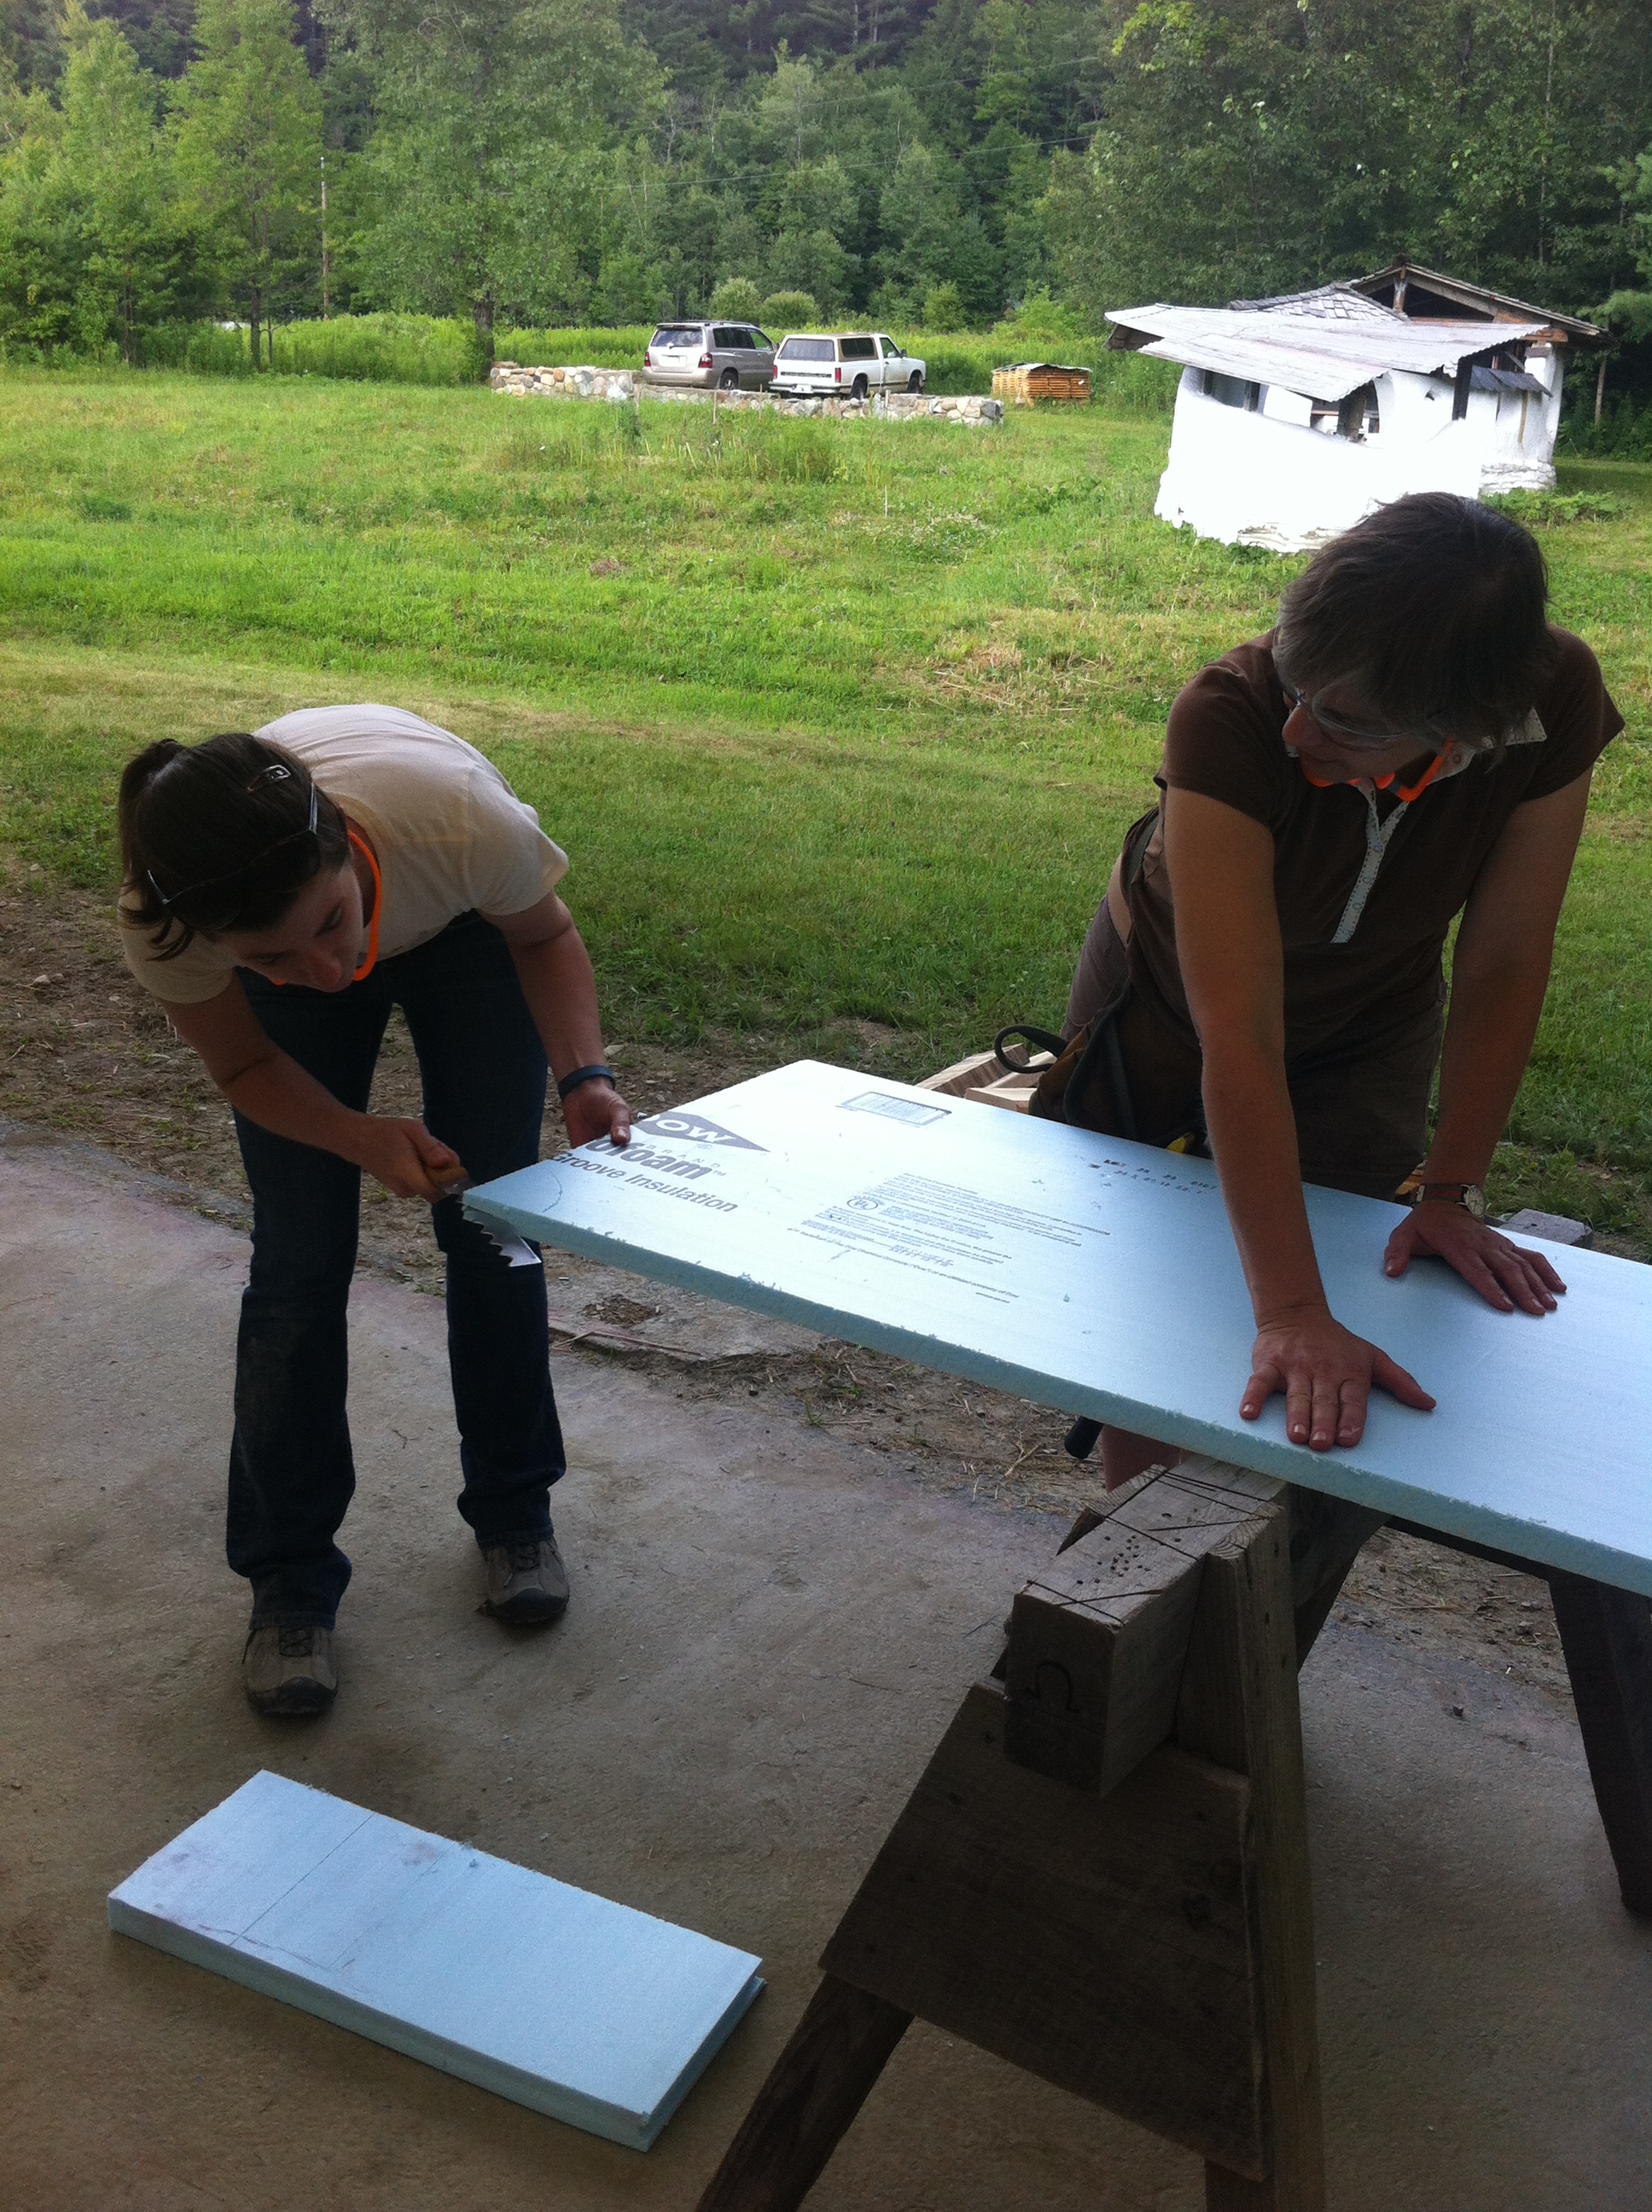
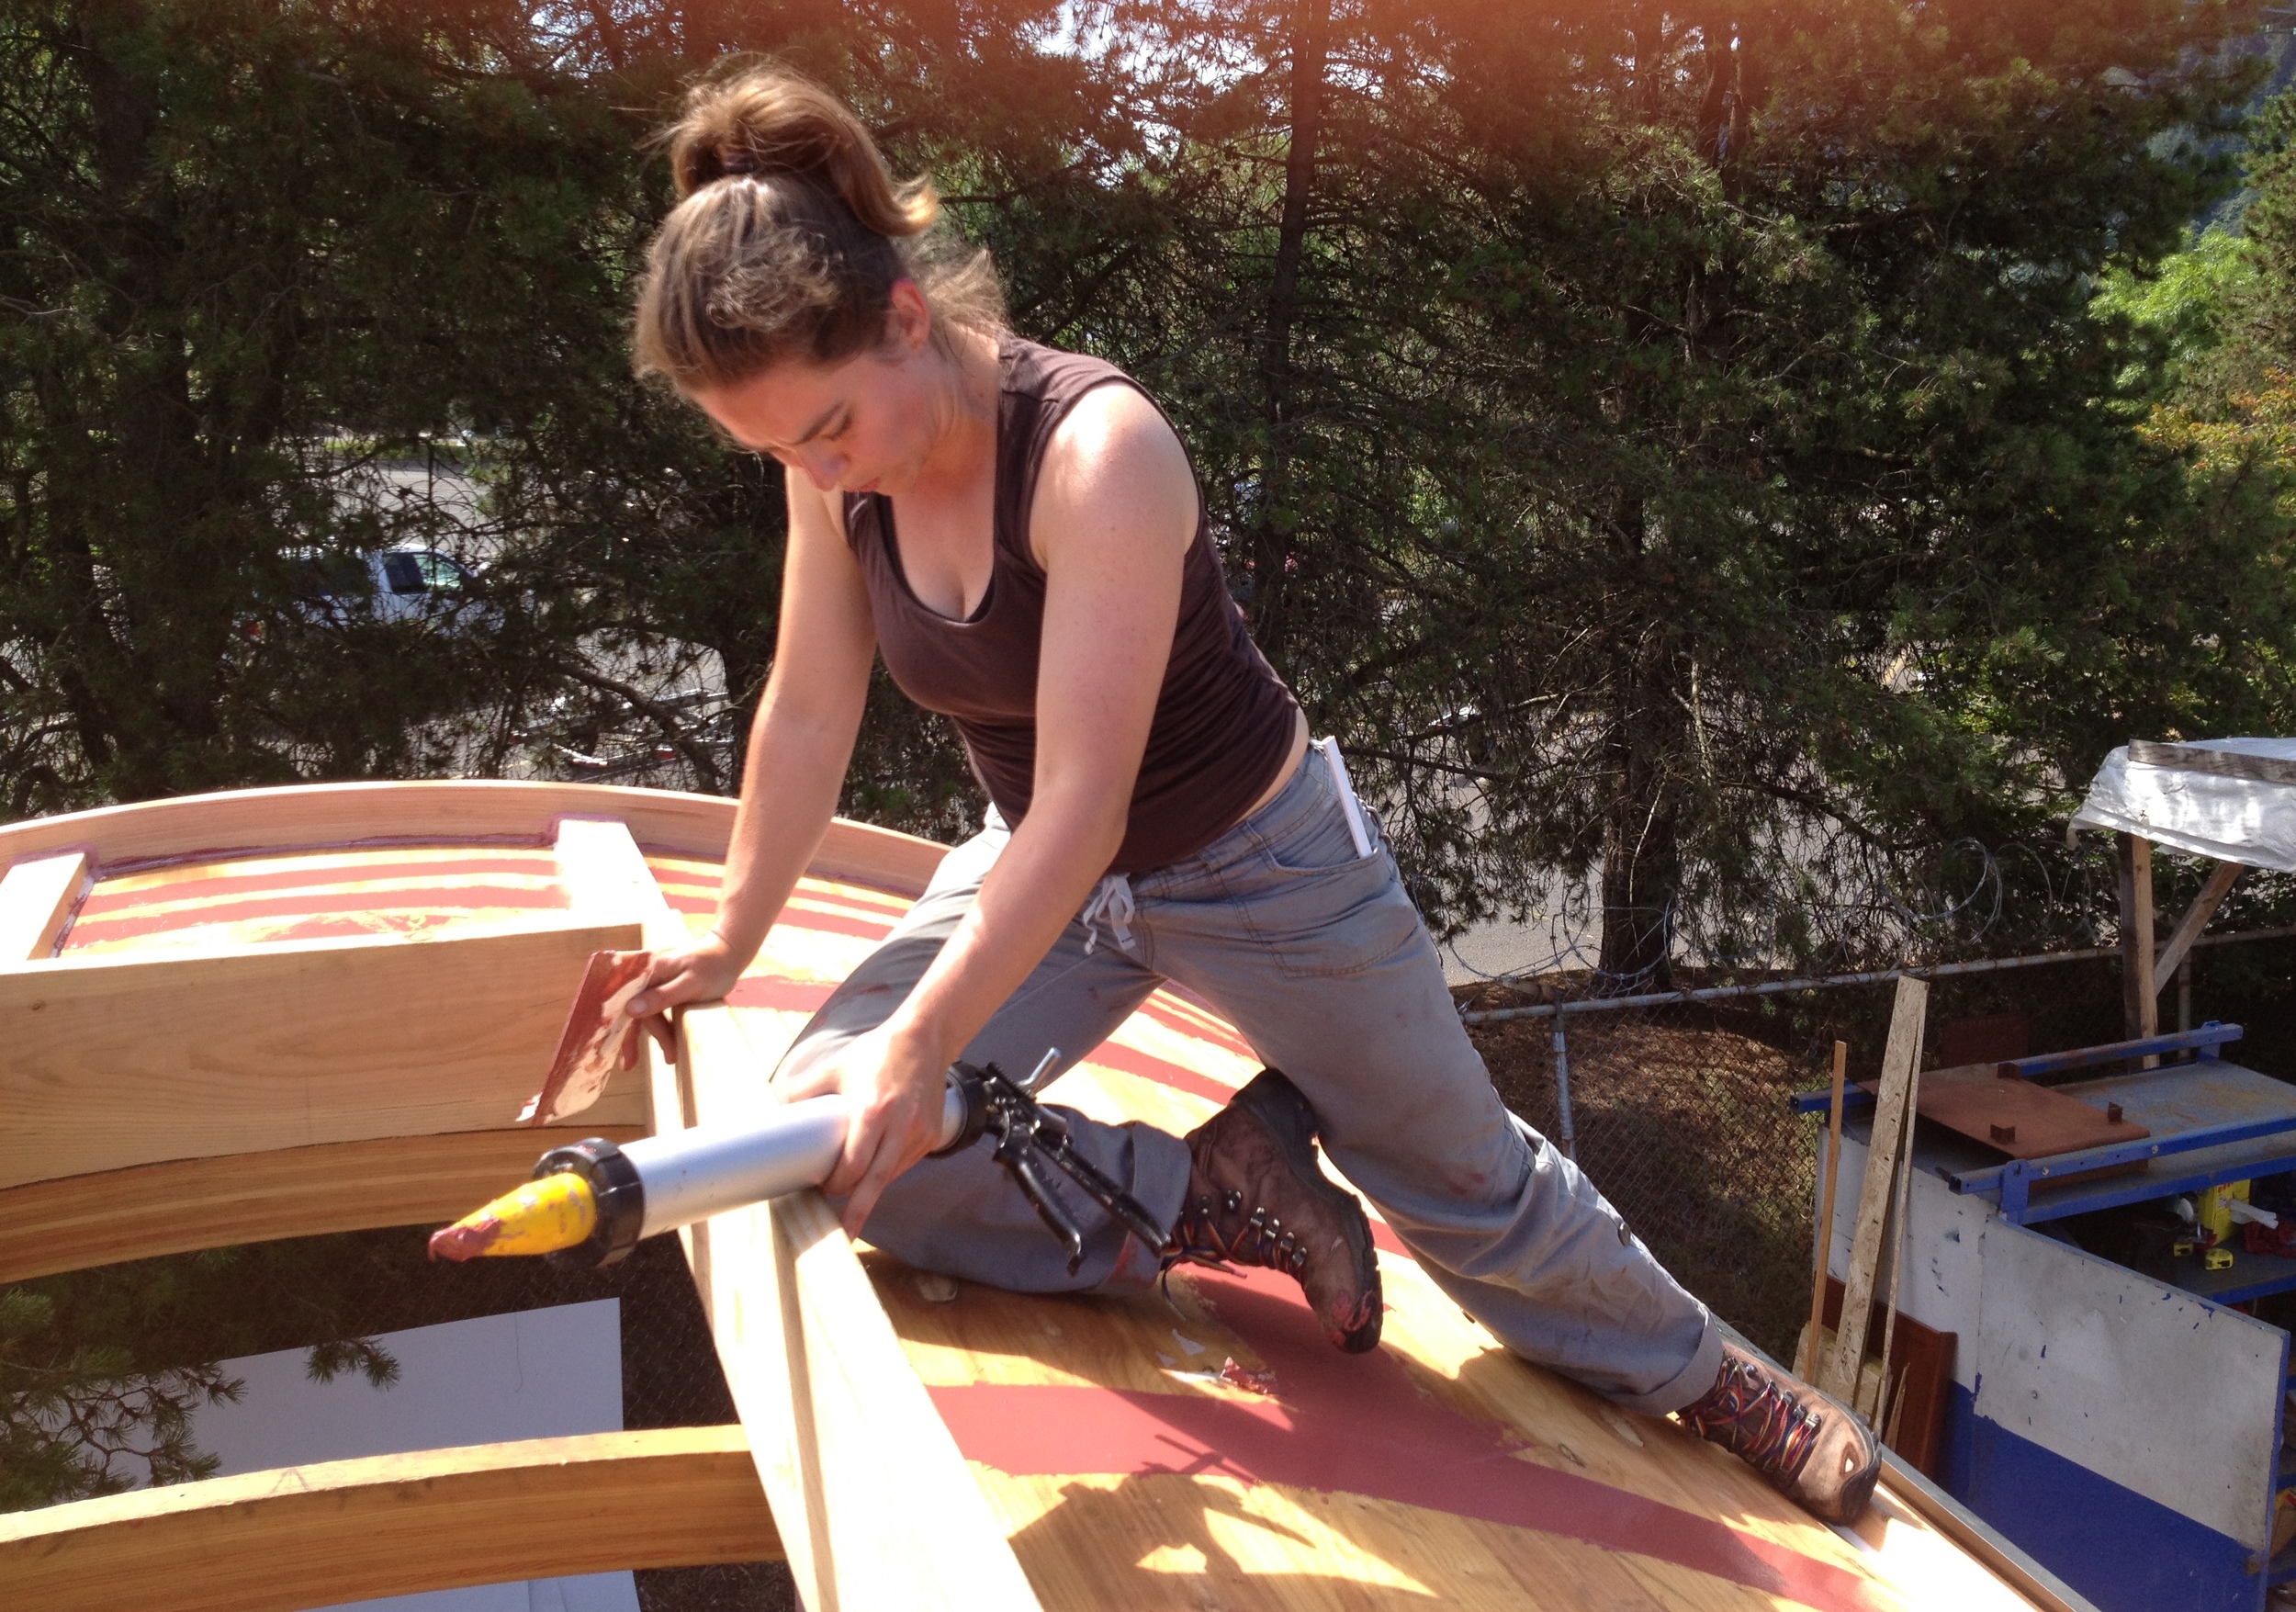
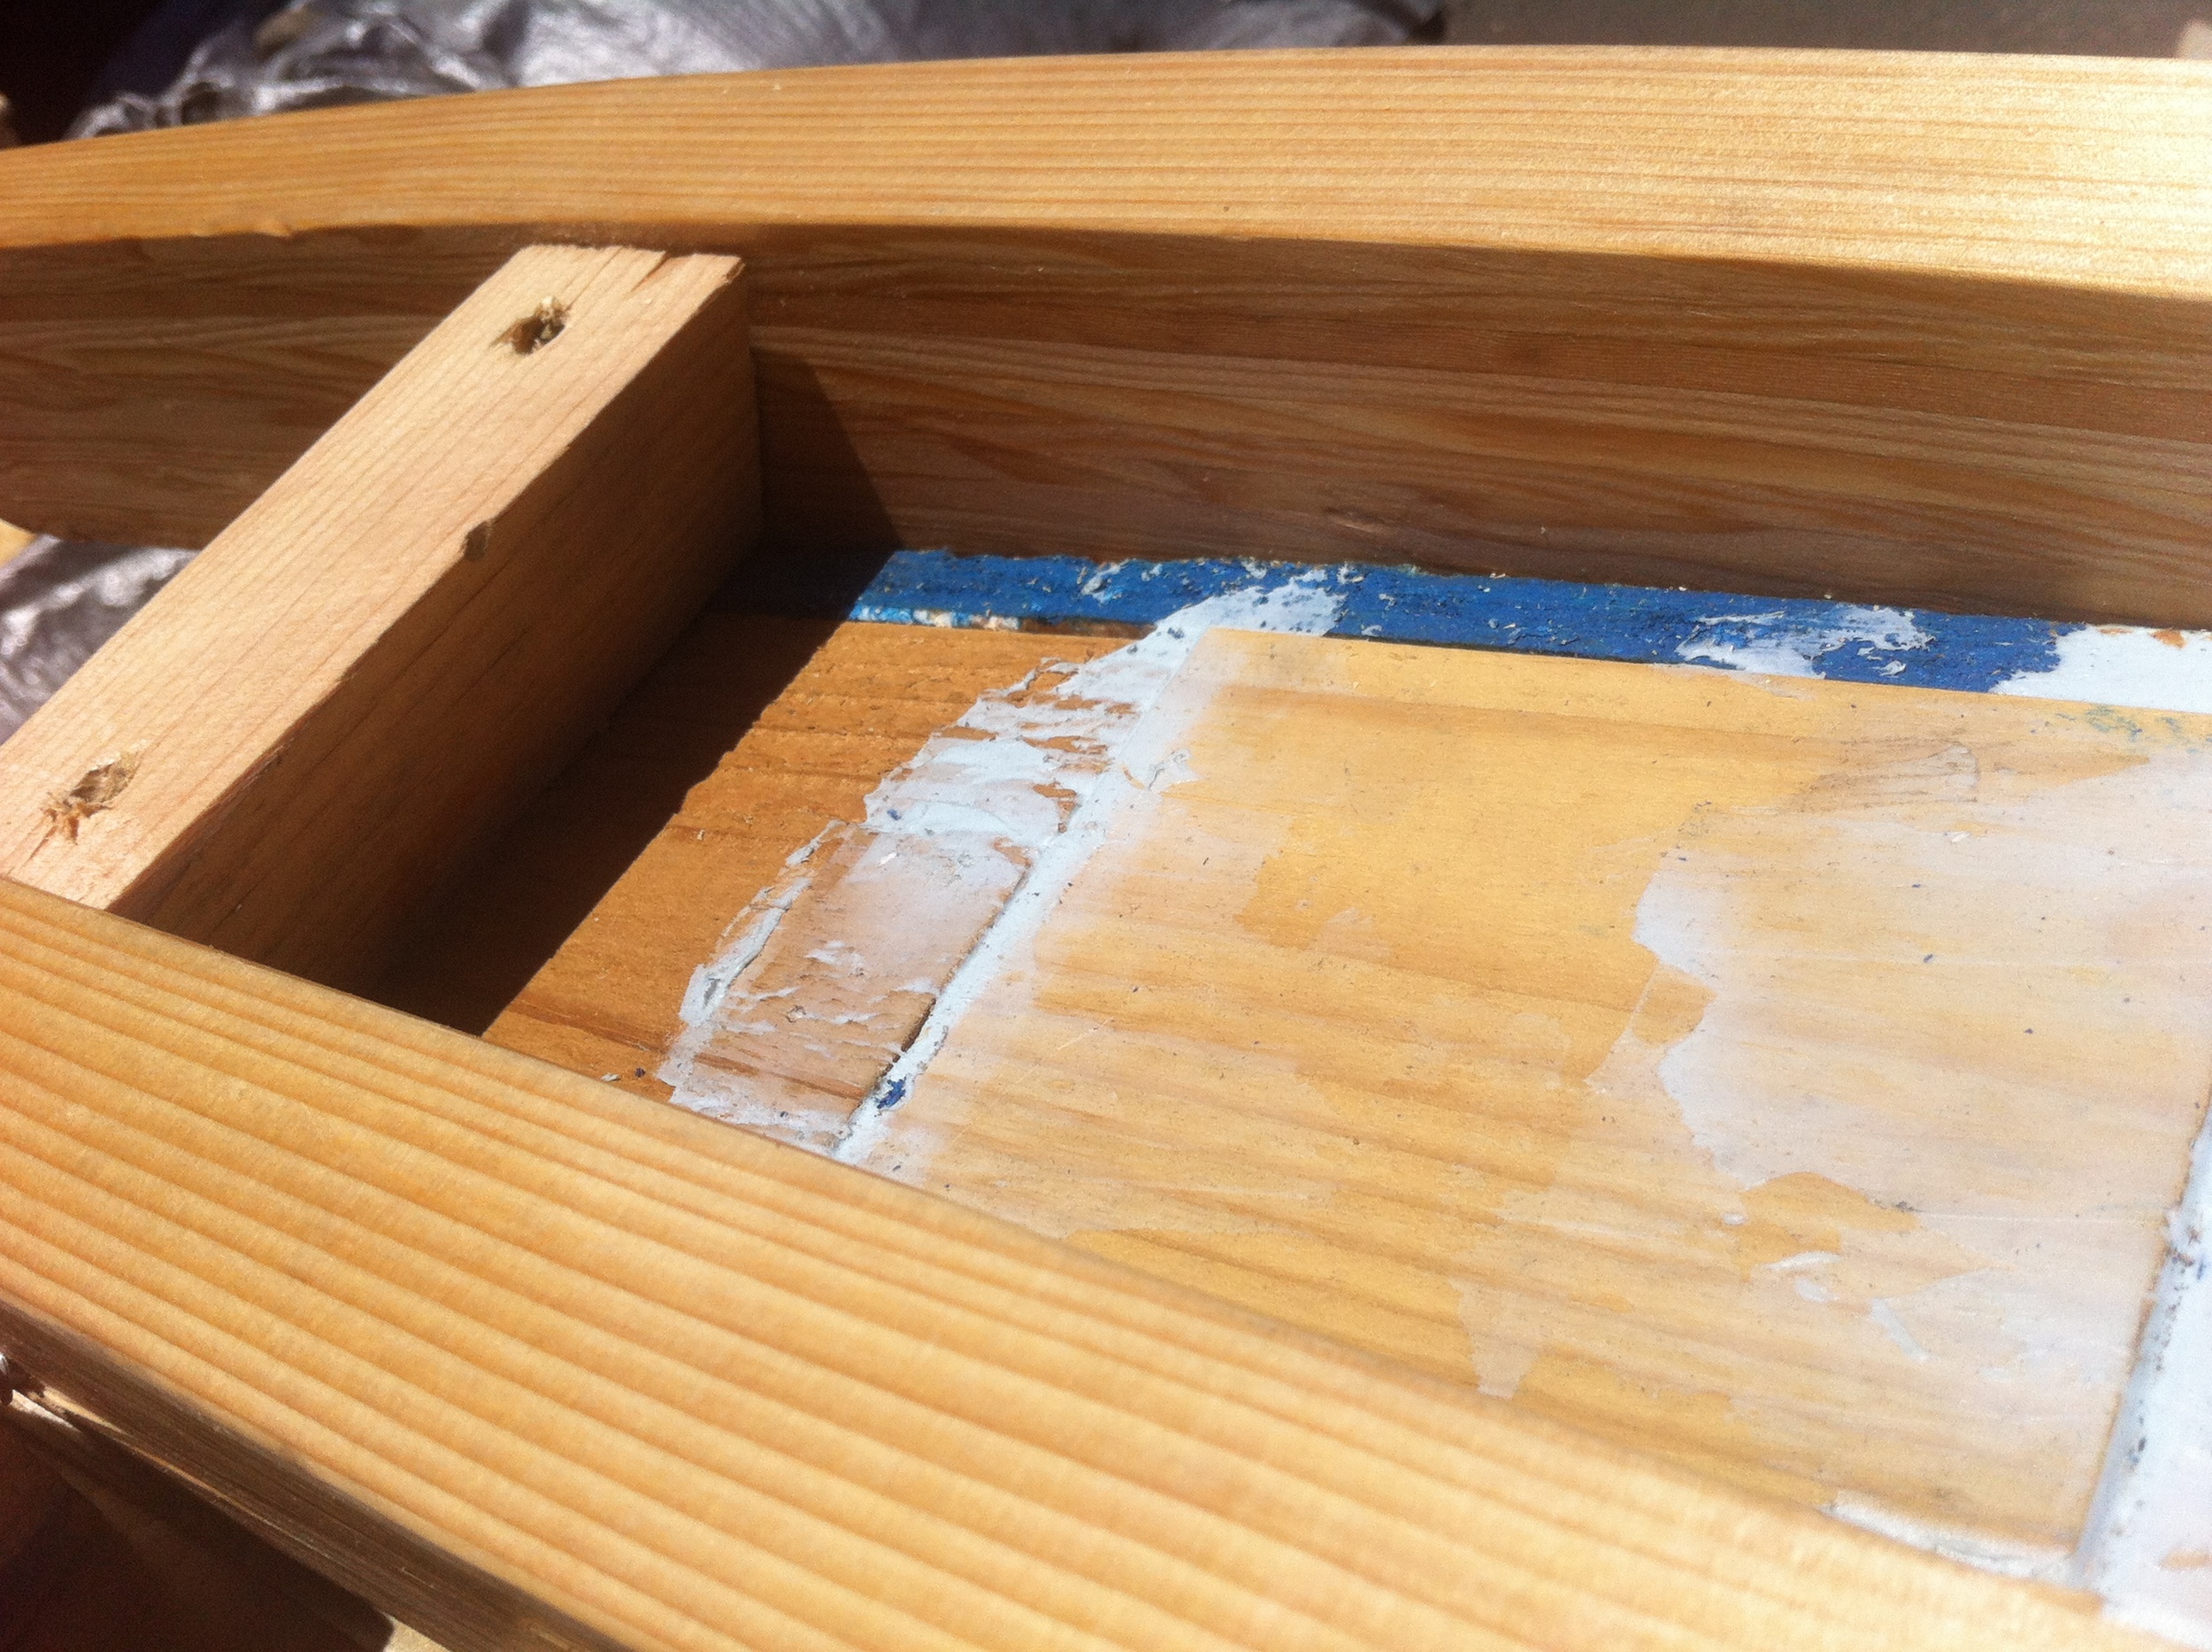
This afternoon Tony and Grae helped me install the insulation in my vardo roofbox. We cut 4’ x 8’ sheets of 1” expanded polystyrene (EPS) foam board to fit between the 2x6 at the eves and the outriggers surrounding the skylight box. We decided to leave the spots on either end of the skylight box at the front and back of the house till last because it’s such a nice place to sit and store tools without them slipping off the roof!
Once we’d dry-fitted the foam we removed it and spray foamed the edges. Then slipped the sheets of insulation into place. Once the first piece was in place we put in another 1” sheet of EPS on top of it. Fortunately, these sheets didn’t need to be cut, just tacked down onto the nailers and spray foamed at the edges. As we installed the insulation we discovered we’d installed the skylight box slightly askew, so we cut a couple long strips to fill in the gap. We’ll need to do the same for the sheathing.
My walls have 3 ½ of EPS insulation in the SIPS and my floors have 5 ½” of XPS (extruded polystyrene) insulation because I hate having cold feet. Ideally I would have had at least as much insulation in my roof as in my walls. So I ordered the Eve Caps for My Vardo Roof to be 3 ½” tall – 3” for foam and ½” for the sheathing. Unfortunately, I didn’t account for the losses created by the angles. So once we got the second piece of 1” foam into the roof we realized we wouldn’t be able to get more than 2” of foam inside the eve caps with the sheathing in there, too. (The fellow at Vinje’s mentioned when I picked up the Eave Caps for My Vardo Roof that he’d read my blog and he wasn’t sure I’d be able to get 3” of insulation in there. Glad he thought of it, but I wish I’d talked it through with him sooner!)
I am bummed that my roof isn’t better insulated, but as my fellow tiny house builders/energy auditors remind me, my decision to put skylights right in the top of my house pretty much negates the insulation I put in the roof. So I don’t have the best insulation to prevent conductive heat transfer. I’m going to count on that air sealing to help with convective heat transfer. My New Custom Skylight (which will replace the one I broke on my day of Hail and High Water) will help with radiant heat transfer.

I was hoping to get the sheathing up today, too, but the breeze tends to pick up in the evenings on our site and it seemed precarious for Grae and I to be lugging sheets of plywood up ladders, only to have the caught by the wind. Besides, I, for one, was getting pretty tired by this point. It was hot today! But it's expected to rain over the next couple days, so we decided to tarp the house up (again! But hopefully for the last time!)
As evening approached I took a break to get milkshakes for me and my build buddy Laura and then helped her with her siding a little bit before calling it a day. You can read more about Laura’s siding on and A Little Bit of Everything else on her blog.
Congress for New Urbanism Salon
 A couple months ago I was invited by Martin Glastra Van Loon (a Dutch native who now lives and works in Portland as an urban planner) to speak at the Cascadia chapter of Congress for the New Urbanism Salon. This was an exciting prospect for me, not only because I'm interested in smart growth and I admire Martin's work, but also because it sounded a lot like the Design Colloquiums I'd run in Walla Walla. Since graduating from PSU's urban planning program I've missed the chance to sit around with other urban design geeks talking about the influence of our built environment on our environment and social interactions.
On Wednesday evening I had the opportunity to meet this fine group of designers and do an hour-long presentation about the ways building small is smart. The conversation continued for another three hours, eventually migrating to Bunk Bar. It was a great discussion and I look forward to continuing the conversation about policy, form, and the marketplace. Here's to many more hours of discussing the way building small is smart!
A couple months ago I was invited by Martin Glastra Van Loon (a Dutch native who now lives and works in Portland as an urban planner) to speak at the Cascadia chapter of Congress for the New Urbanism Salon. This was an exciting prospect for me, not only because I'm interested in smart growth and I admire Martin's work, but also because it sounded a lot like the Design Colloquiums I'd run in Walla Walla. Since graduating from PSU's urban planning program I've missed the chance to sit around with other urban design geeks talking about the influence of our built environment on our environment and social interactions.
On Wednesday evening I had the opportunity to meet this fine group of designers and do an hour-long presentation about the ways building small is smart. The conversation continued for another three hours, eventually migrating to Bunk Bar. It was a great discussion and I look forward to continuing the conversation about policy, form, and the marketplace. Here's to many more hours of discussing the way building small is smart!
I'm grateful to Martin for the introduction to this group and to Laurence Qamar for his kind words in a follow up email to the group:
It was a fun and spirited discussion with you, Lina, the other night for our monthly CNU-Cascadia Salon discussing the broad ramifications of the resurgence of the ongoing Tiny House movement.
For those who could not attend, Lina Menard of Niche Design Build presented her work in promoting and building tiny, and often mobile, little homes.
But more than just the average 200 sq ft cottages themselves, Lina spoke of the implications that small homes are having on providing affordable housing options for young and old, or a supplement to an existing home in the form of an accessory dwelling unit (ADU).
Lina is a wealth of knowledge on the current state of financing, permitting, designing and constructing ADUs in Portland, which she describes as one of the more progressive jurisdictions for this new/old form of housing in the nation.
We considered the potential of increasing overall density throughout the city, which is an ongoing goal of the City of Portland, and Metro regional government. ADUs have the potential of having much greater benefit to accommodating future growth not only within our growing "Centers and Corridors” but more softly throughout the very “Fabric” of our neighborhoods.
Most important as a link to the broader CNU’s goals, Lina and the group considered numerous models of how tiny houses can be an important element in further building sustainable communities and that “sense of place” that is at the heart of all our work.

Making Ends Meet
 Memorial Day Weekend was momentous for me. On Friday we had My SIPs Wall Raising. On Saturday we applied My Tiny House Air Barrier. On Sunday and Monday we had my Vardo Rafter Raising. Fortunately, I had lots of Tiny House Helpers. Then I (mostly) took a break from building for a couple of weeks. I spent the last couple days of May in Walla Walla, Revisiting Homeownership, and then lead a guided bike tour for Portland’s ADU Tour.
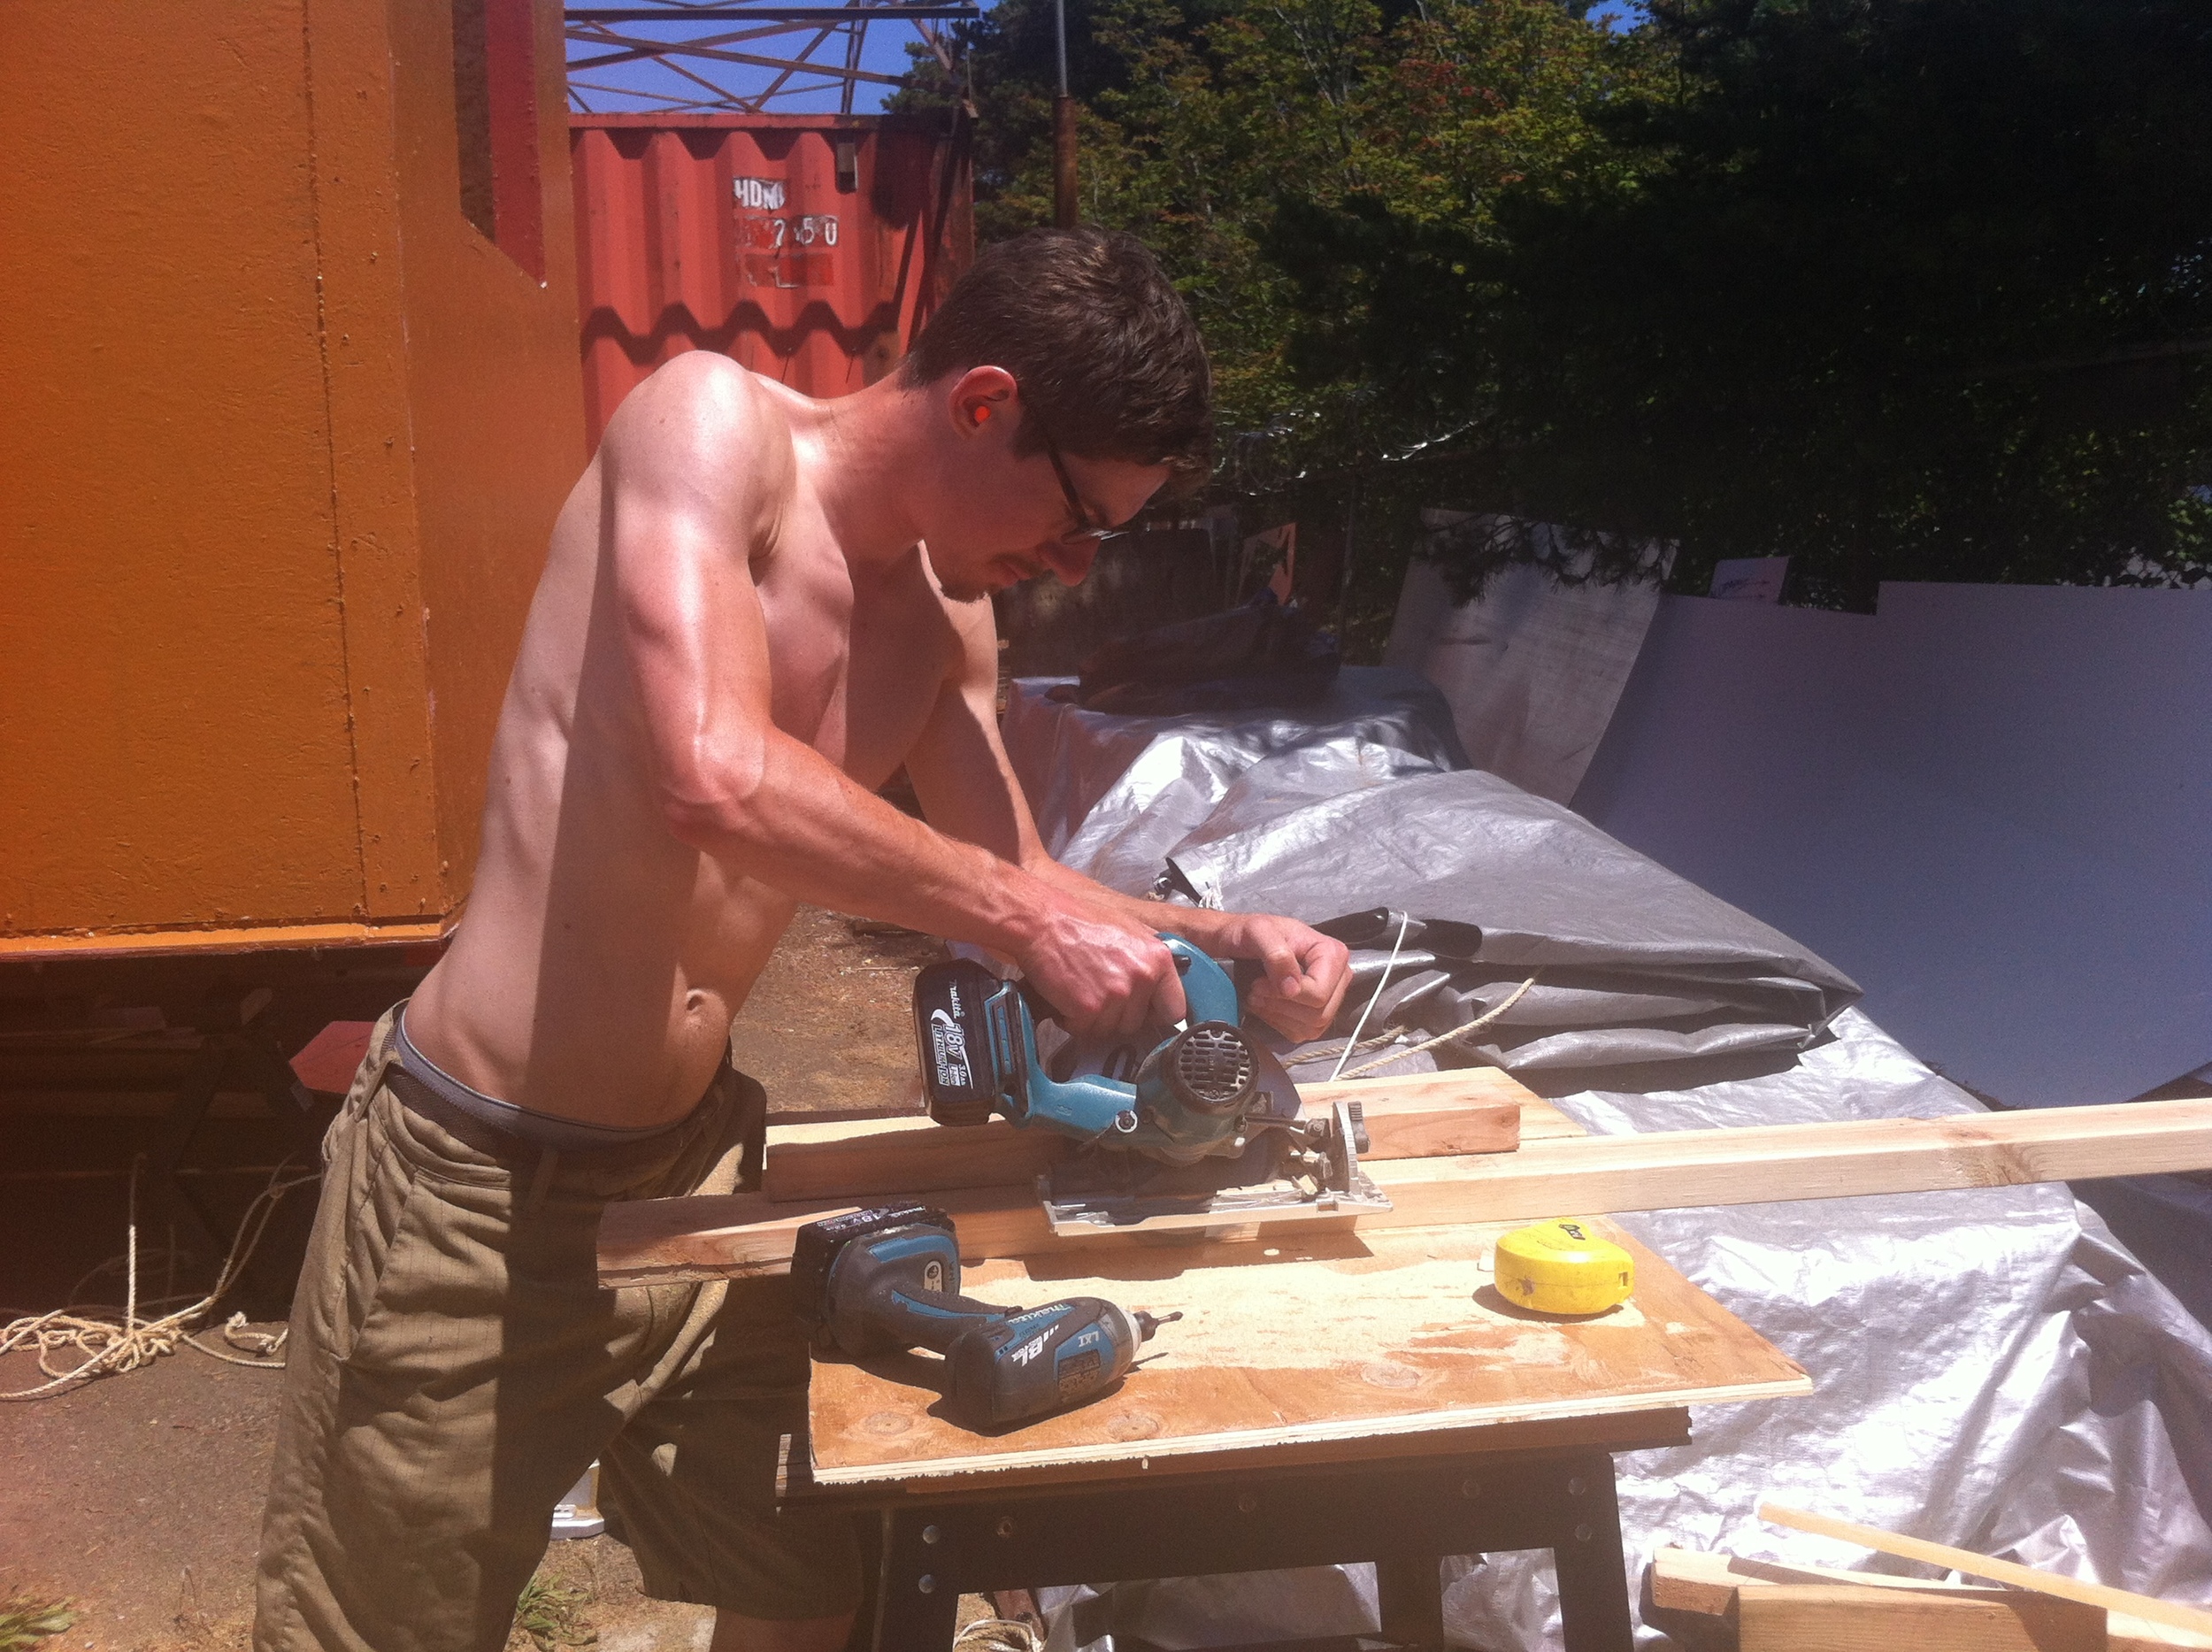
The first Monday of June, I snuck in a build day with my friend Chris who helped me install blocking between my rafters. This involved nipping off a corner at 26 degrees. Fortunately, Chris got really good at doing this with my circular saw.

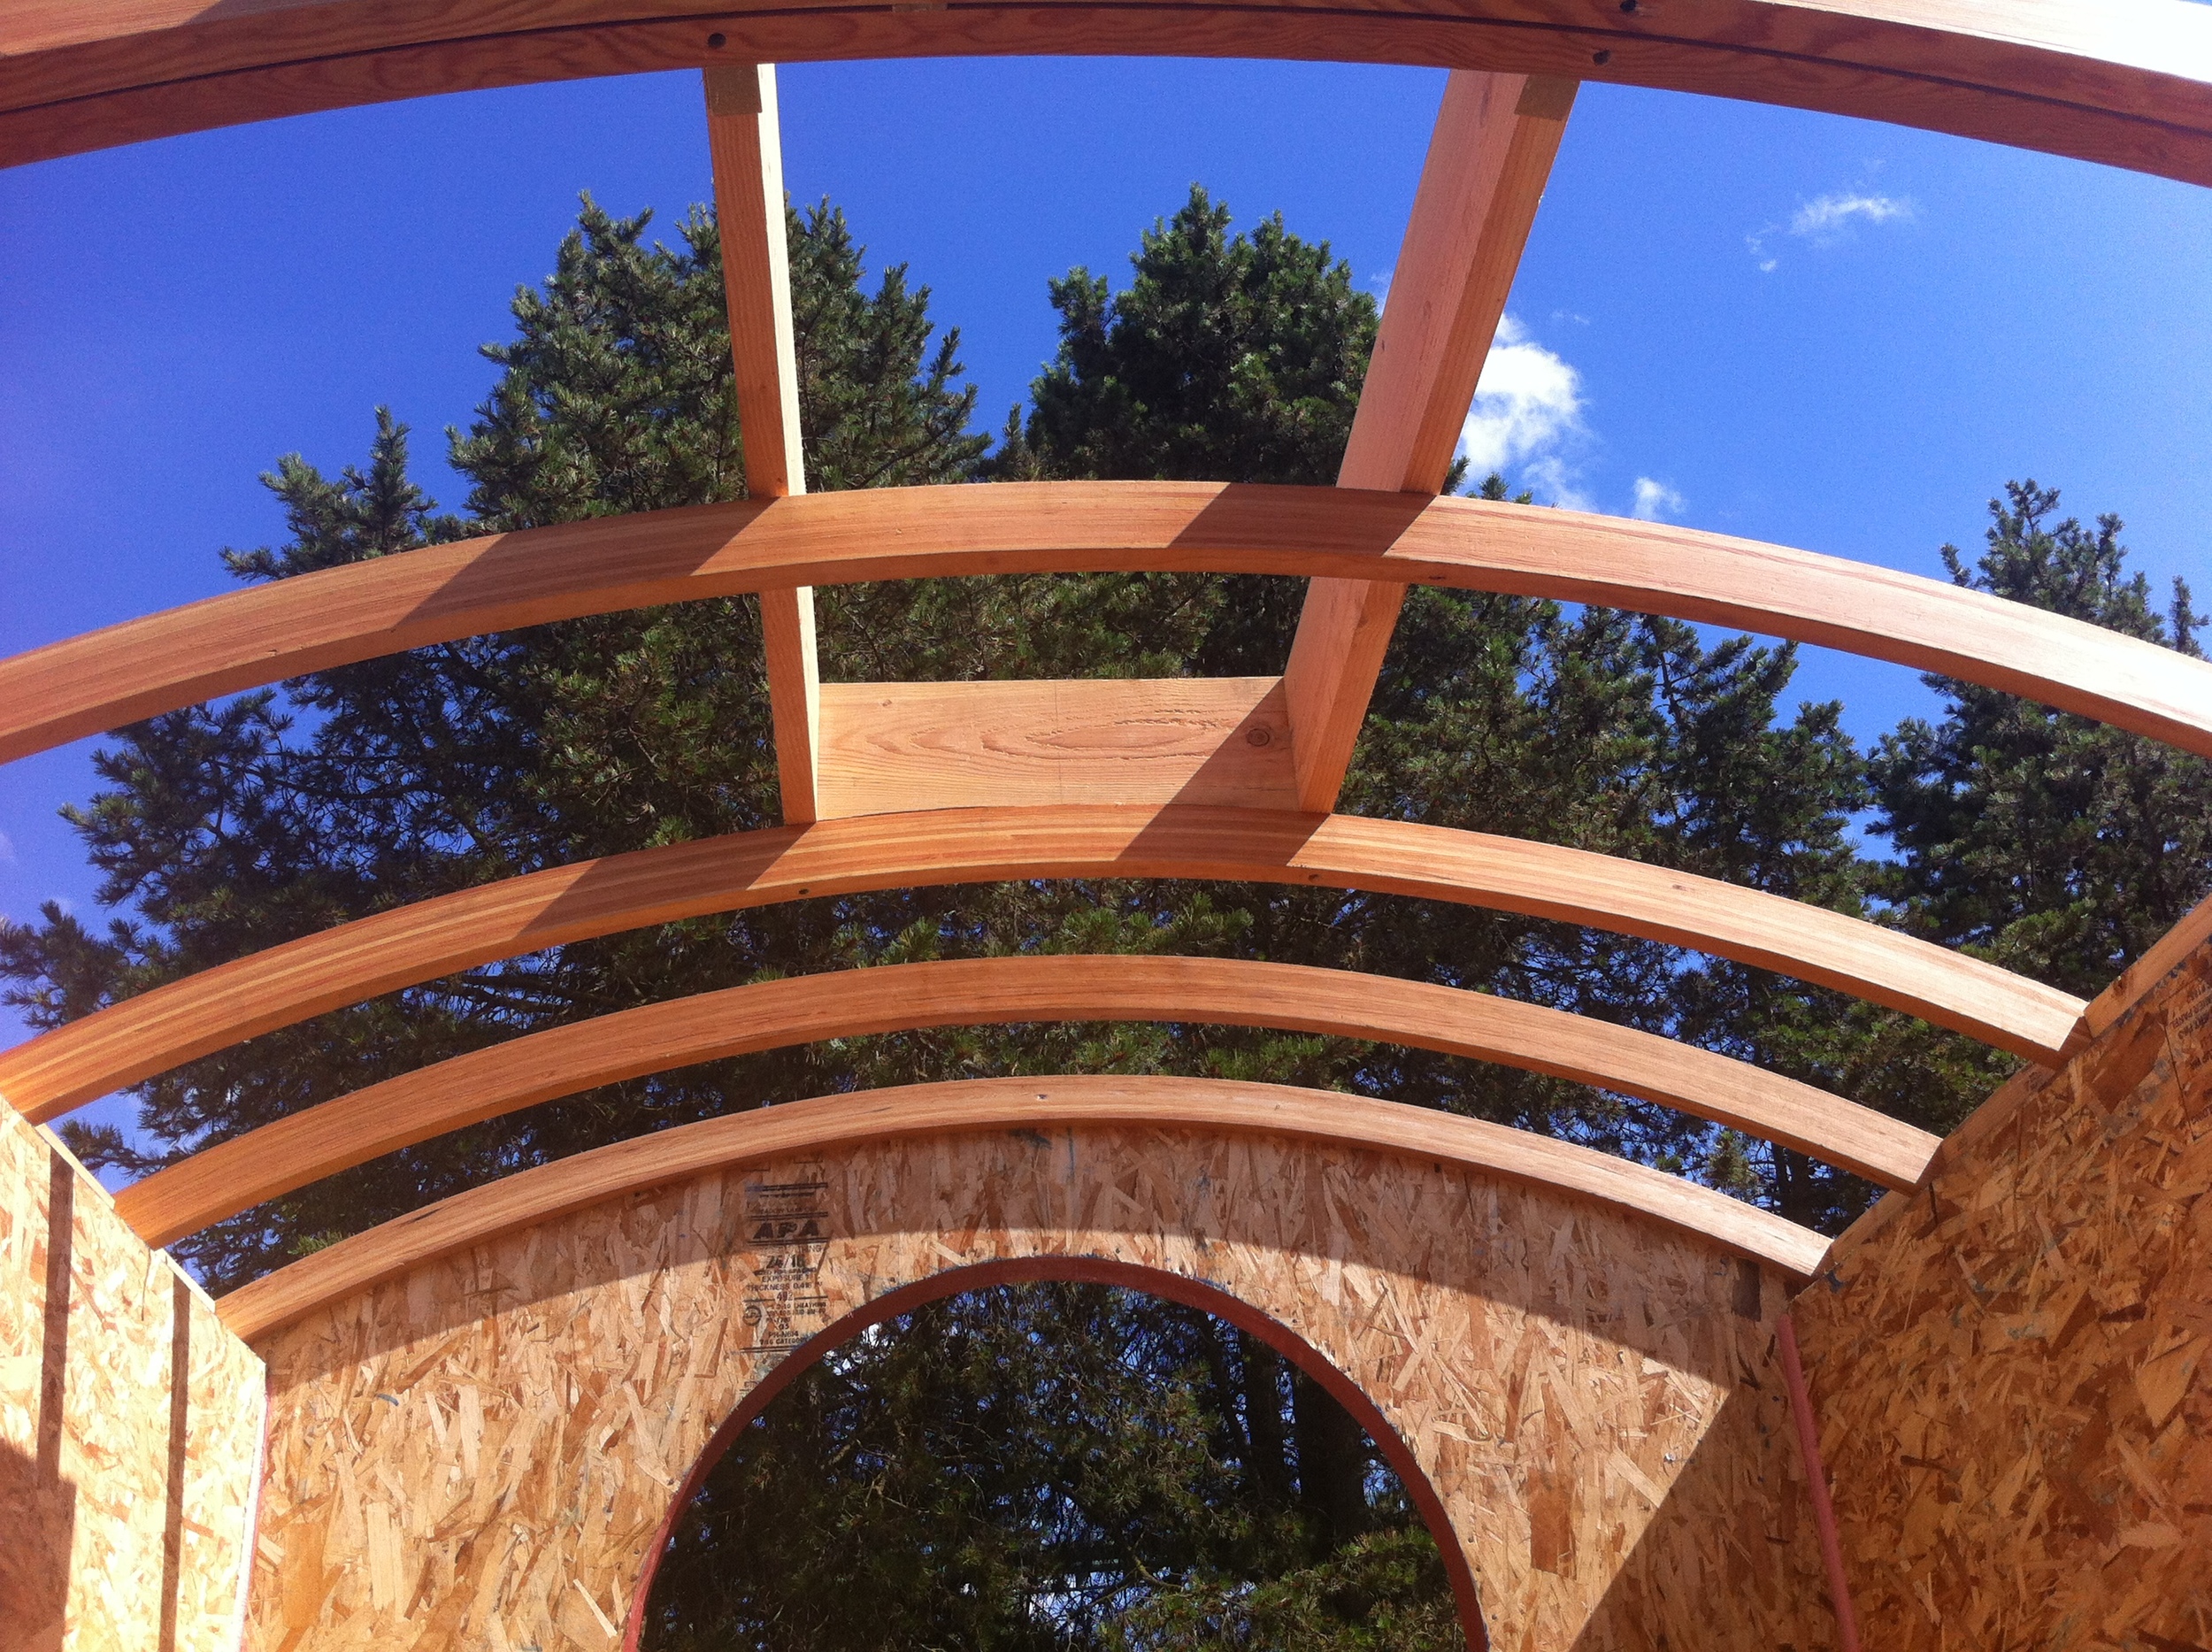
Then we worked on figuring out a plan to close up the end walls. While I was finishing up Building My Arched Rafters, I Ordered My Tiny House SIPs. I figured it might be tricky to match the curve of the rafters, so my plan was to build rafters that would fit into the end wall. But then I learned that the SIPs company could cut the panels to a radius and put blocking in for me. So Patrick Sughrue of Structures Northwest and I figured out what the radius must be based on the rise of 15” at the 8’ mark. It turns out that, even though the rafter jig was based on a radius, the rafters have a more oblong curve because of the spring back that happens when they’re released from the form.
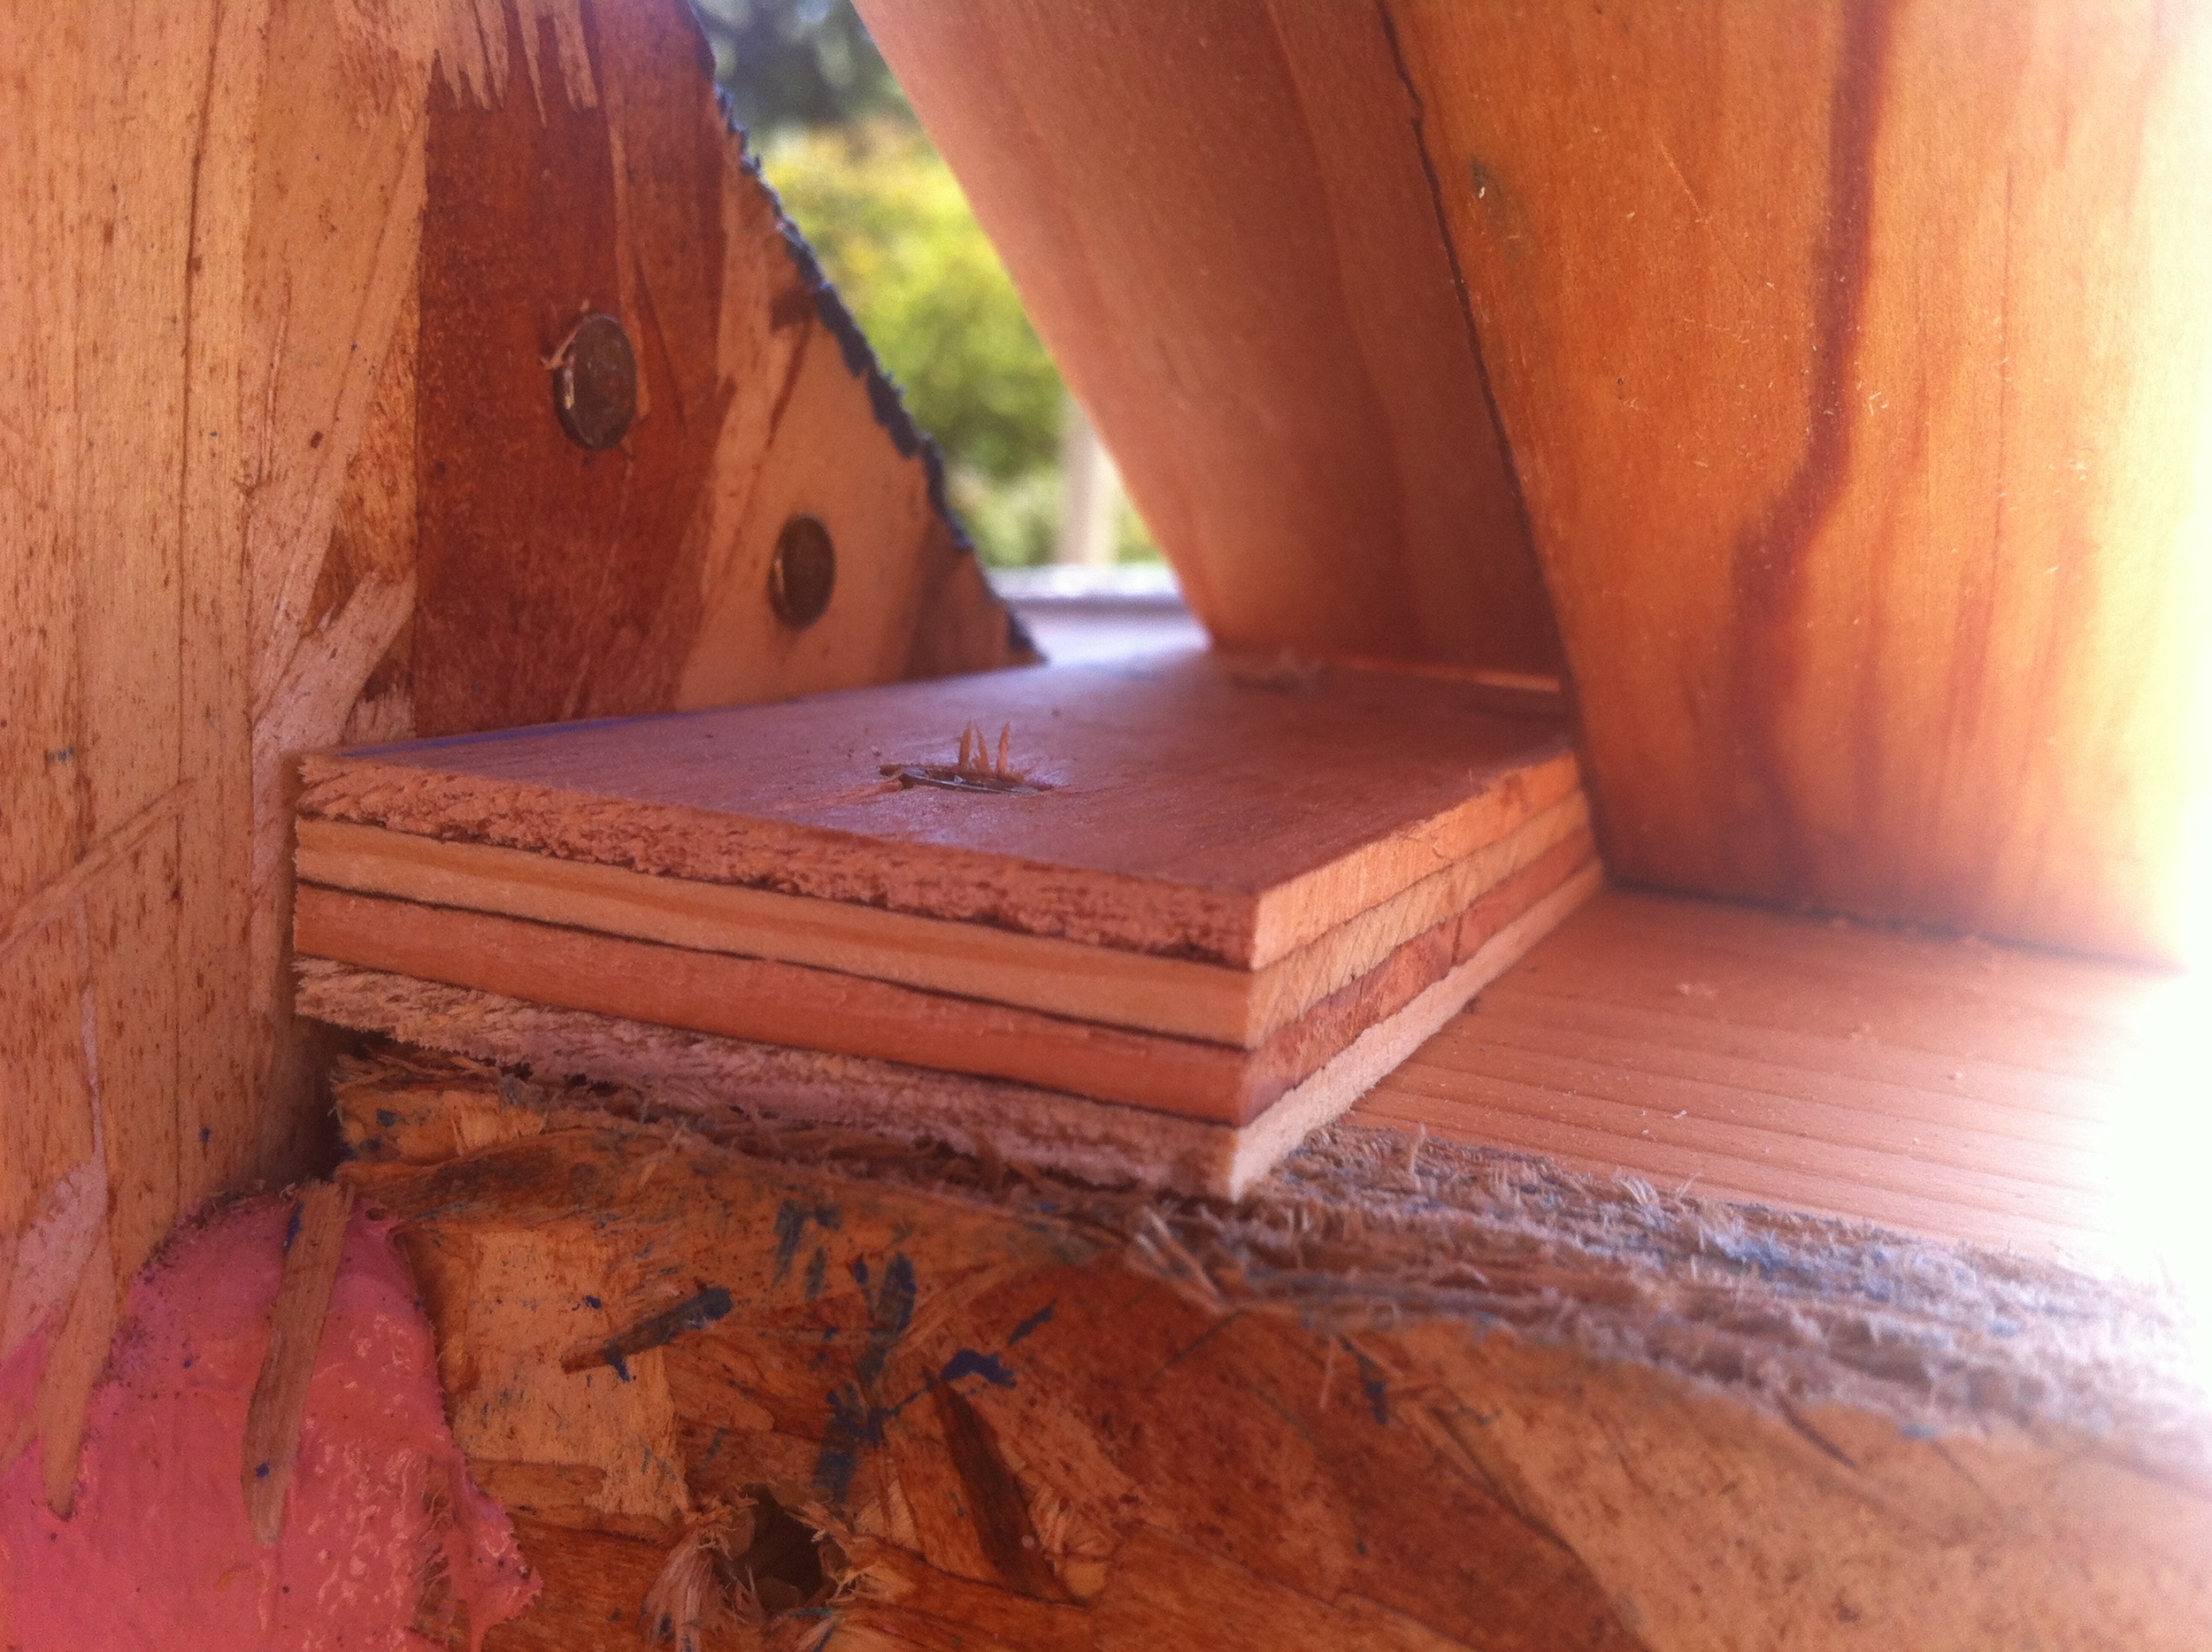
So when we put the rafter up against the end wall to test it, we discovered the curves didn’t match up properly. Once I had the birdsmouths in the rafters there was only ¼” difference between the curves at the top but 2 ½” difference at the ends.

So Chris and I explored a lot of different options last week and Tony chimed in, too, when he swung by. “Why don’t you just build more rafters?” he asked. “I can’t do that,” I said. “I already returned the jig. I’d have to source the strips and I wouldn’t be able to get the fir strips milled down in time so I’d have to use hemlock lathe. I’d have to build the rafters and plane them and sand them and birdsmouth them and seal them and install them.”
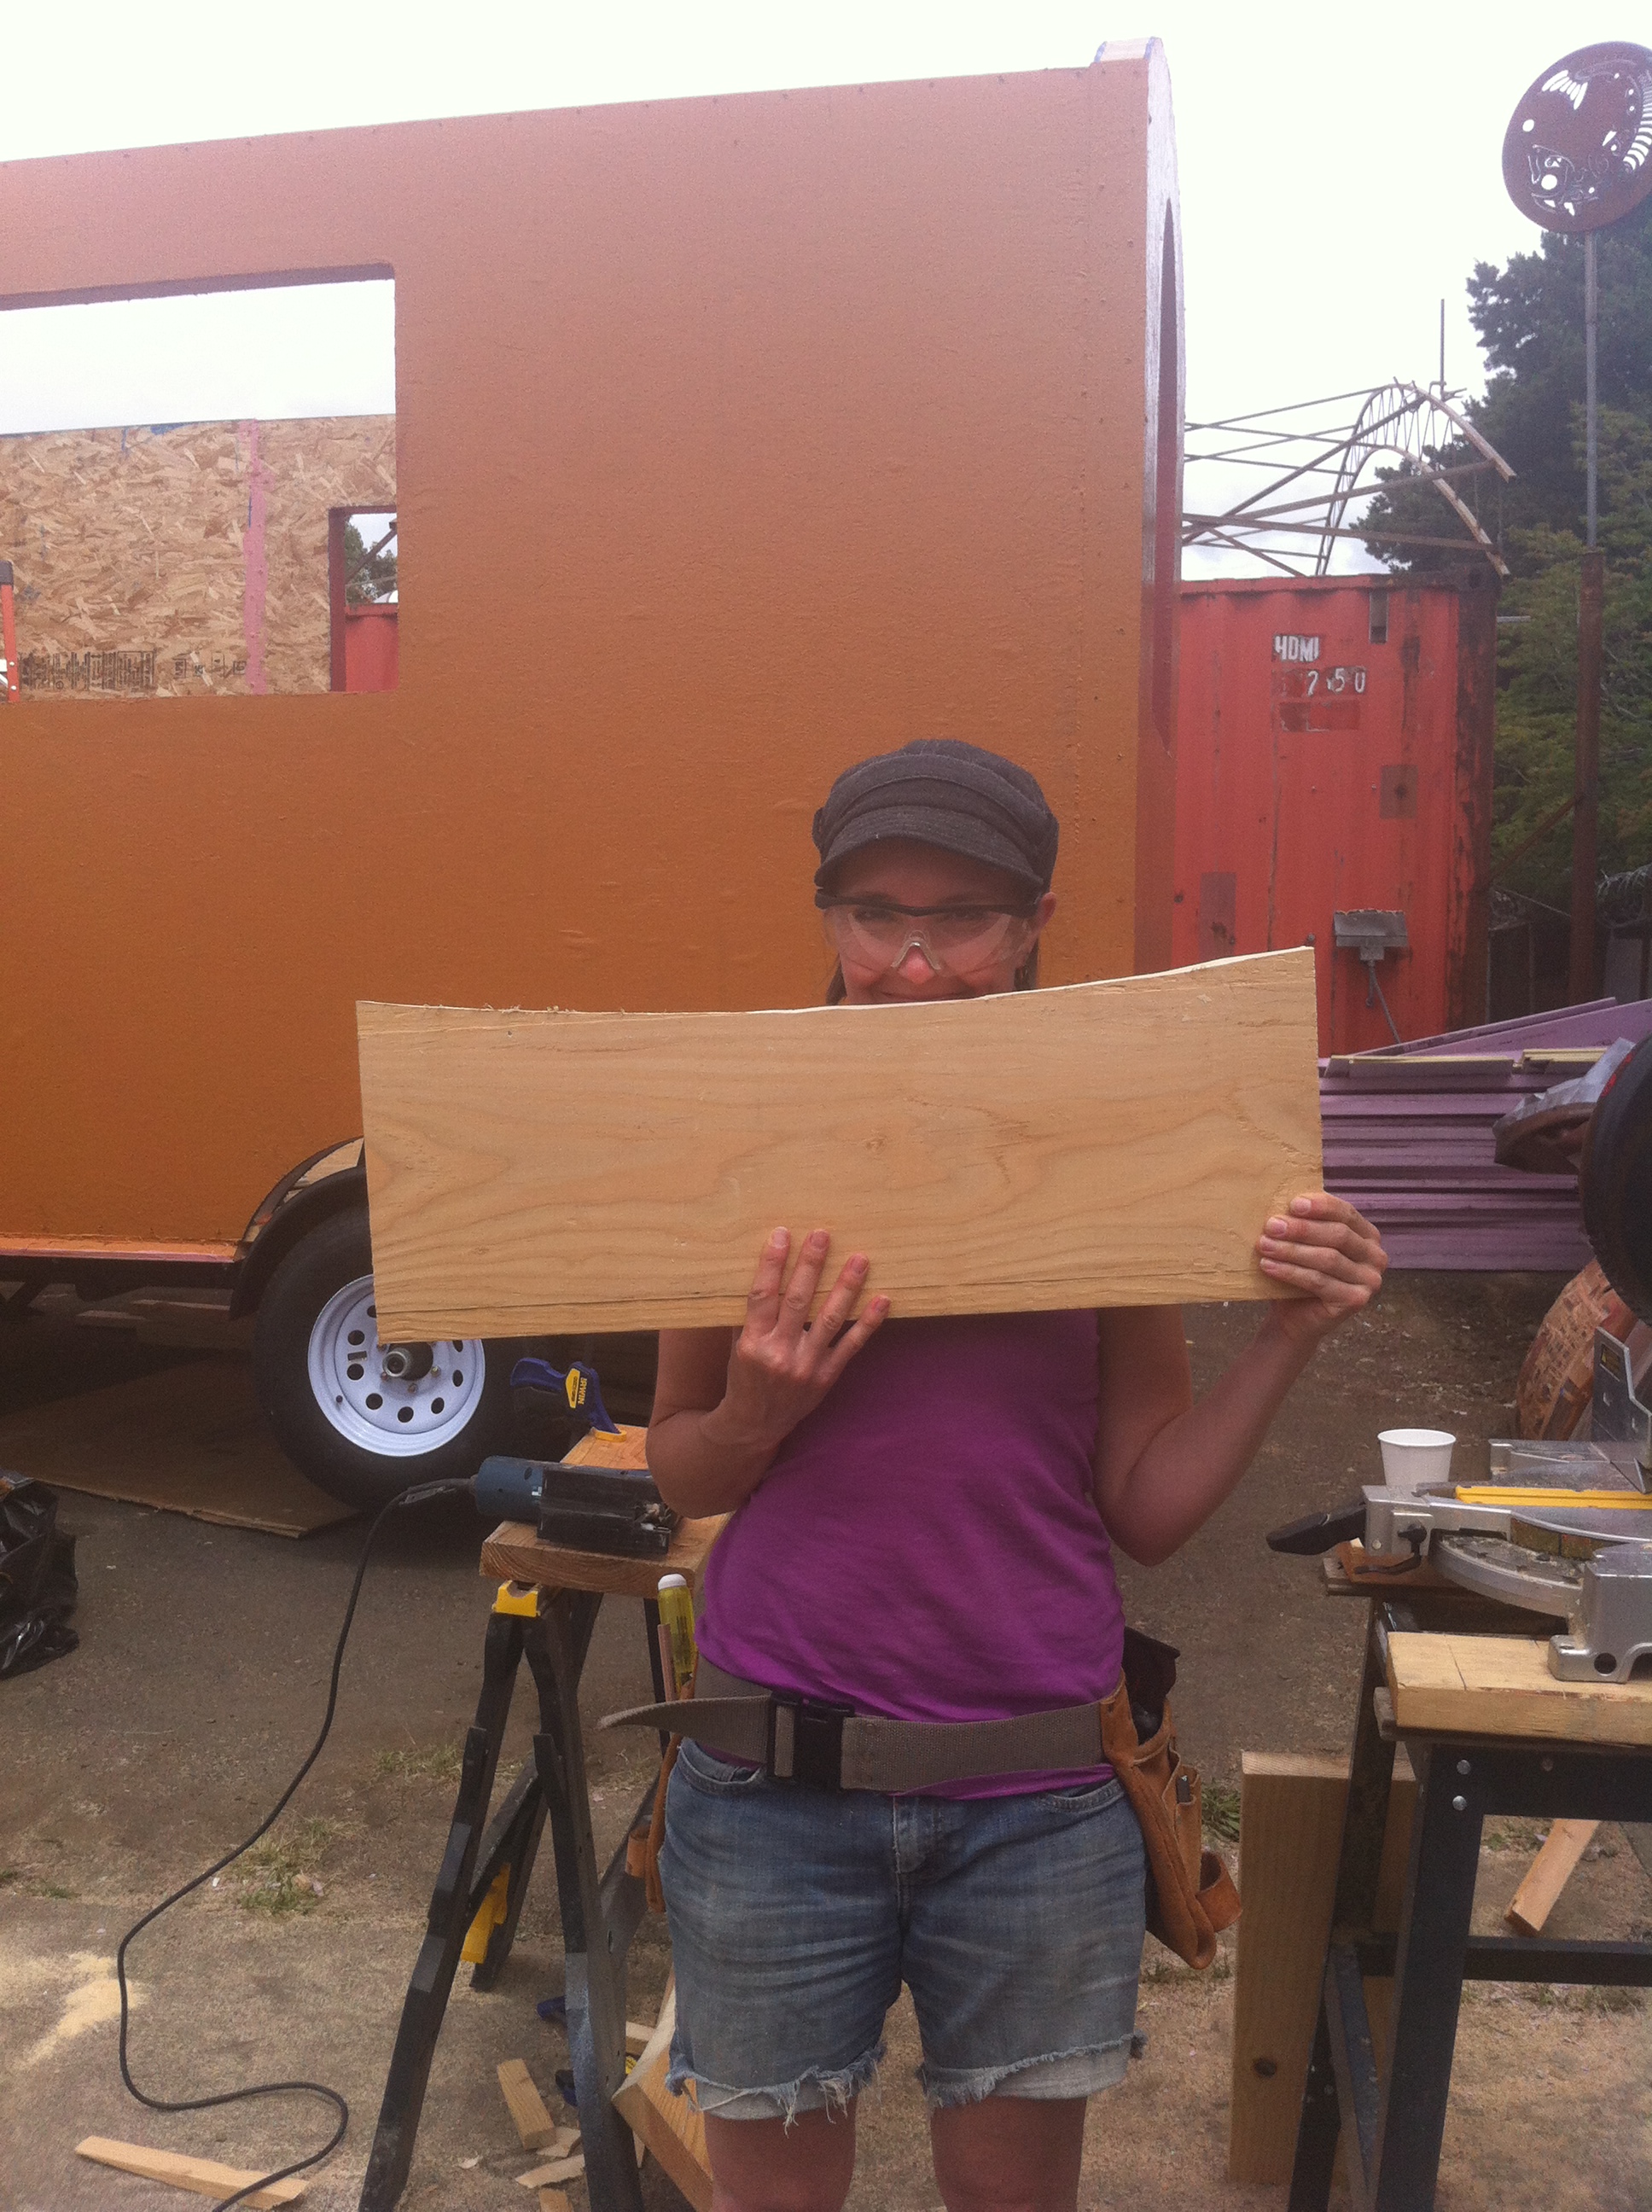
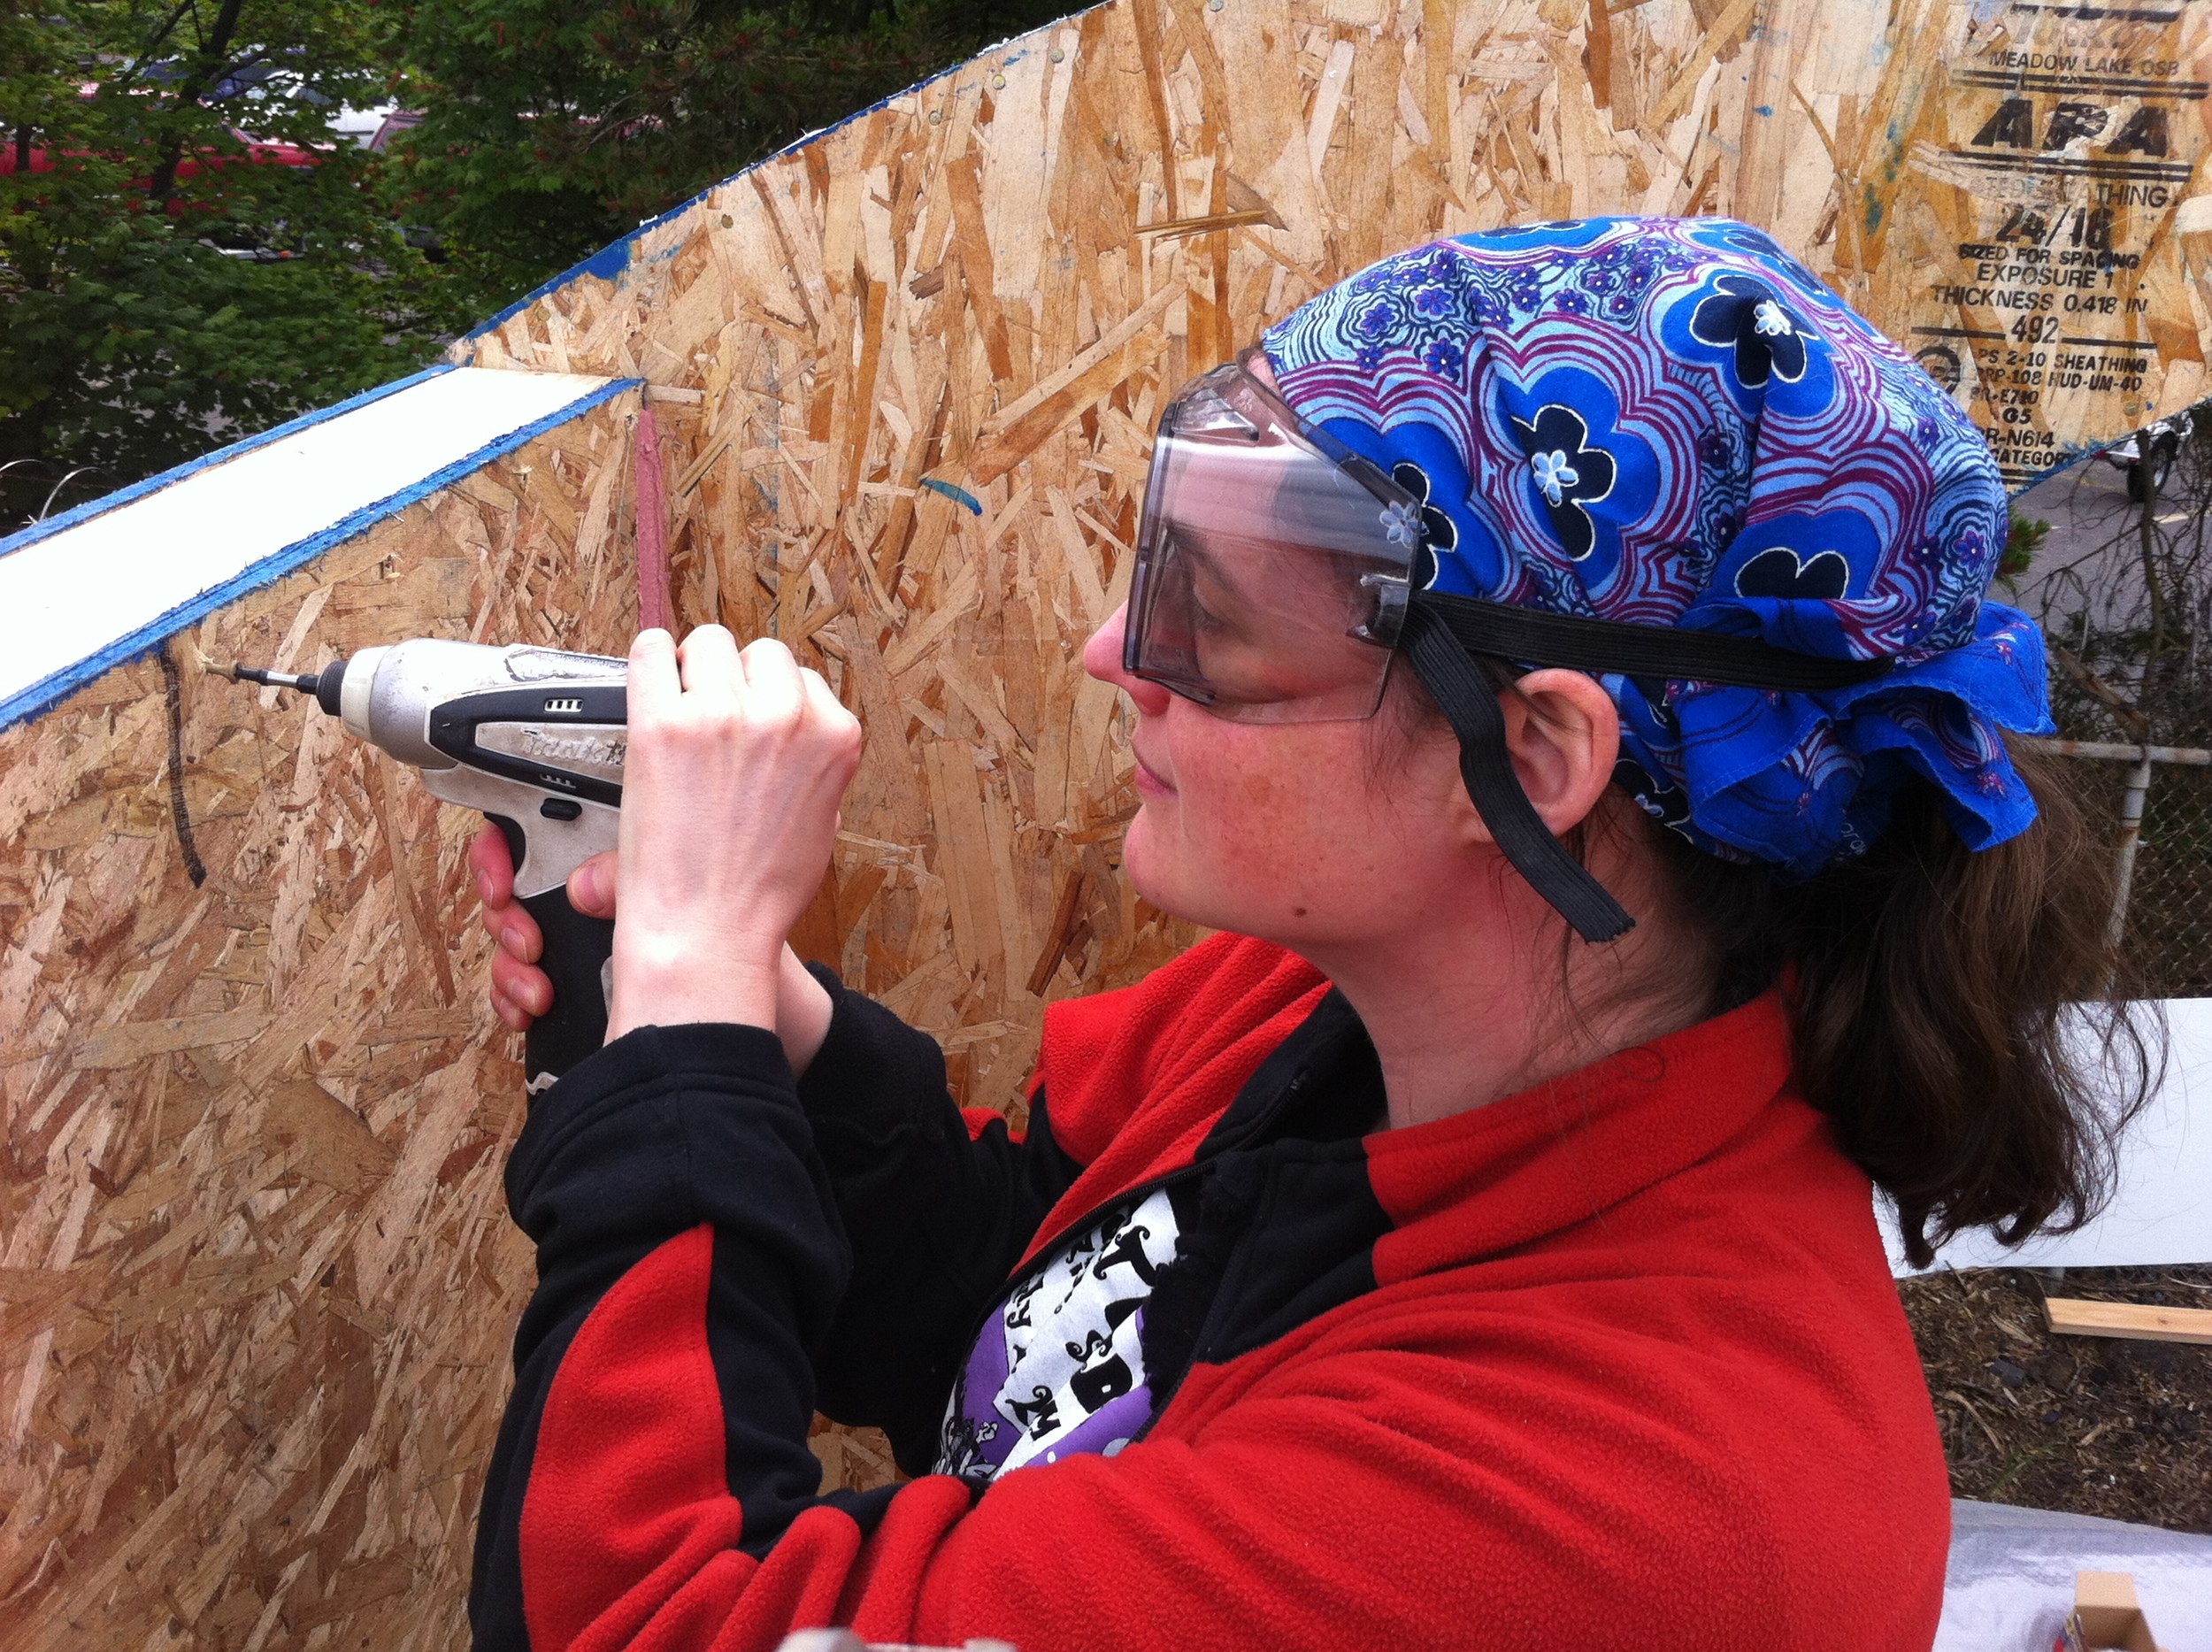
Eventually we decided to cut a curved piece of plywood to seal up the exterior and on the interior install the barge rafters I’d built. We got the rafters in place, tarpped everything up again, and called it a day.
The trouble was, it just looked off to me. As Jacob Deva Racusin, one of my natural building instructors, taught me, there are two rules to hack:
- Is it safe?
- Can you live with it?
Using the rafters this way was safe, but I couldn’t live with it. I couldn’t sleep that night. At 3 AM I found myself devising a new plan. And I’ve learned about myself that when I come up with a plan at in the middle of the night I’d better at least give it some good thought in the morning.

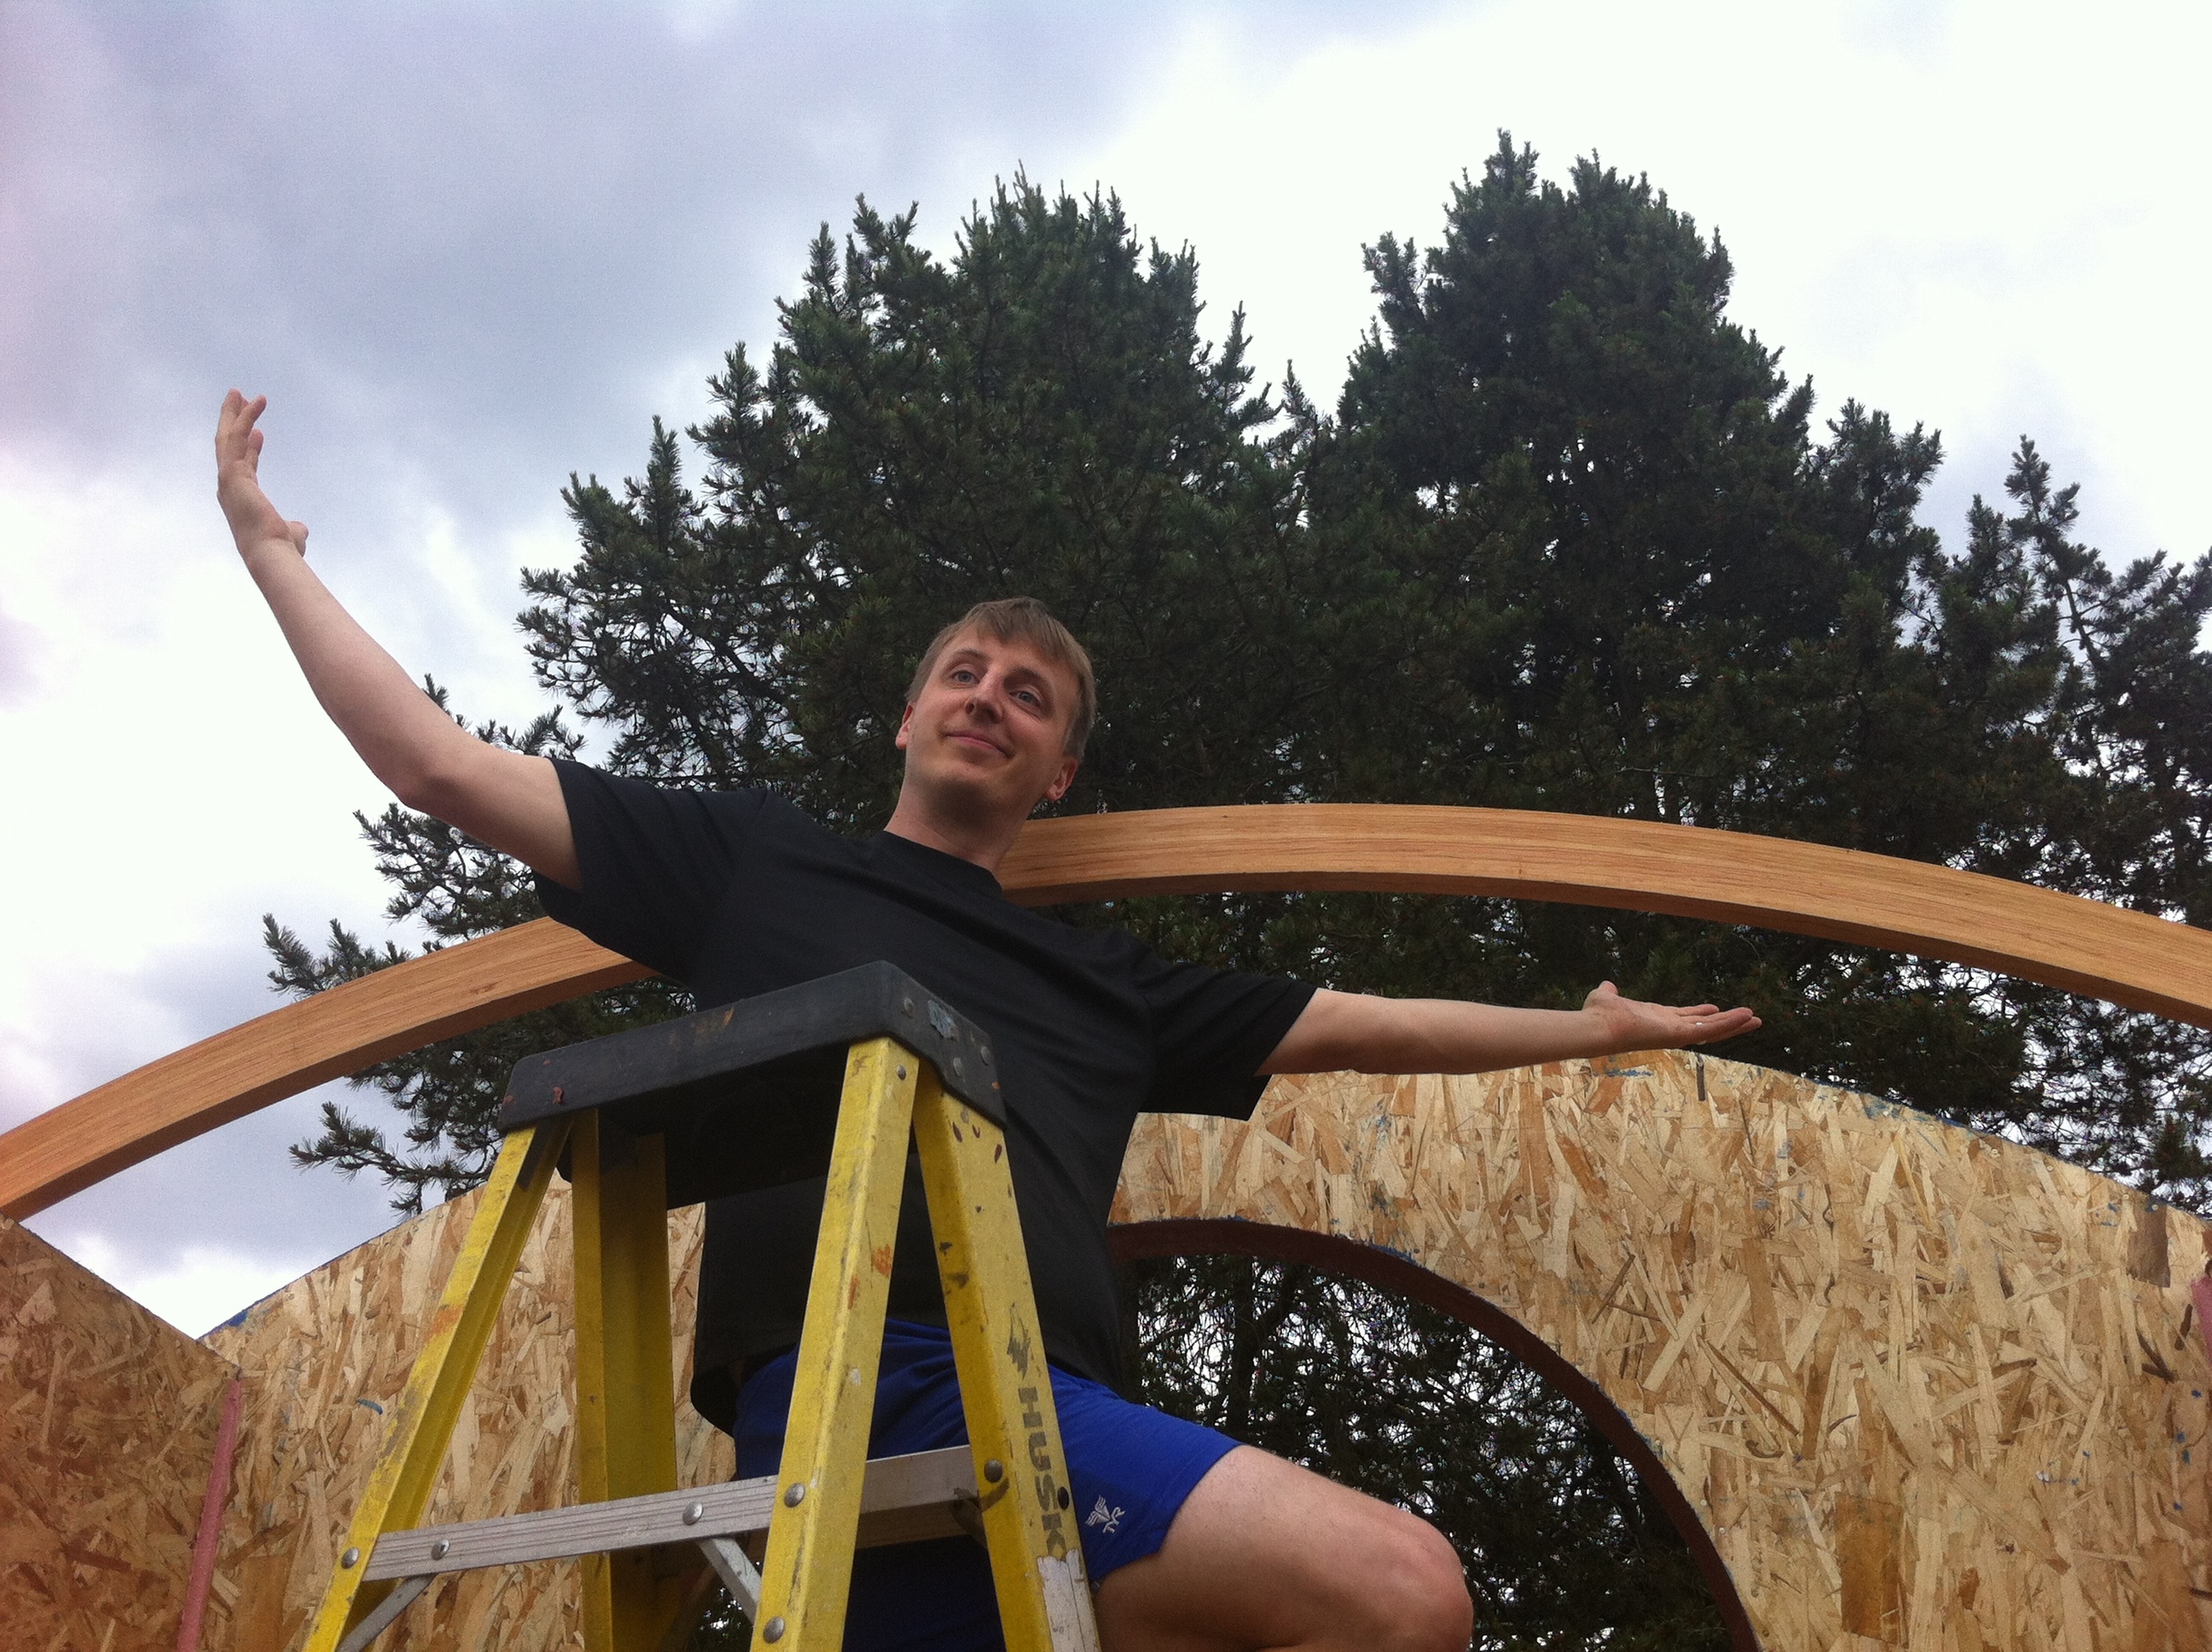
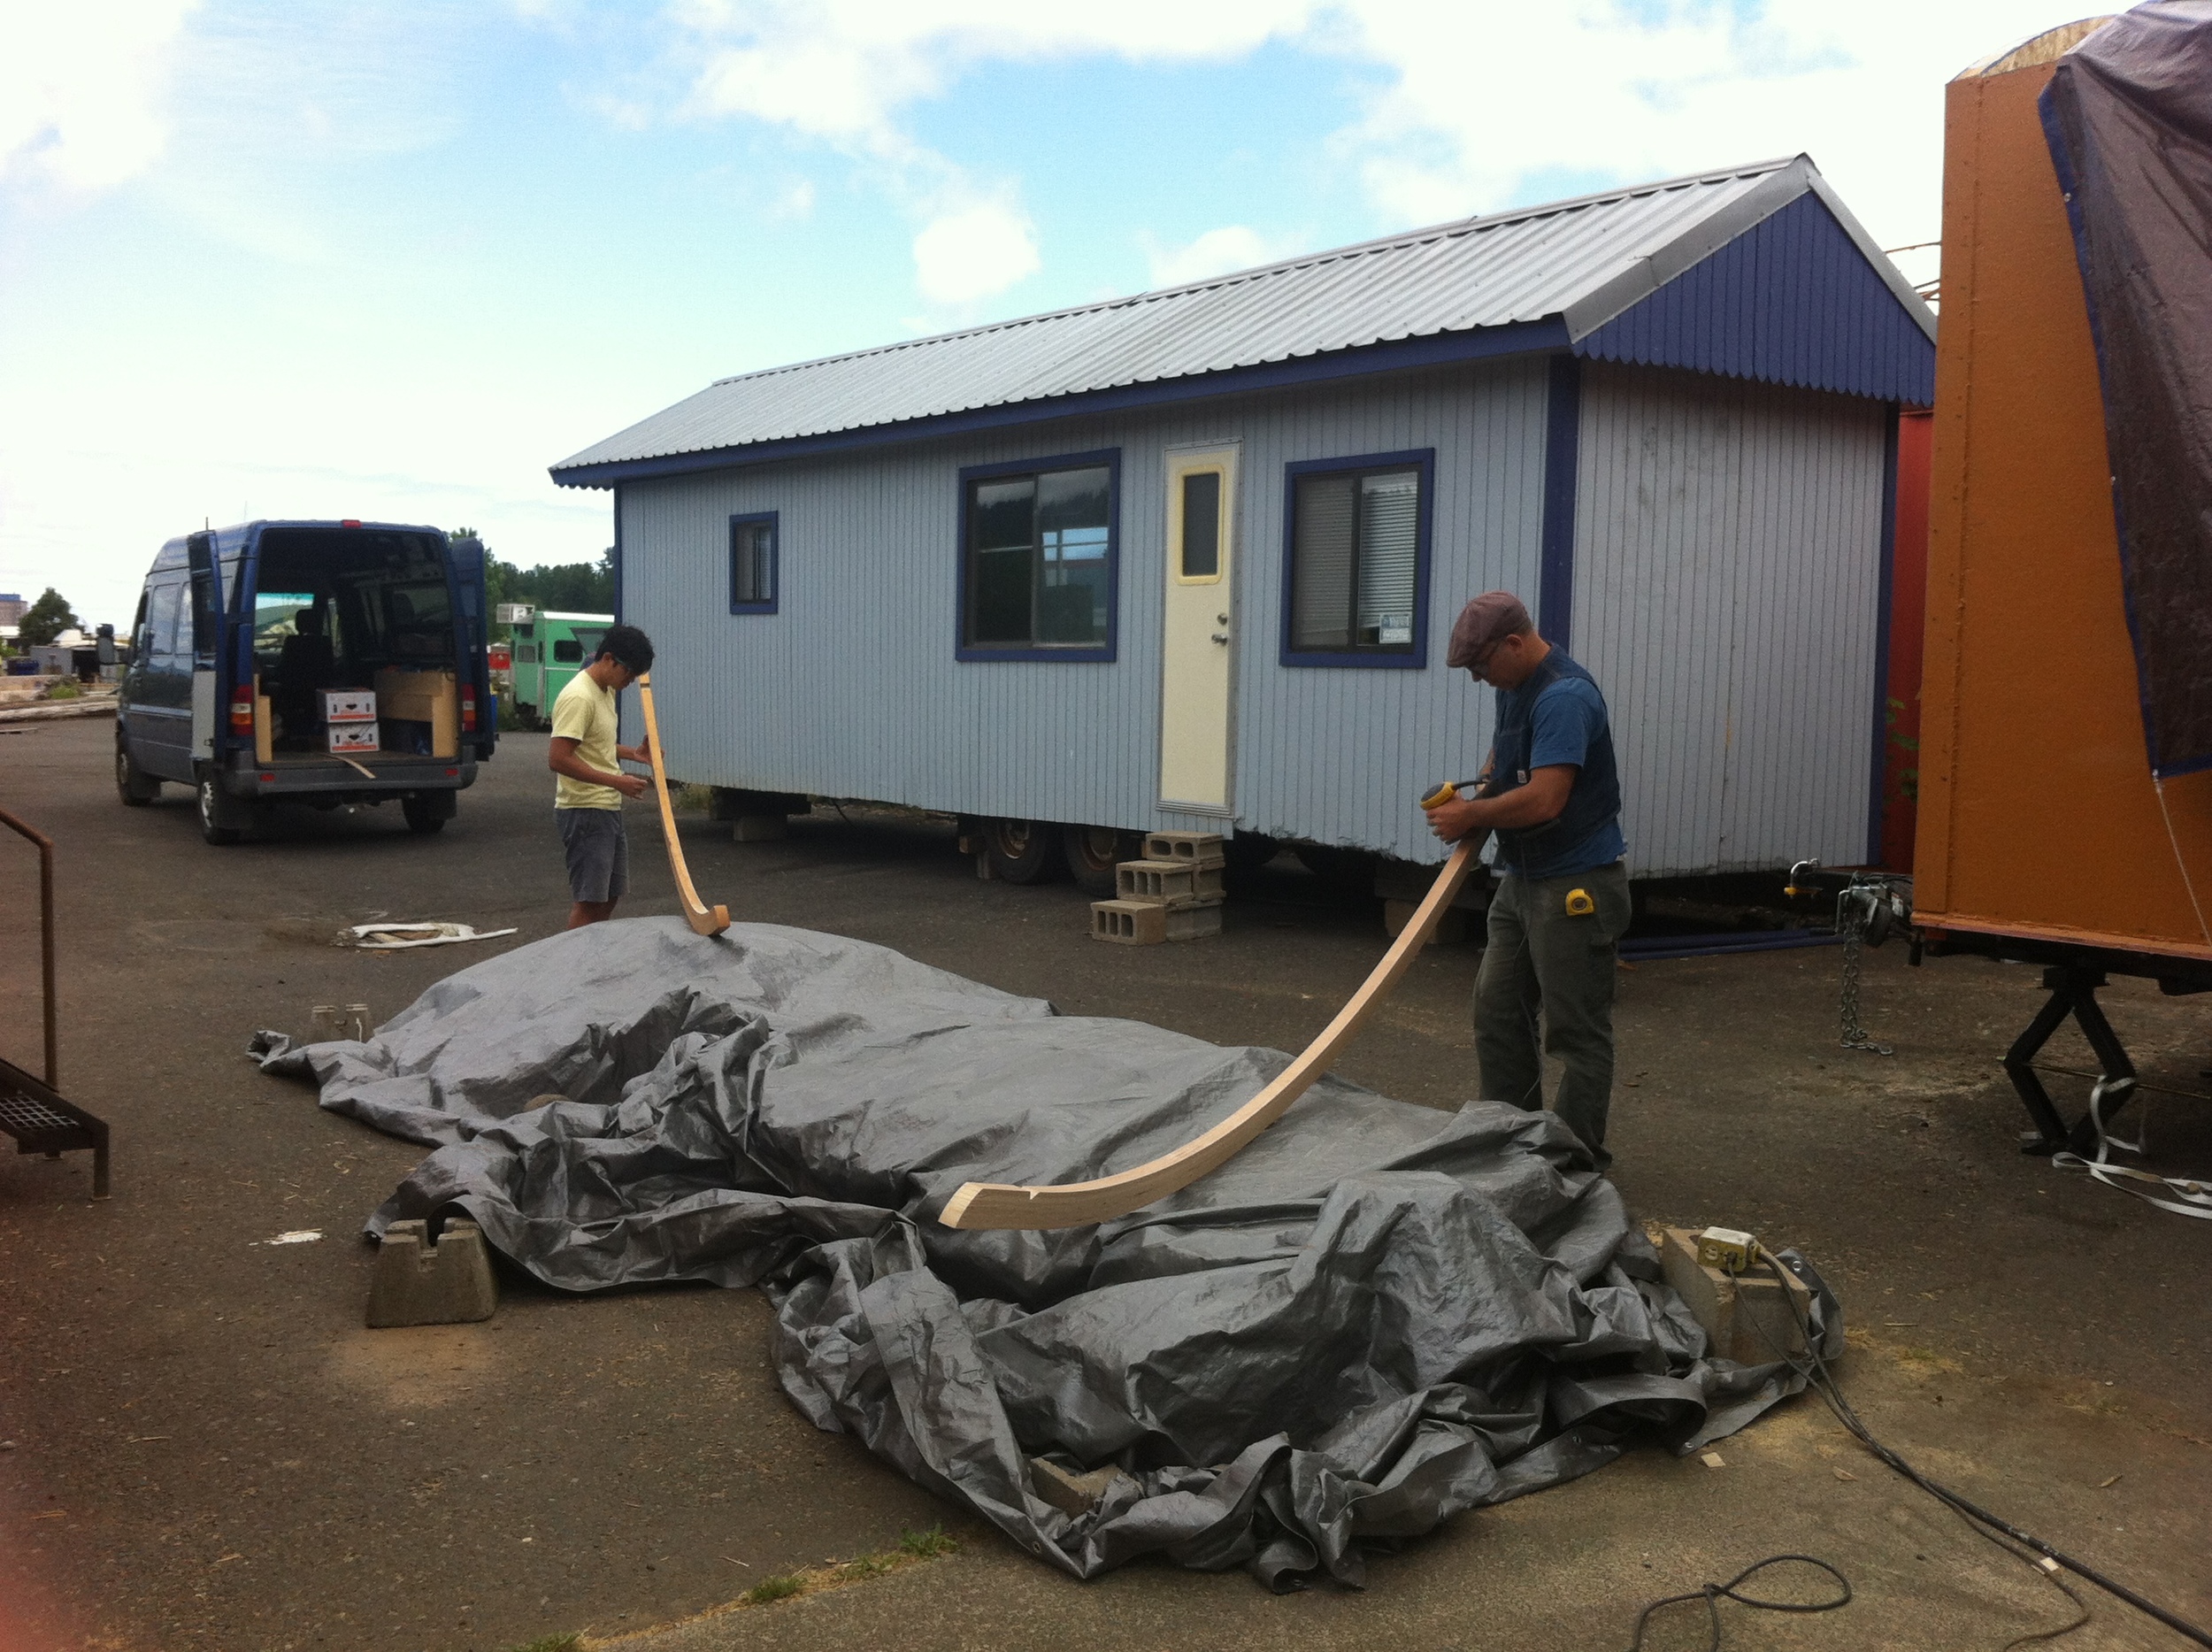
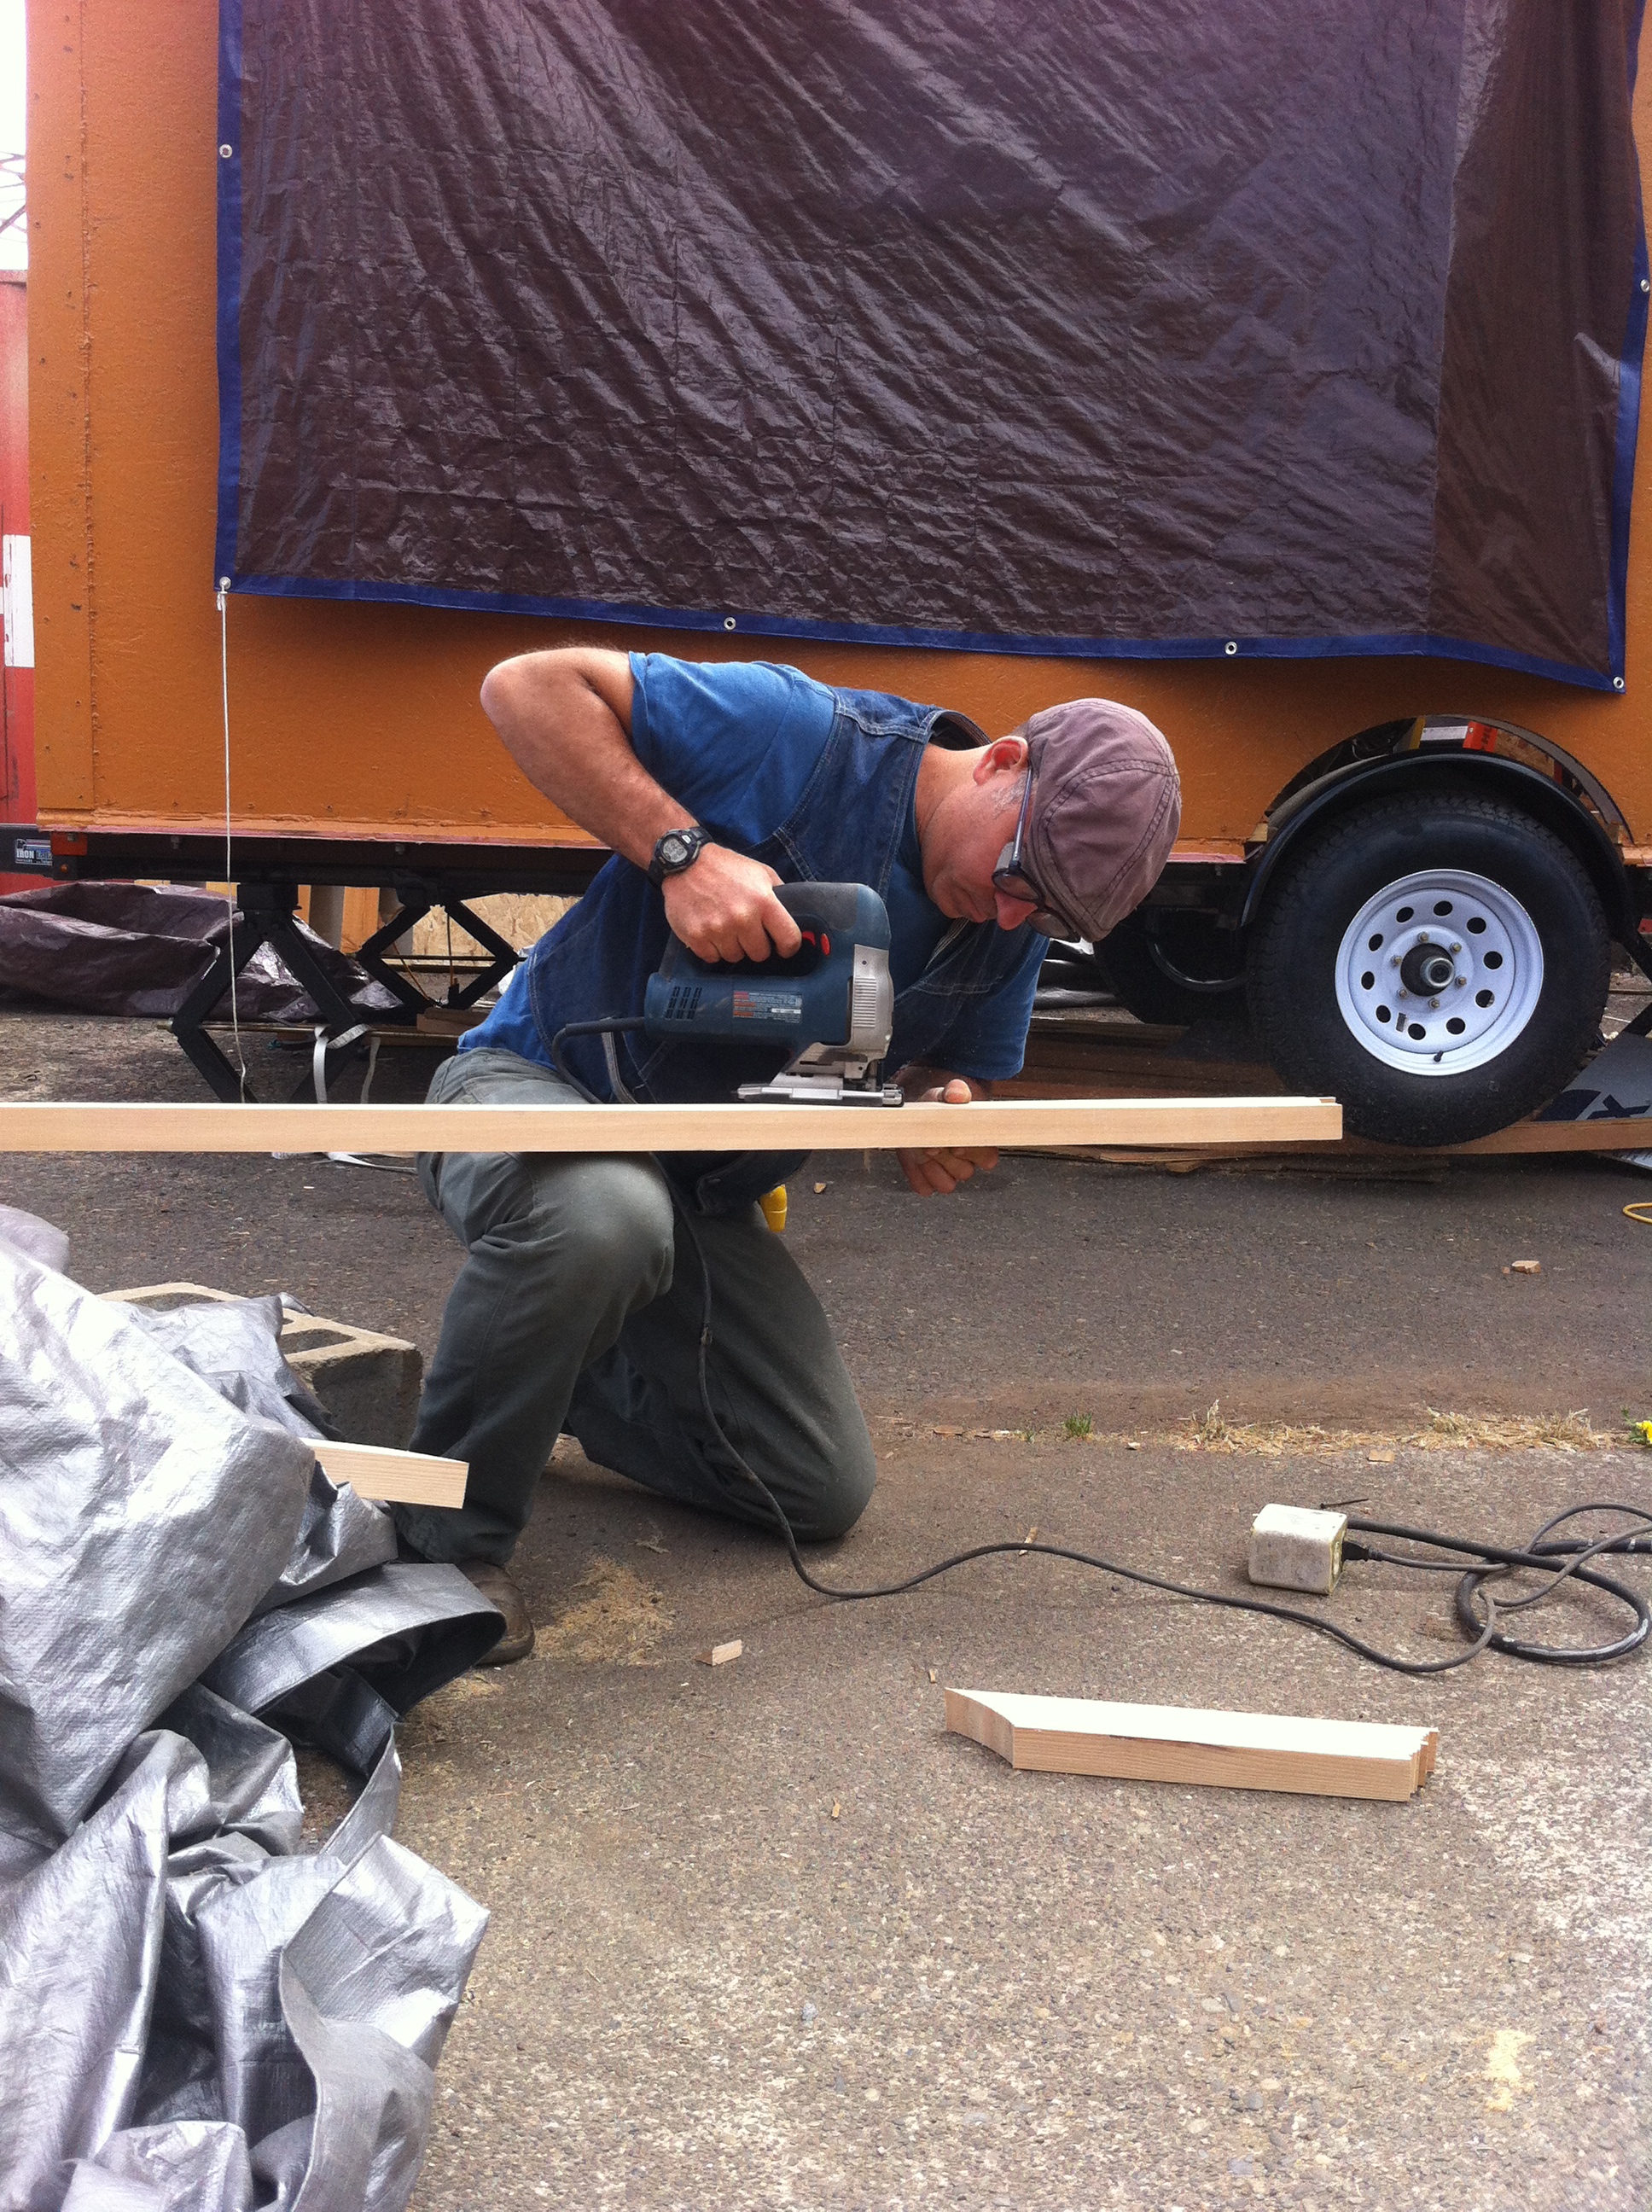
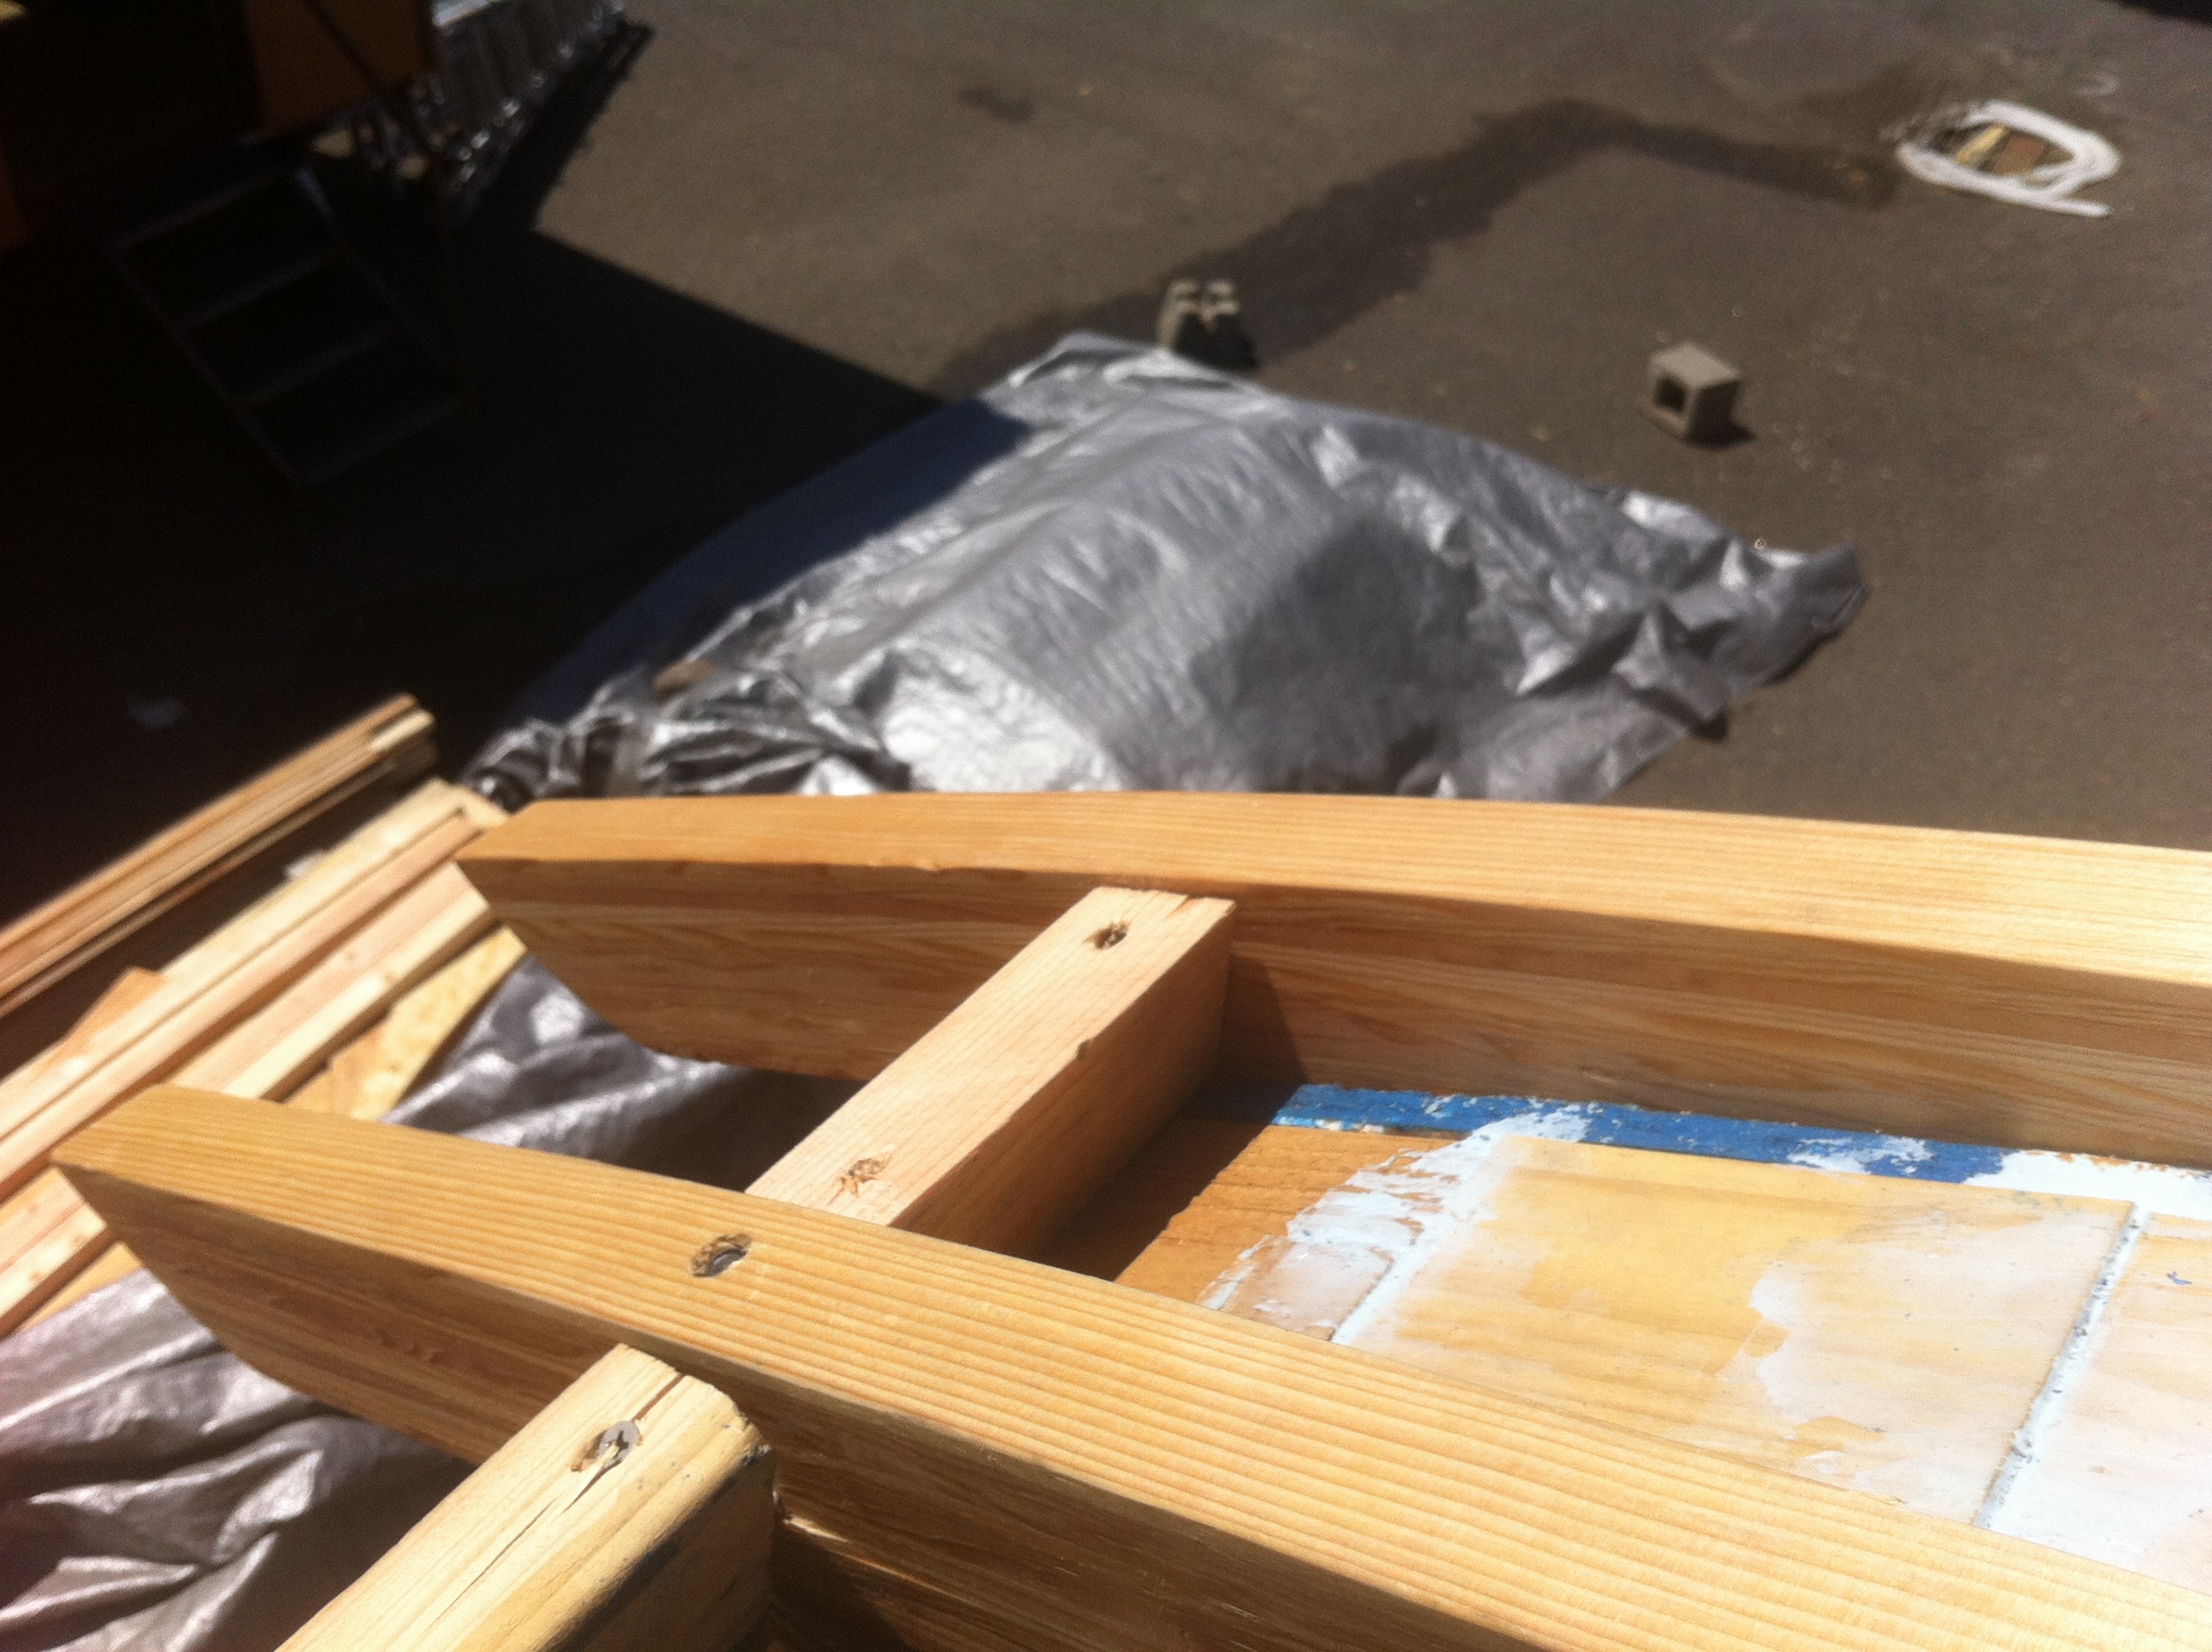
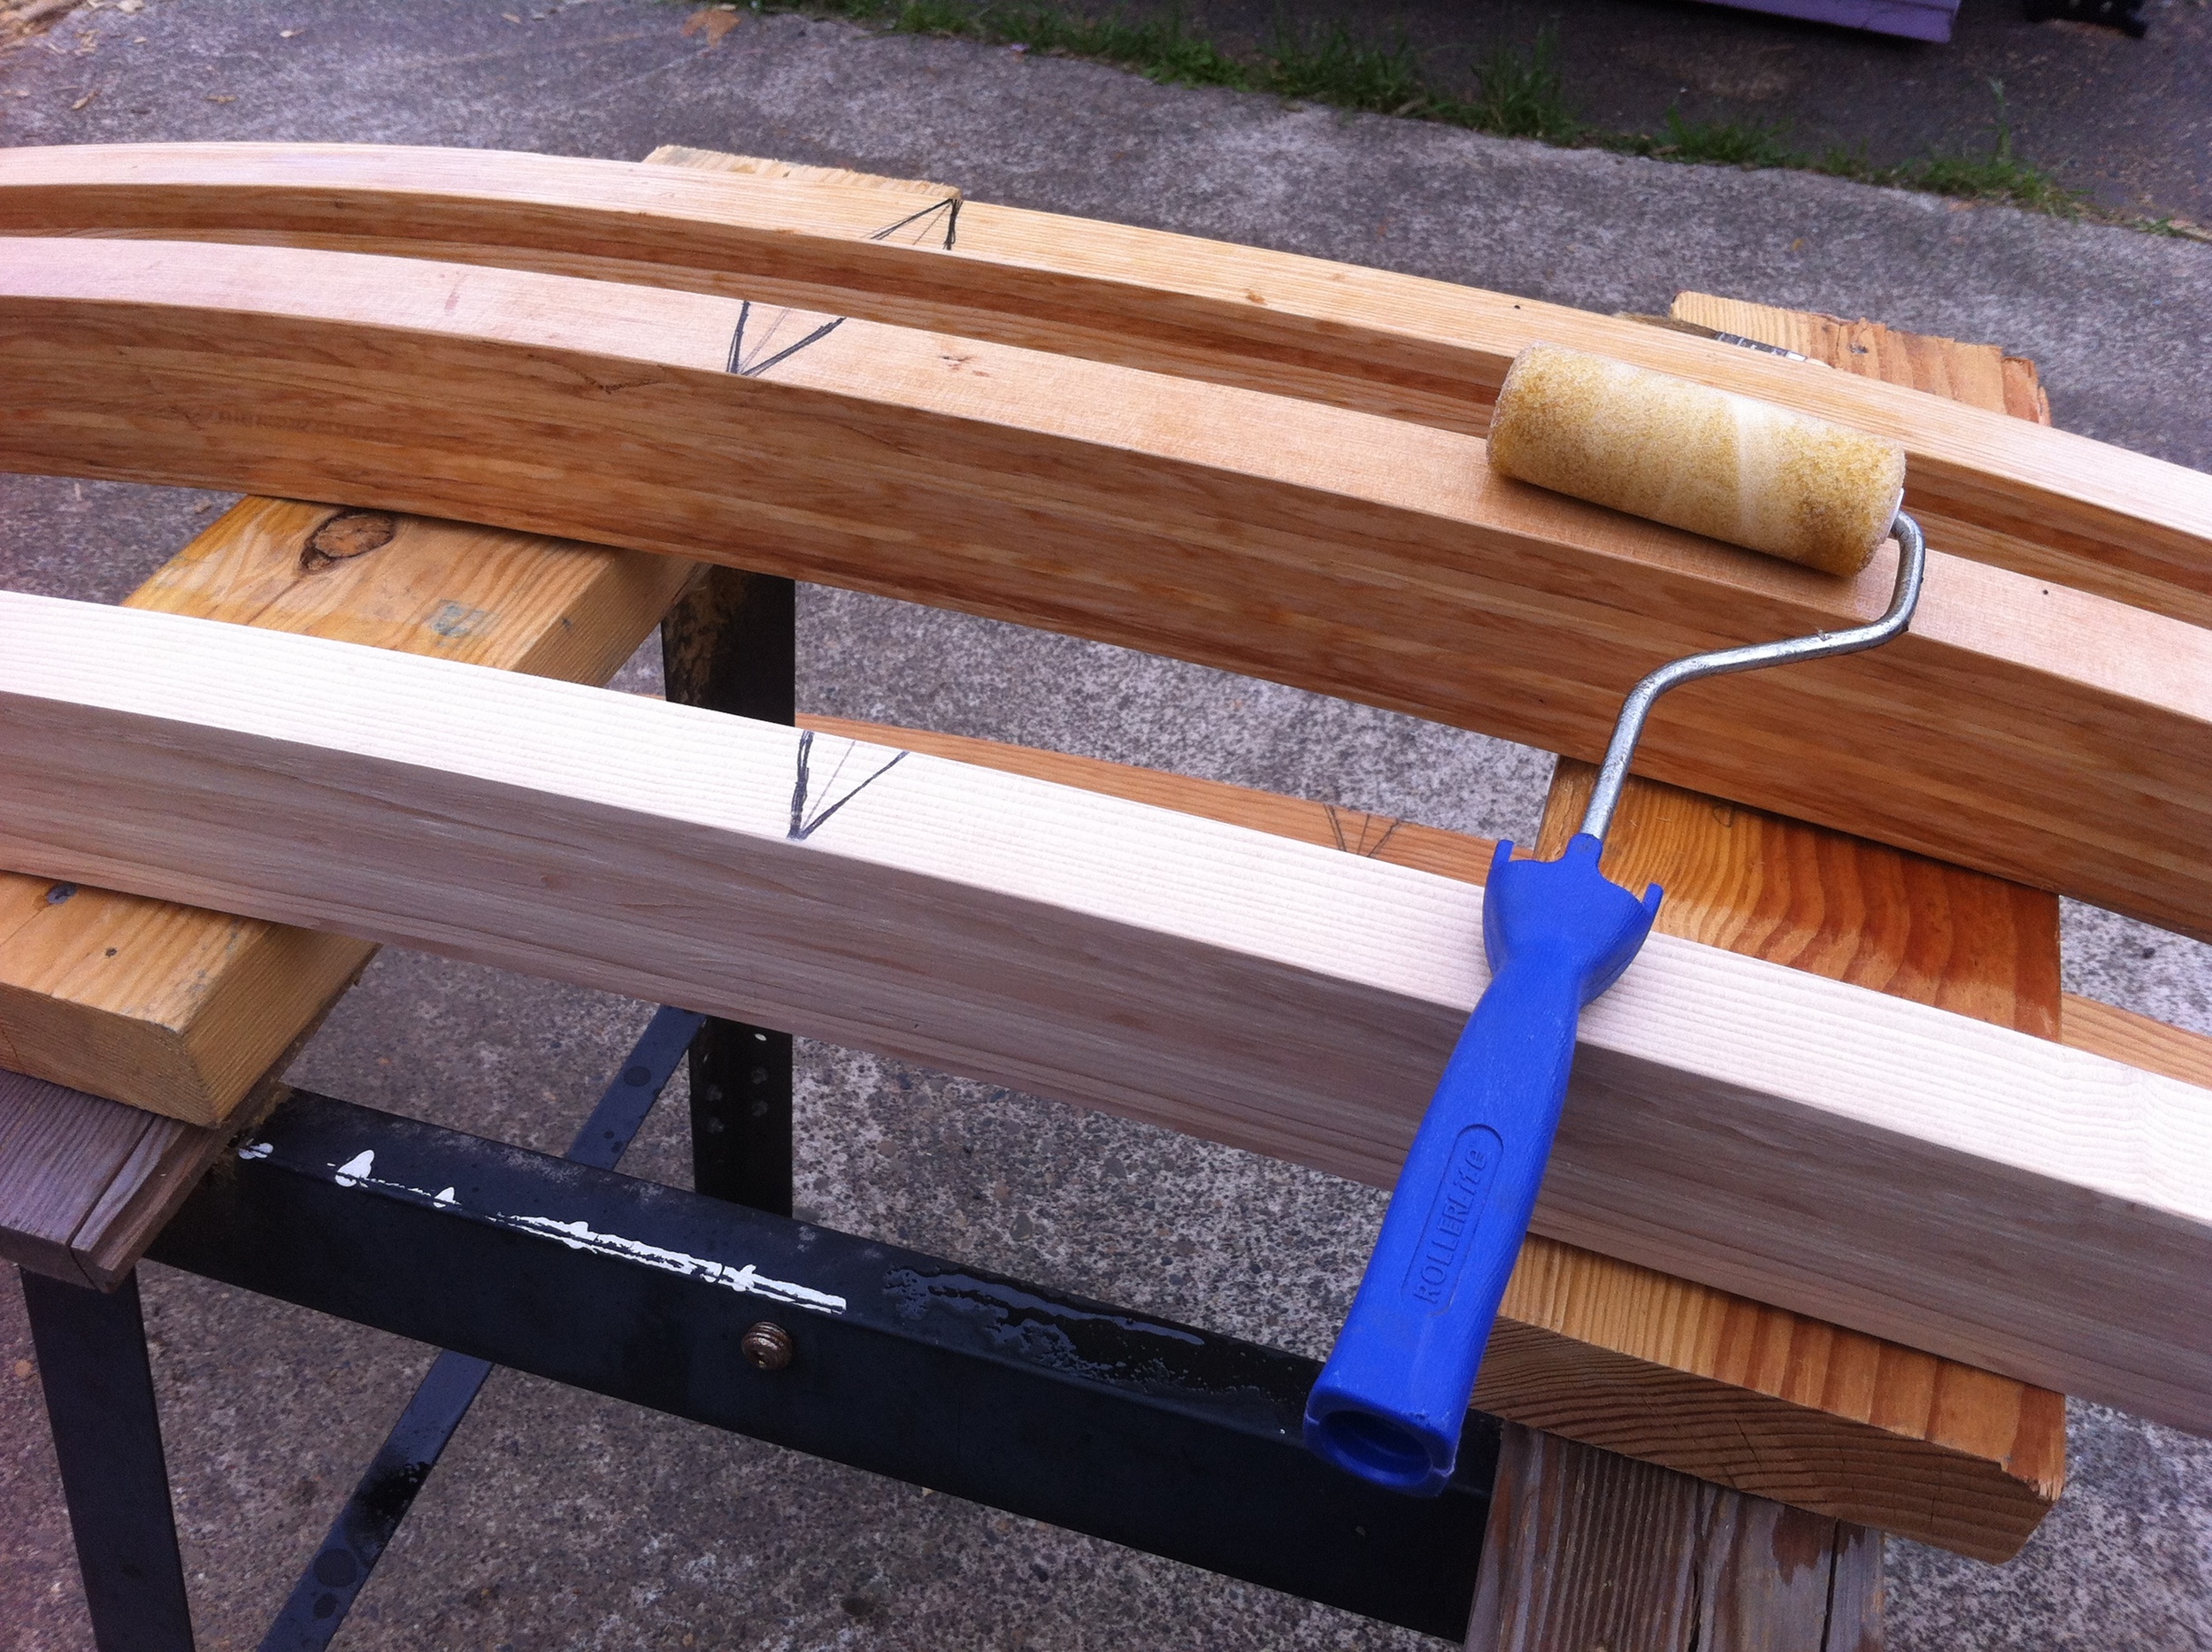
The next morning I decided it was going to be a pain, but it was still a good plan. So a couple days later my friend Willie helped me pick up the rafter jig again from Katy and I ordered 52 strips of 12' long hemlock lathe and built myself four new rafters – one for each side of each end wall.
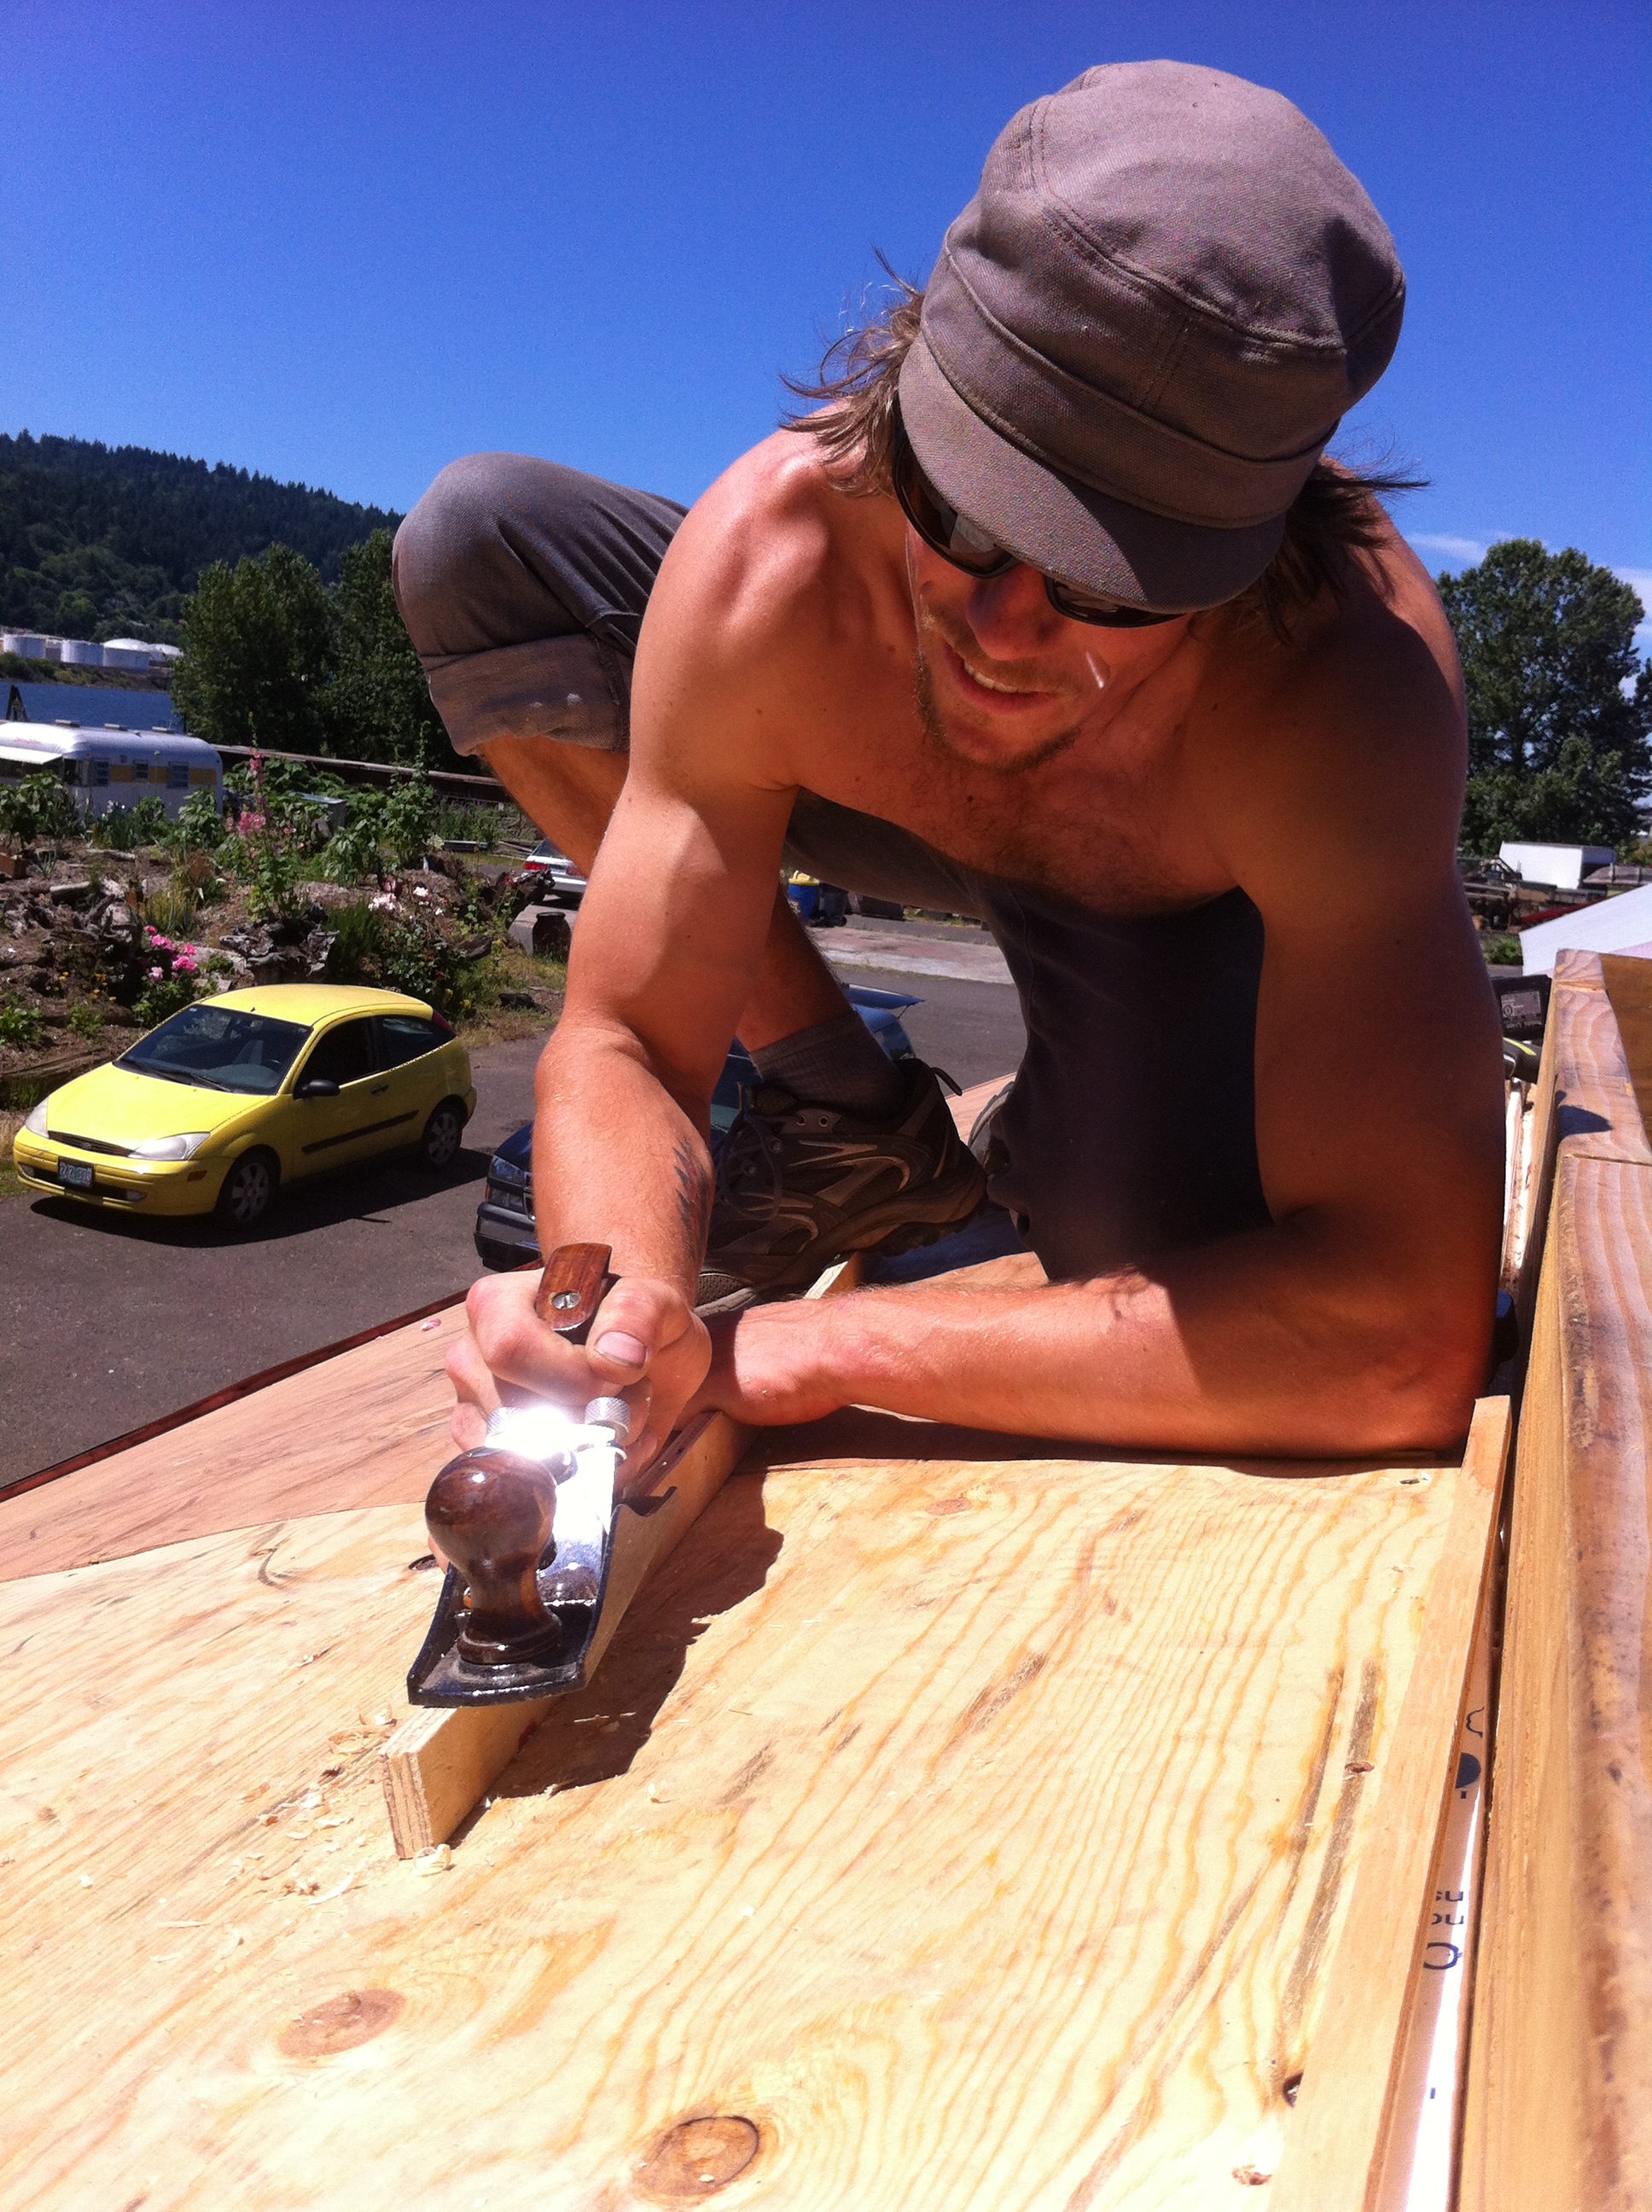
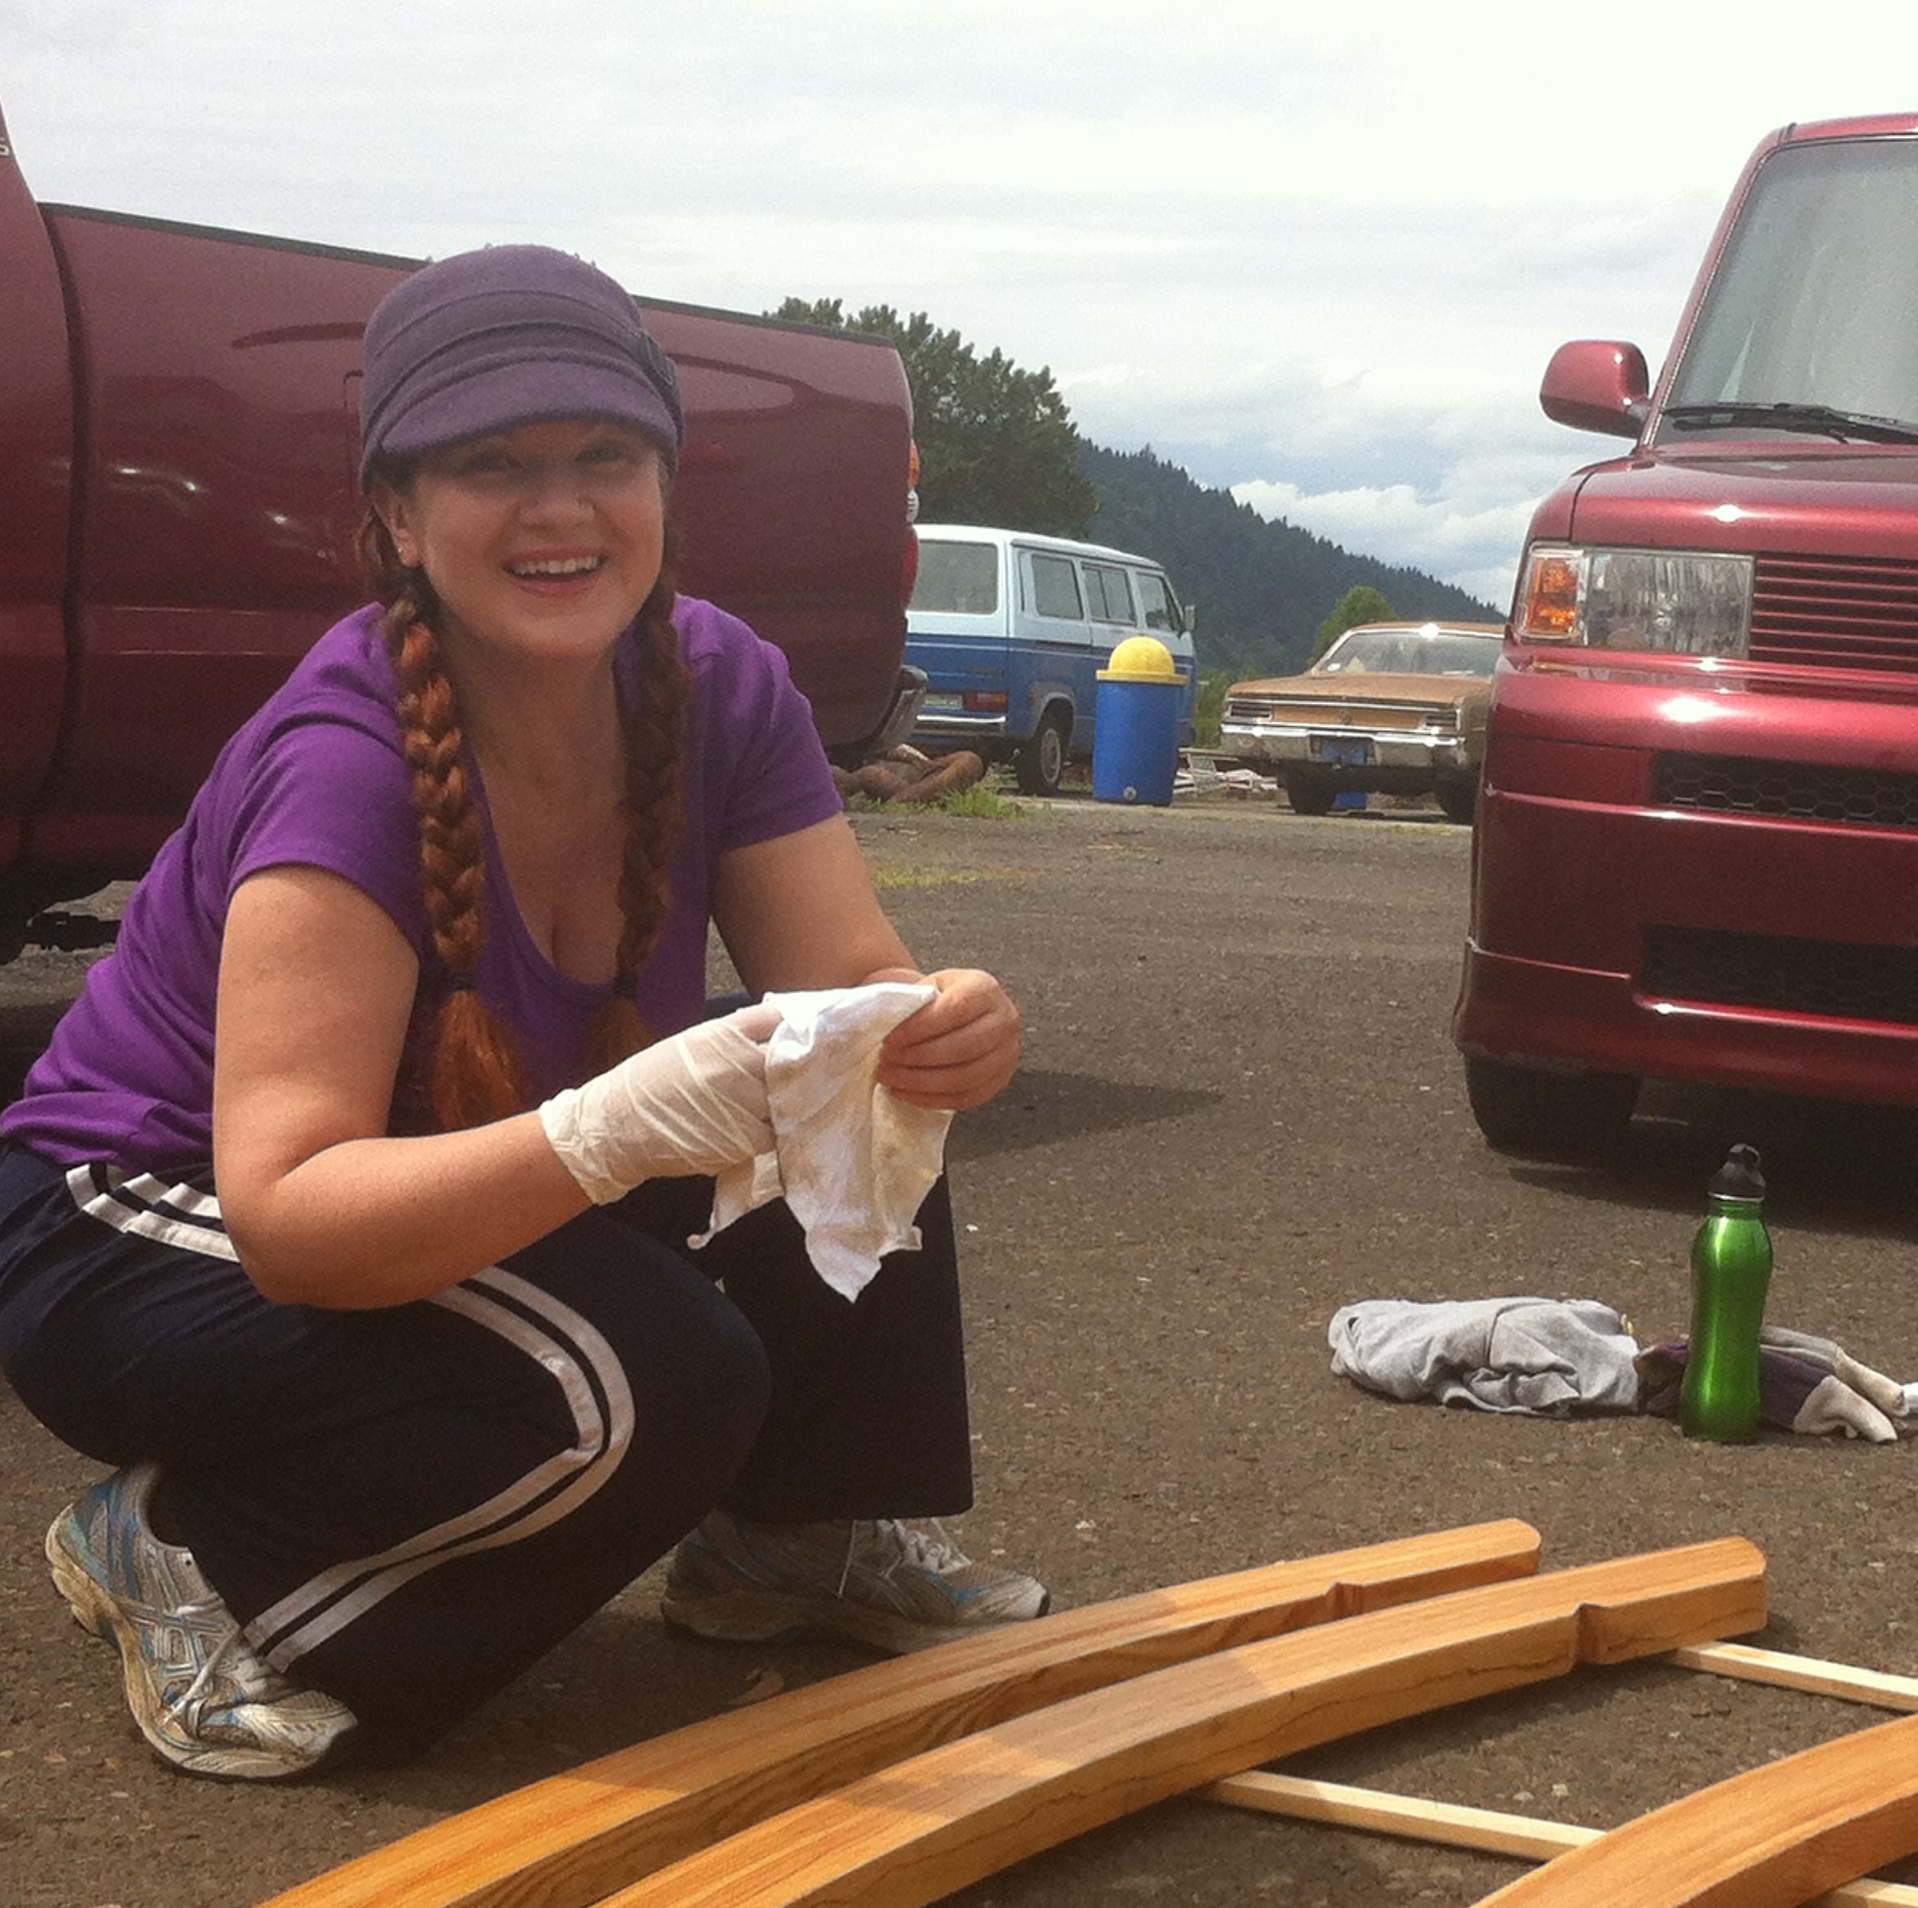
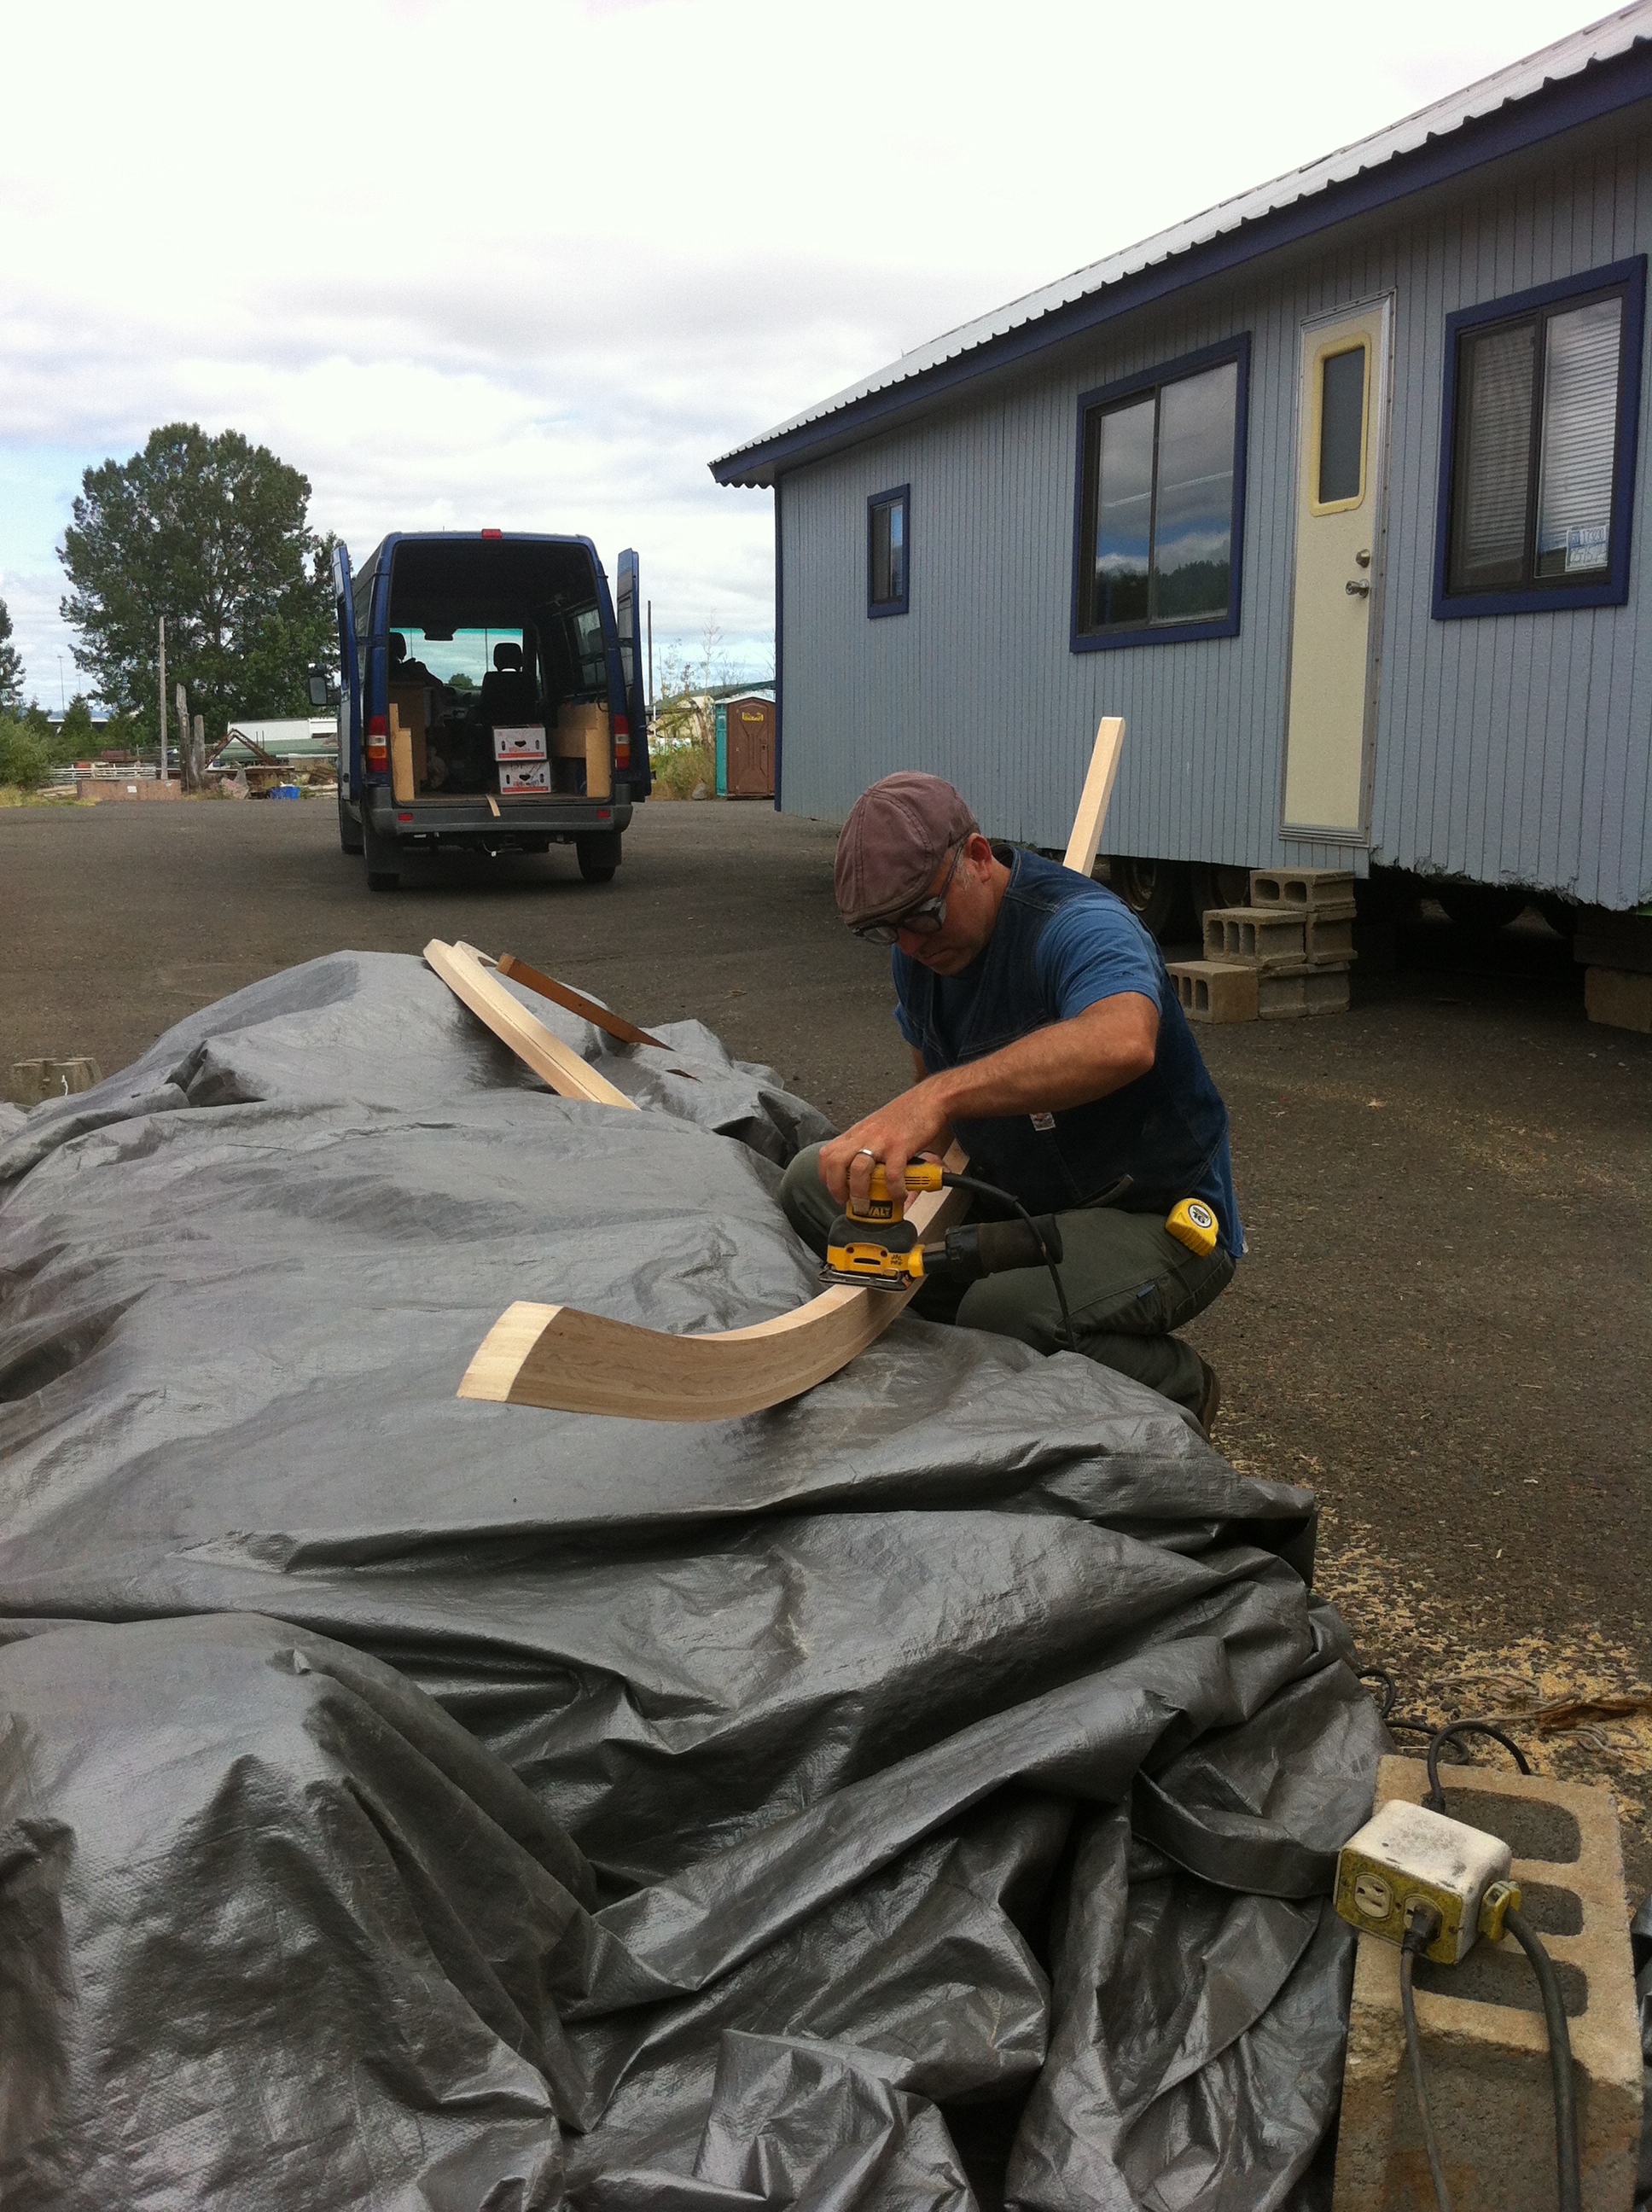
Then I spent the weekend out of state at a family reunion where I got to show off baby pictures of my tiny house (which were, of course, completely upstaged by my nephew who is admittedly way cuter!) Yesterday Eric helped me plane the rafters and Jack arrived just in time to help us sand them. We took a lunch break while waiting for the sealer to dry and then installed the rafters and fixed the blocking.

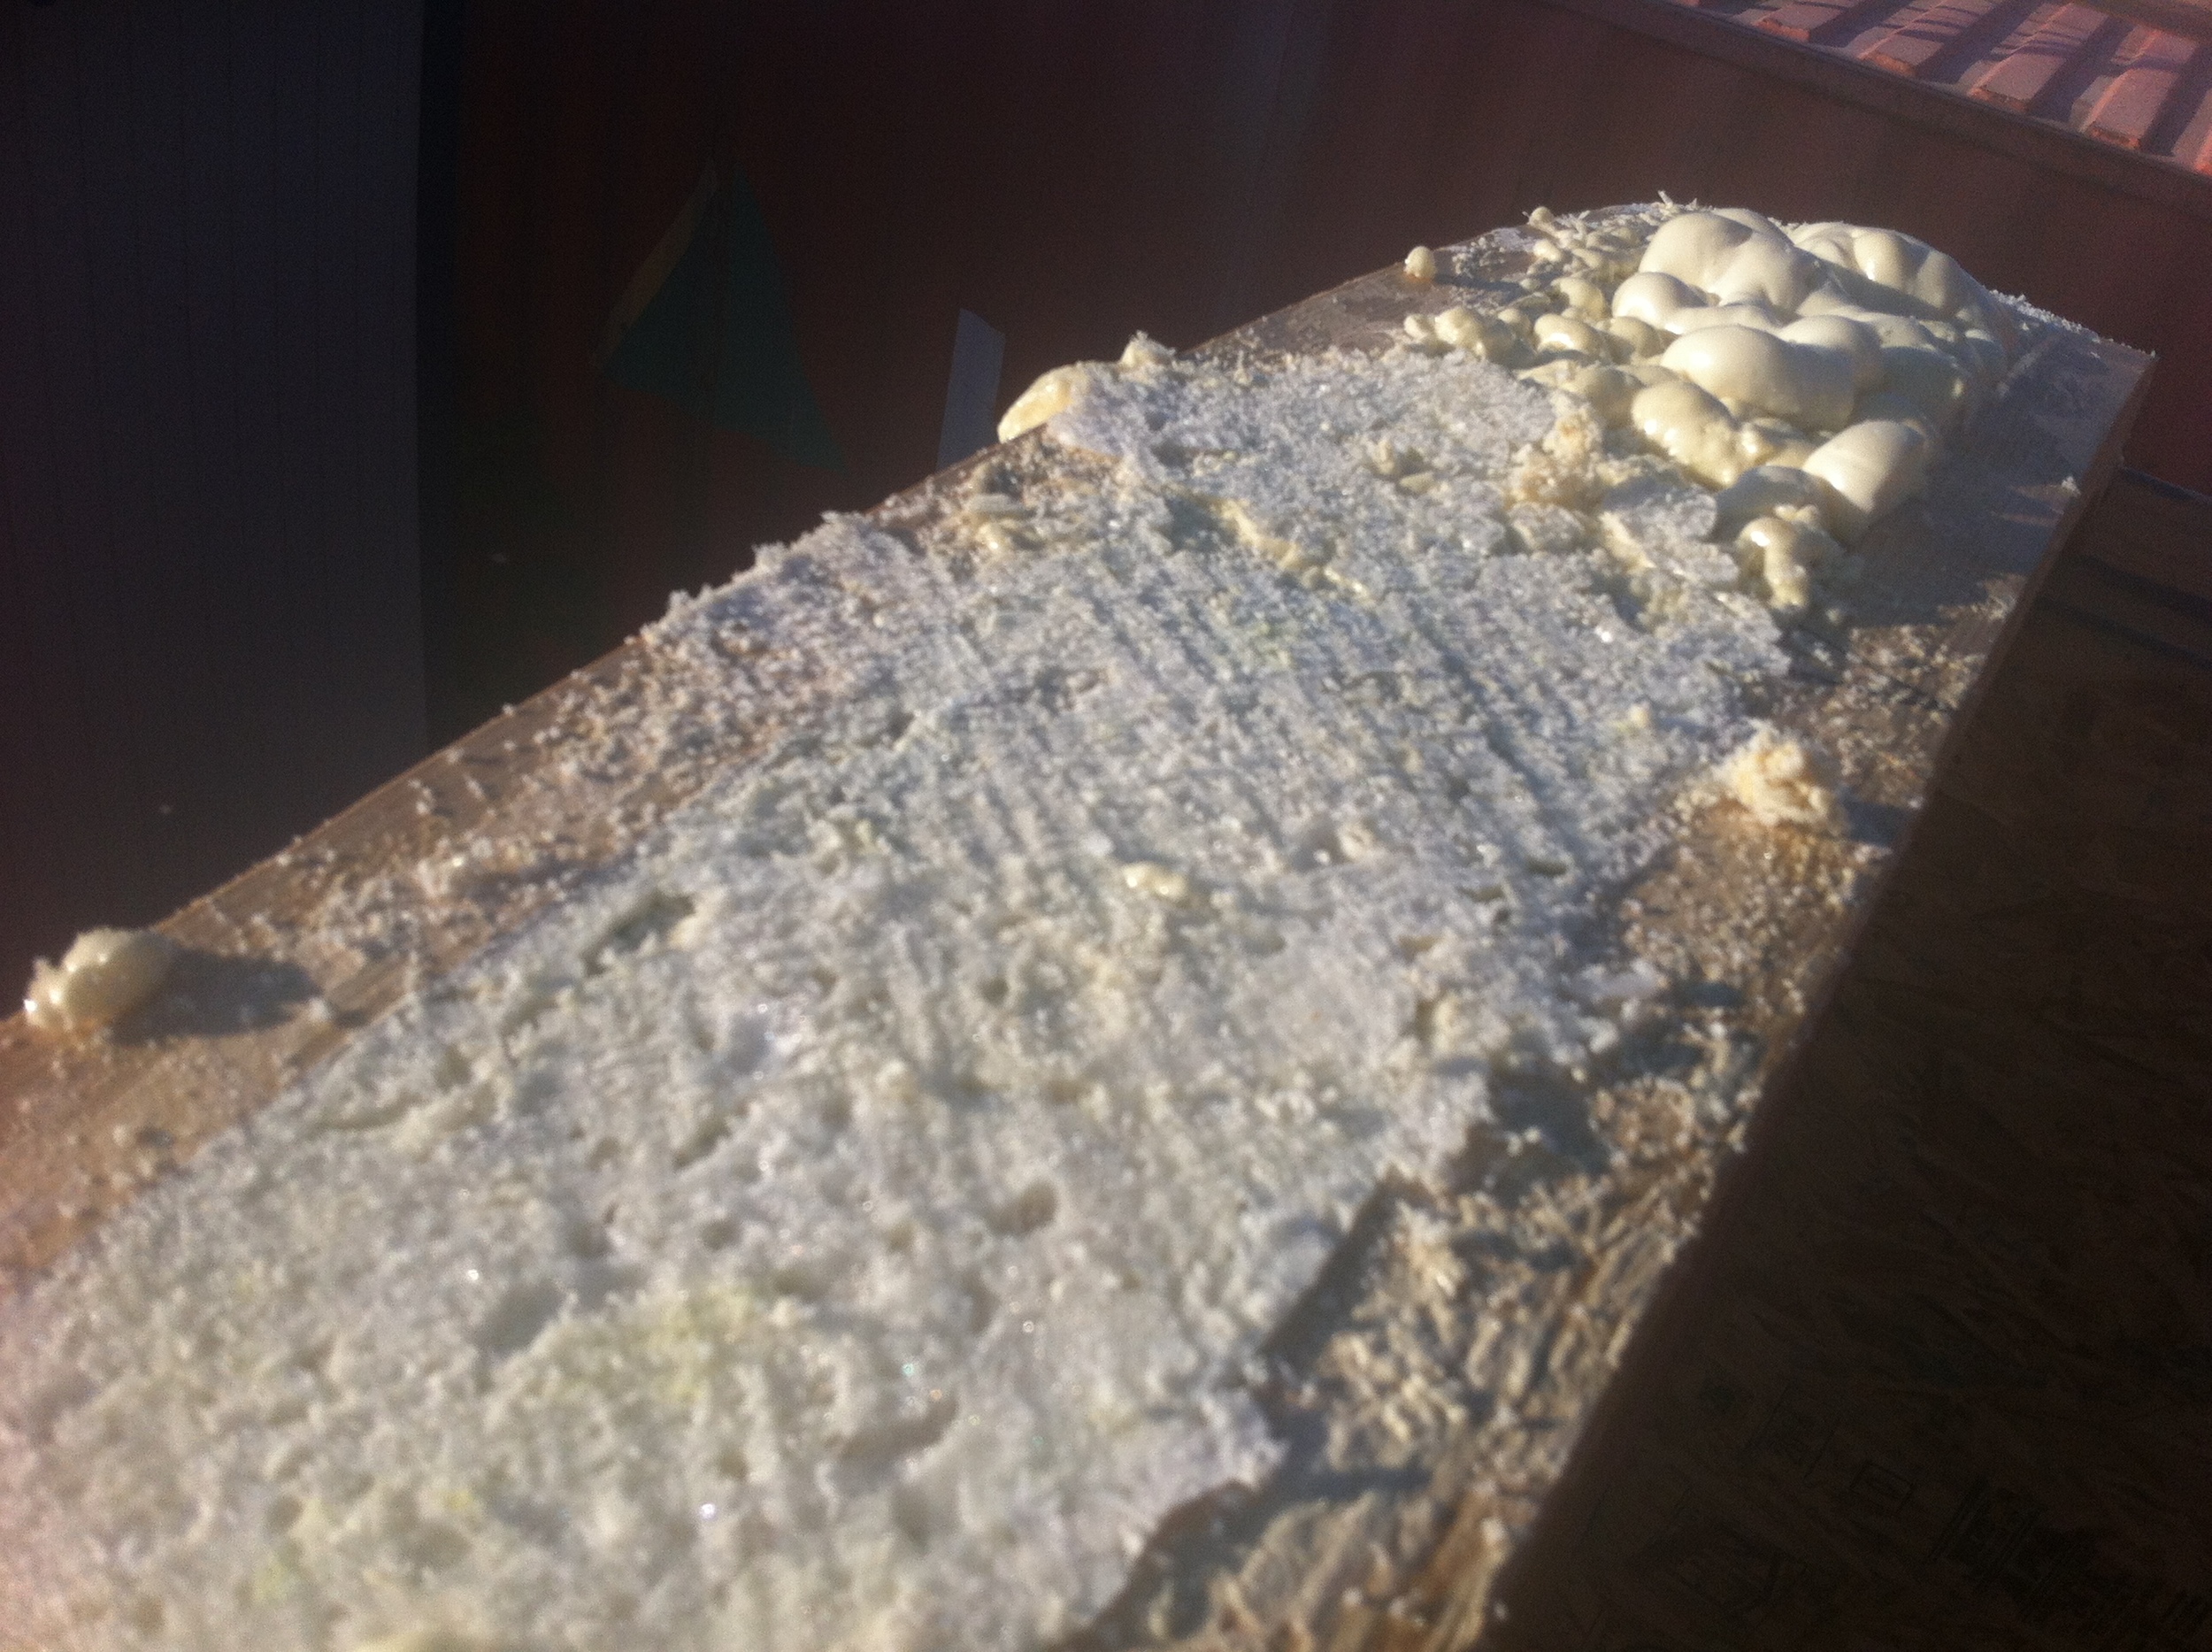
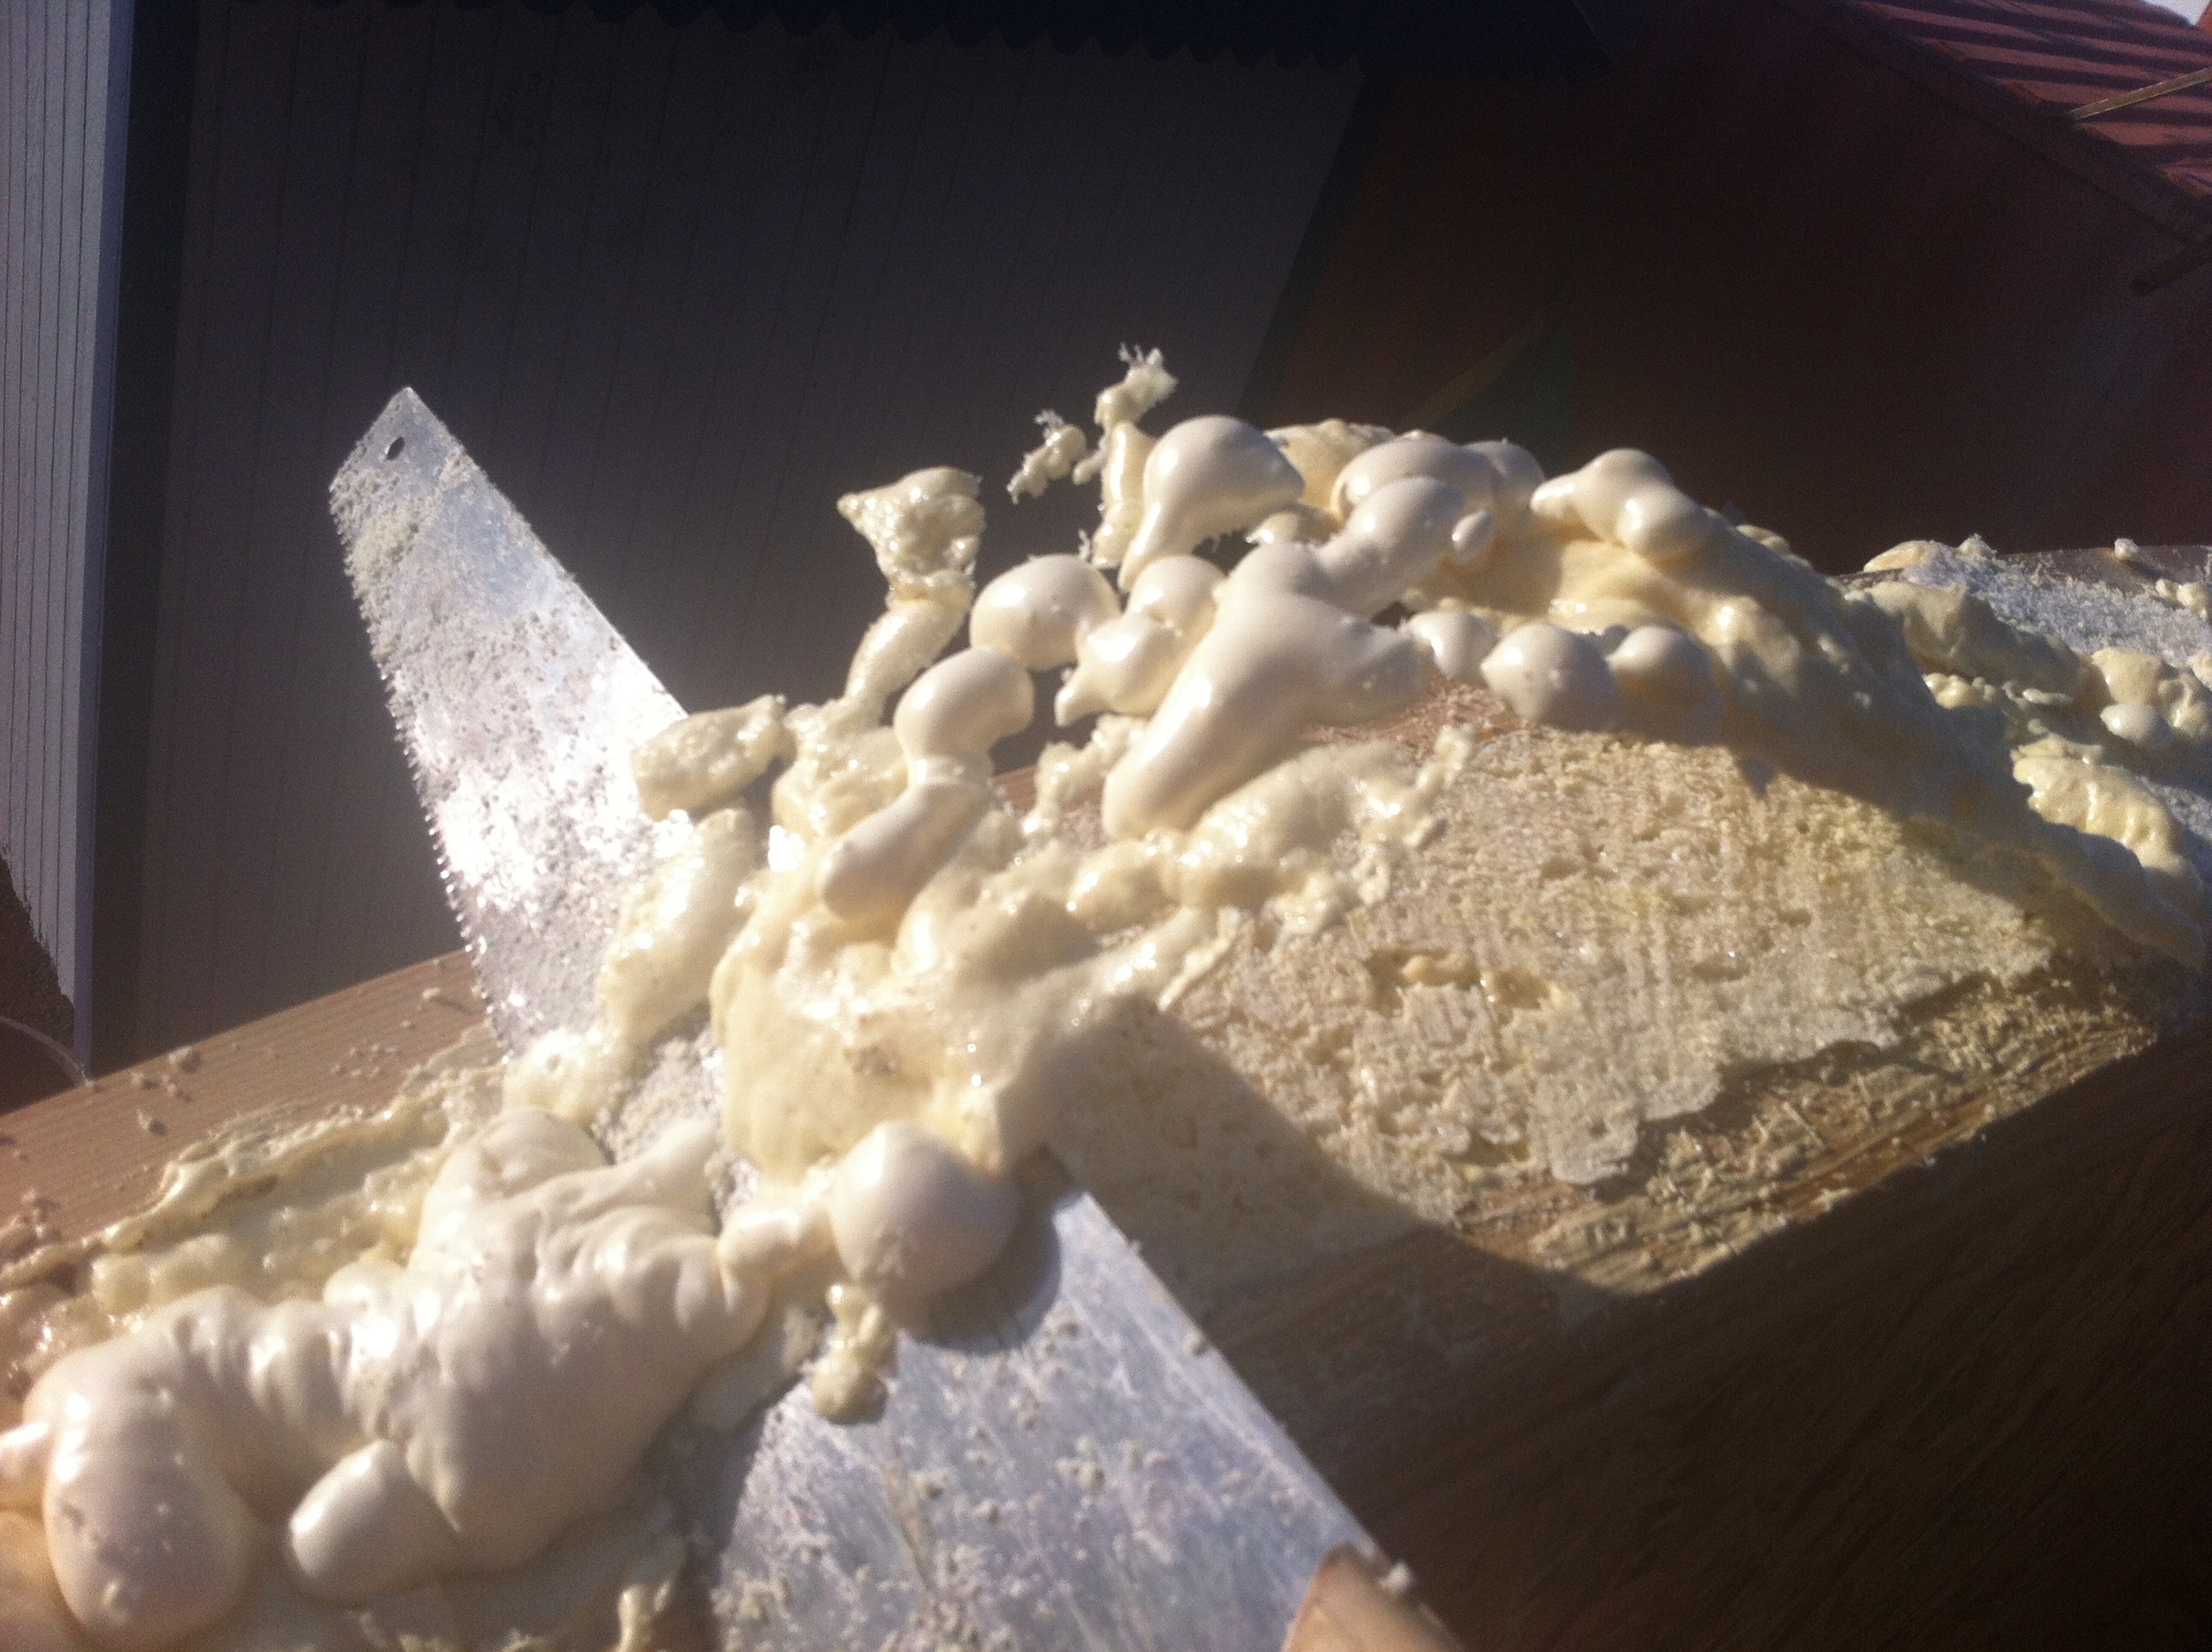
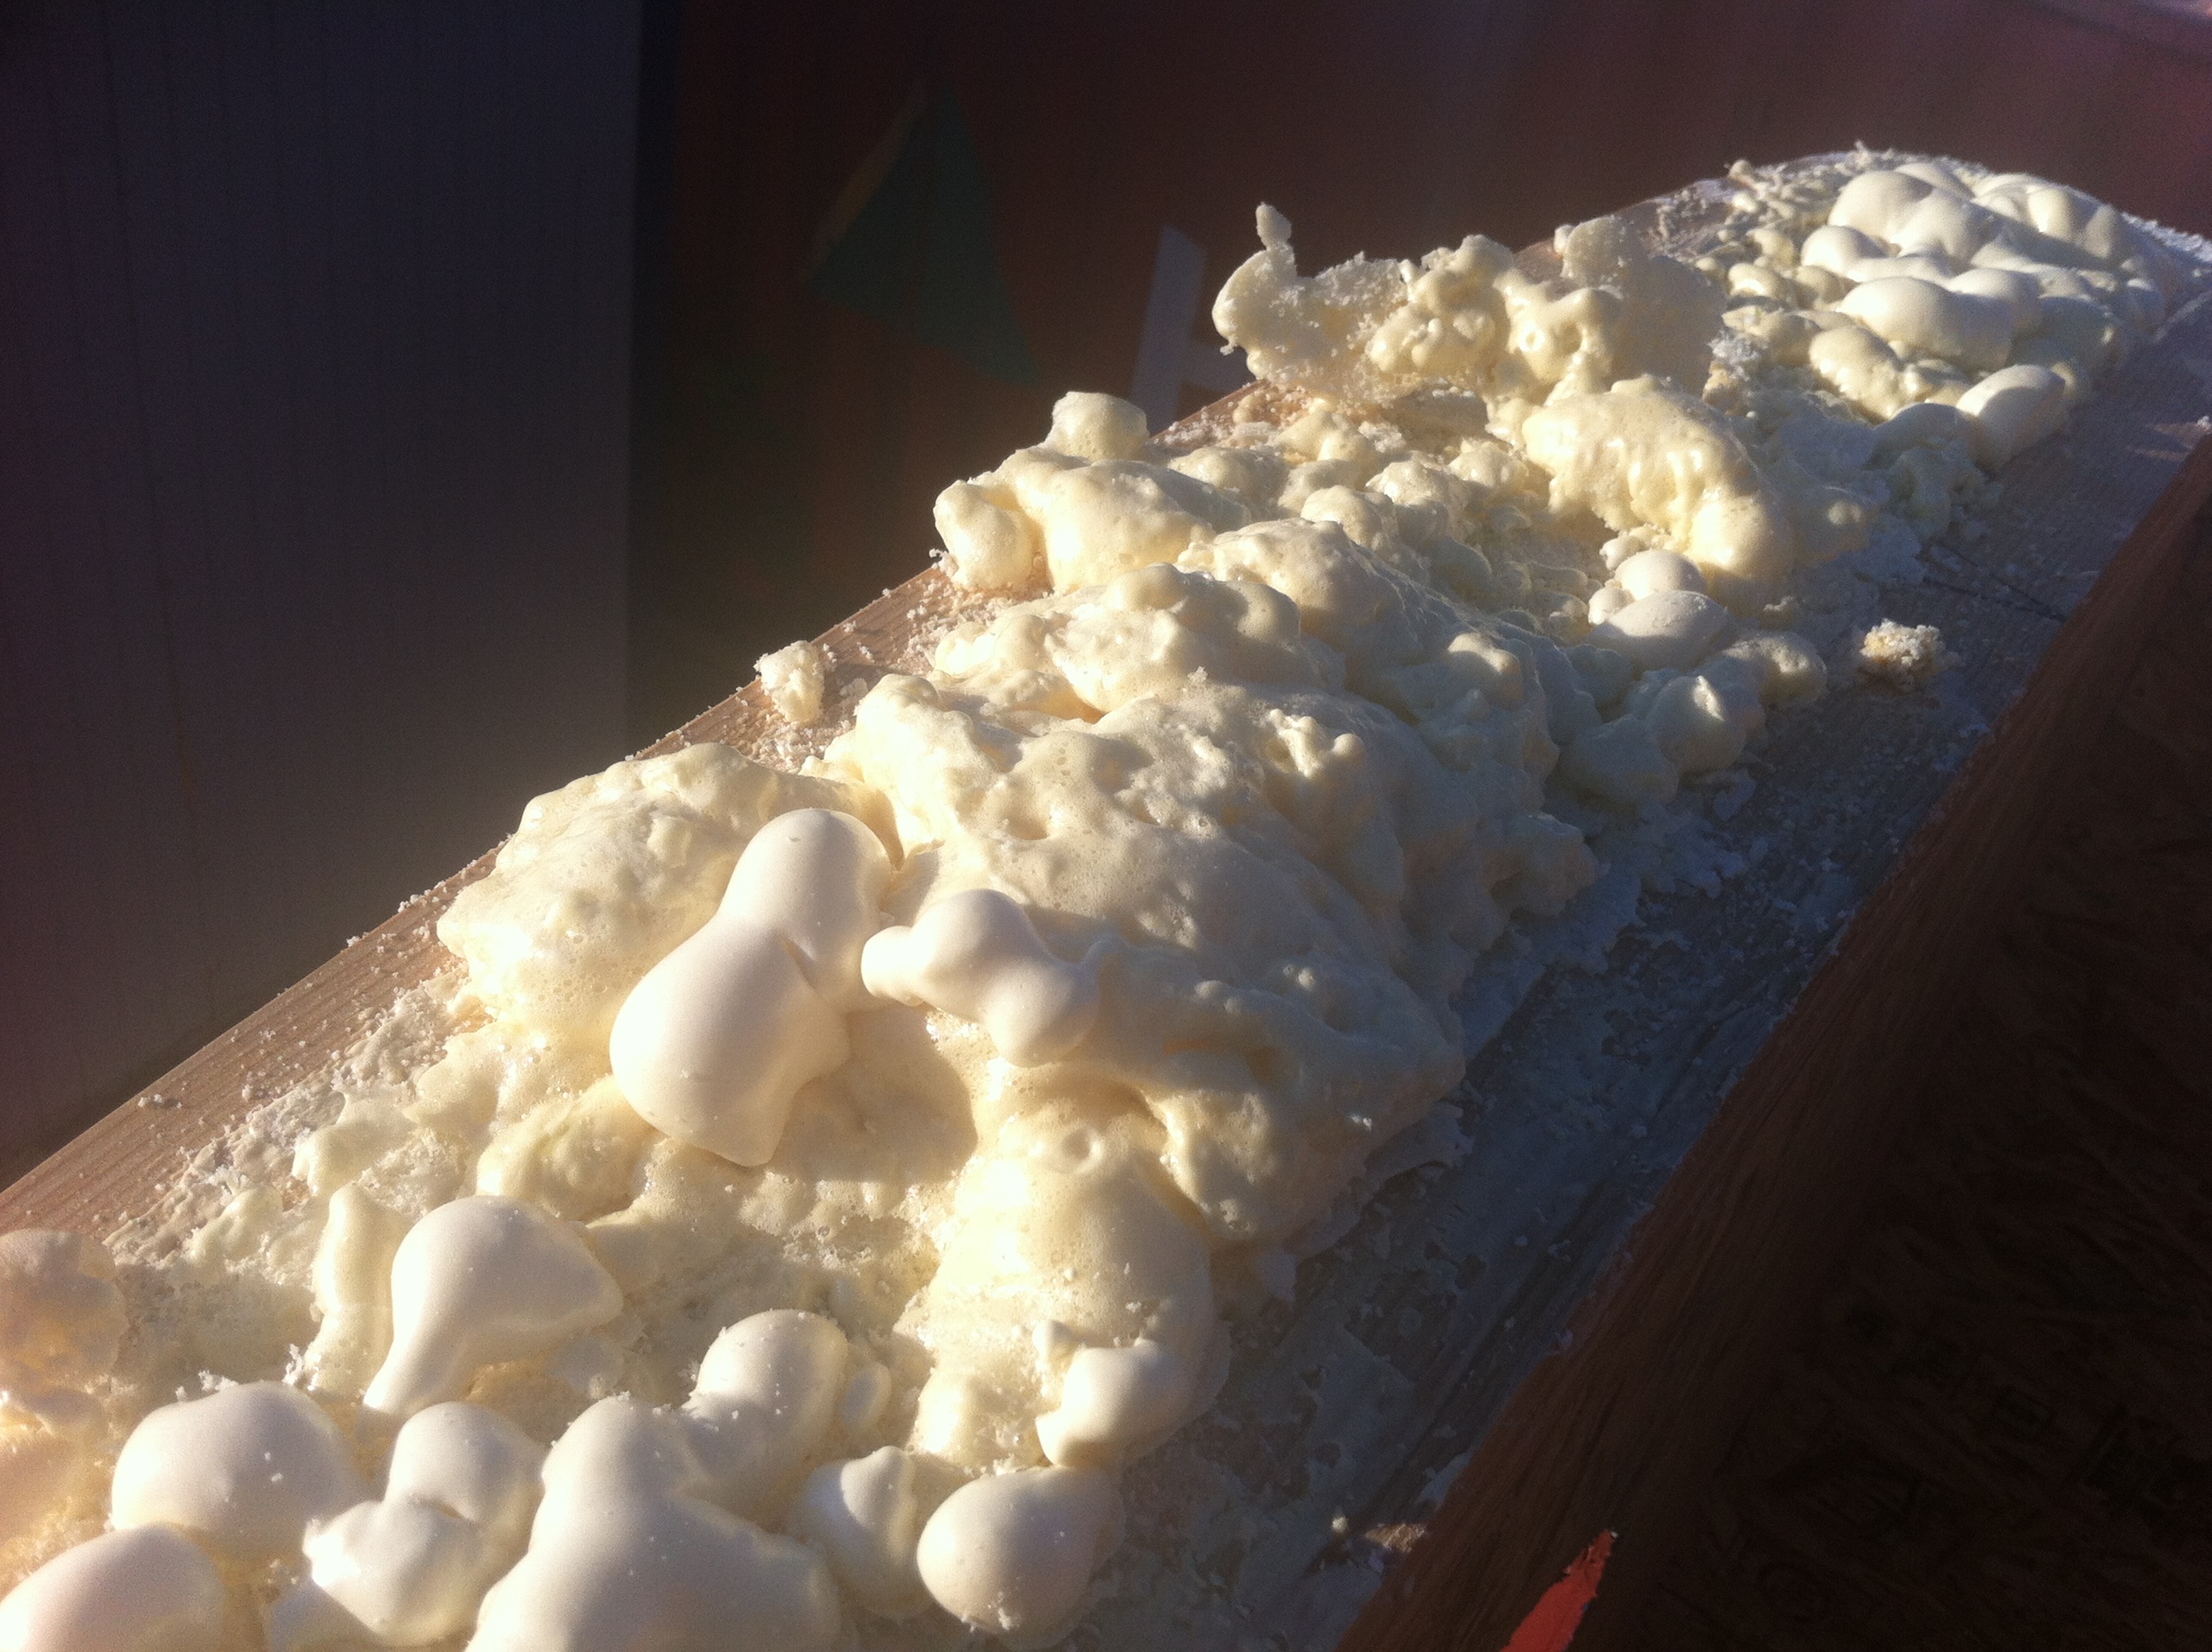
I filled the gap between the new end wall rafters with spray foam and got myself good and sticky as I always seem to do when attempting to make Great Stuff go where I want it to. The trick here is to just let the foam do its thing and then shave away the excess with an old saw once it’s hardened.
We wanted to get the bead board up, too, but the staples I’d picked up weren’t long enough to hold the bead board into the rafters on that curve. So we set the bead board aside (again!) and tarpped the roof up.
I plan to have work parties again this weekend with the assistance of more Tiny House Helpers. Hopefully we’ll be Building My Roofbox on Saturday and Sunday. Stay tuned!
Almost Ready to Build
You know you're almost ready to begin building your tiny house when...
- You're making lists titled "Tiny House Helpers," "Truck Errands," and "Wall Raising Day."

- All the nooks and crannies of your current tiny home are filled with components for your future tiny home. (Examples may include: the sink stored in your window seat, the curved rafters on your front porch, or the power tools in your sleeping loft.)
- Your tool belt is hanging on a hook inside the door - right next to your little black dress, of course!
- Half the photos in your phone are either price tags or products you're considering.
- The other half are funny pictures of you and your build buddy attempting to chronicle the experience. (You can read about our adventures Getting Ready to Build over on Laura's blog or in my post Kicking Off Spring with Tiny House Prep.)
- You change your mind all day long, every day, about nearly everything.
- You've been to the hardware store three times this week and anticipate at least one more trip.
- You wake up at 3 in the morning wondering if you should reverse the swing of your door.
- You've been writing blog posts but you've neglected get them actually posted because it's now 7AM and you can start calling the hardware stores again to see who has the materials you're looking for.
And then eventually the big day arrives and Your Tiny House Build Begins.
Ordering My Tiny House SIPs
 Today I placed the order for my SIPs (structural insulated panels) with Patrick Sughrue of Structures Northwest. This means it’s time to schedule the wall-raising for my gypsy wagon. At this point it looks like it will be about three weeks out. Eeep! My tiny house build just got real!
Ordering My Custom Vardo Trailer from Iron Eagle Trailers was a big step, but ordering my SIPs feels much more momentous to me. Patrick and I have been talking ever since we met at an open house at Caravan – The Tiny House Hotel last fall. At the time I was thinking about building my own SIPs, but Patrick convinced me it would be easier and more cost-effective to have them factory-built instead. So I spent the past few months noodling over them and it was pretty exciting to finally sign on the dotted line and write the check!

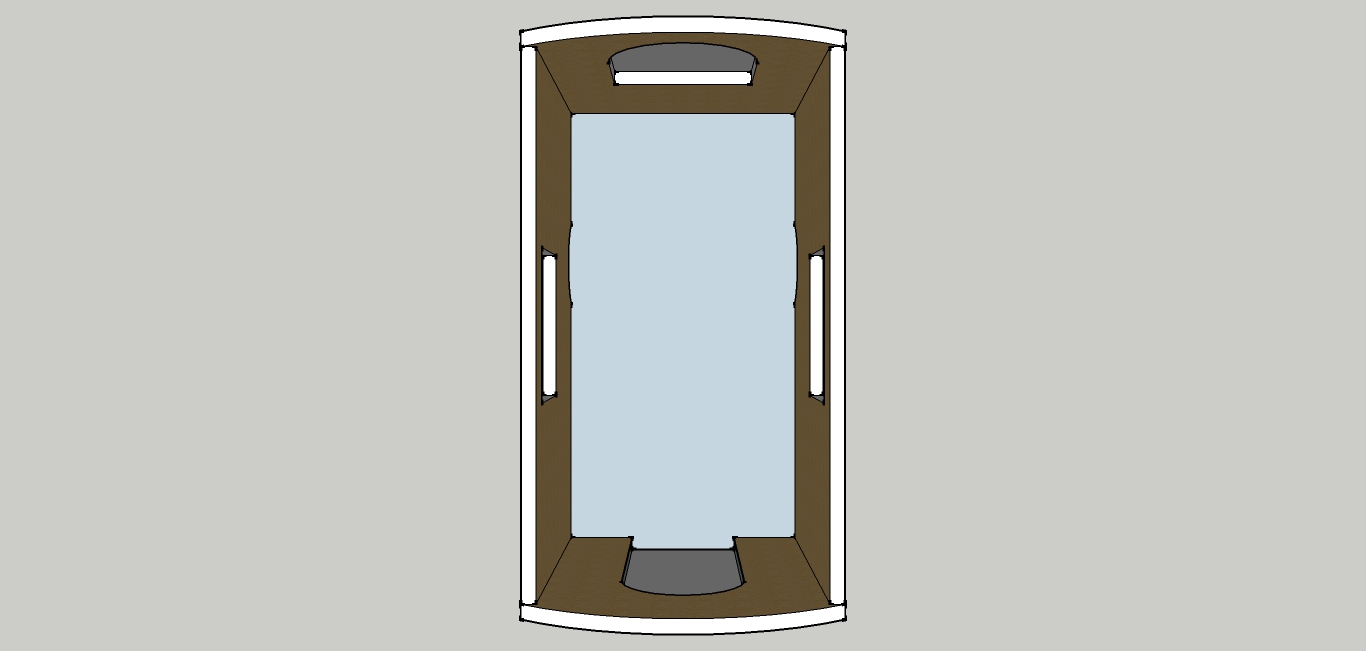
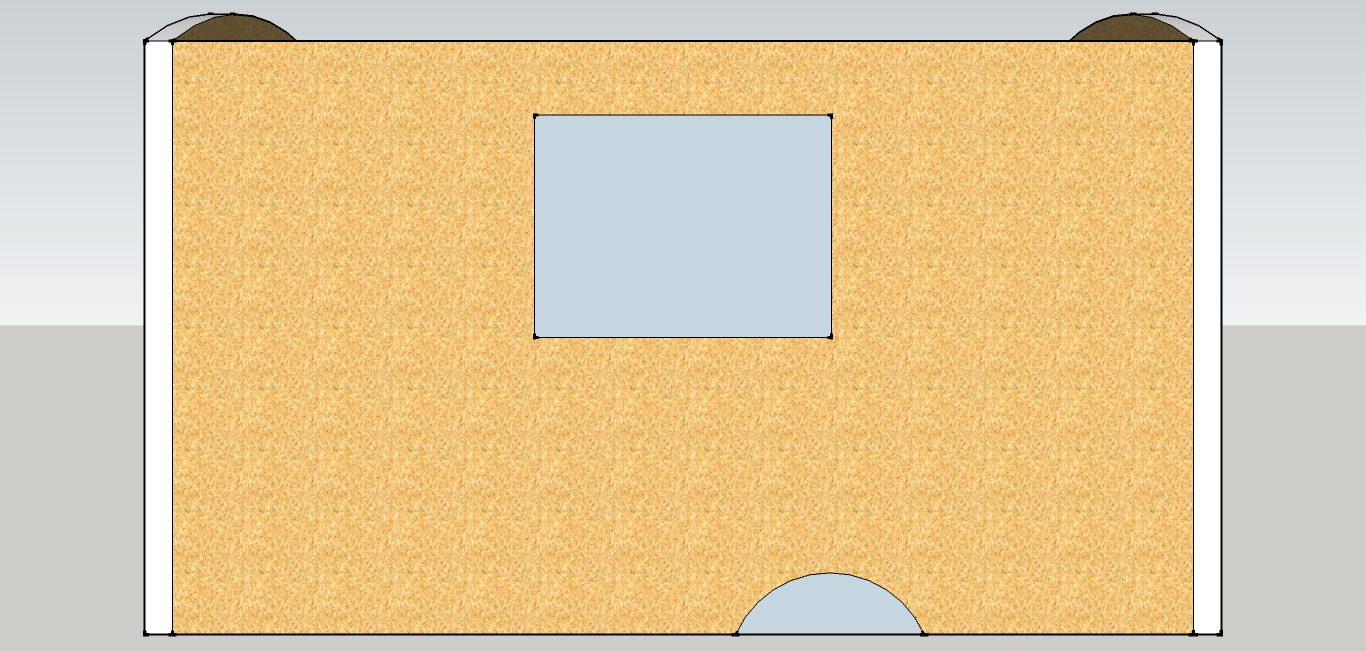
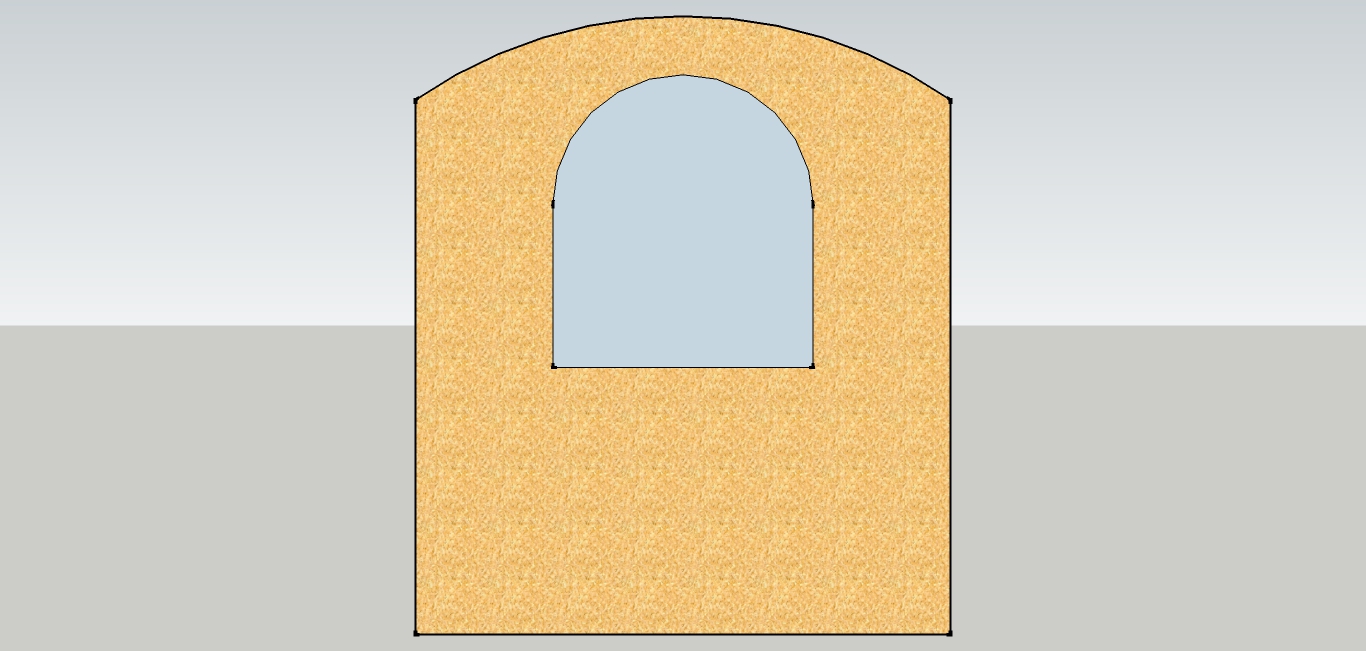
Patrick will be sending shop drawings for my review in the next couple days. Then my order will go to the factory where my panels will be manufactured to my exact specifications. When my wall panels arrive flat-packed they’ll already have the holes cut and the framing in place for my arched end walls, my wheelwells, My Arched Window, My Kitchen Windows, and My Beautiful Arched Door. In order to have them just right I double-checked all the measurements for my door and windows. I also had to have precise measurements from my trailer, so Laura and I paid an extra visit to Iron Eagle Trailers to take down measurements and check in with Rob. (By the way, if you let Rob know I sent you, he’ll give you $50 off your trailer order!)
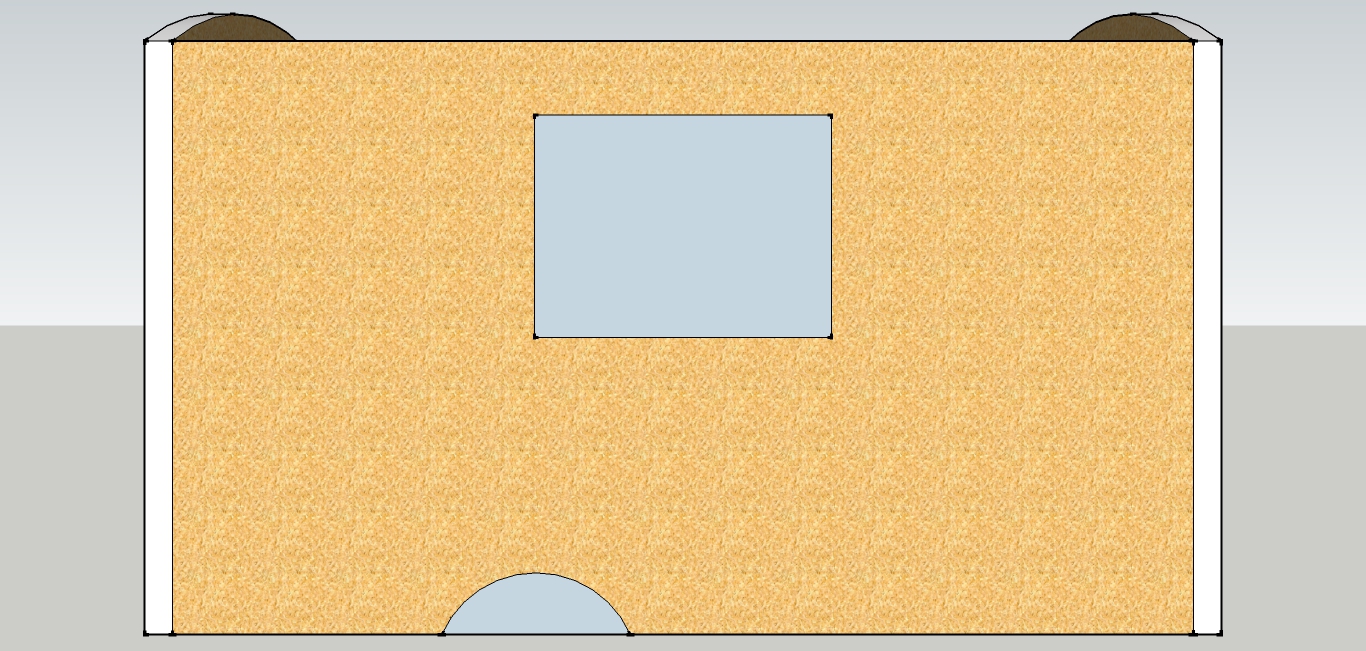
Since it’s more difficult to modify SIPs in the field than it is to modify stick-built walls, I’ve made my final decisions about my window and door placement. It’s amazing to me how much I can dither over these choices, but I’m feeling pretty good about my decisions right now. My walls will be 8 feet tall instead of the 6 feet that is more common in vardos. I love the coziness of a short-walled vardo, but living in Sweet Pea, I’ve come to really appreciate the spaciousness of higher walls. Since the sheet goods come in 8-foot lengths it would create more waste if I chose shorter walls – and it wouldn’t cost any less. Going with 8-foot walls instead of 6-foot walls, I’m able to contain more space with less waste at the same cost. Seems like a good choice to me. I’ve centered the door and windows in their panels so my house will be symmetrical. I’ve enjoyed the process of designing my house both from the inside-out and the outside-in. I can’t wait to see how it feels to be inside the space!
SIPs are composed of two pieces of OSB (oriented strand board) glued to a piece of Styrofoam. Typically, I’m anti-Styrofoam. However, I believe that this is an appropriate use of the material. The very same things that make Styrofoam a lousy option for disposable packaging and single-use dishware make it great for a wall system – it takes approximately forever to biodegrade – which means it’s very durable. Additionally, it’s super lightweight (which is great for a mobile structure) and it has great insulation properties (which will reduce the long-term heating and cooling costs for my gypsy wagon). Yes, it has very high-embodied energy, and no, I probably wouldn’t use it for a ground-bound house (so many wonderful natural building options – like strawbale, which is like a natural version of a SIP!) However, I believe SIPs are an appropriate technology for tiny houses on wheels. The idea of using SIPs for a tiny house on wheels initially occurred to me four years ago, before I’d heard of anyone actually trying it. Now dozens of people have done it and I get to benefit from their pioneering efforts. (To read up on it, check out Jenna and Sean’s website Vagabode or their most recent post on TinyHomes.com To SIP or Not to SIP?)
I’m so excited about my tiny house I’m not sure I’ll be able to sleep tonight! But I better because tomorrow is Earth Day and it’s going to be a big day. Dee’s book The Big Tiny comes out tomorrow and she’s in Washington, D.C. for the book release. There’s also a groundbreaking for the Breathe Building, a Living Building Challenge project I’ve been working on. So many great things to celebrate!
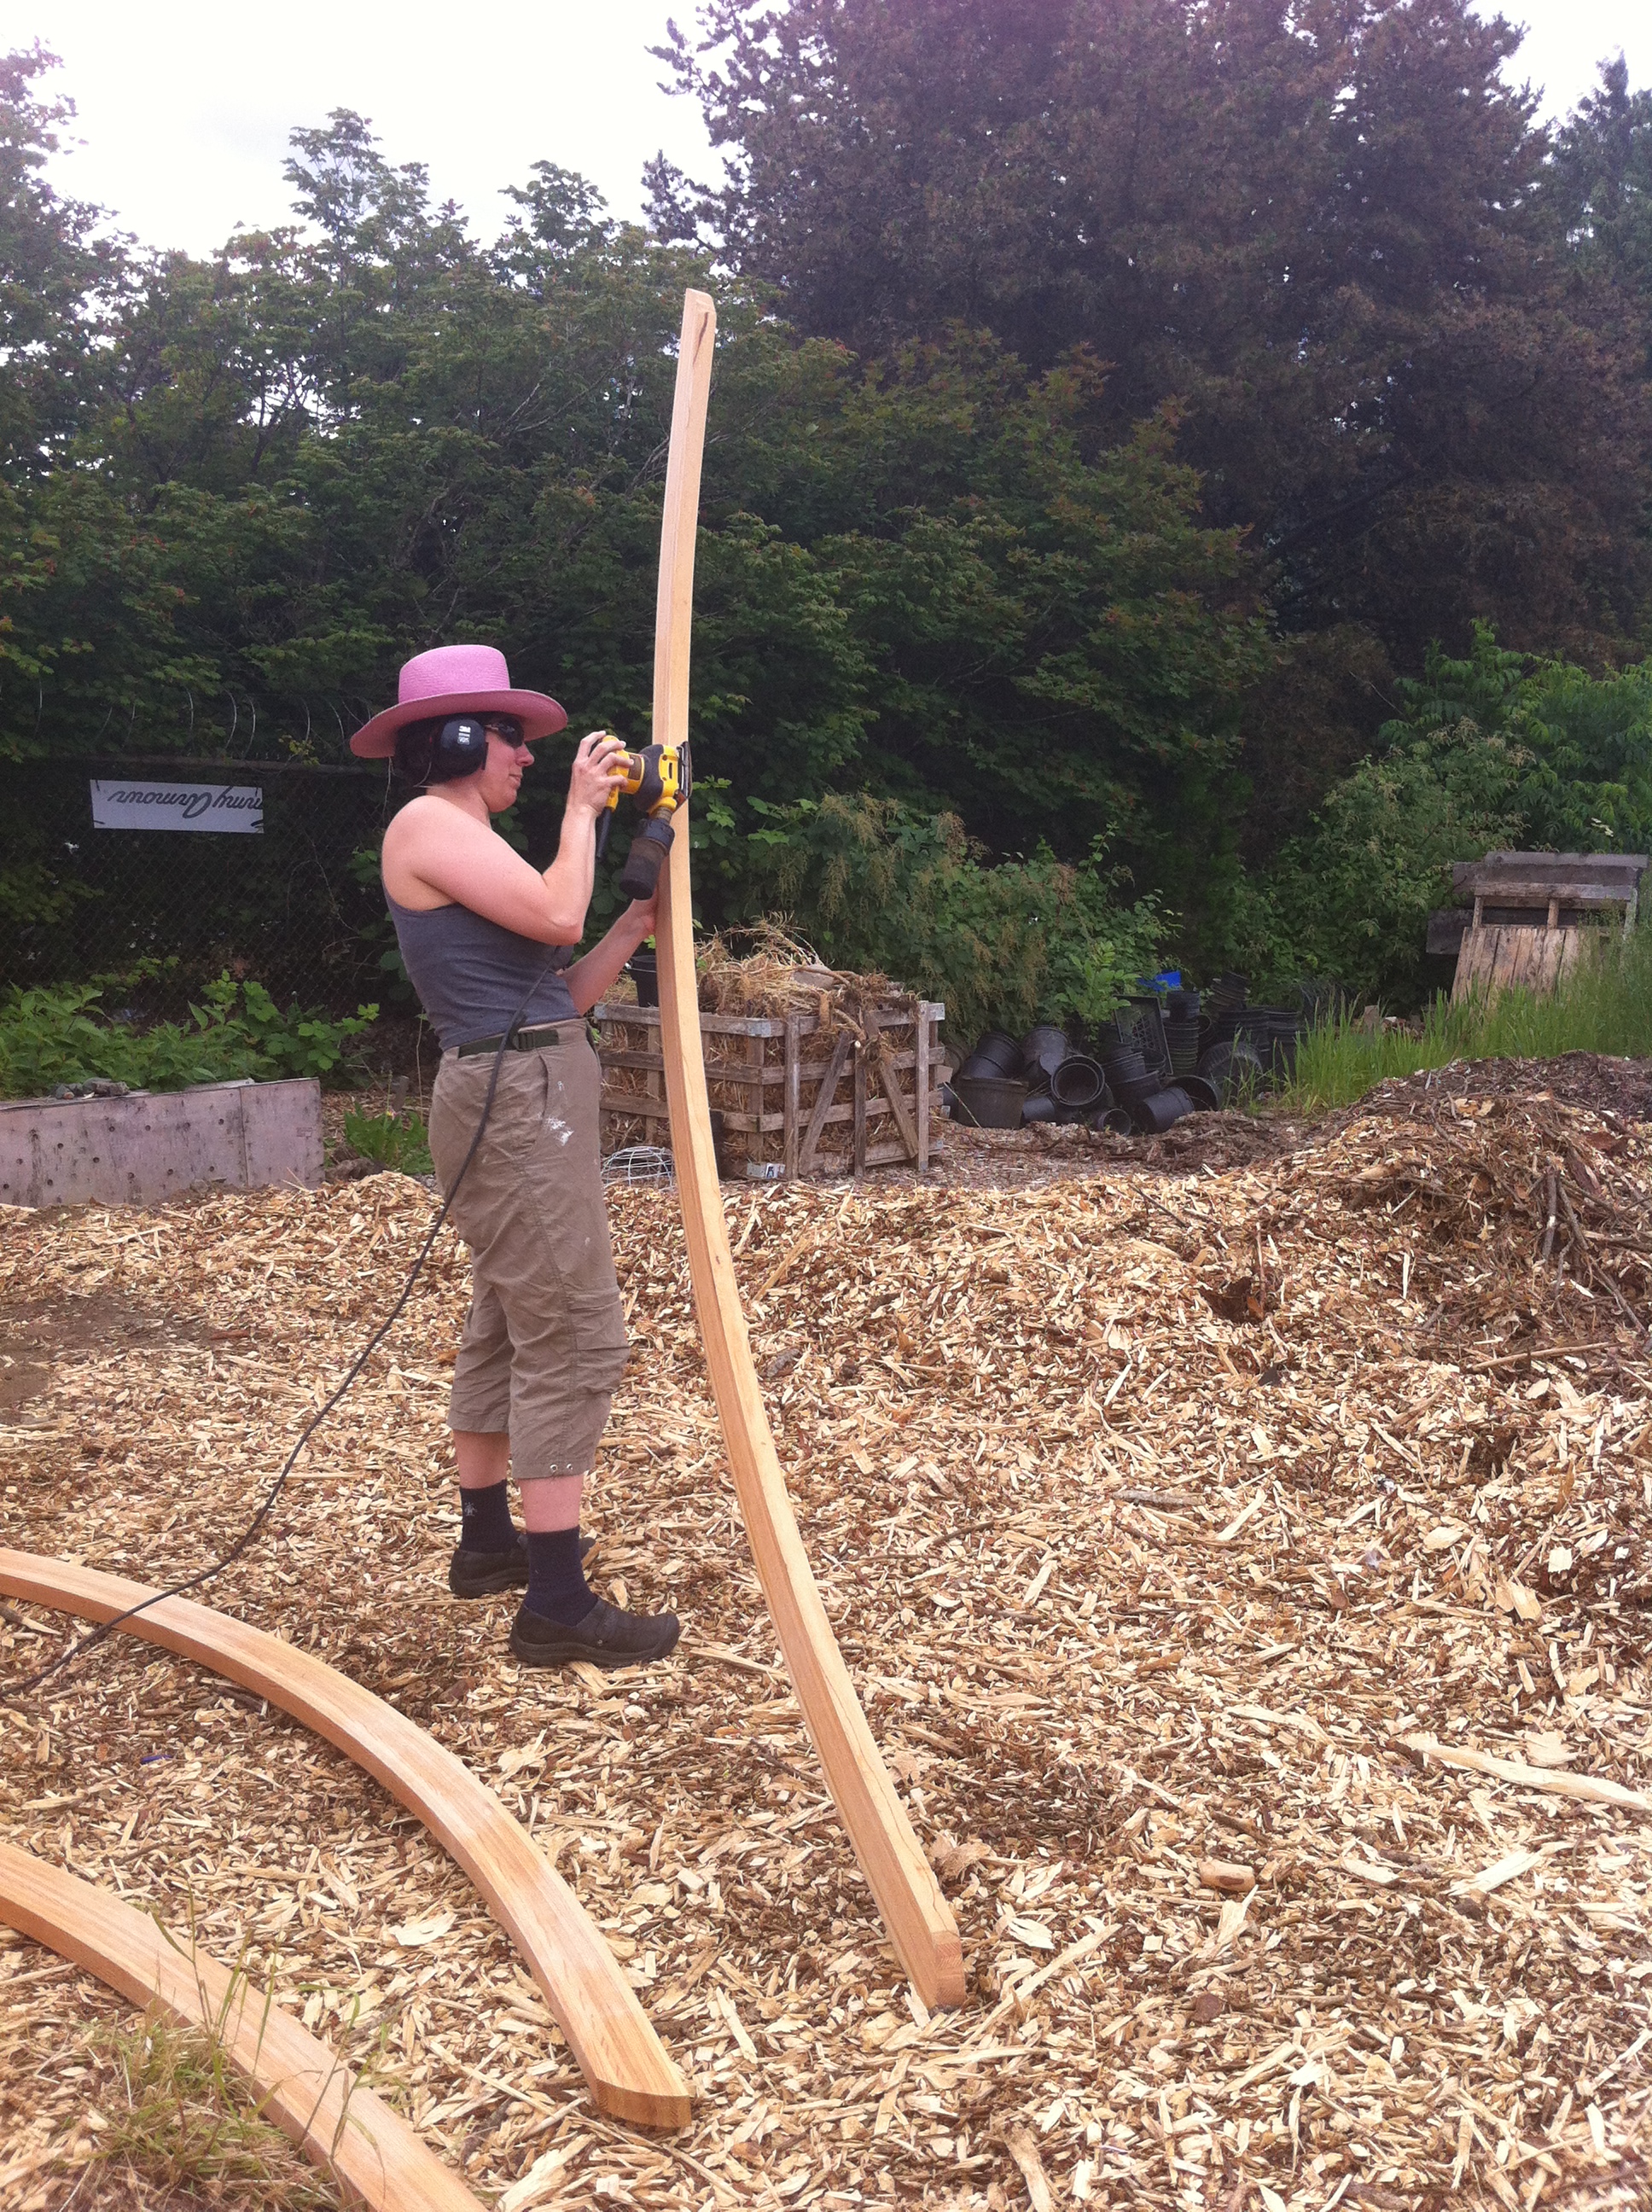
Besides, I need to get my rest because I have a lot of prep work to do in the next few weeks! Here are a few things on that list: Planing My Arched Rafters, Refinishing My Arched Door, Cleaning Up My Kitchen Windows, and Prepping My Skylights. Ready and go!
P.S. The other quote I got for SIPs was from Allen at Pacific Builders and I'm sure he would have done a great job, too. If I were building closer to their manufacturing facility in Montana, I probably would have picked them.
Tiny House Conference 2014 Kick Off
 Tiny house lovers from across the country have descended upon Charlotte, NC this weekend for the Tiny House Conference. I couldn't be more excited about this opportunity to geek out about one of my favorite things! We will spend the next two days watching presentations (I'll be speaking on Tiny House Building Basics later today), touring tiny houses, and mixing and mingling.
Speakers were invited to arrive yesterday evening so we could get acquainted with each other and the facility. It was great to finally meet some of the folks I've been following: Macy Miller of minimotives, Hari and Karl of Tiny House Family, Andrew Odom of Tiny (R)evolution, and, of course Ryan Mitchell of The Tiny Life. It was also great to meet some new-to-me-but-probably-not-you-if-you've-been-watching-the-tiny-house-scene tiny house builders: Kelly and Chris, Frank, and Teal and Gerry of Wishbone Tiny Homes. Their tiny homes are be-a-u-ti-ful and I'm eager for everyone to see them, especially if they've never been inside a tiny home before!
The conference is sold out and I'm guessing many of you didn't manage to get tickets and make the trek to North Carolina, so if you'd like to live vicariously, follow along this weekend. Internet access and cell service are limited on the site, but we'll do our best to facebook and tweet the event with the hashtag #thc14.
Kicking Off Spring with Tiny House Prep
 I returned home from teaching Less is More: Designing the Small or Tiny Home at Yestermorrow in Vermont to find that Portland had greeted spring in a cacophony of cherry blossoms! So it is time, officially to begin my tiny house build.
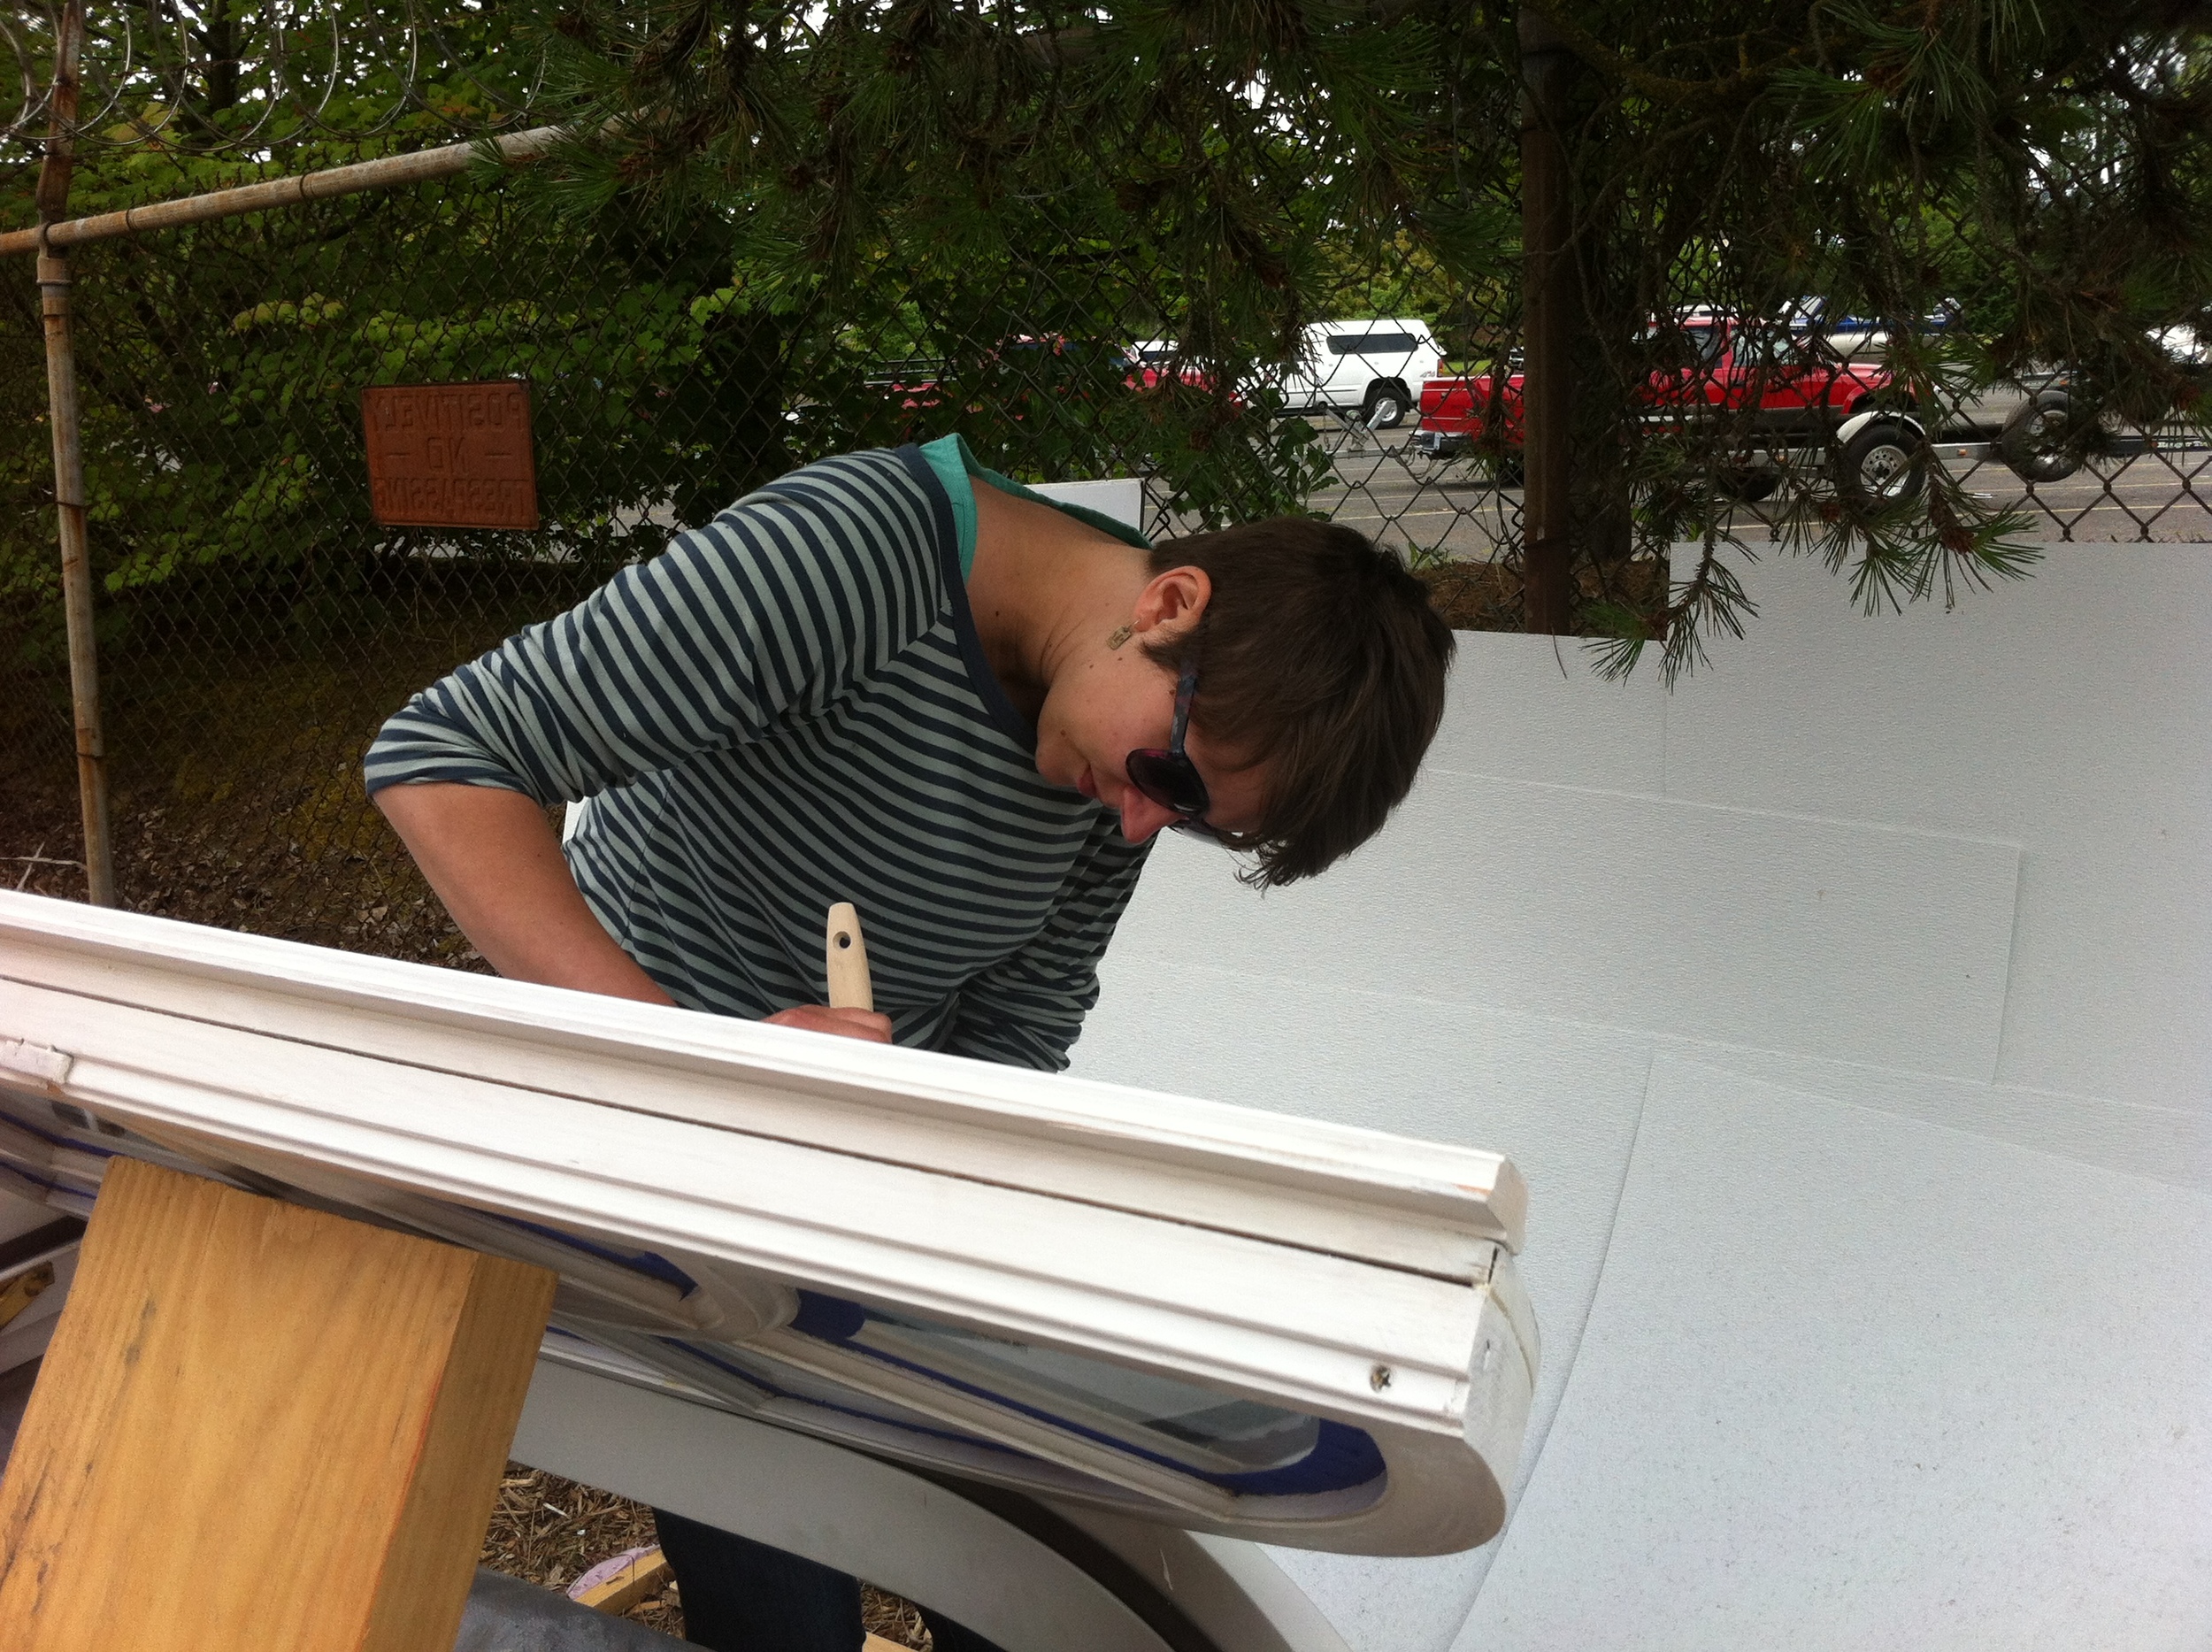
I celebrated the first day of spring with lots of tiny house prep. In the morning Laura Klement and I went to Green Anchors to check it out as a potential build site. Laura and I met in the Tiny House Design-Build class at Yestermorrow last October and she moved back to Portland to build her tiny home because, well, Portland is the epicenter of the tiny house universe! Laura and I are interested in building together because we are on a similar timeline and can help each other out and make things go more quickly.
Green Anchors is an alluring option for these reasons:
- it's right under the incredible St. John's bridge
- there are storage lockers available
- there are other talented people who are up for skill sharing
- the river is right there, which will be very tempting the summer
- there's plenty of space to move comfortably around a tiny house
- there's no need to worry about making a racket with power tools
The only big disadvantage is that it's a 9 mile bike ride from my house. And that's not such a big deal now that the weather is beautiful, but it's going to be a royal pain if I'm hauling things! I've considered buying a truck, but so far I haven't quite figure out how to make it pencil out.
In the afternoon, I went to Iron Eagle Trailers so I could talk to Rob and get exact measurements for my vardo trailer so I can refine my design. Rob told me that someone was coming down from Alaska to pick up a tiny house trailer. It seems like a long haul, but Rob is truly the tiny house trailer expert in the Pacific Northwest and he builds stronger, lighter, smarter, and less expensive tiny house trailers than anyone else I've found. I've been very pleased with the trailers Rob has built for me and I refer people to Rob all day long, so we recently set up a deal. If you tell Rob I sent you can get $50 off your trailer order! If you're thinking of building this summer, it's time to get your trailer into the production line! You'll be right behind Laura who placed her order last week.
I also made a trip to the hardware store to pick up my glue, clamps, and glue applicator so I can begin building my arched rafters for my vardo. Stay tuned for more about Building My Arched Rafters.
In the evening I went to PAD's Tiny House Mixer and it was a lot of fun to visit with fellow tiny house enthusiasts. I also loved seeing the update on Ben's tiny house. He's done a fabulous job with his tongue and groove interior siding. It looks beautiful!
Three cheers for cracking open the tiny house. Are you building this summer, too?!